
Surfboard Gybe Part 1
Technique / Intermediate


Introduction
We’ve decided to go over the surfboard gybe again as its something that so many riders want to learn, and it really is just a question of practising a technique that works. Last time around, many moons ago, we took the pictures and videos in the waves and frankly it was impossible to see what was happening, and so it became more of a terra firma exercise. So we’ve redone it in the flat so you can see for real what you need to emulate.
Having recently returned from a clinic in Cape Verde where we introduced a whole group of guests into the joys of strapless and strapped surfboard riding, we can happily verify that this technique really works a treat with only a bit of practice! A guaranteed whoop.


This is Part 1, how to change your feet from toeside. Now some of you may think that this is not a gybe, and in part you’d be right, as you’ll not be changing your feet whilst the board is turning, but rather once you’re happily riding along again as in Video 1. Trying to carve your board and change feet at the same time is a throwback from windsurfing and makes life much more complicated than it needs be. That said, once you have this nailed you’ll be shifting your feet the moment the board finishes carving.
In a future issue, once you have learnt this, we will take you through Part 2, which without wanting to confuse you involves changing feet before turning!!!
From Toeside
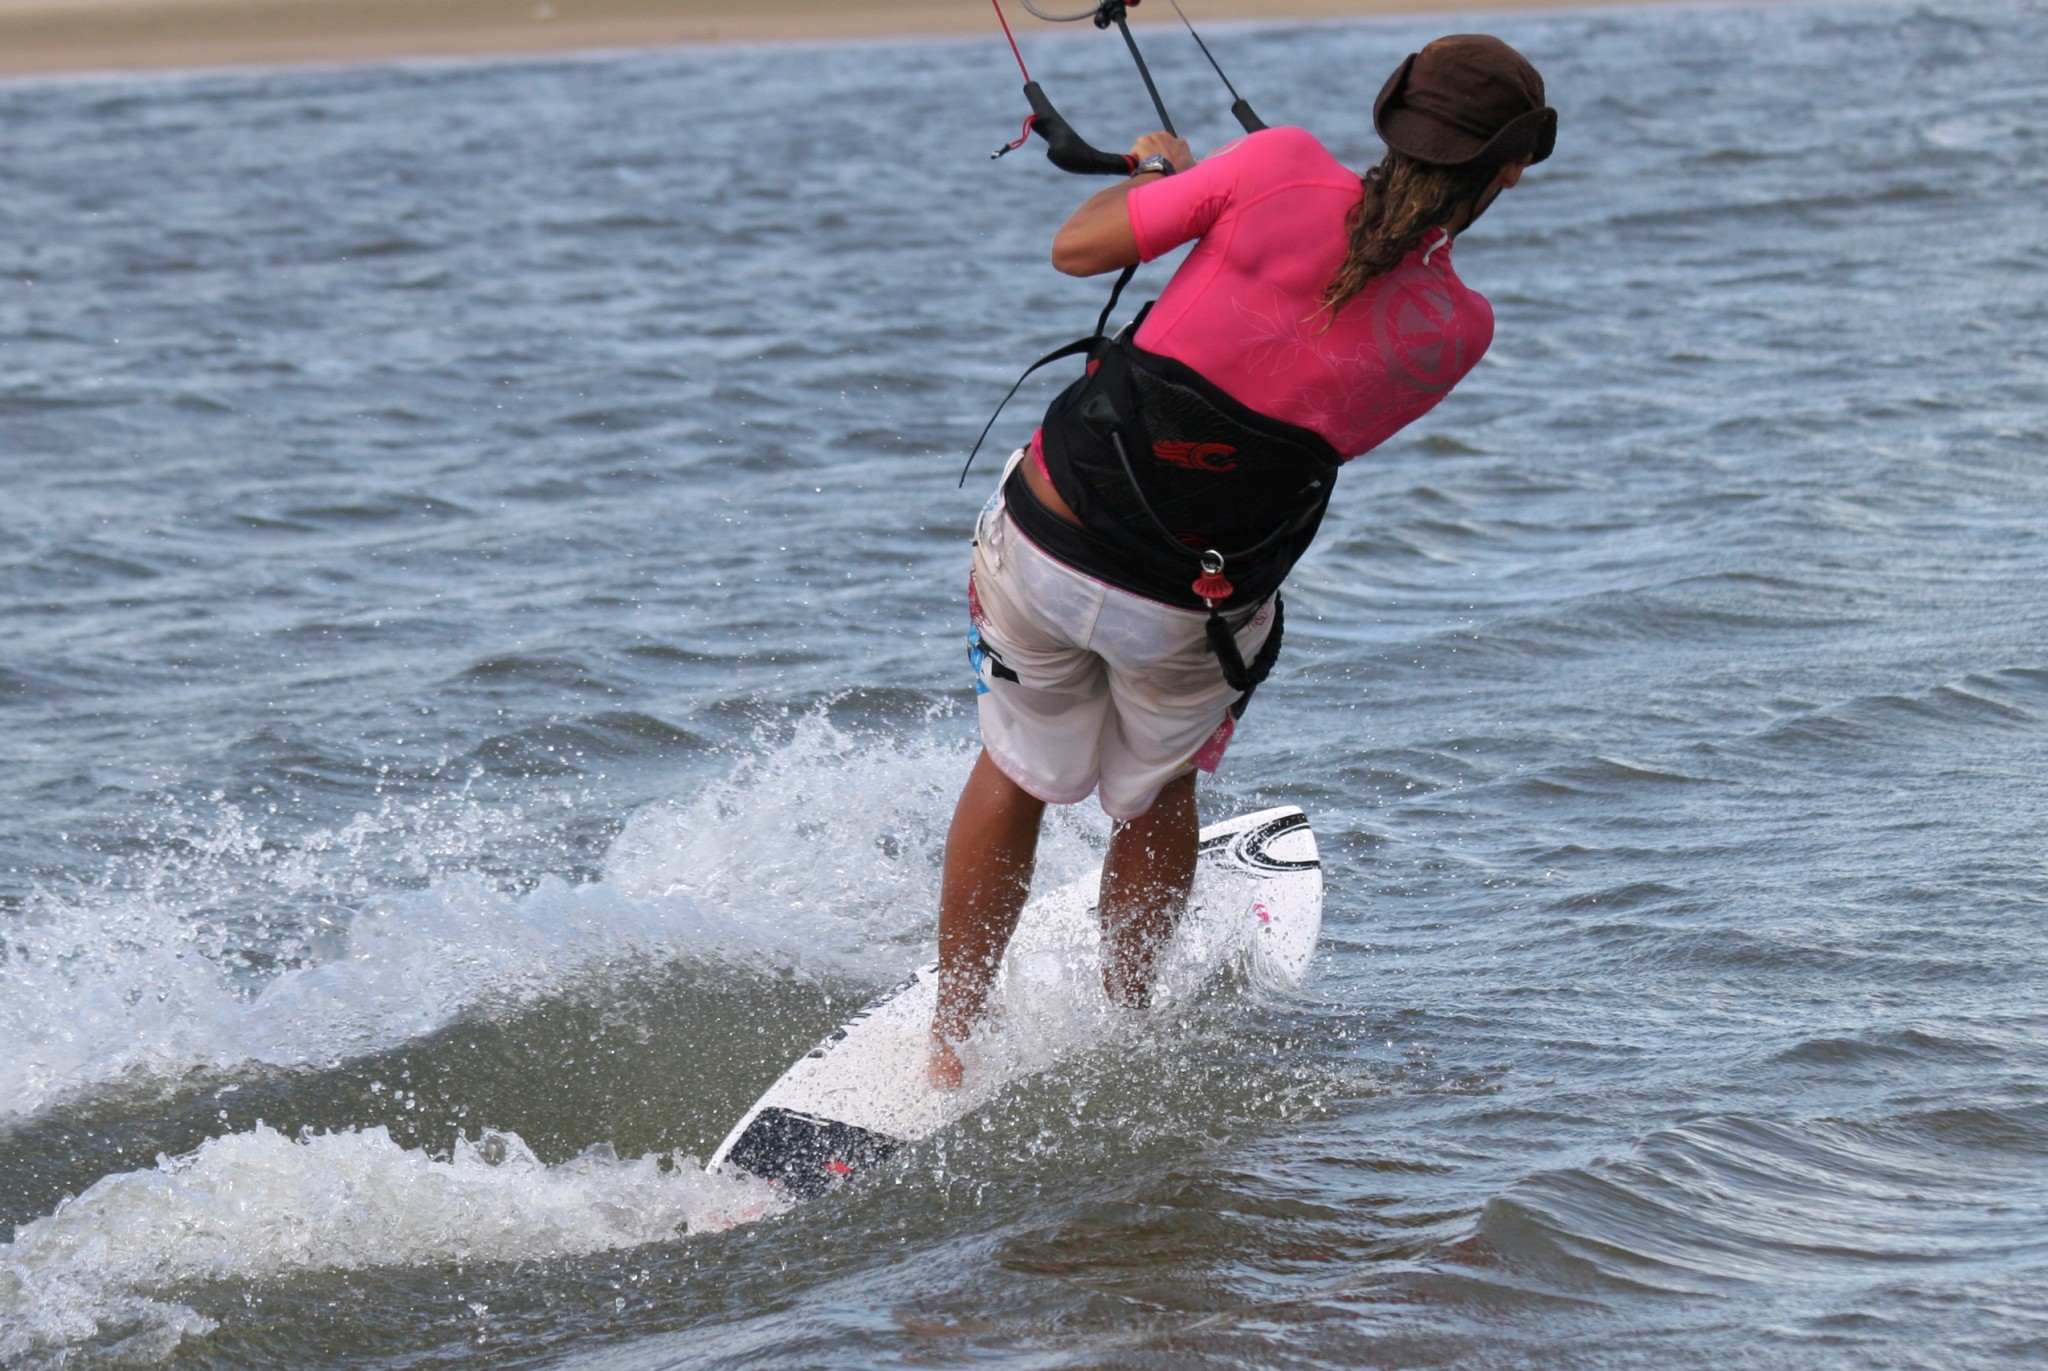
Seeing as you’ll need to be riding toeside your best bet is to carve from your heels onto your toes, which is most likely what you do already, before screaming along with your back leg burning, bemoaning the fact that you haven’t got the foot change down.
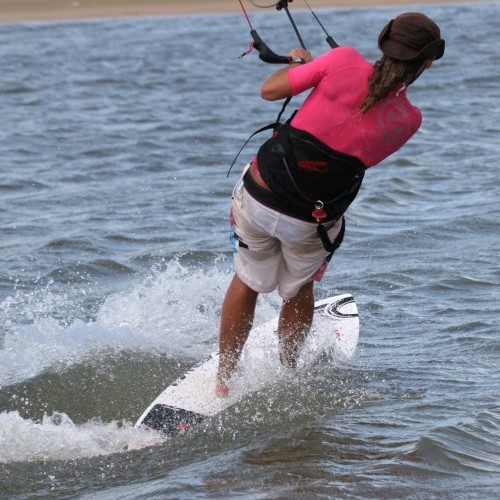
One simple bit of advice before we start is that if you intend to change your feet after a carve, do place you back foot just forward of the tail and make sure that your toes are over the rail, just like in Pic A. If you are riding in straps be sure to take your back foot out and place it in this position. This way when you exit you will be on a good toeside edge and you’ll be able to get your weight forward and trim the board flat!
Basic Steps
In this foot change you only have two physical steps, so not too much to get your head around. Even better you can practice the first step on its own and then move on to the second. The aim of your first step is to get your back foot forward all the way so that the big toes of your feet can kiss each other.


Moving Forward
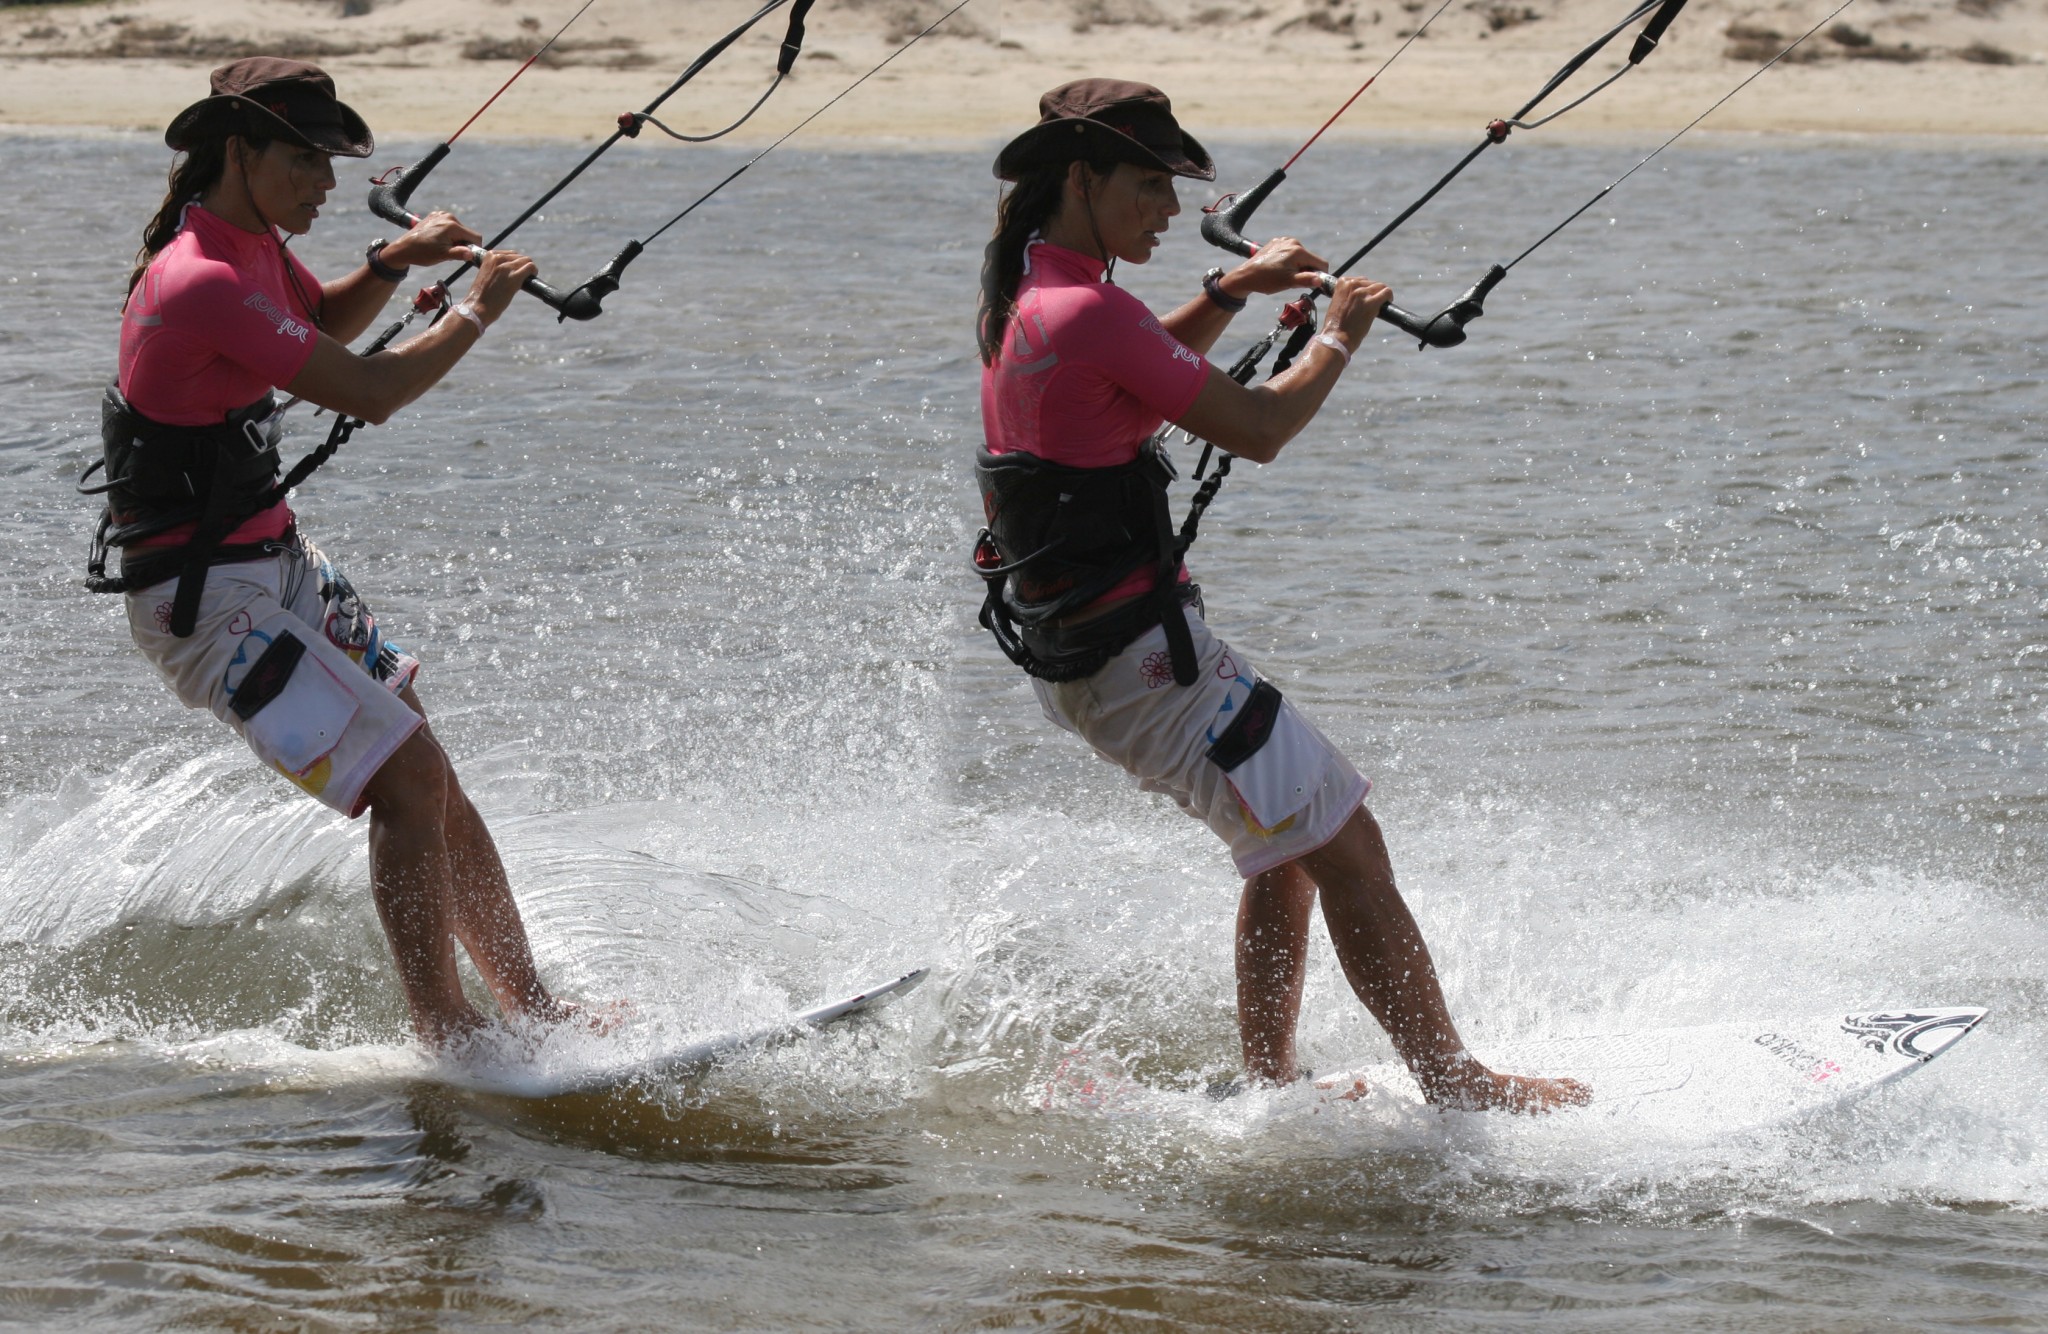
Pic B. shows the position your feet should arrive in, which we affectionately know as the “Daddy I need a wee” stance (mothers would have already realised). The objective is to get both you feet side by side, toes pointing inwards like Keanu Reeves or a pigeon, take your pick.
So how do you get into this position? Look at Sequence 1. You can see that in the first picture Karine has a lot of weight on her back foot as she normally would to ride toeside. To enable her to lift her back foot she must move her weight forward over her front foot. Rather than trying to balance on one foot what Karine does is bend her front leg and hang her weight into her harness so that the kite is supporting her. With two points holding her weight Karine can then pick up her back foot without being unstable.
So your first practice routine should be to sail along toeside and drop your weight forward so that you can actually move your foot. It doesn’t have to be all the way but just enough to build your confidence in leaning on the harness. If the board has a tendency to tilt violently over onto the down wind rail, try placing your front foot further across the centre line of the board before stepping up to it.
Once you are comfortable leaning forward, take that giant leap and move your back foot up all the way into the “Daddy I need a wee” stance. The beauty of this position is that you can put you weight back down onto what was your back foot, and therefore get the board edging on its upwind rail. This way you can maintain tension in the lines, which in turn will give you more support when you need it.
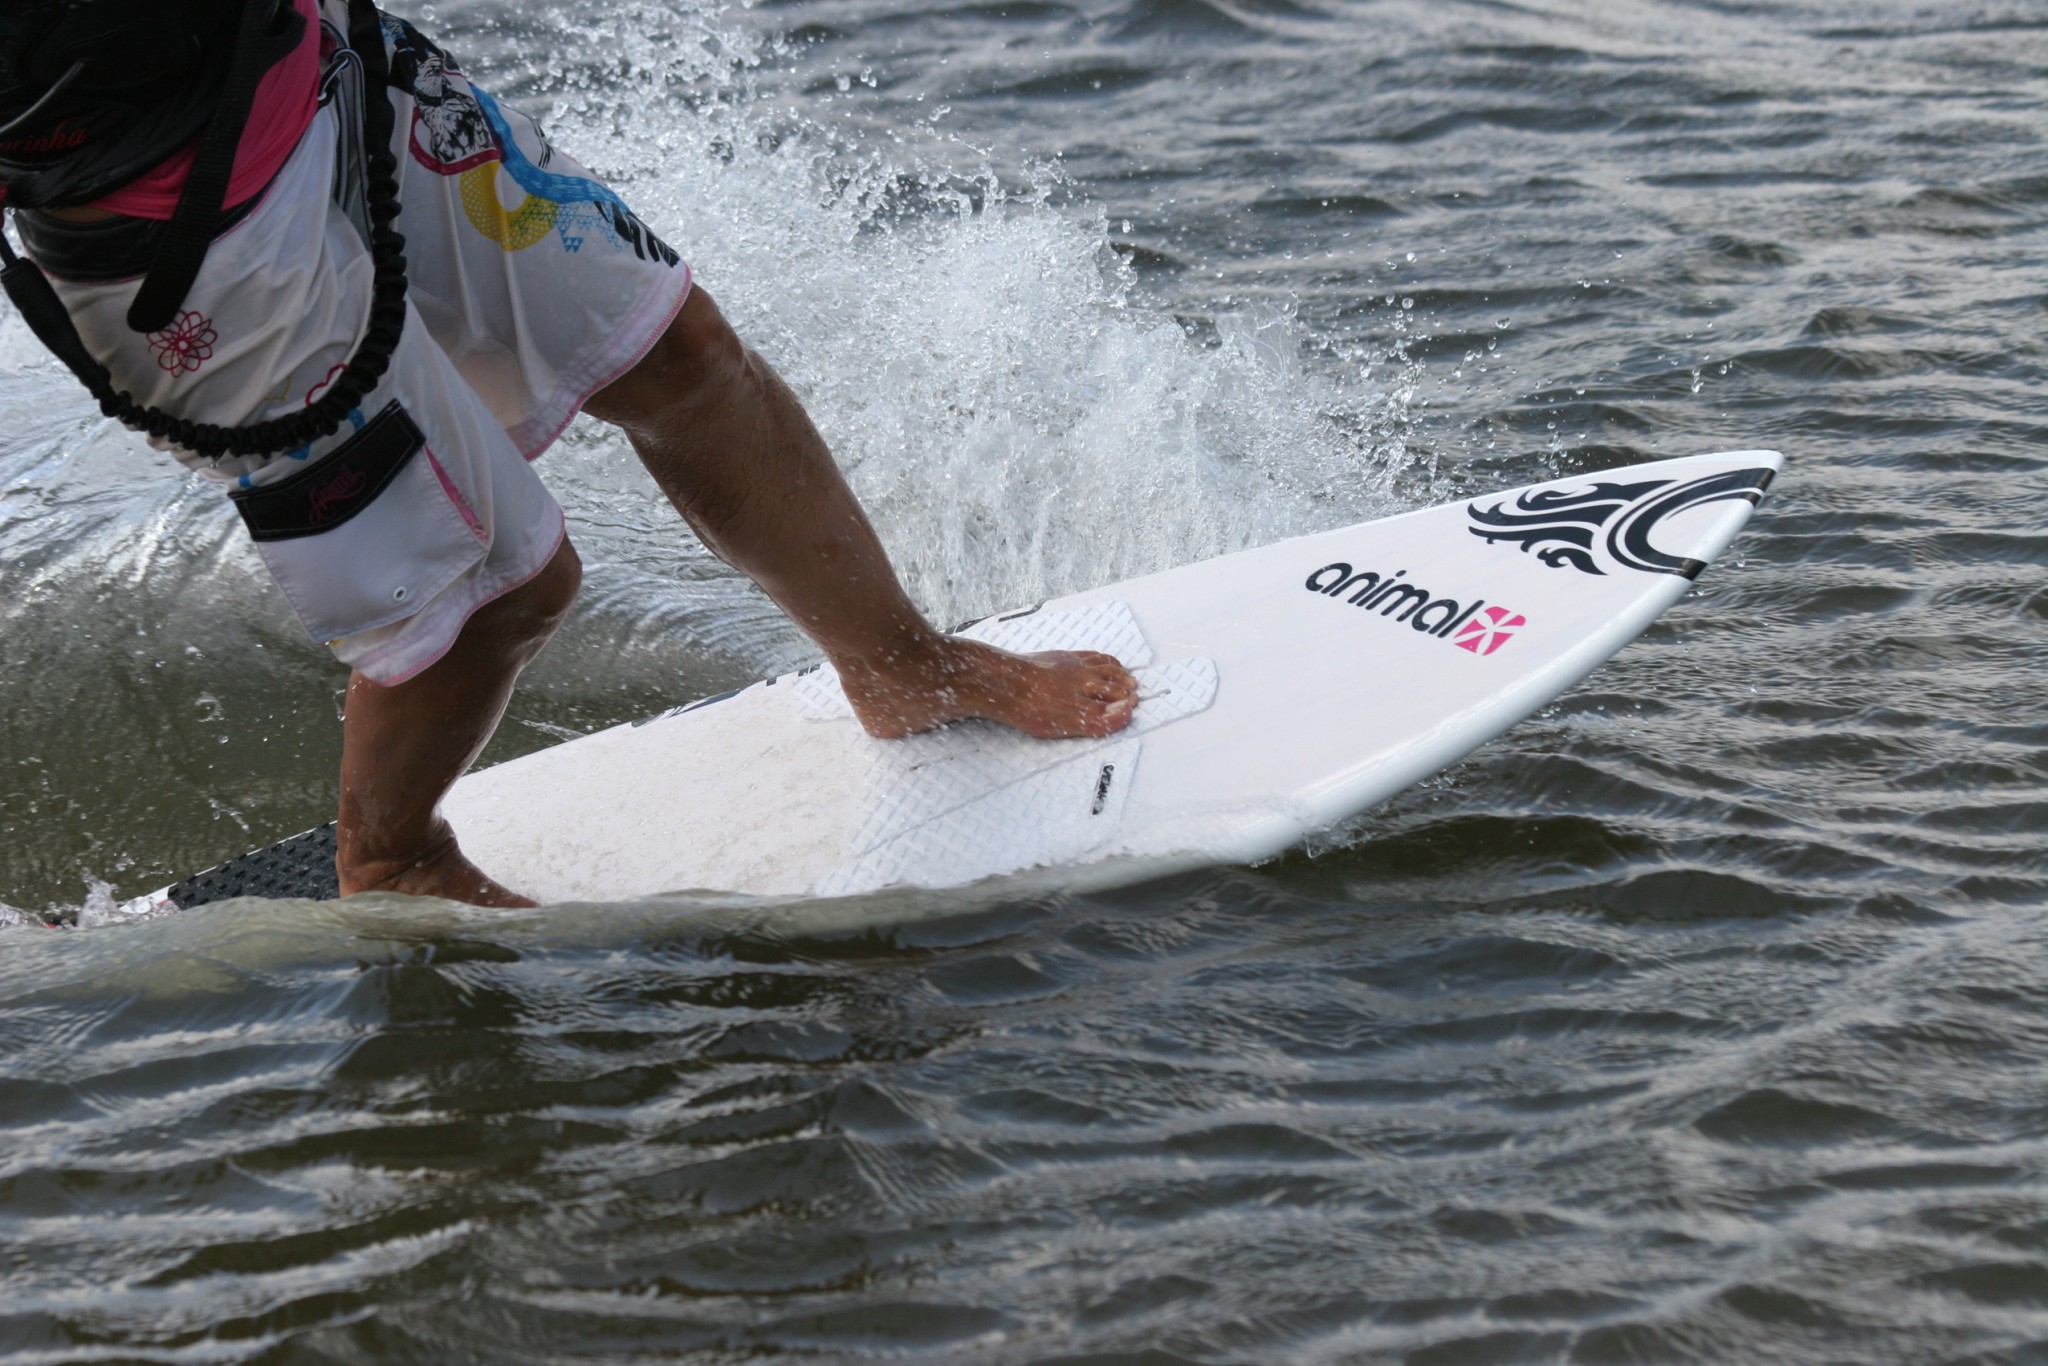
Pic C. shows Karine happily riding in this ungainly looking position. This is your next practice session. Looking at Karine you can see that the trick to riding in this position is all about getting your weight onto the upwind foot and forward, which results in the board edging against the kite which allows Karine to commit her weight to windward, bend her knees and hang in the harness. What you don’t want to do is push the bar away and kill the power which is holding you. Try riding along as far as you can like this, you won’t get many style points but with practice you’ll be able to tackle white-water and small waves whilst desperate for a pee.


Feet Where They Belong
It was tempting to head this section as stepping back, but that would have led to a series of dunkings, as that is exactly what you don’t want to be doing.
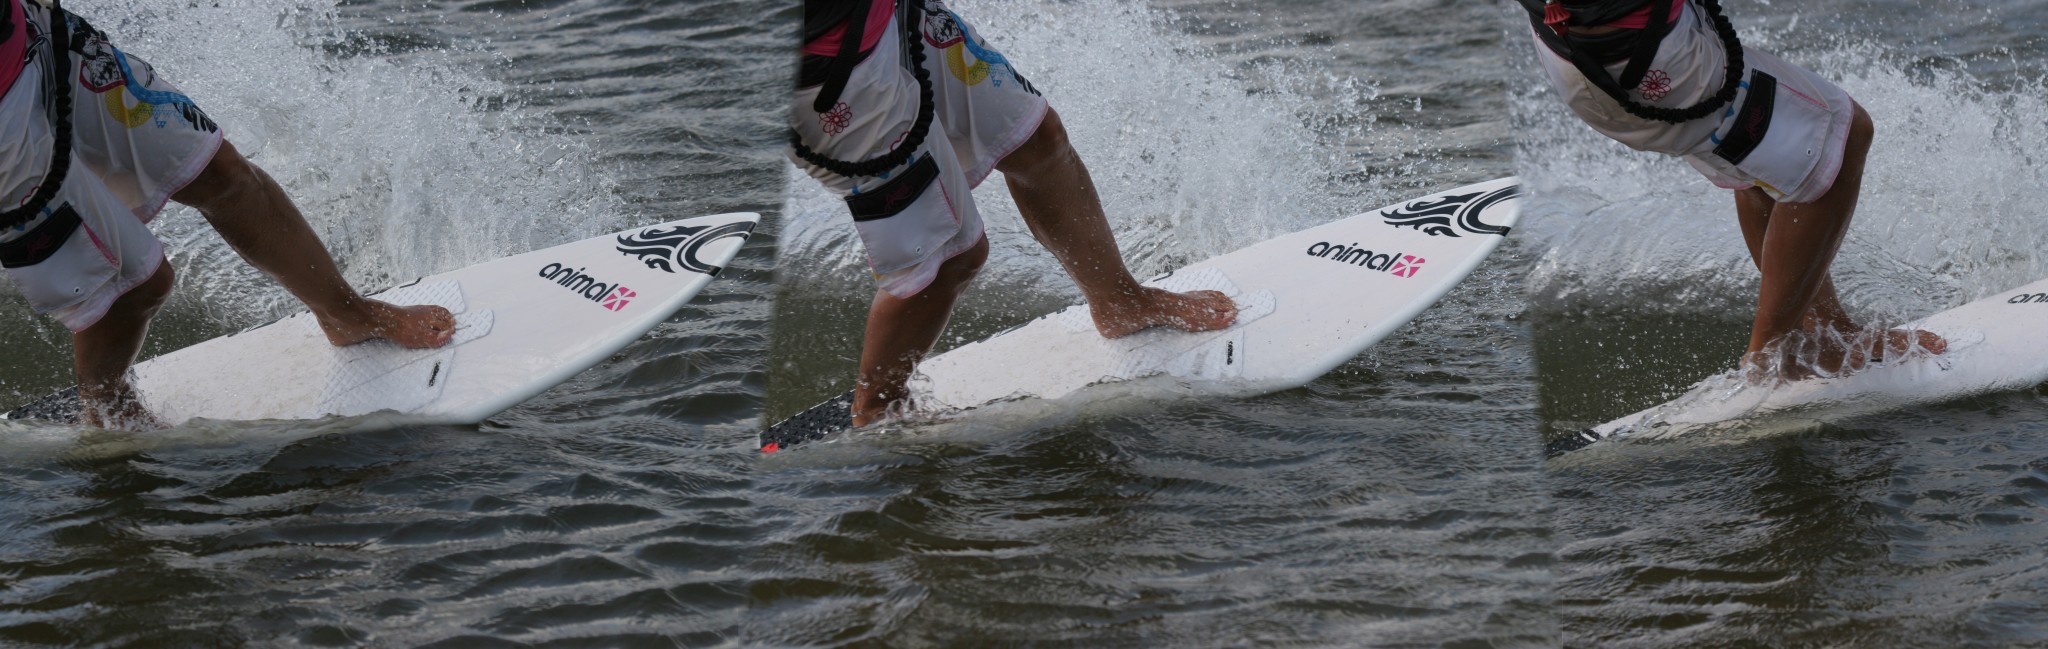
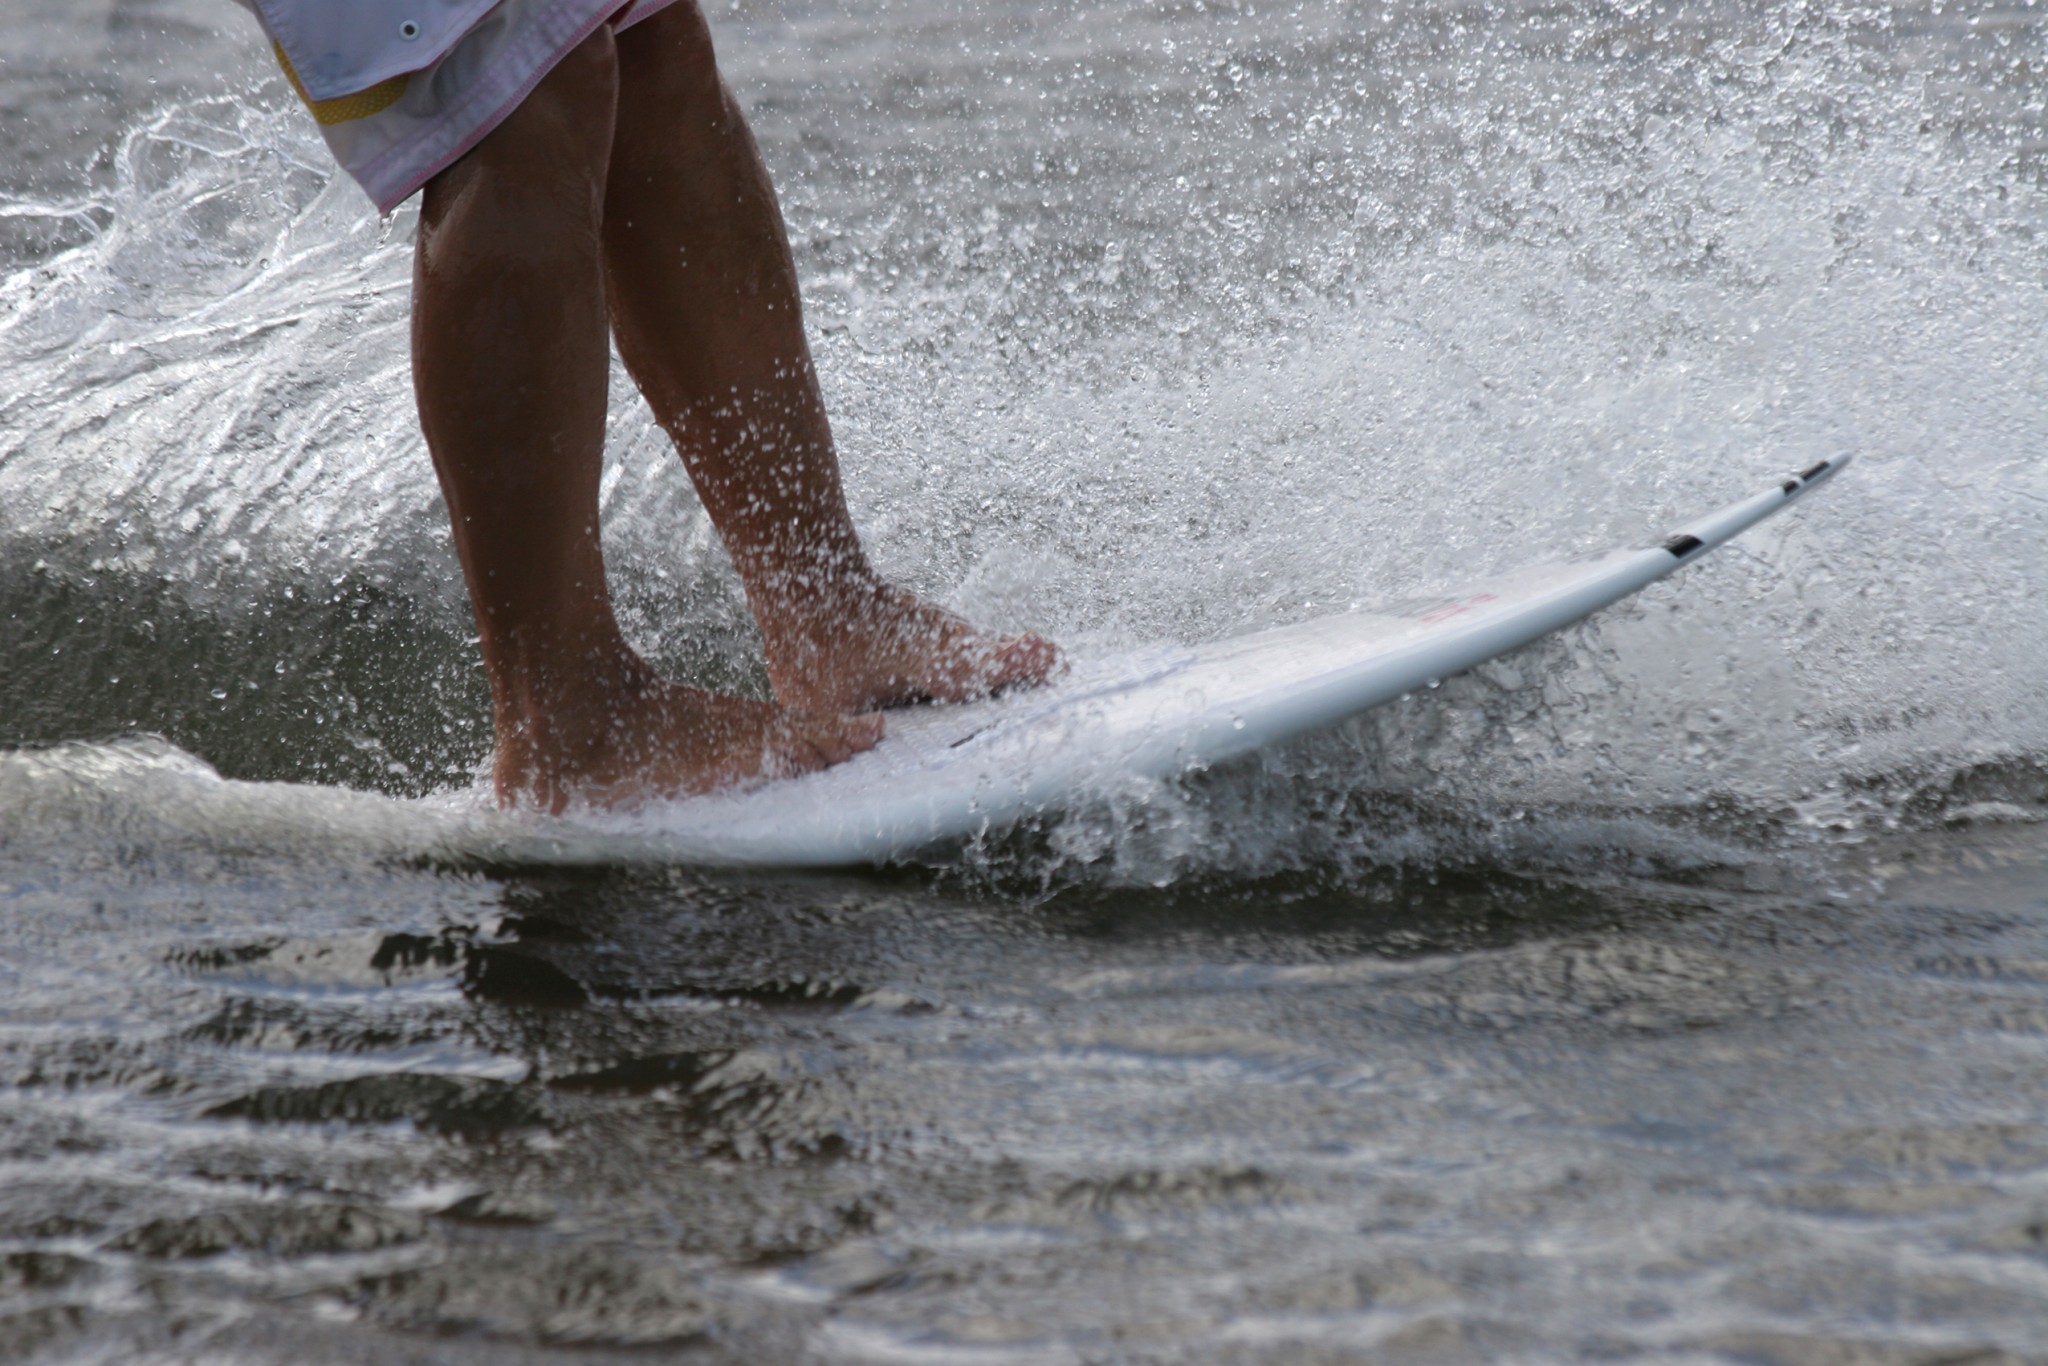
Looking at Sequence 2. Karine is taking the final step, moving her left foot to the back of the board. However look closely and you can see that there is very little difference between the two images other than where her left foot is positioned. In the first image she has her weight forward and hanging in the harness whilst resting weight onto her right foot. In the second image it’s much the same. Karine’s weight is hanging forward in the harness. All she has actually done is lift her left foot up and then placed it where it belongs, whilst her body stays put.
If you step back, moving your weight and your foot, you will extend your front leg and fall off the board, so keep the knees bent, weight forward and just lift the necessary foot. Once the foot is placed at the back of the board you can then relax back into a normal riding stance.
Top Tips
This move is all about taking it slow and being comfortable in each position. Doing this will give you both confidence and balance whenever you think about changing your feet. You’re hopefully aware now that having your weight forward in the harness and adopting this ridiculous stance is all it takes to become a successful gyber.
You only need to take these steps, as shuffling about on surfboard is a sure way to take a cooling dip in the ocean.
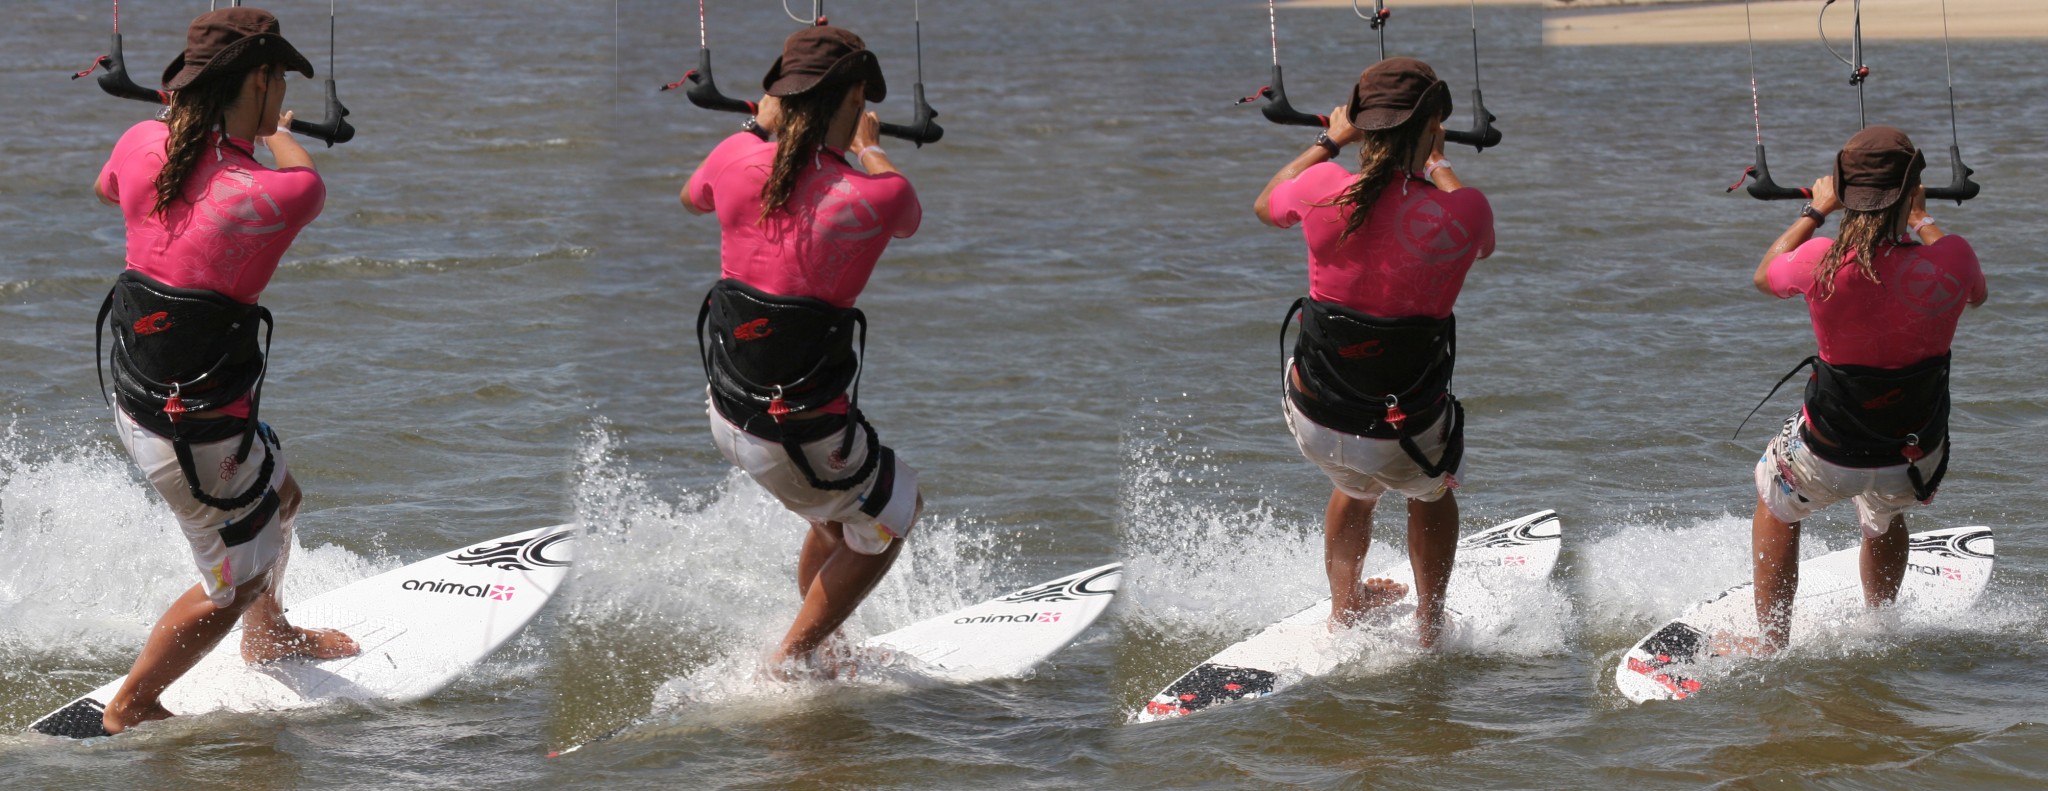
Once you have all the fundamentals in place you will be able to do a pretty slick foot change in the blink of an eye just like in Sequence 3.
- Pic 1. Having completed her carve to toeside with her back foot on the inside rail, her front foot over the centre line of the board and with her kite around 1 o’clock, Karine makes sure she is moving and the board is trimmed flat by leaning her weight forward and into the harness.
- Pic 2. Bending her knees Karine supports herself with the kite and moves her right foot up into the “daddy I need a wee” stance.
- Pic 3. Once her foot it planted pigeon toed next to the other one Karine moves some weight onto it but keeps her knees bent and weight forward and then lifts her left foot.
- Pic 4. Which she then places back where it should be without moving the rest of her body. Once her foot is down she can put weight onto it and ride away happy with yet another dry gybe.
Common Problems
If you feel you can’t move you back foot up, chances are that you have not finished you carve and therefore the board is not in a stable toeside position. Make sure that you are moving comfortably with the nose down and weight forward.
If you stumble when trying to move you foot back down the board you probably have your legs too straight, so flex them more and let the kite support you.
If you miss the board with your back foot and step into the sea, you are trying to step too far back. Just place your back foot somewhere behind the front one, and then once you are comfortable you can move it further back.
Keystones
- Good toeside
- Lean forward
- Step up and kiss toes
- Bend knees
- Lift and place back foot
This technique article was in Issue 26 of IKSURFMAG.
Related


By Christian and Karine
Christian and Karine have been working together as a coaching team, running improver to advanced kitesurfing clinics since 2003.
