
Back to Wrapped Hooked
Technique / Intermediate

When you hear the name back to wrapped, you likely cast your mind back to bygone days of unhooked freestyle (if you've been around long enough) and what was often considered the precursor to the back mobe. What we're looking at here with the hooked version is potentially a softer, kinder and generally more friendly relative that requires no unhooking, allows you to use the kite for some float whilst learning, but is nonetheless an absolute peach of a trick. Being hooked, you can pretty much use it in all and any conditions. Along with the toe side pop to wrapped from Issue 90, it's also a brilliant way into the world of wrapped landings, which you can then take as far as you like!
Now is a good time to get your head around what a wrapped landing is when married to a back roll. First, think of a back roll. Now think of a back to toe side. OK, now picture that rather than landing toe side you throw another 180 to heel side! Because you're throwing the wrapped and not rotating a double back roll, the bar will be behind you, and you'll need to push it around. In the unhooked variant, wrapped is more visually obvious as you'd have your arm and bar twisted around behind you. Here, with the kite high, it's more subtle and gentle.


The key to this move is that it's a back roll with a wrapped landing, not a double back. This might be stating the obvious, but believe us when we say that it'll be hard to hold yourself back from just throwing yourself into a spin on your first attempts. As such, your approach, take-off, and rotation must be as per a slow and controlled back roll. To learn this, you'll be using a hybrid back roll, half popped and half sent. You'll drift the kite up to give you time and support.
And finally, the prerequisite. To give yourself a good chance, you should already have a smooth back roll to toe side with a delayed landing in the bag.
OK, let's have a look at some of the finer points that'll set you on the right path…
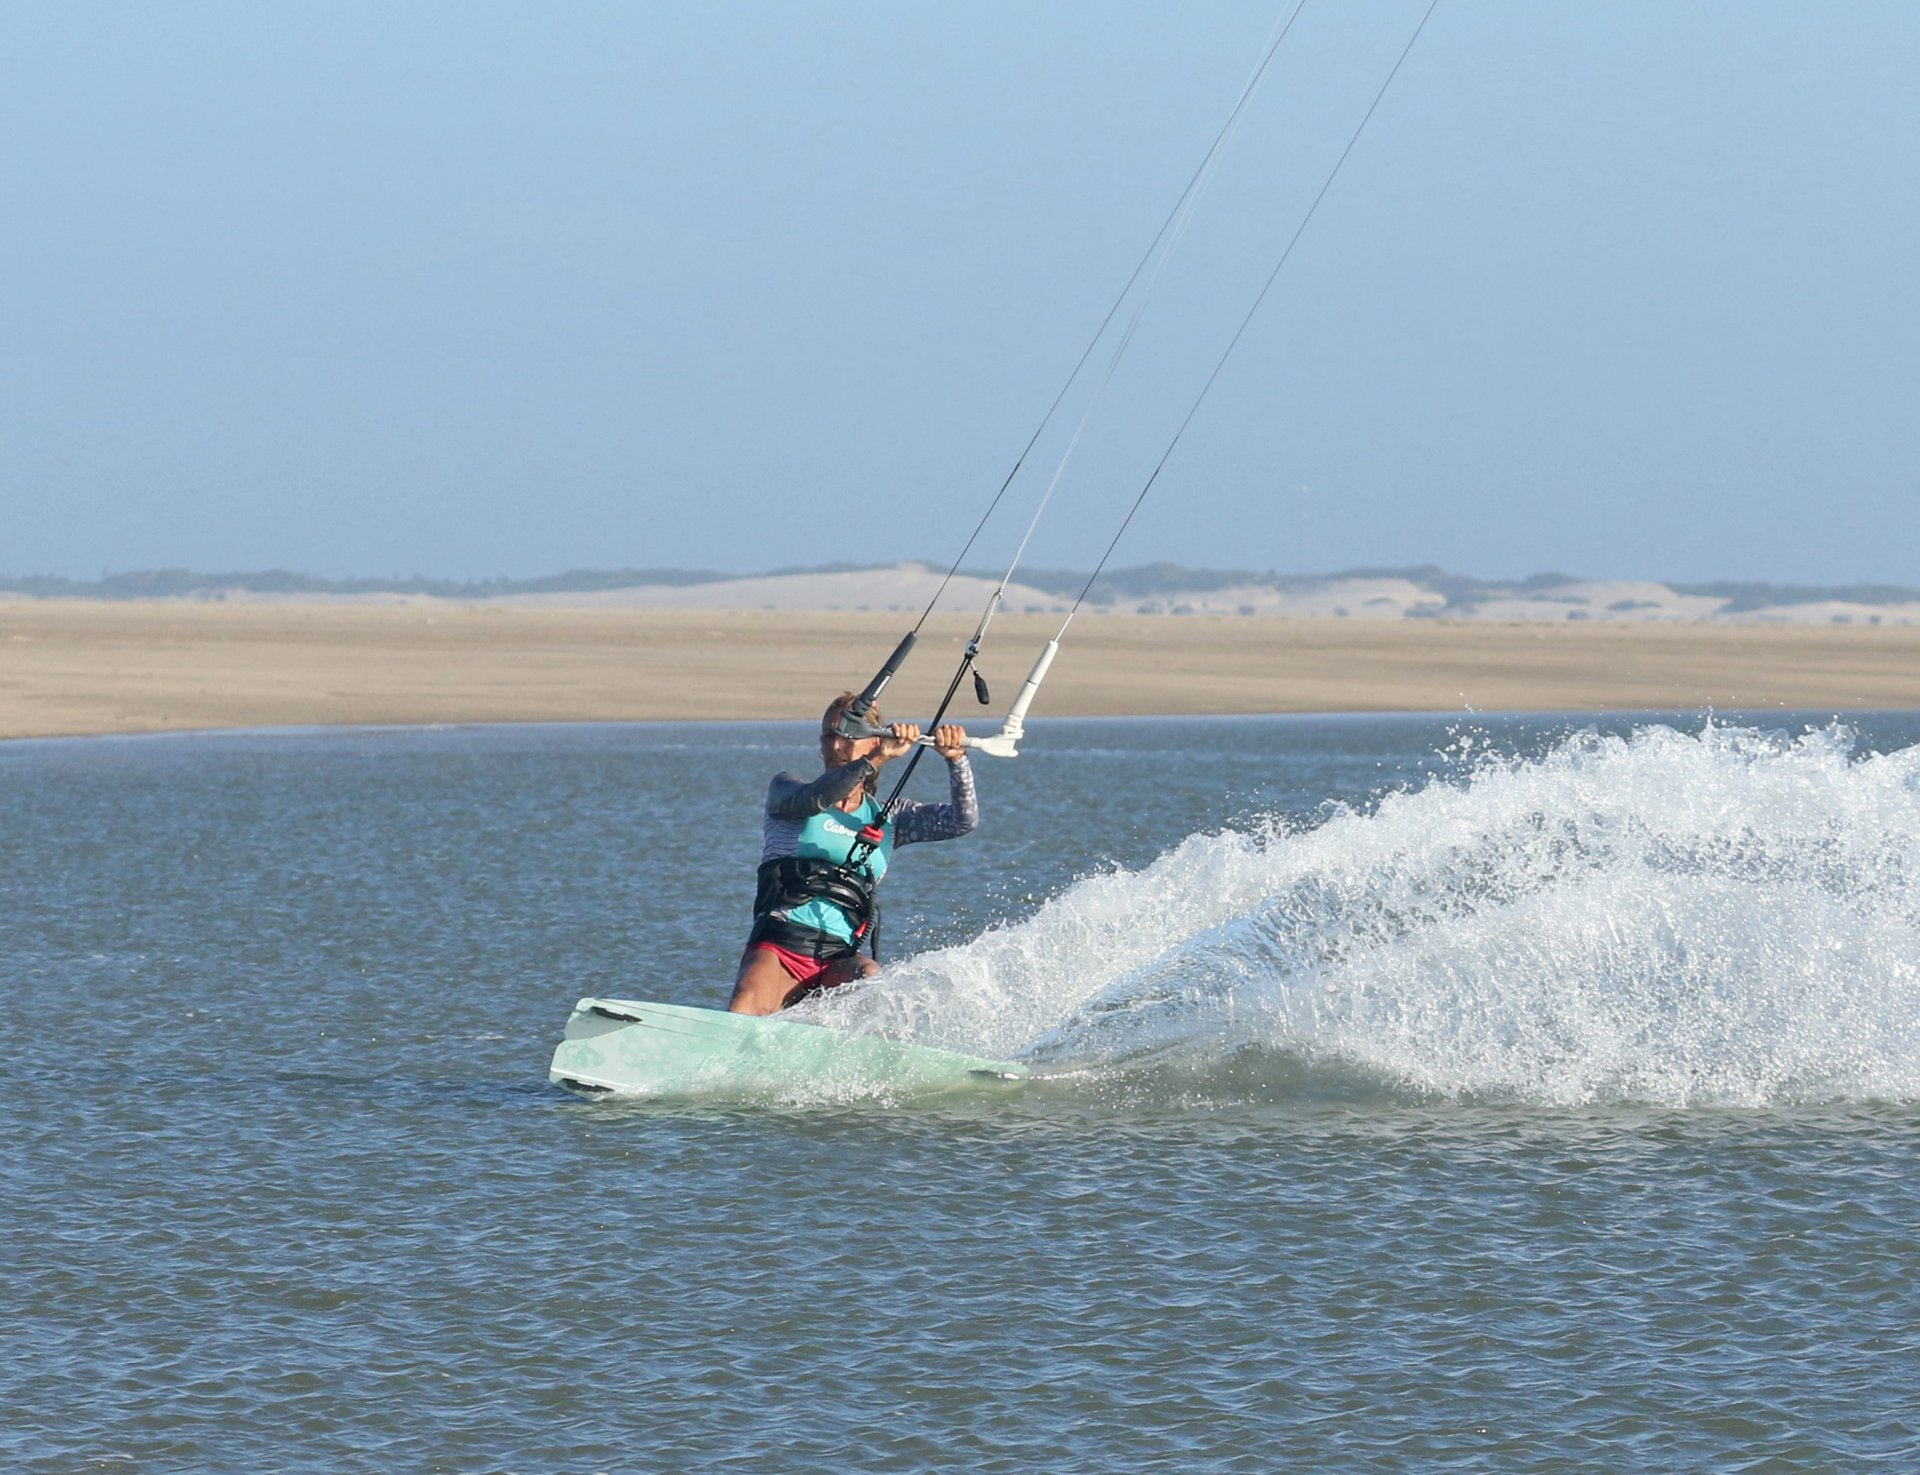
Your Approach Pic A.
A couple of words on your set-up. You want your sweet spot within reach, as per popping. At the end of this trick, you don't want tension in the lines, so trimming in slightly will help. Approach on an edge, but nothing extreme with controllable speed. This way, your kite won't be right at the edge of the window. Kite around the mythical 11 or 1 o'clock. From this position, you can bring your weight over the board by flexing your knees to flatten it off and bear away a touch. This will help both with kite position and a slower rotation, as you'll have more time to set your edge and carve.
The Carve Pic B.
As alluded to earlier, you want a slow rotation. This will give you stability and control, which in turn will allow you to choose the moment when to throw the wrapped before landing. The foundation of a slow rotation starts right here. It's all about engaging as much edge as possible, keeping your shoulders up and level with the water, and your back leg strong, flexed but stiff. Do this, and you won't roll back into a spin!


As you drop your bum to carve, drift the kite up slowly by levelling your bar. Drive the board up, pushing it into the turn as you bury your heels. The sooner you get your carve on, the earlier you'll be able to kick off, and the slower/ more controlled your rotation will be. You can see that Karine has drifted her kite up, the bar is level, and her bum is low. She's not looking into the wind but ahead into the carve. Most importantly, her shoulders are level, and her back leg is strong. Game on.
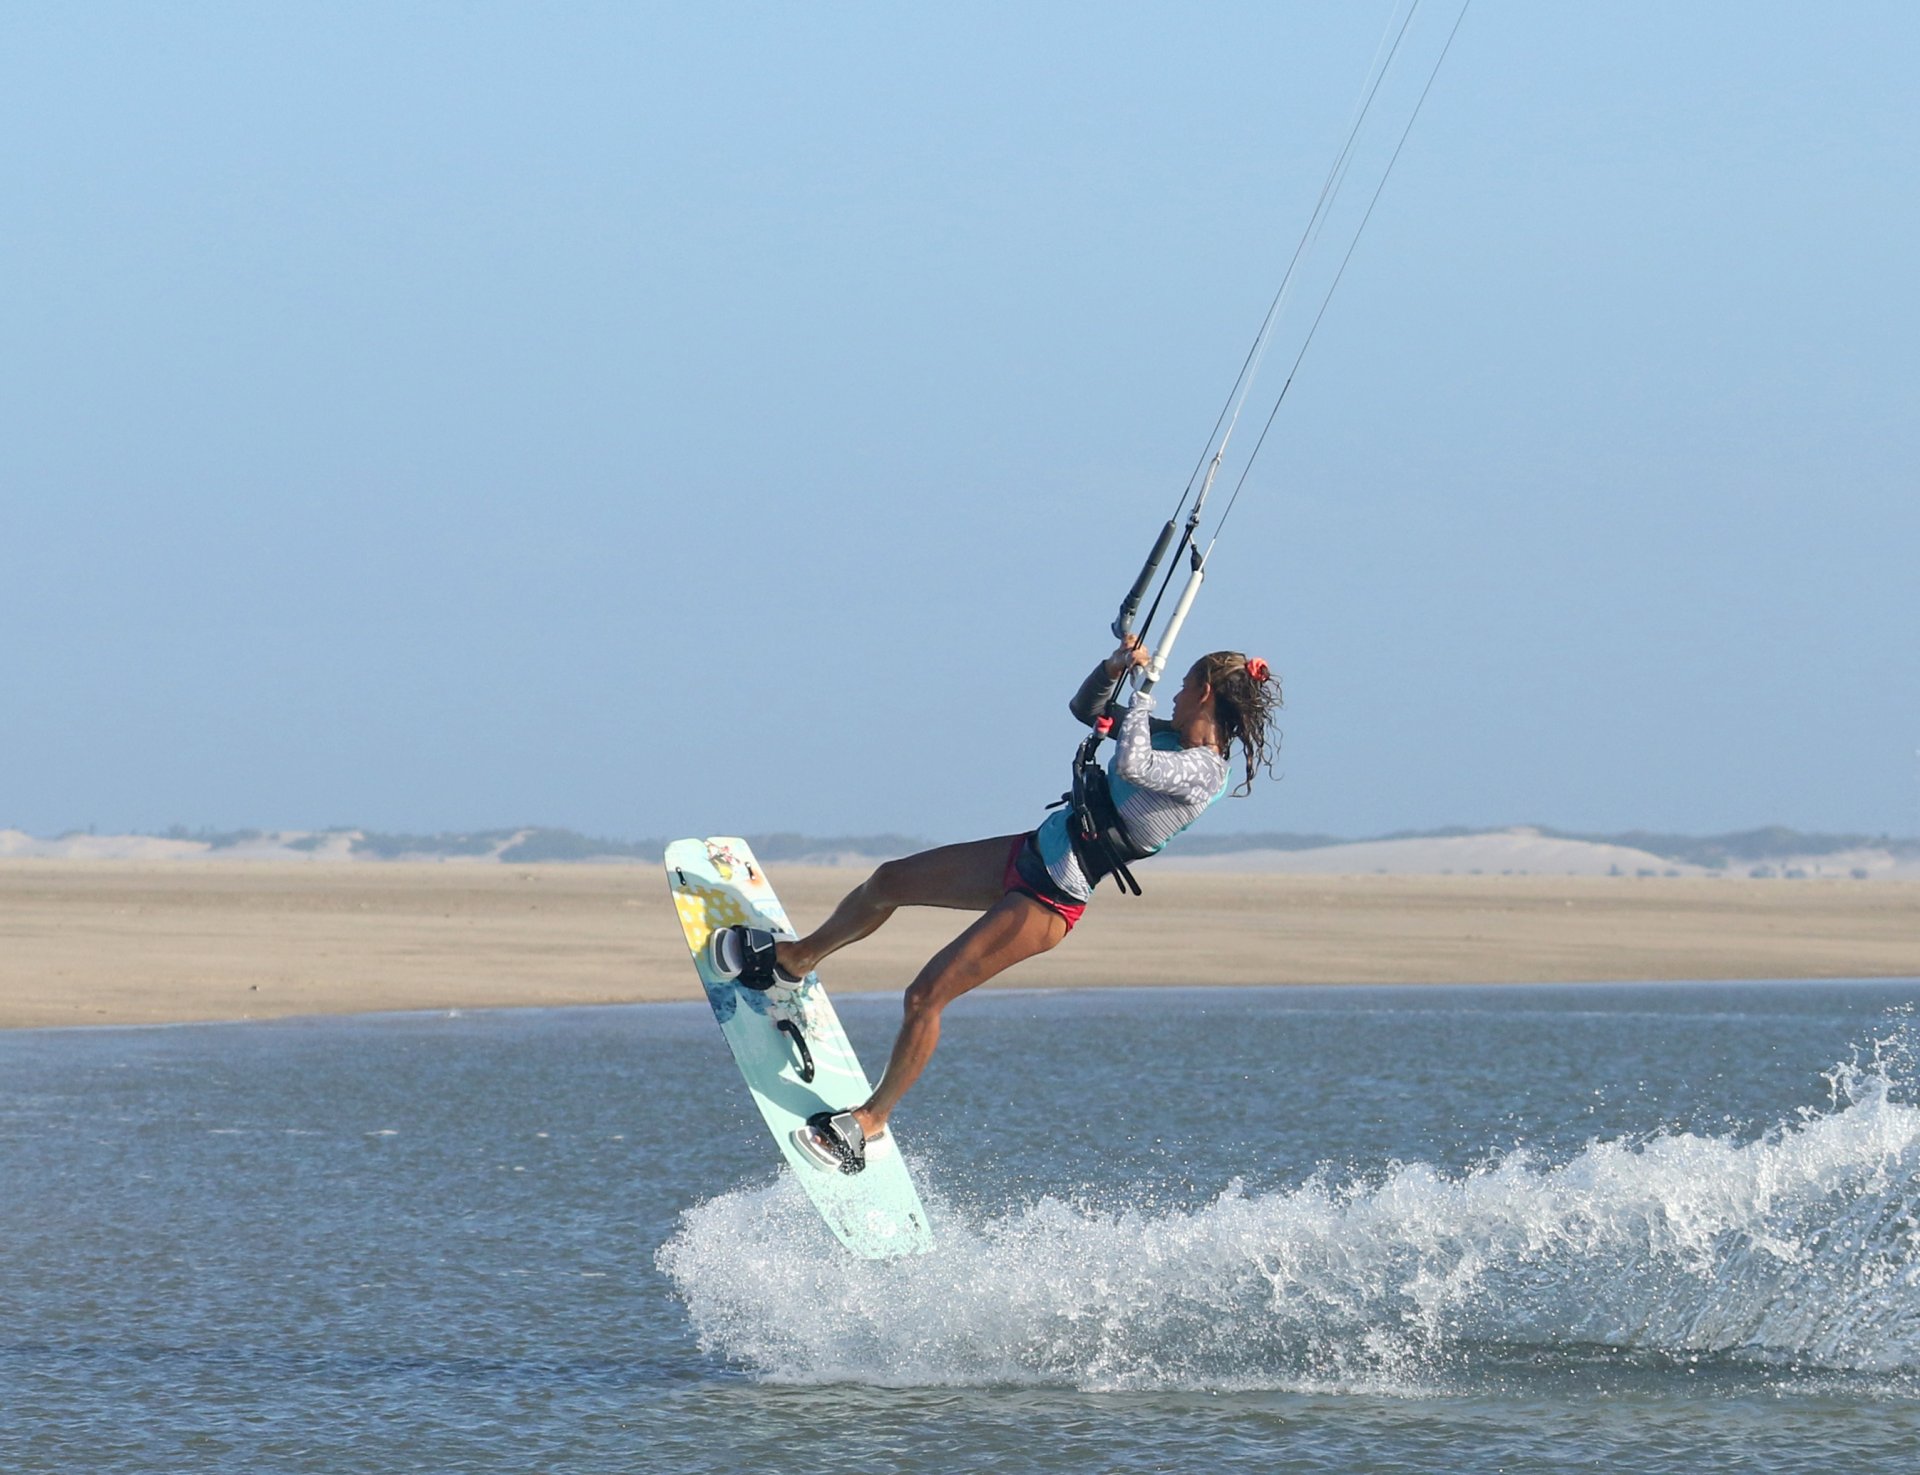
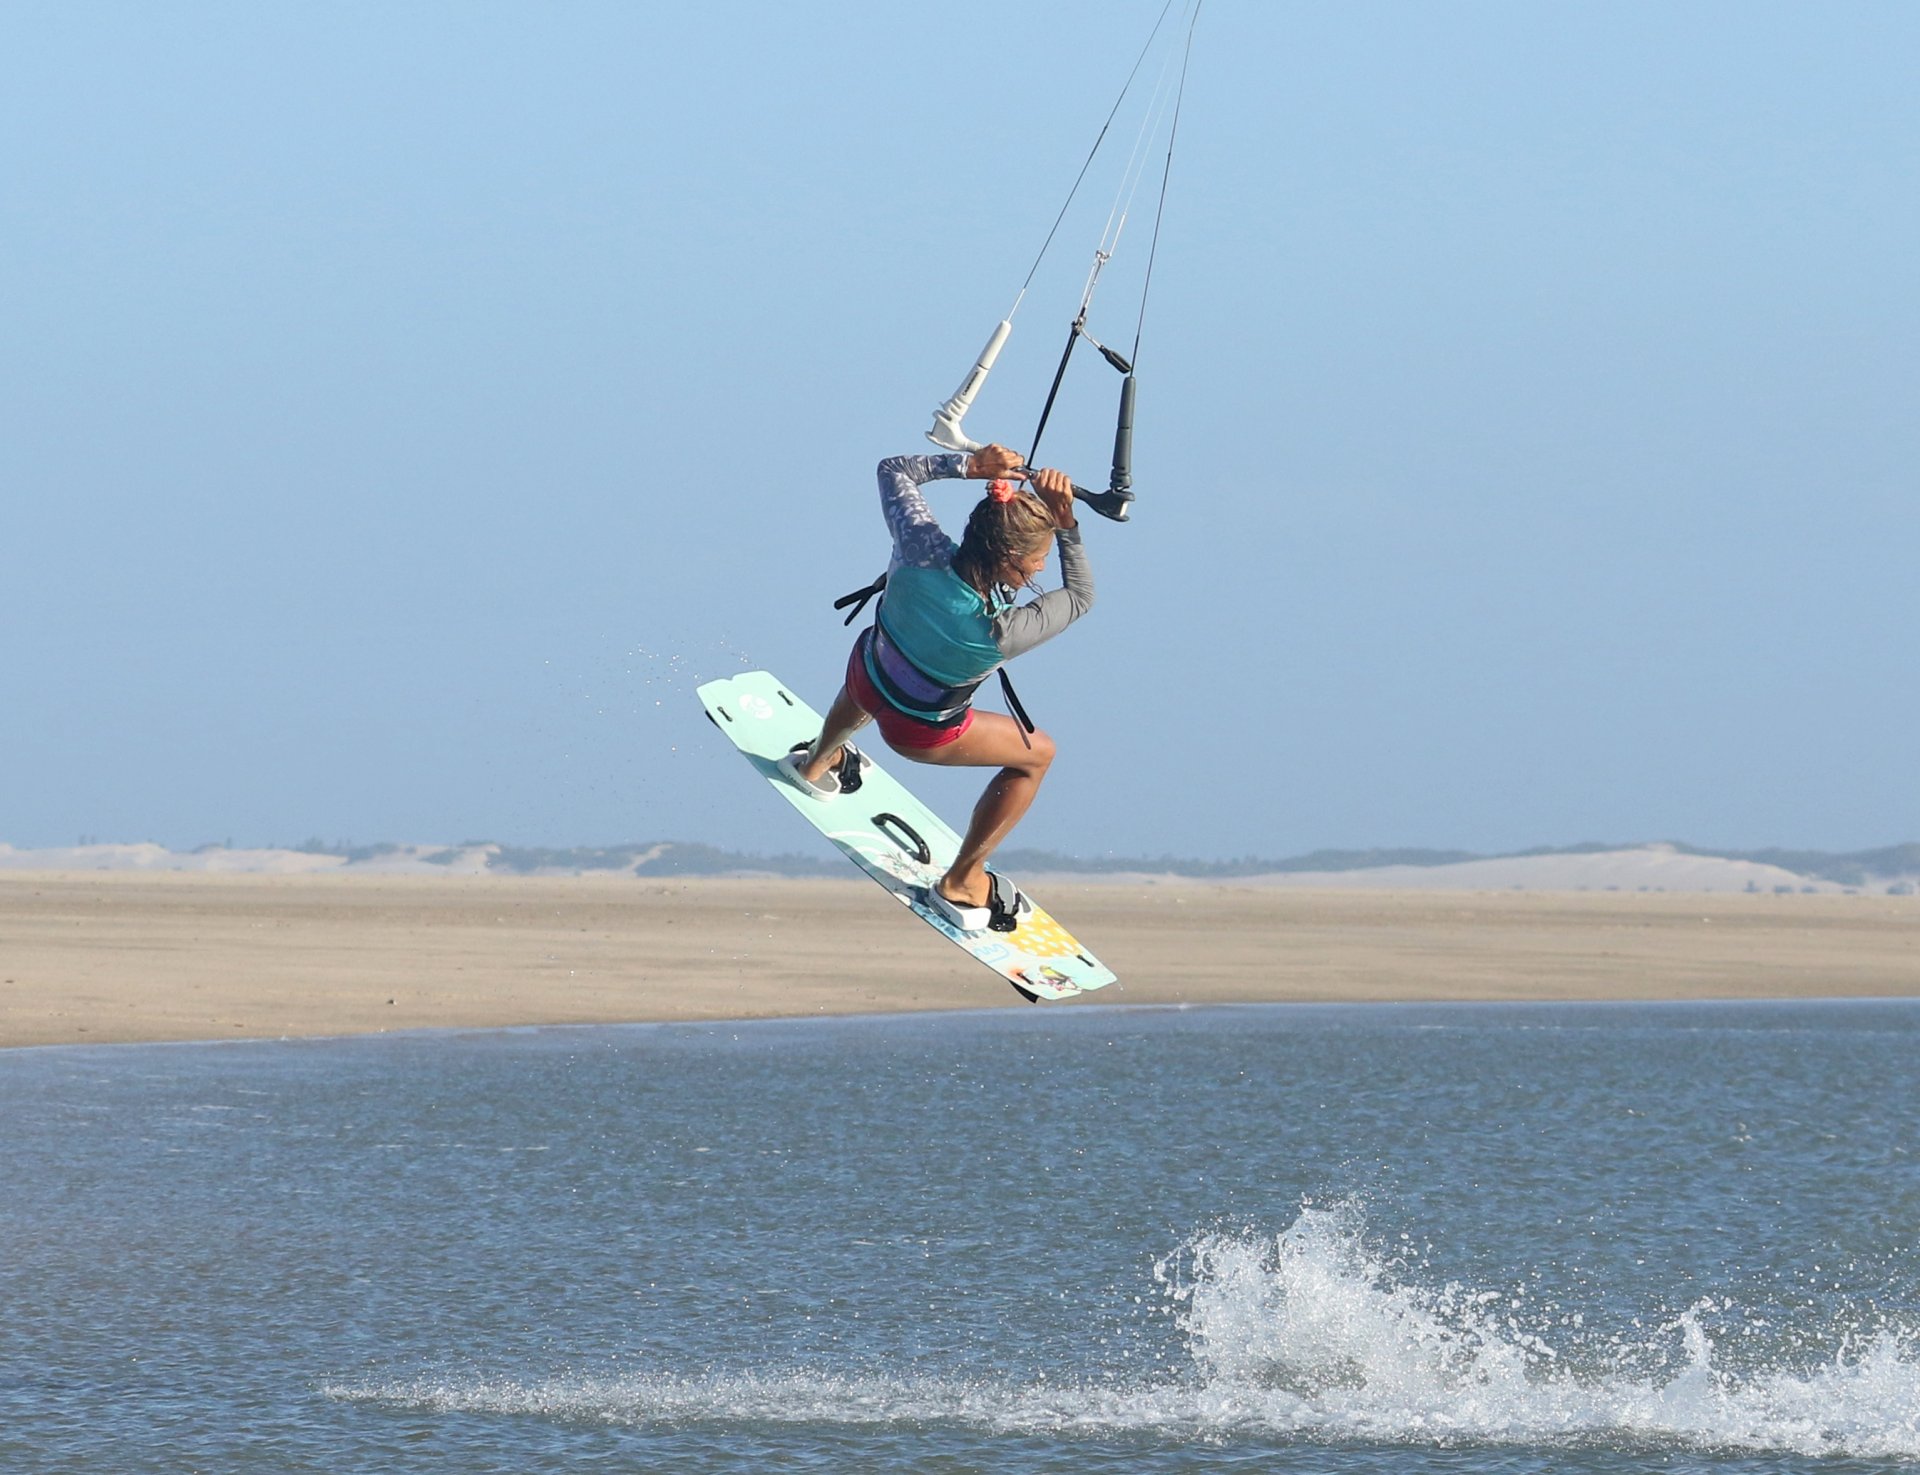
Launch Pic C.
Your pop, stamp, kick, whatever and however you like to name it is all about extension. By suddenly and aggressively extending against your edge, you'll get maximum up. You should aim to get off the water before you turn all the way into the wind. This will give you more time and control of your loop. As you extend, you can pull the bar in a touch and make sure that you stop your kite from drifting past 12. You can clearly see here how Karine is extending up and away.
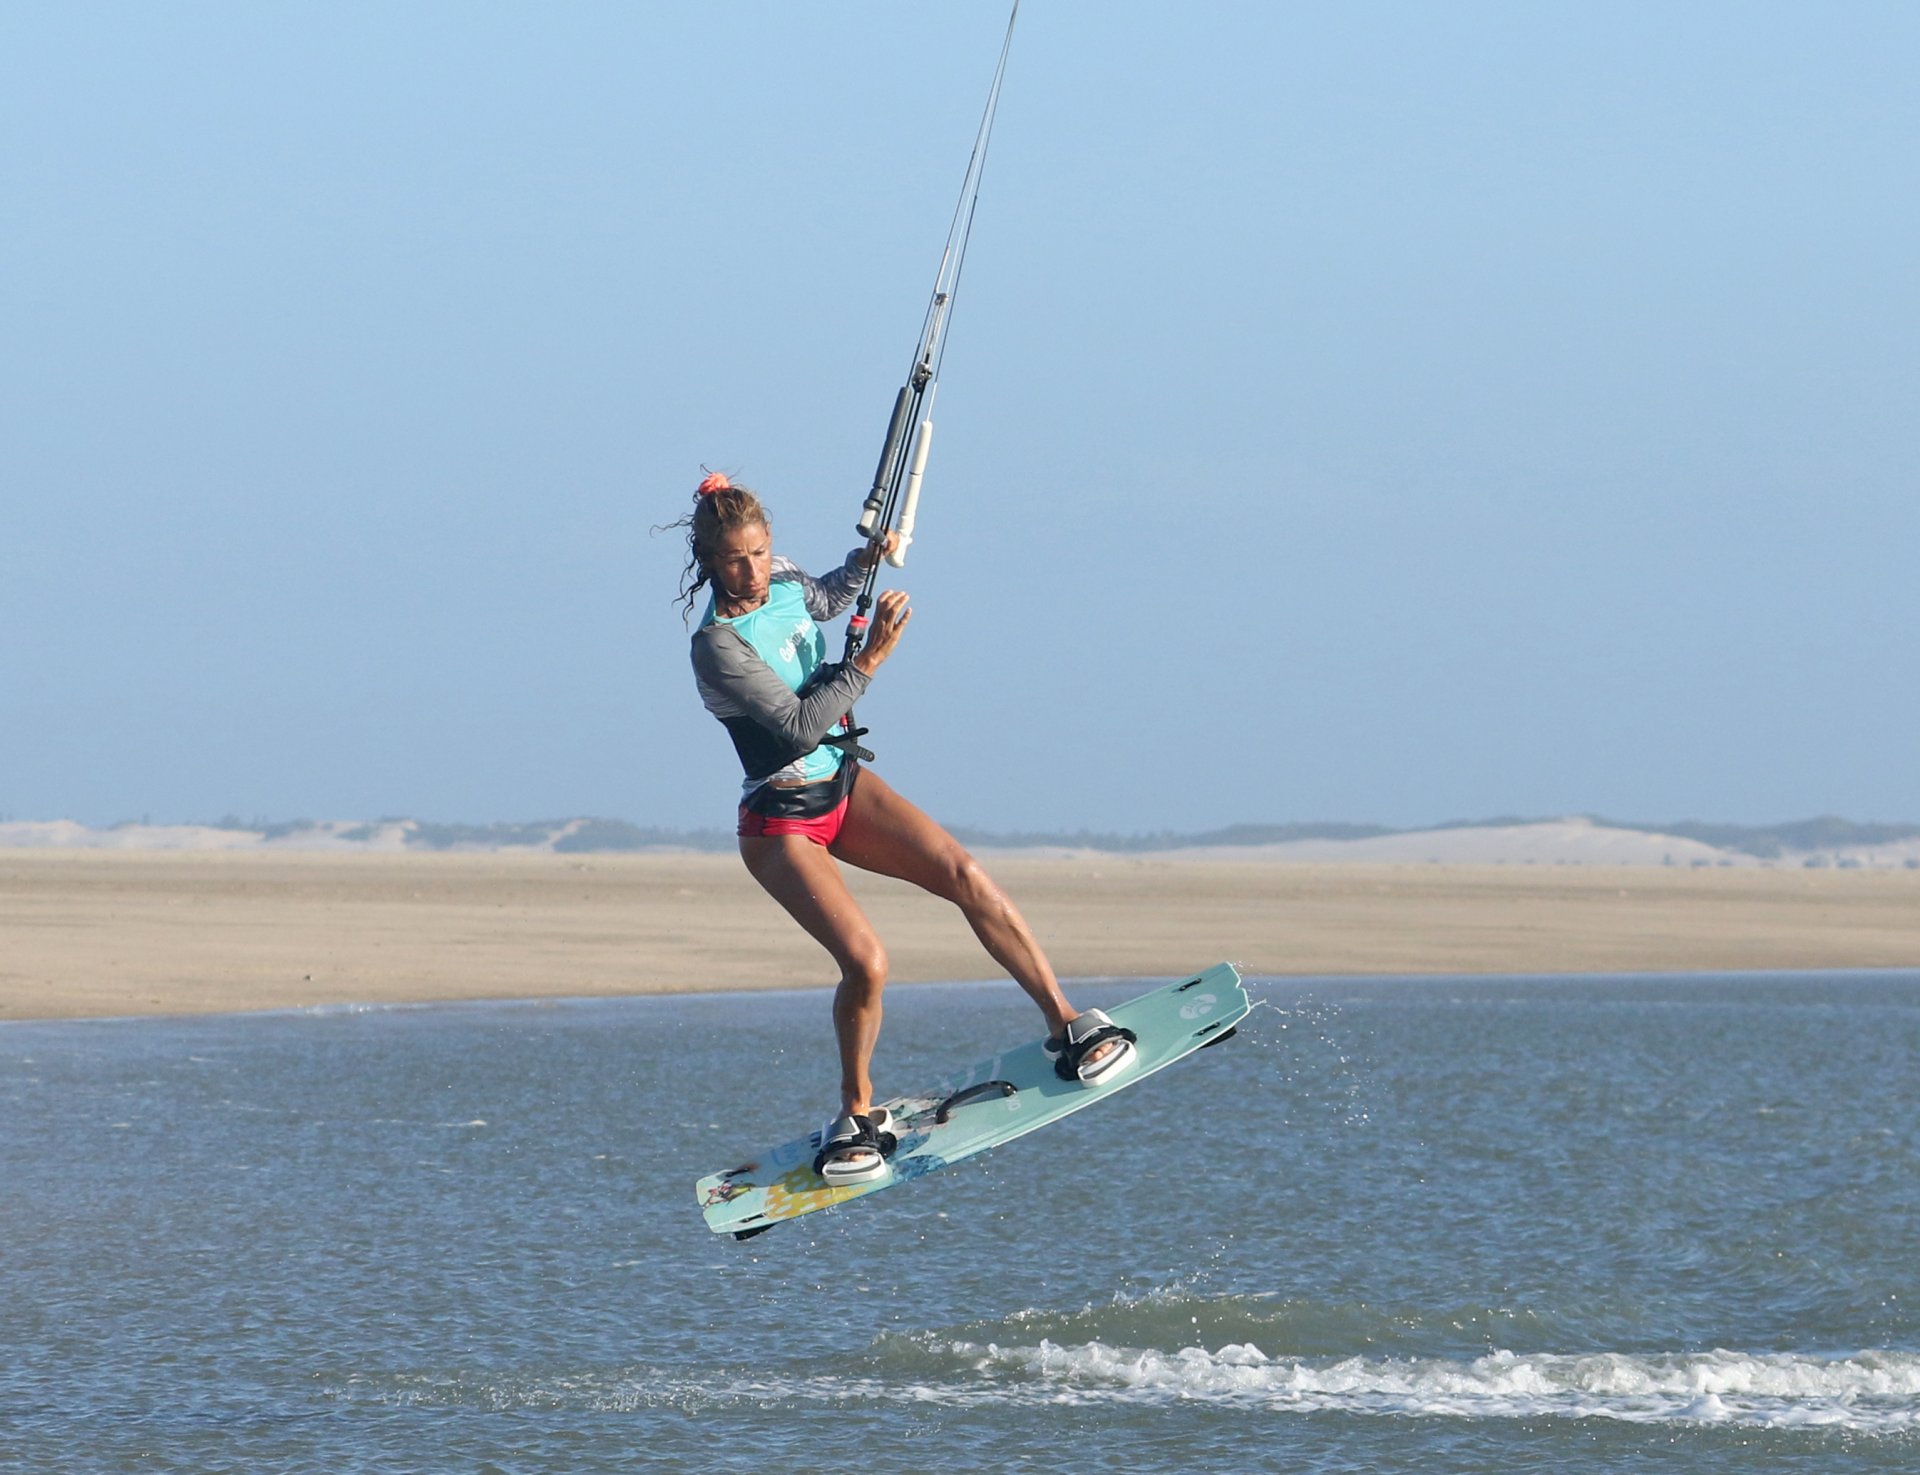
Lead Pic D.
Knowing where you are in your rotation gives you both confidence and control. This means that you can see where you're going and then choose when to throw the wrapped. The beauty of a slow rotation is that post take-off, you can lead with your head, look where you're going, and actually see where you are. You'll come around as for a single back roll, see where you are and how high you are, and can, therefore, judge your landing. In the photo, Karine has brought her knees up and is steering the kite gently forward from 12 o'clock. This will keep her forward momentum going, and it will be easier to complete the move if the kite is moving forwards. She's looking around to where she thinks she'll land and keeps herself small and still until she descends.
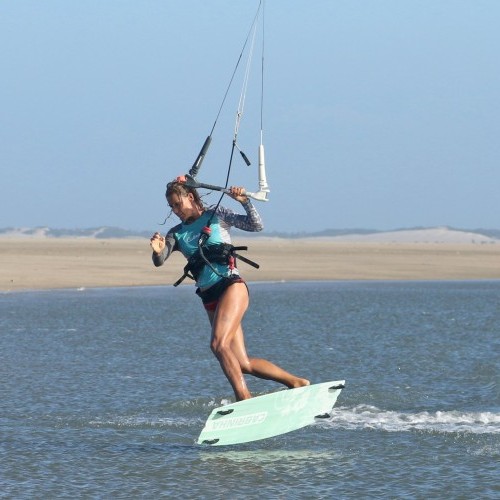
Timing Pic E.
The timing is essentially the same as when you would add a toe-side landing. After all, wrapped is a way of landing! As you descend and the water looms, it's time to go. Now knowing that the timing is the same as toe side, but that you've got an extra 180 degrees to fit in, you'll appreciate that your movement has to be pretty dynamic! The initiation is very similar to toe side. You can give yourself a little pull on the bar with both hands, tweaking the kite forward before releasing your front hand and bringing your back knee through. It's essential that you stay over the board, so make sure that you bring your back foot around. You can see here how Karine's back foot swings around as the knee comes through. The result, she's over her board.
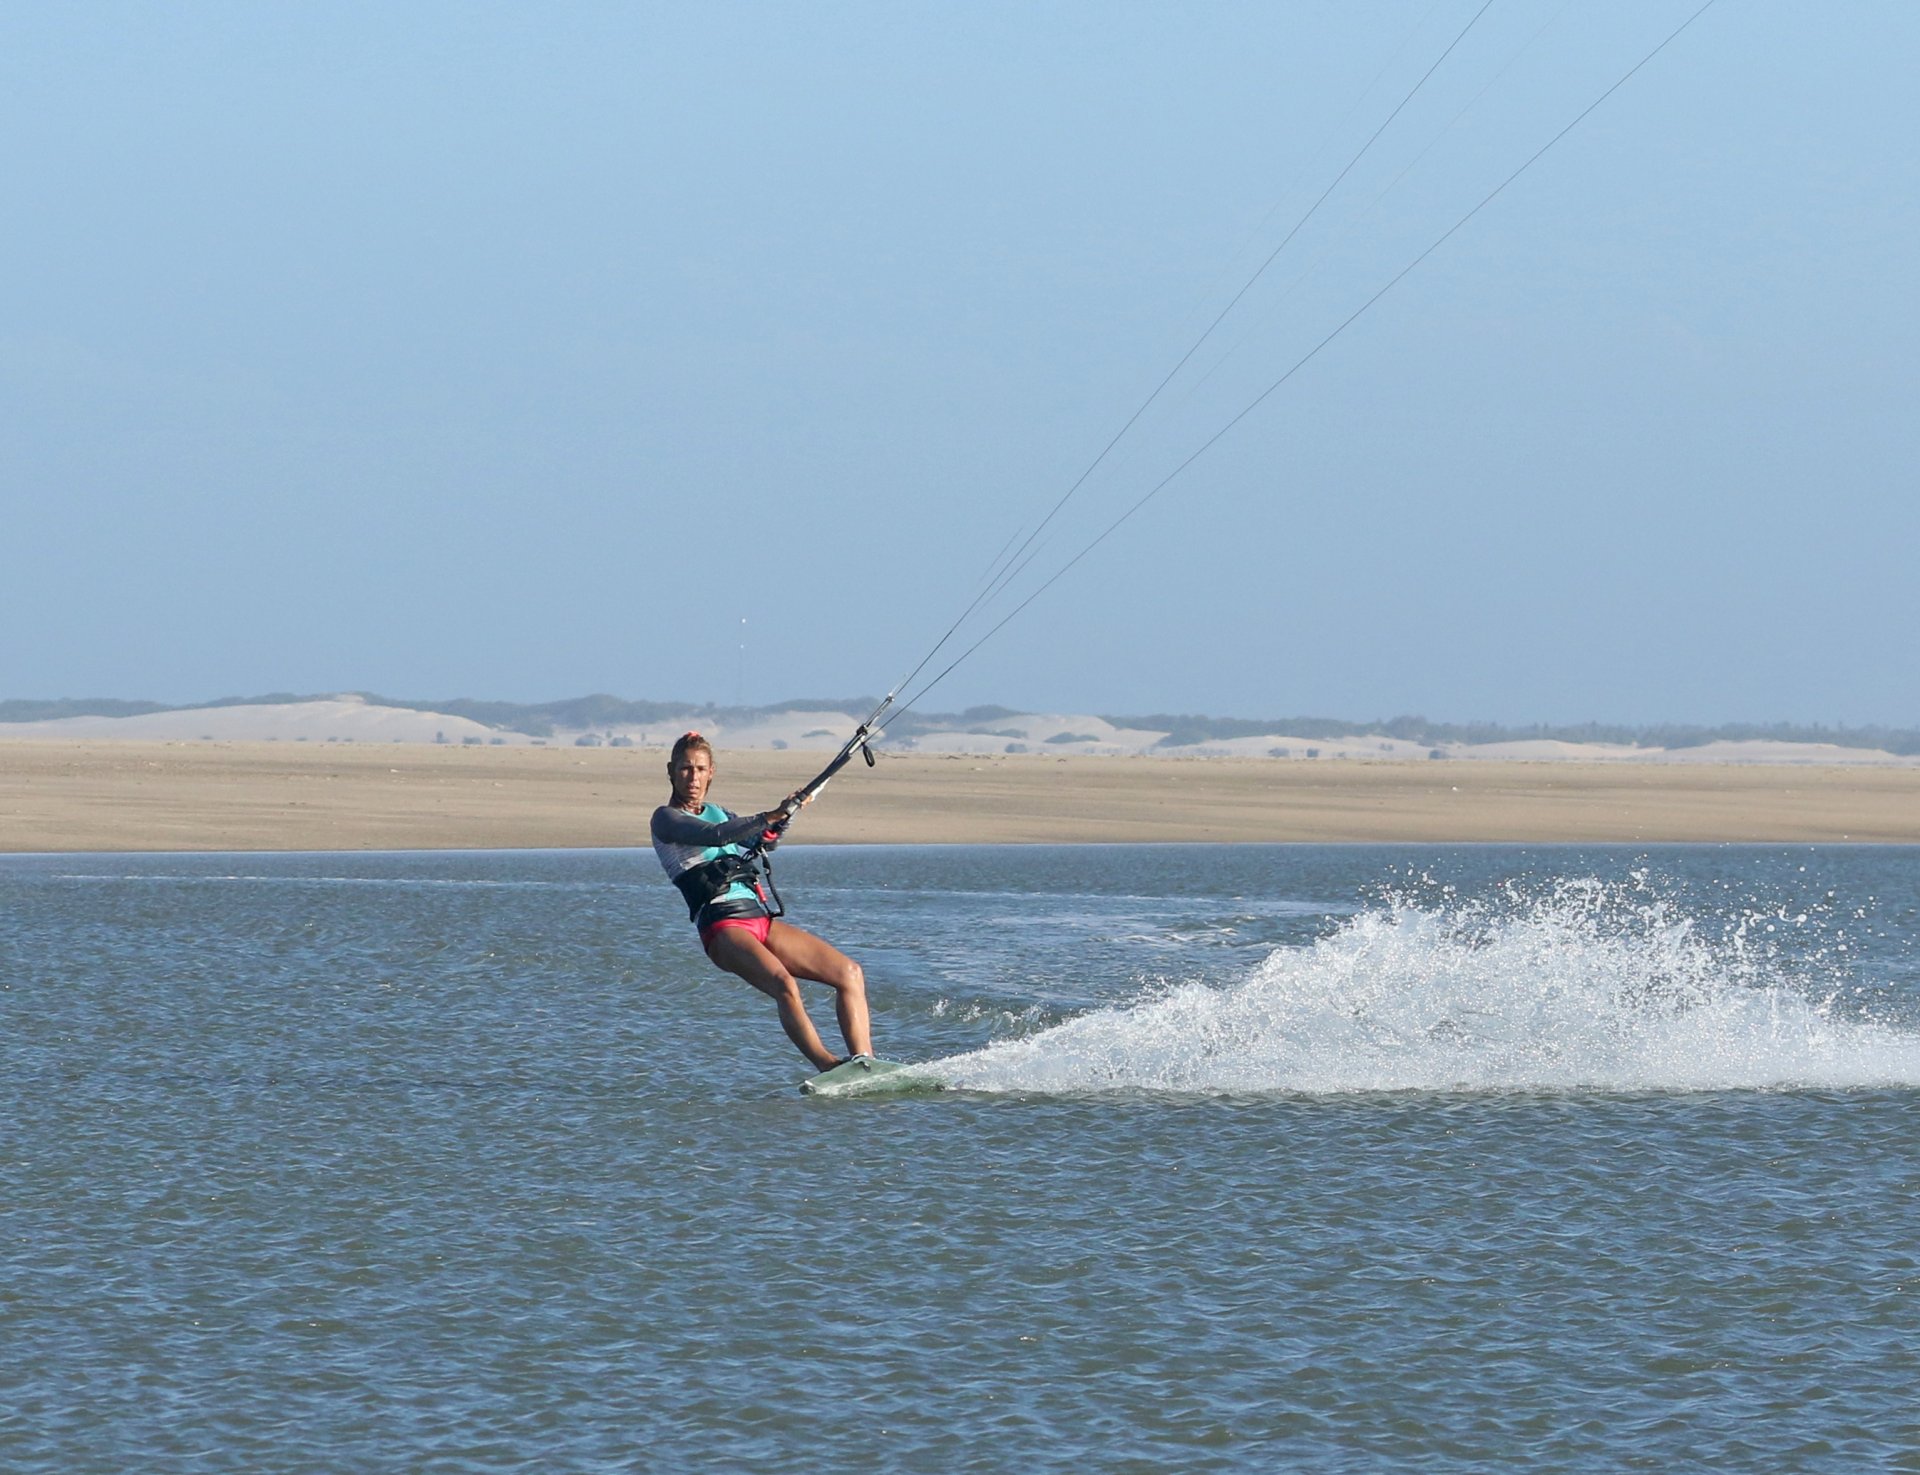
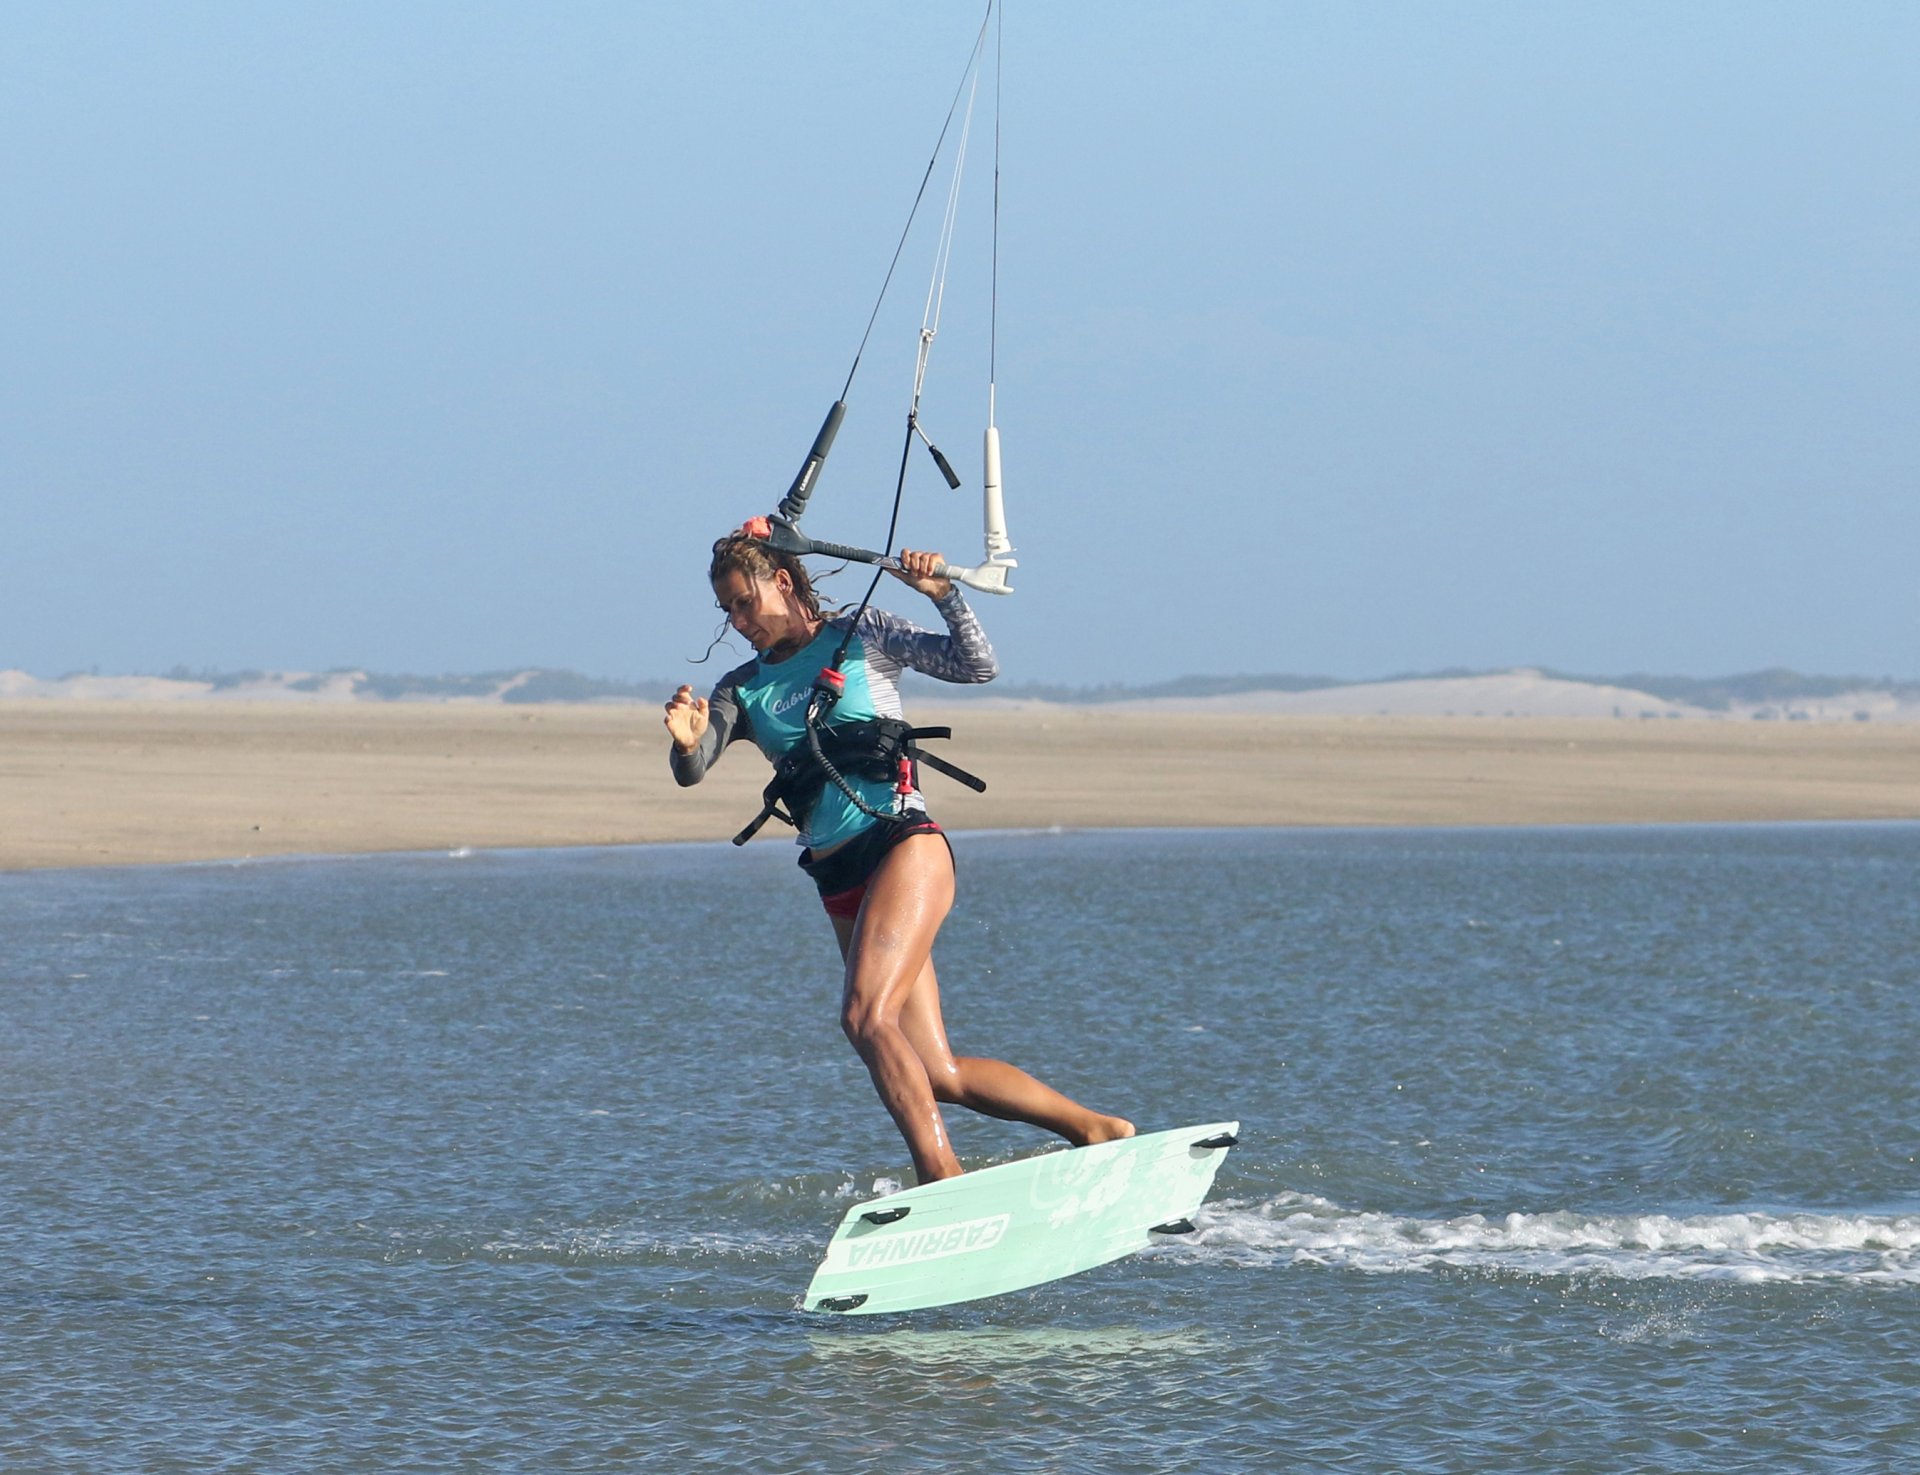
Step Through Pic F.
As you can imagine and will no doubt discover, bringing your rear leg through will only get you so far. In order to get that extra bit further, you need to bring the other leg into action. It's a bit like a swing kick. You can practice this on land. Walk through to toe side and as your toe side front foot lands, lift your other leg, lean away from it and kick it through behind you! Doing this on the water will take commitment, as you're effectively doing this blind.
Two things that will really help. Firstly, sheet out. Momentarily, getting rid of tension and pull will make it less difficult and less scary. Secondly, as you swing through into the second action, lift your leg. This will encourage you to land tail first so that even if you don't get all the way, the board will pivot on the tail, and you'll have a chance of stomping it. This action means that your board and legs are now leading around to wrapped, whilst your body and head get left behind.
You can see that Karine has sheeted the bar out, pushing her back hand up. She is past toe side and now leans upwind as she kicks her right leg behind her.
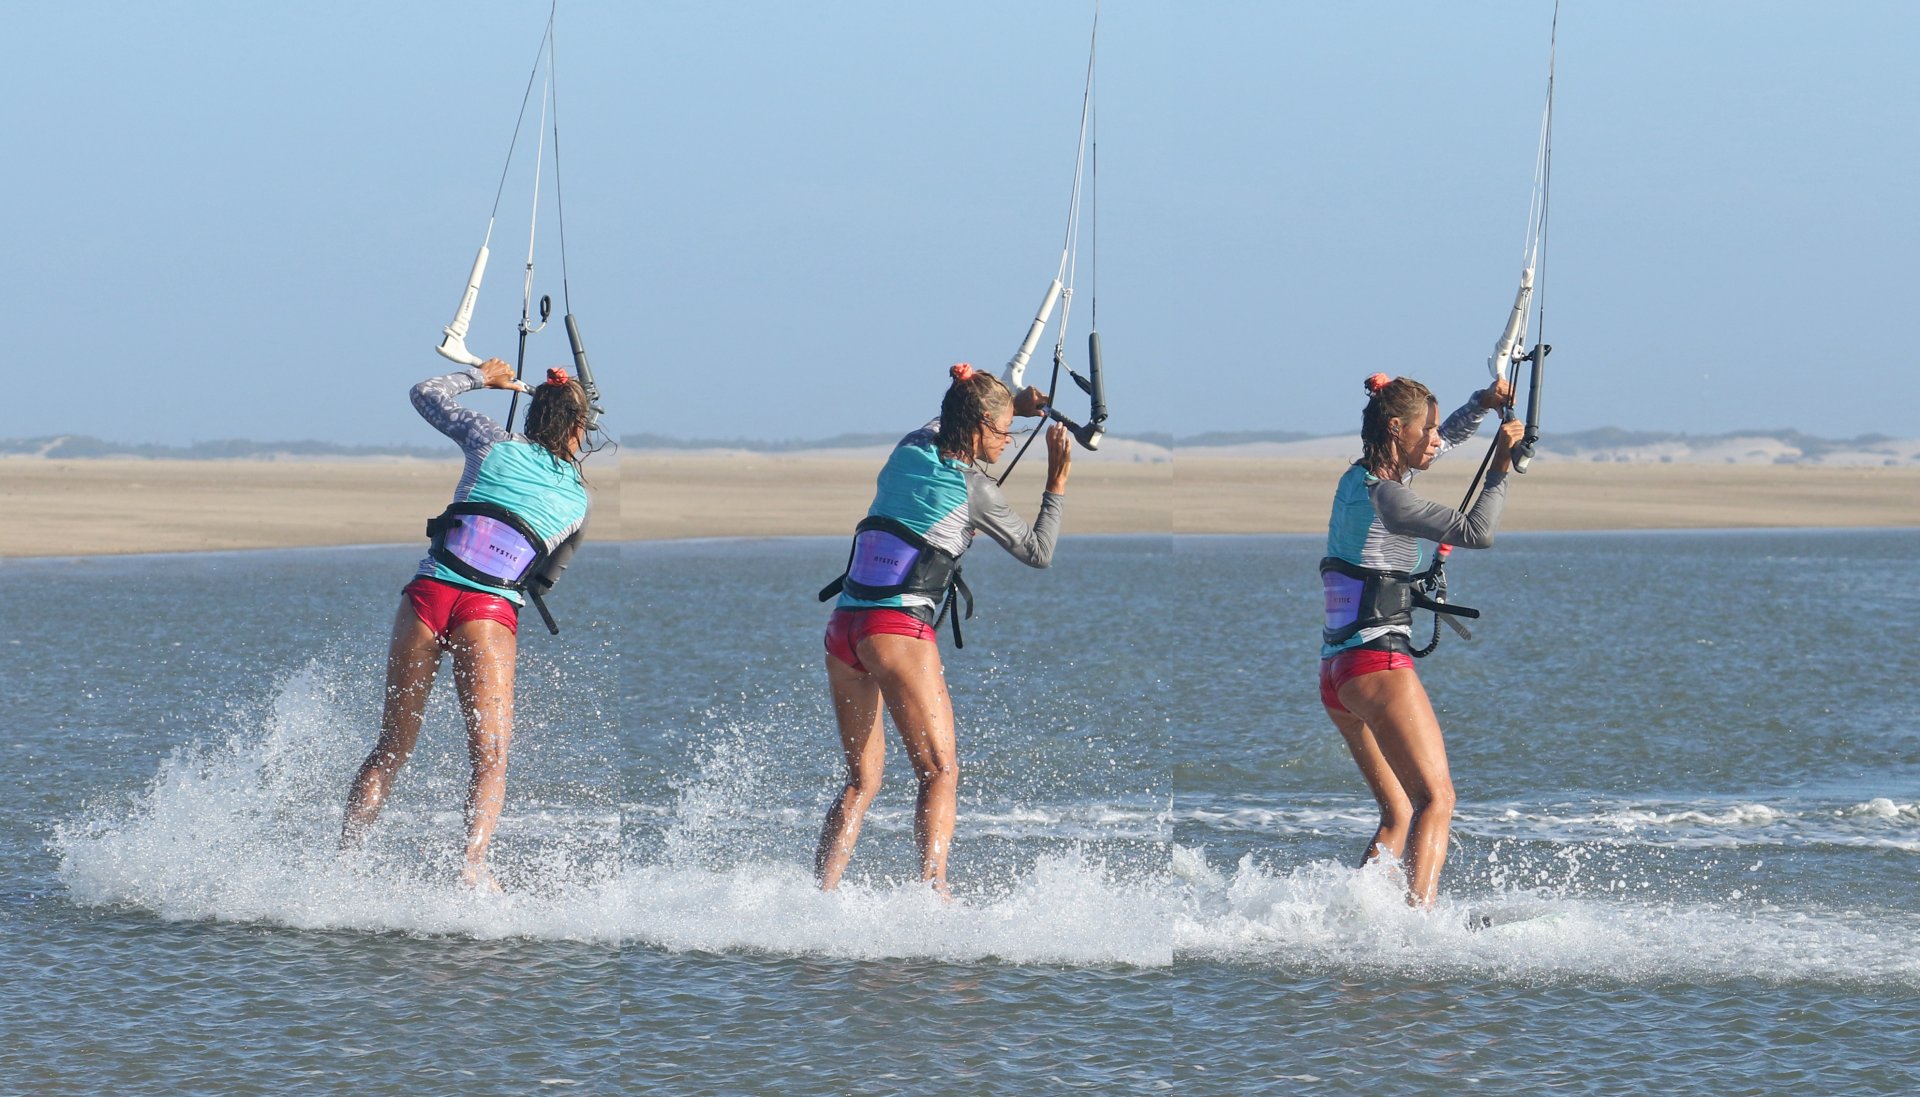
Claim It Pic G.
As your board touches down, you need to catch up. The board is pointing forwards in the direction of travel, whilst your upper body, head and bar are still facing the other way. To claim it, you need to turn your head and shoulders to regain orientation. With your bar still out, you need to push it across downwind of you and then get the power back on before you slow down. It's quite a list! The good news is that if you tweaked the kite forward before throwing the wrapped, the kite will give you direction and make the move more intuitive.
Looking at the final image, the three shots demonstrate the order of play. First, Karine turns her head. Her shoulders duly follow, and she brings the bar with her. Now everything is in place; Karine grabs the bar with her front hand, sheets in and dives the kite.
Top Tips
As with so many moves, if you can find some flat water, it will make life easier. You won't need as much speed, and when you land, you'll keep momentum for longer.


Having the kite high gives you time and support, which can make throwing the wrapped less intimidating. However, if you send the kite past 12 o'clock, you'll find it more difficult to control your rotation. Rather, send it less, but don't tweak it down before throwing.
As a build-up, practice some back rolls to toe side where you add the toe side part as late as possible.
Finally, to keep speed on touch down, progress onto less drift up, and potentially more tweak down.
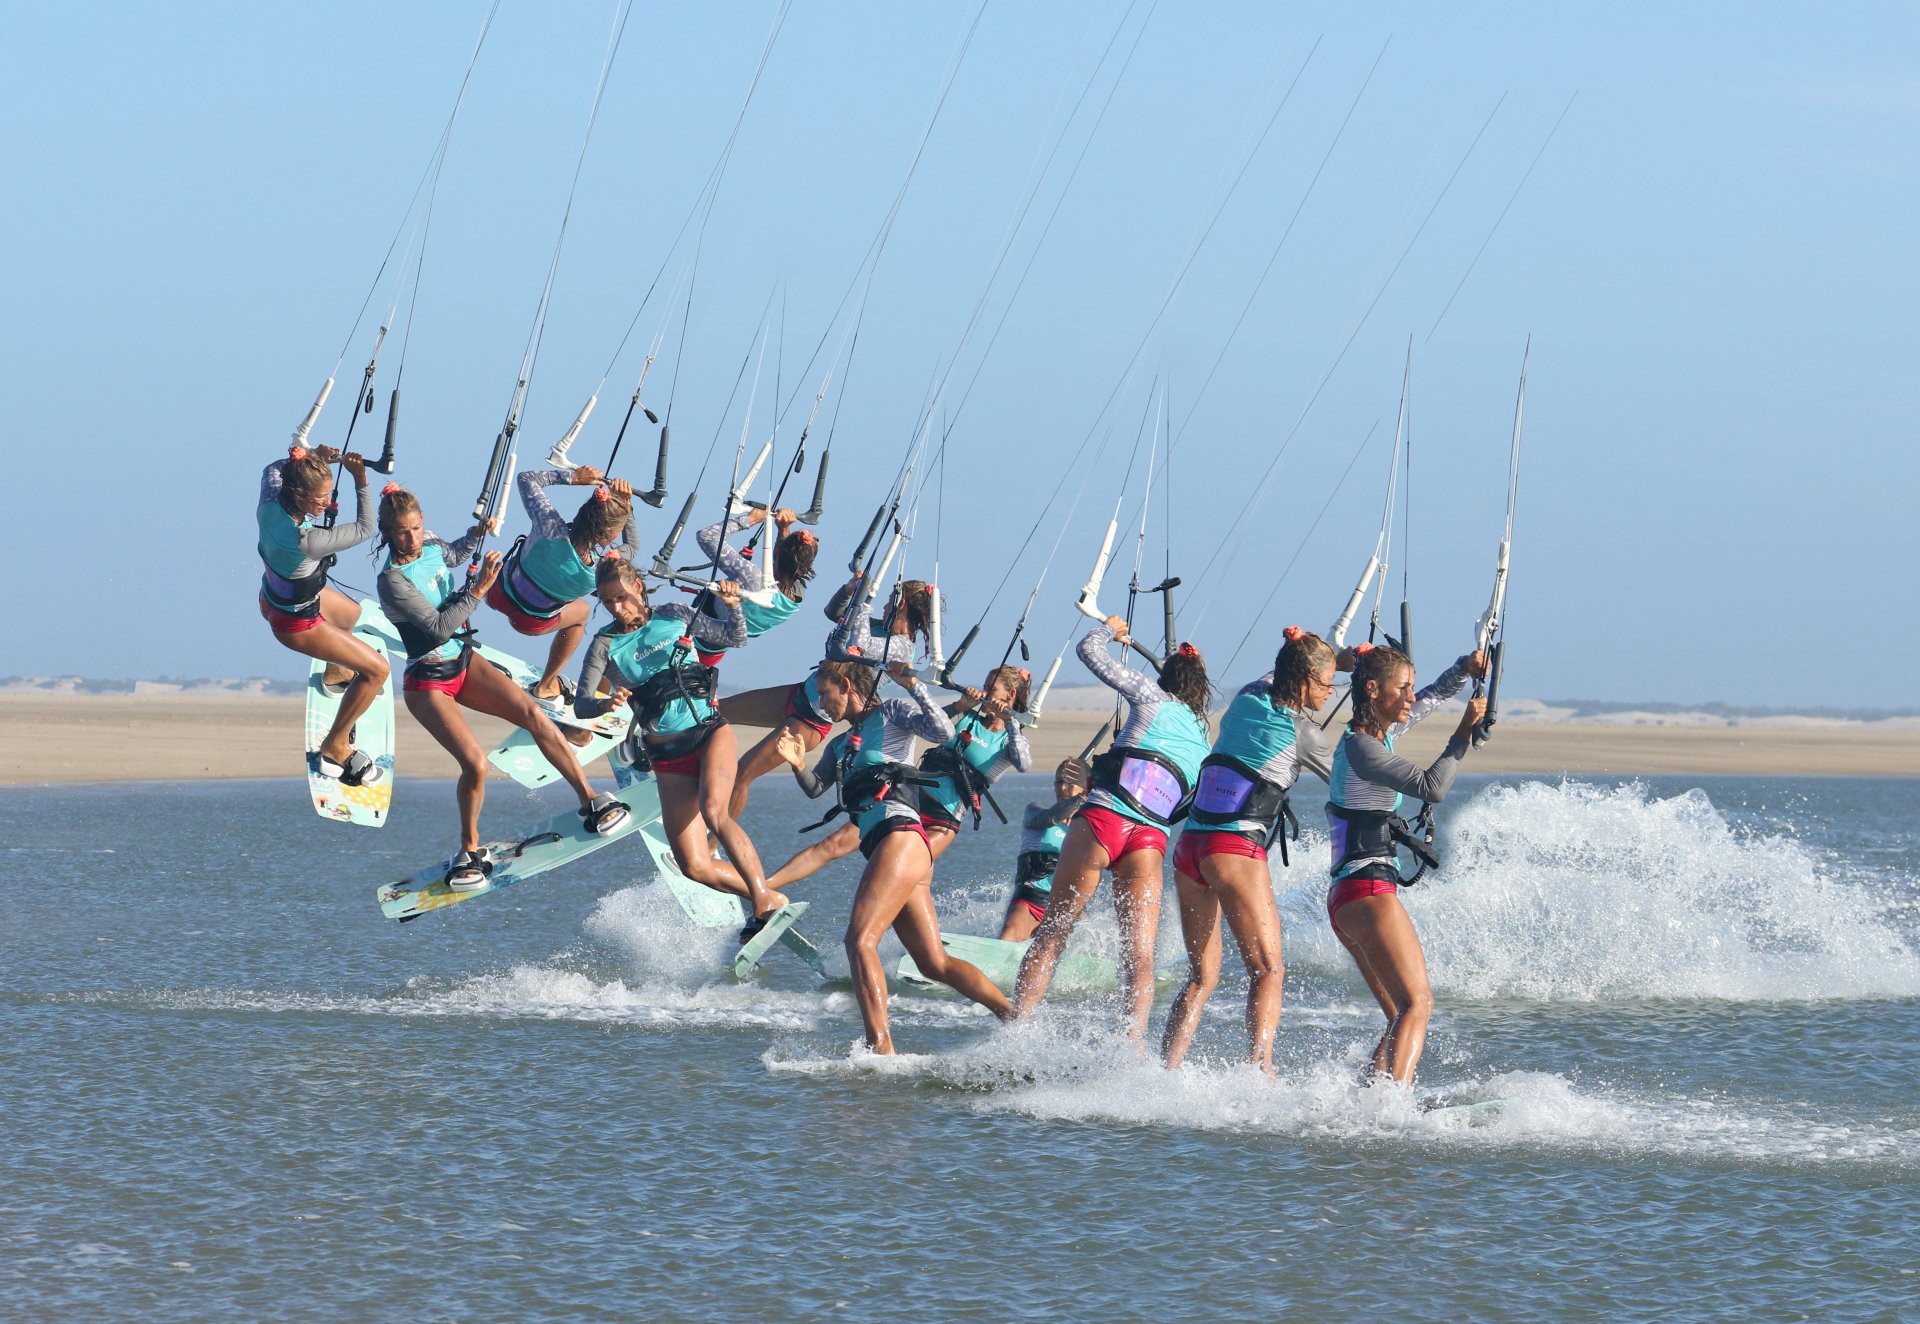
Have a look through the sequence for a step-by-step visual, and please check out the video.
Common Problems
Without a doubt, your number one common problem will be over-rotating. For sure it's possible to get the timing right and snag a cheeky double, but really work on slowing your rotation, and adding the wrapped on as a landing. You'll know if you're spinning into it, as you'll likely land on your face. A sure sign of over-rotating!


Catching your heel side edge. If you're not making it far enough, it's possible that you're throwing too late, but more likely that you're not sheeting the bar out. If you hold it in, the kite will pull you as you throw the wrapped, resulting in you over-taking the board and catching the edge.
Keystones
- Carve up with strong back leg and shoulders level.
- Extend up and rotate slowly.
- Bring rear knee through, release front hand and sheet out.
- Lean and swing kick back leg behind you.
- Turn head to catch up and bring bar through.
This technique article was in Issue 103 of IKSURFMAG.
Related


By Christian and Karine
Christian and Karine have been working together as a coaching team, running improver to advanced kitesurfing clinics since 2003.
