
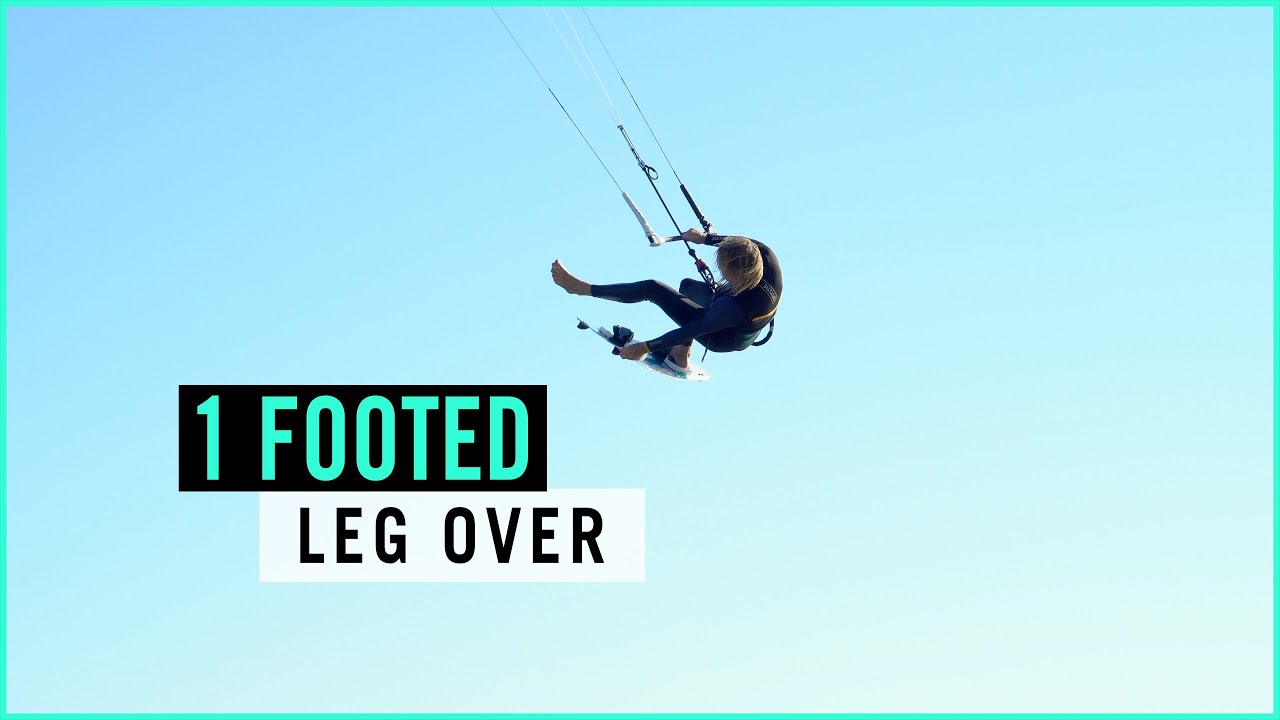
One Foot Leg Over
Technique / Intermediate
Introduction
The One Foot LO! Kiting never gets old, and one way to keep your stoke truly alive and the mojo firing is to add more tools to your box and tricks to your bag. This one is a great ‘what next’ if you’ve got your One Footers dialled and certainly adds another string to your bow and move to your show. If you’re not quite sure what’s going on, the idea is to take your rear foot out and then lift it up and over your rear arm that’s grabbing the board, before releasing your grab, whipping your hand around your leg, and re-grabbing the board so that you can replace your foot and land smoothly! Yup, words don’t quite do it justice or paint the picture! Consider it a kiting tribute to some of the most fun you can have for under £20. This is aerial Twister. Check out the pics and video and you’ll soon see what’s going on.
Wood for the Trees
We have no intention of teaching your grandma how to suck eggs, but when you’re concentrating on something new, it’s easy to ignore what you can already do. In this case, that’s your jump. You want the same type of elevator jump that helped you learn the one foot. You don’t need a ginormous send or massive height. A controlled, floaty one is the kind of jump which will instil you with confidence and give you more perceived time to get the job done. Approach on a good edge and give yourself enough of a send to get up there, but nothing that’ll ping you off downwind or extend you up into the stratosphere. This way, your body won’t get too extended, and you’ll be able to grab sooner, your kite will be better positioned, not too far back, and you won’t be travelling downwind waiting for impact, but rather hanging like a perfectly delivered frisbee.


As per your one foot, centre your hands on the bar so that your kite won’t surprise you with any unwanted lunges. It’s also a good plan to either loosen your back strap a little or wiggle your back foot out slightly before jumping so that your foot will come out and return in without too much effort. Right, let’s have a look at the process…
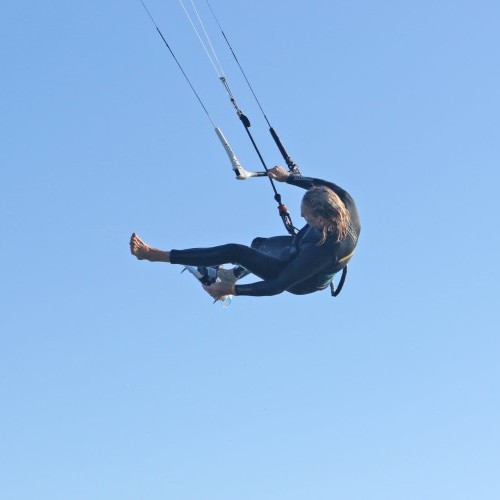
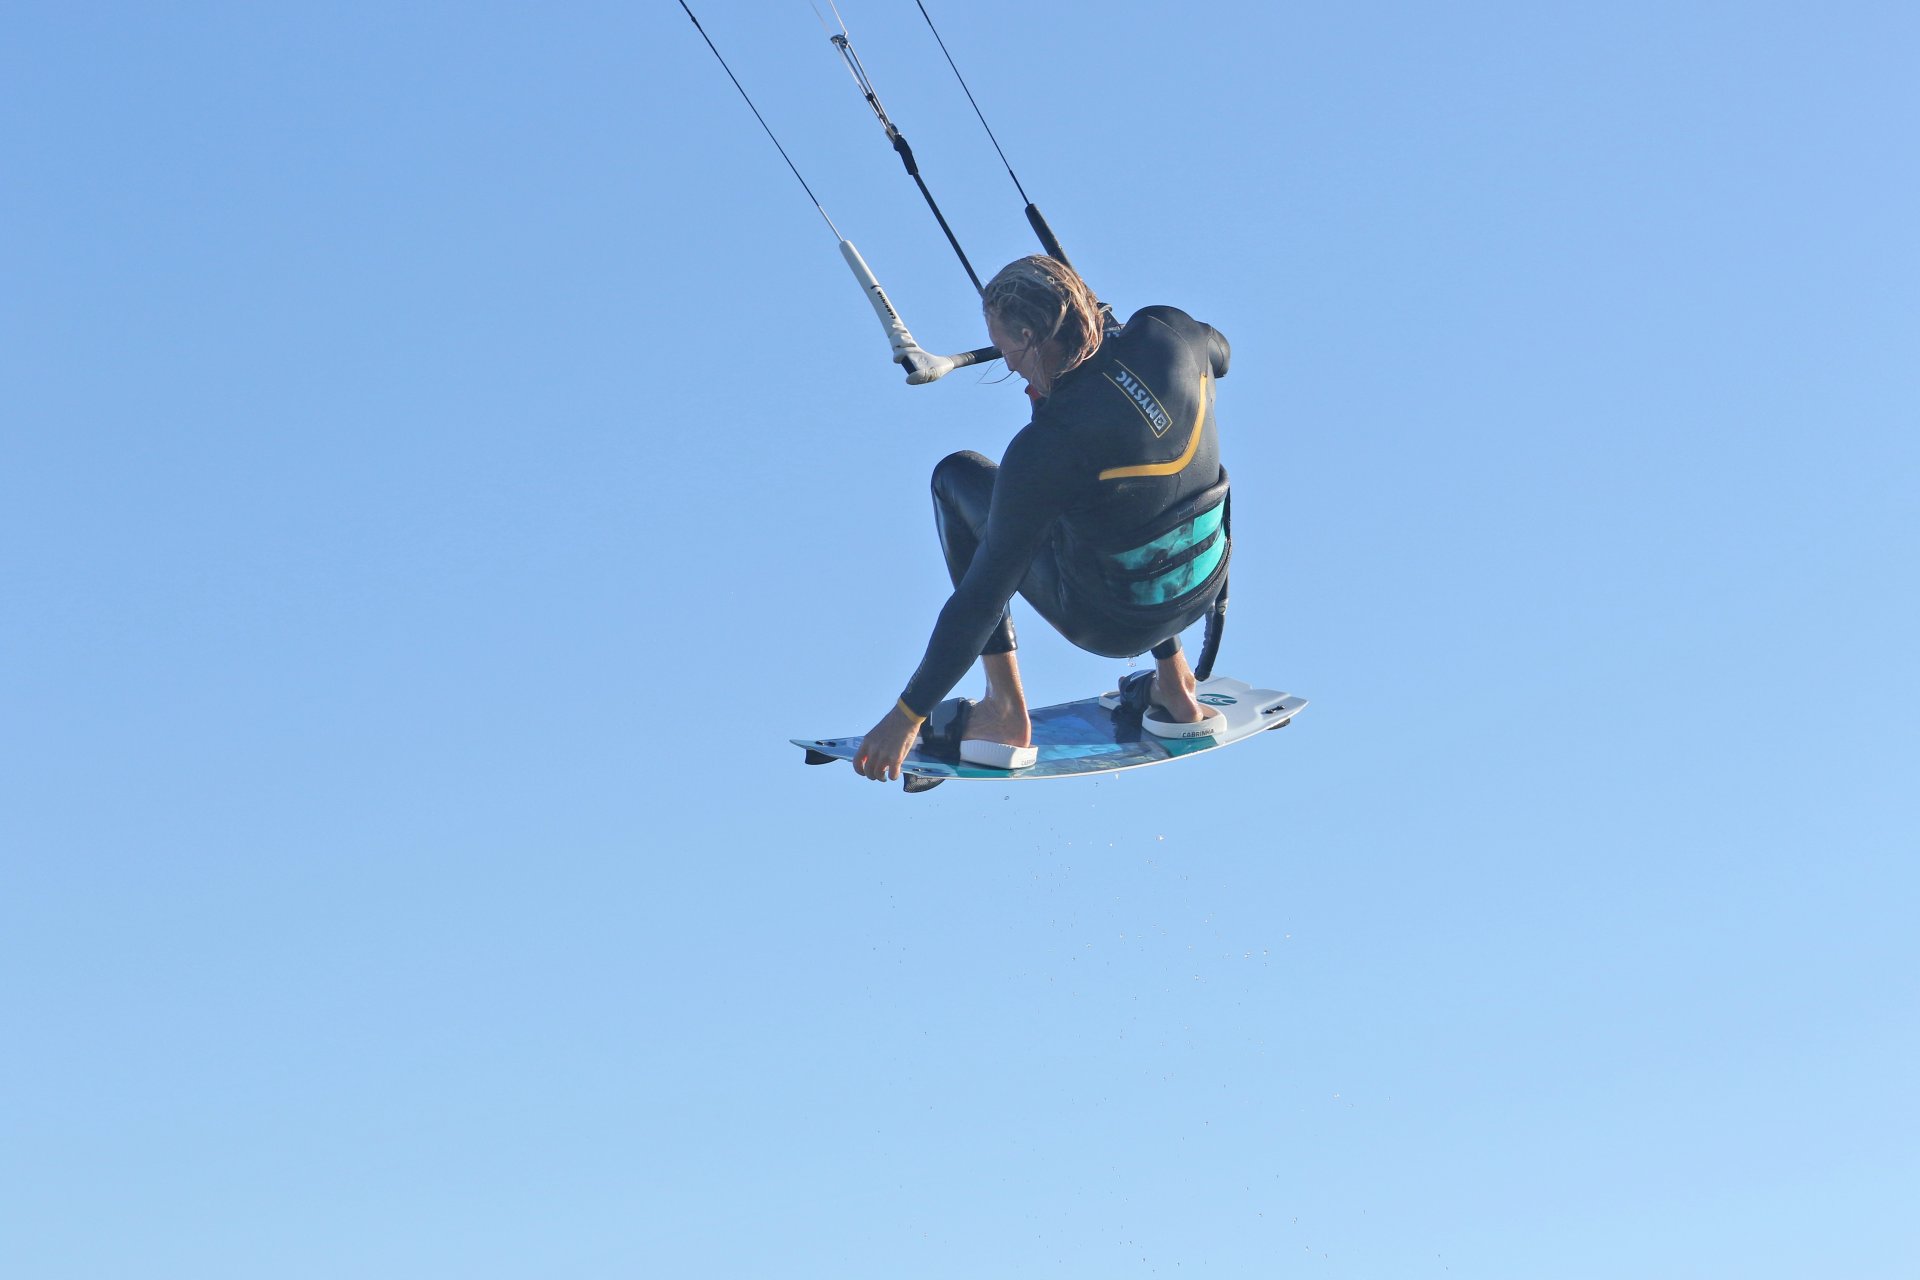
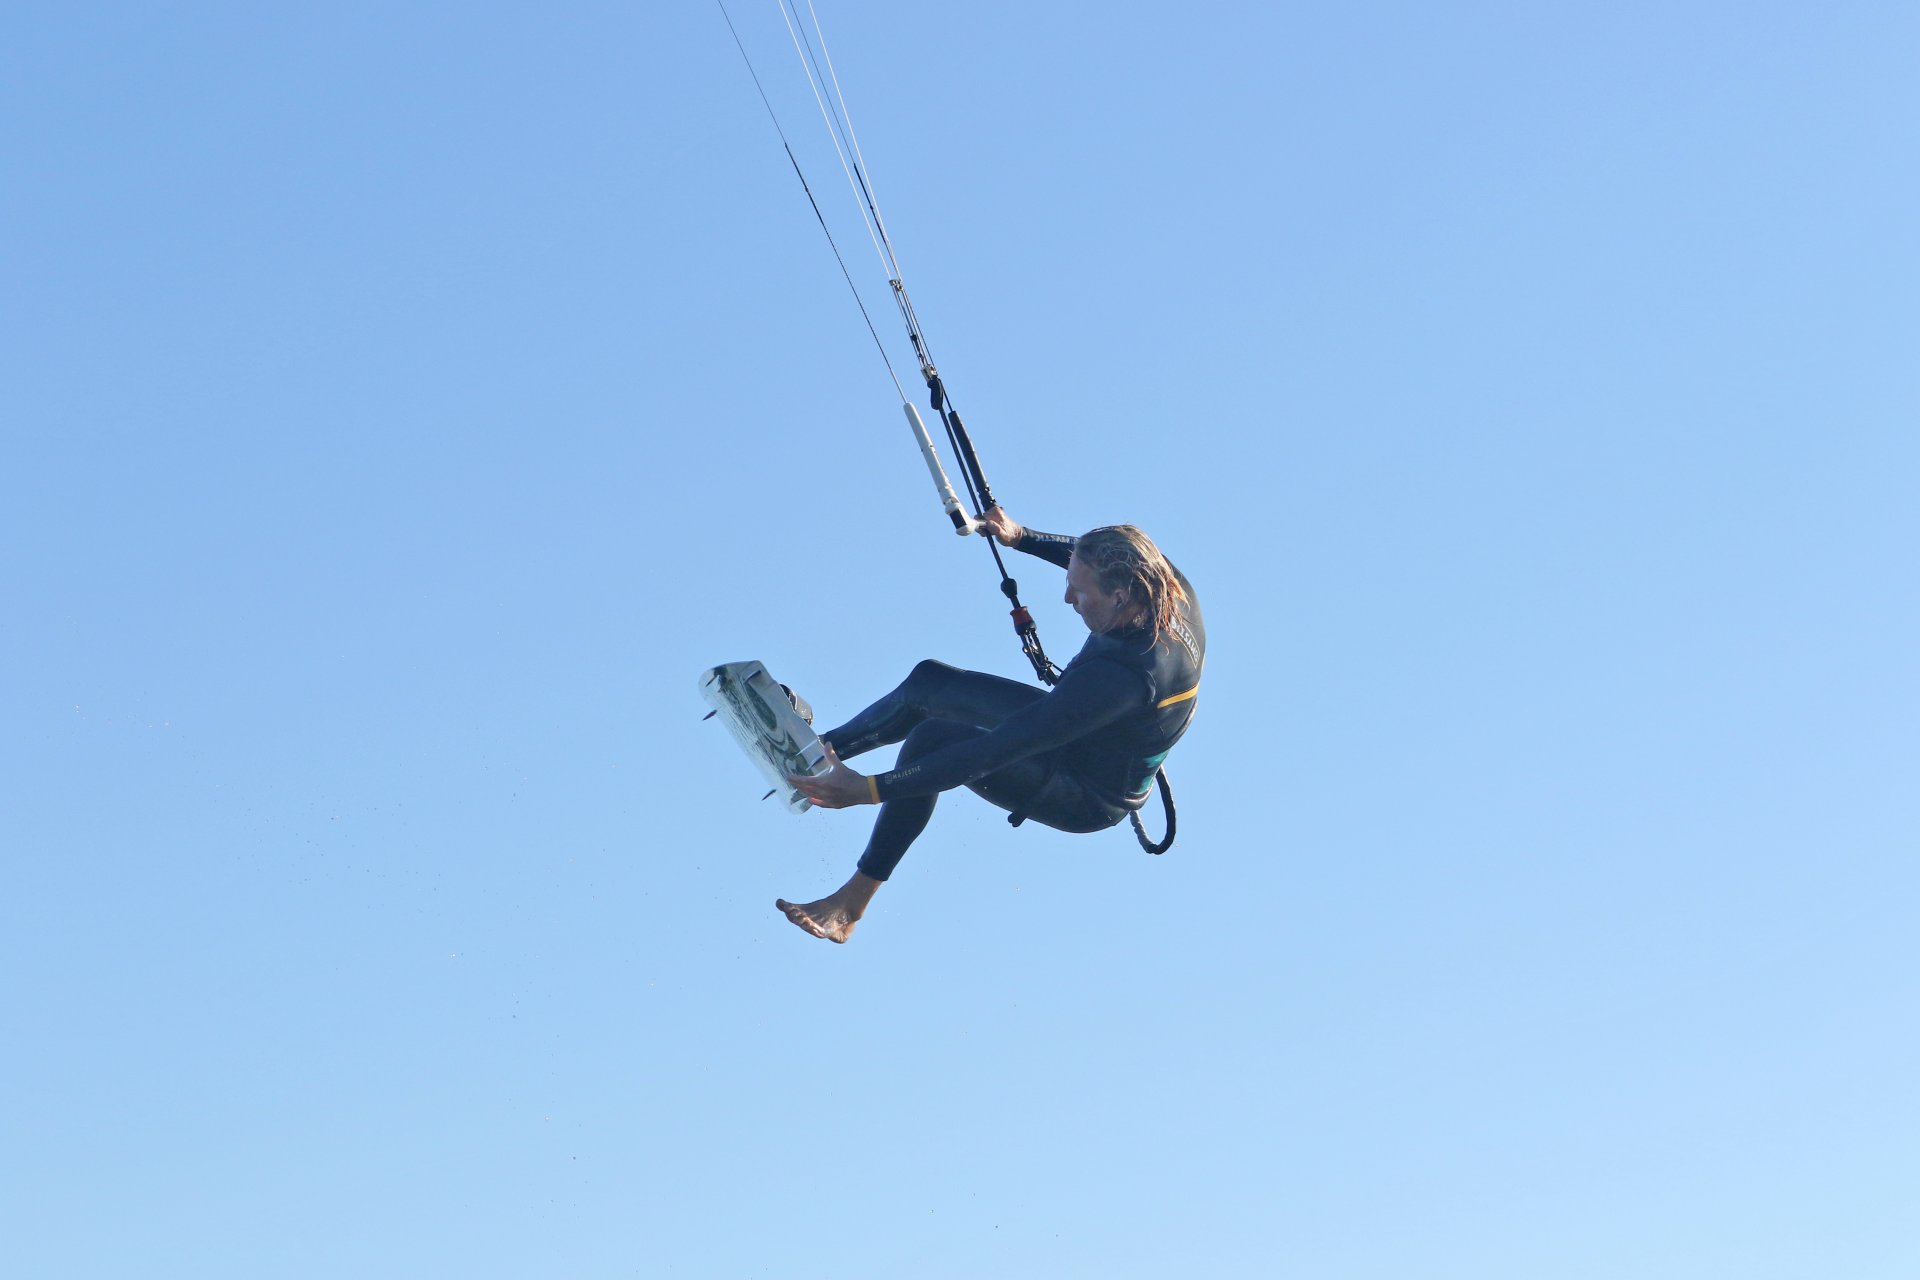
Take Off Chores Pic A.
On take-off, you’ve got two things to sort. Firstly, you need to get control of your kite so that you’re comfortable in the air. Hopefully you haven’t given it a massive wang, but even with a more prudent send, your kite will keep flying back unless you level your bar to stop it. Make sure that as you kick off and pull the bar in that you level it immediately. The sooner your kite is under control, the sooner you can take your back hand off for the grab. Your second but simultaneous job is to get your board into position for the grab and LO. Lift your knees up in front of you to get the board up where it needs to be. As you’ll see very soon, life will also be noticeably less difficult if you can get your bum close to the tail of the board. Try to move the board forwards by pushing your front leg away from you as you lift your knees. Here, Christian has levelled his bar so that he can release his rear hand, and he’s lifting his knees whilst pushing the board forwards.
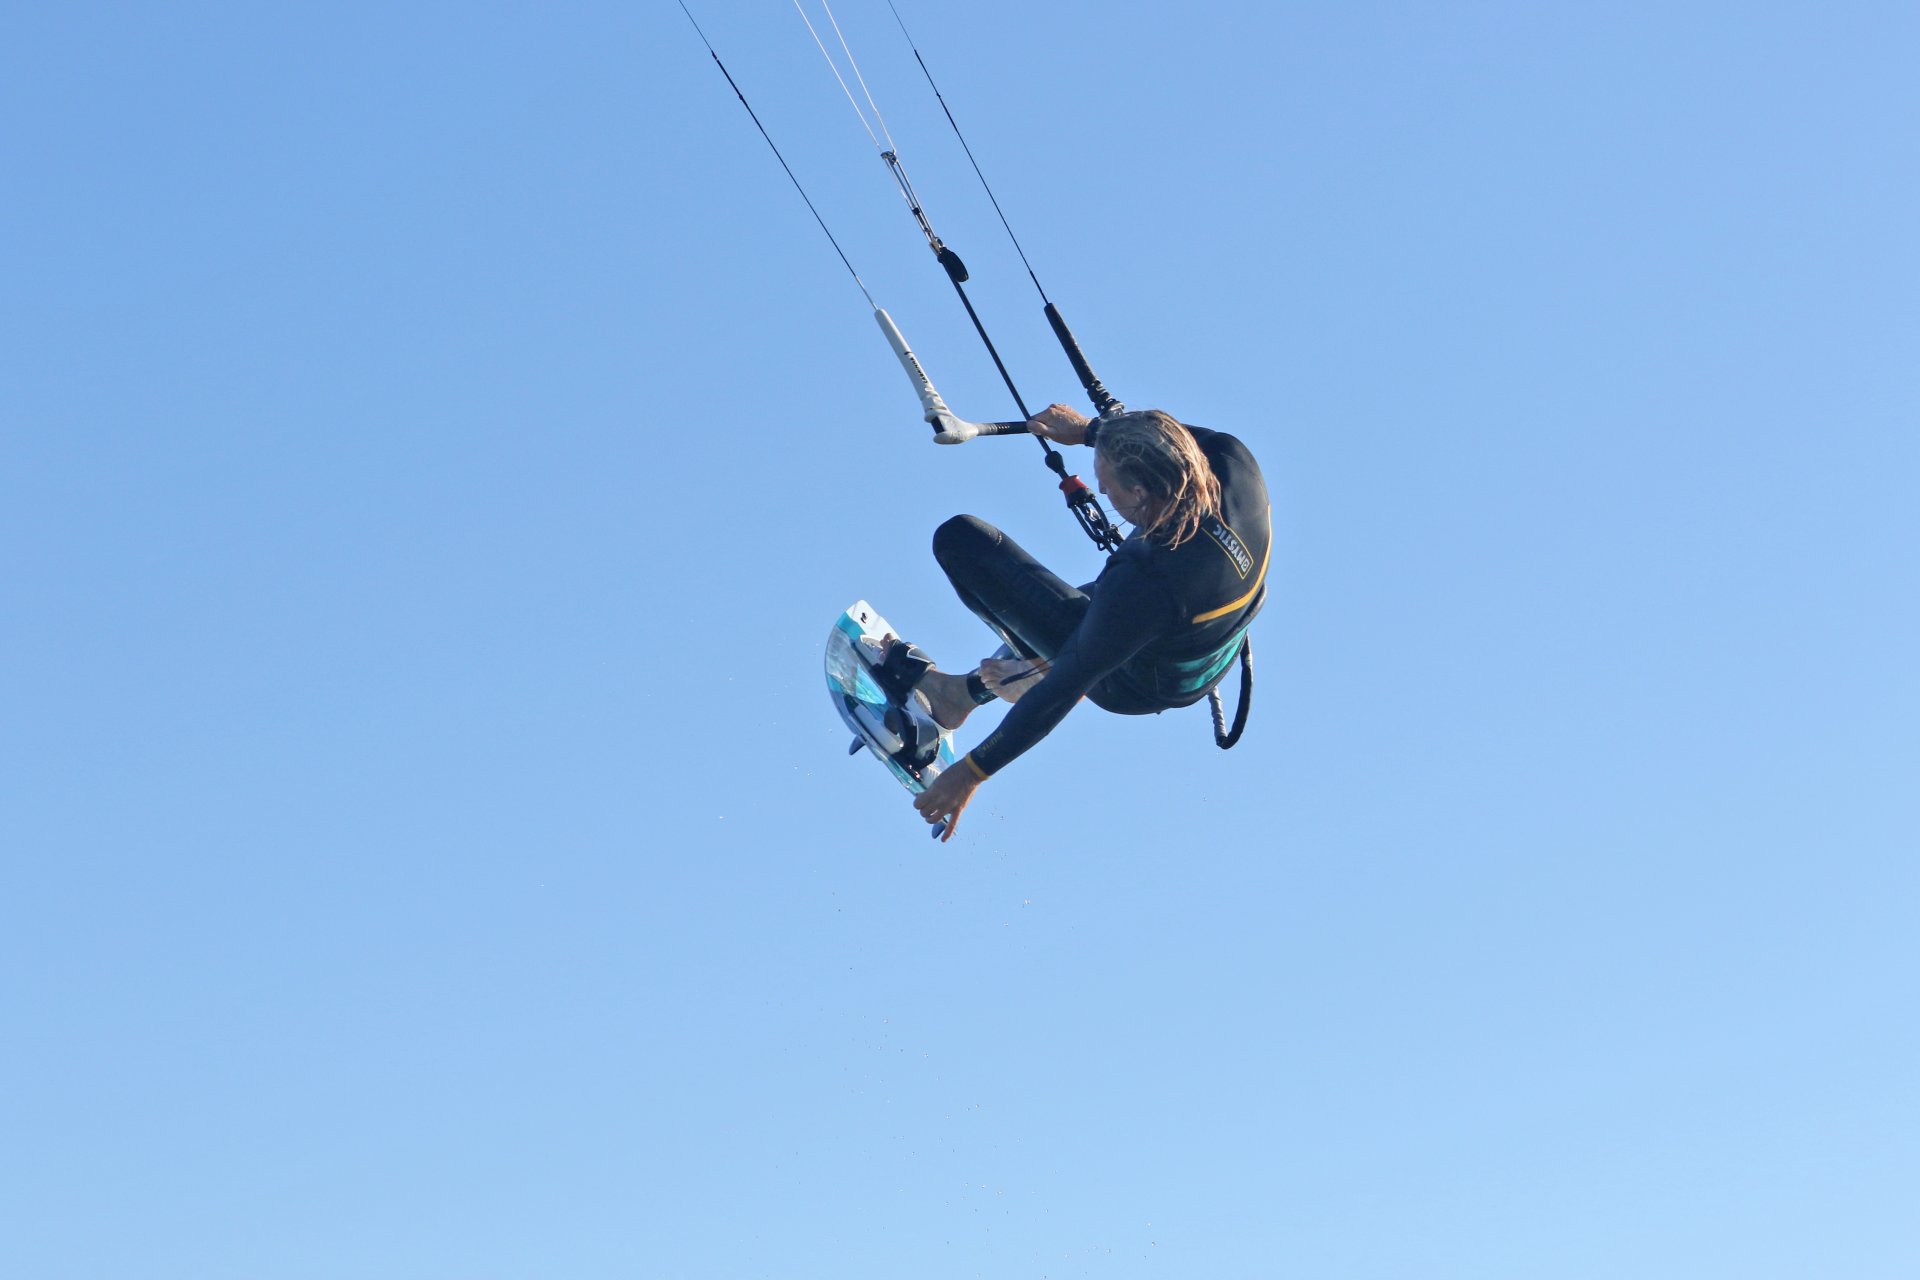
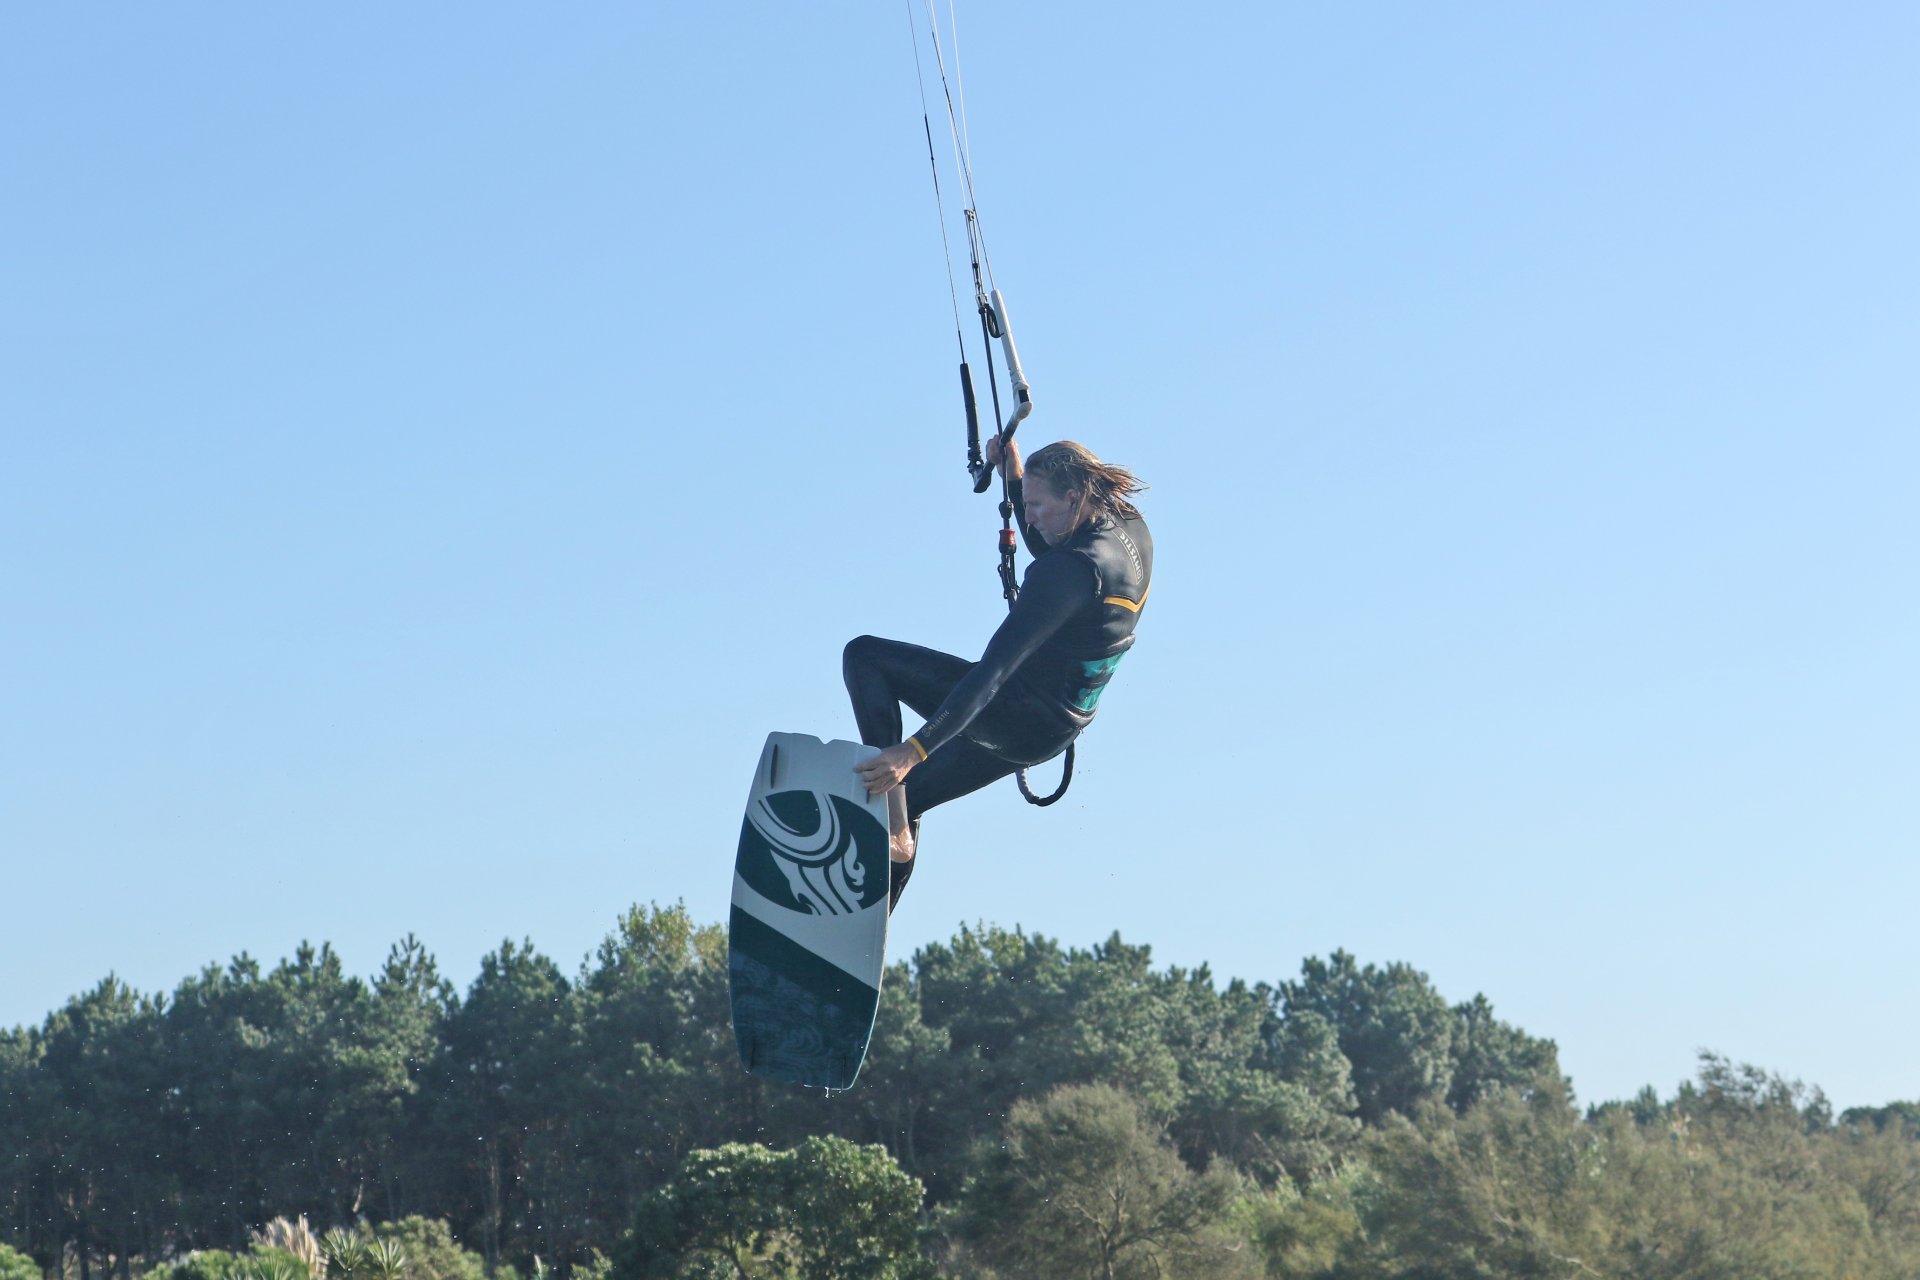
LLG Pic B.
Excuse the initialism, but hopefully you can use it more swiftly than Lift, Lean and Grab. The sooner that you can get yourself in position, the less rushed you’ll be for the actual Leg Over. This is the continuation of what you did on your take off, the position you’re aiming for. If you look at the photo, you can see that Christian is leaning back towards the tail of his board to reach his grab. Make no mistake, though, his back knee is fully up into his chest. Where you grab is up to you, whether on the heel side edge, the fin or the tail, whichever suits, or wherever you hand makes contact. 🙂 While he reaches for the grab, Christian pushes the board forwards with his front leg. Once you have the grab, you can use your hand to push the board forward if you find it tricky with your leg. And finally, back to the wood, keep your bar level and in on the sweet spot for support and control.
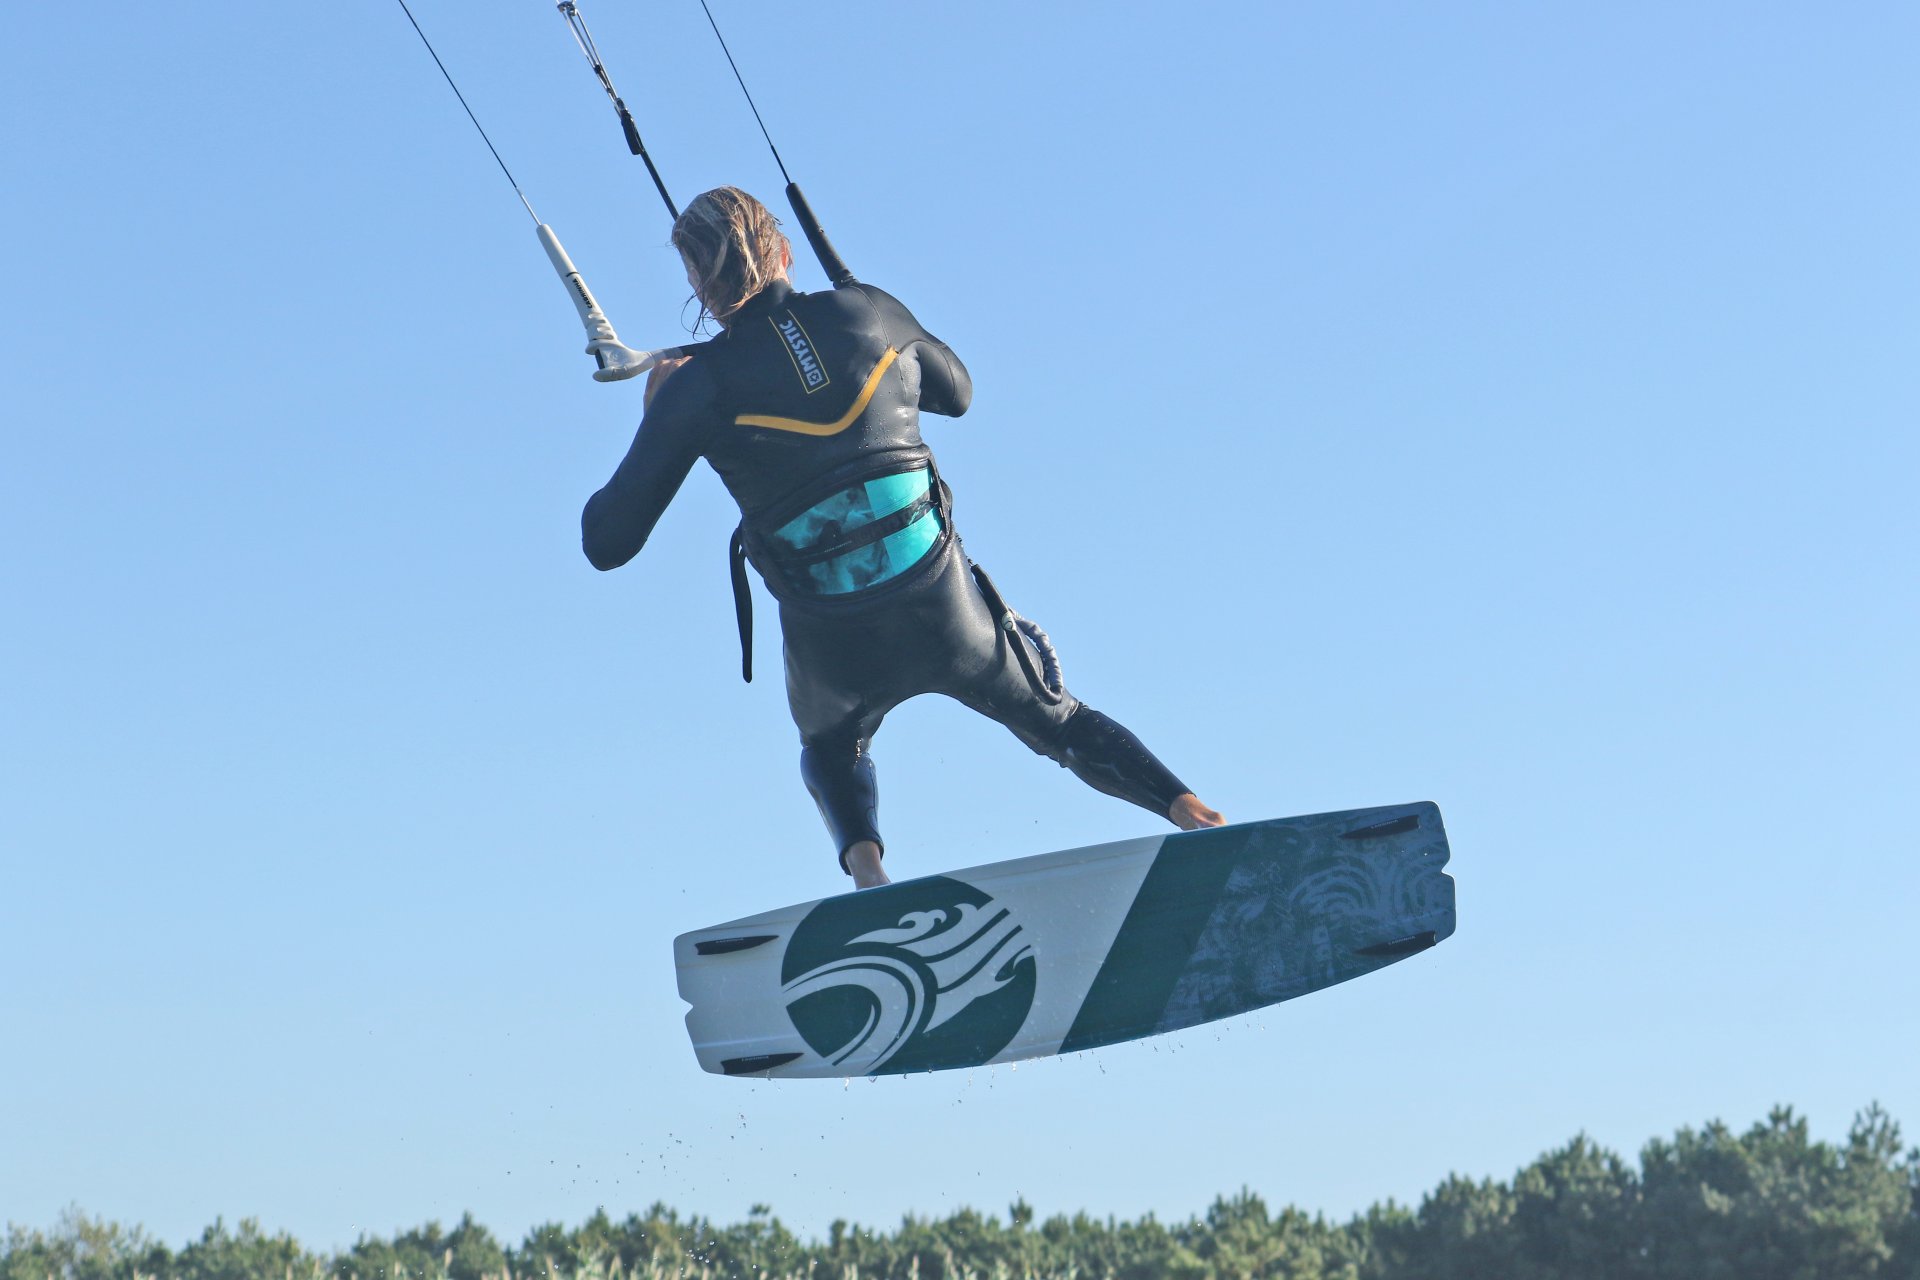
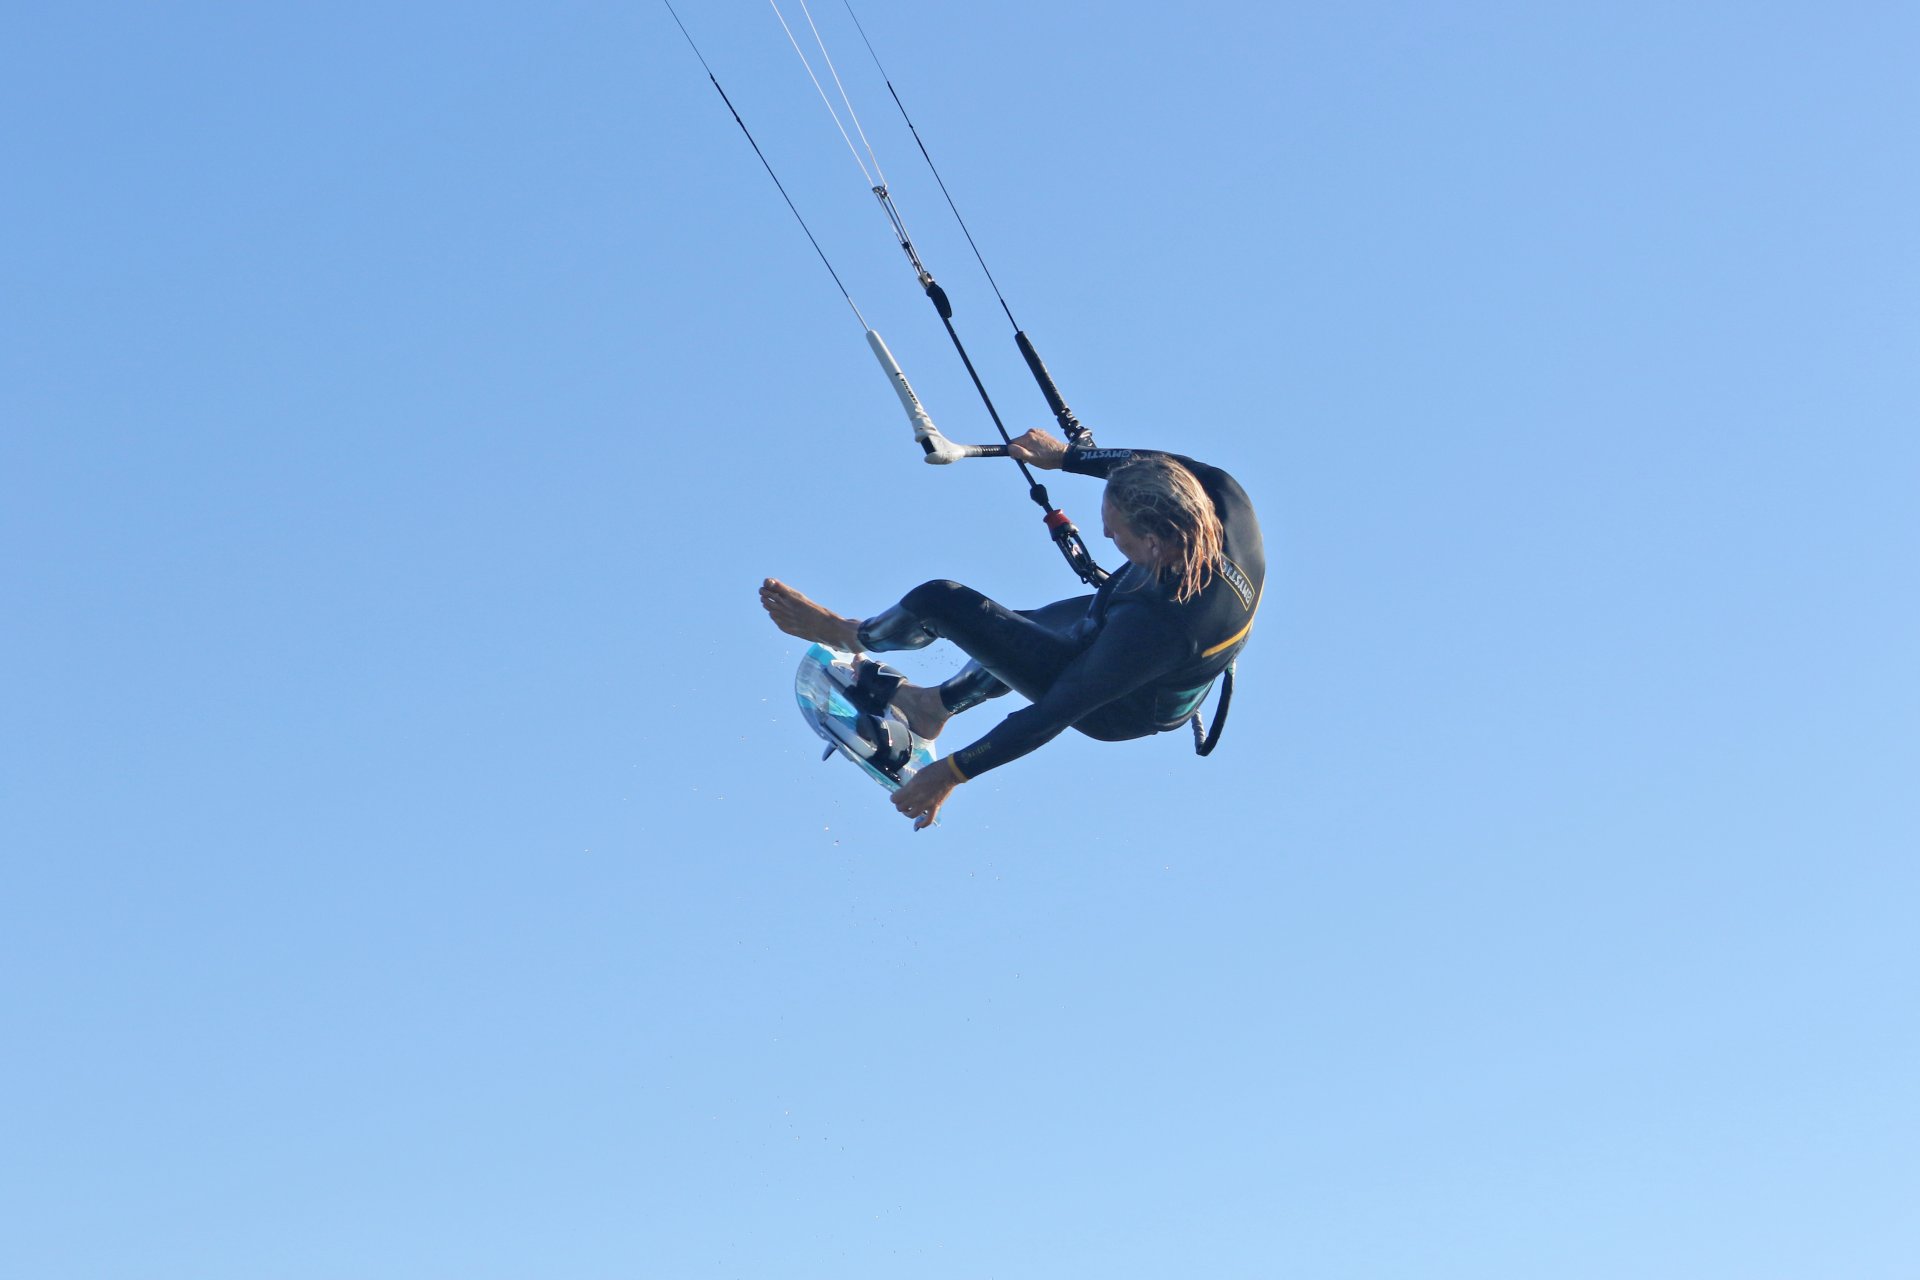
Free Foot Forward Pic C.
Now you’re ready to take your back foot out and it’ll become obvious why you’ve adopted this laid-back style to do so. Usually, we aim to lift the board off our back foot and push the leg down, under the board. Here, however, you need to get your foot up and over the board. The first intentional bonus of pushing the board forwards is that you have space to pull your foot out of the strap without having to drop it below the board. With his weight back and board forwards, Christian can slide his foot out of the strap and has room to extend his leg forwards towards his other foot. This way there is a lot of space to manoeuvre even if you have size thirteens.
Up & Over Pic D.
The proof is in the pudding and here it is. By laying back and moving your free foot forward, it gives you more than enough room to get your foot out of the strap and up, over the board. If you were to remain centred on the board, you’ll be able to wiggle your foot out of the strap, but unless you’re extremely agile, you’ll struggle to lift your leg over it. This is a crucial part of the move as you have to start the Leg Over with your foot high.

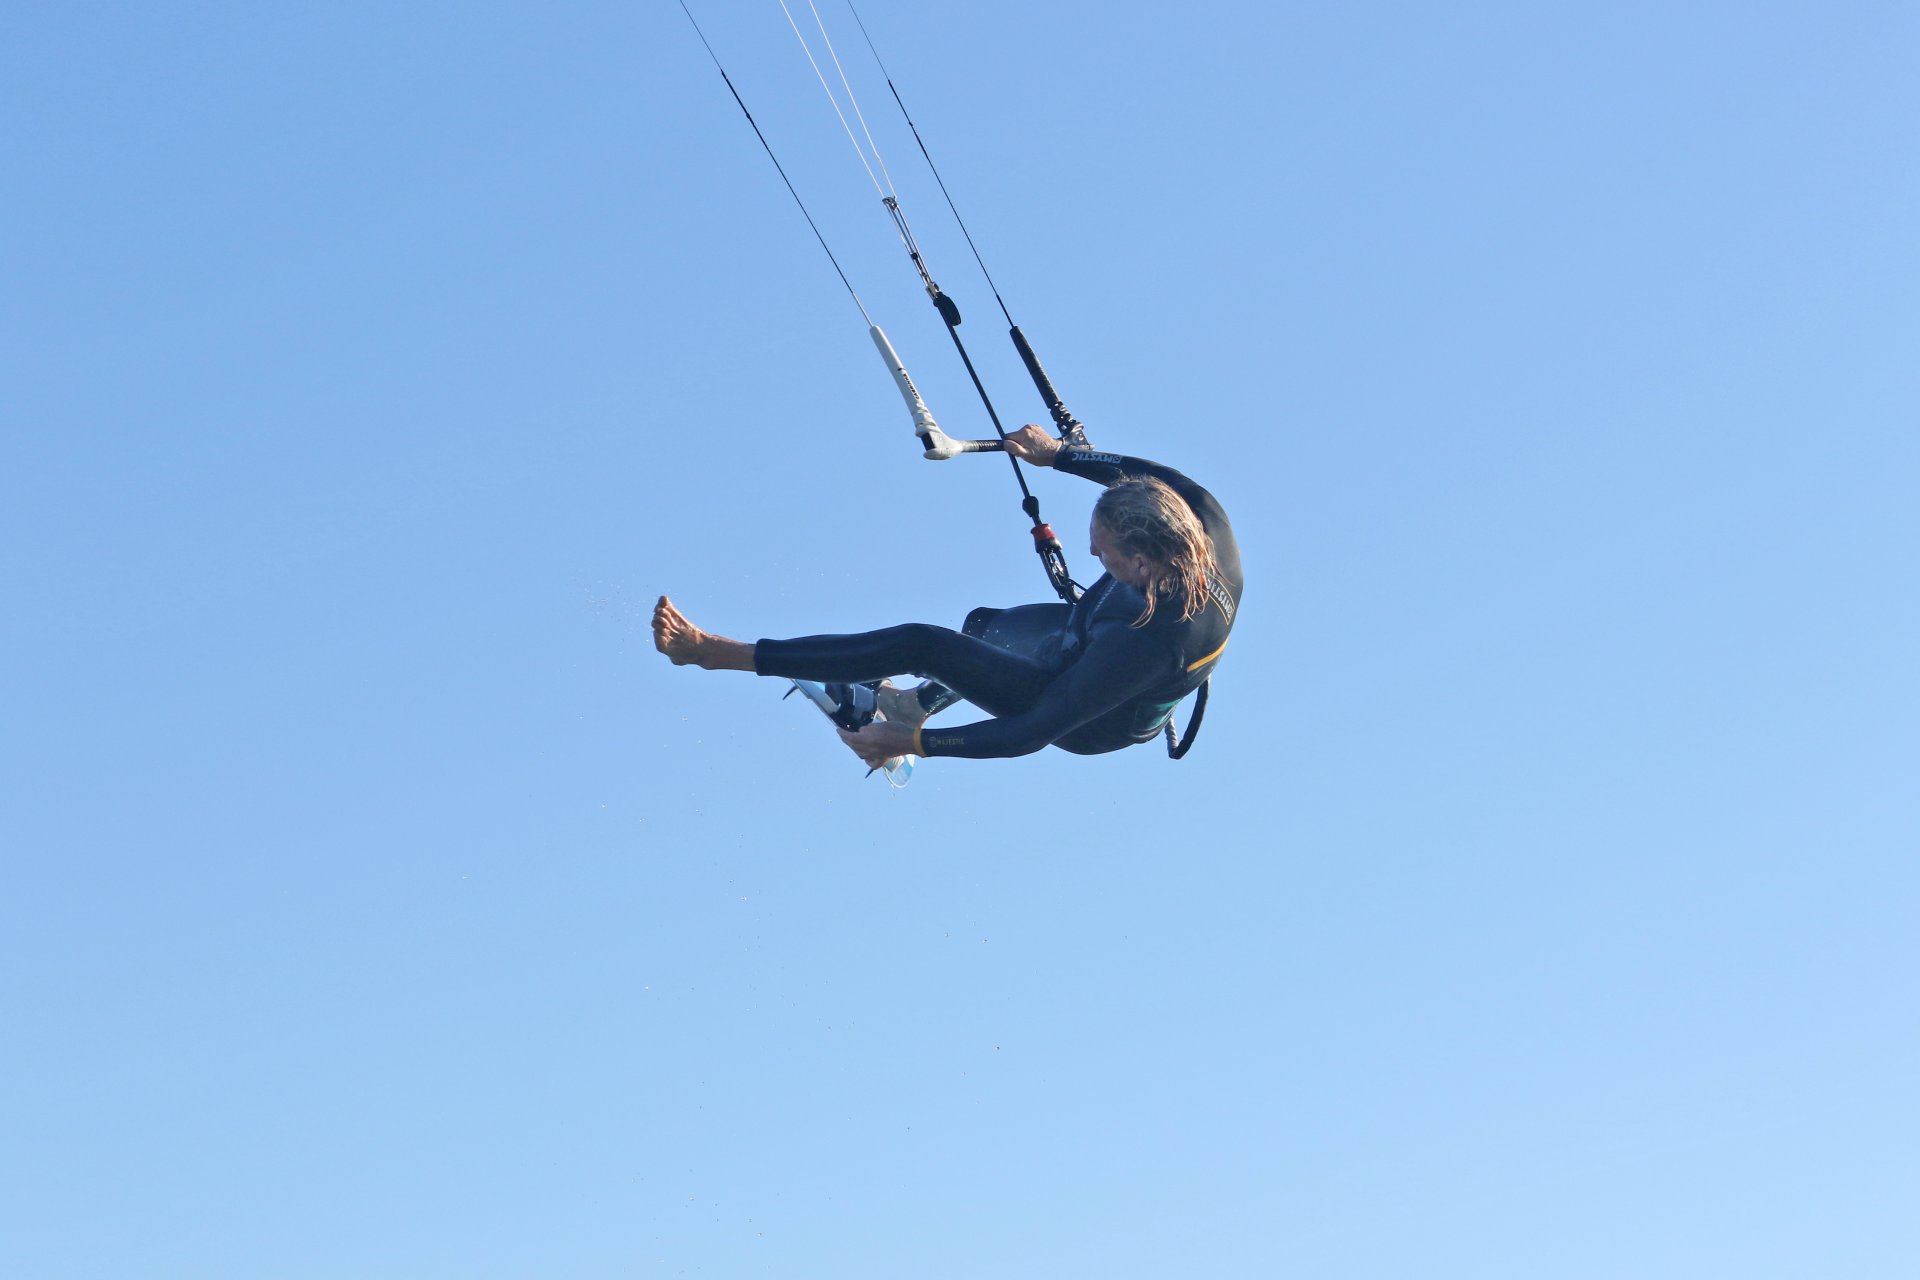
Back & Over Pic E.
Before you can think about passing the board, your leg needs to be over your arm and your arm under your leg! If you were/are a wizard at Twister, this’ll be your bread and butter. Keep a solid hold of your board and push it forward under your leg whilst moving your leg back and over your arm and behind your board. You can see that Christian is literally pushing his board under his leg, whilst balletically moving his leg back over his arm so that it clears the tail of the board. Now you’re primed and ready.
Throw & Go Pic F.
Your board is in clear airspace and your leg has the resultant vacuum to fill, so all that’s left in this juggling sequence is to move your hand. In the scheme of things, it won’t hurt if you give the board a gentle nudge up before you release your grab and go hunting for the board again. Just like you might toss a ball up from your palm before catching it again. In the photo, Christian has given the board a little helping hand before releasing his grab.
How’s That? Pic G.
Keep your eyes on the prize. As soon as you’ve tossed the board, bring your hand around your leg and grab the board again. Your back leg, or rather your abs, will give in and your foot will drop down, but make sure your hand is around beforehand. You can see that Christian is still in the same position and leaning back, it’s just now his arm has moved around his leg. As long as the board is forward and your leg back, the board will stay put long enough for you to grab it again.
Landing Prep Pic H.
Once you’ve got your board back, it’s business as usual. Don’t forget your kite. Hopefully it’s just behind 12 o’clock or up there at midday. If so, you’ll want to give it a steer forwards for landing, as this will give you a little bit more lift and a touch longer to wiggle your flippers back into the strap. Watch your foot in and hold the grab as long as you can so that you can get your foot sufficiently into the strap to make the landing more manageable. Christian is watching his foot in, and he’s already started to steer the kite forwards for his dive and landing.
Top Tips
Even if you’re an established one-footer, you may find the movement of taking your foot out and up rather unusual and against the grain. The best place to start working on this is to practice the position to get your foot out and up before replacing it. Once you get your head around it and combat your muscle memory, you can then go for the full LO.
Although this move can be viewed as a board trick, concentrate on the fact that you’re actually putting everything into position and that the real move is passing your hand around your leg.
If you don’t have time to get your back foot back in the strap, it’s worth hanging onto the board if you have the grab. This way you have two anchor points and there is no risk of the board twisting on one leg. Loosening your back strap will make it easier to slide your pinkies back in.
As you become more proficient, work on extending your leg to emphasise the movement of your free foot during the move and basically showboat that little bit harder.
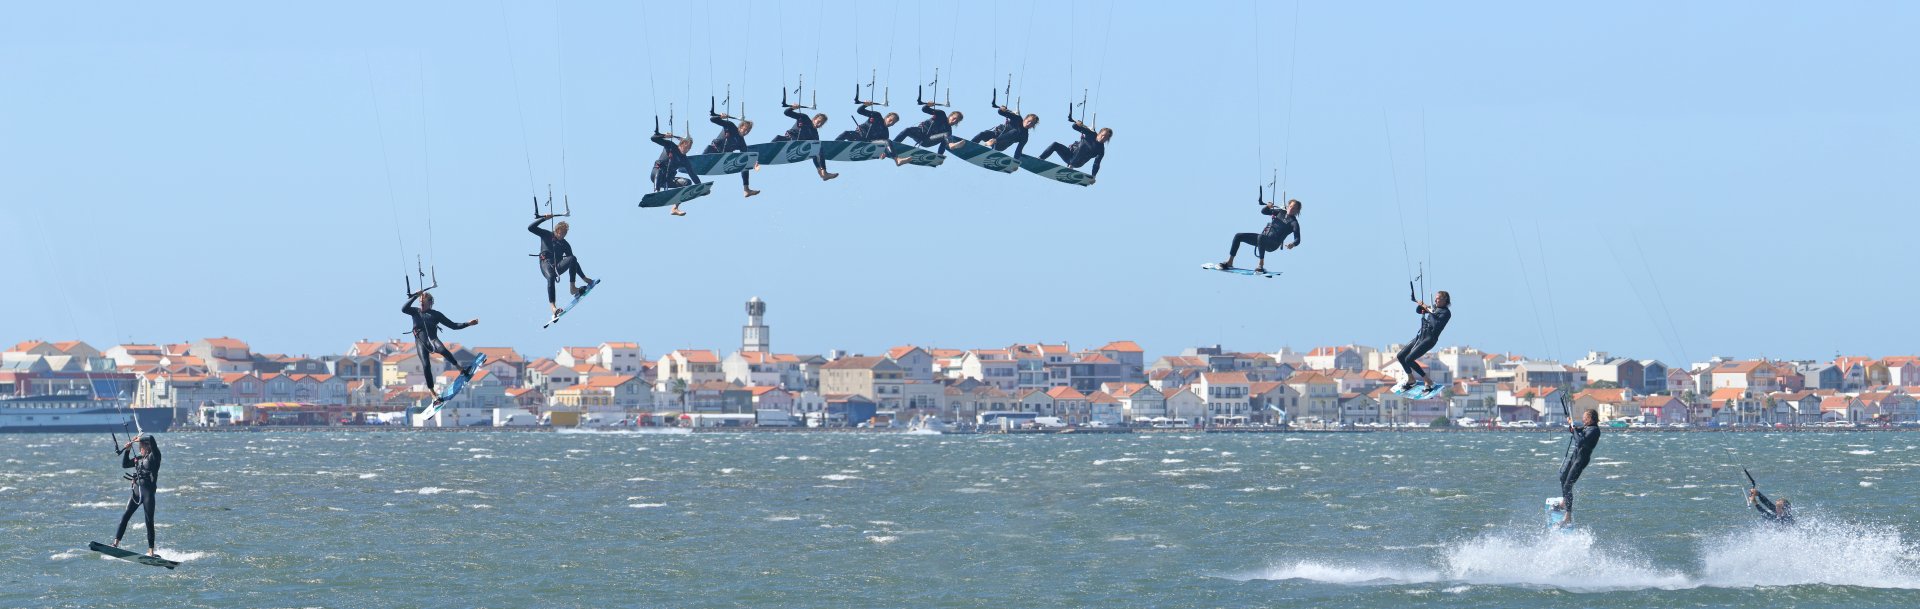
Now, have another look at the sequences and play the video for a real time how to.
Common Problems
If you can’t get the board forwards as you take off, it’s possible that you’re sending the kite too much. With a hefty pull off the water, you’ll be extended and your stomach will be fighting to get your knees up, whilst your kite will be zinging off behind you. Tone it down a tad so that you can bring your knees up and keep your focus forwards rather than behind you.


If your leg drops down as you take your foot out, this is because you don’t have room. Once you get your grab, don’t take your foot out but instead push the board forwards and lean your shoulders towards the tail, as if you’re going for a bone out. From this position, it’ll feel more intuitive to get your foot out and up.
If you get your foot out but the board drops out of reach, and/or you kick the board, it’s because you’re tossing the board too early, before you’ve got clear space for your leg behind the board. Make sure you push the board forwards and move your leg way back behind the tail of the board. This way, the board won’t fall, and you won’t kick it.
Keystones
- Elevator Jump
- Lift, lean and grab
- Foot forwards and up
- Twister - push board forwards and leg back
- Board toss and grab

This technique article was in Issue 95 of IKSURFMAG.
Related


By Christian and Karine
Christian and Karine have been working together as a coaching team, running improver to advanced kitesurfing clinics since 2003.
