

BLT Indy
Technique / Intermediate
Introduction
If only we had a euro for every time that we’ve witnessed the sheer pleasure, excitement and downright chuffed-ness on a kiter’s face, when they’ve refurbed one of their stock moves with some form of kiting update! As enjoyable and frustrating as learning remains, seasoning something that you’re already capable of cooking up, does wonders for the soul and can be a quick fix to firing up the mojo. This time around we’re adding more than a pinch of salt and a dash of pepper, we’re going full caliente, chili seeds and all. Spice up your BLT with an Indy grab.
Although this move is nearly for everyone, we do advise that you’ve got your BLT, aka back roll transition, down pat. To make this real we’ll be concentrating on slowing the rotation, getting float from the kite, timing the grab and getting a smooth landing. Let’s ponder the essential ingredients...


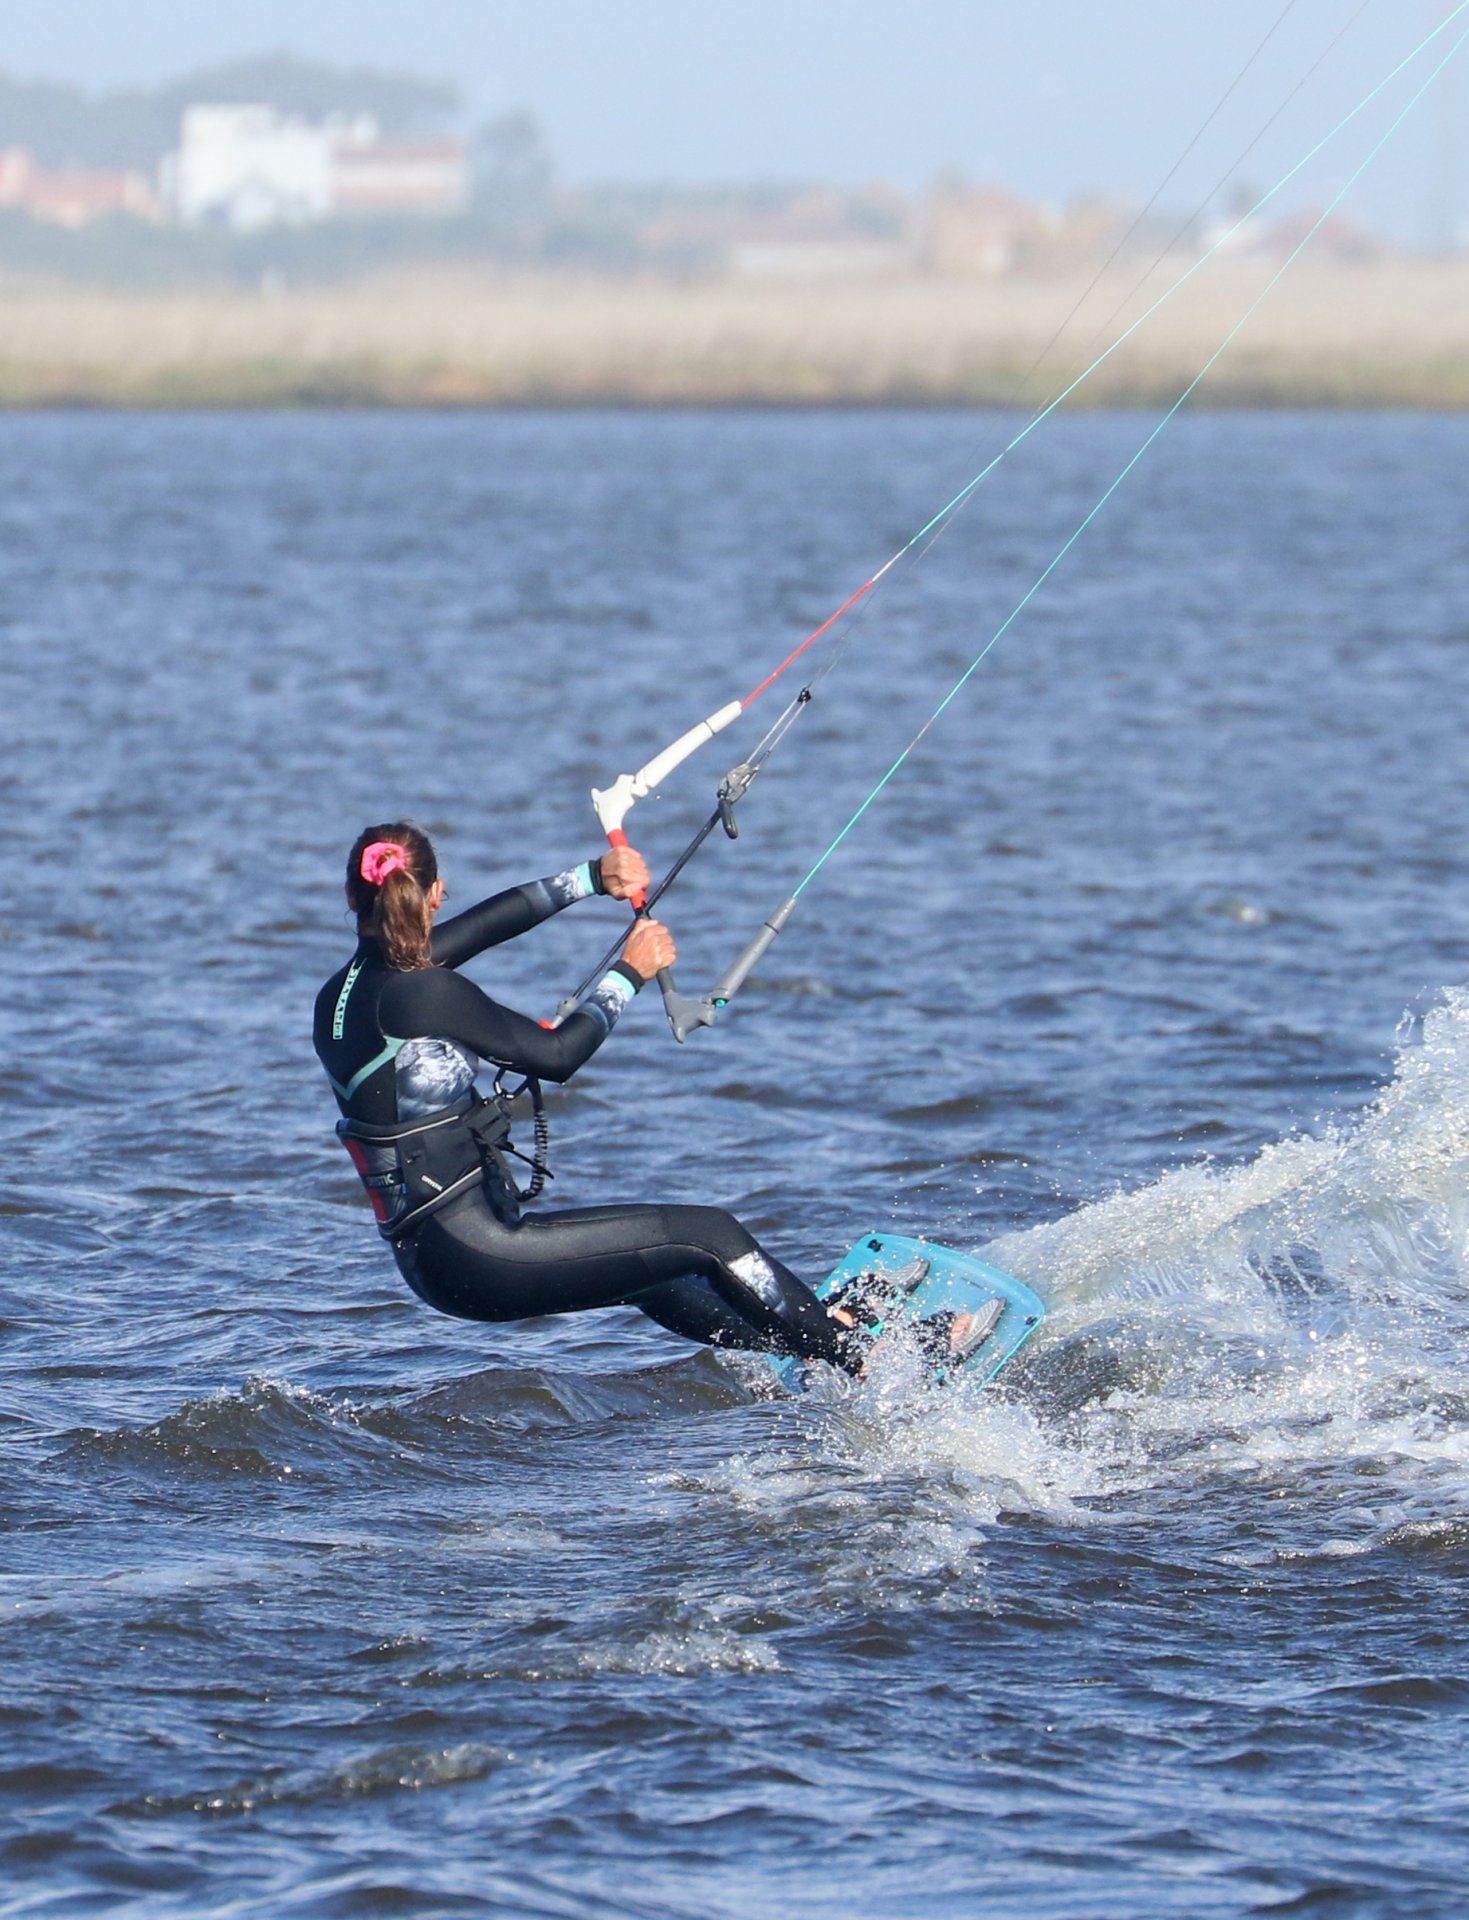
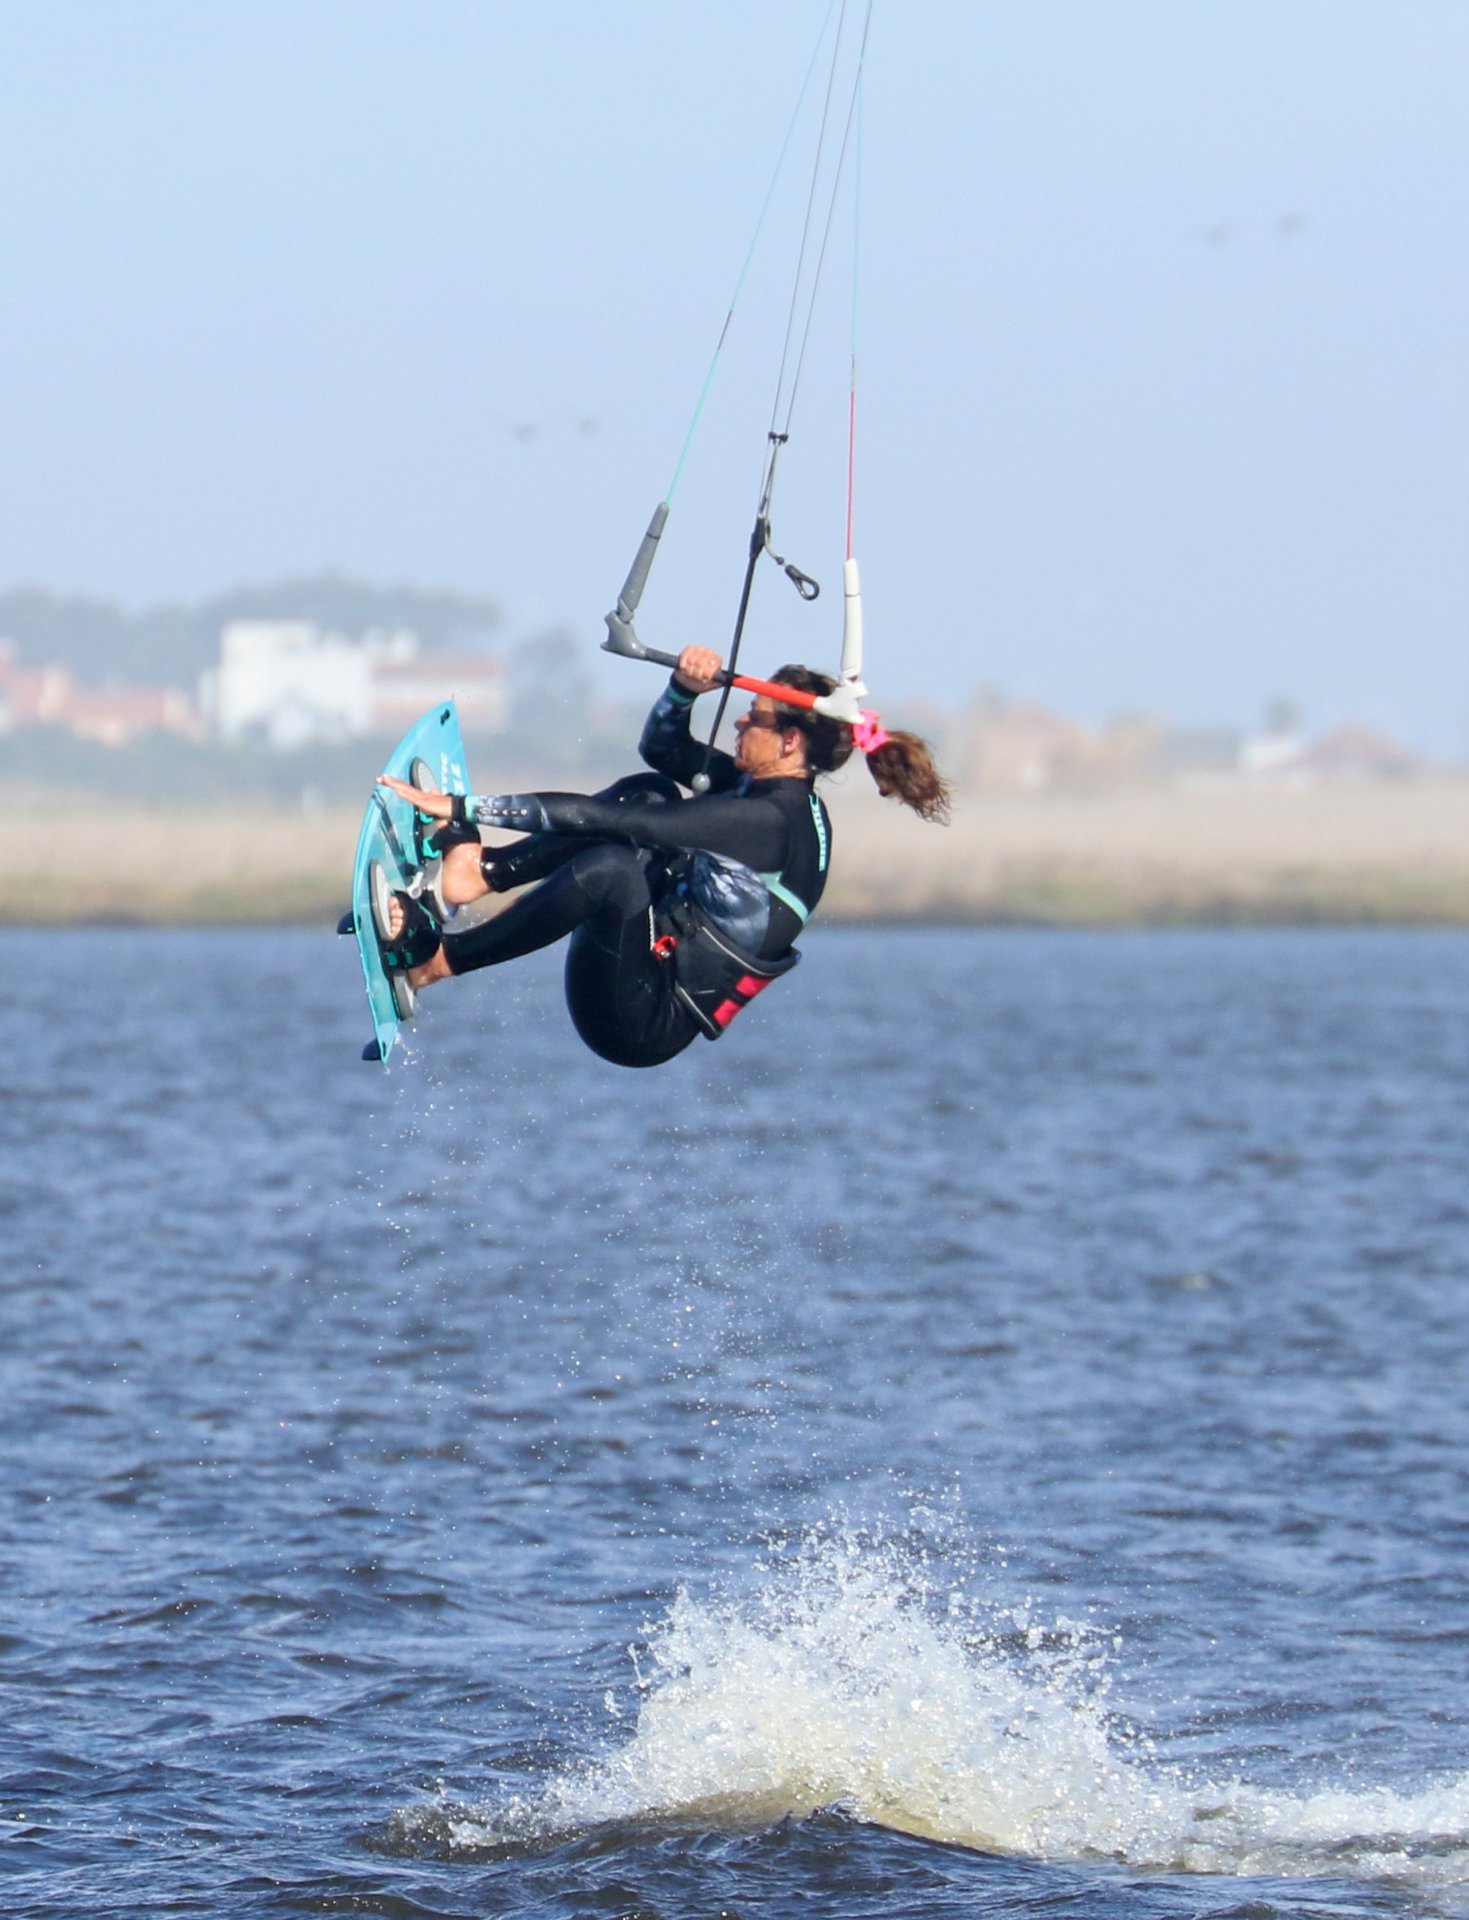
The Set Up Pic A
It’s all good and well throwing everything into the pot, but a form of order and the correct measurements are key. From the moment you decide to give this your full attentionup to the moment you take off, will have as much impact on the outcome as your airtime antics. Preparation is key. First things first, you need some power in the kite! With enough air in motion it’ll be easier to get off the water, you’ll have time and as such the opportunity to rotate slower and most important of all you won’t be forcing it. It’s a struggle to get your socks off in a hurry, so what are the odds of an Indy BLT? Speed is the other great leveller. For any transition you need to temper forward momentum so that you can control your take off and go back the other way. And then there’s the send. As you’ll be moving slower, you’ll need to be positive with your kite movement to get some lift. Added to this is your desired position of the kite during the transition, somewhere overhead. You’ll need to start with your kite low enough, around 1 or 11 o’clock, so that you can get sufficient lift from it when only sending it to 12! What this all means in practise is that you’ll want a decent edge to keep you speed calm, or even to slow down a tad and that with power in your kite you’re able to give it a short sharp send up to 12. If you avert your gaze over to Karine, you can see that she’s on a strong edging position, board between her and the kite, legs firm, bum low, looking upwind, and she’s given her bar a good push-pull to get the kite moving quickly up to 12.
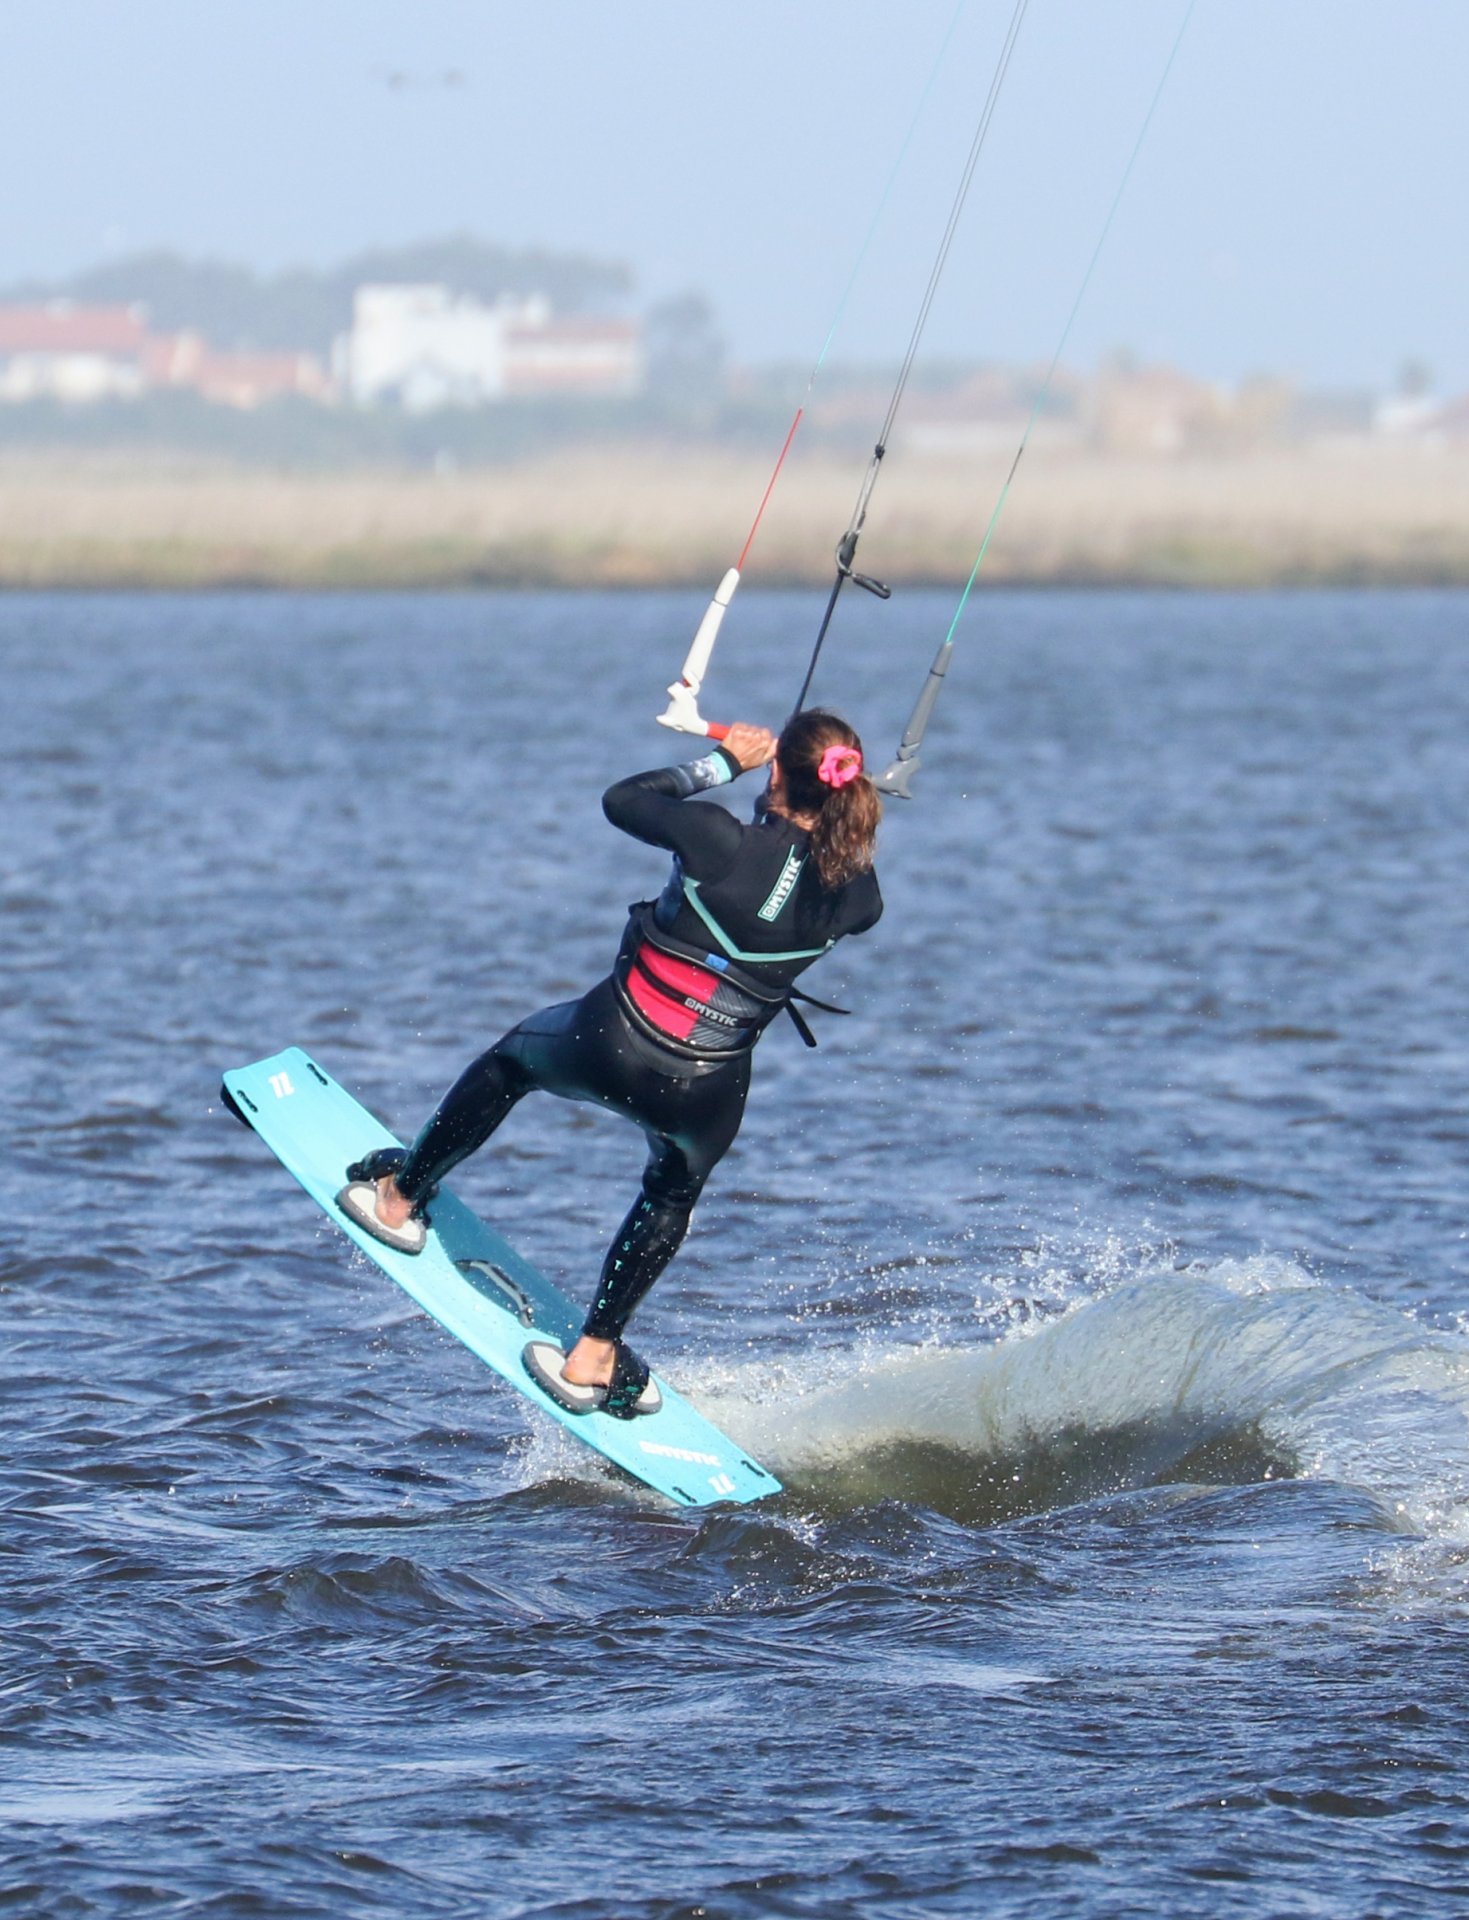
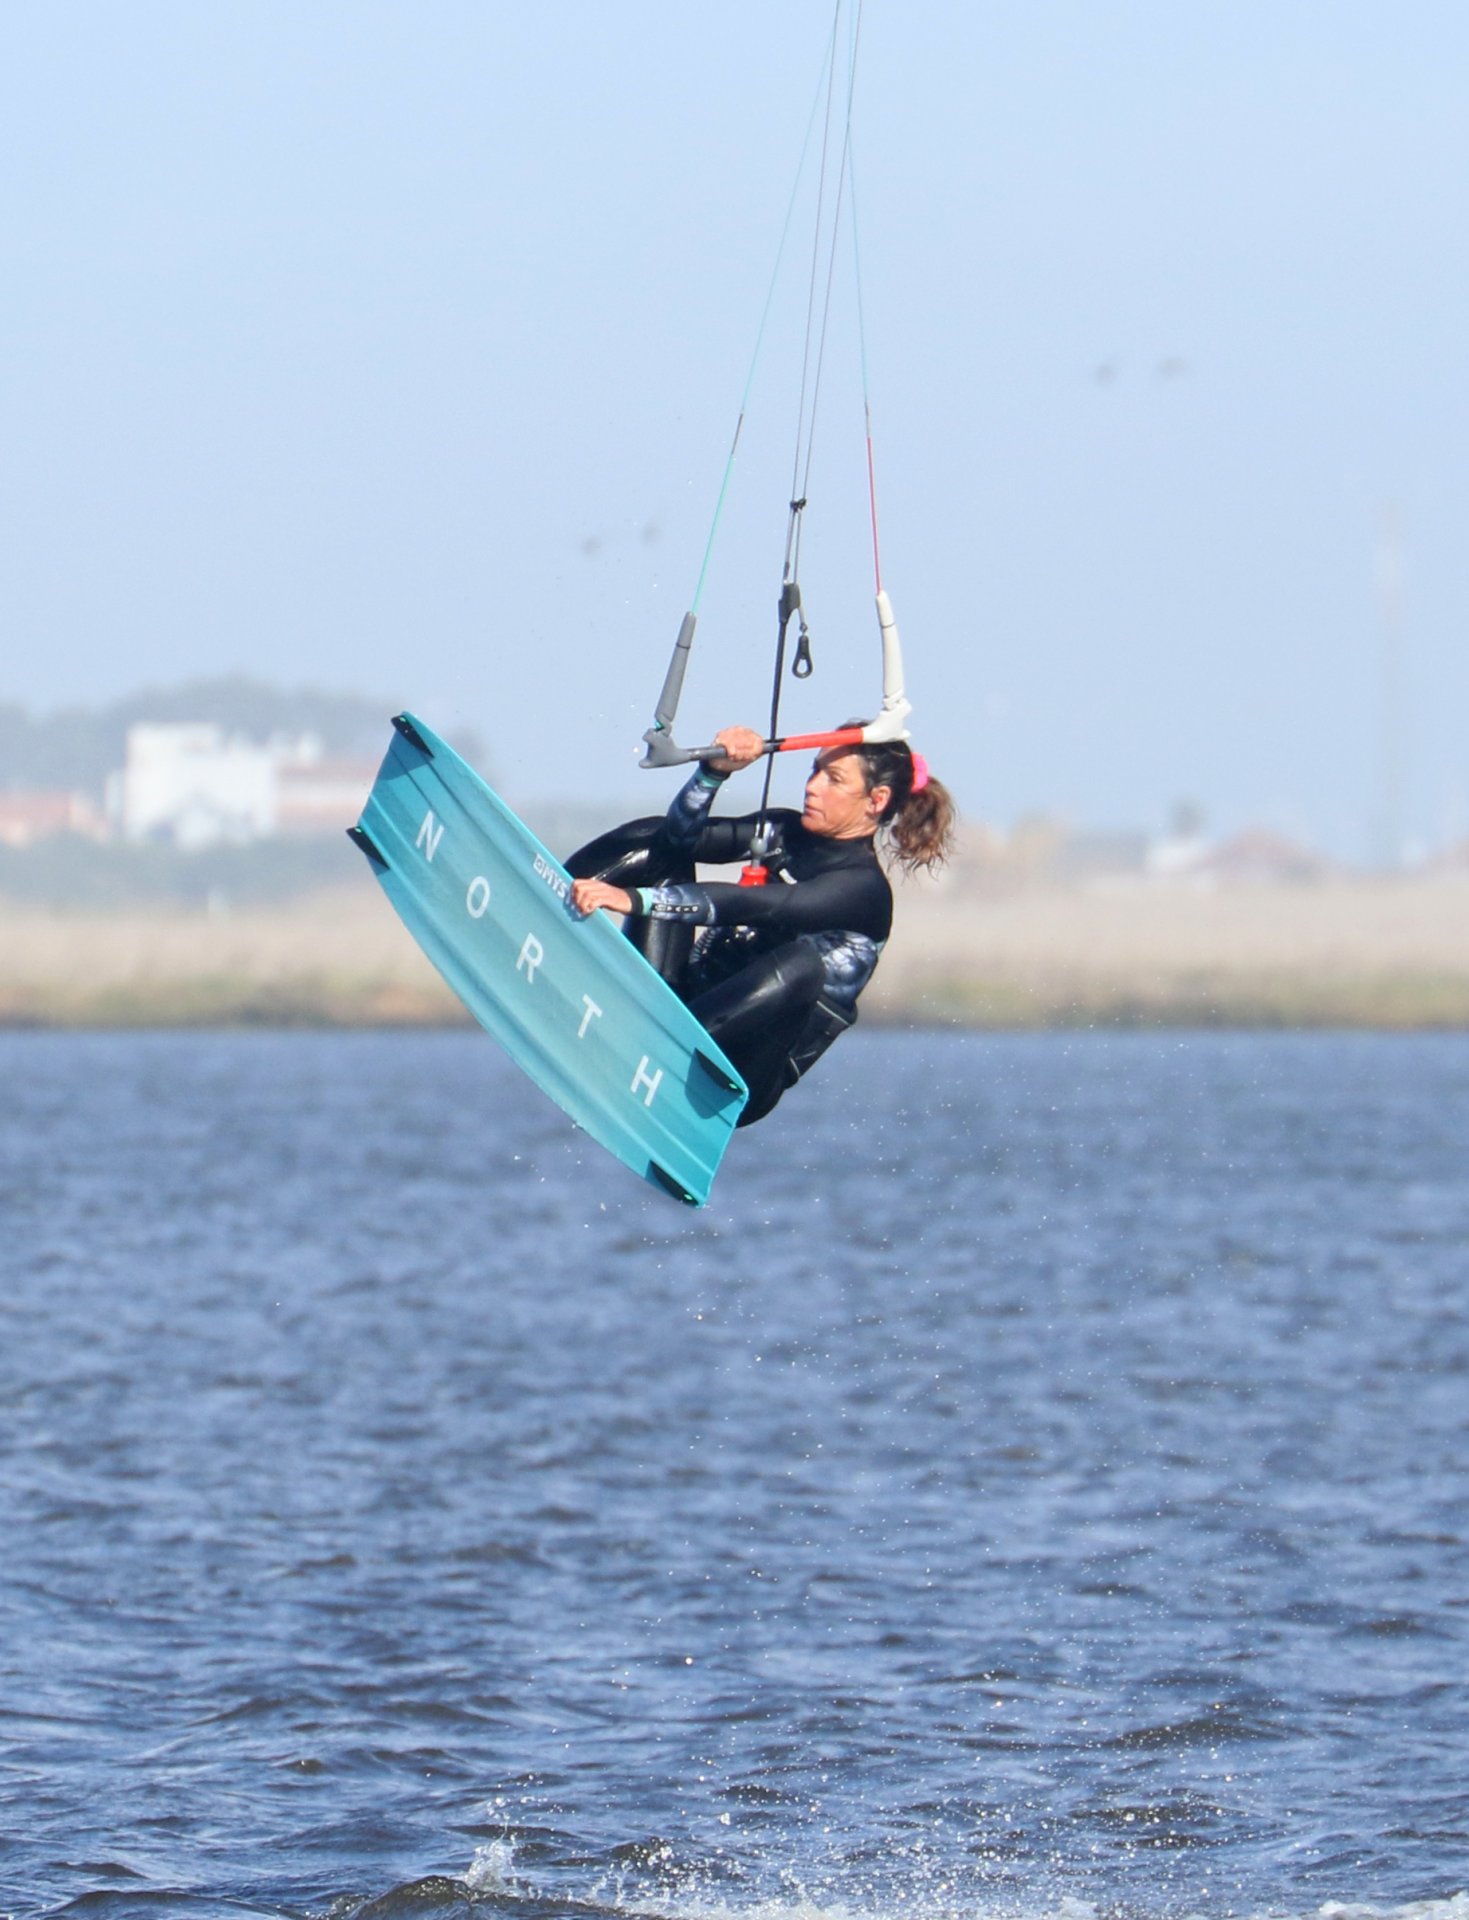
Take Off Pic B
In case you’re tempted to relax on you prior preparation laurels, your take off is equally salient. A good take off will help you up, encourage a slow rotation, give you time to grab, and will make the grab simpler to manage, whilst ensuring that the kite is near enough to where you want it. The slow rotation will come from you carving up into the wind by turning your shoulders. However, timing is everything, so once you’re carving it’s time to stamp off. Tempting as it is to wait for the kite, if you do two things will happen. Firstly, you’ll carve all the way through the wind, which will spin you into a faster rotation and give you less time in the air. Secondly your kite will move too far past 12 o’clock and you’ll have even less time in the air. As you initiate this early stamp you can level your bar and squeeze it in a touch. This will stop the kite moving further across the window, giving you both lift and float. And finally, as you extend, stamp and pop against your back heel, bear in mind that you’ll soon be wanting to get your legs back up, so keep tight and dynamic. Once again, over to Karine. You can see from her wake that she’s carved up, stamped early, before she reaches the eye of the wind, her bar is levelled and she’s squeezing it in. Her head is looking forwards, not over her shoulder. The result should be kite somewhere around 12 o’clock, she’s going up whilst rotating nice and slow. Easy does it.
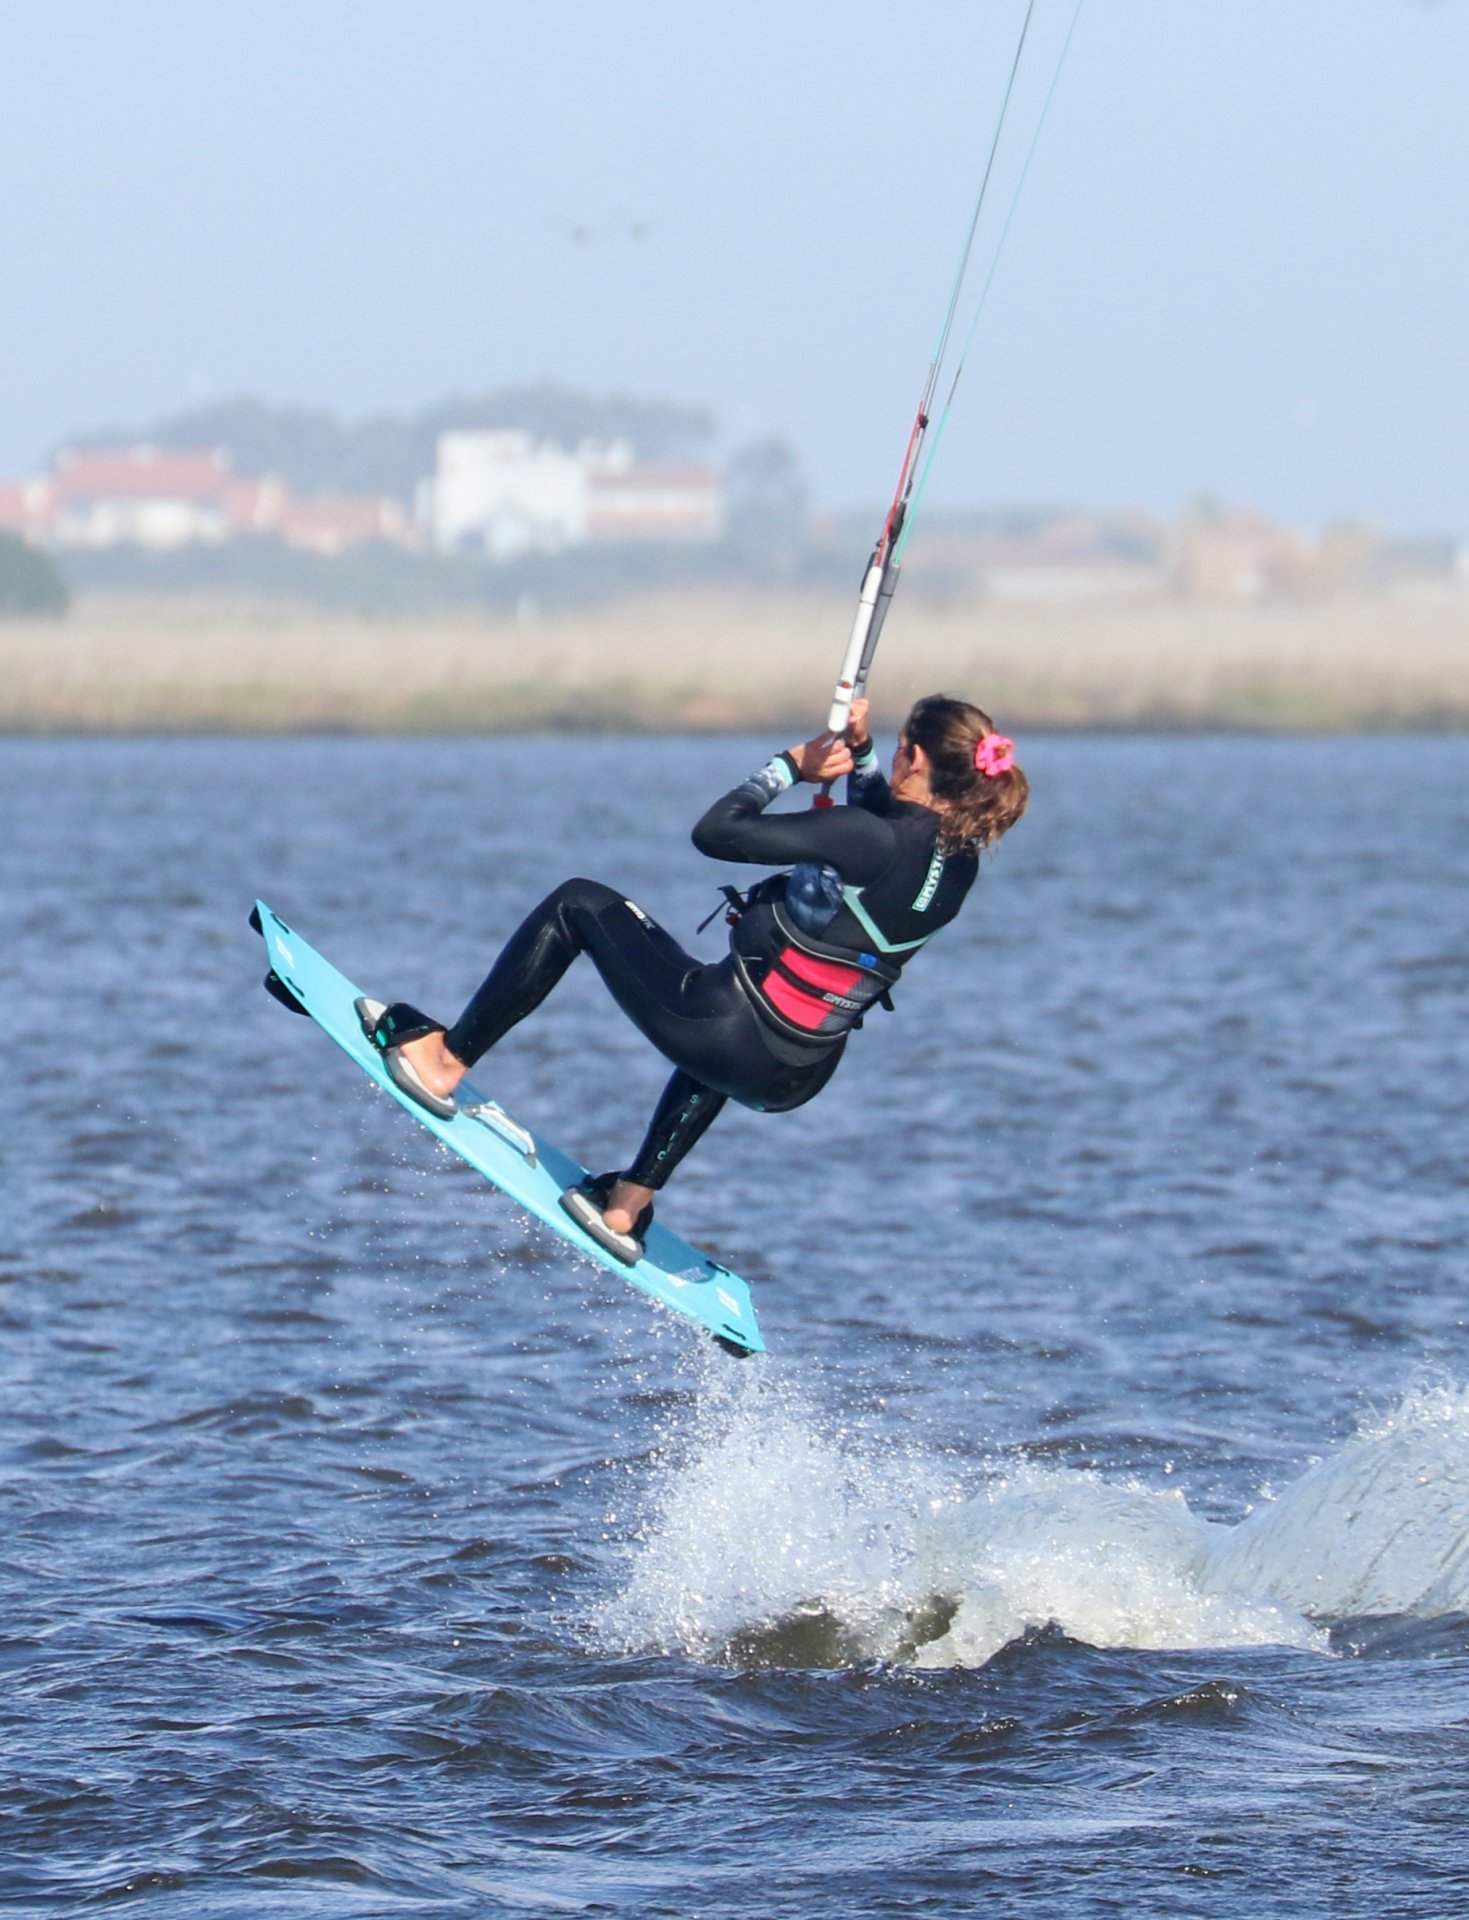
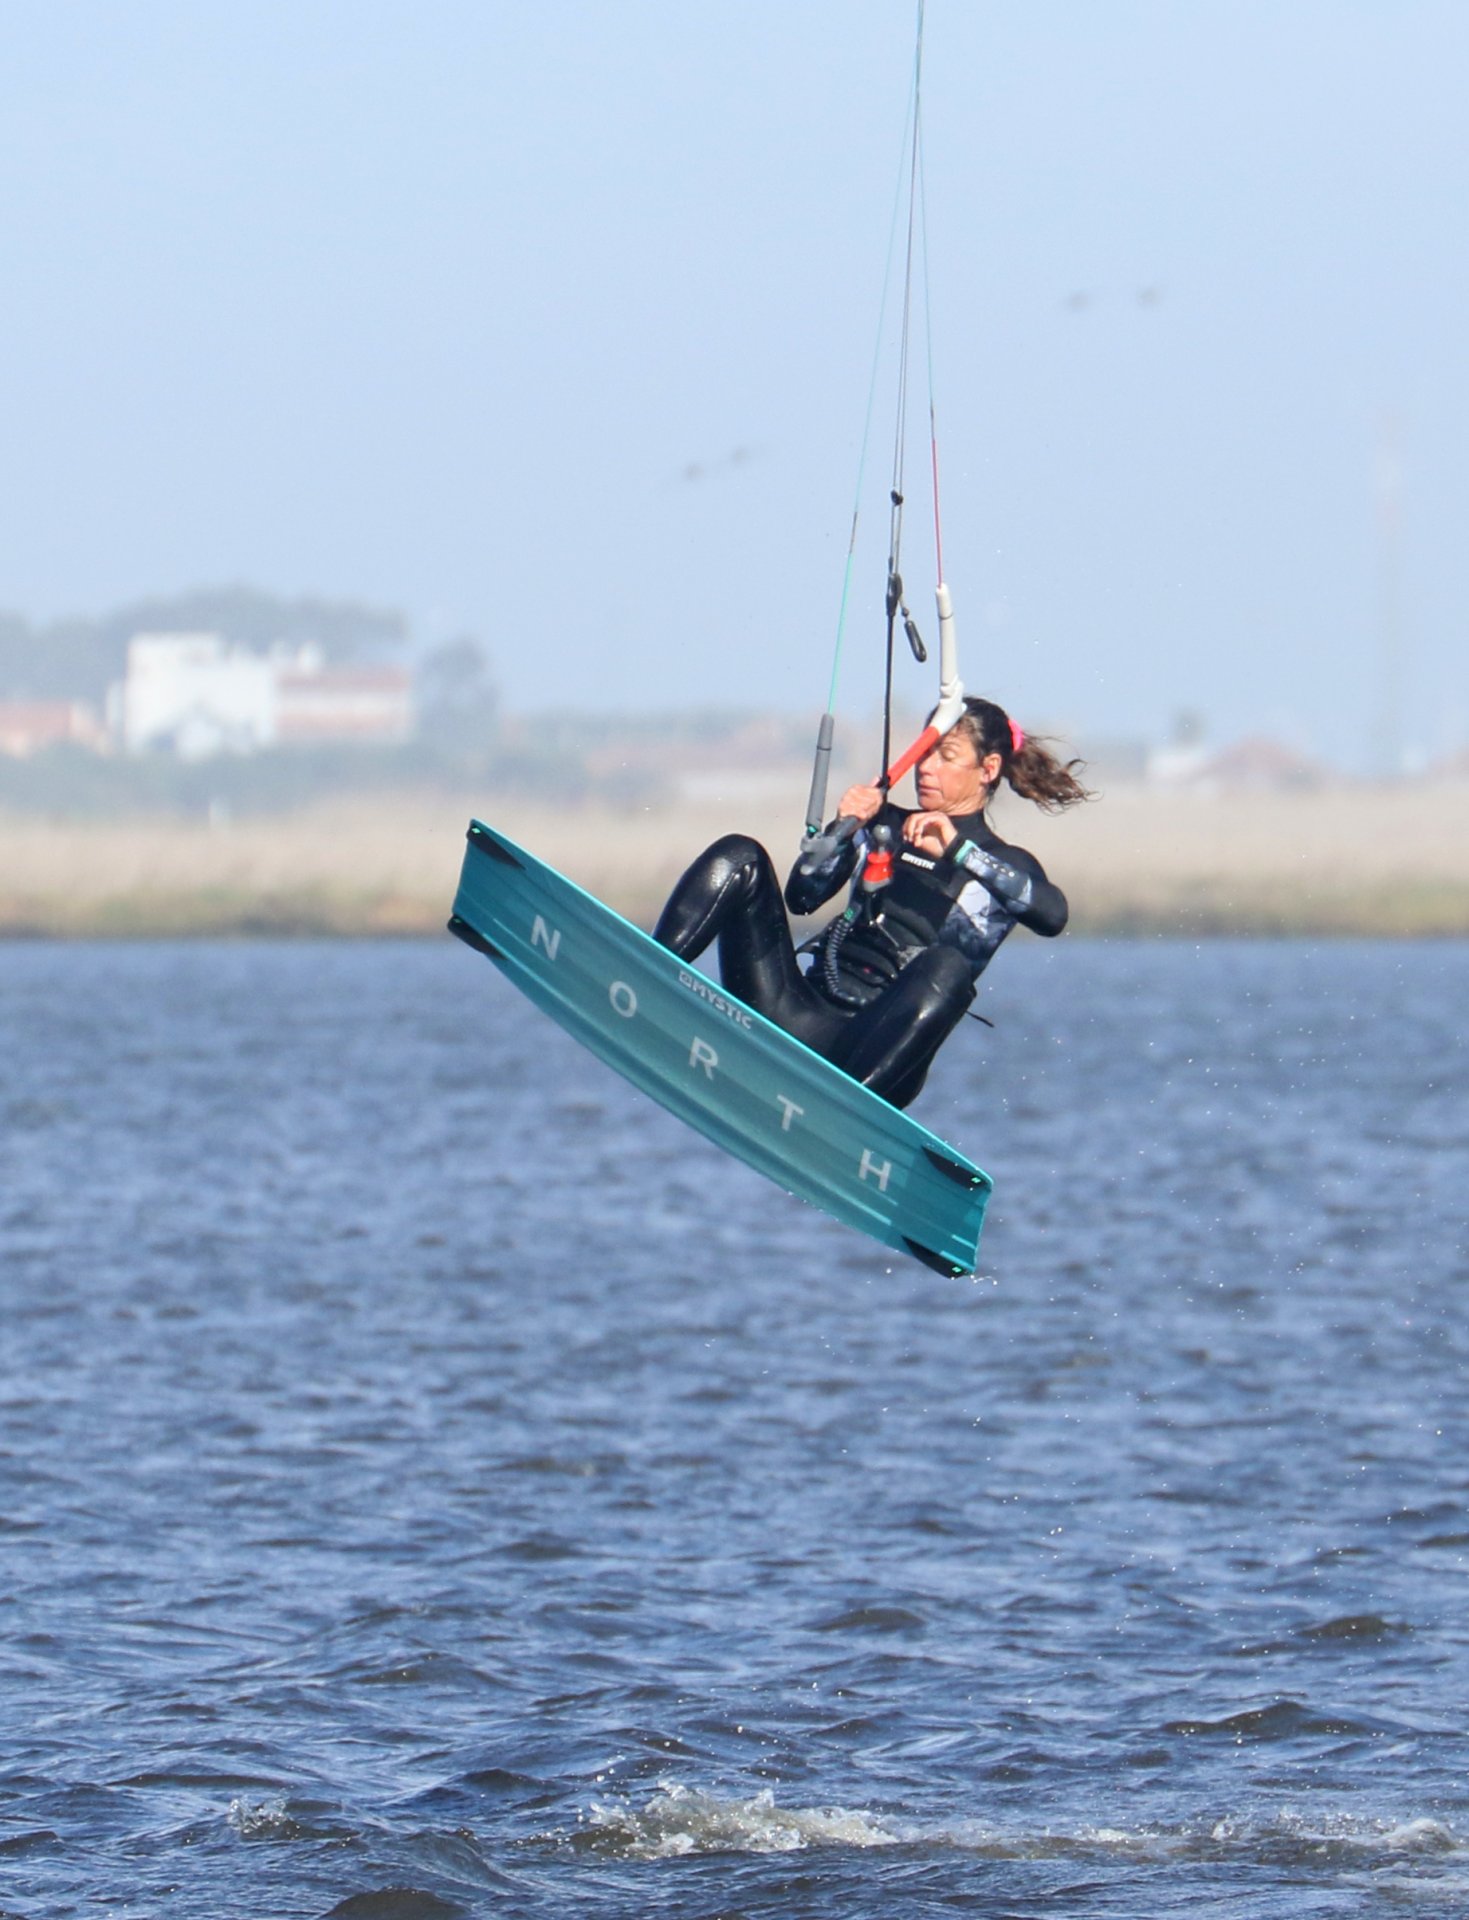
Work those abs Pic C
In anticipation of the grab your next challenge is to get the board up close and personal. As a result of stamping up and off against your edge, you will evidently be extended. So, the earlier you can fire the synapses into lifting your knees, the easier the grab will be. This is really where float and the slow rotation do everything to help, so keep the bar in and level, whilst keeping your eyes fixed on the board, which in turn will keep the rotation slow. This position will keep you balanced, maintain tension on the lines and give you time. You can see in the photo that Karine is focused on the toeside edge between her feet, and that her bar is in and level whilst she brings her knees up. With the bar level you’re also now in a comfortable position and can release your original front hand. You’ll be grabbing with this hand, as it’ll metamorphose into your back hand as you transition. The one staying on the bar is the one you’ll need to dive the kite.
Reach Pic D
Without wanting to sound like the scratched record that we so often do, here we go! The slow rotation makes this possible. Looking at Karine she is only 180˚ around from the upwind course that she kited into this move. This comes from your early stamp. Now hanging comfortably under the kite, she has all the time in the world to stretch out her free hand and reach between her knees towards her toeside edge as she pulls her knees in as close as possible.
Boom Pic E
Et Voila, here we have it, a decent grip on your toeside edge between your feet. Getting the grab will give you extra balance and you now have the opportunity to enjoy it for a few fractions of a second before it’s back to business as usual. In essence the higher you go and the slower that you rotate, the longer you will be able to hold the grab, as you’ll be able to reach it earlier in the rotation and have longer in the air. You can clearly see how Karine’s knees are up and how she’s reaching around the centreline and between her knees. This position is yours to hold until you feel that you’re dropping and in need of some power from the kite.


The Drop Pic F
As you start to drop, you can already start to dive the kite whilst releasing your grab, giving the bar a decent pull with your new front hand as the other one finds its way back to the bar. Getting the power on will help considerably with your landing. You want the kite diving down through the window, towards the water, not creeping around the edge of the window, so don’t be shy.
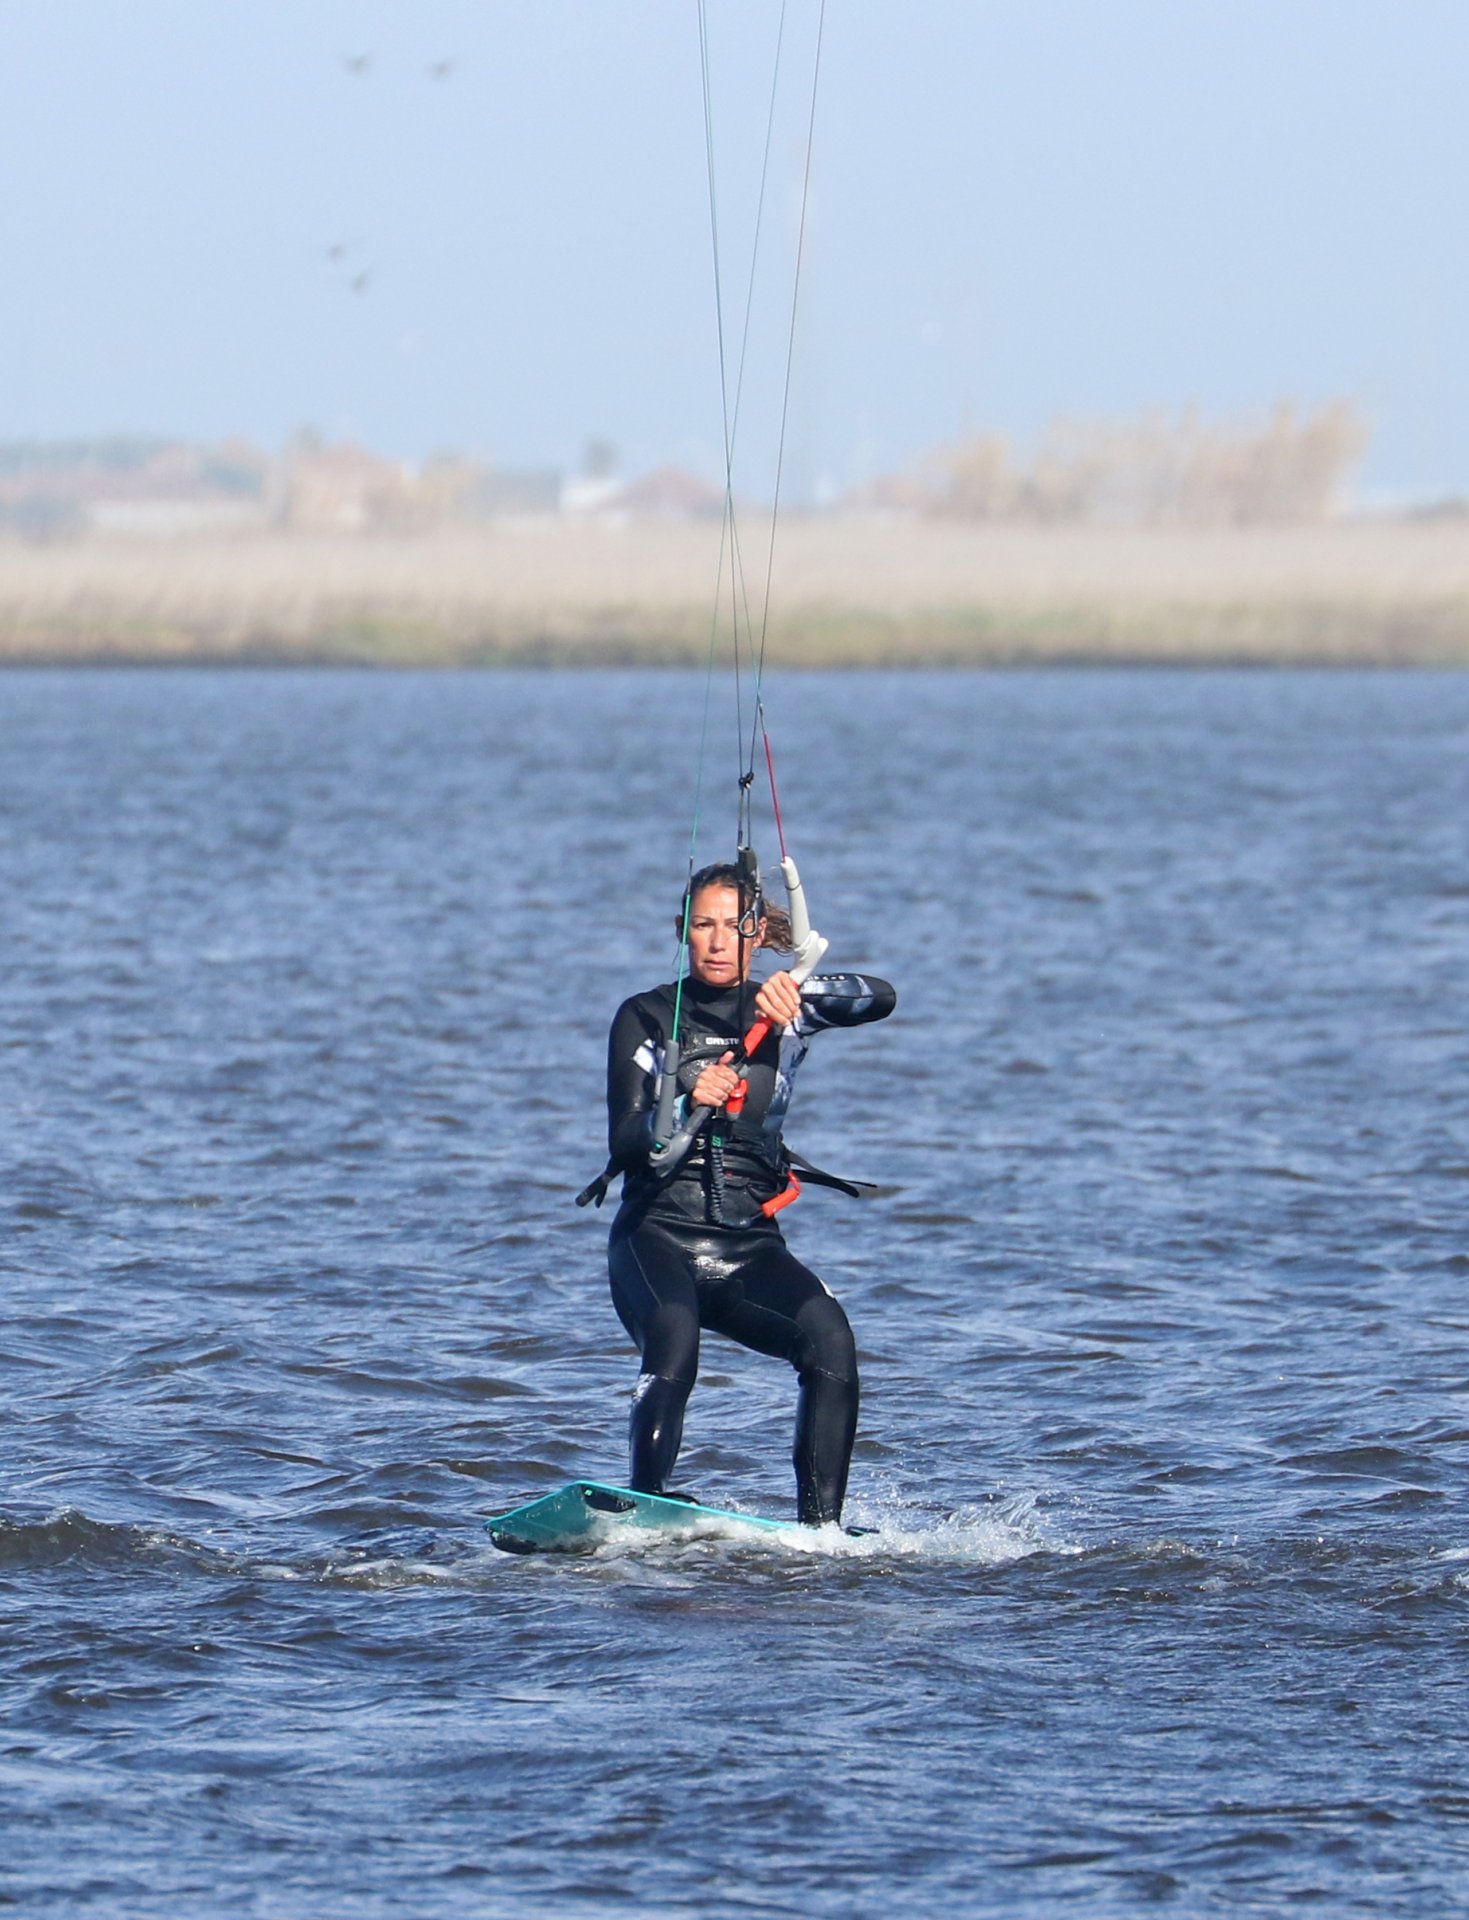
Marshmallow Pic G
For the softest of landings, you’ll need the hardest of dives. Now with the kite diving down, the power will pull you towards it, downwind. This enables you to land tail first, onto a flat board. You’ll land on the board, not breaking against an edge, the board will pivot and follow the kite whilst you keep everything dry as a bone. Once you’re balanced you can turn back onto your edge and steer the kite back up.
Top Tips
Promise, last time - that slow rotation! If there’s one thing to practice as an obsession, it’s ensuring that you stamp early before you’ve carved through the wind, extend up rather than roll back, and keep your head looking forwards rather than throwing it over your shoulder. The beauty is that this won’t only help your BLT with any form of grab but will open the doors to a universe of back rotation moves that all require the same control from take-off.
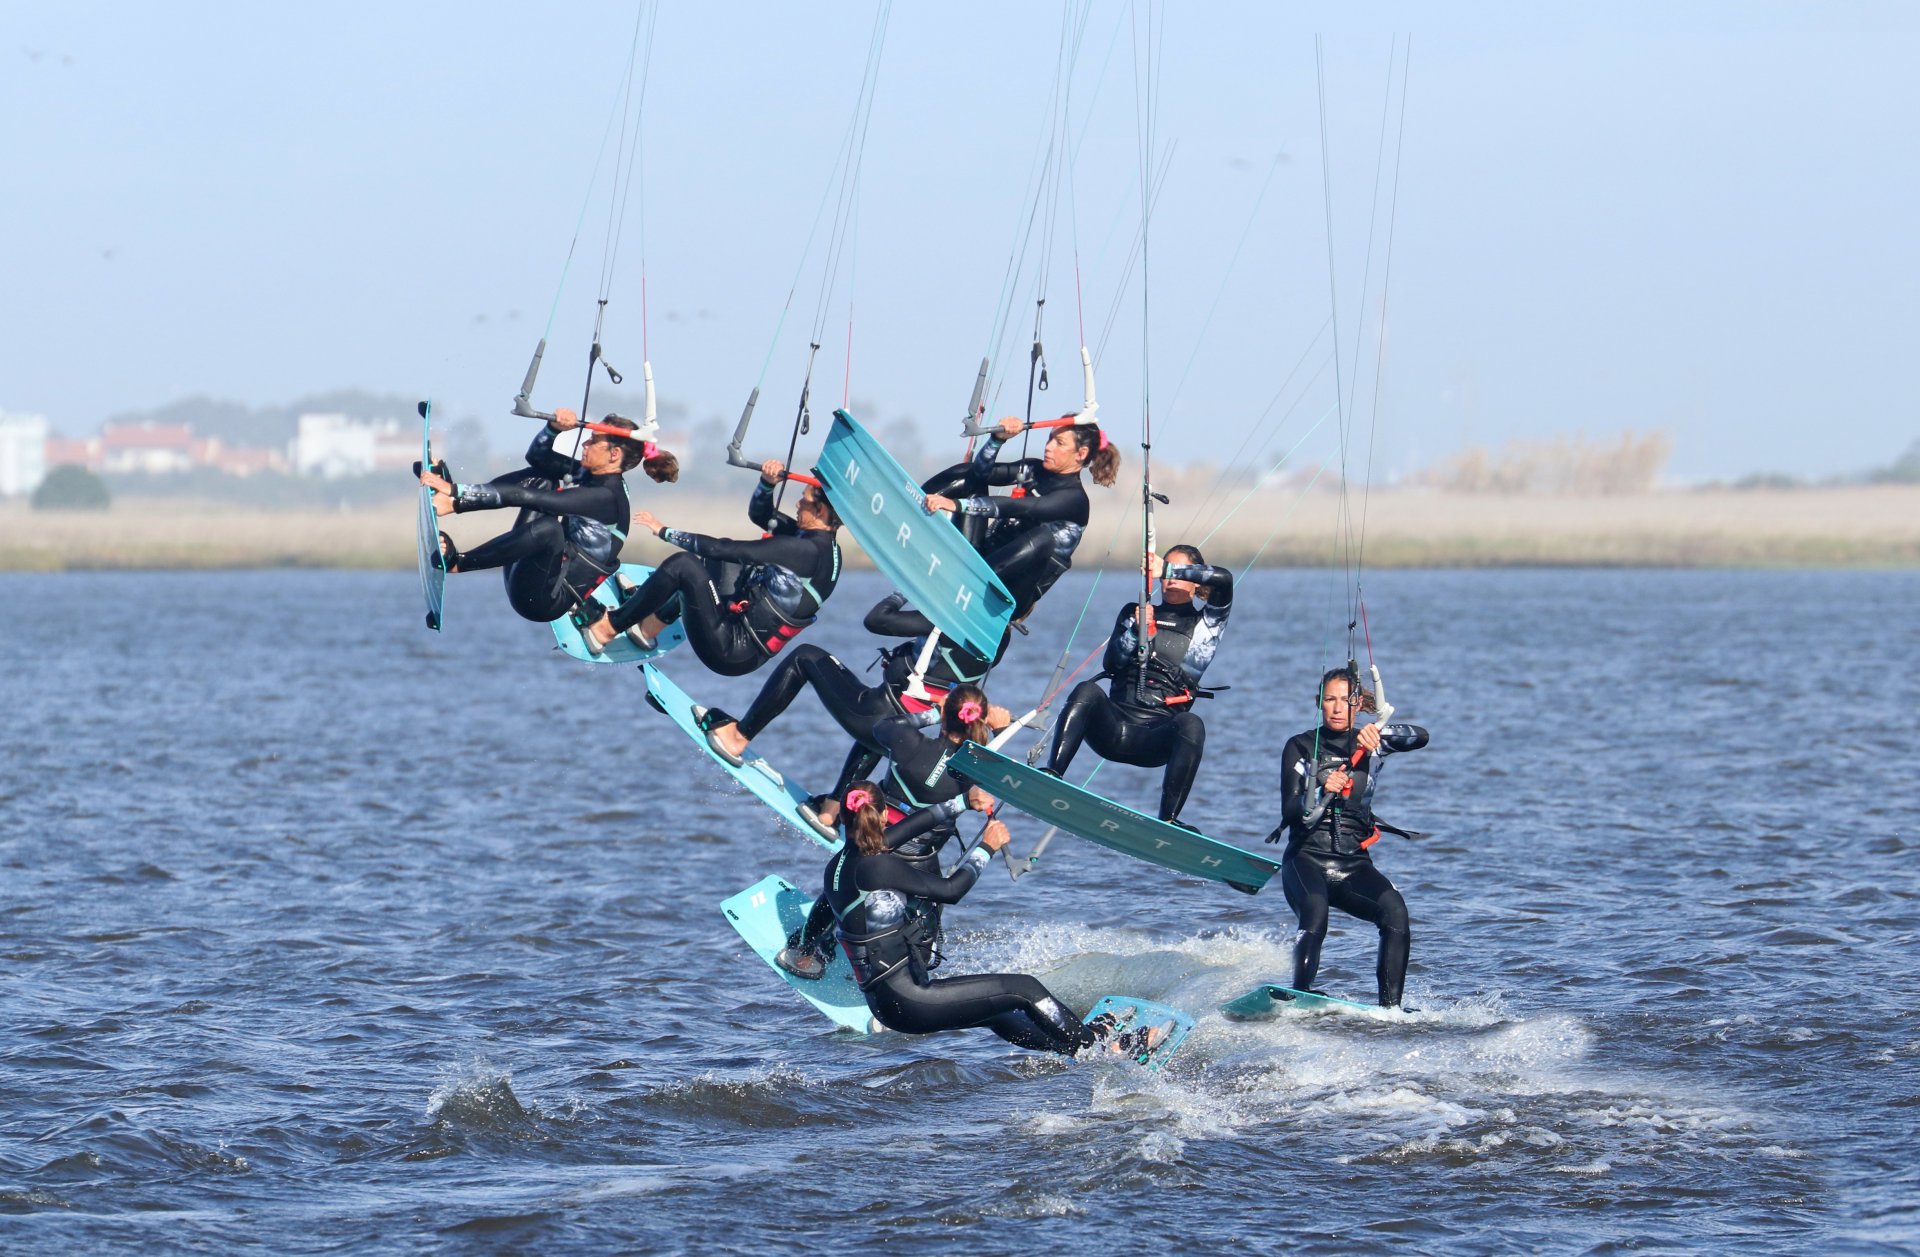
Now have a good gander at the sequence and if the videos are now up, watch and absorb. If they’re not, we apologise. We’ll add them as soon as the situation allows.
Common Problems
If you find that the kite always moves too far during the move, the chances are that you are not sending it aggressively enough, and instead just drifting it up as you carve into the wind. To combat this, make a point of parking it at 11 or 1 and only moving it with a committed bar movement. AND always level the bar as you stamp.


If you are rotating too quickly it will be difficult to get the grab. Slow back loops are a fundamental move to many tricks and under doing it is key. Use your carve and pop to get around, stamp early and don’t throw your head and shoulders into this move.
Keystones
- Control your speed
- Short, sharp send
- Carve with early stamp, level bar
- Knees up quickly
- Aggressive dive, downwind landing
This technique article was in Issue 85 of IKSURFMAG.
Related


By Christian and Karine
Christian and Karine have been working together as a coaching team, running improver to advanced kitesurfing clinics since 2003.
