Beach Start Back Roll
Technique / Intermediate
Introduction
If you want to drop the clutch, pull the pin and start with a bang, there aren’t many moves which offer such instant gratification. Assuming that you nail it, the rest of your session could be mere languid Sunday afternoon lawn management, and you’ll still be grinning like a Cheshire Cat by the time you pull your keys from the ignition and stroll through your front door.
A couple of minor details that should be delivered before we proceed. Firstly, this is a move for offshore or cross offshore spots. If you’re devilishly brave, foolish or extremely accomplished, it’s vaguely possible with cross shore. However, under no circumstances should the light bulb spark with any inkling of onshore on the menu. Secondly deep water is what makes kiting both fun and safe, a sport of aerial gymnastics with a splashing consequence. Few spots have the luxury of deep water right next to dry sand, and as with everything, nothing is certain. If it’s not deep enough to fail spectacularly, it’s not deep enough!
Prerequisites would be a back roll, even better a front roll, although we’ll come onto that shortly, and we can’t ignore the fact that your jumping beach start should already be a thing of great beauty. For the sake of learning we’re using a fairly offshore beach, with a tiny bias so that going left takes you out further, whilst going right gets you back. As such Karine will be jumping up and heading left, although by the very nature of jumping with a kite, she will also fly considerably downwind when she gets airborne. With this in mind, here we go!
UAP Pic A.
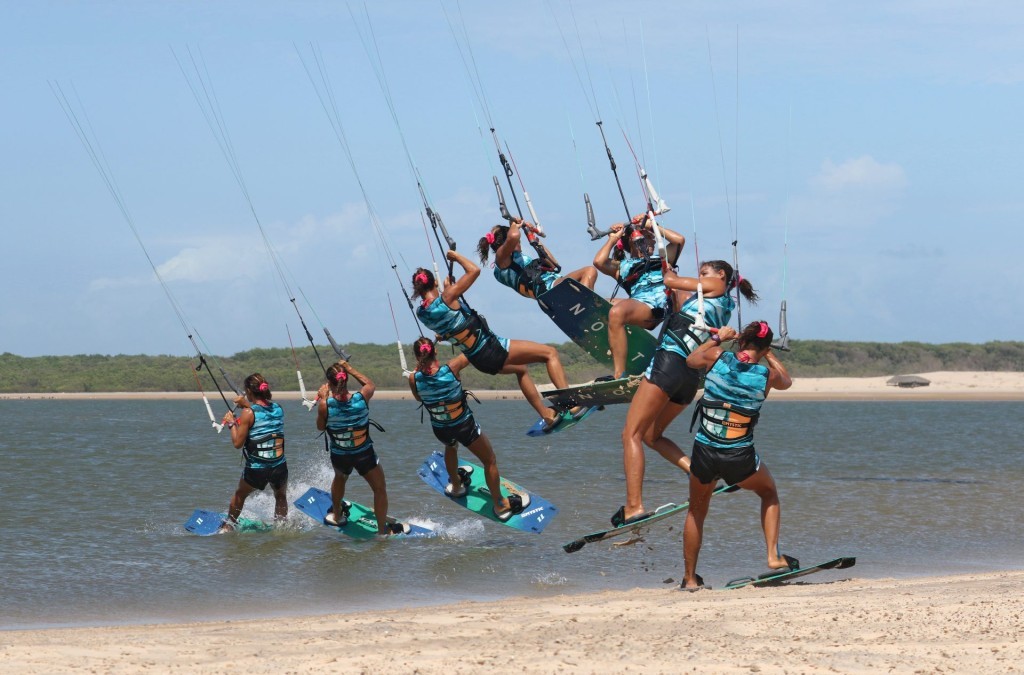
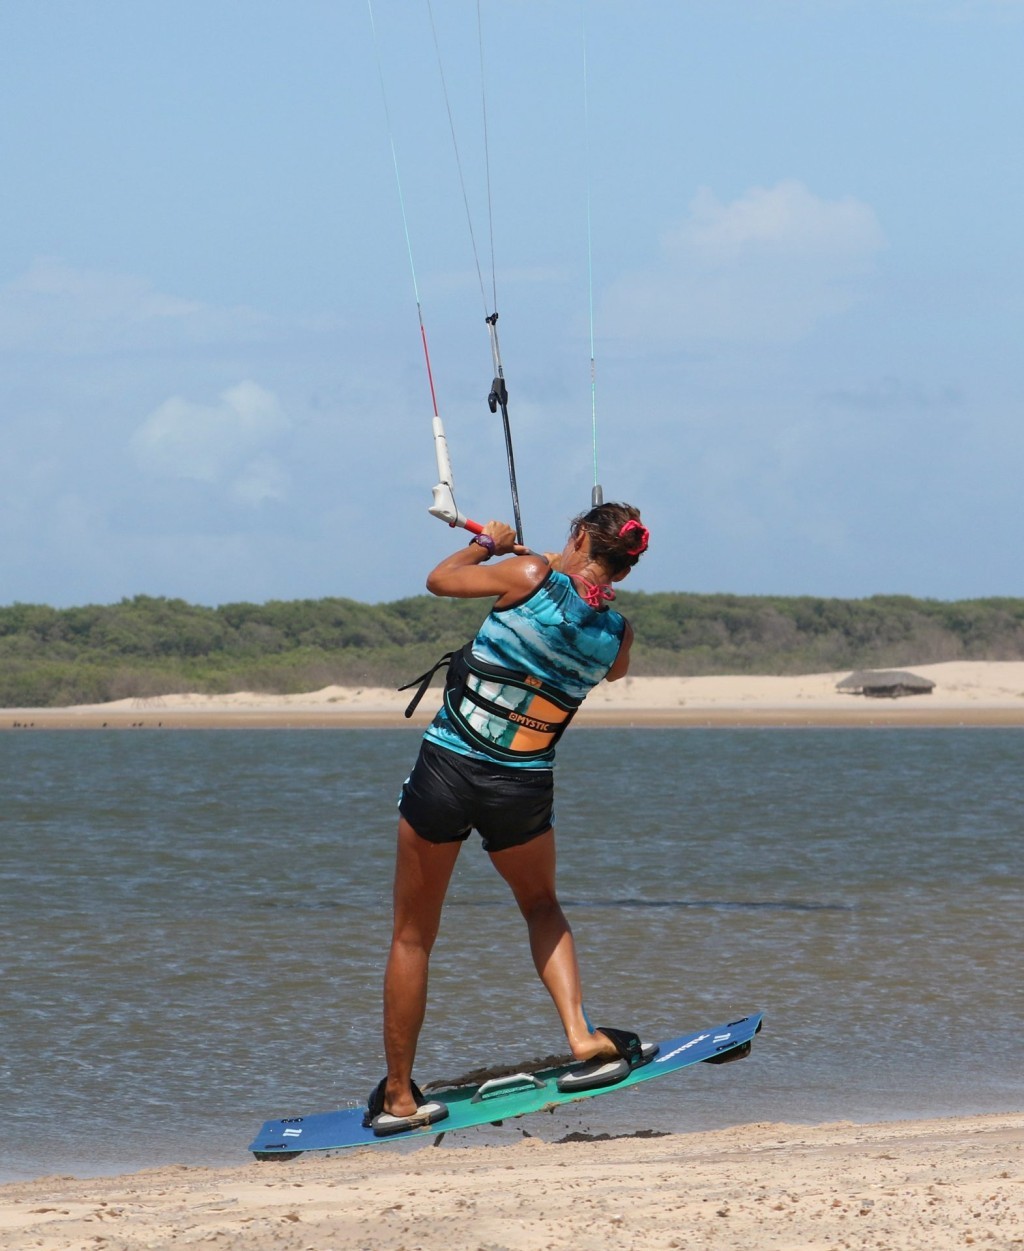
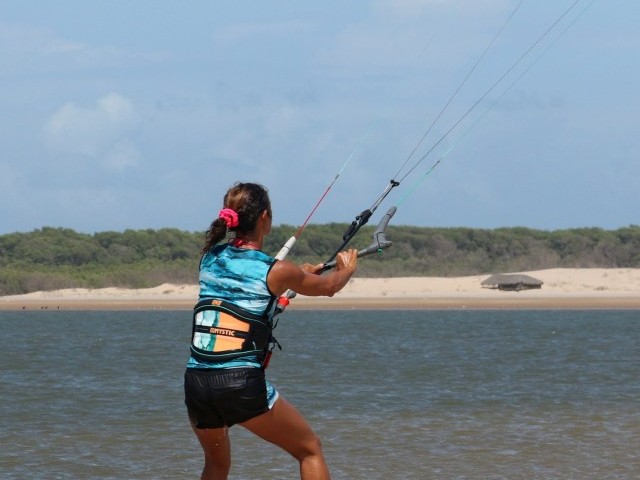
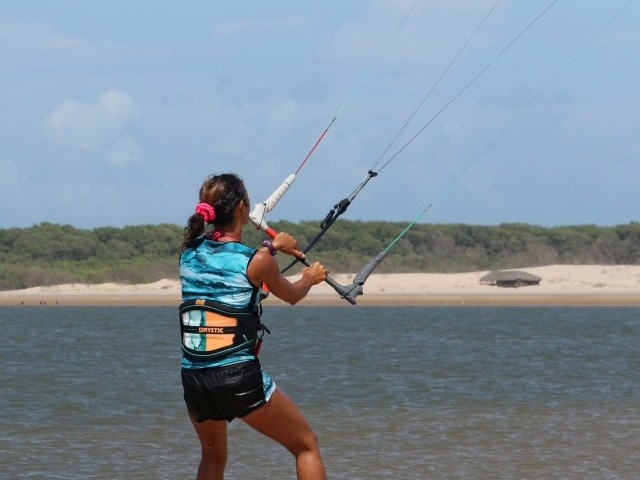
Universal Athletic Position, ready or first position as most of us might refer to a certain stance whilst preparing to receive a serve, make a tackle, kick a ball or lift a weight. Normally in these pages we focus on the approach, however seeing as we’re starting from a standstill it seems sensible to bring things back down to earth. Your ready position should start with you putting your board down across the wind. With your kite at 12 o’clock you can then step into the straps. Now drift the kite back slowly behind you, in this case to just past 1 o’clock. If you pull a little on the bar you should feel some pull as the kite drops deeper into the window. Now wiggle your board so that you can comfortably lean gently against this pull. Now your board is in the perfect position for the jump, probably slightly further back than dead across the wind. You can see that Karine has found her UAP, she’s holding some power in the kite and has dropped her weight slightly to counterbalance it. To make sure she’ll get enough air, she has trimmed her sweet spot away and out and feels to make sure that there is enough power for this move. Weight should be balanced equally between your feet and the kite should have some pull even at standstill.
Resist & Send Pic B.
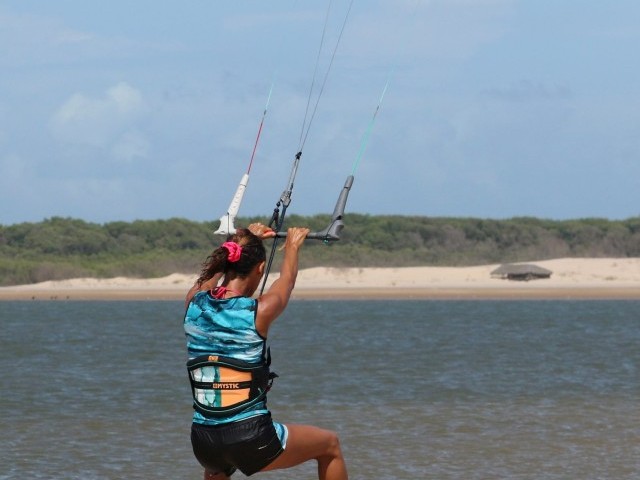
It’s worth reminiscing back to your first beach start jumps. There’s a pretty high chance that the first few times you moved your kite gingerly and not a lot happened. You’re not moving, static on a beach, so there is no apparent wind in the kite. It’s your job to produce it. The faster the kite moves the more power it will generate, so don’t be shy, give it some beans! That said you must make sure that you turn the bar on the sweet-spot. It’s way too easy to yank the bar in as you steer the kite, which will only choke and stall it, resulting in all the pull coming from in front rather than above. In the picture, Karine is push-pulling the bar on the sweet-spot, watching as it rises, whilst keeping her weight back, resisting and adding tension in the lines, so that the kite turns quickly and heads up and across the window with purpose.
Drop & Breathe Pic C.
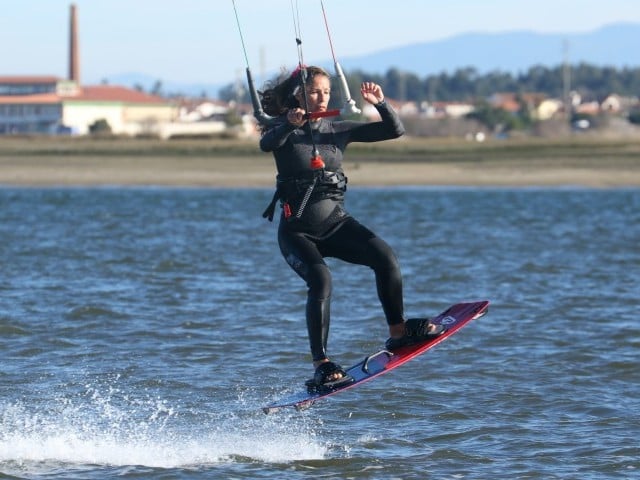
If you send the kite correctly it will turn and motor up and across. Whilst it moves it will start to pull harder, and as such you need to resist more, rocking back onto your heels. You also want the kite to go up towards 12 and the edge of the window, as this will give you maximum lift. To guarantee this, you need to let the kite breath as it powers, so feather the bar out as the kite rises. You also need to resist the upward pull of the kite by squatting down further. And finally, once the kite is moving up you can level the bar as you don’t want it swinging wildly across to the other side. You can see that Karine has let the bar out, allowing the kite to climb towards 12, she’s squatting with her weight on her heels to resist and she’s levelled the bar. Game on.
The Different & Rather Crucial Bit Pic D.
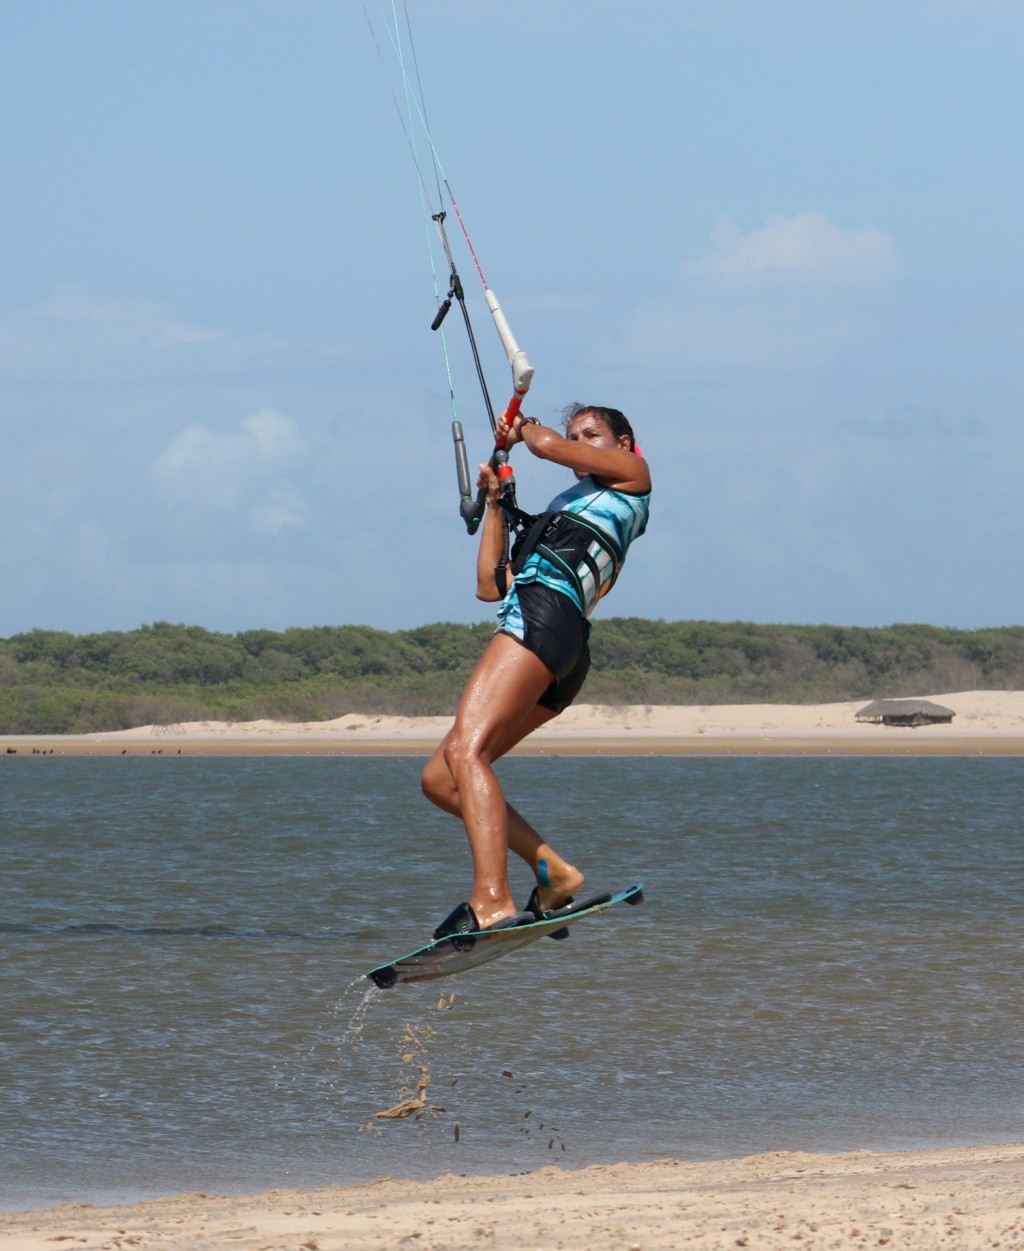
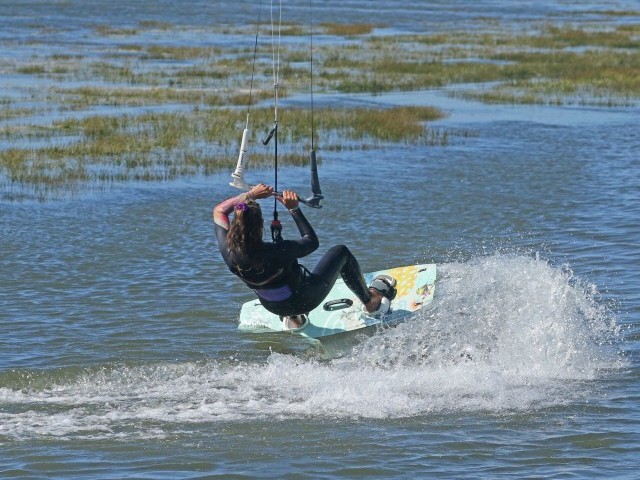
We can all agree that up to this point it’s been a pretty standard Beach Start Jump, even if you’ve garnered some extra tips along the way. Now, however, you can rip up the blueprint and rebel with a rotation. Depending how your brain works will depend how you think through this next bit. Looking from the beach, or the water you will be performing a back rotation relative to the direction both the kite and you are going. Karine is definitely “doing” a back roll to the left. What’s different is the catalyst for the rotation. When you’re on the water the energy for our rotations comes from our back foot. Here as you take off, you’ll be kicking off your front leg to initiate the rotation. For some, you may well consider this a front roll to the right, but heading left, a stationary front roll transition. Whichever way you see it, the required mechanics are the same:) Once the kite reaches 12 you stamp off your front foot, kicking against the edge and upwind to keep tension on the lines, whilst throwing your head and shoulders towards the tail of the board, behind the bar, to get the rotation going, whilst pulling in on the bar to get maximum lift. This movement can feel counter intuitive as you’re exploding up whilst throwing the rotation against your intended direction of travel. Once again, if you’re on the edge of deep water with the wind blowing offshore you’ve got nothing to worry about. Here Karine has exploded up, adding height to the pull from the kite, whilst kicking herself towards the tail of the board, throwing her head and shoulders down and around behind the bar.
The Proof Pic E.
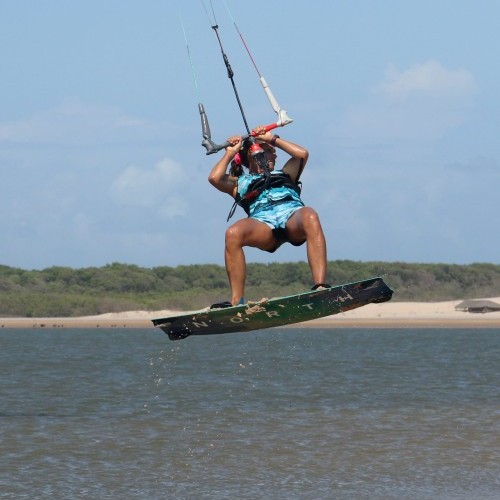
Rather than being a separate part, we’ve added this to show the moment immediately after take-off. Karine’s position is the exact same as from her kick up and off the beach. Her back leg is extended, front leg is flexed, head and shoulders leaning towards the tail of the board, bar in and level. Nothing has changed, but she has already rotated significantly, she’s up in the air and the kite is pulling her out from the beach. Perfect. As you leave the beach it is possible to get disorientated, as with any rotation, but more so here because you rotated against the flow of the kite. As such less is more. If you do nothing but freeze, the kite won’t surprise you and you’ll continue to rotate. Whereas if you concentrate on trying to work out where the kite is and where you are, it can become a bit of a lottery.
At Home Pic F
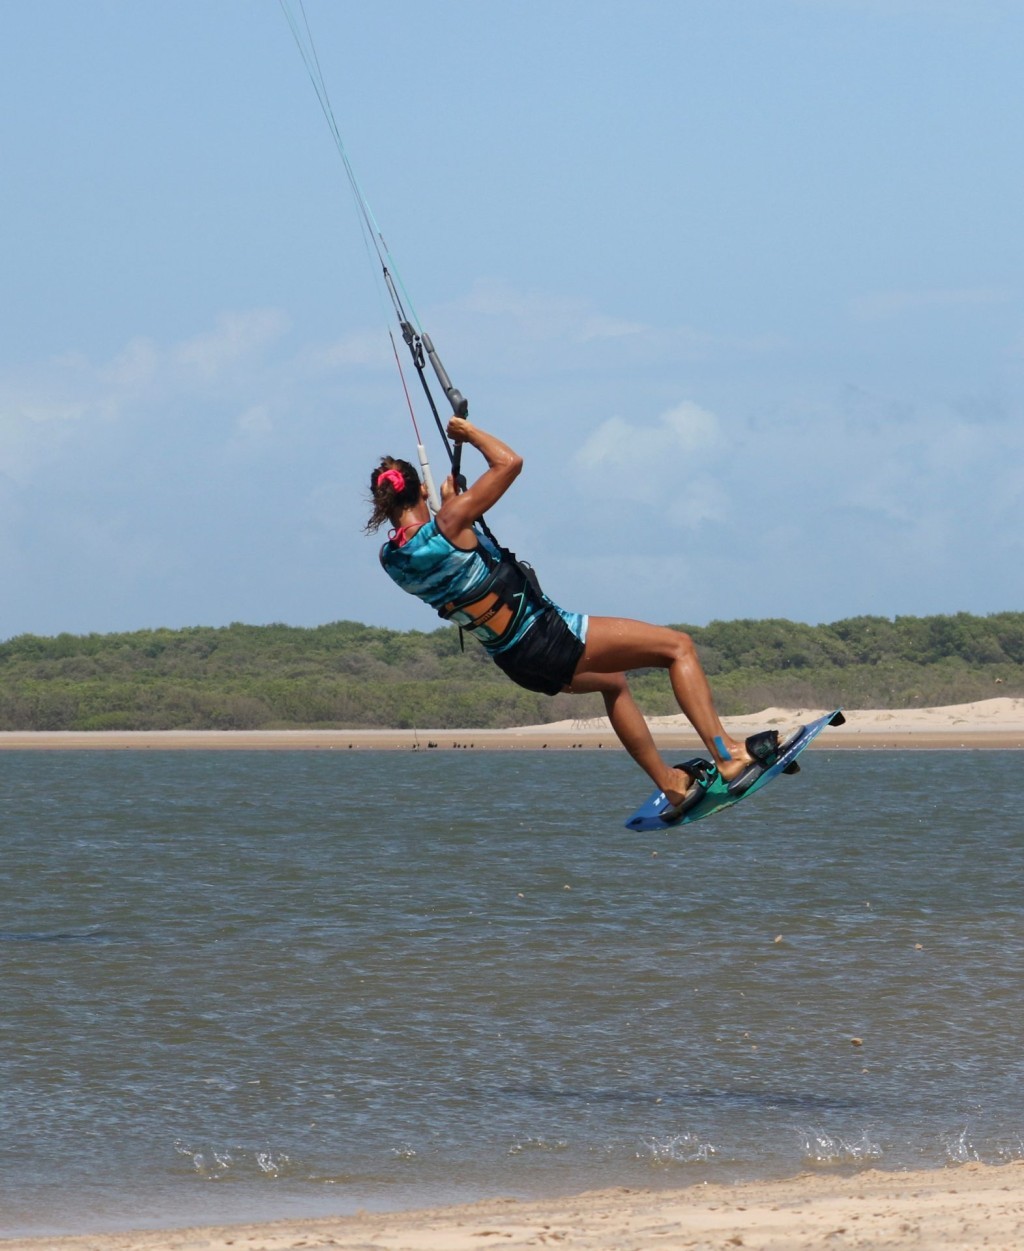
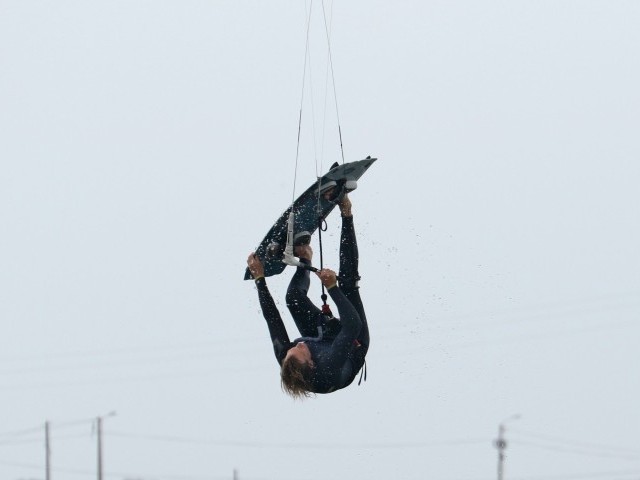
Once the initial surprise is over you should feel right at home. Bring your knees up to help continue the rotation, look over your shoulder to lead the rotation and keep the bar level and in, to both keep the kite above you, and also to make sure that it pulls you downwind and away from the beach. It’s here that you’ll also appreciate your dynamic sending of the kite. Even though you have it above you, you generated a decent amount of forward inertia, so you will be travelling forwards as well. Karine is in full flight mode, knees up, bar in, head turned.
Bread & Butter Pic G.
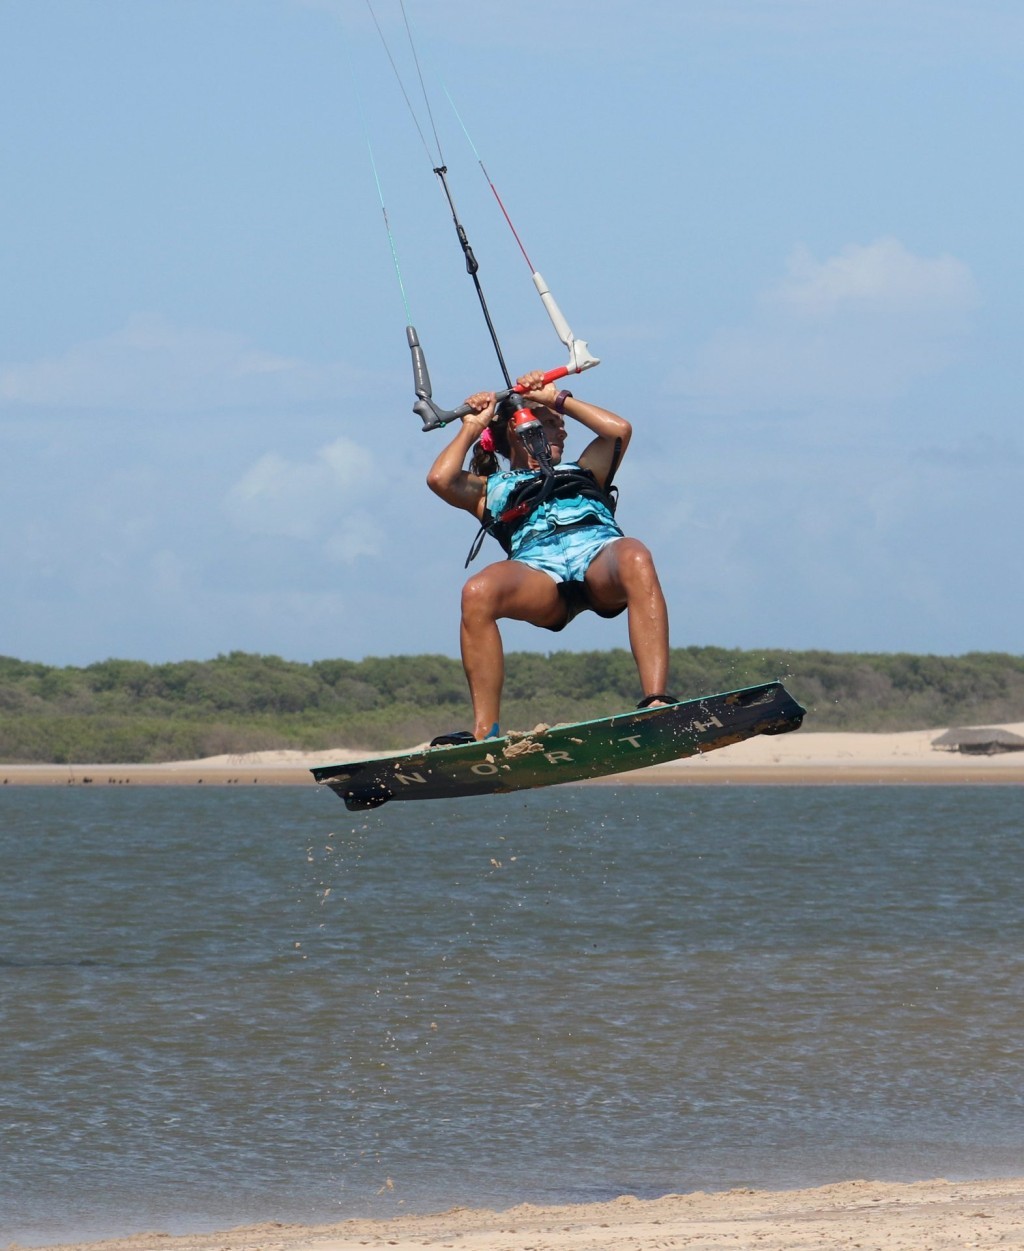
As you come around the ending should be something that you’re well versed in. Looking over your shoulder you’ll see where you’re going and when you’re coming around the rotation. As you drop you can lower your legs and dive the kite hard to pull yourself downwind for a soft landing and a well deserved claim. As expected Karine has dropped the undercarriage, is looking where she hopes to land and is diving the kite hard for a pleasant down wind, tail first landing.
Top Tips
Deep water and offshore wind! Seriously - you’ll have oodles more confidence if it doesn’t matter that you mess up.
As with all moves, get yourself accustomed to the conditions with one part before adding the next. Bang out a few beach jumps and once you’re comfortable add the rotation.
Line tension and sweet spot mean everything. If you don’t resist, you’ll have no height and travel, but if you replace resistance with brute force and choke the kite, you’ll gain nothing.
Have a look at the sequence and videos for the step by step and real time run throughs.
Common Problems
If you find that you’re not getting enough height on your jump. Chances are that you’ve either trimmed too much, don’t have enough power or are being too gentle with the send. That said if you’re moving the kite well but you’re not going up you might be trying to jump off your toes rather than with your heels against the edge. Make sure you drop your weight back.
If you’re getting up and around but land unbalanced on your side, it’s because the kite has travelled across the window to the other side. The good news is that you must be sending it. Make sure though that you level the bar before exploding up. This way the kite will slow considerably and stay more above you as you rotate. Watch Karine again and you’ll see how she really stops the kite by levelling the bar before springing.
If you’re not rotating, it’s a sign that you’re not using your front leg and you’re going forwards with the kite rather than back and behind. As the kite moves up, picture your head back and around your centre line, which will require some effort if the kite slows at 12 o’clock.
Keystones
- Set up a solid ready position
- Decent send, push-pull
- Bar out and level
- Front leg kick, head and shoulders back
- Bar in, look for landing and dive
This technique article was in Issue 79 of IKSURFMAG.
Related
By Christian and Karine
Christian and Karine have been working together as a coaching team, running improver to advanced kitesurfing clinics since 2003.


