
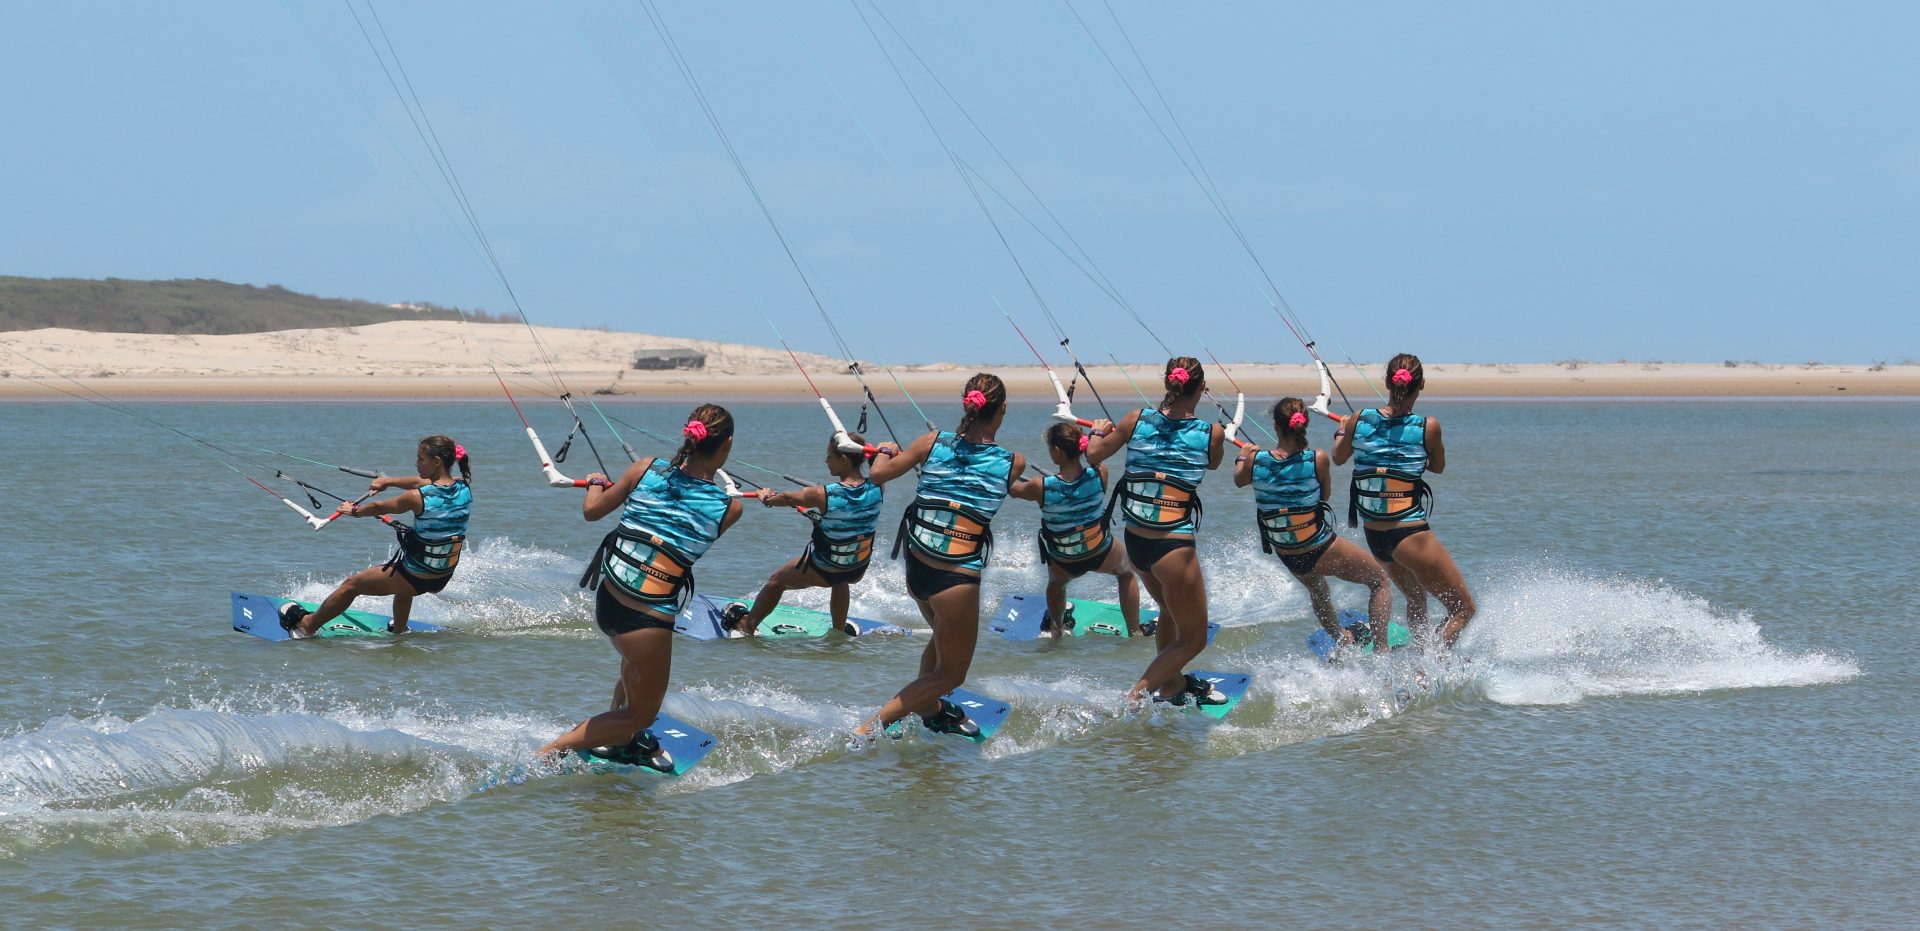
Twin Tip Toe to Heel Carve with Downloop
Technique / Beginner


Introduction
Last issue, we took you through the heel to toe carve with a downloop, or as we prefer to call it, an under turn. Well, it's time to meet the rest of the family! May we introduce you to the toe to heel carve with the very same downloop. If by chance you didn't read the previous instalment, rest assured that this is a beautifully achievable move. It is made considerably easier if you're already versed in the art of a standard slide turn transition with said downloop, but even if you aren't, as long as you don't have too much power and plenty of space, who's to stop you?
Before we continue with the crucial moments of this move, it's worth giving a thought to what you'll be trying to do. The plan is to come rocking in on your toes with the kite high, flatten the board off, so that you're not resisting, and then steer the kite quickly down (downloop), under (under turn) and back up the other way by pulling on your front hand and pushing on your back hand whilst you carve around onto you heels. The pleasure of this is the pull that you'll get as you carve around, giving you the possibility to exit your turn with speed and the wind in your hair.


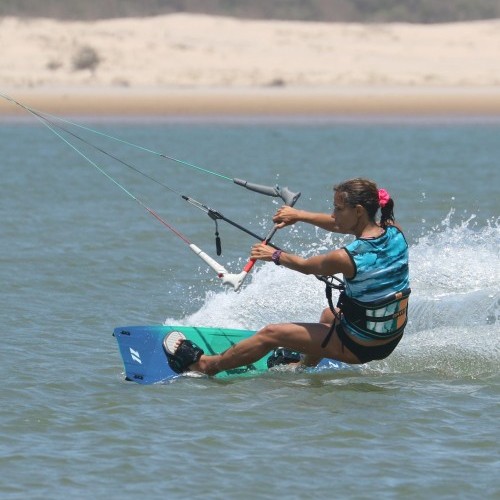
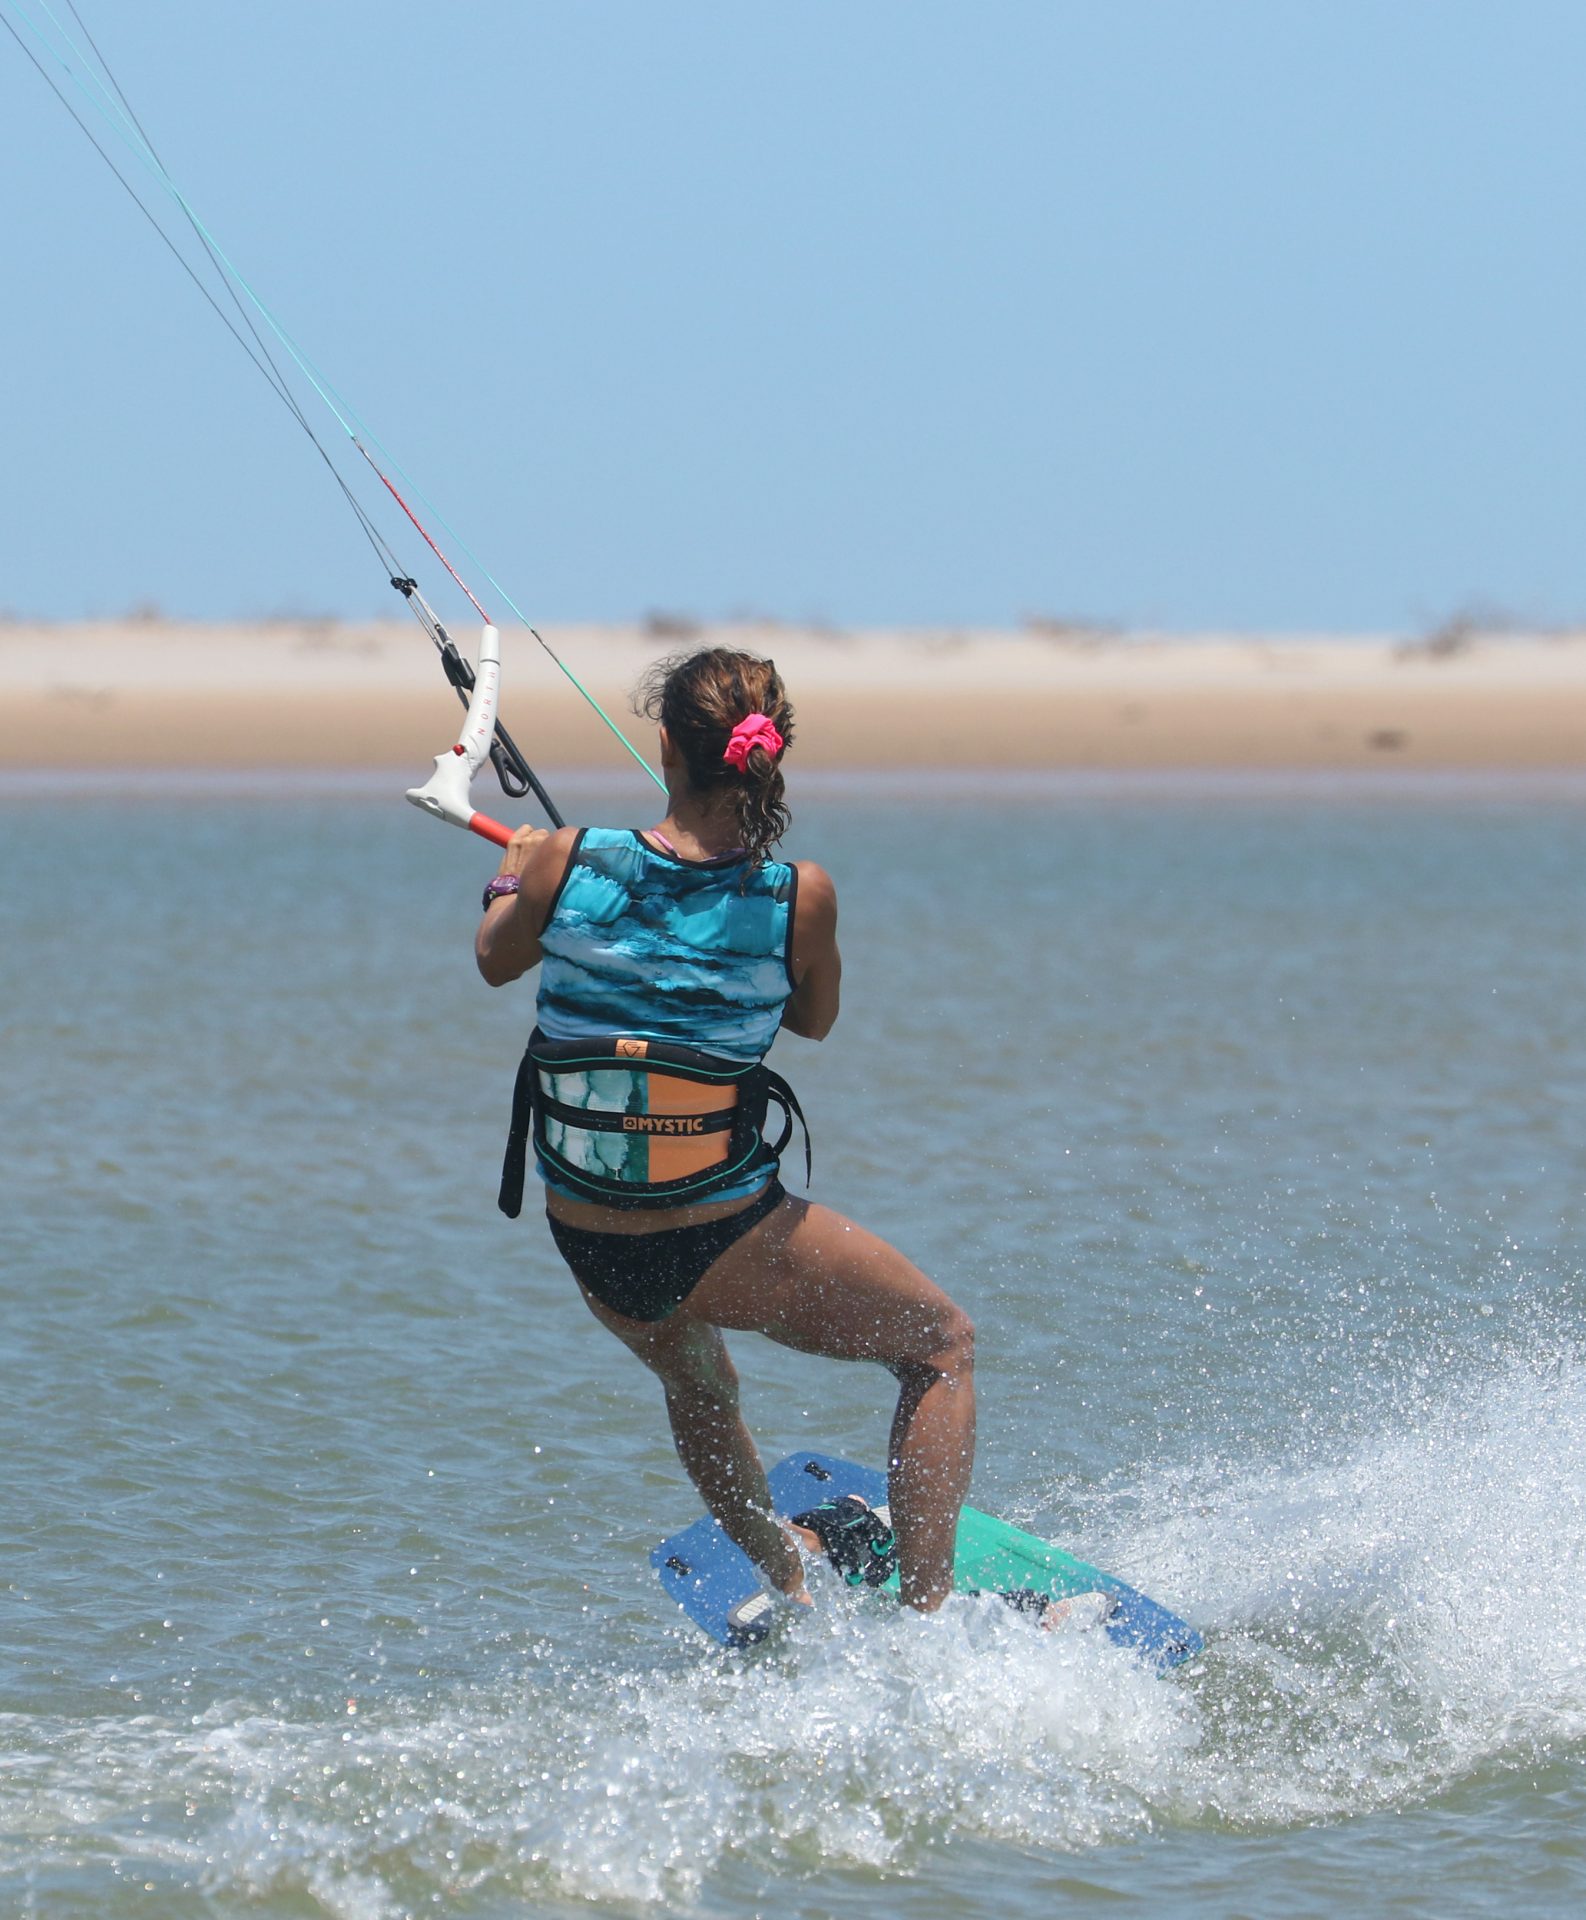
The Approach Pic A.
Your preparation is fairly straight forward. A good toeside edge, with weight on both feet, so you have some speed, which will enable you to carve through the first half of the turn. This means hips and chest facing forwards and both knees pointing forwards. Sweet spot needs to be trimmed close enough that you can comfortably reach the bar with both hands, and as such, you won't stall the kite when the time comes to whip it around. Potentially the main difference here if you're an avid toe sider, is that you'll want your hands slightly spread apart on the bar to get some leverage and have the best chance of turning the kite with some urgency. With a decent toeside and controllable kite, you can then drift the kite up in the window, to either 11:30 or 12:30 depending which way you are going. A final note on your checklist, make sure you know which hand is the pulling (front) hand and which is the pushing (back) hand. If you look at Karine, you can see she's in a lovely toe side stance, she's trimmed, old money depowered, the bar in, she knows her right hand is her front hand, and she's slowly drifting the kite up in the window.
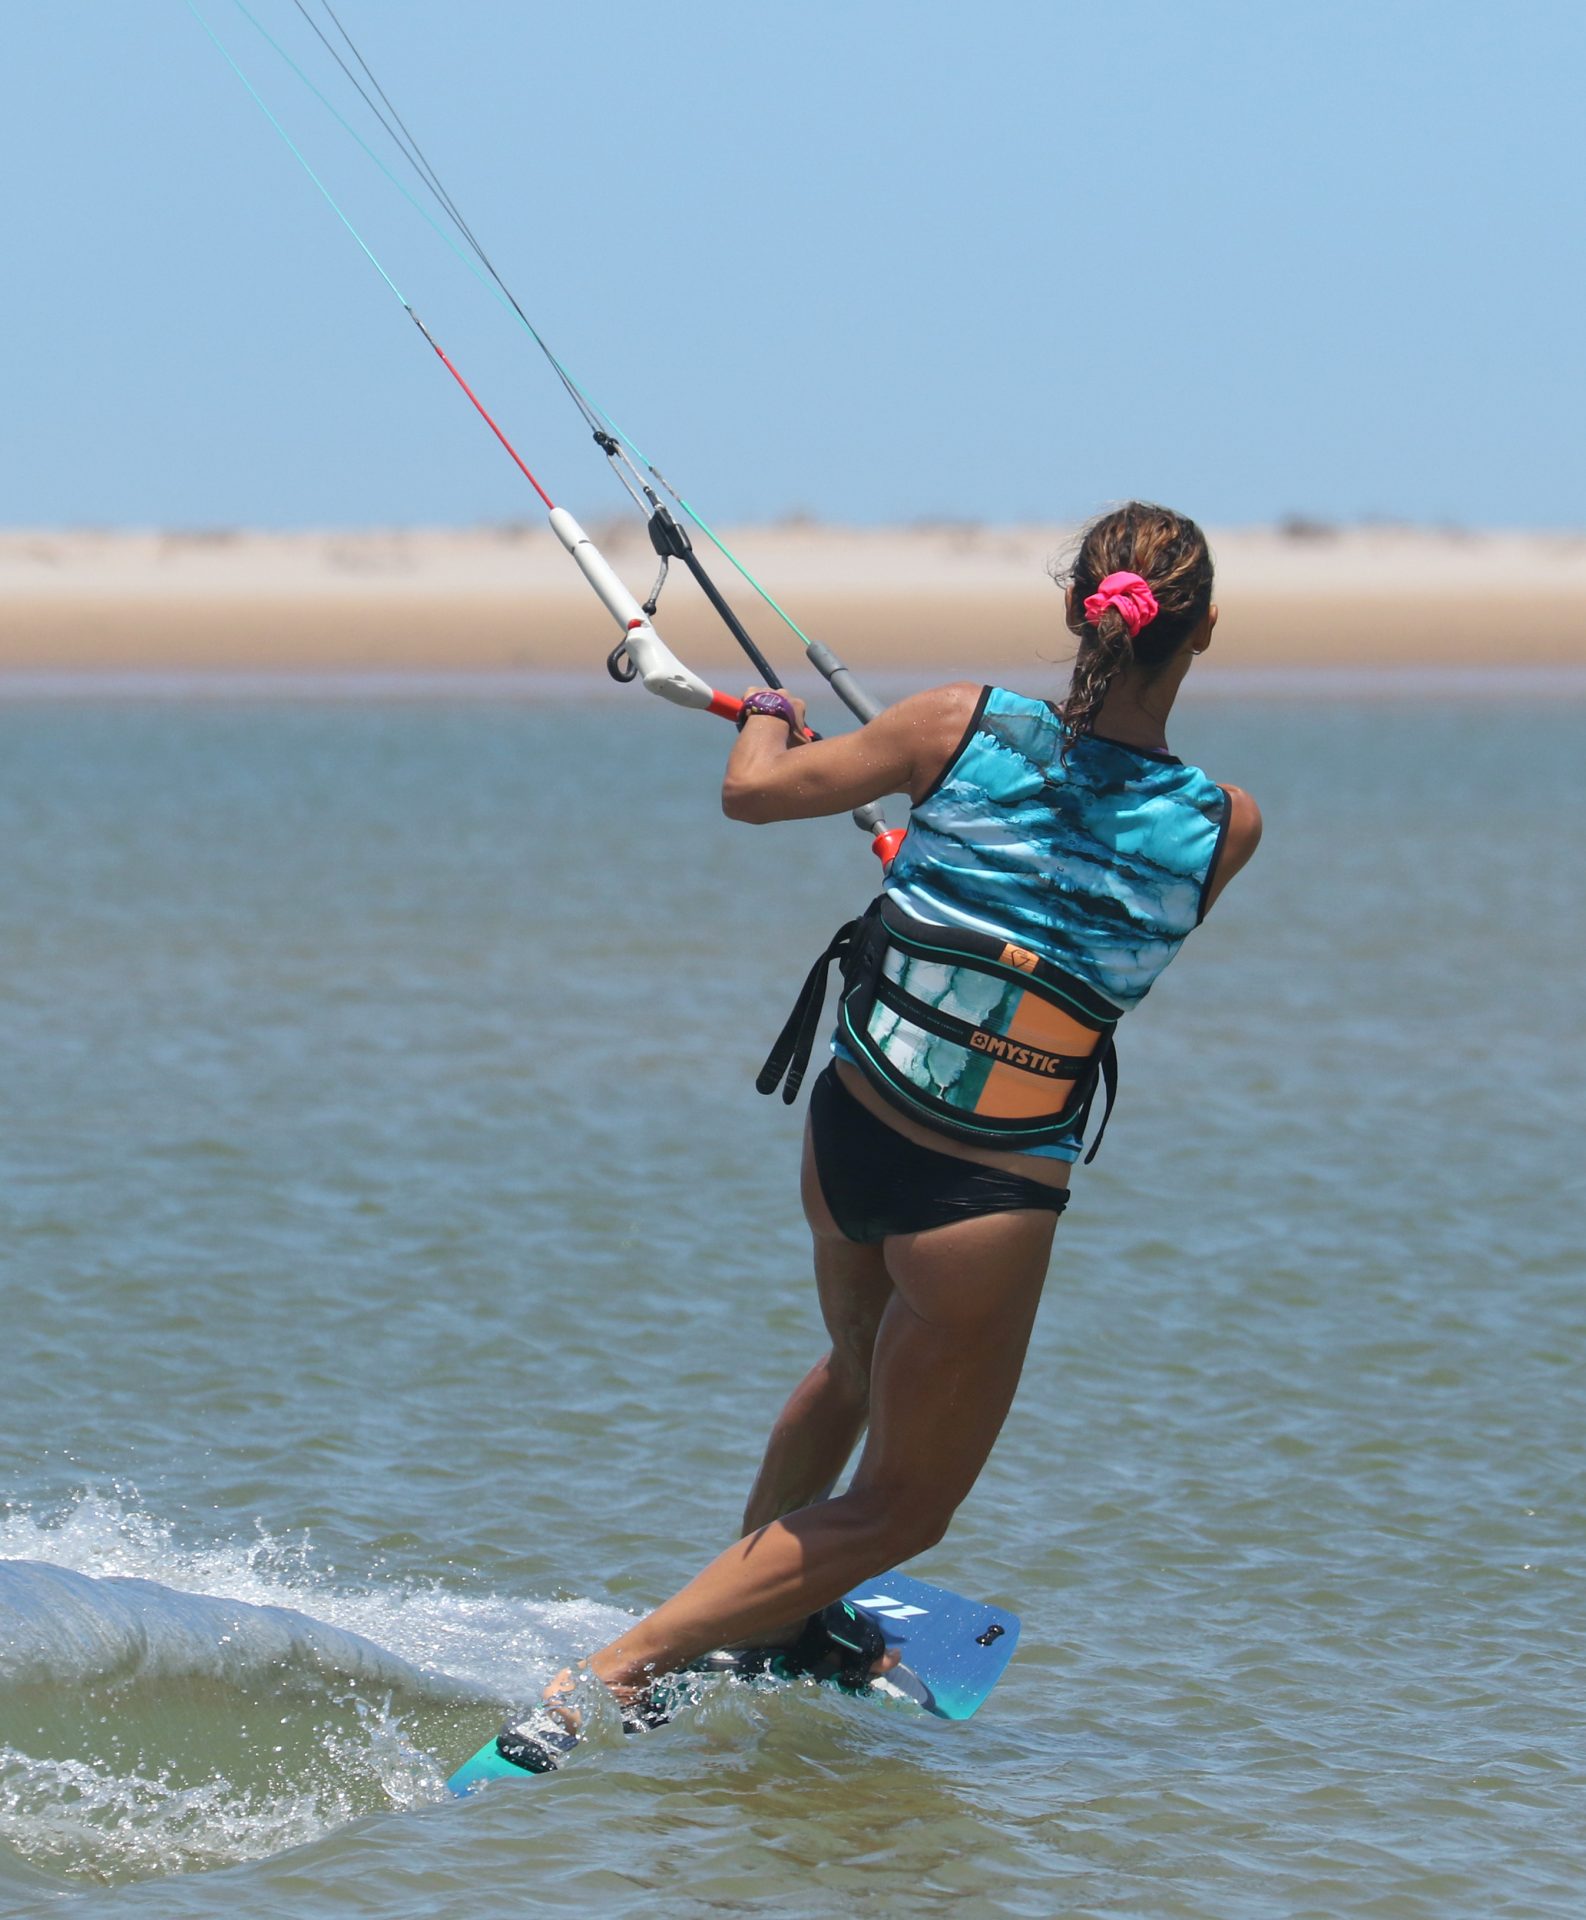
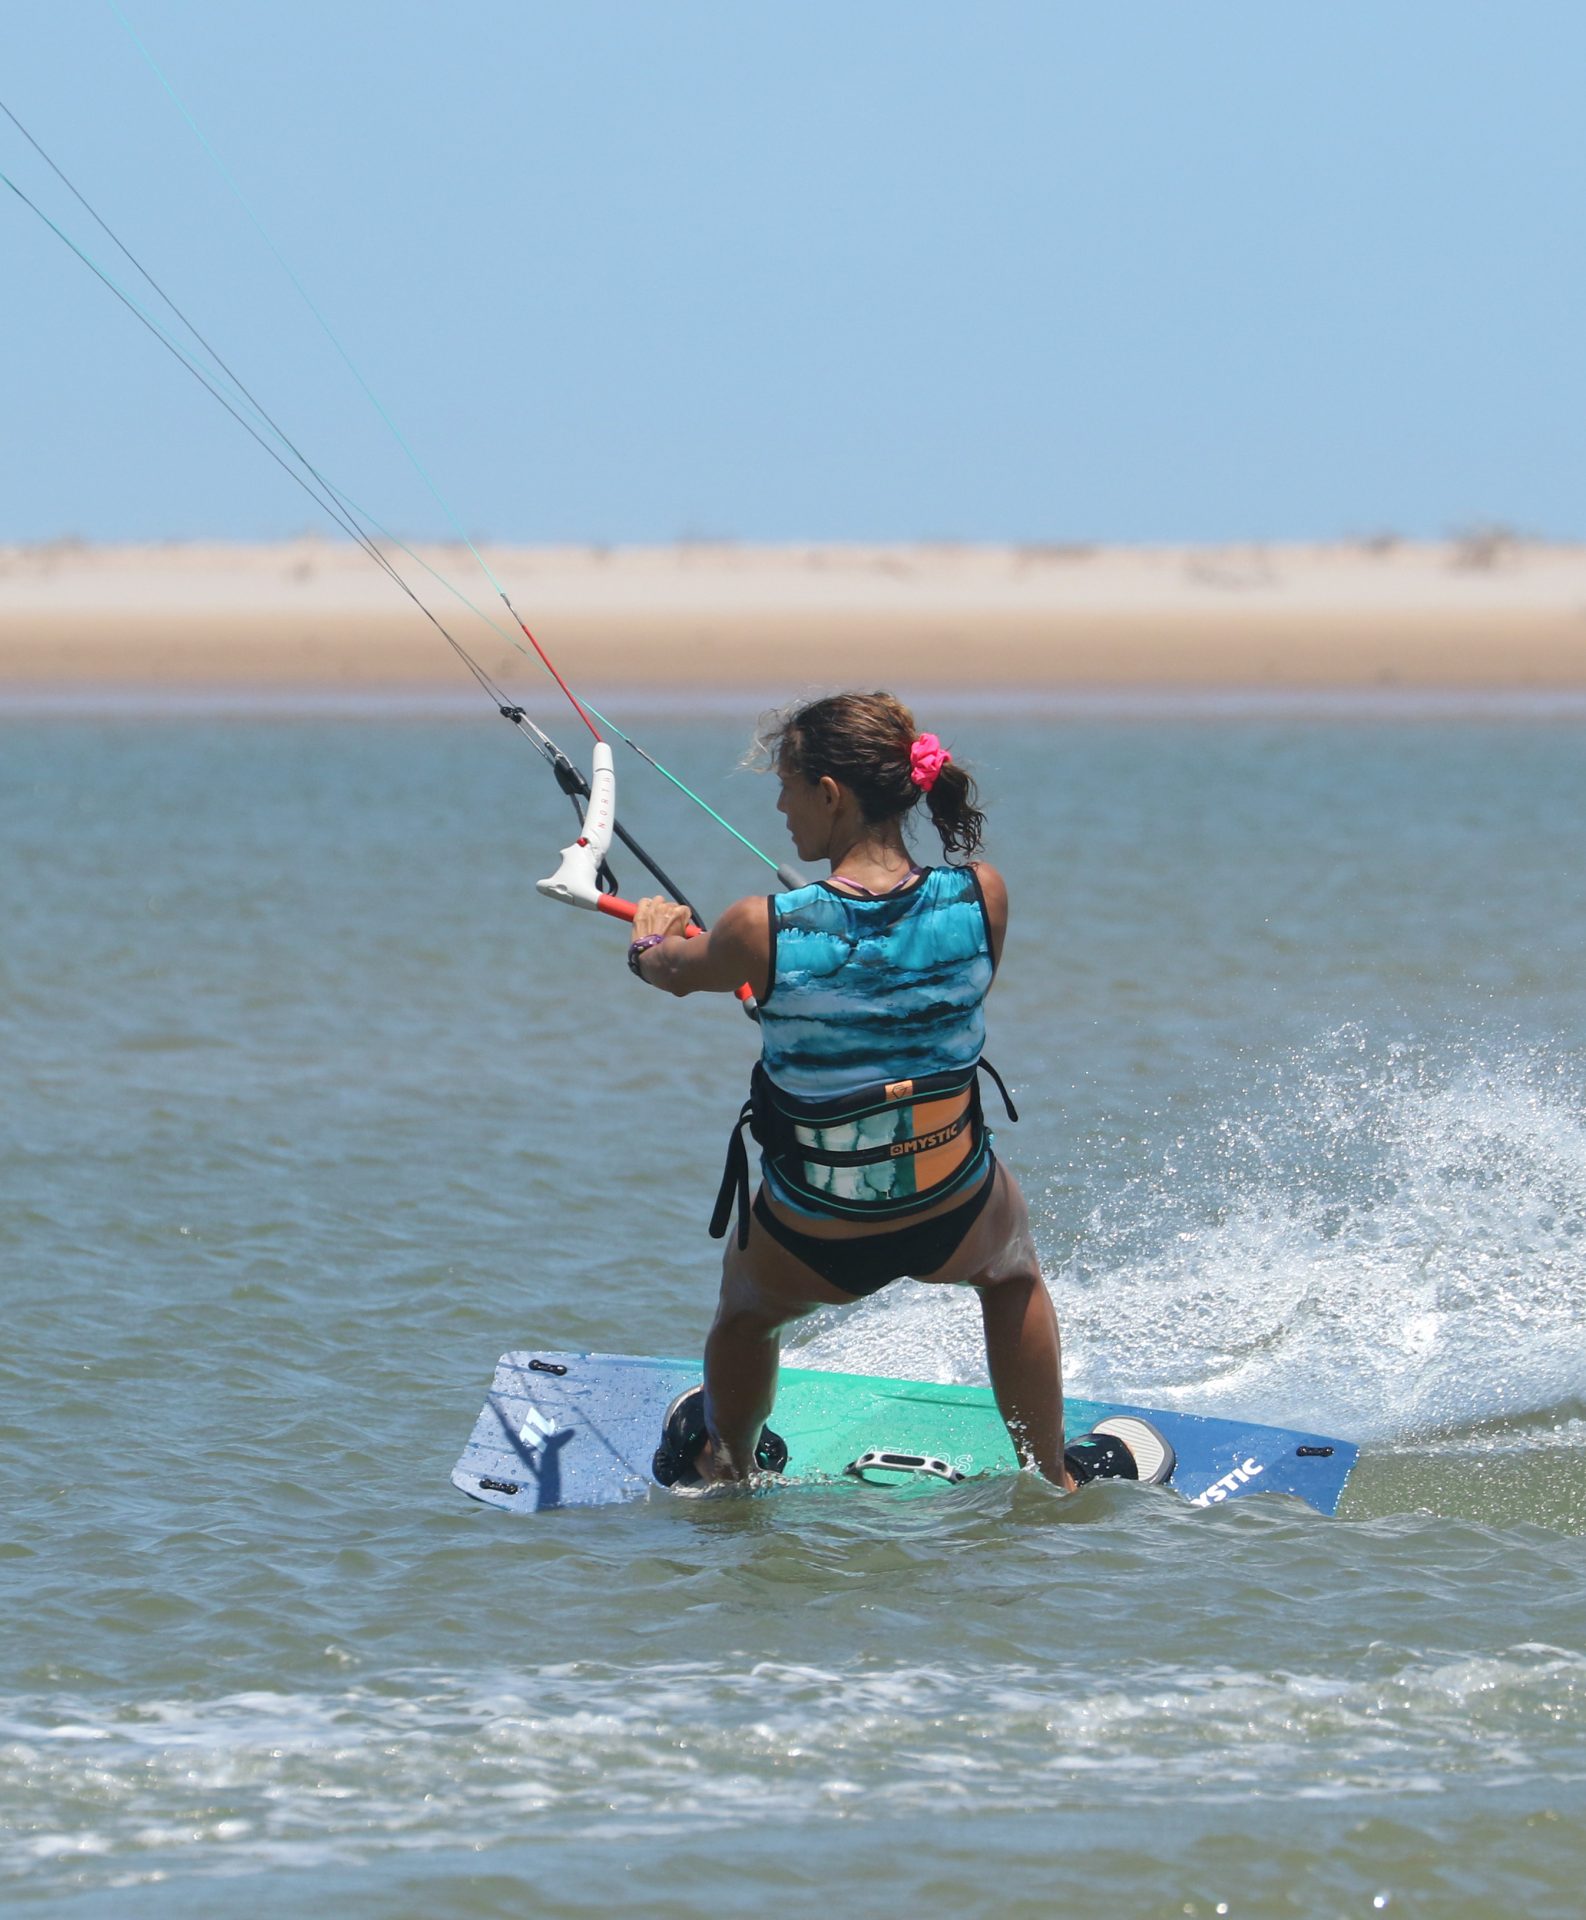
Easing Off Pic B.
Once your kite is high, it's a green light to get things underway. First job is to flatten your board off. You'll likely find that the mere action of drifting the kite up will lift you off your edge, and bingo, flatten the board. Don't fight this as the objective is to stand up over the board and lose resistance. With less resistance, you're considerably less likely to get too much power from the kite. However, don't confuse flattening off, with charging off downwind. If you go chasing your kite, you will lose tension, but you'll gain loads of slack, and you'll have little chance of getting your kite to turn. Karine is standing up over the board, still facing forwards, weight flat on her feet and kite high.
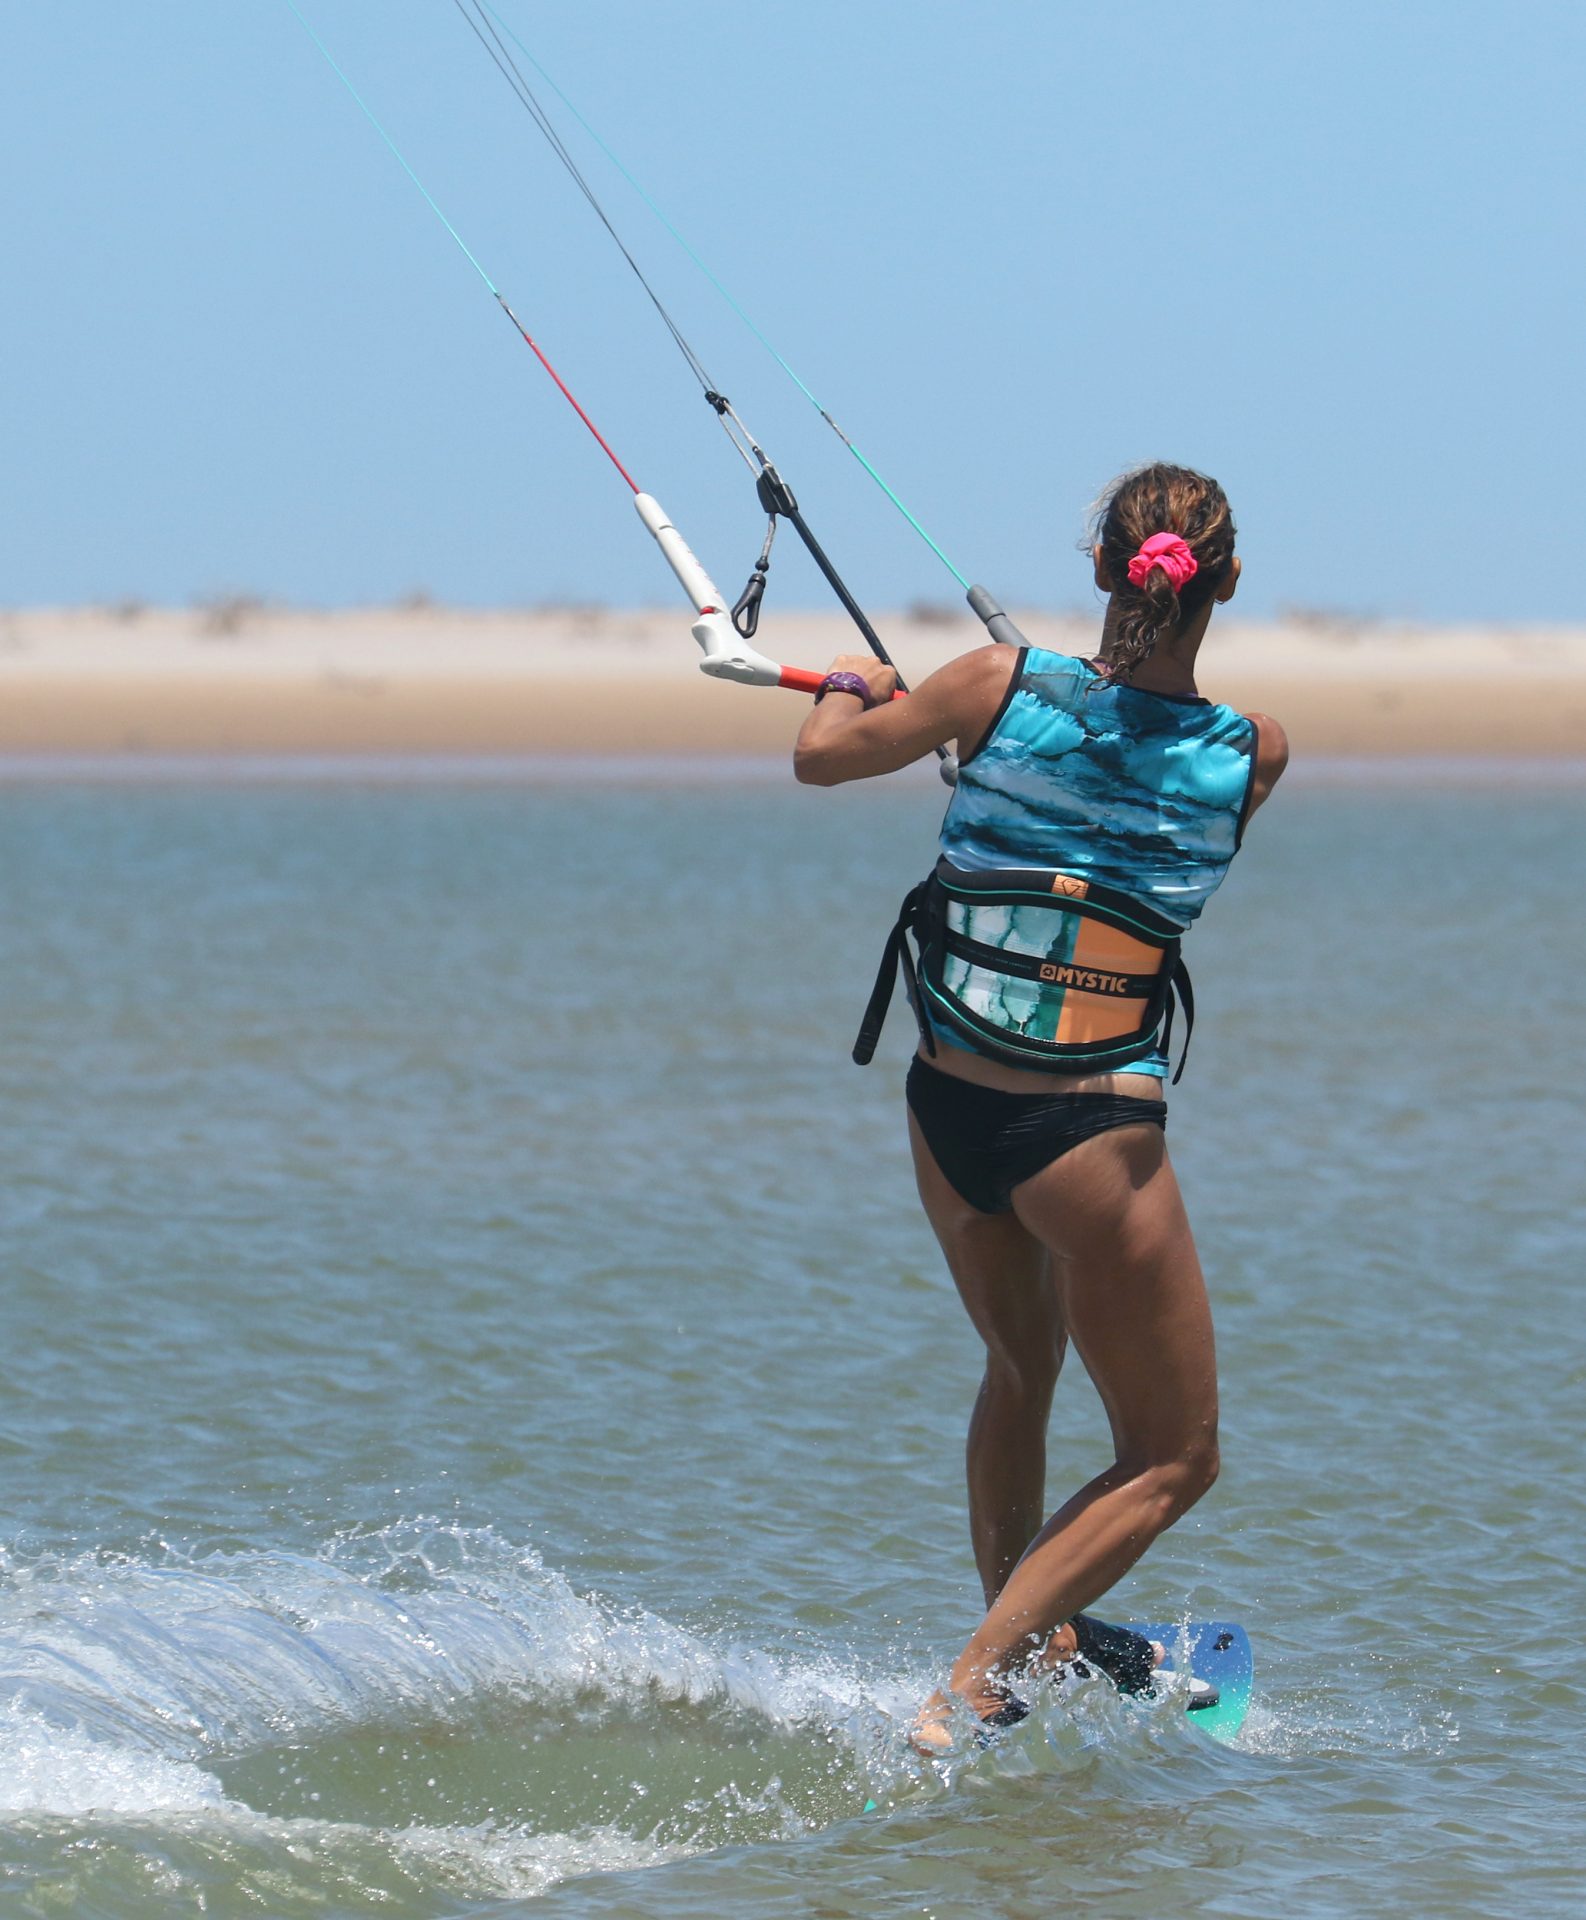
Push the Button Pic C.
And pull the trigger! Once the board is flat, it's all systems go and most definitely full steam ahead. You can't dawdle about, the longer you wait, the more you'll slow down and the harder the carve will be. The idea here is to get the kite moving into the under turn and start the board carving. To position yourself for both, drop your weight back over your rear foot. This will put you over the curvy tail of your board and help it turn and get you into a strong position for when the pull comes later on. With you weight back it's all about moving the kite in the quickest downloop possible, pushing your back hand towards the kite so that your fingers touch the centre line and pulling your front hand down — all the while keeping the bar on the sweet spot. In the pic Karine has her weight back, back leg bending while front leg extends, while she's giving the bar all the beans so that it's parallel with the centre line.
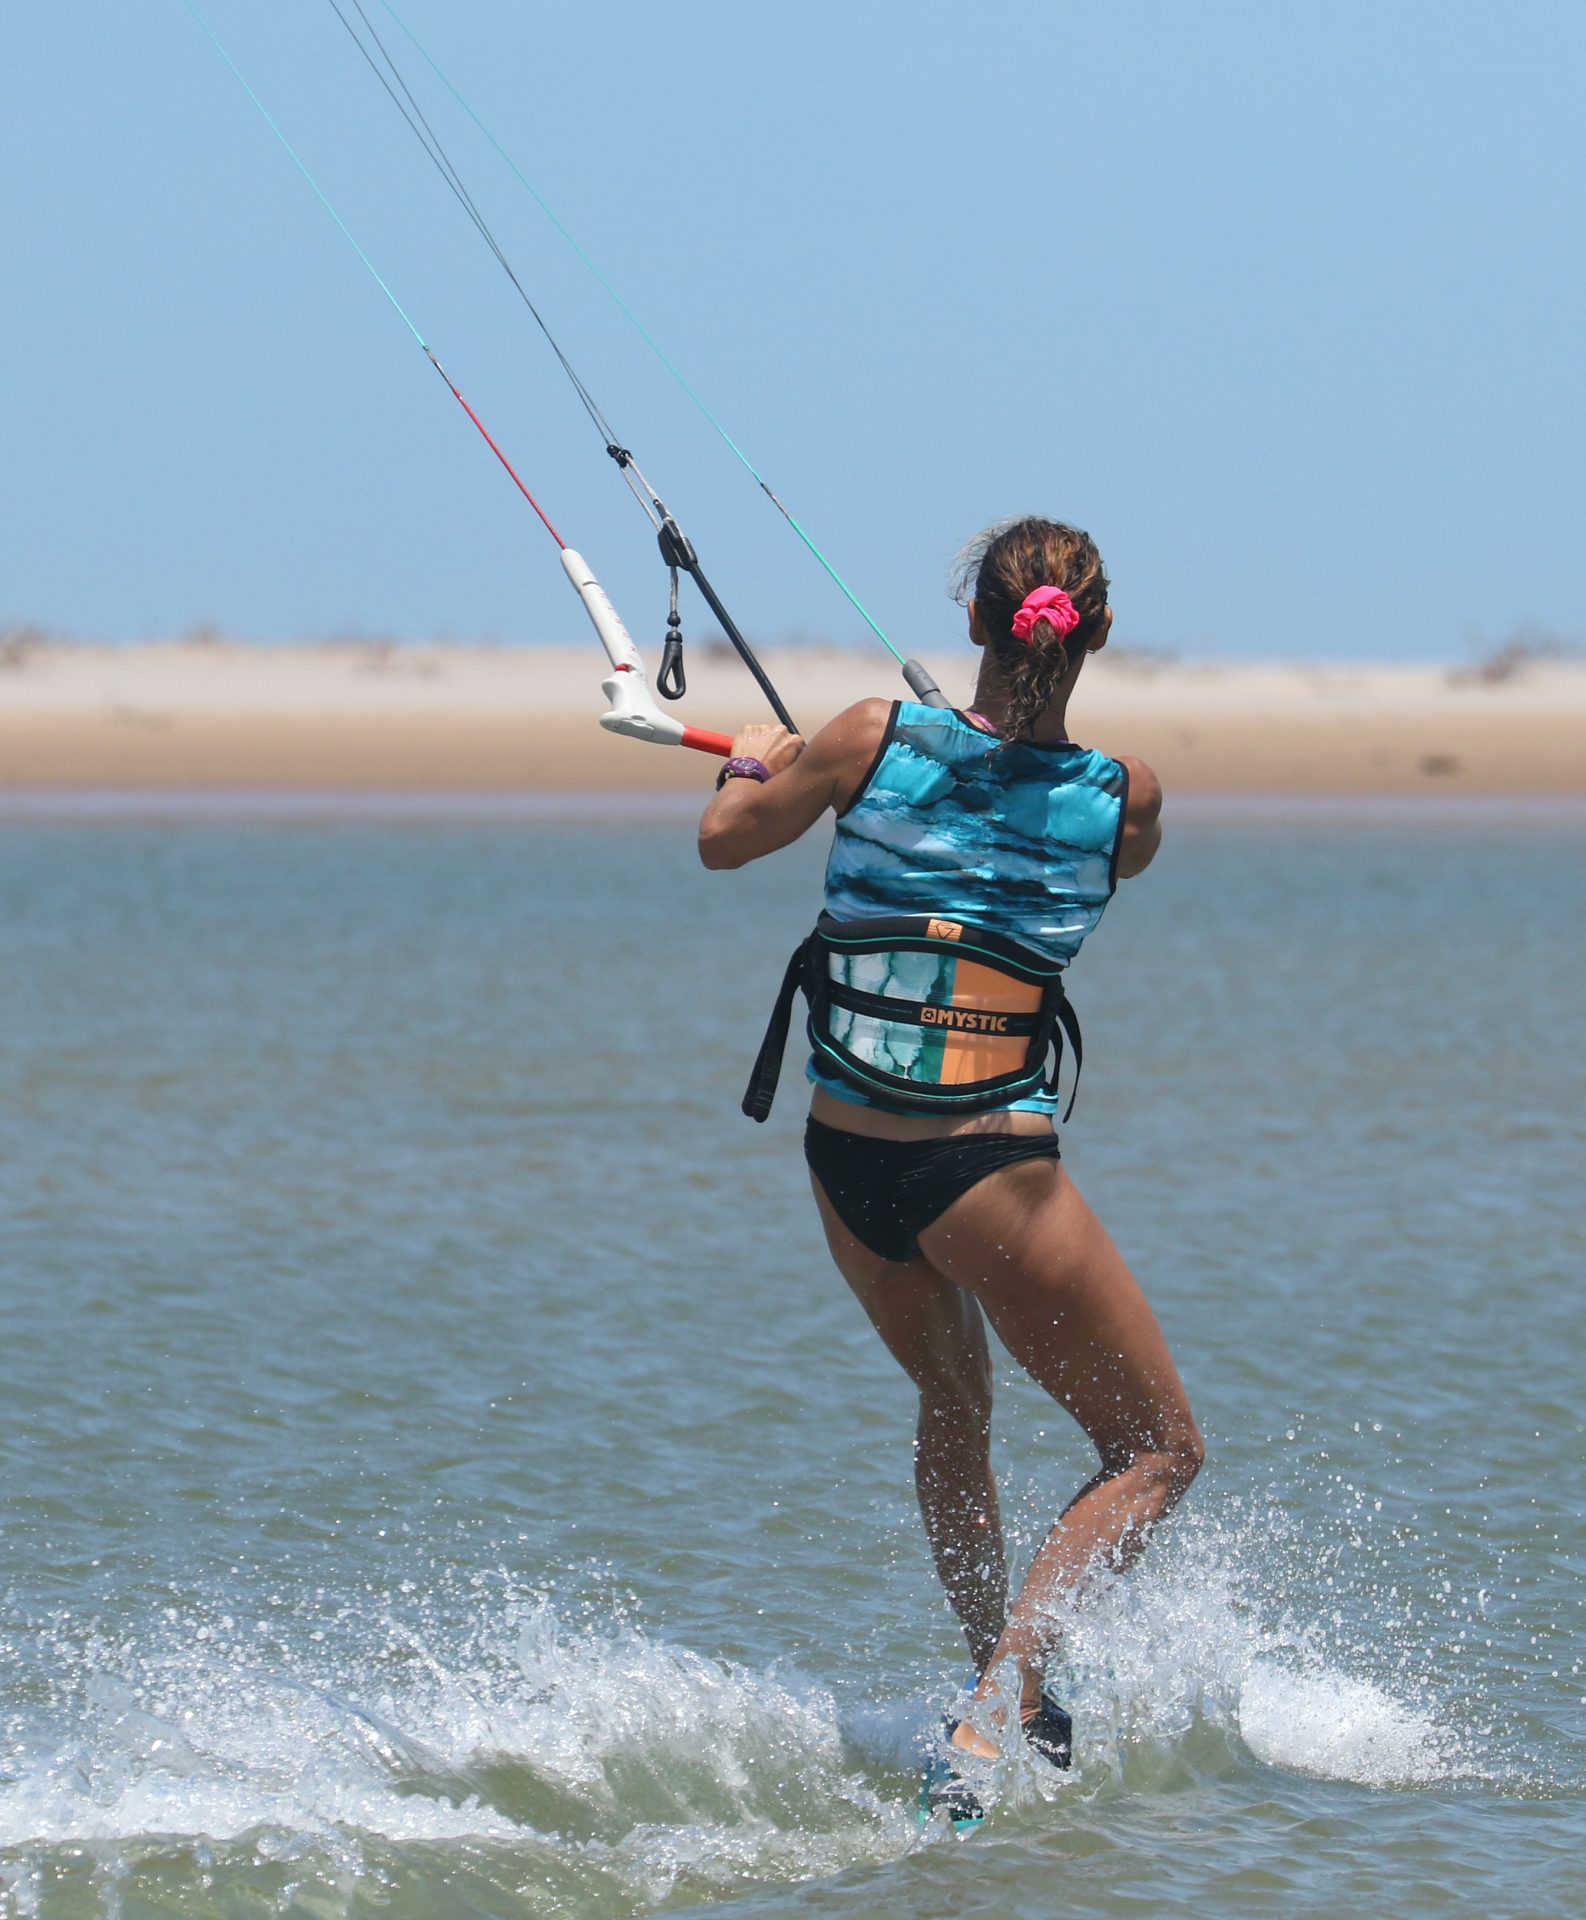
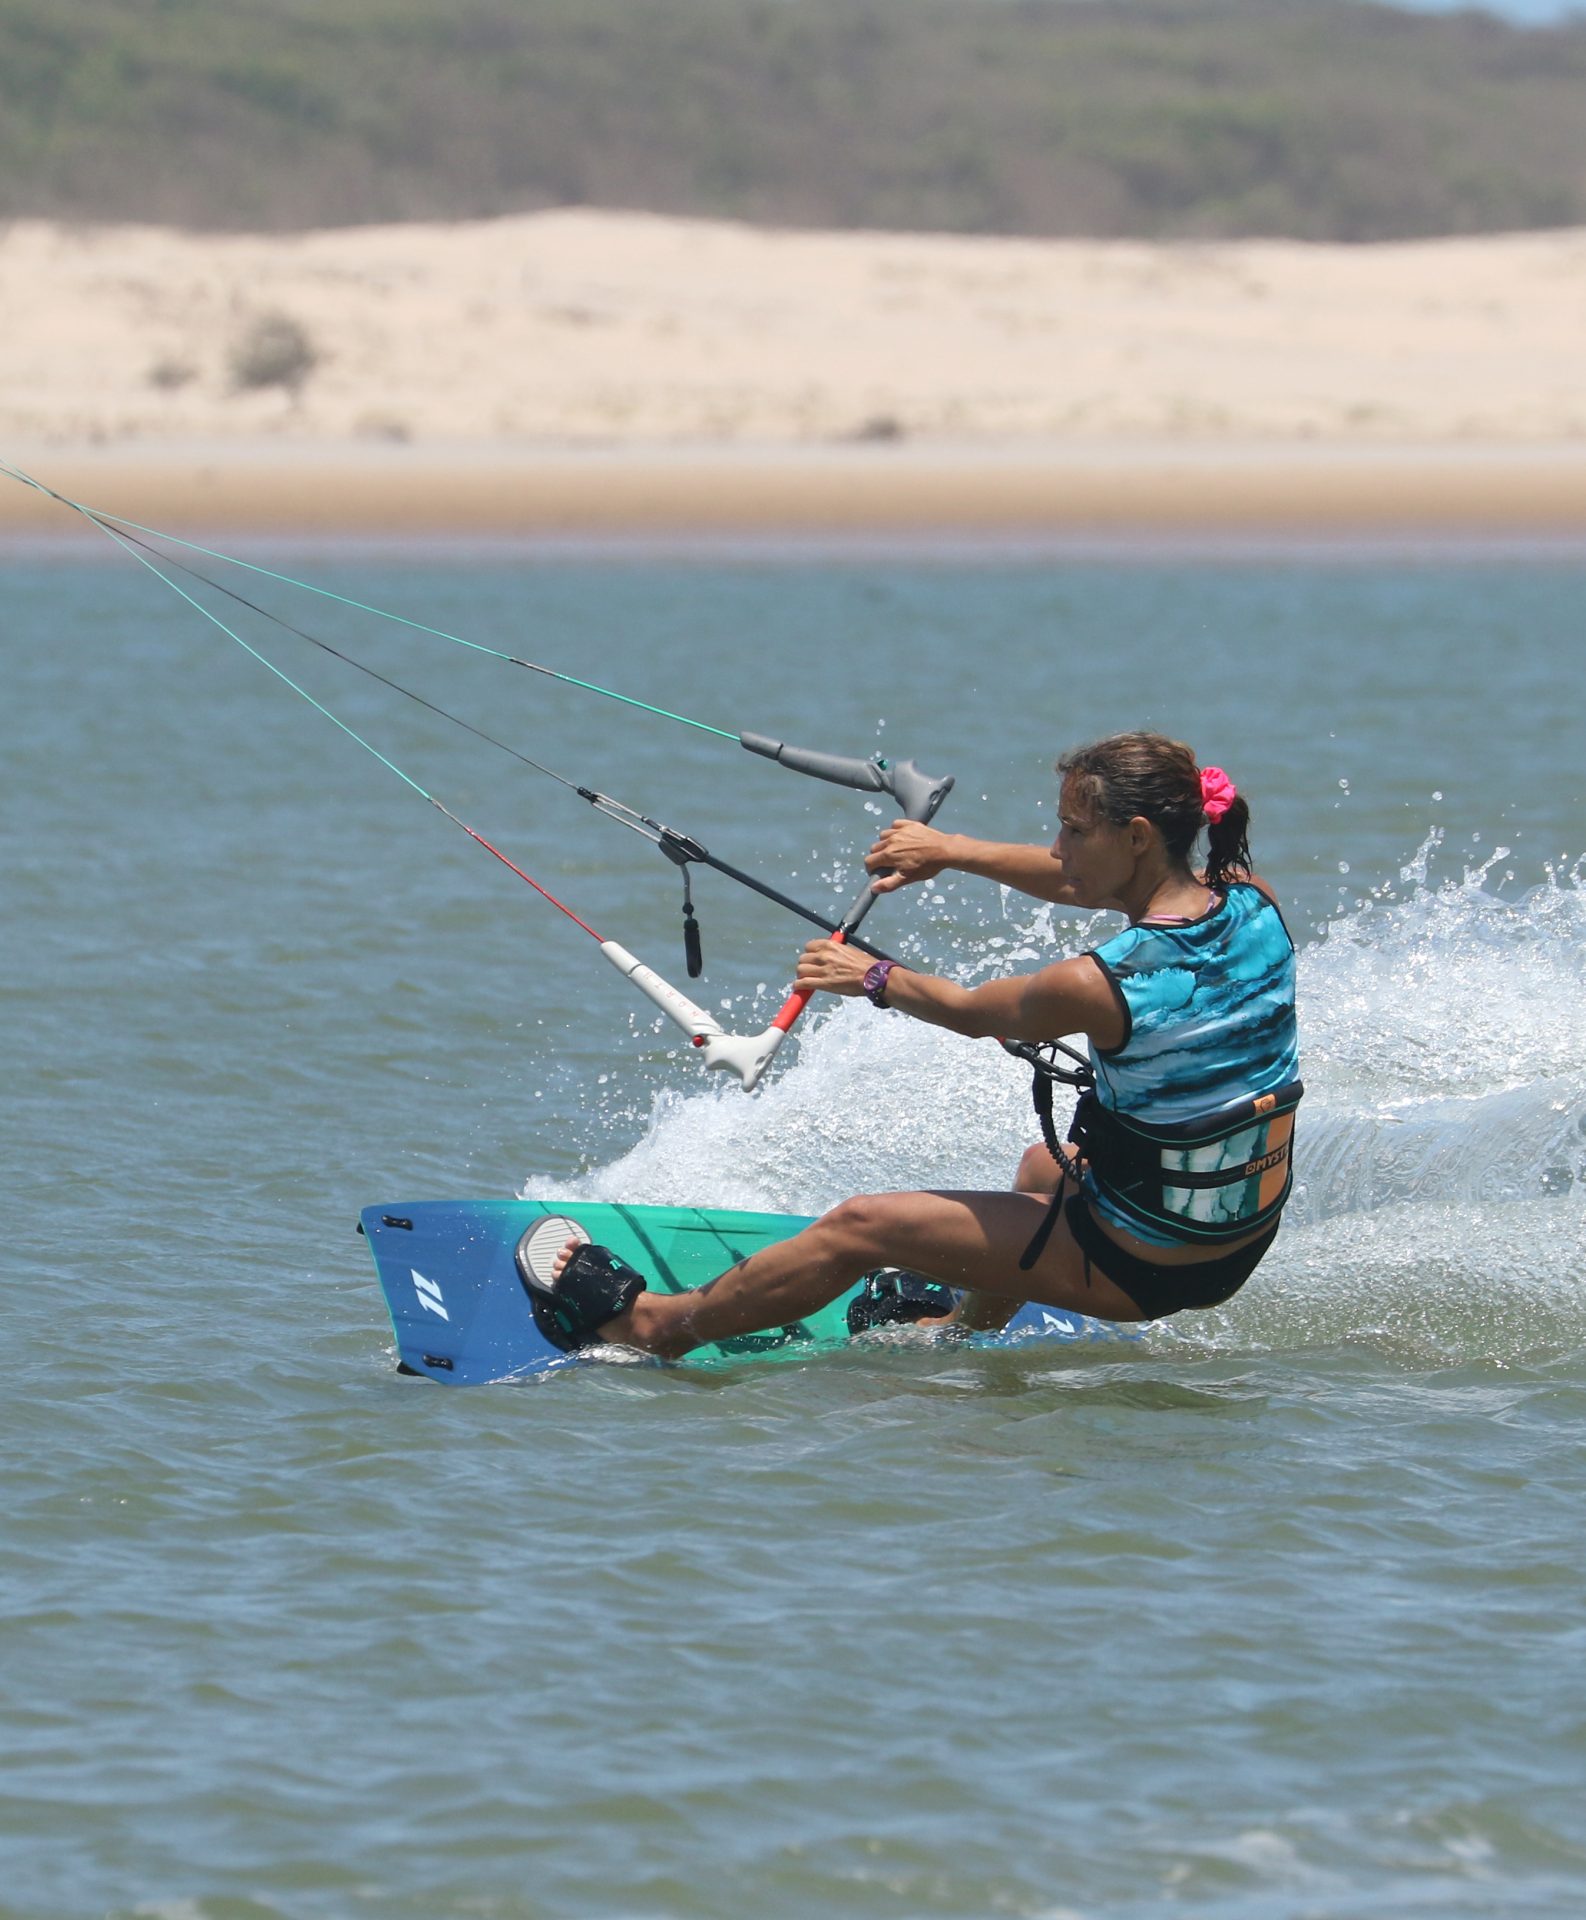
Carve and Commit Pic D.
With the kite turning, you can now settle into your carve, dropping your derriere into the turn while turning your shoulders downwind. You must keep the kite turning, and essential that you commit, making sure that the bar is doing everything in its powers to keep the kite looping in the tightest arc possible. Once again Karine is the picture of perfection. Her weight is back and committed to the inside of the turn so that she can push through the heel of her back foot. Her shoulders are twisted downwind, and she's looking where she wants to go. Her bar is push-pulled to the max and is fulcruming around the sweet spot. In this position, she's ready to take power as the kite comes down and through the window.
It's Not Over Pic E.
As you come through downwind, it's easy to get complacent, nervous and confused. The trick here is to change nothing, but rather continue what you started and see it through to the bitter end. As the kite pulls, you still need to concentrate on finishing the turn, so look where you want to go and resist the urge to follow the kite and chase it. Keep your weight on your heels and back to resist the pull. With the increase in power, you may be inclined to let the bar out, but don't give in, as you need the tension to turn the kite. Watching the kite come down and round can be as hypnotic as Kaa's eyes, encouraging you to twist the bar around in an attempt to follow the kite. Don't let yourself be fooled, the bar stays in the same position, only the kite moves, and as such once you're finished, you'll have a twist in your lines. Here Karine is still giving the bar her all and carving as if she means it. The kite has gone under, but her bar remains in the same position as when she initiated the downloop.


The Grand Finale Pic F.
There are two possible and equally happy endings. On your first attempts, keeping the kite turning until it's heading back up towards the midday sun is a fine choice. Better to turn it a tad too far than not far enough. Comparably, you can happily stop steering the kite once it's on an angled upward trajectory, which will enable you to exit with full power. You might also find that as the kite accelerates and pulls more as you edge against it, that you need to sheet the bar out to stay in control, which will be a lot simpler if you did trim the sweet spot beforehand. You can see in the pic Karine is carving out of the turn, back onto her edge. She's levelled the bar off so that the kite moves forwards, pulling her in the direction that she wants to go. She's sheeted out and is edging hard. Note that her lines are twisted, but as yet she's made no attempt to follow the kite with her bar or untwist her lines. There's time enough once you're fully back in control.
Top Tips
As we said last time, if you intend to marry two skills, it never hurts to practice both separately. Before adding the downloop try a few heel-to-toe carves with the normal kite movement, and then build your confidence by trying a few downloops with a slide turn, or in the water without the board. Then stick them together.
For your first few attempts concentrate on getting the kite high and making sure that you flatten the board off to get rid of an edge. It's easy to be so concentrated on the kite that you forget to carve and thus get way more power than you may be considered appropriate.
Do make sure that you have plenty of space when you try this. You need room to fail as well as succeed, so don't try this too close to anyone or anything.
You can learn this with very little power in the kite, which is preferable to both you and the kite.


And finally, to repeat, don't rush to untwist your lines.
Common Problems
Getting hauled. If you find that you're getting pulled violently as the kite starts to pull, the chances are that you haven't flattened the board. If you're off your edge, you won't have much resistance, and therefore the kite won't be too nasty. If you edge against it and push/pull, you will be in for a surprise.
Crashing the kite. This is usually a result of your steering technique; you aim to make one line longer and the other shorter. With the kite high, the movement is more intuitive; however, as the kite turns, it is easy to twist your arms, try and follow the kite with the bar and lose yourself. Try to lock yourself in the initial push/pull position until you feel the power in the kite subside as it heads back up.
Rolling the kite. If you're carving and getting the kite turning but then dump it on the water and it rolls, it's a sign that you're not finishing your turn. Don't watch the kite as this means that you'll be looking downwind and will inevitably travel that way. As soon as you move towards the kite, you'll lose tension, and the kite will have no option but to fall. To add insult to injury, as you are moving towards it, once it touches down, you'll have even more slack, and the kite will roll and invert. Make sure you concentrate on finishing your turn by getting back onto your heel-side edge.
Keystones
- Edge in
- Kite high and flatten the board
- Drop weight back over the rear foot and lower bottom to carve on heels
- The full push-pull, look where you want to go
- Finish turn onto heel-side edge and let kite breath
This technique article was in Issue 78 of IKSURFMAG.
Related


By Christian and Karine
Christian and Karine have been working together as a coaching team, running improver to advanced kitesurfing clinics since 2003.
