
Learning To Loop Part 3 – Heel to Toe Downloop Transition
Technique / Beginner
Part three of our learning to loop series is the final on water move! You'll add your new love of a downloop onto a heel to toe carve. We've said it before, but it remains true: there is nothing sweeter than exiting a carve with some oomph. There are so many variables that can scupper the perfect heel to toe, but adding a downloop gives you a good chance of exiting with some va va voom! Once again, this is a chance to perfect your downloops and heighten your confidence before we take it to the air! As a bonus, once you've got this, you have an absolutely brilliant skill set which you can put to use in a plethora of situations, and one in particular will benefit to no end: downwind riding. If you need a carrot to incentivise you, check out our Riding Downwind from IKSURFMAG Issue 70.
It is advisable to already have a heel to toe carve in the bag, but if you've been trying without much success and now have a strong downloop, then what's the harm in trying them together? One word of advice, though: if you've been learning your downloops on both sides, you're on the money. If not, it's likely that you'll be doing this the other way to your toe to heel, so get practising with some slide turn downloops that side first…


Some things never change, and with downlooping, it's all about when to pull the loop so that you can carve out in control. We'll have a look at the fundamentals of how to get your carve on whilst marrying it with the downloop, a veritable match made in heaven. You'll see a whole host of similarities with last issue's toe to heel, from starting with your kite in the correct position to finding the moment of least resistance. Here we go!
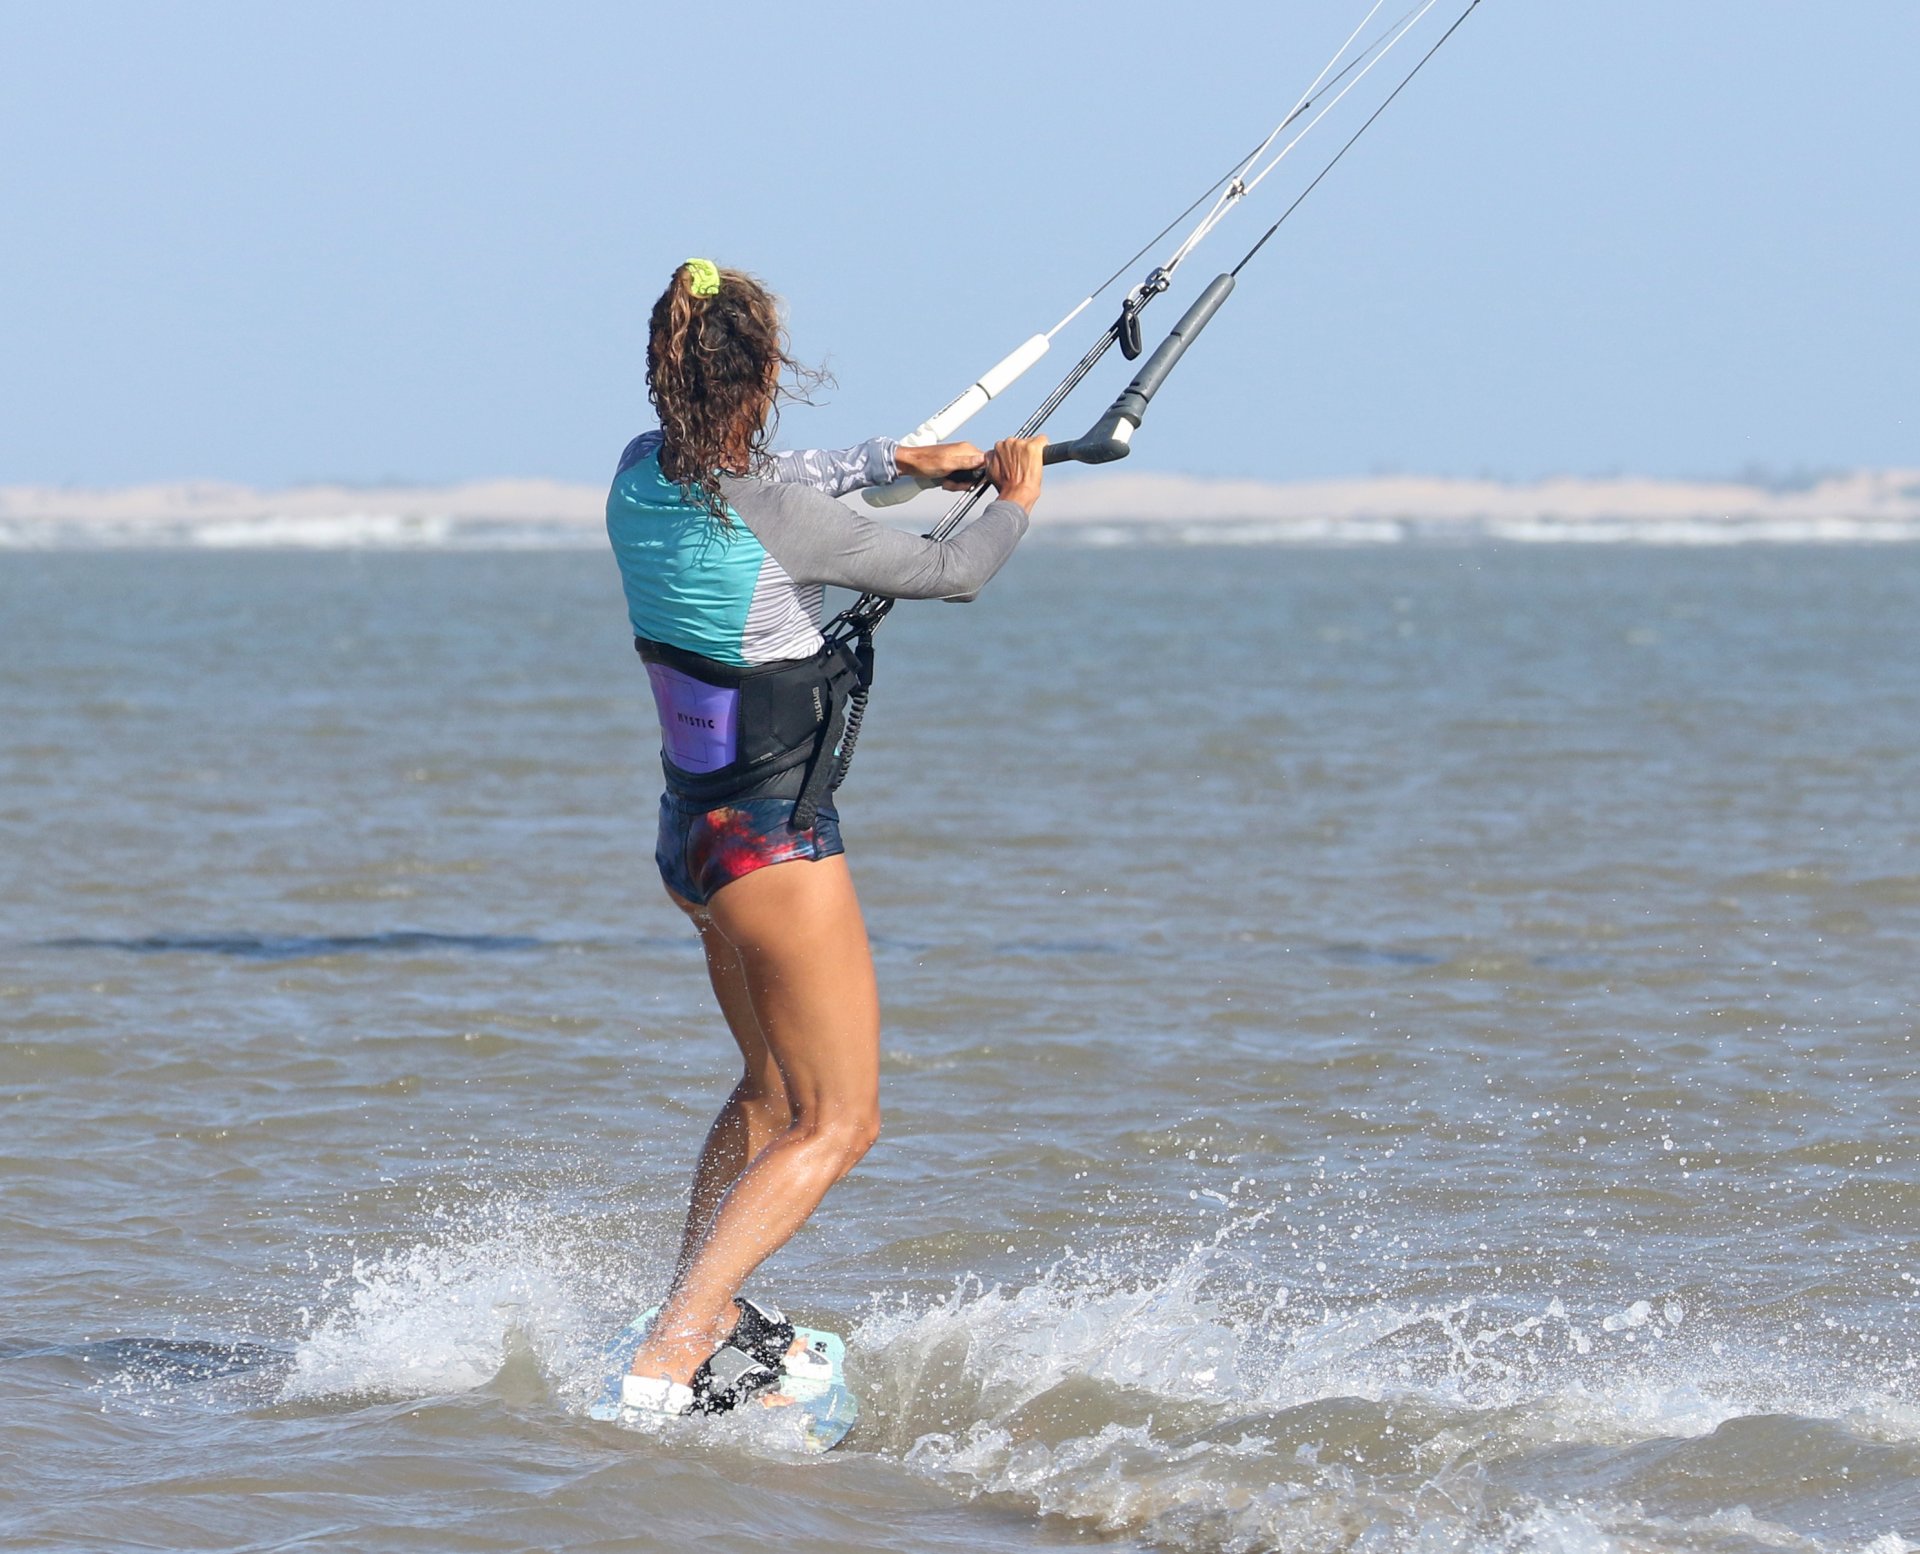
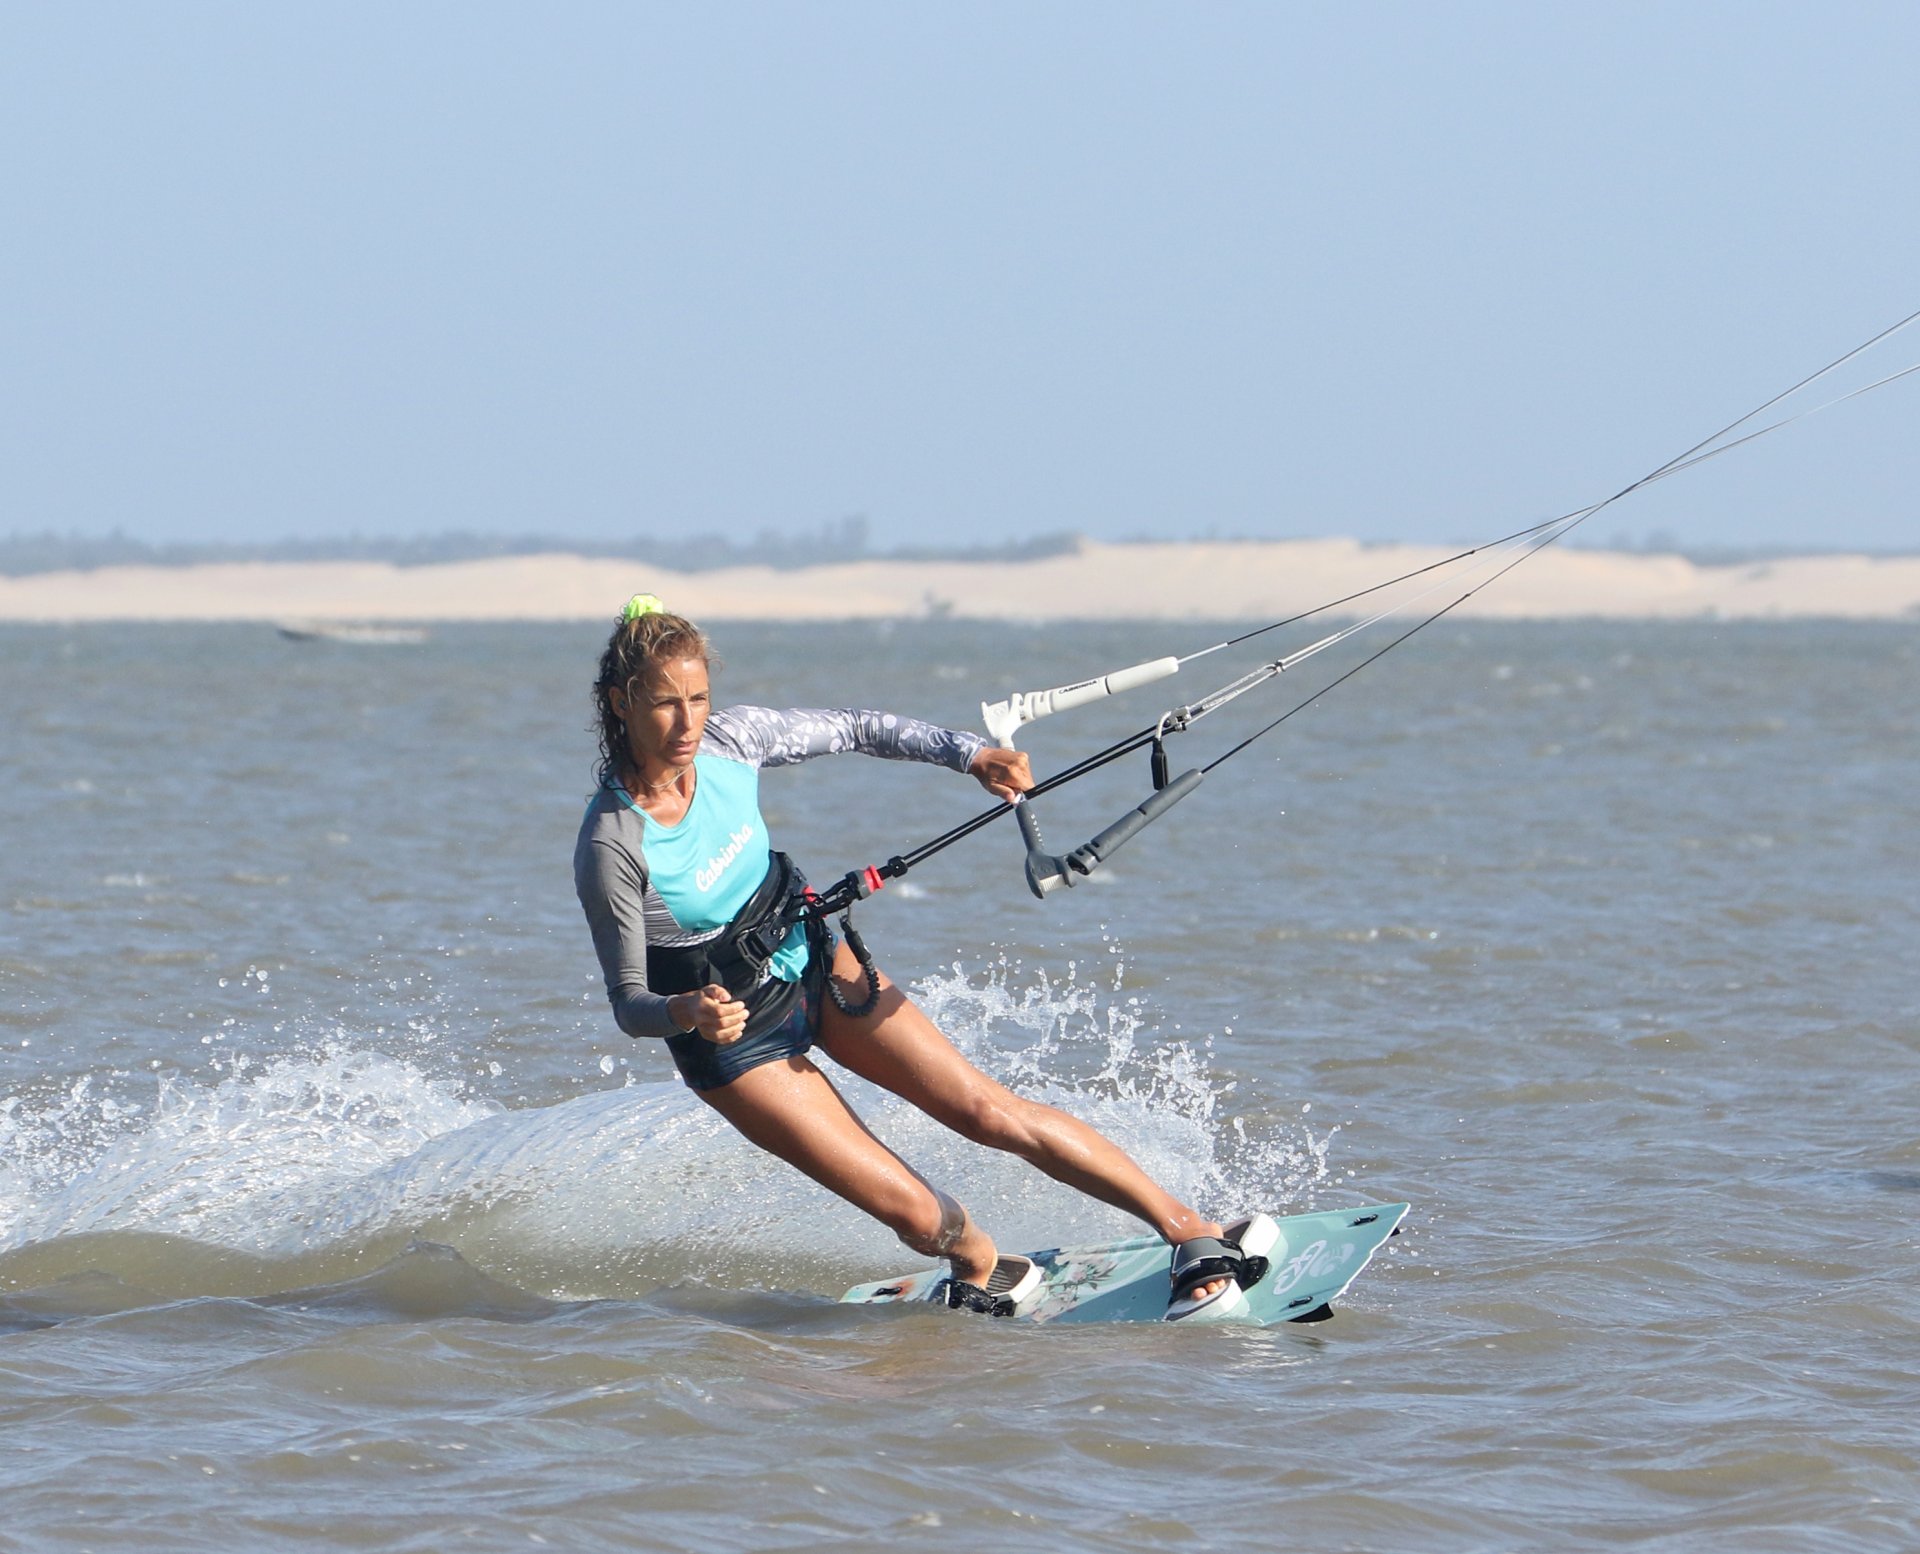
Approach Pic A.
To get yourself ready, you need to be on a good edge. This way, you'll be in control of your board and your kite. Regardless of where you have your kite, pre-carve you want to position it around the 11 or 1 o'clock mark. This way, the kite is high enough to downloop whilst you'll still be able to edge. You also need to have your bar trimmed in sufficiently that you can reach it with both hands when you exit toeside. Before you do anything else, check that the coast is clear and that you've got enough space downwind. Once you're ready, you'll want to slow down a touch so that you're not rushed. Ease the bar out a little to control your speed. Karine is comfortably edging upwind, usual stance, looking where she's going and hunting for some space so that she will have room to both carve, and potentially room to drop her kite should she not make it. Her hands are out from centre on the bar. They don't need to be at the ends, but you'll struggle to get decent leverage if your hands are nudged up against the centre line.
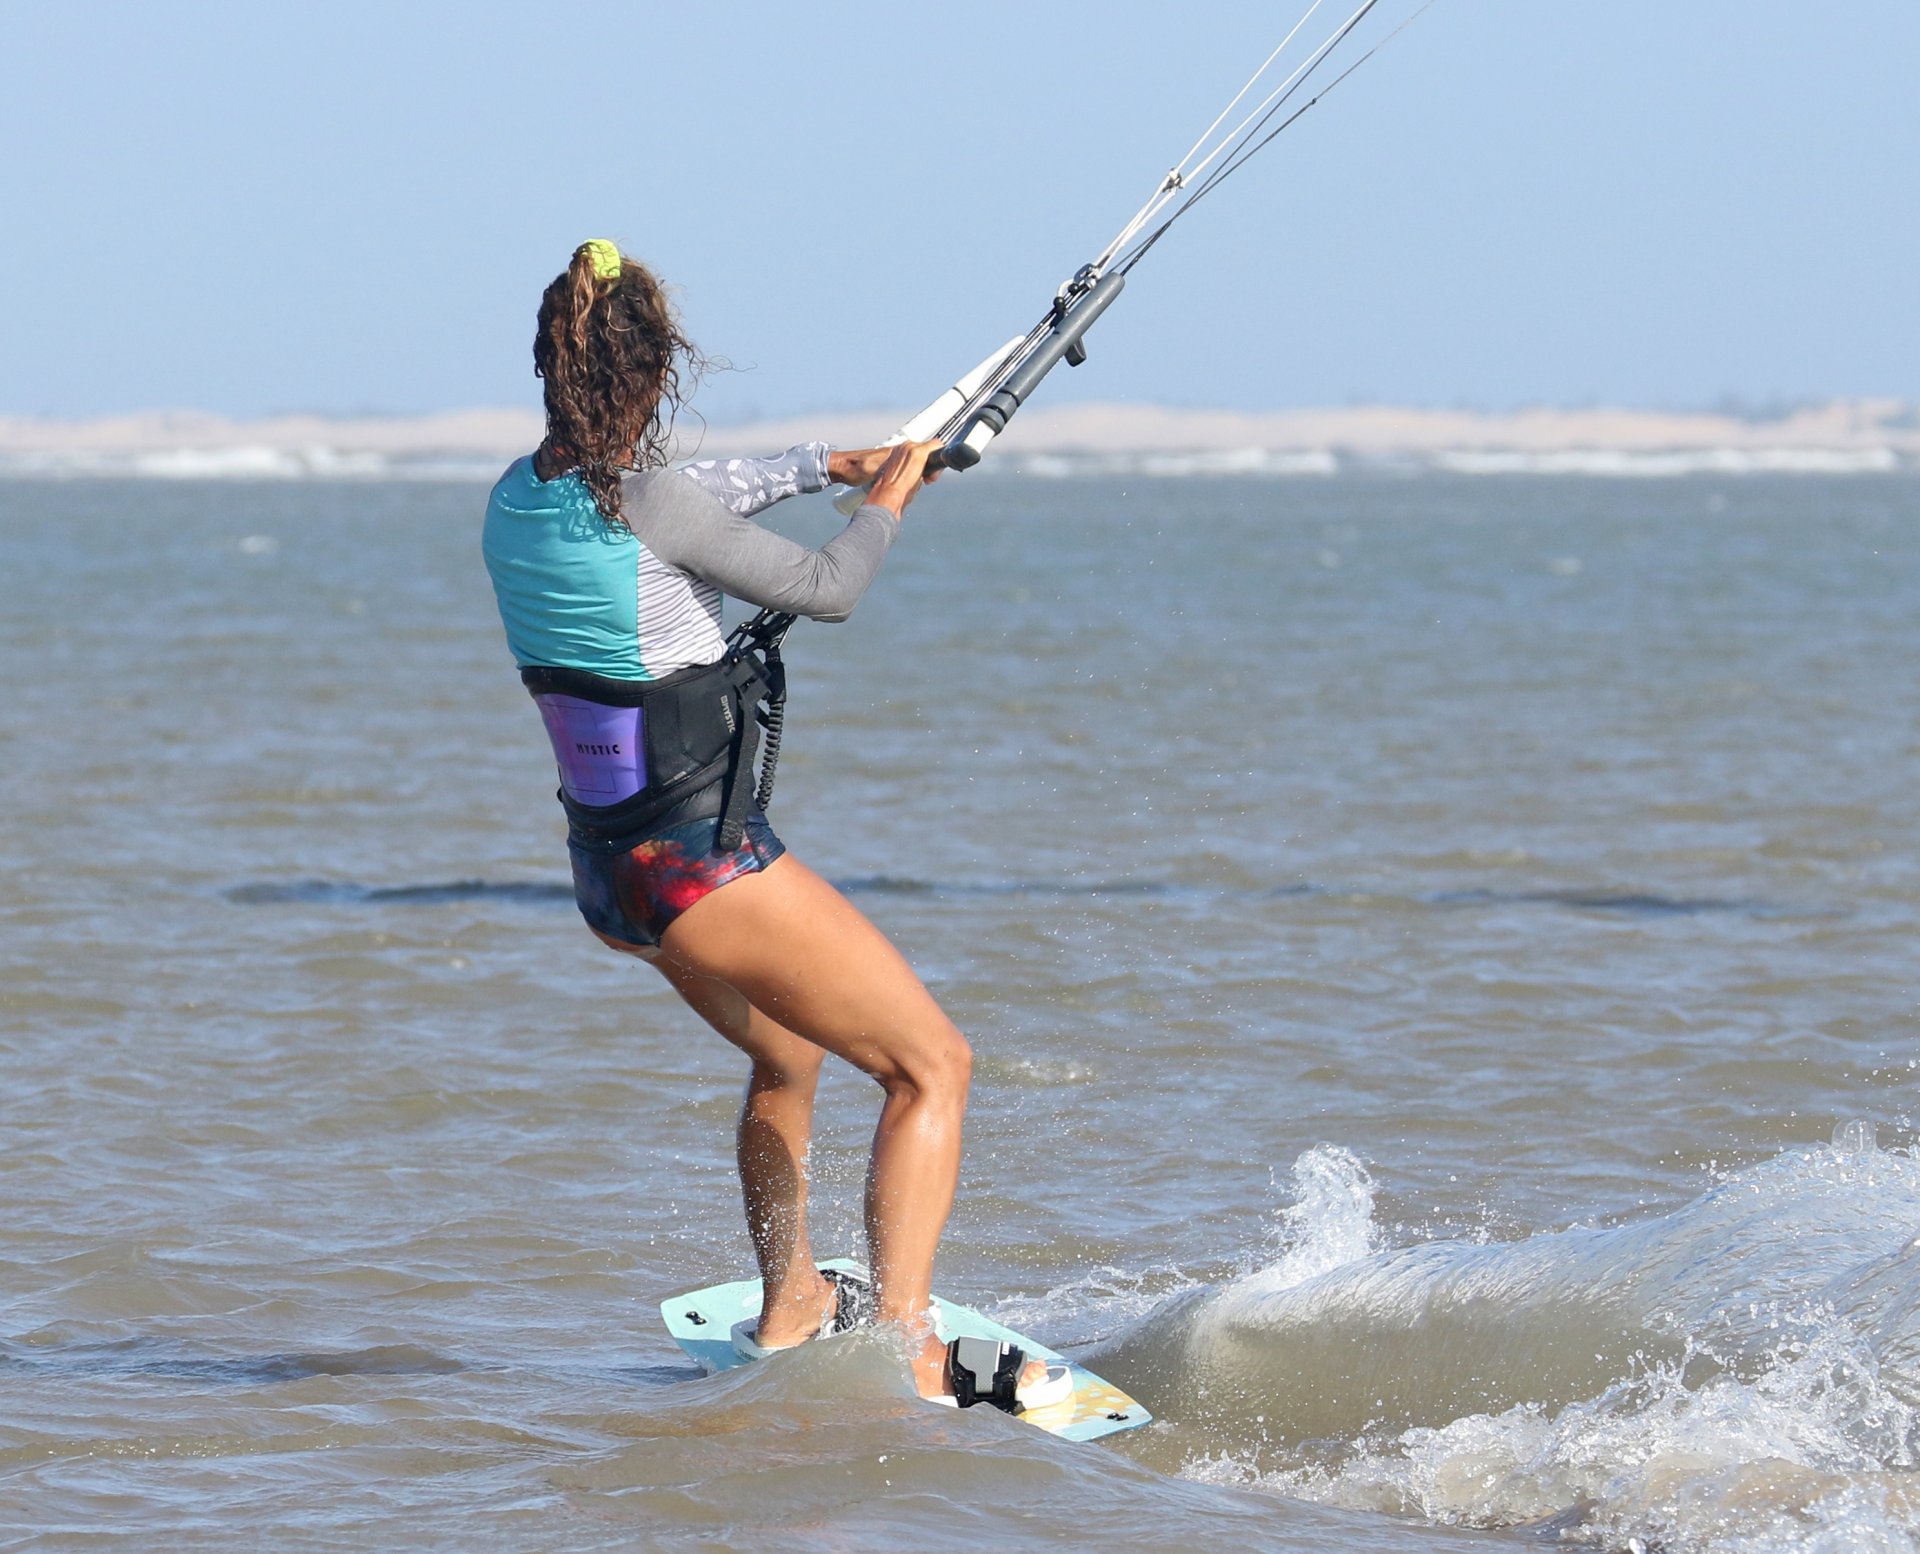
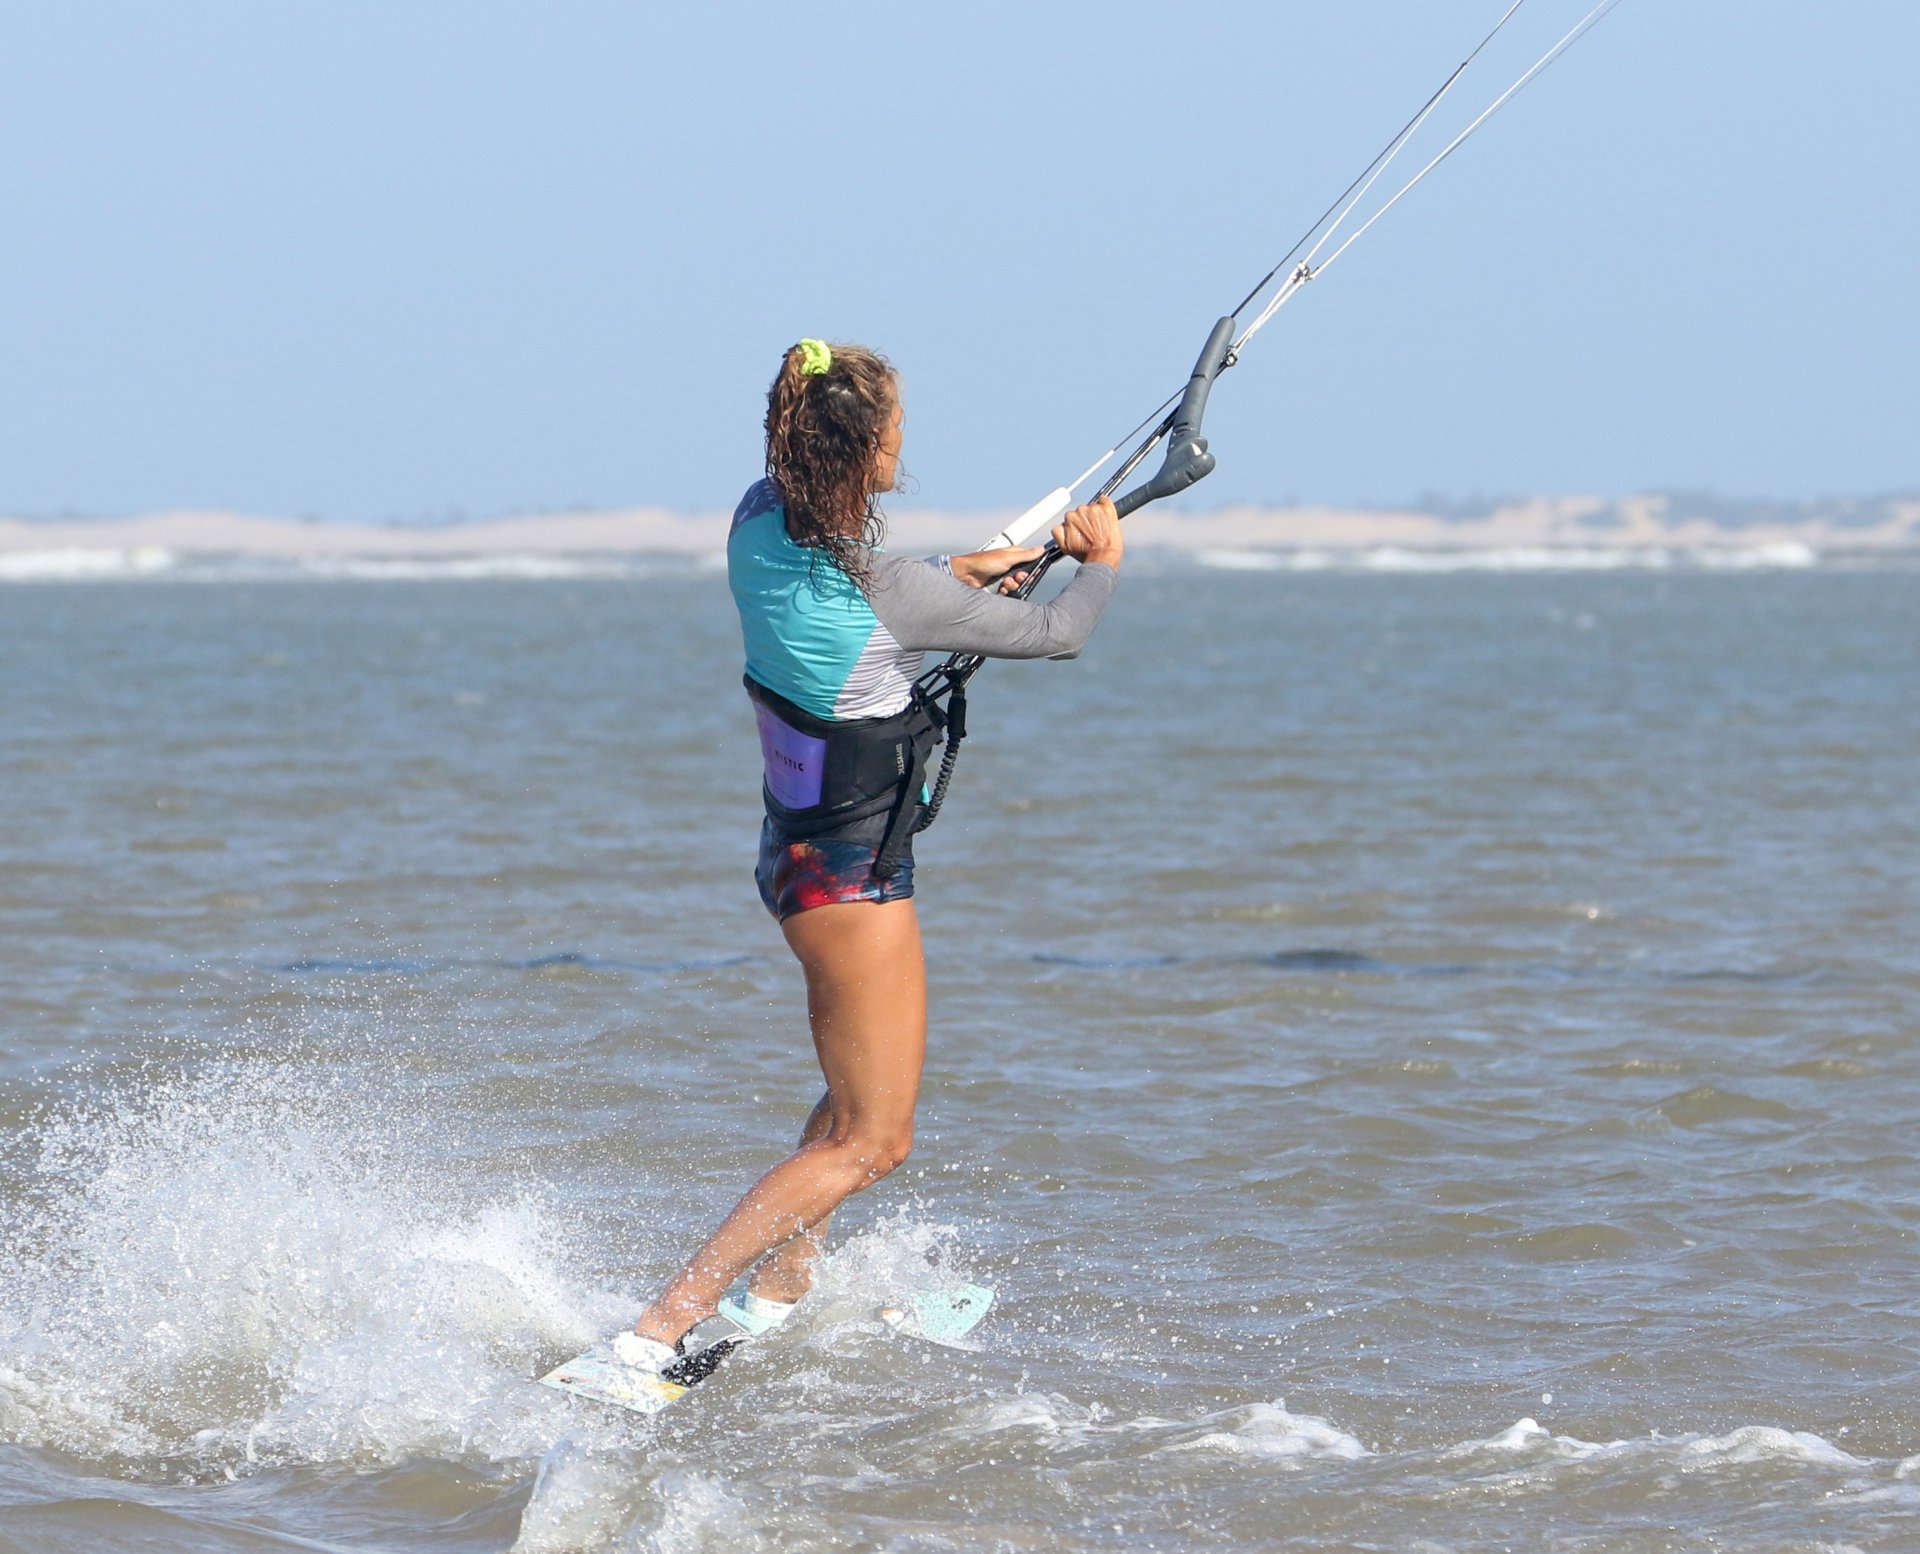
Kite Up, Stand Up Pic B.
The next task is to move the kite up a smidgen. If you think back to learning the underturn, the trick was to get the kite high. Once it's up, you have more room to manoeuvre it, and if you loop it high, it will generate less power. That's two good reasons to move it up. The third reason is that as you drift the kite up, it will lift you over the board, and this will relax your edge. For your first attempts, you want to drift it up towards 11:45 or 12:15, really quite high, by steering the bar slowly. Here, Karine moves the kite slowly up and allows it to pull her up over the board so that she's ready for the carve. It's much easier and more subtle to transition from your heel edge onto the flat before trying to carve, and it gives you more time and less need to multitask. Make sure to keep your weight slightly back over your rear foot.
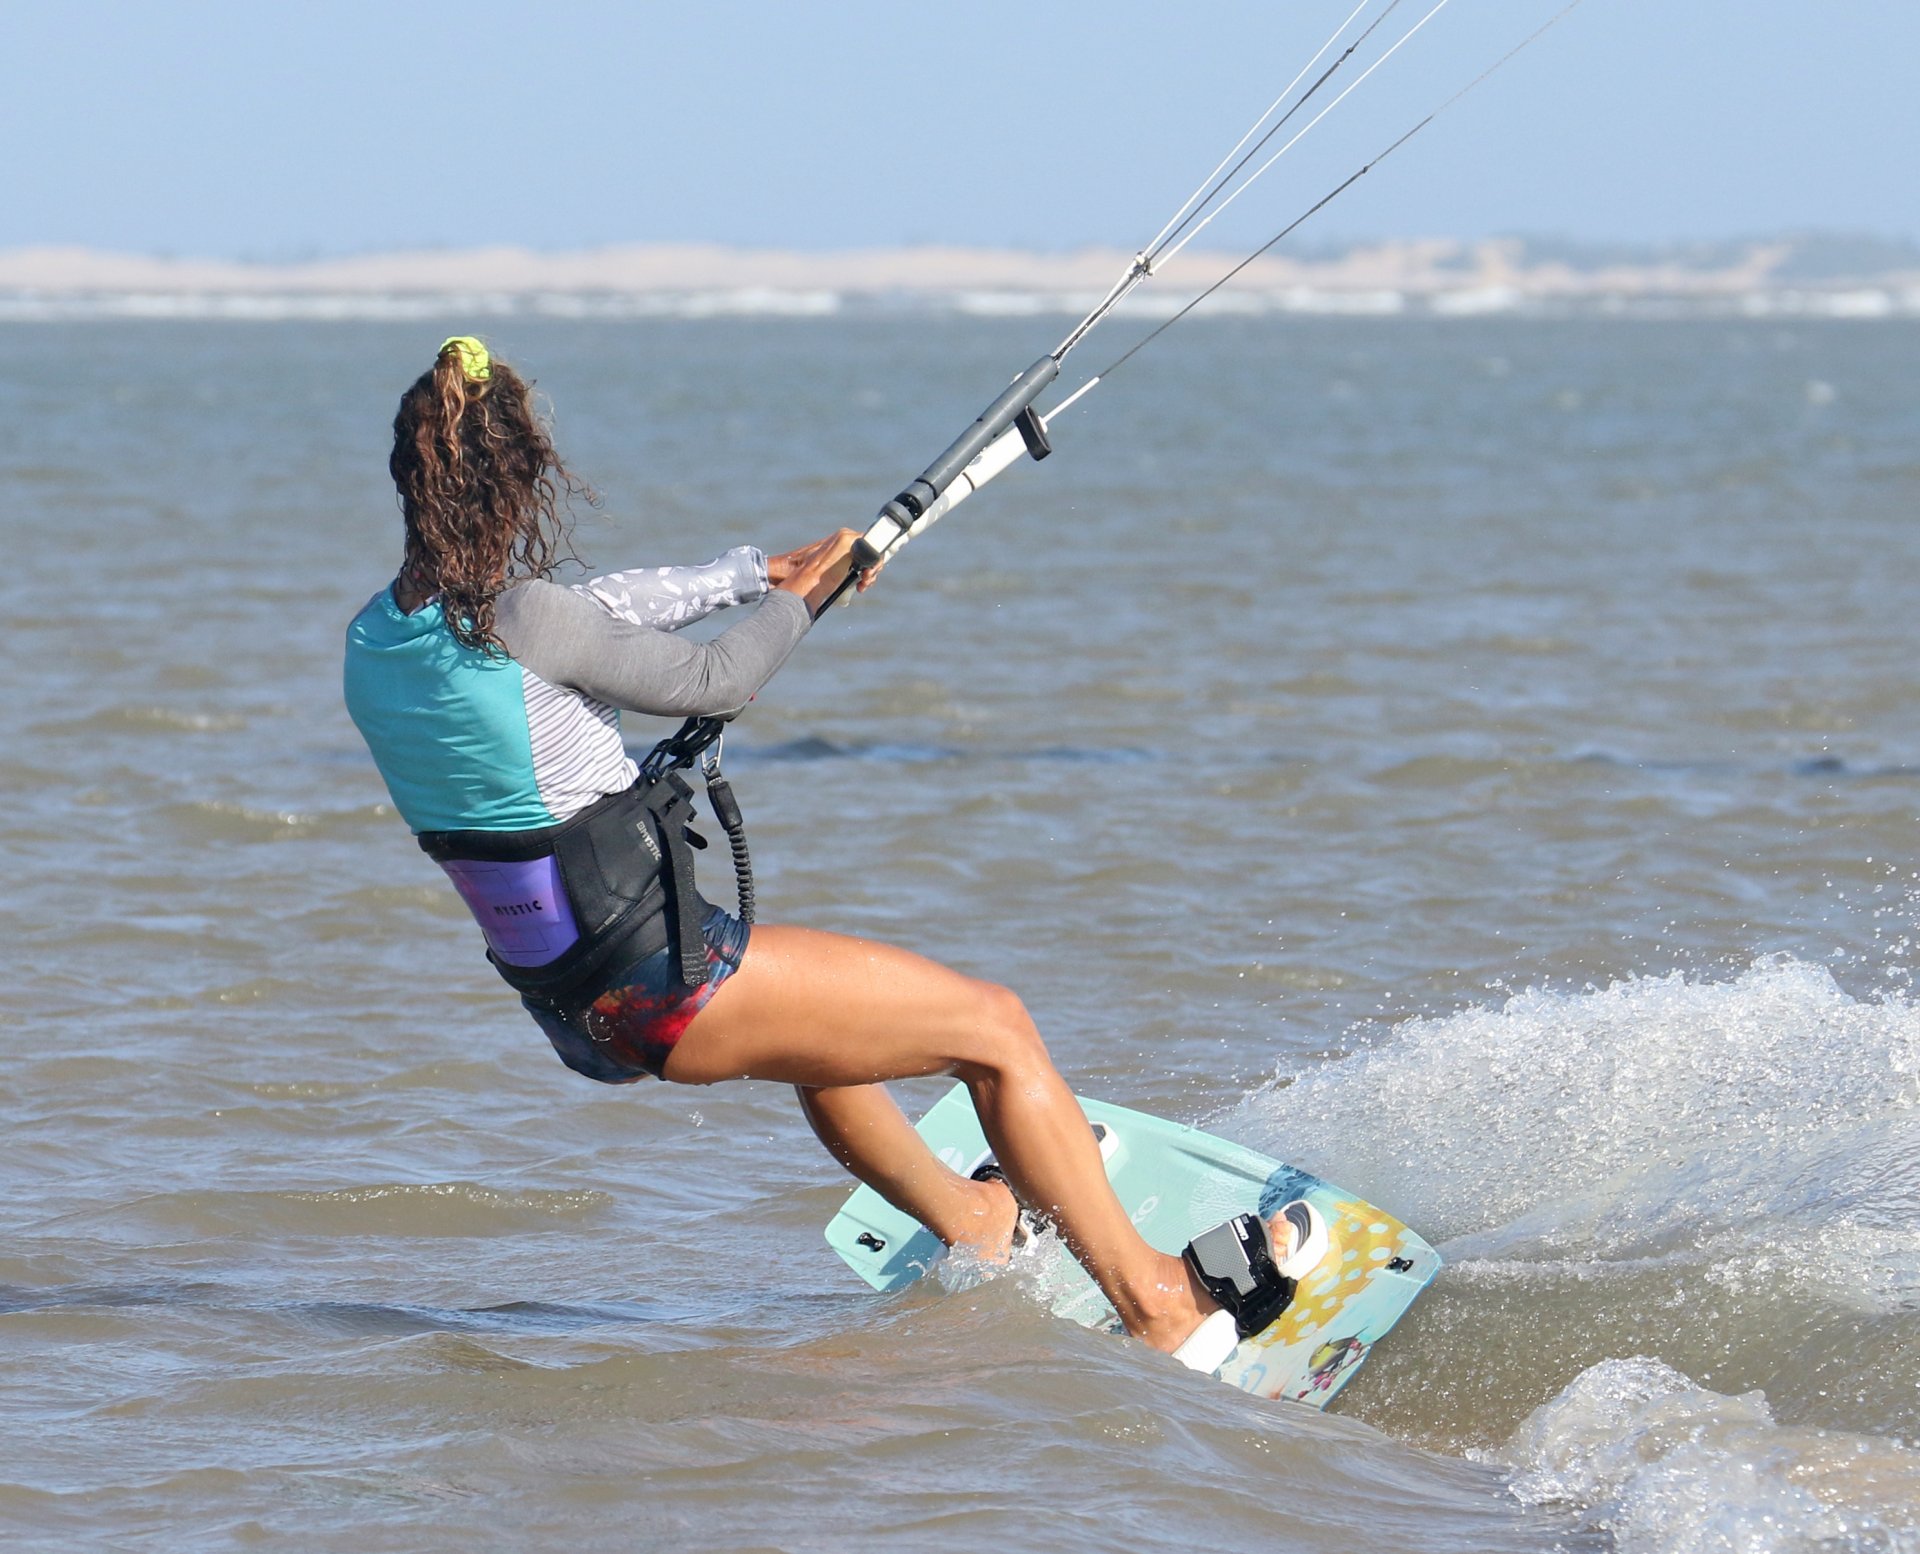
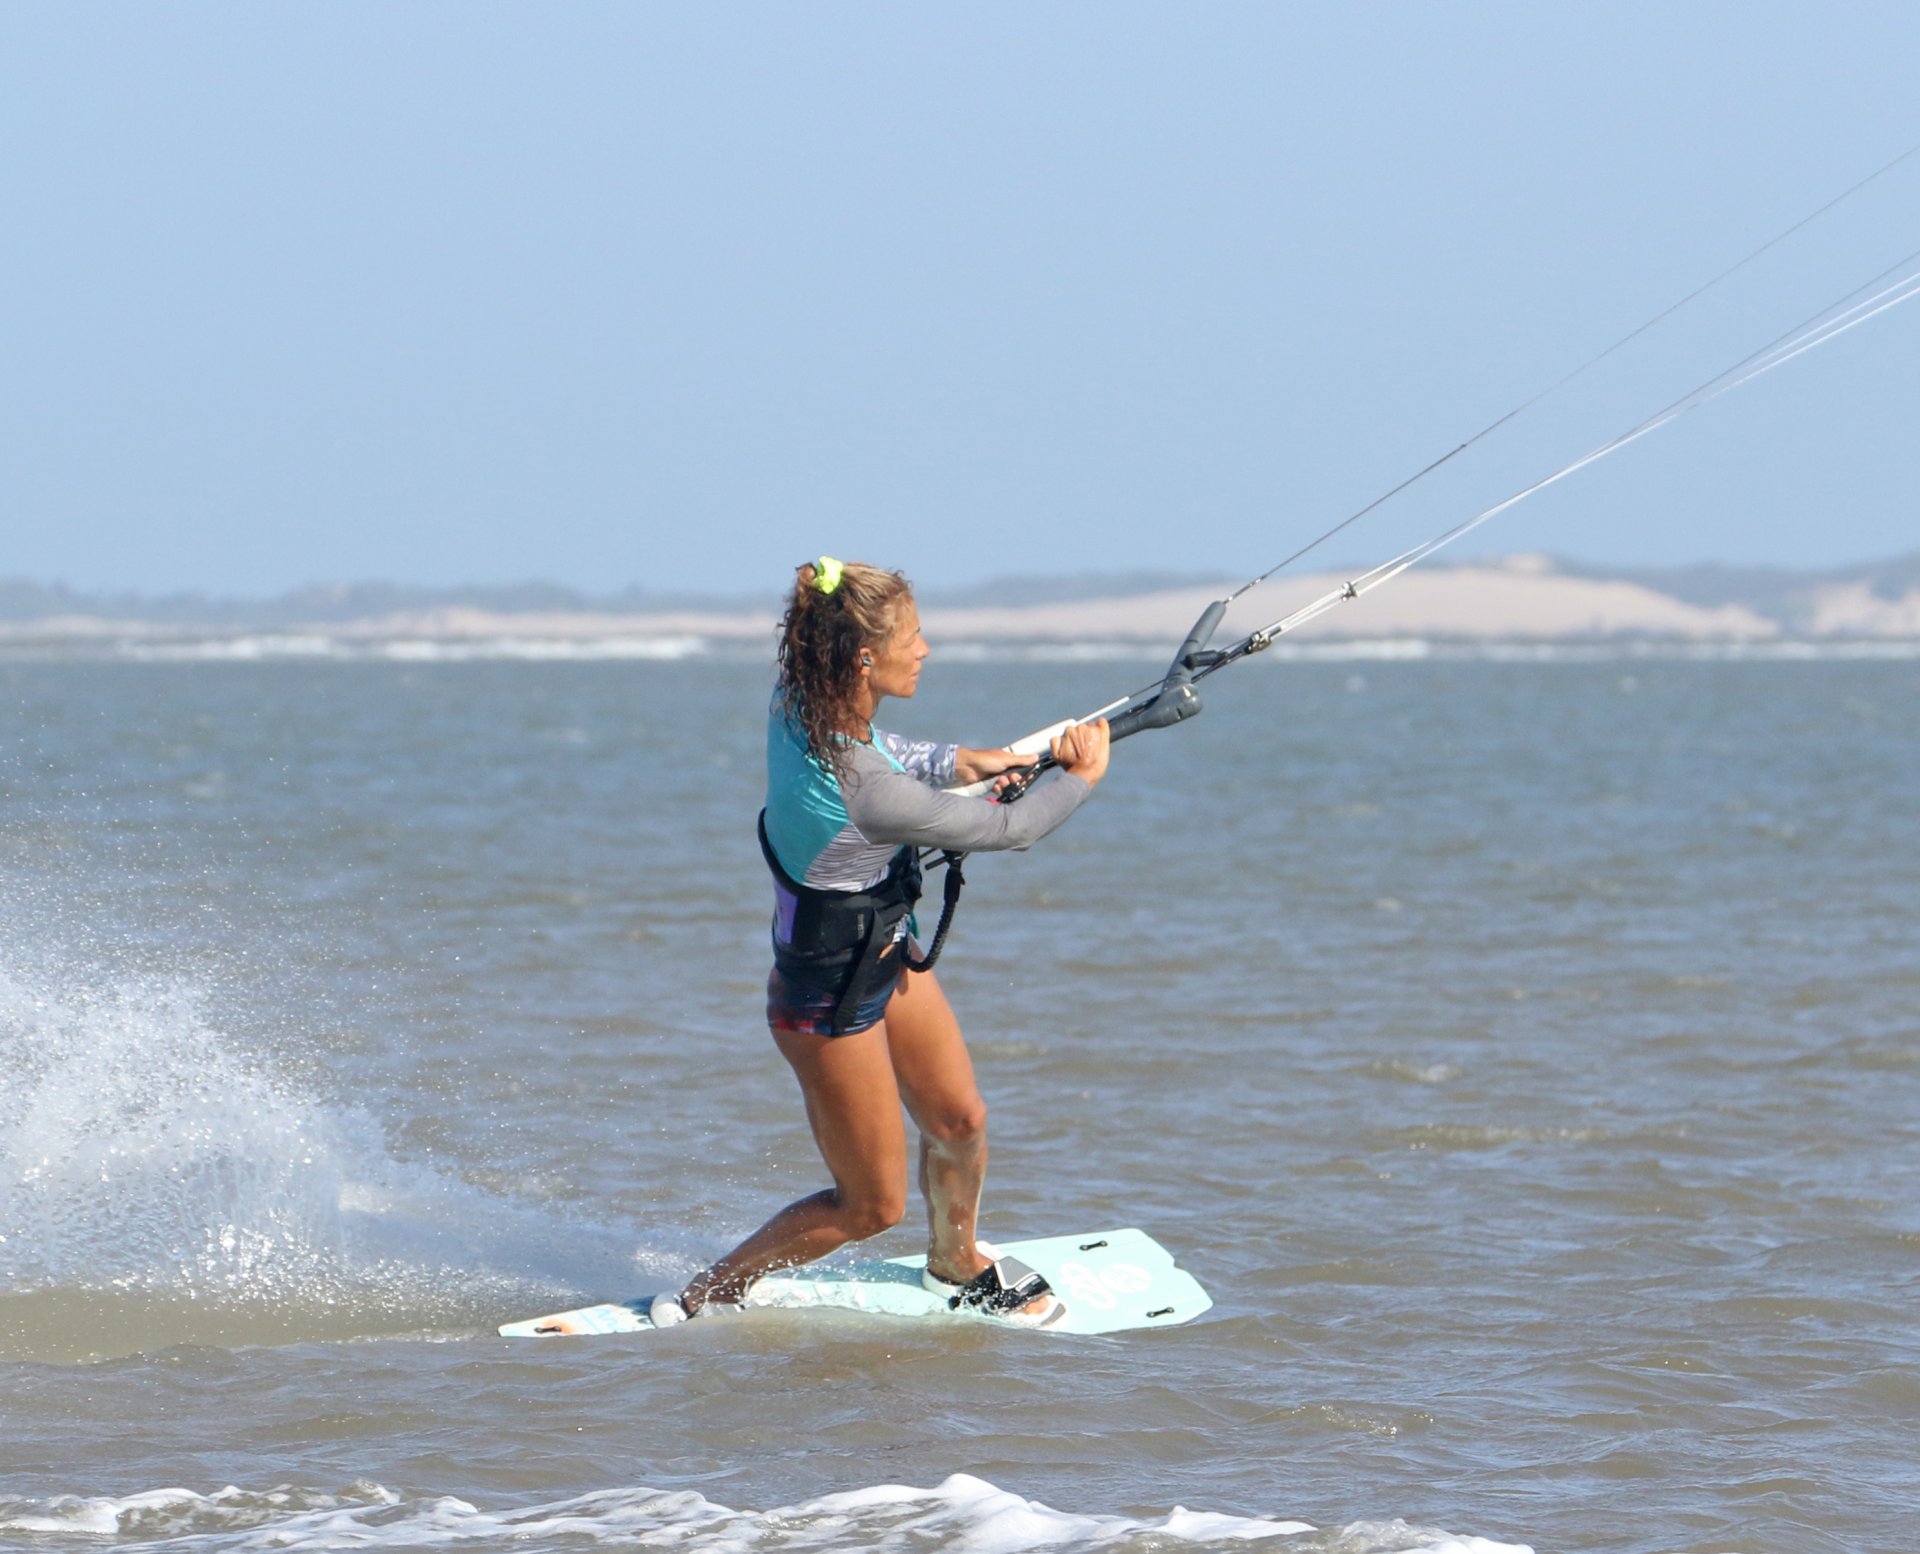
Carve Pic C.
Initiate your carve by pushing your back knee across the board, flexing your ankles so that your weight rolls onto the balls of your feet. This doesn't need to be a radical movement, just enough to get the weight across. As you move your weight across, the curvy tail of your board will steer the board into the turn. Keep your weight here, and you're quite literally on track to get around. Look forward and downwind where you want to go. You can see that Karine has her weight back, her ankles are flexed, and her board has started to carve. At the moment, she hasn't steered the kite; it's still around 11:30.
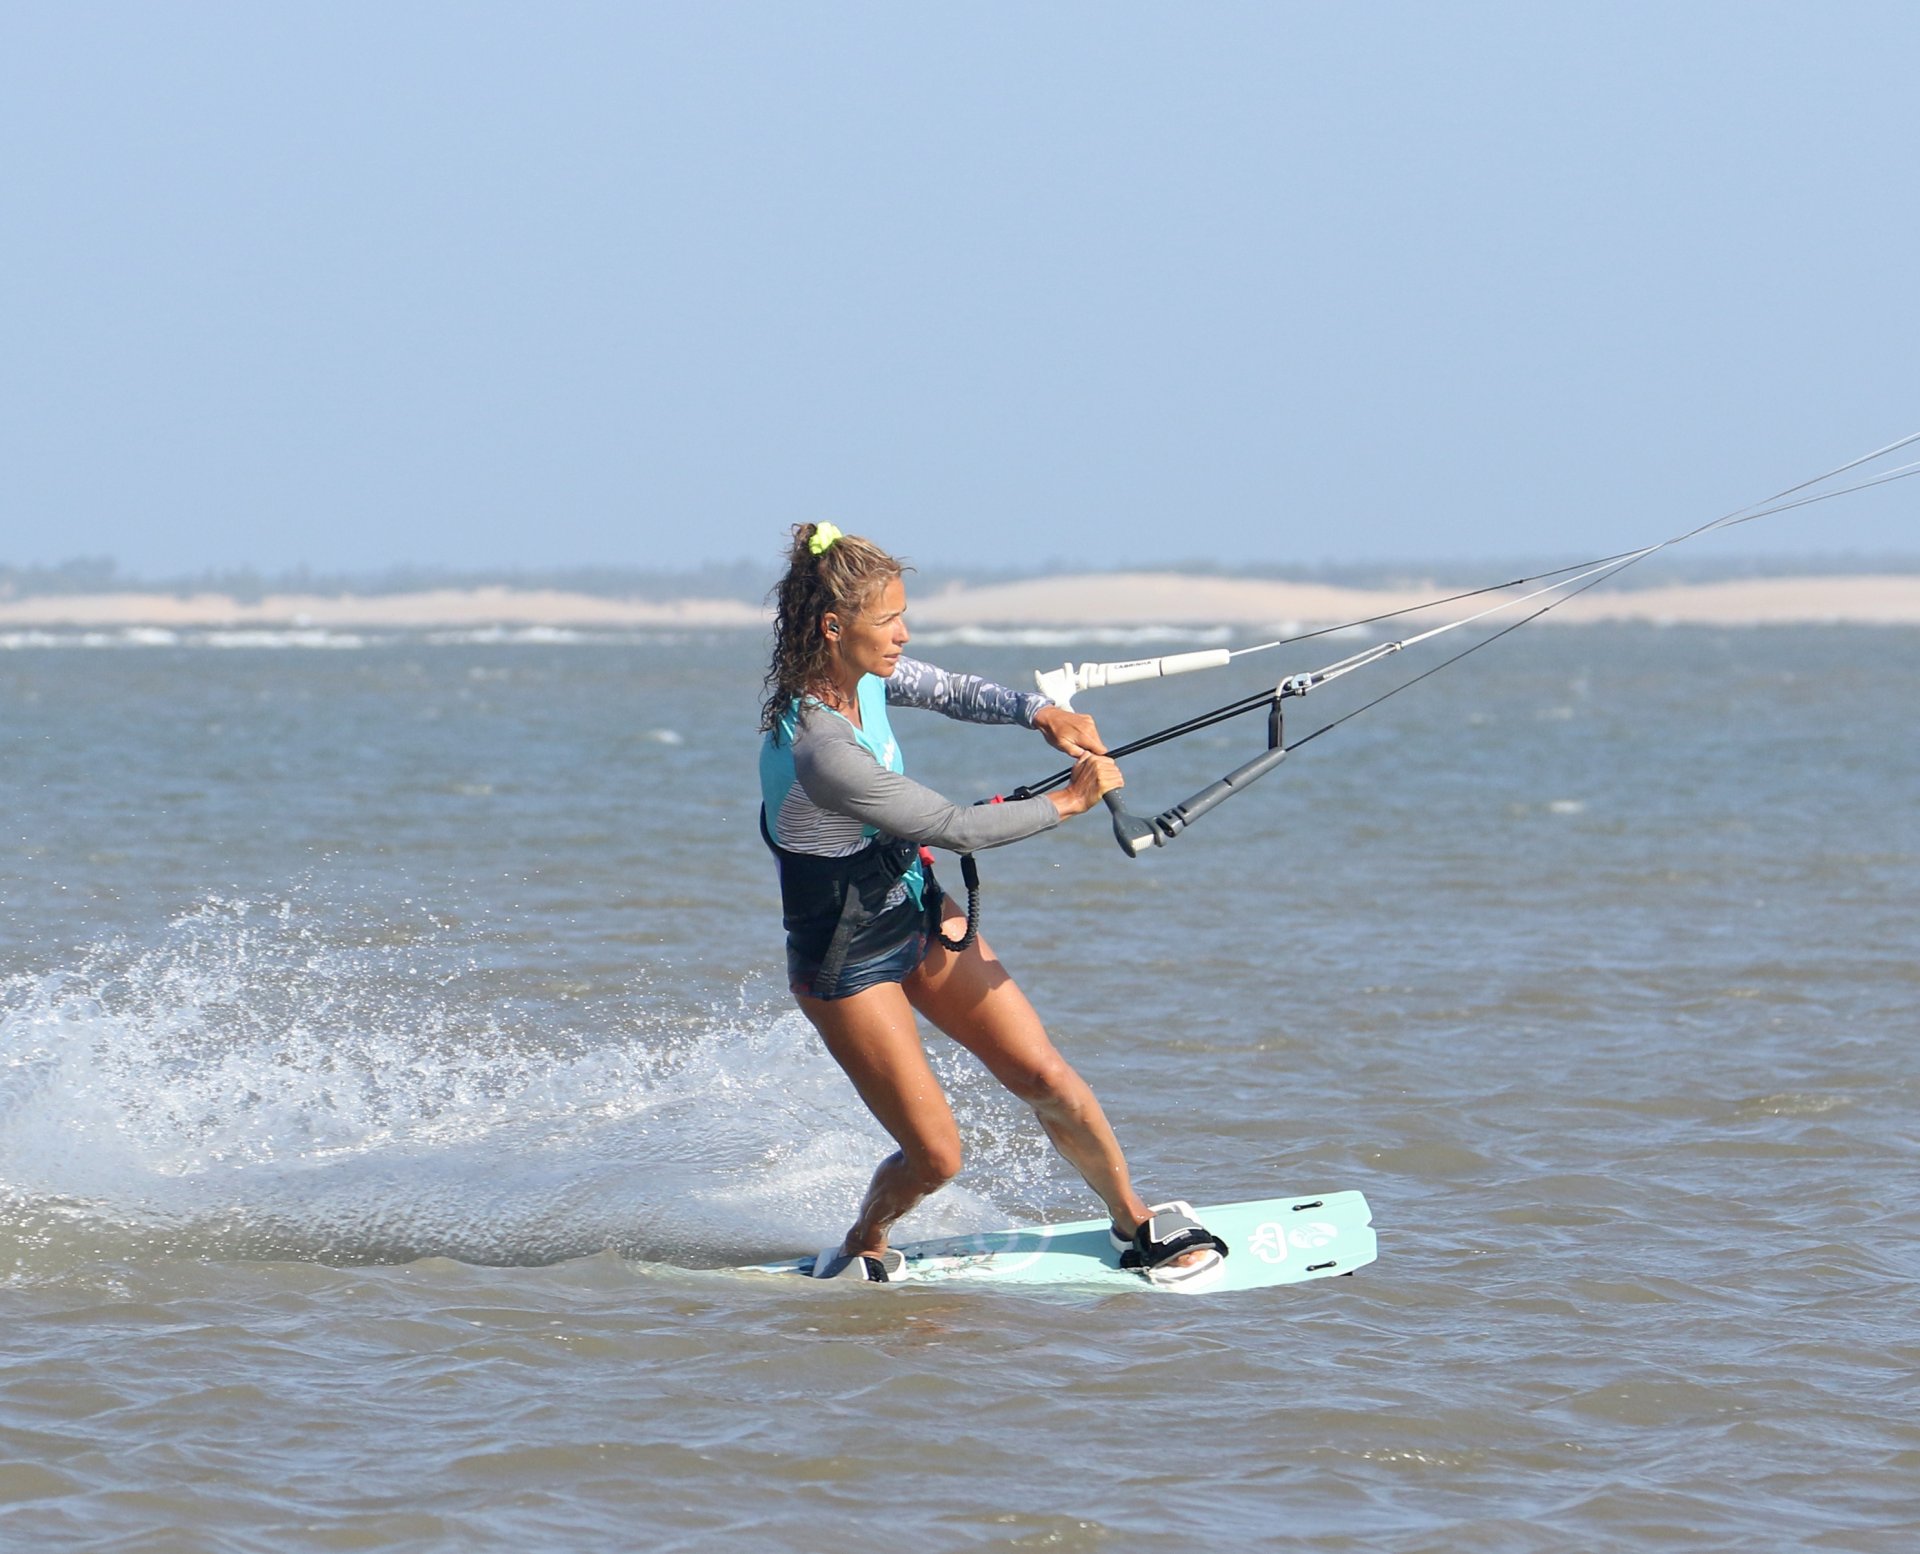
The Full Monty Pic D.
The moment you've been waiting for. With the board carving downwind, you now have no edge and less tension. You also will have your weight back over the tail of the board, so you're in a strong position that will make the board turn and from which you can take some power. In short, you're ready! It's time to loop. Sound familiar? You know the score, exactly as you did for the slide turn, a committed pull with your front hand and push with your back hand to initiate the downloop, keeping your bar on the sweet spot. Karine has her weight back and is in a strong position, effectively the position she will ride out in. She's got her eyes on the prize, watching her kite as she gives it the beans on the bar.


Lock In Pic E.
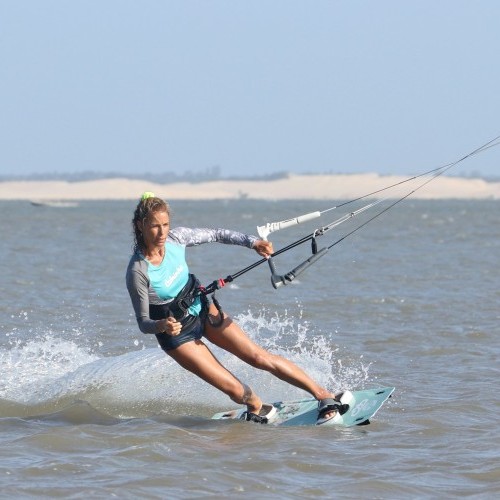
Just as before, once your kite starts its down loop, you need to stay 200% committed. Keep the bar exactly where it is to keep the kite turning. Resist the temptation to dump power as the kite pulls, and watch the kite so that you know where it is and so that you can follow the pull. Your position on the board is already set, so as the kite pulls, you're able to keep your weight back and on your toeside edge, carving. The board will continue to carve. Keep one eye on your kite so that you know where it is and the other on where you're going so that you can stay committed to your carve. Karine is watching her kite, with her bar still giving it the full Monty, whilst she carves with her weight back. You can see how she's already in a perfect toeside stance, which defines a good carve. Her chest and hips are open, facing the nose of her board, whilst her back foot twists in the strap so that her back knee can drive forward and encourage the board around. Perfect!
Keep Watching & Level Pic F.
Following your slide turn and toe to heel downloop practice, you should now have a better feel for the timing and position of when to level your bar so that the kite doesn't fly all the way back up to 12 o'clock, but rather pulls you forward in the new direction. As you carve around watching your kite, aim to finish your downloop by levelling your bar as the kite starts to climb and pull forward. The main difference here to your heel to toe carve is that it generally won't be as strong, tight or easy. As such, it's likely that the kite will finish its loop before you've finished your turn. Karine sees that the kite is around and levels her bar so that the kite can fly forward. She's not finished yet!
Breathe & Finish Pic G.
The final ingredient is finishing your turn. Your aim is to get onto your toeside edge riding back upwind. There are a couple of things you'll need to do to get there. First off, let the kite breathe. Chances are that with your two hands steering the bar around the downloop onto your toeside, you may have pulled it in slightly as you came around. Let the bar out gently so that the kite can breathe. Now, it will fly to the edge of the window and can pull you upwind. Secondly, you need to get onto an upwind edge. Letting the kite breathe will help, but you'll also need to get your weight committed upwind and against your toe edge. Do this by keeping your chest open and flexing your ankles whilst leaning into your harness so that your hips "bend" upwind of your board. You can see that Karine has let her bar out and has leant her weight and hips upwind into her harness, driving against her edge and extending her legs to push the board upwind.
Top Tips
If you're intending to marry two skills, it never hurts to practise both separately. Before adding the downloop, try a few heel to toe carves with the normal kite movement, and then build your confidence by trying a few downloops with a slide turn, then stick them together.
It's advisable to start with your kite too high if you're not sure exactly where. As long as you're moving on an edge, you can even take the kite momentarily right up to 12 o'clock.


For your first few attempts, concentrate on getting the kite high and making sure that you flatten the board off and get your weight across to carve.
It's easy to be so concentrated on the kite that you forget to carve and thus get way more power than you may consider appropriate. Take your time, flatten, push your back knee across, carve, drop your weight across and only then, pull the trigger on the downloop.
Make sure that you have plenty of space when you try this. You need room to fail as well as succeed, so don't try this too close to anyone or anything.
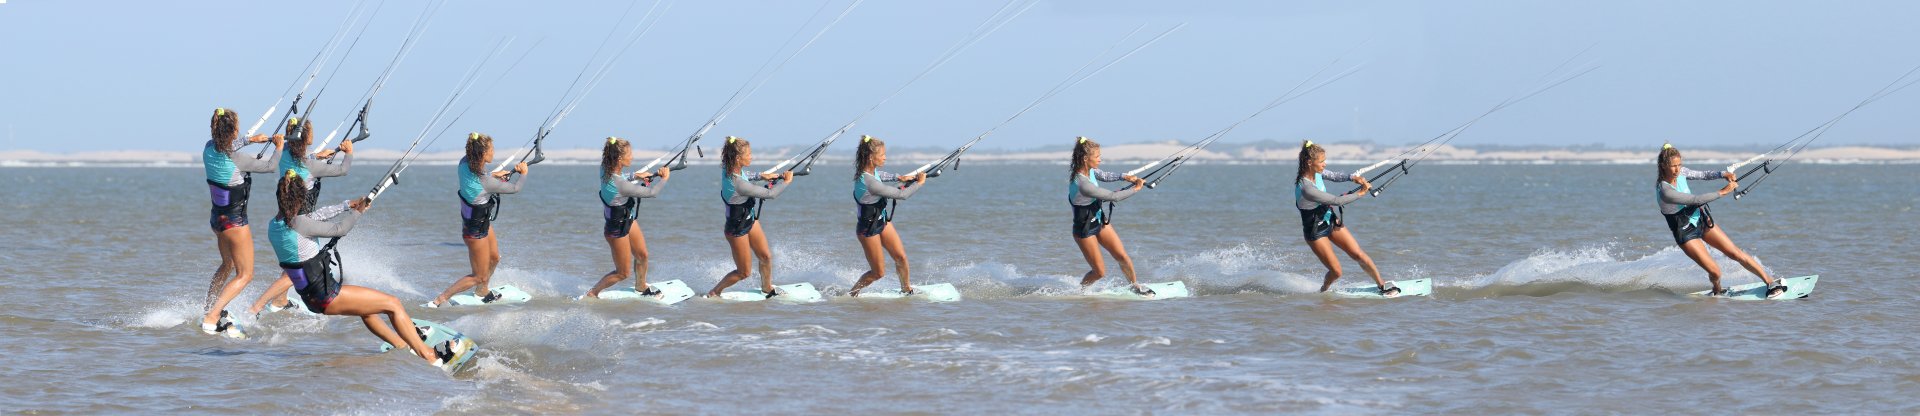
Now, have a look at the sequence for the full run-through and check out the video…
Common Problems
Getting hauled. If you find that you're getting pulled violently as the kite starts to loop, chances are that you haven't flattened the board and initiated your carve before pulling the trigger. If you're off your edge, you won't have much resistance, and therefore, the kite won't pull too aggressively, and you'll go with it. If you're still edging against it, you'll be in for a surprise. The same applies if you loop too late! If you carve around onto your toes and then loop, you'll be edging against it.

Crashing the kite. With the kite high, the bar movement is more intuitive; however, as the kite turns, it is easy to twist your arms, try to follow the kite with the bar, and lose yourself. Remember to lock yourself in the initial push/pull position until you feel the power in the kite subside as it heads back up - and concentrate on carving!
Keystones
- Edge in
- Kite high and flatten the board
- Drop weight back over the rear foot, push back knee across and flex ankles to initiate the carve
- The full push-pull, look where you want to go
- Level bar, let kite breathe and drive board upwind toeside to finish turn
This technique article was in Issue 102 of IKSURFMAG.
Related


By Christian and Karine
Christian and Karine have been working together as a coaching team, running improver to advanced kitesurfing clinics since 2003.
