Strapless Toe to Heel Carve
Technique / Beginner
Introduction
Continuing on from last issue’s heel to toe carve, we can now add the other half to complete the basic requirements of wave riding. Once you can link these two turns together you are wave riding, however mythically it may appear to onlookers, and all you need to add is a genuine curl of water chasing you and before you know it you’ll be the genuine article.
Interestingly enough although the toe to heel carve would be considered by many to be the easier of the two, to actually achieve a flowing arc as opposed to a brake and pivot around the back foot is not as obvious as it may first appear! So read on and we’ll discuss the hows and whys, which will make your carving look authentic.
Once again, as with all past surfboard theory, we do recommend that you practice this in the comfort of small waves, or if possible on the flat. With less working against you, you’ll have more time to feel the subtle differences in timing and board trim.
First off let us have a good look at the more important aspects of toe to heel carving. You do need to appreciate that not all the movements involved are the same as those for the heel to toe as you body and the board will react differently from a toeside position.
The Approach
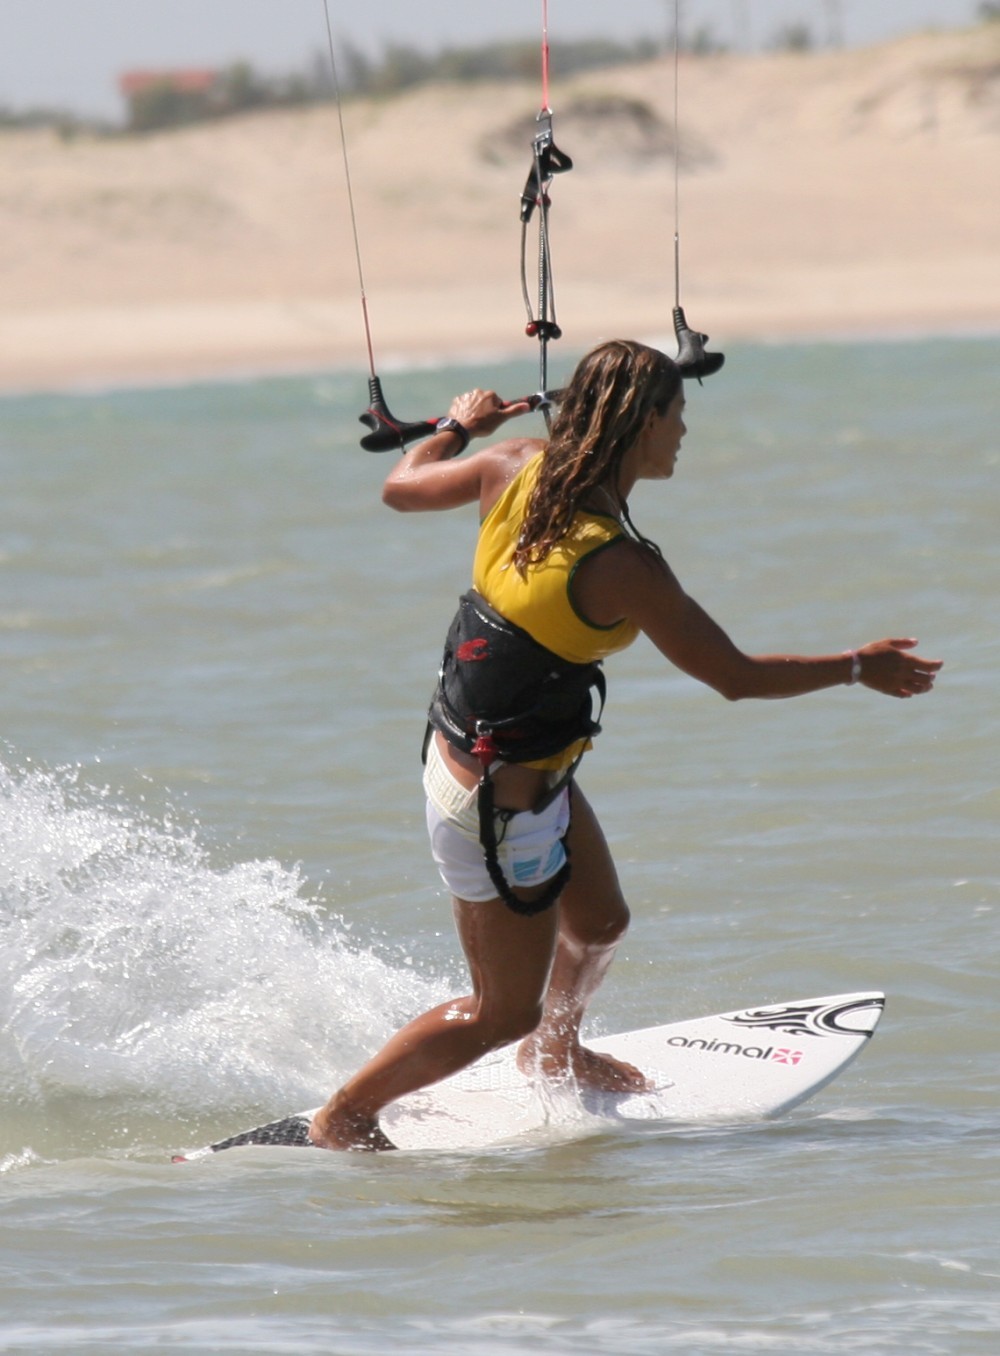
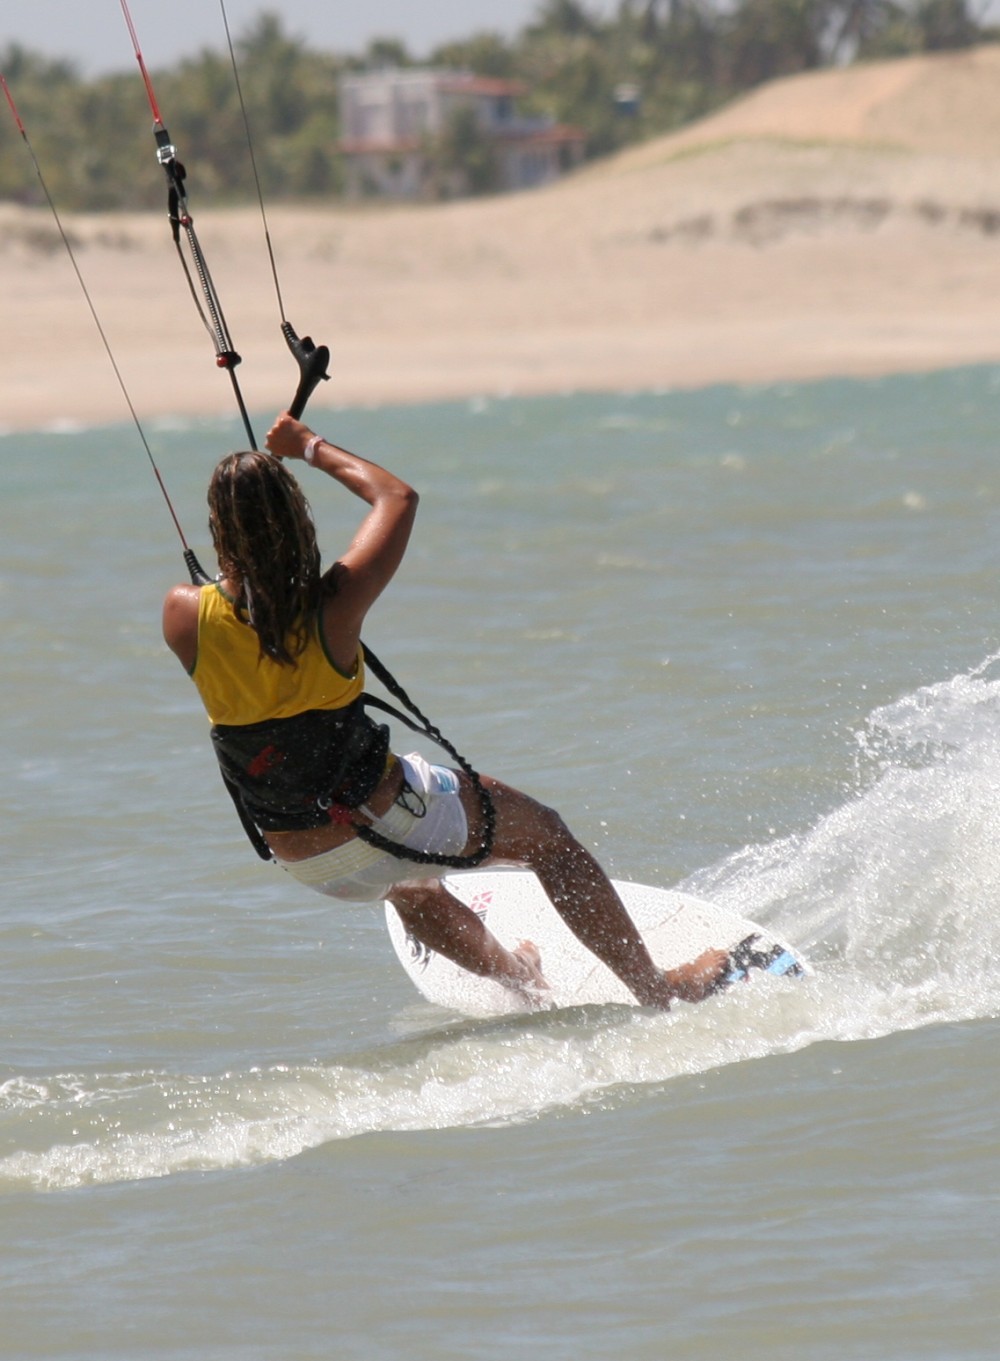
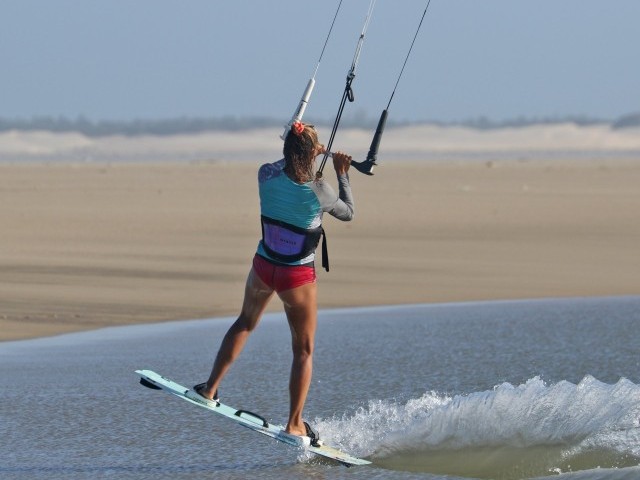
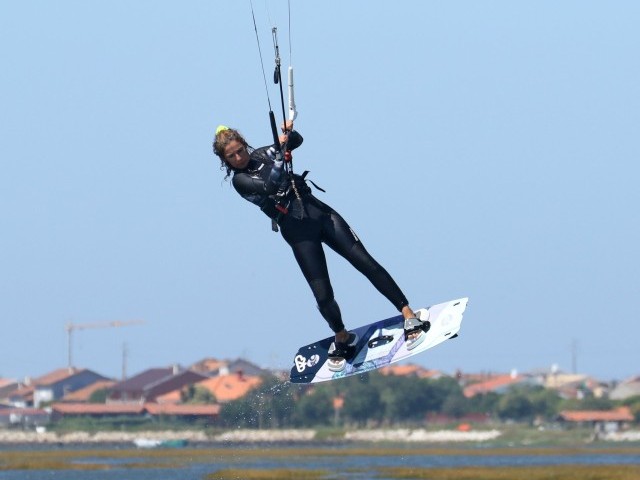
Pic A. This picture defines the set up to Karine’s carve. Going into the carve you’ll require speed to carry you through the turn, tension on the lines so that the kite will turn and your weight positioned correctly so that the board will turn.
Karine once again has her feet in a relatively wide stance, her back foot back on the tail pad and her front foot up where the strap would be. In theory her feet should be where they were for the heel to toe carve, as you don’t want to be mincing around with your feet whilst concentrating on linking turns.
With her back foot back on the narrow part of the board Karine can easily change from one rail to the next, quite literally toe to heel. Like this Karine can maintain a strong toeside edge, and therefore keep the tension in the lines so that the kite will turn when she pulls on the bar.
With her front foot placed well forward Karine can keep the nose of the board down, as this wide stance allows her to twist her hips forward and get her head, shoulders and hips over her front foot. With the nose down and the board trimmed Karine will take more speed into the carve and can therefore allow the board to cave on its rail rather than pivot on the tail. You can clearly see that Karine’s board is pretty flat and that her weight is really quite forward. If you haven’t got this dialled yet, get practising.
As with all good toesides Karine has all her weight committed upwind of the board. This way she can push down on the ball of her back foot to edge against the kite, and she won’t get pulled up onto her board by any gusts.
Finally as this picture does show Karine starting to turn the kite, we should ponder for just a second that she is still looking forwards and not looking at the kite. The reason for this is that it is potentially tricky to hold a good toe edge. If she looks at the kite she may let the board come off its edge/rail and is more likely to lean back onto her back foot. Also if she turns to look where she wants to go before she turns the board she may well fall off the back.
One word of warning at this stage, not all surfboards will be happy to ride fast, whilst you are toeside with your feet wide apart, so this in itself may take some practice. A surfboard with plenty of banana rocker will turn very easily but will have a tendency to weave its nose from side to side should you dare to place too much weight back when travelling in a straight line.
Rail to Rail
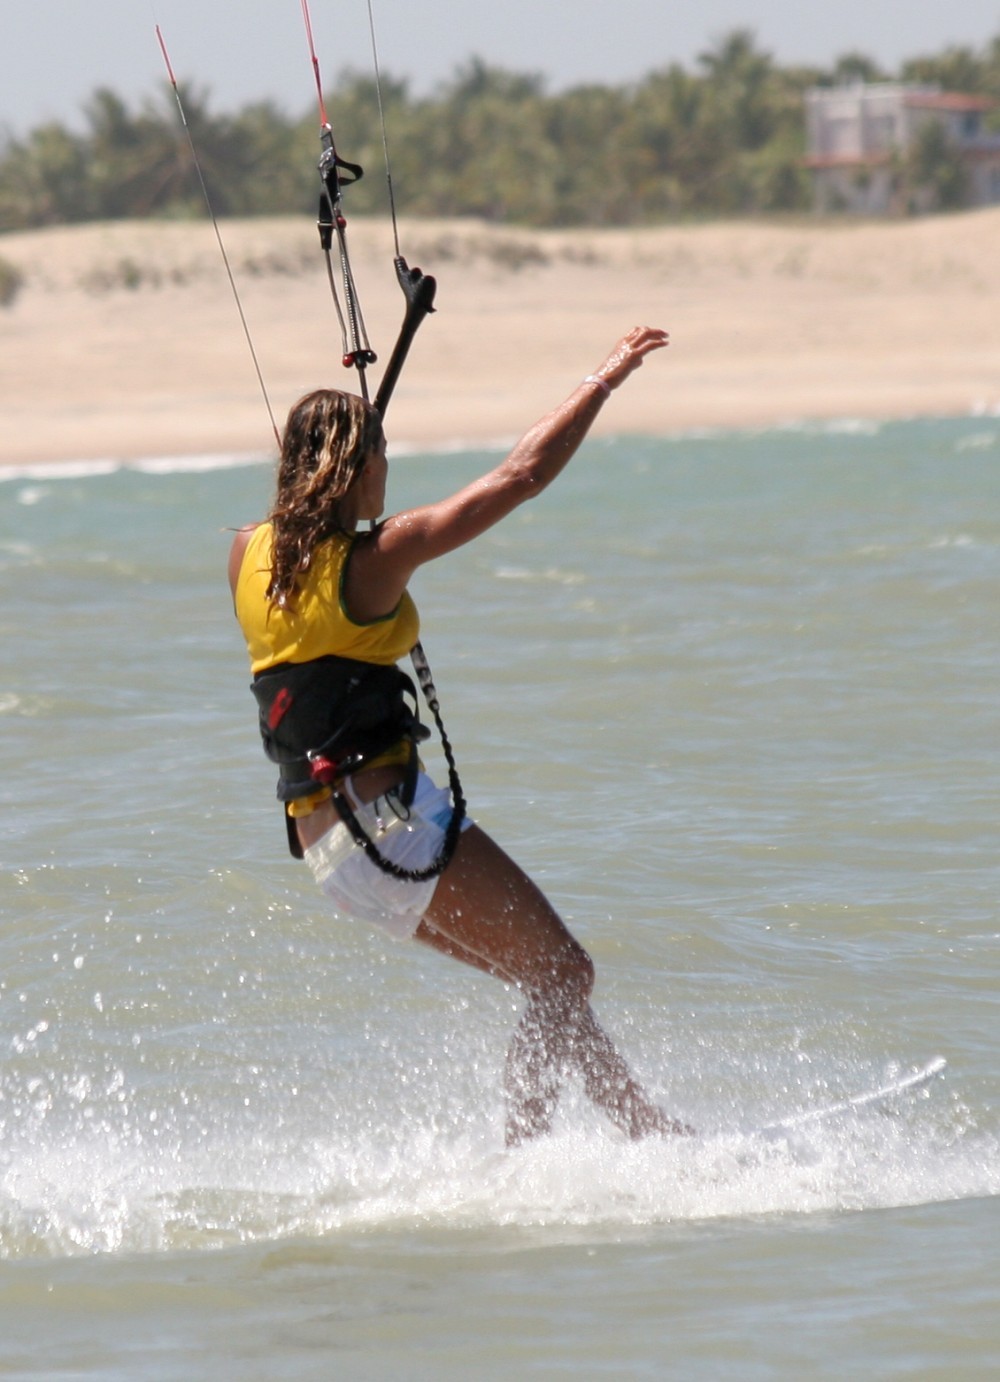
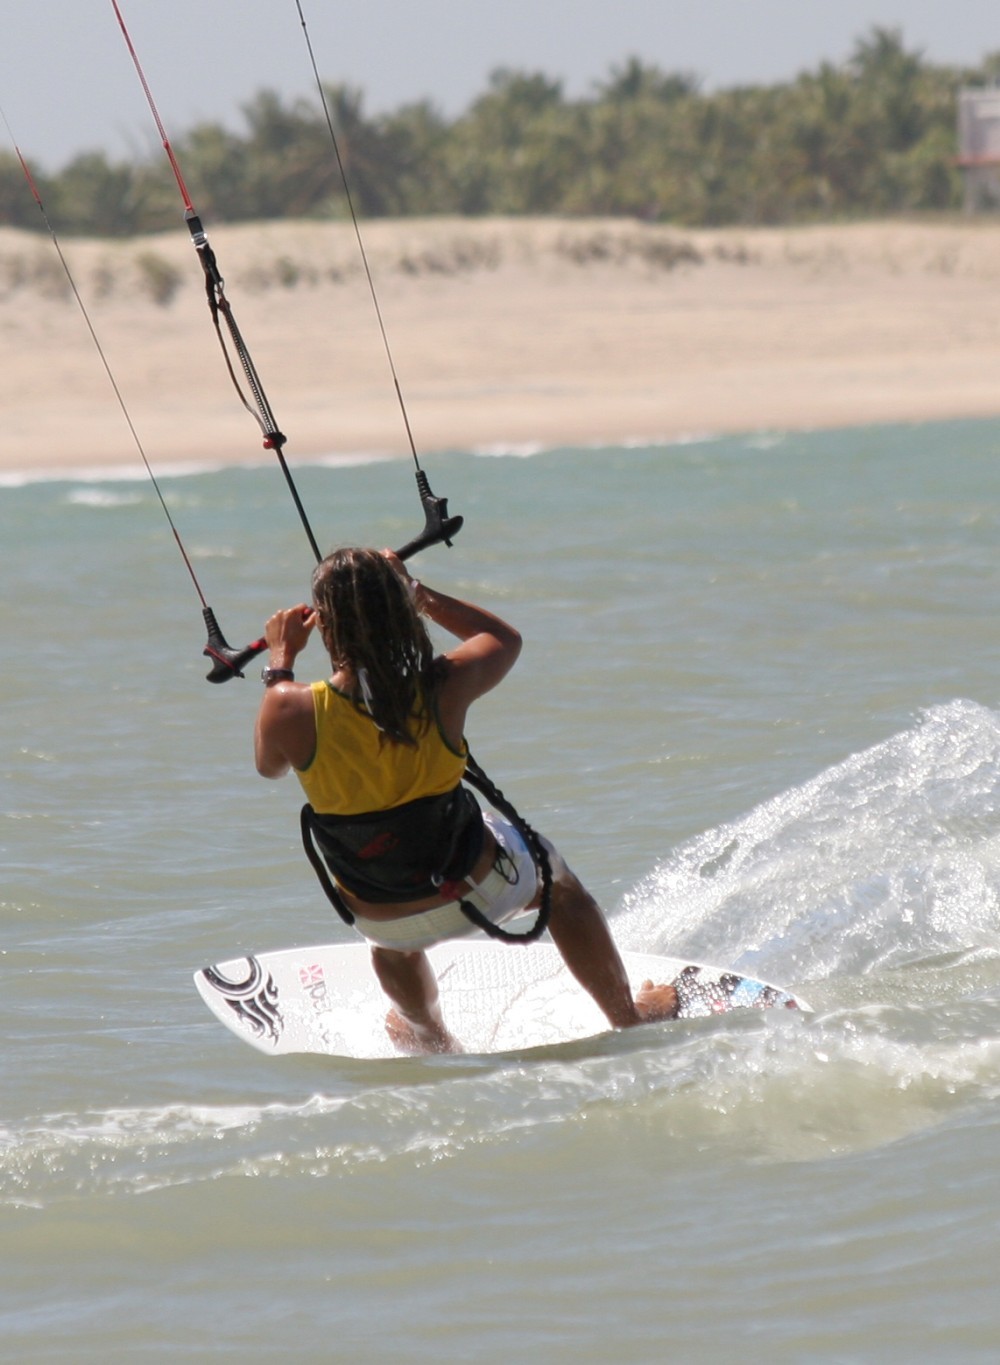
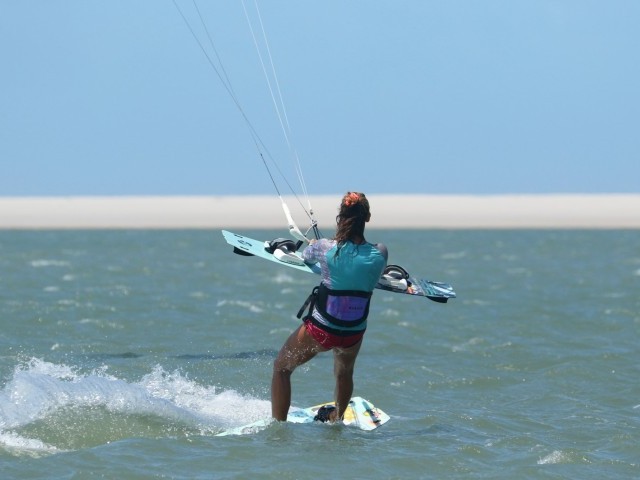
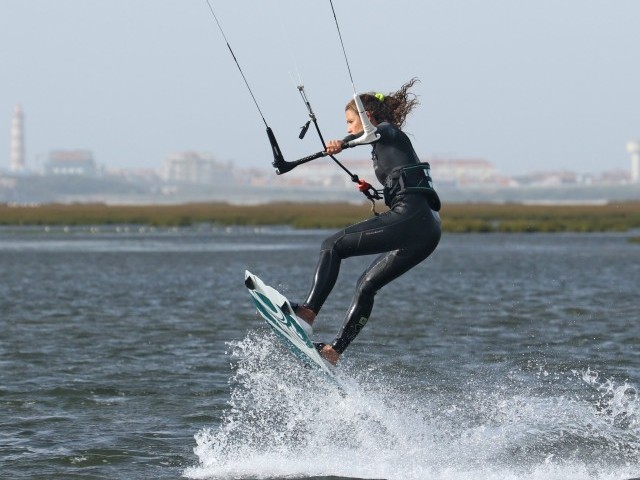
Pic B. This picture shows the transition from one rail to the other. Commitment is the key here, as getting your weight across the board while maintaining your balance will result in a very positive carve.
Having steered the kite hard across the window, it will pull, but not for long. As Karine feels the kite pull, she goes with it and allows the kite to pull her up and onto the board. As she moves onto the board she can no longer edge and therefore the board will drift towards the kite. This in turn reduces the pull of the kite. Karine now needs to get the board carving.
To do this Karine releases her front hand, here the right one, and turns her shoulders across the board. Karine moves the hand that is still holding the bar so that rather than being in front of her, it now points towards the centre of her intended arc. Having her arms stretched open like this gives her both balance and dynamism. Karine also keeps her head forwards so that she keeps some weight on the front foot and will therefore turn the board with both feet, not just the back one. With her weight on both feet, her arms spread, knees flexed and her shoulders open Karine’s weight will move over to the inside of the board.
The Carve
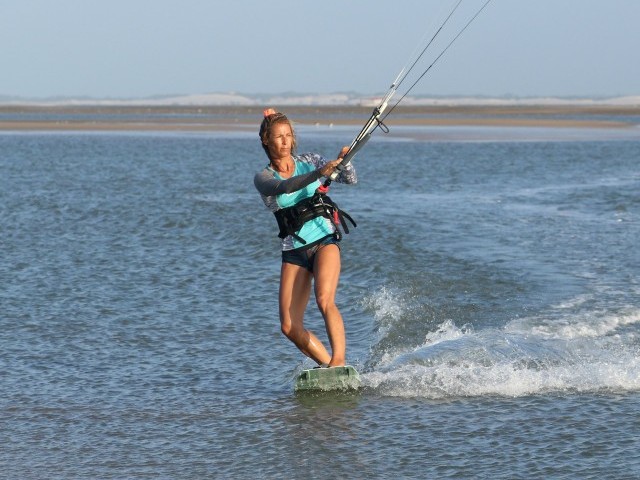
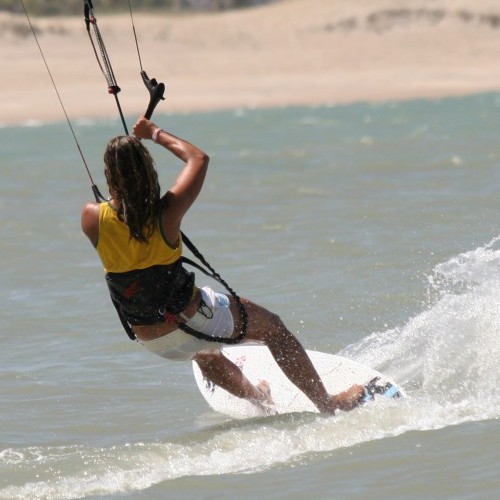
Pic C. As a result of what Karine has done the board is now carving. This however is a point where many falter. It is forgivable to be lulled into a false sense of security that the board is turning. However you need to keep your speed up and maintain the board’s flat trim. As the board starts to turn Karine follows the nose with her head, this keeps her turning with the board. If Karine was to turn her head too far and look for the exit of her turn, all her weight would move over the back of the board. This would then either kill her speed, or she would potentially fall off the back. The flowing carve can only result from a well trimmed board.
Nearly There
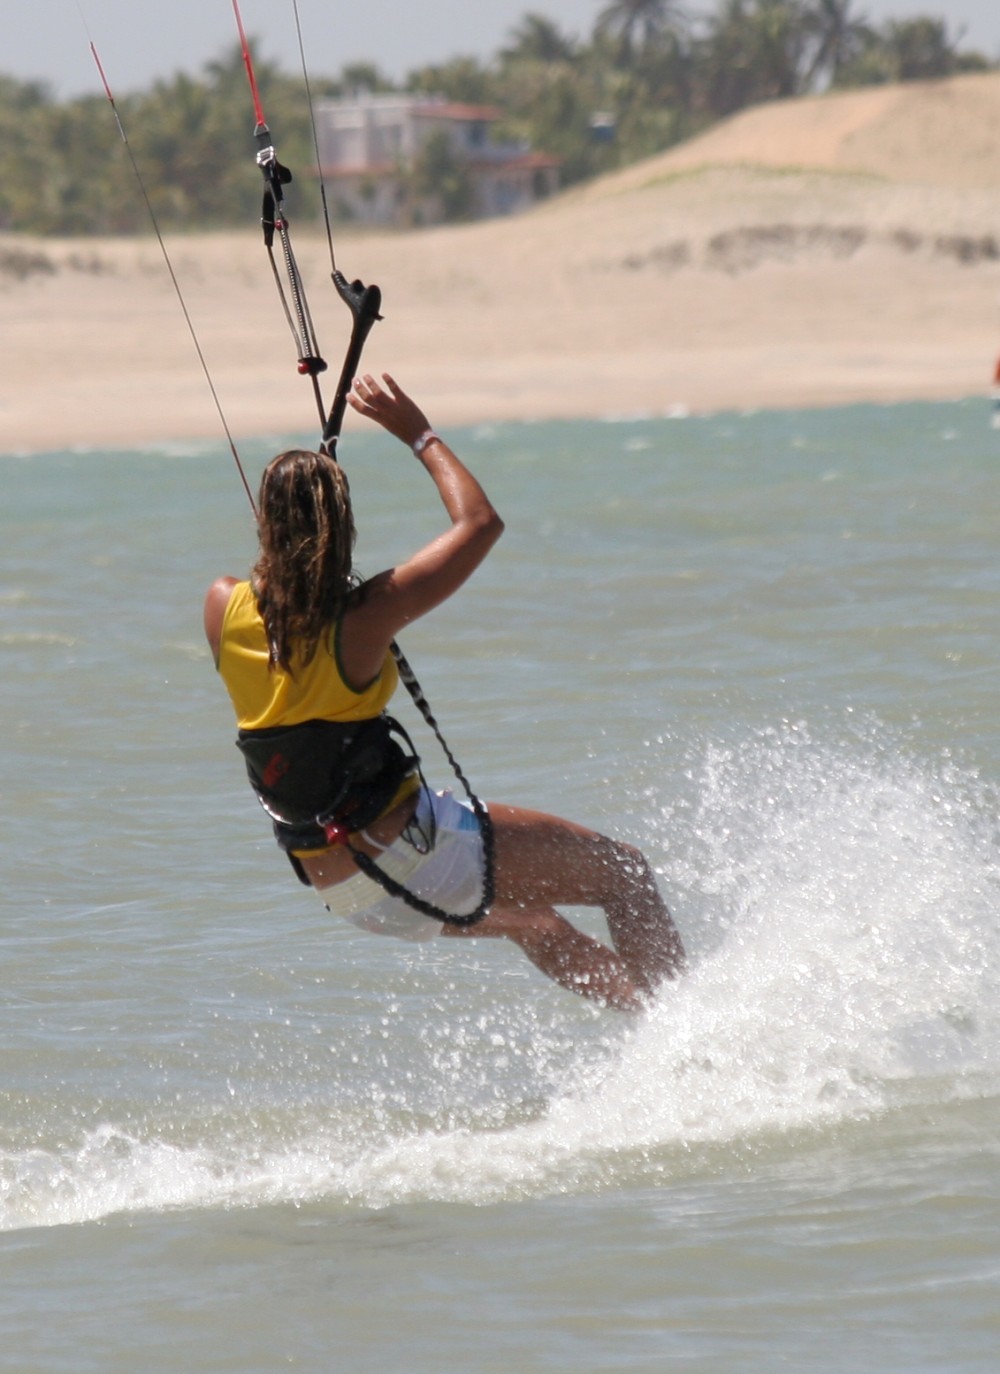
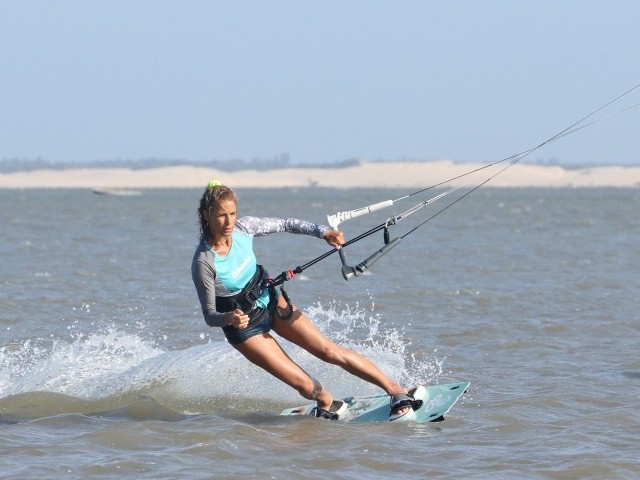
Pic D. This is a great shot as it really highlights two things.
Firstly you can see how committed Karine has her weight to the centre of the carve, and as a result how much the board is banked over onto its rail. Karine is only able to do this because she did not try and turn her body and head too quickly, she kept some weight forward and kept her speed up. Having completed more than half the carve, she has only now replaced her hand on the bar, because it is now within easy reach, because she has carved far enough around to catch up with her other hand.
Secondly you can see how much of the inside rail is engaged in the water. The design of a surfboard allows it to carve by using the rail, keeping the board steady and moving. This yet again stems from having enough weight forward, so you’ve got one foot on the gas. On a wave this is often the difference between accelerating back down the face, or rolling off the back as the wave passes under you!
Heelside Out
Pic E. Karine is now exiting her carve, so she wants to come out on her heel side rail so she can keep tension in the lines. Because she committed her weight to the inside this should be par for the course. You can see that the kite is now leading again, so Karine pulls the bar all the way in and regains full control of the kite.
Exiting on heelside is much easier than it was on your toes so you should have no problem here. Once you’re comfy you can set yourself up for a heel to and let the wiggling commence.
Top Tips
Just in case we haven’t emphasised it enough, if you can keep some weight forward and turn your body slowly you won’t fall off, and the board will come around with you. Please note you can turn very sharply with all your weight back, but that would be more of a pivot/slash not a dreamboat carve.
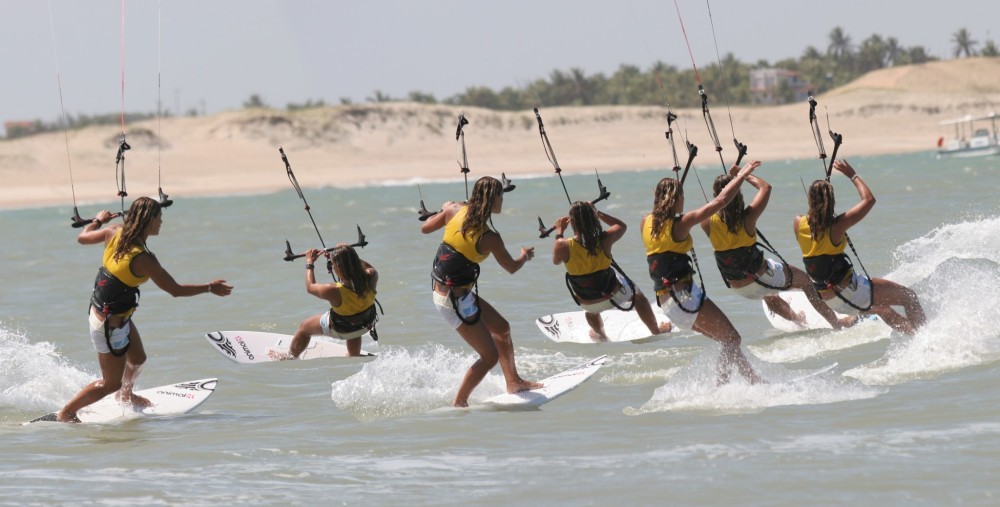
Now let’s look at it the carve as a whole in Sequence 1
- Pic 1. Karine has approached the turn with her kite between 1 and 1.30, speed and enough weight forward to keep the board trimmed. She is still edging on her toes with her weight upwind of the board. She now steers the kite by pulling hard on her back hand to send it across the window towards 11 o’clock.
- Pic 2. As the kite moves Karine allows herself to be lifted onto the board. She keeps the bar pulled in to keep the kite moving and slowly rolls her weight onto her heels.
- Pic 3. Looking forward Karine pushes down on her heels and opens her arms wide, whilst dropping her bum towards the inside of the carve.
- Pic 4. With the board now carving hard on its rail, Karine can push down onto her heels to drive the board around. Knowing that the board is turning well Karine starts to look where she wants to go, forward over her front shoulder, concentrating to keep pressure on her front foot..
- Pic 5. As the board comes around and points the other way Karine catches the bar up and can therefore grab it with her free hand.
- Pic 6. With both hands on the bar Karine pulls the bar in to power the kite up and stop it flying too far to the edge of the window.
- Pic 7. Karine exits the carve on heelside edge/rail, thus putting tension back in the lines and allowing her to prepare for her next turn….
Common Problems
If you are falling off the back of the board as you go to carve you are anticipating the pull of the kite and leaning back over the tail of the board with a straight front leg. Try to flex both your knees and twist them into the turn, as this will help you move with the pull as opposed to fighting it.
If you fall to the inside of the carve you are turning your body independently of the board. You must go with the board, so make sure that it is turning before you make any dramatic movements with your head or shoulders.
If the kite is pulling you off the board you have either turned a small kite very hard, or more likely you have not committed your weight to the carve, so the kite is turning as required but the board is not.
If you are pivoting around on the tail of the board, and use the kite and bar for support towards the end of your turn you need more speed and more weight on your front foot.
Keystones
- Trimmed Toeside
- Send kite
- Open arms
- Push on heels
- Look
This technique article was in Issue 26 of IKSURFMAG.
Related
By Christian and Karine
Christian and Karine have been working together as a coaching team, running improver to advanced kitesurfing clinics since 2003.


