
Sliding Surface Pass
Technique / Advanced


Introduction
Ladies and Gents here’s a move that although we don’t teach very often, does have a place in your box of tricks as it leads you towards other things and can still look pretty smooth because you’re passing from blind, so it flows. The idea is basically to slide your board to blind, breaking out the tail and then adding the surface pass. This is definitely one for sections of flat water, and once you’ve nailed it you can try it both on a twin tip or a surfboard (we’ll cover that one soon)!
Rather than beat around the bush let’s get straight in to the most important moments of this so that you can concentrate on one thing at a time.


Setting yourself up for this, you’ll want to approach some flat water (easier to spin and slide) with speed, your kite no higher than 1 or 11, your kite trimmed for unhooking so that it doesn’t stall/flare/reverse/fall backwards, your hands centred and your leash hanging on your forward hip.
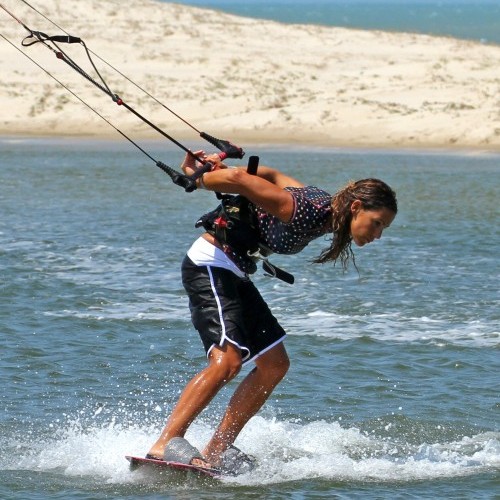
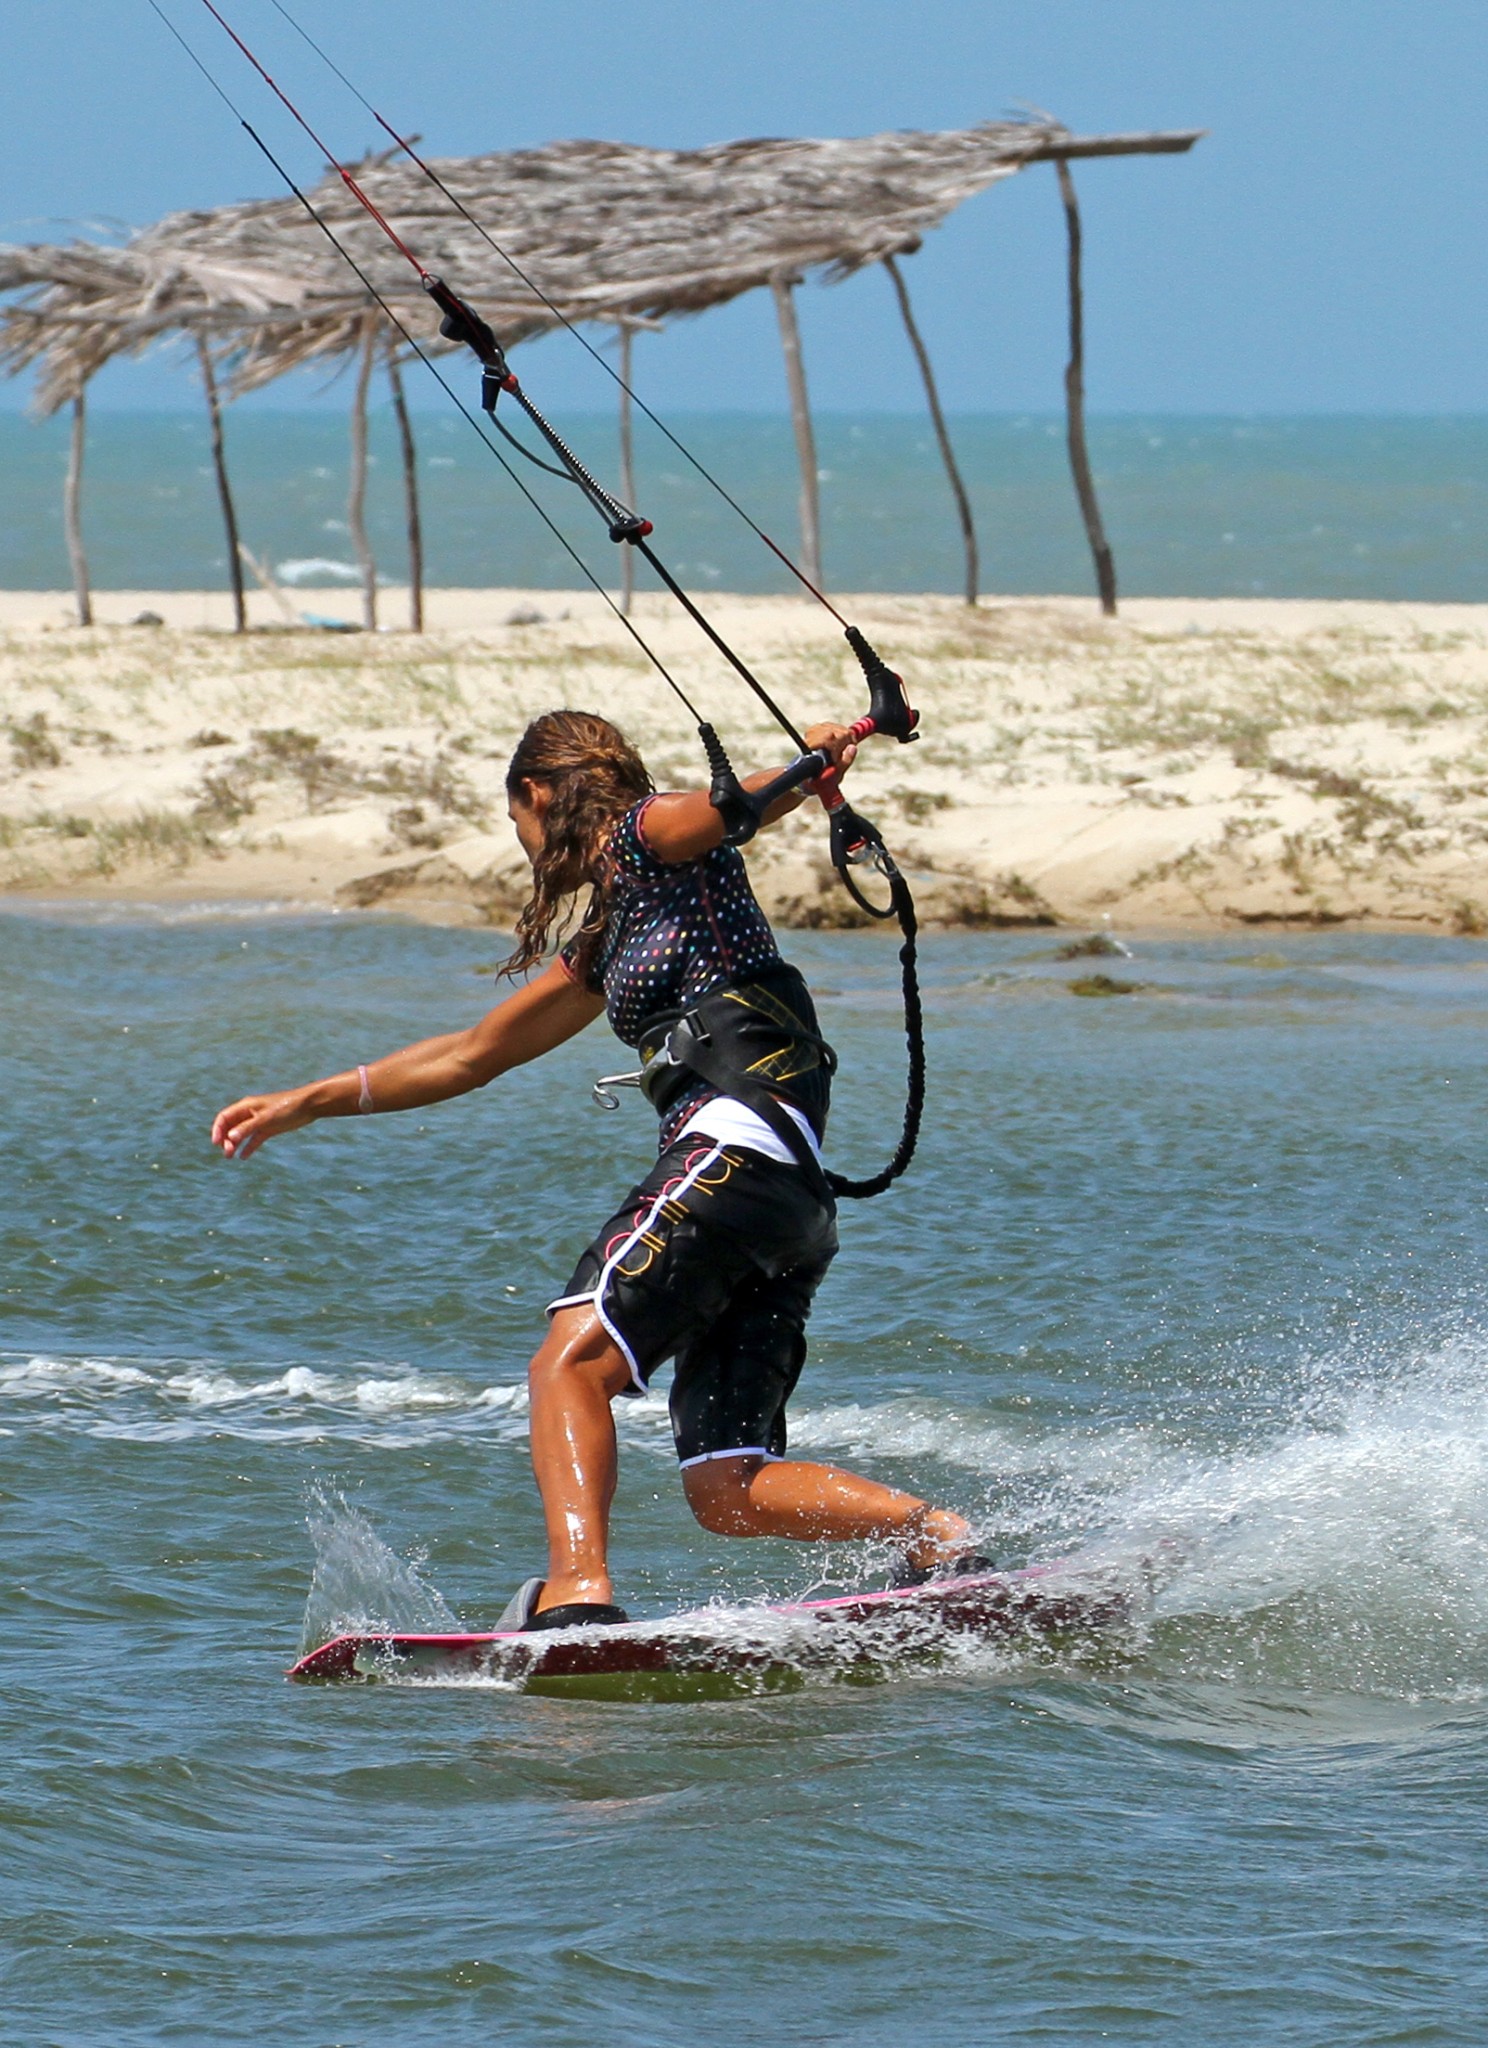
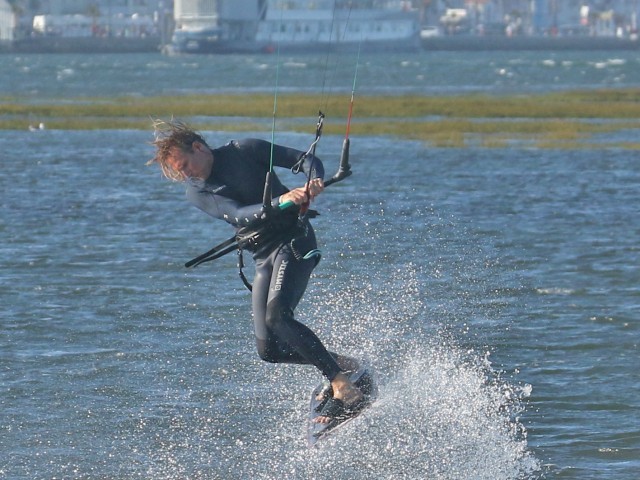
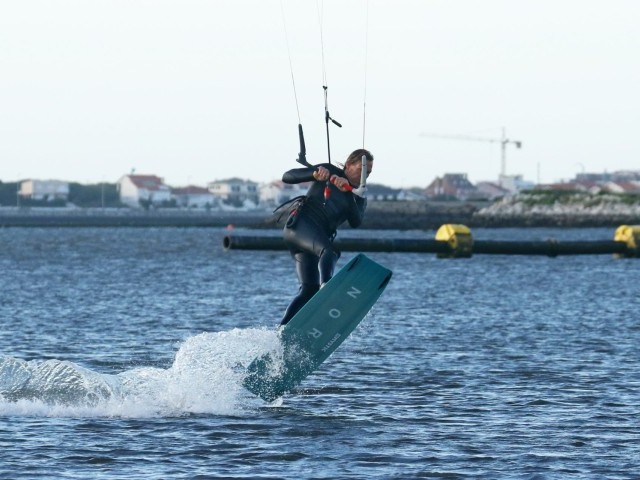
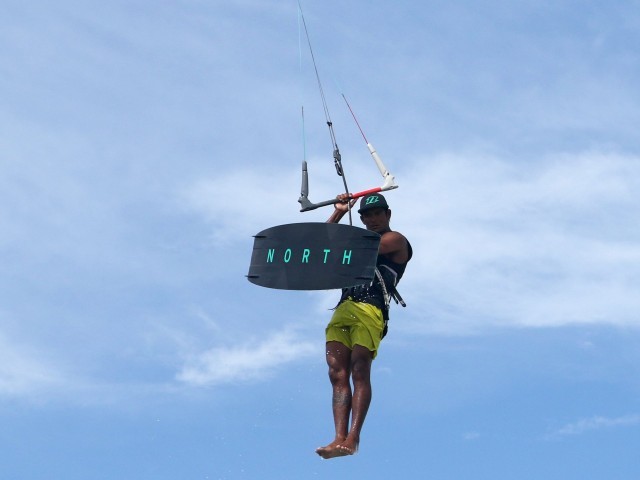
Pic A
Karine has come in as suggested above. The speed you bring in will give you momentum to slide the board, as (hopefully) you won’t have any pull from the kite, and it will stop the board sinking and catching. With your kite below 11 or 1 the bar will not pull up away and make the moment of passing more difficult. Trimming the kite means that you will feel comfortable unhooking, turning towards the kite and therefore slackening the lines, perform the move without being overpowered and the kite won’t stall and fall back in the window. Your hands are centred so that the kite doesn’t move when you release a hand. Your leash is on your front hip so that you can spin without the leash tightening around you, making the pass tricky.
To initiate this move, start on an edge and then gently bend your knees to bring you up over the board. Once over the board, carve downwind towards the kite on your toes whilst keeping the kite still, at either 1 or 11. The effect of this is to slacken the lines and reduce the pull of the kite. As the lines slacken off unhook by pushing the bar down and away from you and keep the bar close to your front hip. The carve downwind needs to be sudden as this will dump the power more easily.
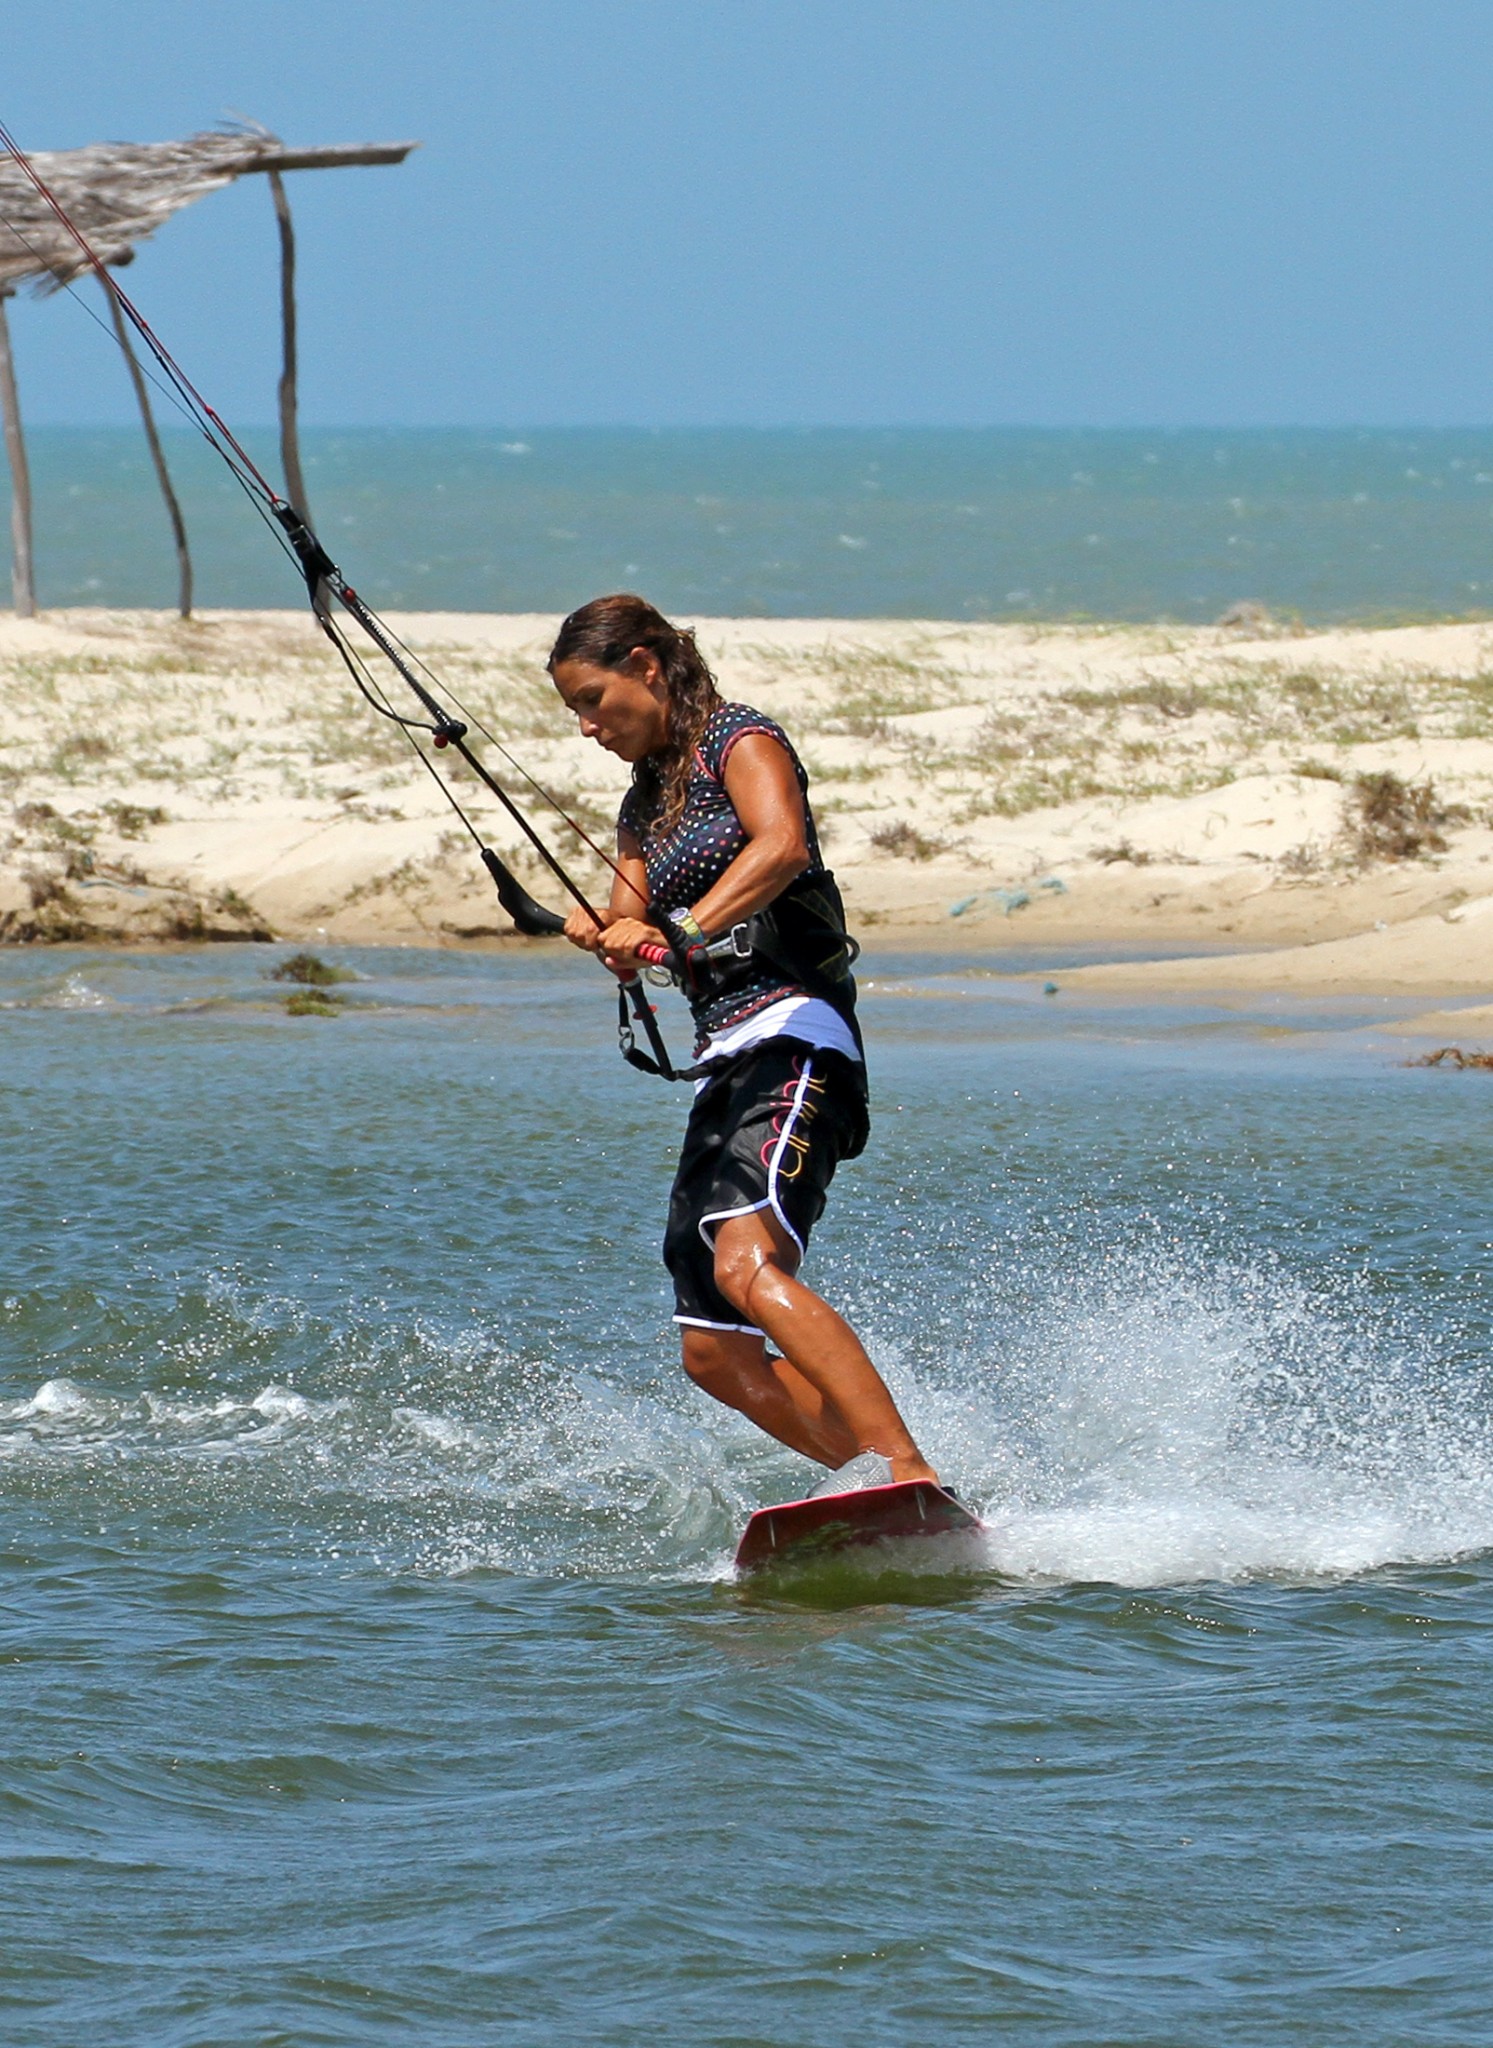
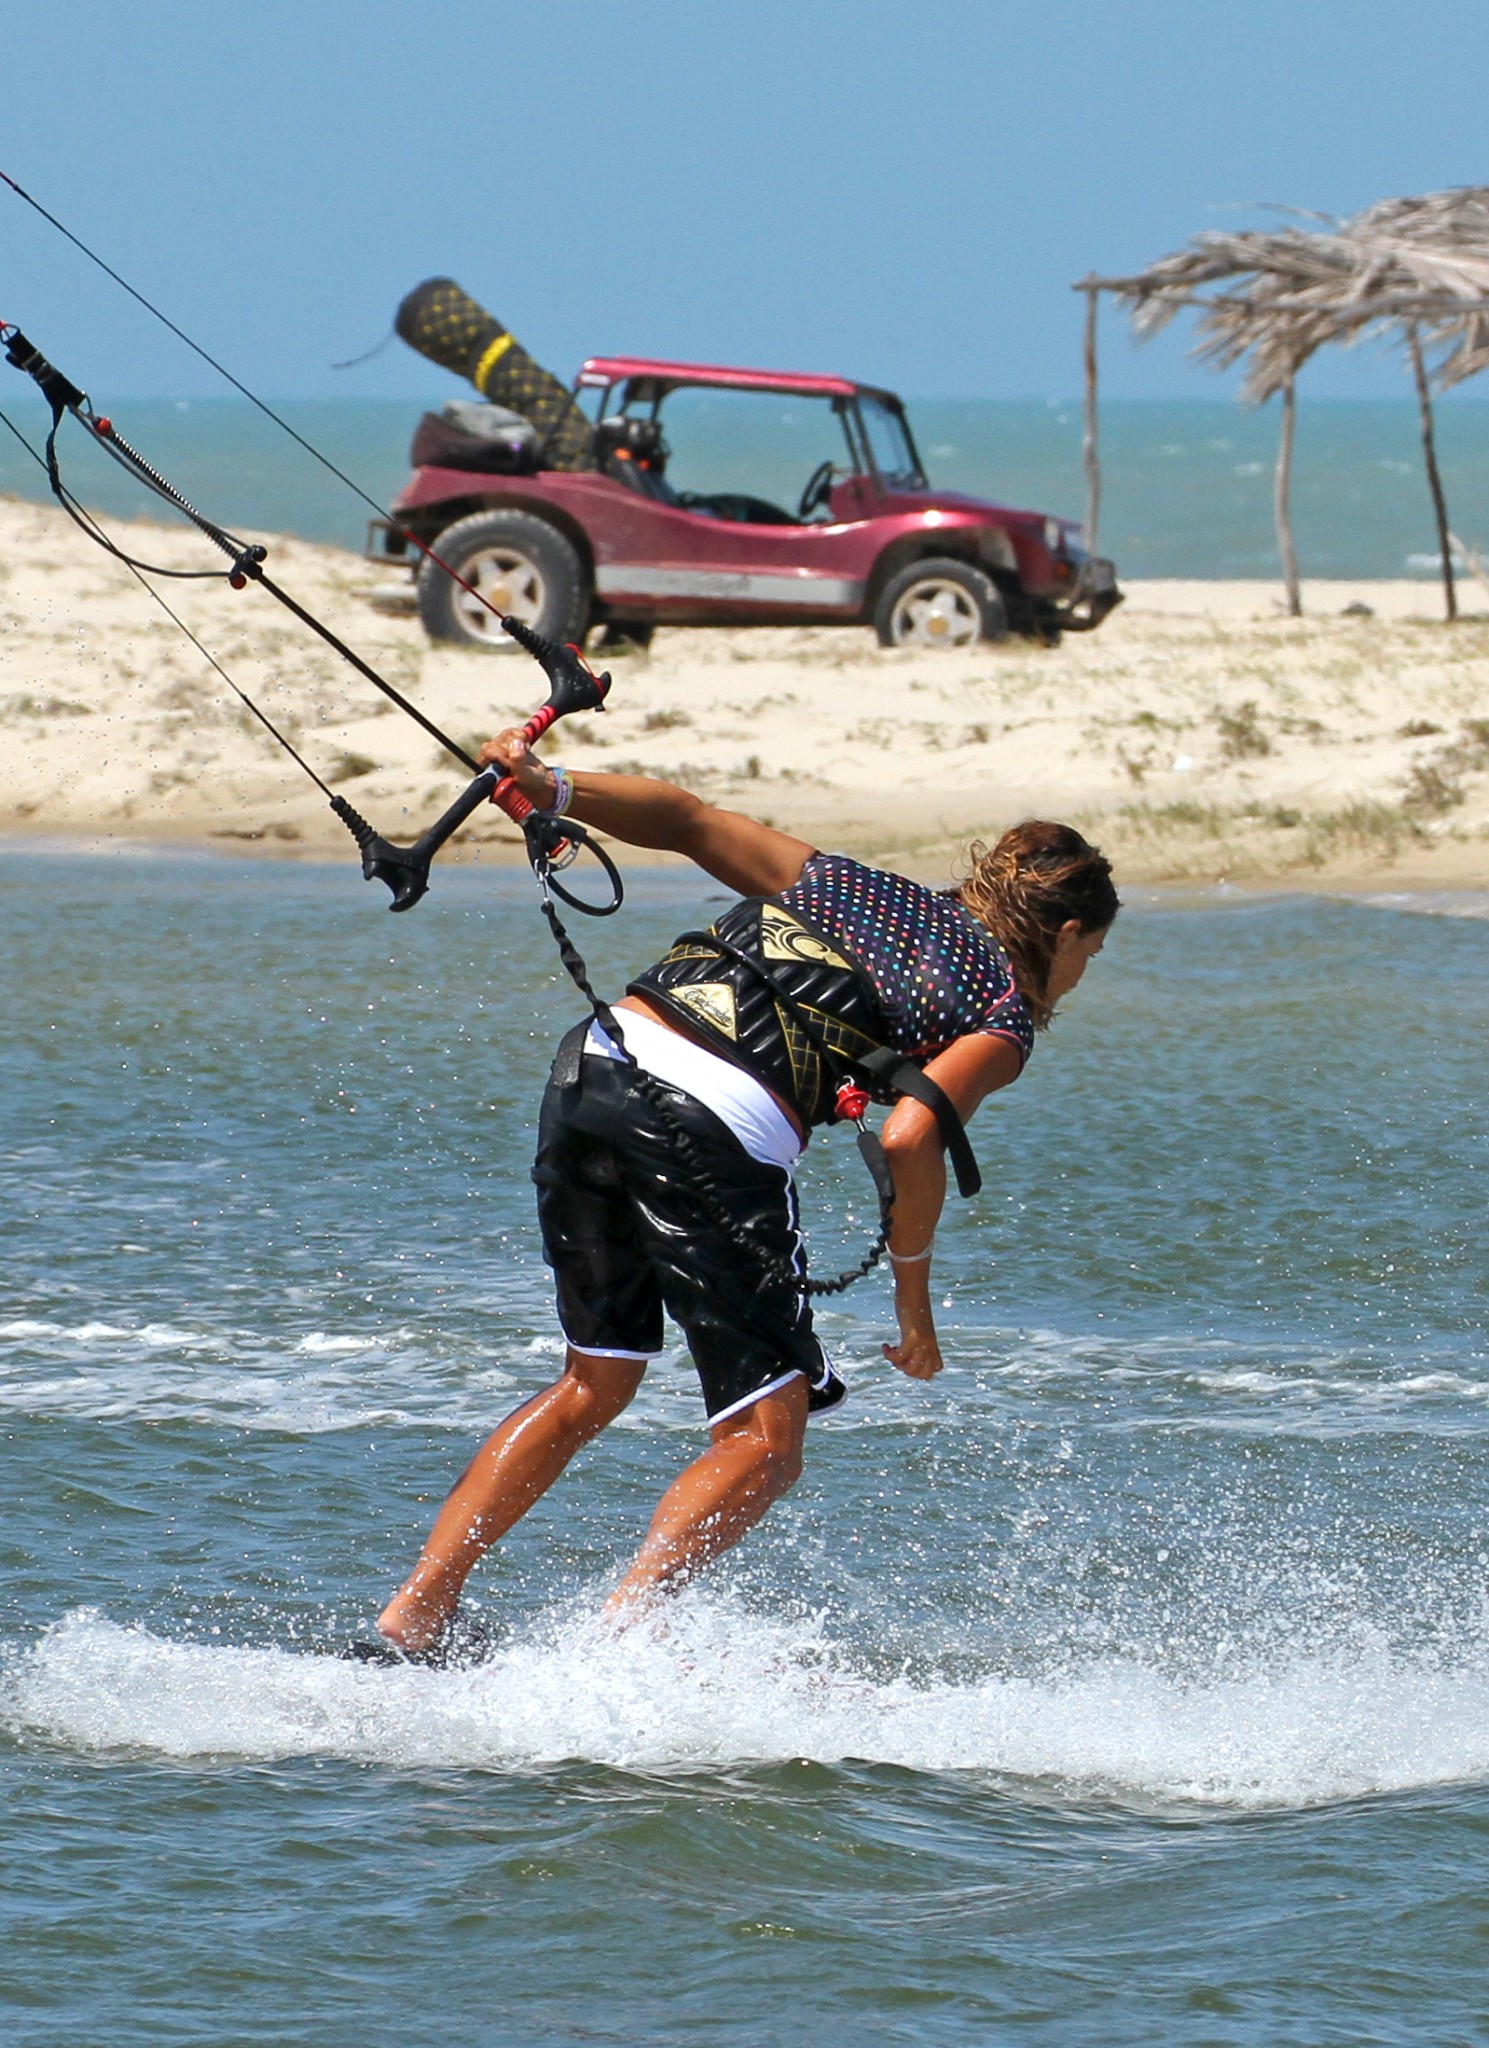
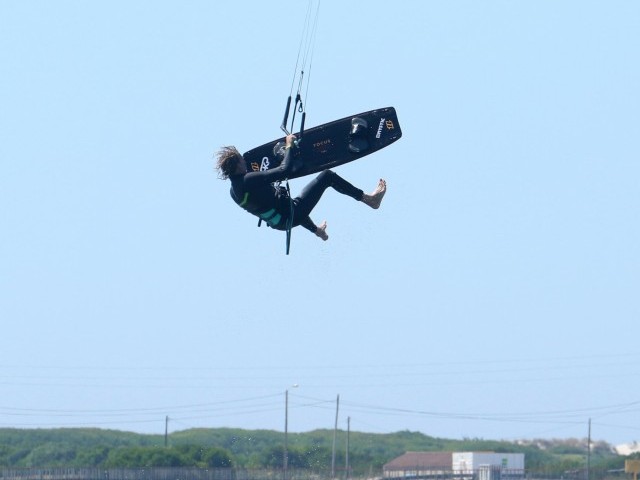
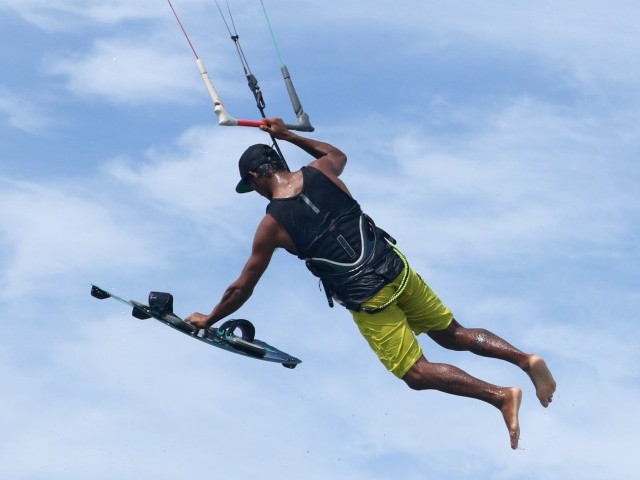
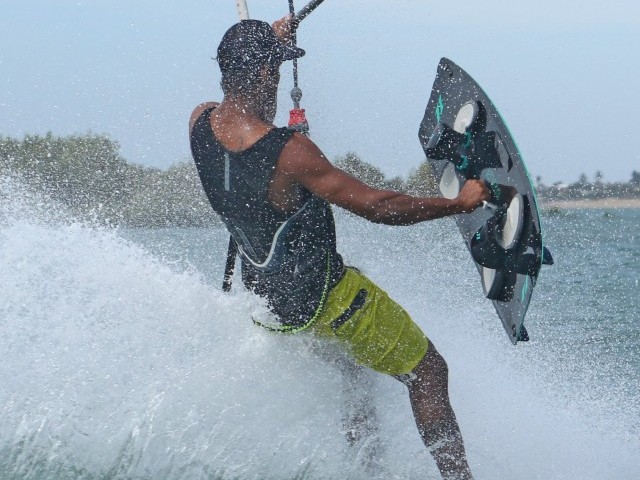
Pic B
This is the bit that might take some practice and certainly requires the most commitment – releasing your back hand and turning your back on the kite. That said if you’ve no power in the kite and plenty of space down wind there shouldn’t be anything stopping you from giving it a good crack! In the picture you can see that Karine has carved the board around so that she’s just about going back the other way, this is the moment to slide. With the kite moving slowly and powerlessly forward you need to get all your weight onto your front foot and turn your head, shoulders and hips away from the kite. To get your weight forward move your head shoulders and hips over the front foot. This will “free” the back of the board as you’ll almost be pushing yourself forward from your back leg, which will in turn start to slide the board. You can see that even though Karine has released her back hand the kite isn’t affected, as there is no real tension on the lines. At this stage don’t worry too much about what your front hand and bar are doing, the focus is on getting your weight forward and turning away from the kite!
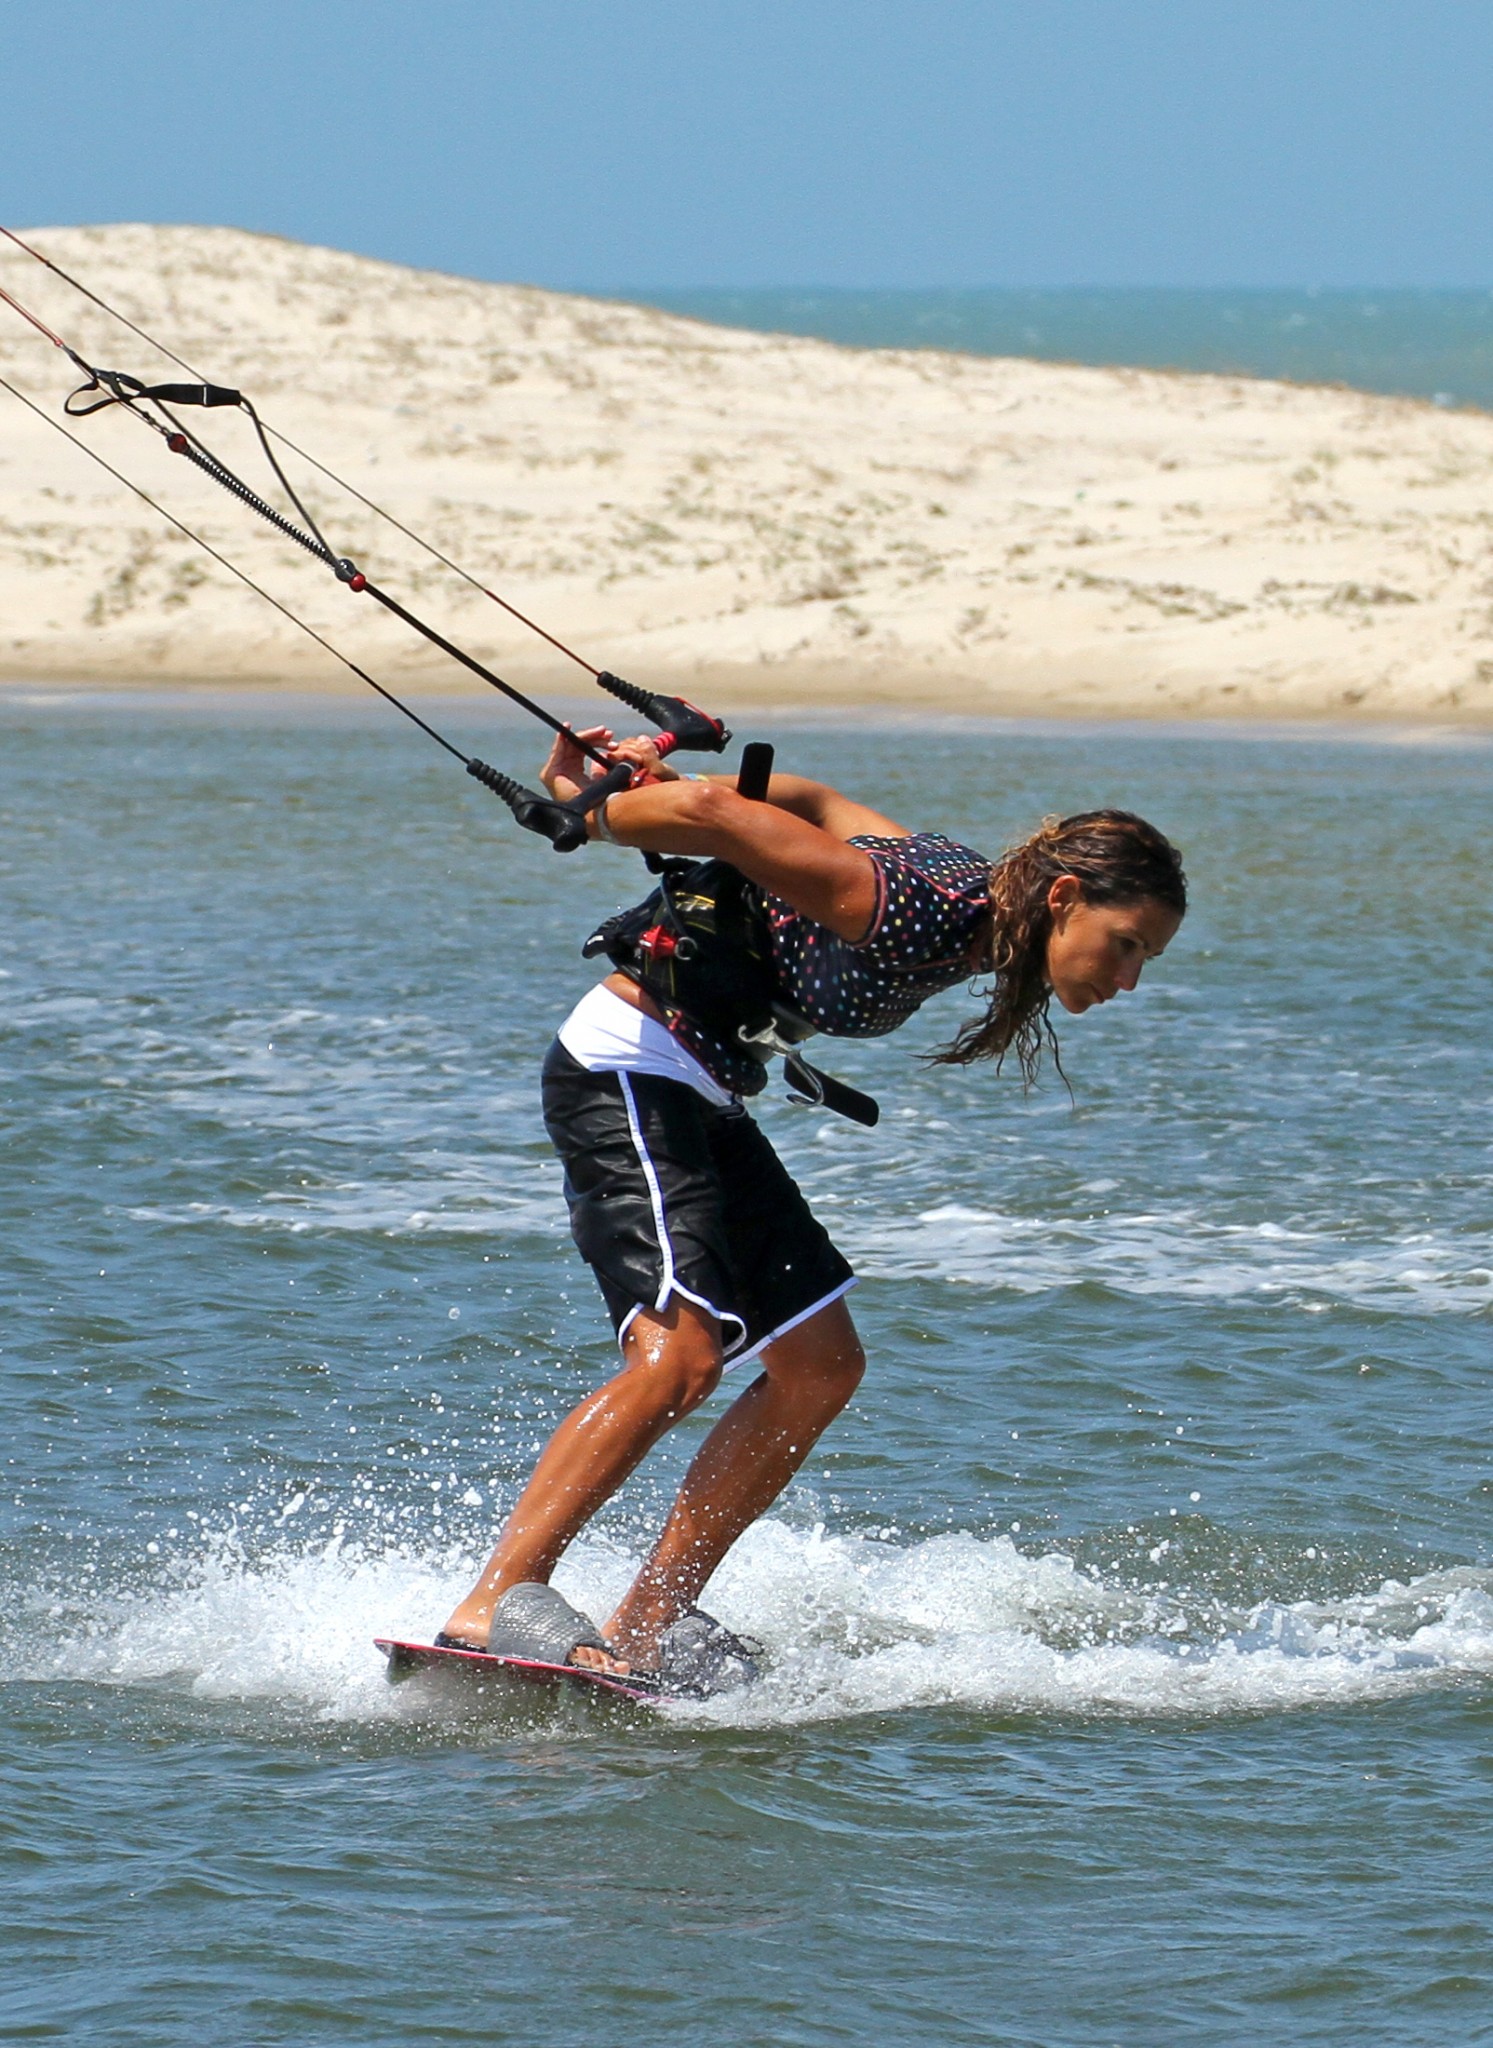
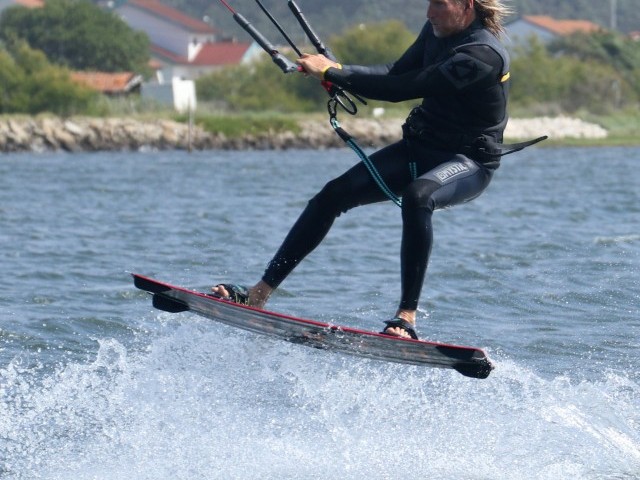
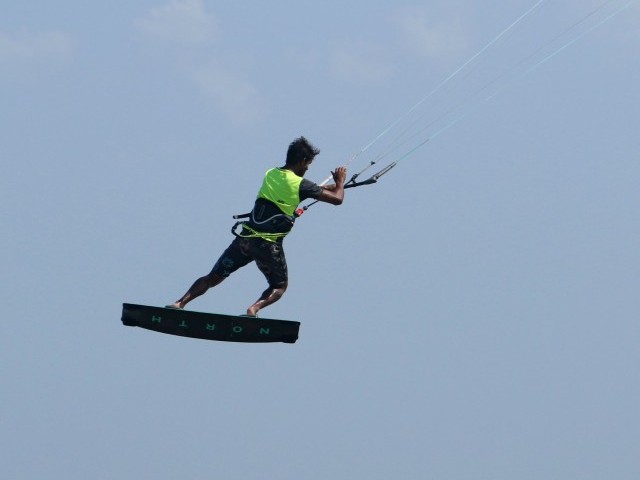
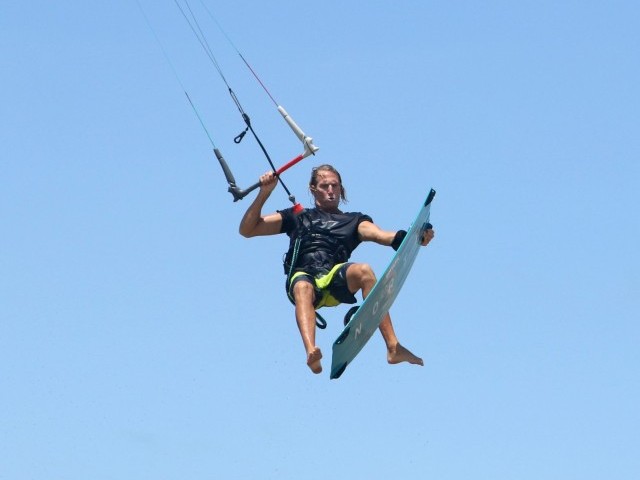
Pic C
With 100% go for it in the previous step the board should now be sliding out underneath your back foot. You now need to turn the rest of the way to blind. If you look in the picture you can see that Karine has twisted the bar, thumb down and palm up behind her back as if someone was putting her in an arm lock. This twisting is vital for 2 reasons, as not only does it put the bar in a position from which you can pass it from one hand to the other, but it also allows you to turn your shoulders and head further down and around. As your upper body turns your hips and the board will follow! If you don’t twist the bar behind your back your shoulder will actually block you from turning far enough. Last point here is to keep your weight over the balls of your feet and toes, so let your ankles and knees flex. This way you’ve got no chance of catching the heelside edge and falling.


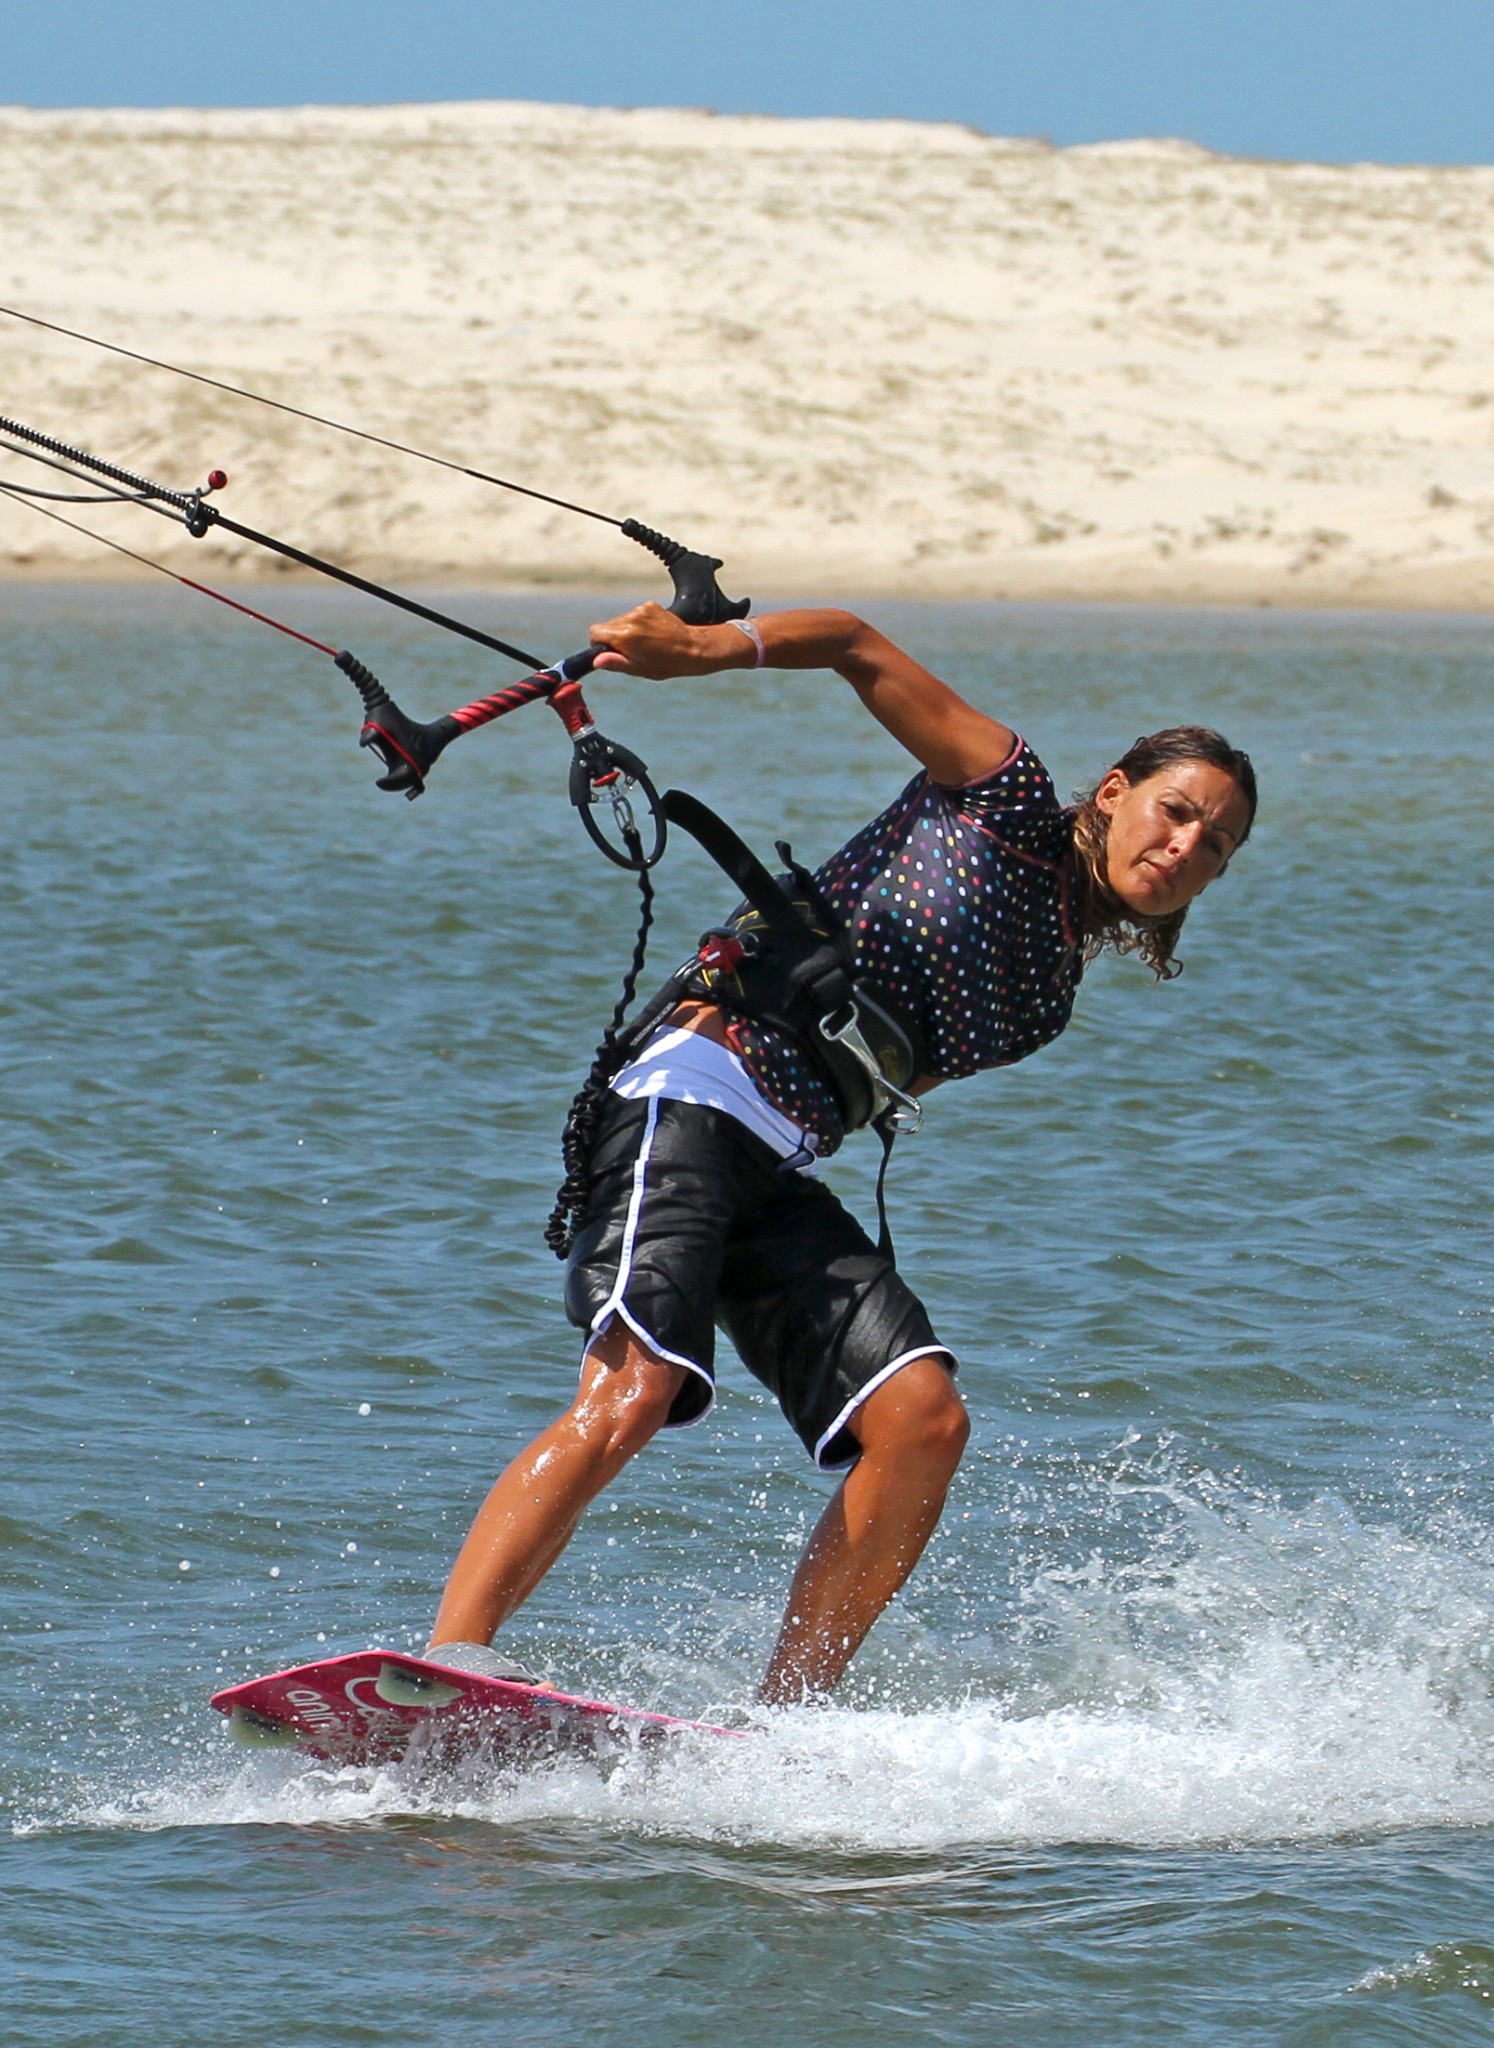
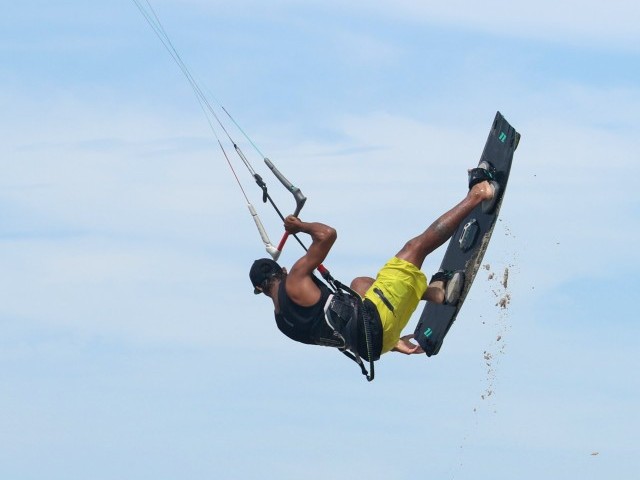
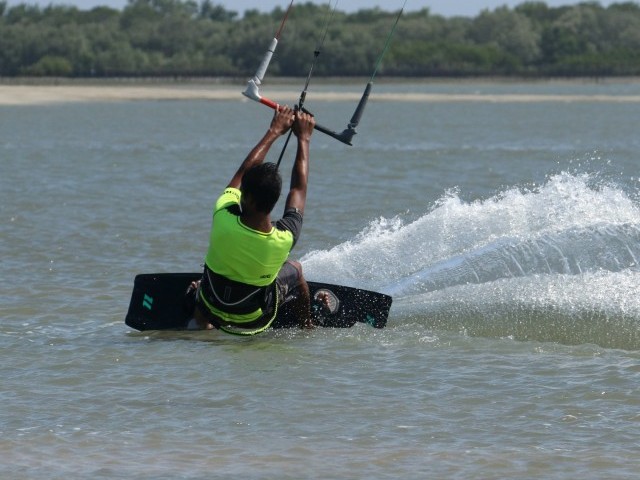
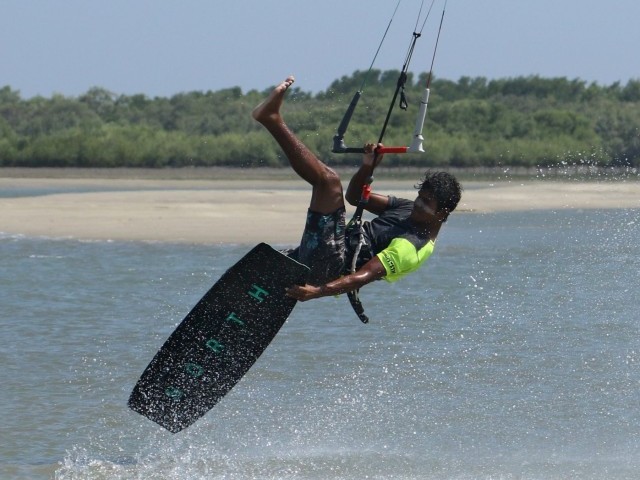
The pass - Pic D
Once you’ve turned sufficiently the board should start to track because your weight is on the new back foot, so effectively you’ll be exiting toe side once you’ve passed the bar. It’s quite common to try and spin a full 360, but it won’t look as smooth, so focus on following the kite. Here you can see the benefit of twisting the bar, thumb down, palm up – it means that all you need to do is reach around with your free hand, also palm up, bump up to your other hand and grab the bar. Make sure you grab palm up as otherwise you’ll have the correct side of the bar, but nothing for the other hand to grab afterwards!
Riding away - Pic E
Once you’ve passed the bar, release your front hand and let the kite pull the bar from behind you, which in turn will pull you out of the move. Although you’ll be exiting toe side chances are on your first attempts that the kite will rise up through the window and you’ll carve out onto your hells. Here Karine still has her weight firmly over her back foot, so she won’t slide any further, all she needs to do is reach forward to get both hands back on the bar, hook in, get onto her toe side edge and sail away.
Top Tips
The two most critical points in this move are dumping the power from the kite and getting your board to slide. In preparation you could do a lot worse than to practice these two skills separately before putting them together. The sliding you can practice hooked in, just carve a turn and as you come round try to get your weight forward and push out with the back leg. For the power dumping, practice getting your kite trim right, kite position steady and come suddenly up off an edge onto your toes. You’ll feel the kite go dead but you’ll still be motoring.
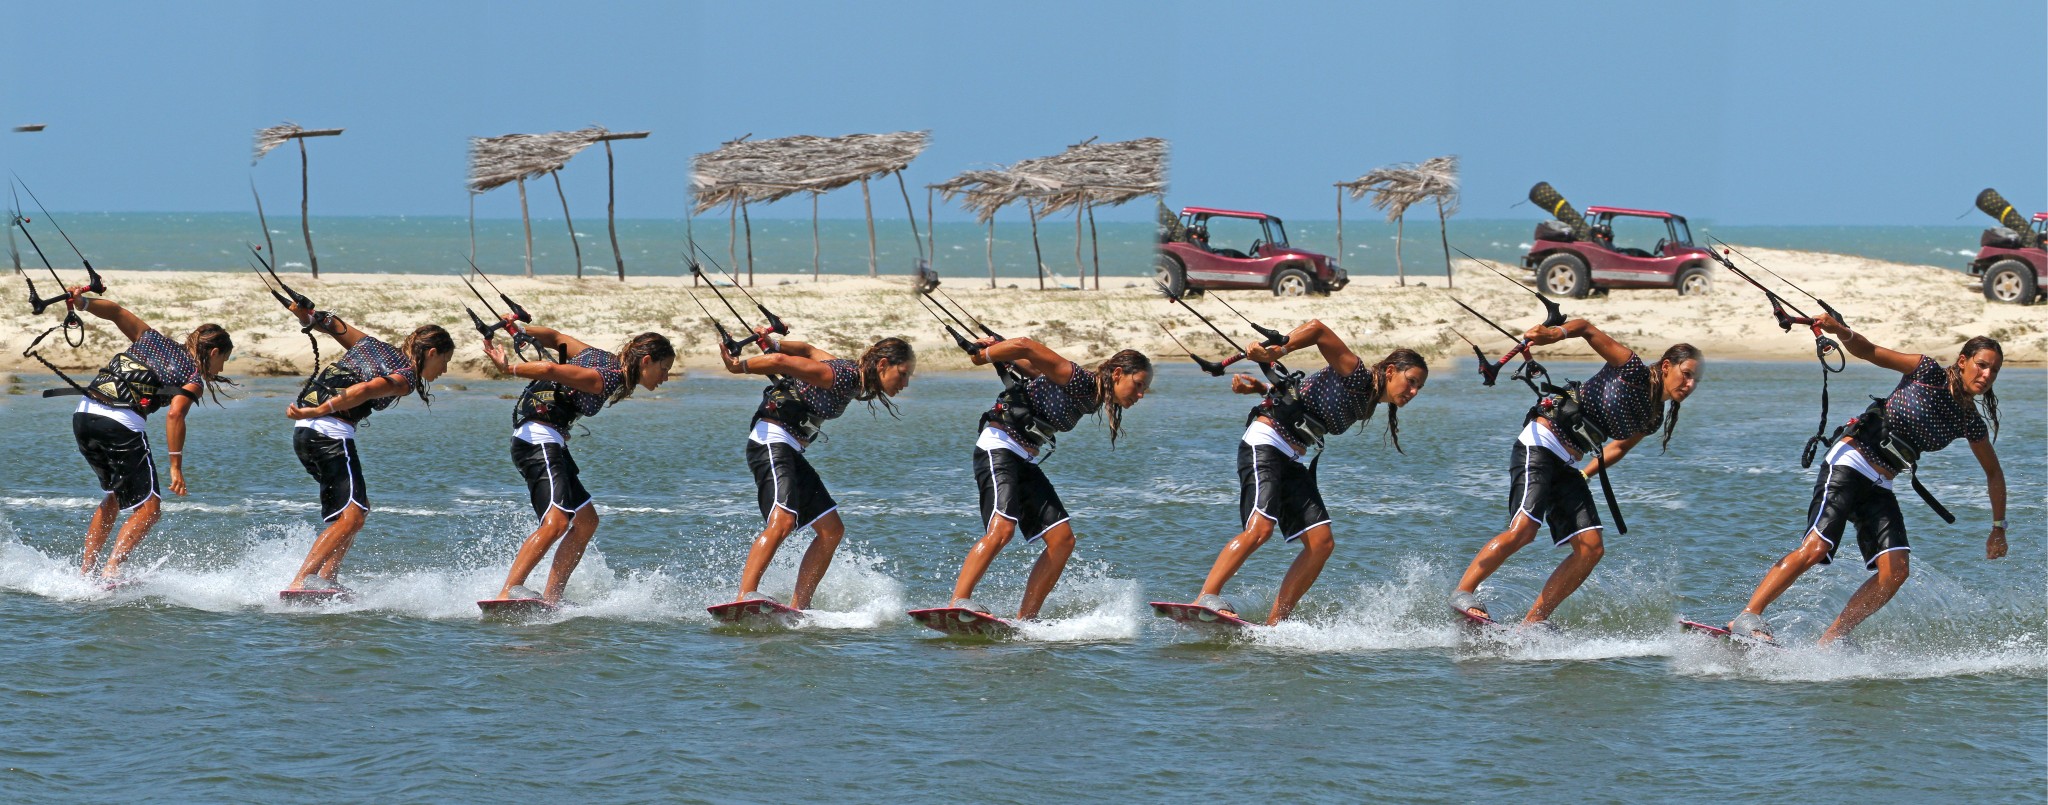
Following Sequence 1 for the first part of this move step by step.
- Pic 1. With her kite trimmed, parked just below 11 o’clock, and her hands centred on the bar Karine flexes her knees and allows the kite to pull her up over the board.
- Pic 2. As she comes over the board Karine carves hard onto her toes towards the kite.
- Pic 3. With tension dropping off the lines Karine unhooks by pushing down on the bar with both hands.
- Pic 4. Keeping the bar in close to her front hip, Karine continues to carve onto her toes.
- Pic 5. Once Karine turns the board past downwind and back the other way she releases her back hand.
- Pic 6. And moves her weight forward over her front foot.
- Pic 7. With her weight now on her front foot Karine turns her head upwind and pushes her back foot away to break out the fins and slide the board.
- Pic 8. With the board now sliding around Karine twists the bar behind her back, thumb down, which enables her to turn her head and shoulders further.
- Pic 9. All the while Karine keeps her weight on her toes to stop the board catching as it slides around.
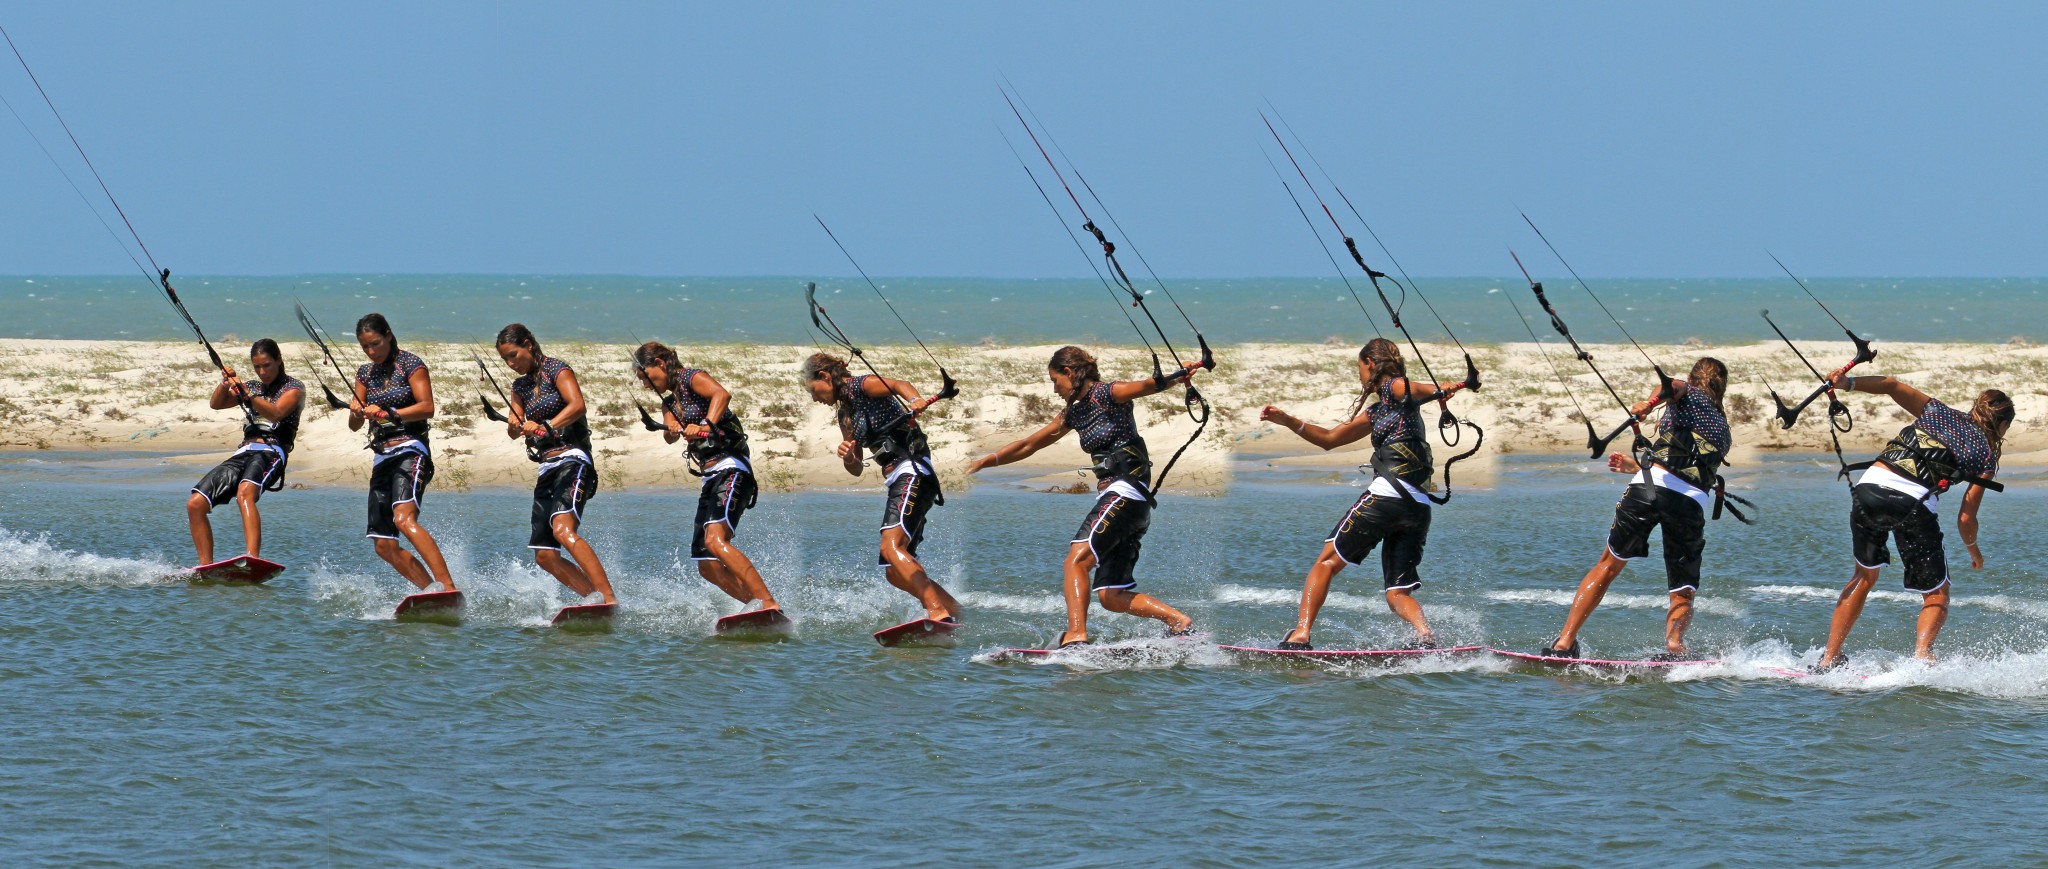
Now Sequence 2 for the surface pass.
- Pic 1. As Karine twists the bar she bends forwards to keep weight on her toes.
- Pic 2. The board is now moving downwind so Karine reaches up toward the bar with her free hand.
- Pics 3 & 4. Making sure that her empty hand is also palm up.
- Pic 5. Karine grabs the bar as close to her other hand as possible.
- Pic 6. And then releases this hand.
- Pic 7. As Karine slows the kite pulls the bar out in front of her.
- Pic 8. So all Karine has to do now is reach up with her free hand and hook back in!
Common Problems
The classic problem is not sliding the board, so you just end up carving to toe side whilst the kite keeps moving away from you. The result is that the lines tighten, the kite powers up and pulls hard, pulling you over backwards towards it. Really make sure that as you pass through the down wind point of your carve you get your weight forward, push the back foot out and commit your head and shoulders away from the kite. Large fins shouldn’t be a problem as long as that end of the board is un-weighted. However if you have big fins, a flat rockered board and a narrow stance it will be more difficult, so either widen your stance or try some smaller fins.
The kite falls from the sky. If you have your kite too high, when you zoom off down wind, it’ll get left above you, with no forward momentum to keep it flying. So make sure it’s no higher than 1 or 11 o’clock.


As you slide you catch your heelside edge. This results from having your body too upright over the board, which can place your weight onto your heels. Make sure that you flex your ankles and knees, which will keep weight over the balls of your feet and the toe side edge of the board.
Keystones
- Kite below 11 or 1 and trimmed.
- Sudden Carve
- Weight forward, turn head & shoulders
- Push back leg out
- Pass bar palms up
This technique article was in Issue 31 of IKSURFMAG.
Related
By Christian and Karine
Christian and Karine have been working together as a coaching team, running improver to advanced kitesurfing clinics since 2003.
