
Hinterburger Mobe
Technique / Advanced


Introduction
Finishing up this issue we have an absolute cracker of a freestyle move, the Hinterburger Mobe, also known more descriptively as the Late Mobe. This rather fun and exceptionally stylish mobe is not to be confused with a straight Back Mobe. In this version, what makes it both unique and achievable is that it comprises two moves, which are beautifully married to create one rather slick and flowing banger. First off there is a heavily popped and extended back roll, which when completed is swiftly followed by a frontside 3, which in many a man or woman’s English is a shifty 3. Realistically even if you’ve never tried a back mobe, as long as you can claim a shifty 3, this is yours for the taking.
We won’t break with tradition so let’s start by having a look at all the bits that you’ll need to crush this here Hinterburger...


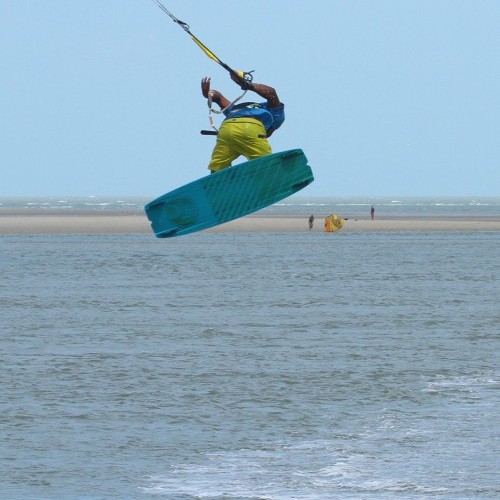
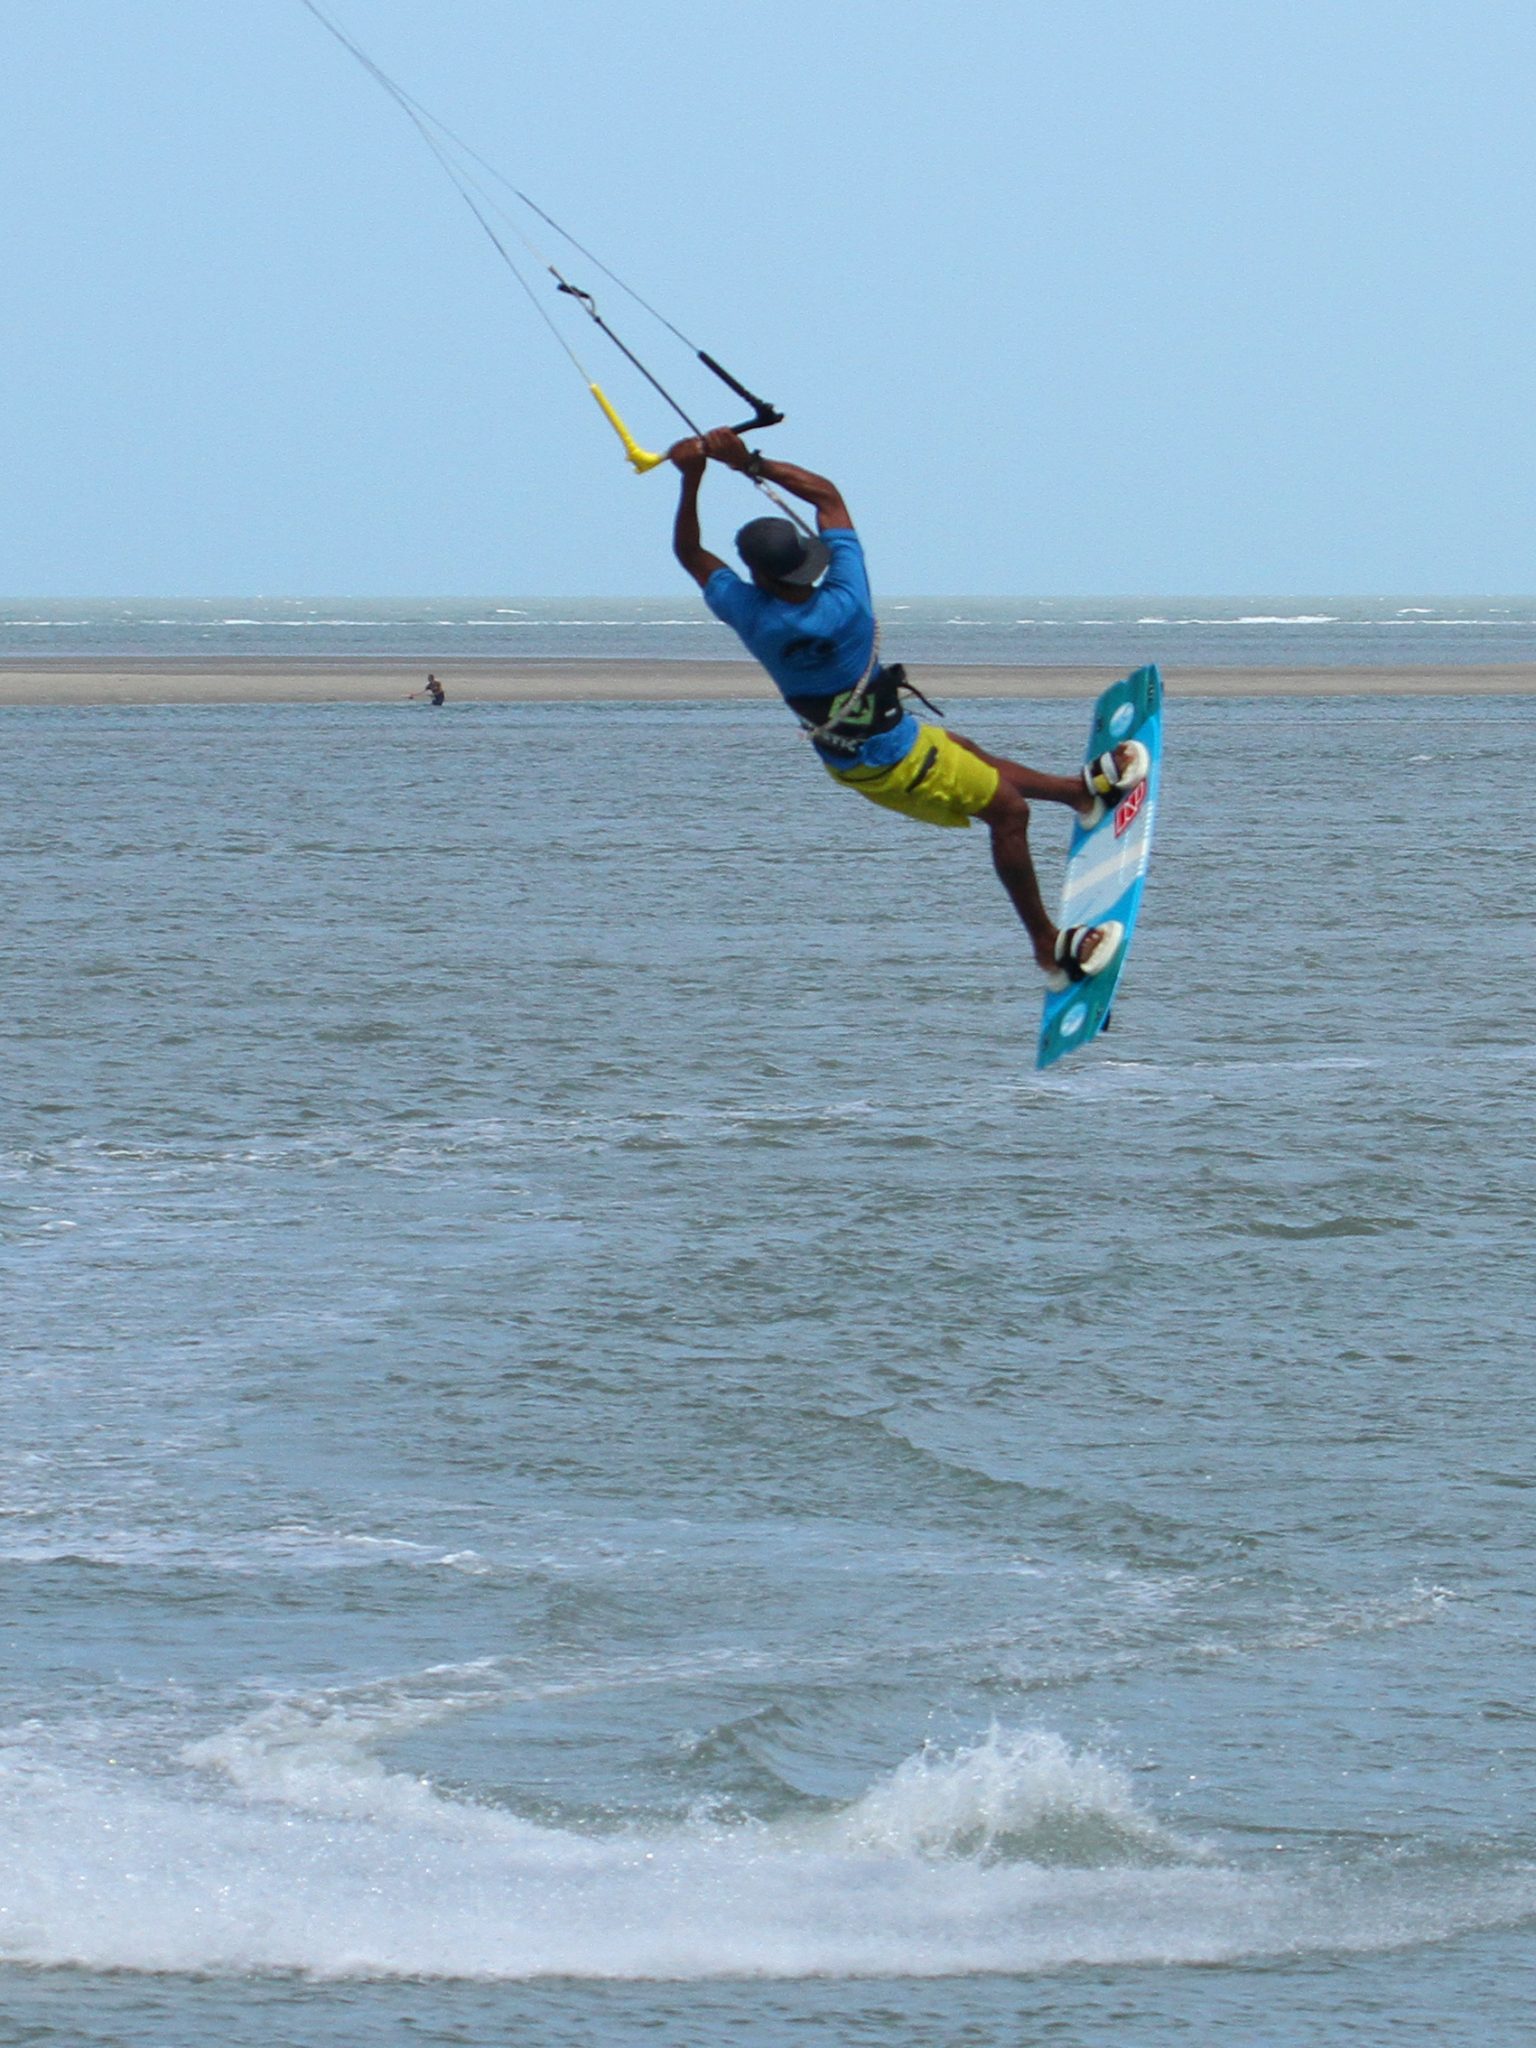
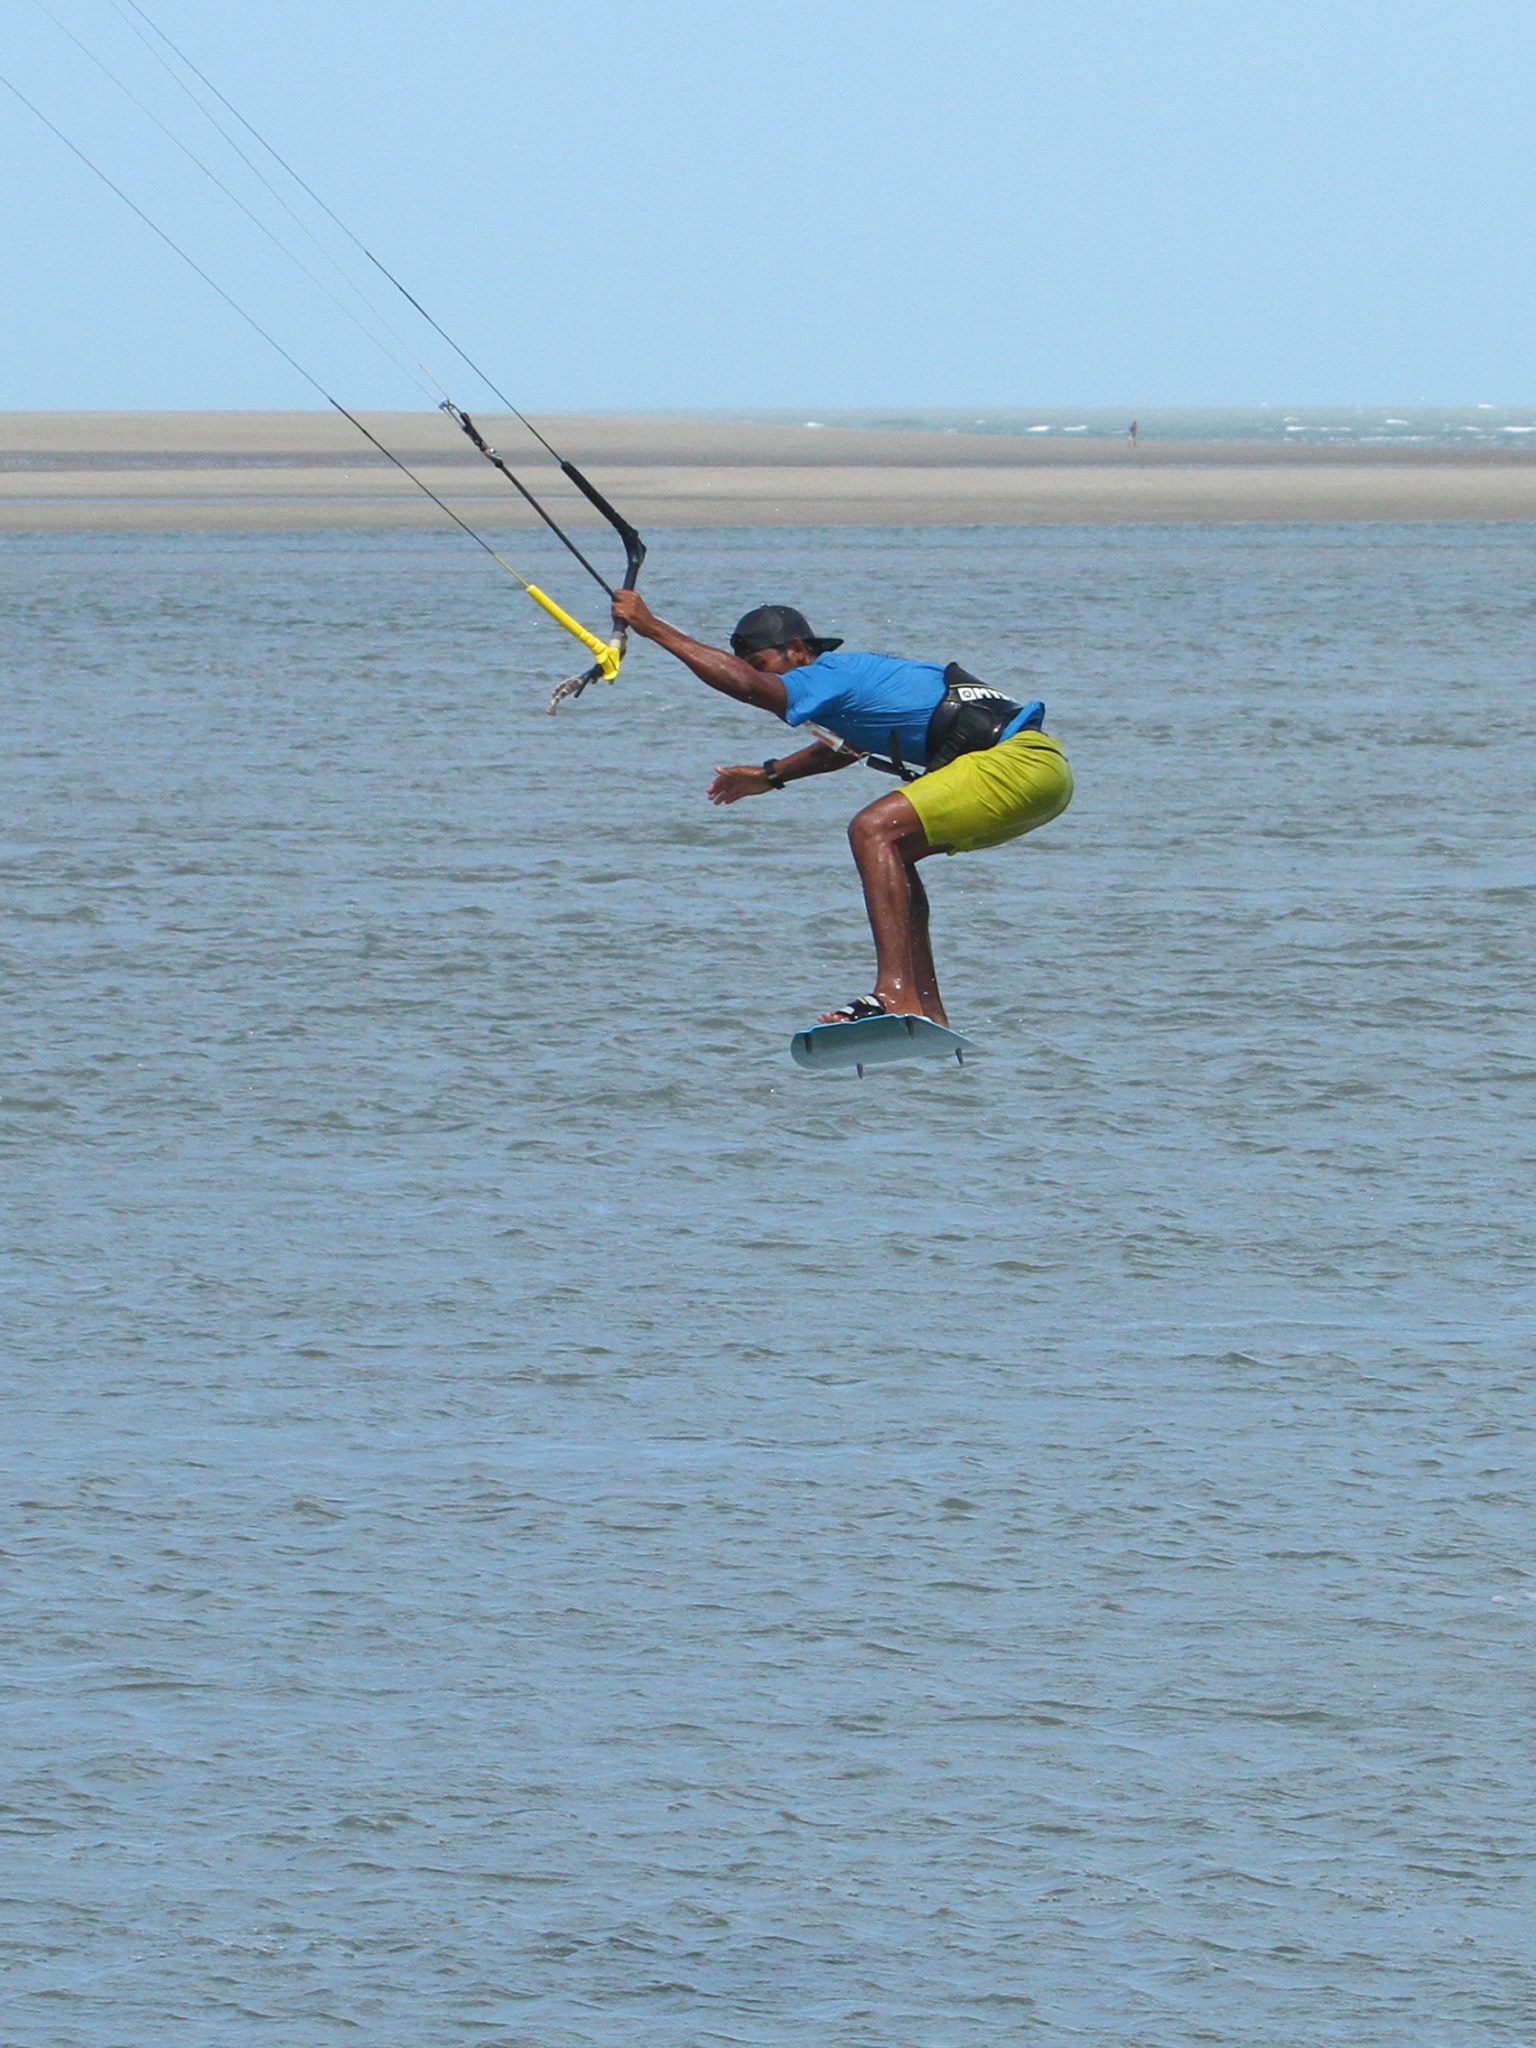
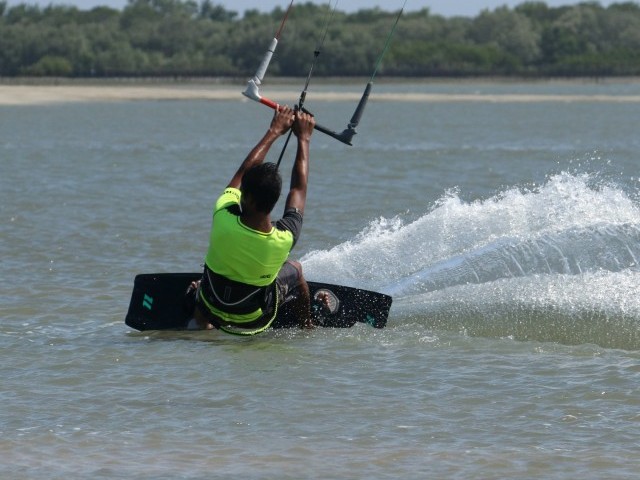
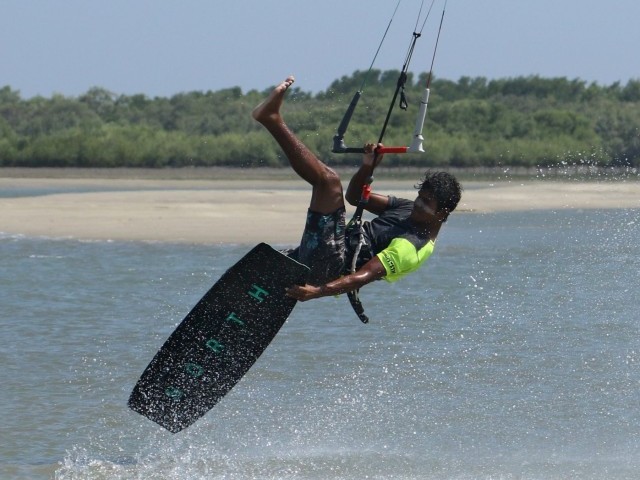
Approach and Take Off Pic A.
It goes without saying that if you intend to do an extended rotation and then add on a swift 3, you’ll need time and height. As such you’ll need some ooomph in the kite, a touch of speed and also a bit of pull. You’ll need to trim for unhooking, enough so that the kite doesn’t stall, but you don’t want the back lines and kite flapping, else you won’t be going anywhere.
Approach should be as any powered pop move, plenty of speed on an edge before bearing off with your weight back over the tail, unhooking and then carving hard up against the kite. Kite position should be erring on the higher side, as nailing this with your wingtips kissing the water won’t be a walk in the park, so get it just below 11 or 1 o’clock and don’t be afraid to lift it slightly as you carve.
Now it is worth pondering that if you want to break this down, you’ll need to be in control. This translates to a slow beginning to your back rotation. If you initiate a fast spin with the extension you won’t have a scooby doo where you are. If you have a look at Heliarde’s head you can see that as he stomps off, his head is still looking downwind. This will give him more of a raley take off and less of an uncontrollable spin.
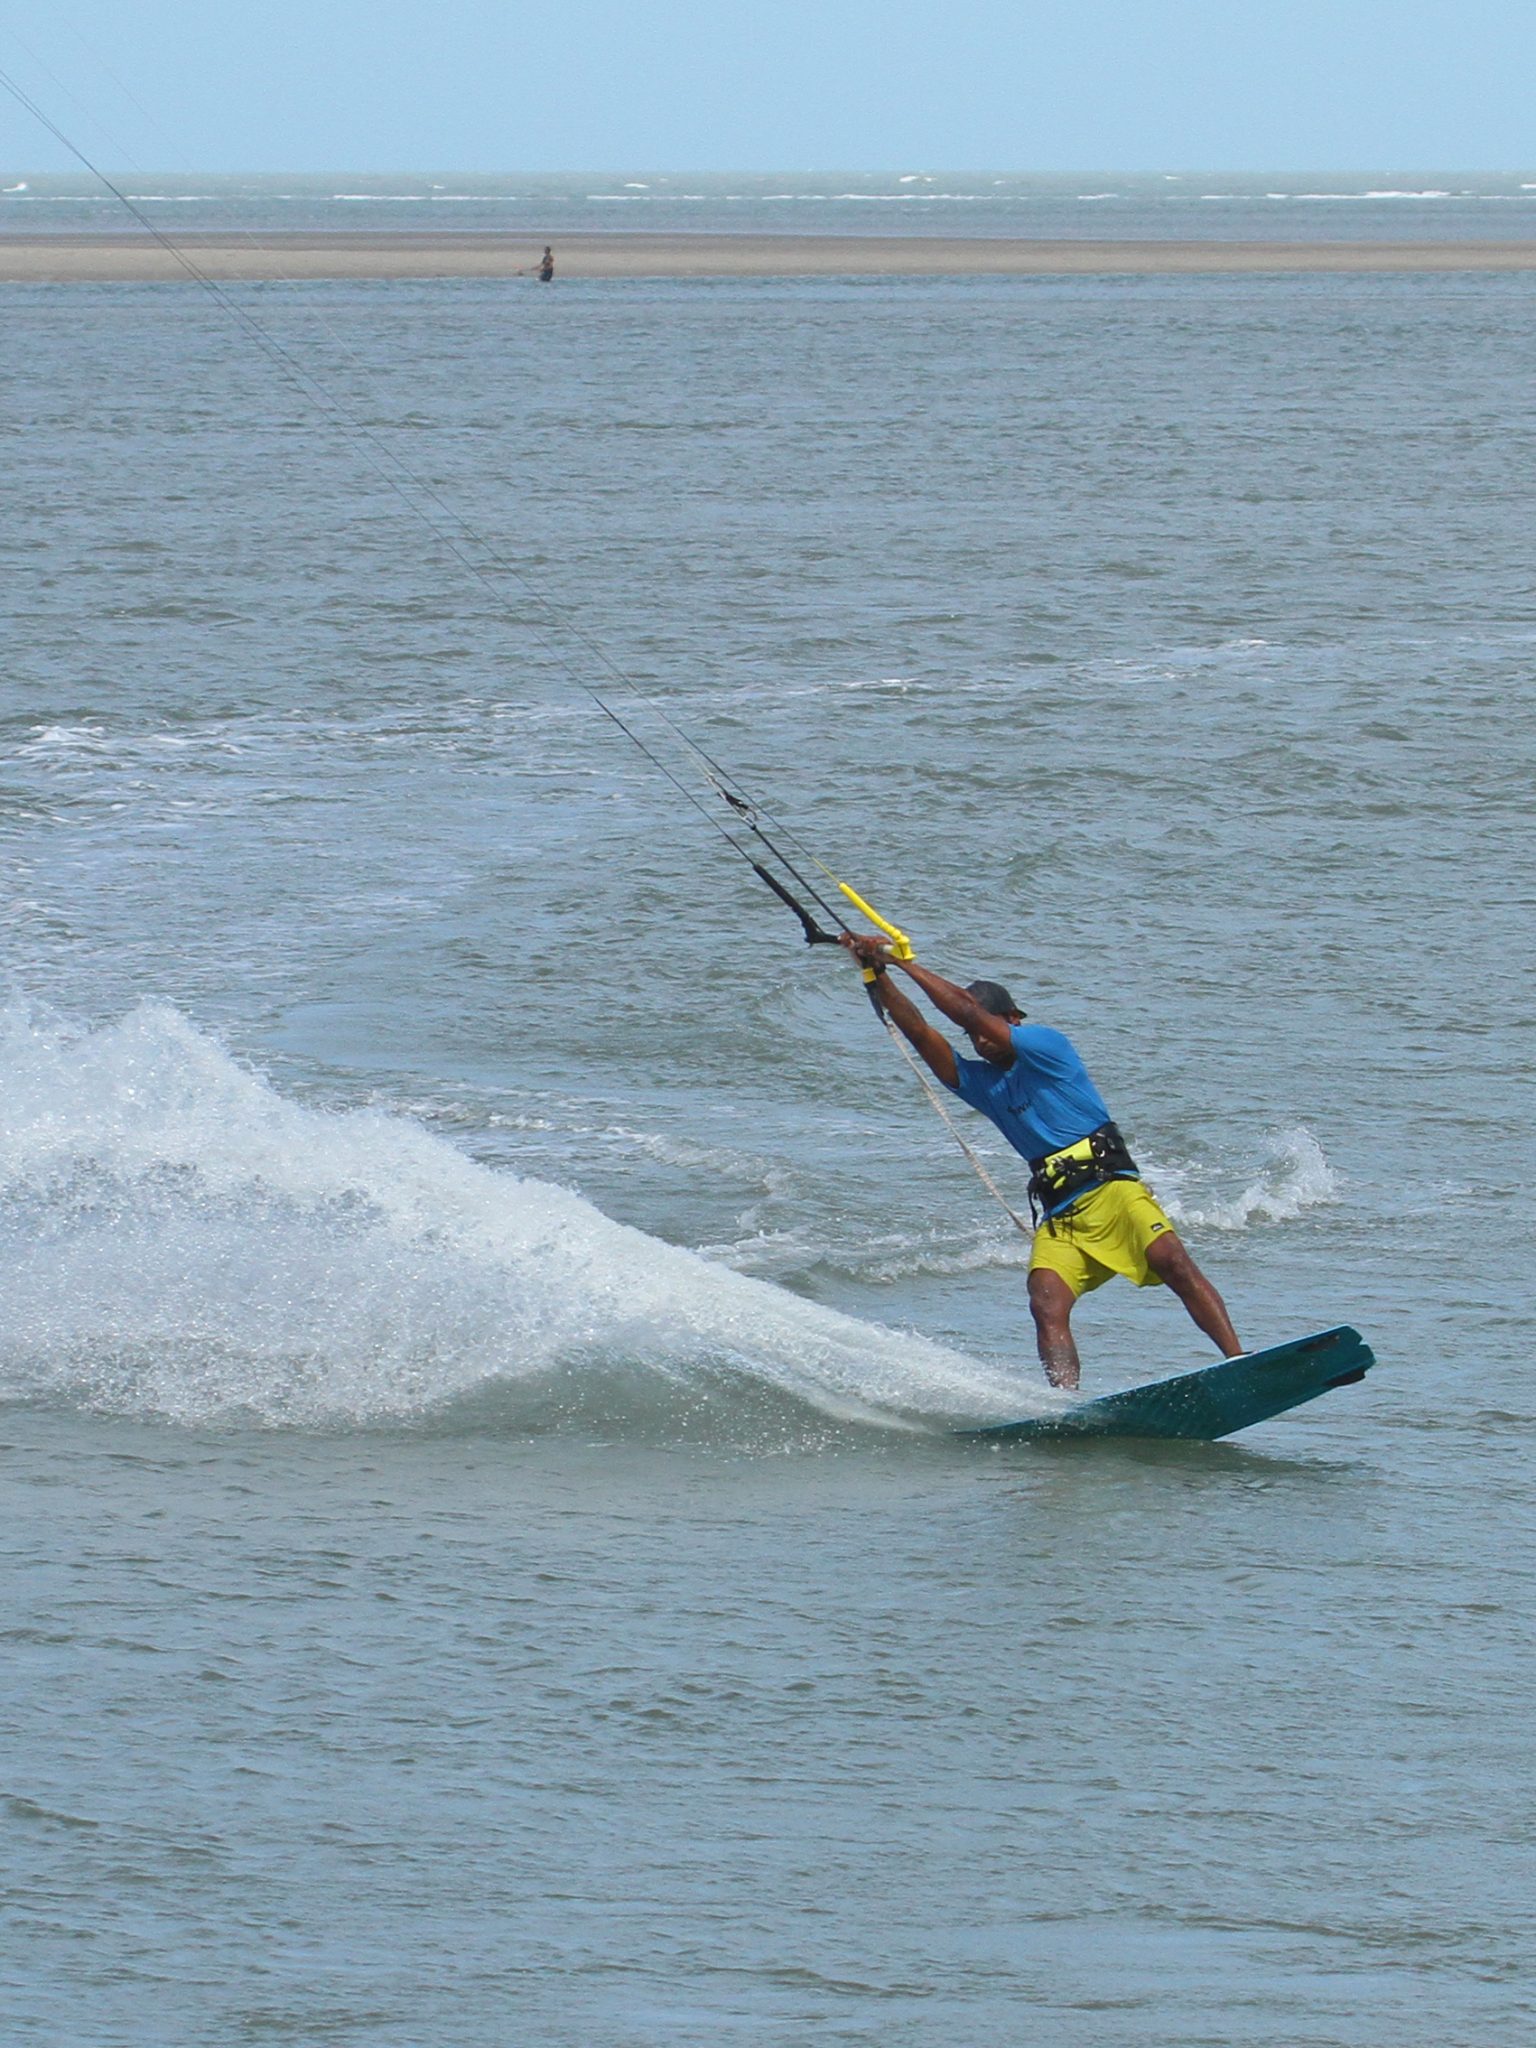
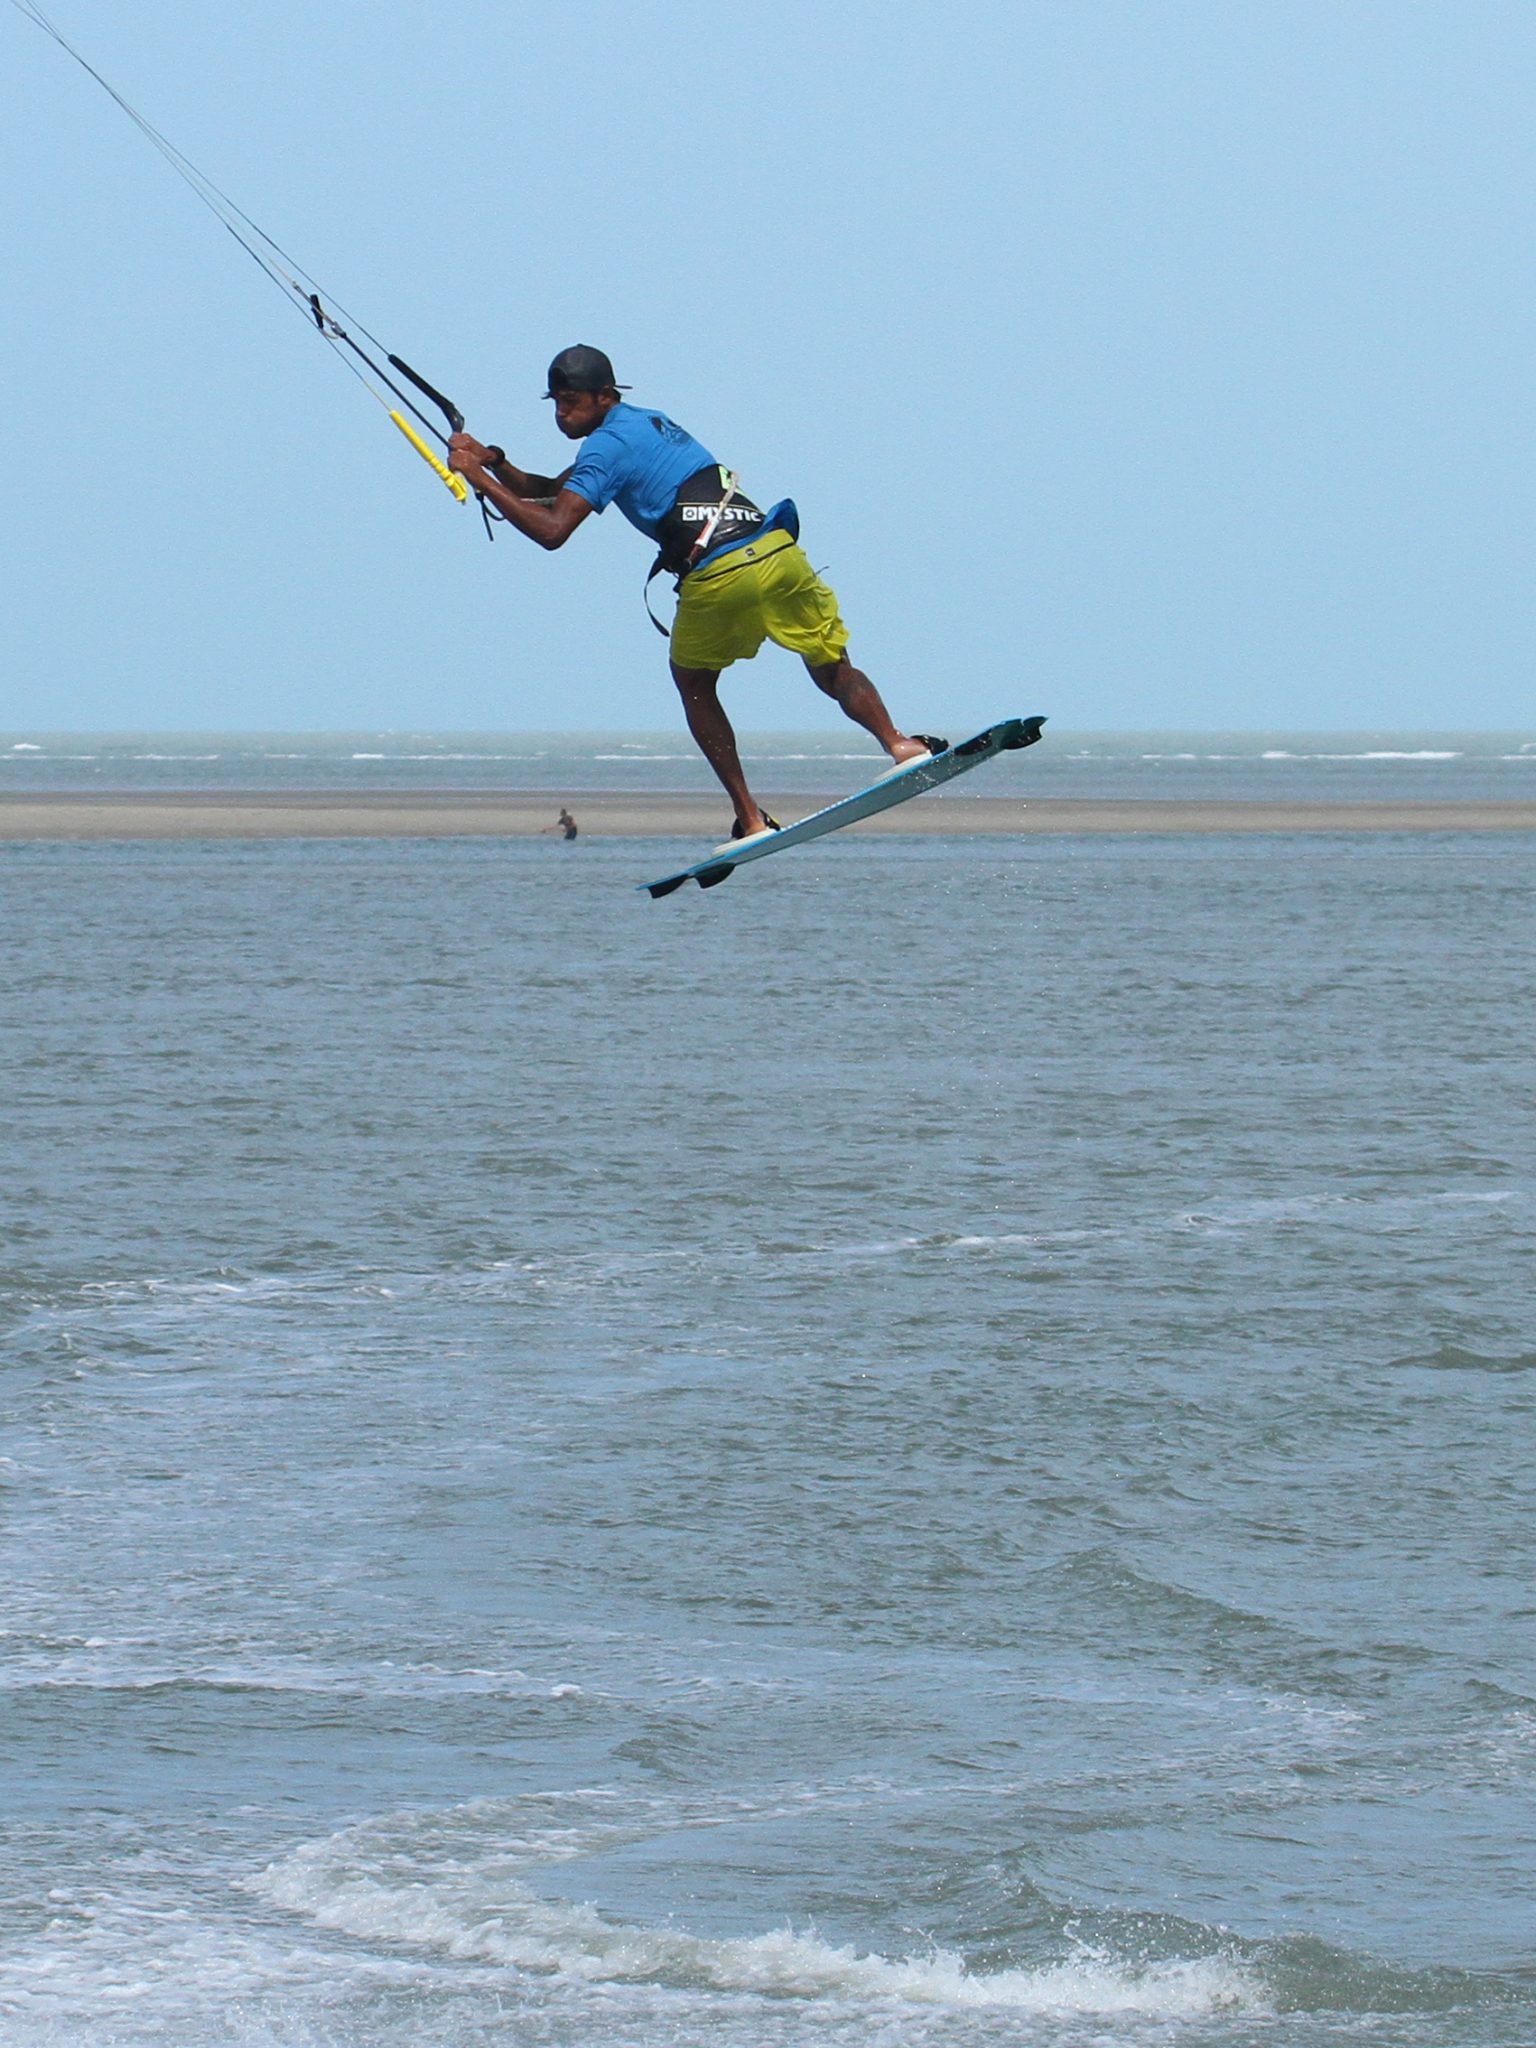
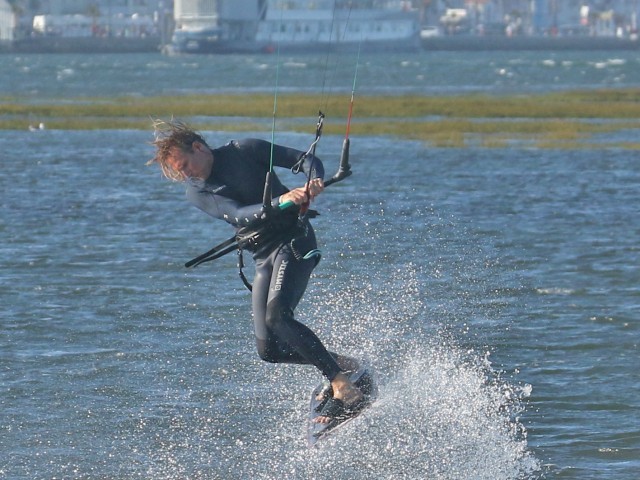
Slow & Controlled Pic B.
This is the result of the aforementioned take off. You could be mistaken for thinking that Heliarde is going into a raley, as his board is flicking up nicely behind him and his shoulders haven’t rotated any further from take-off. This is almost a momentary pause, much like you’d aim for pre rotation in an S-bend. The good thing is you can use this moment to make sure that the kite is still and isn’t moving any further towards 12, if you tweaked it up a wee bit.
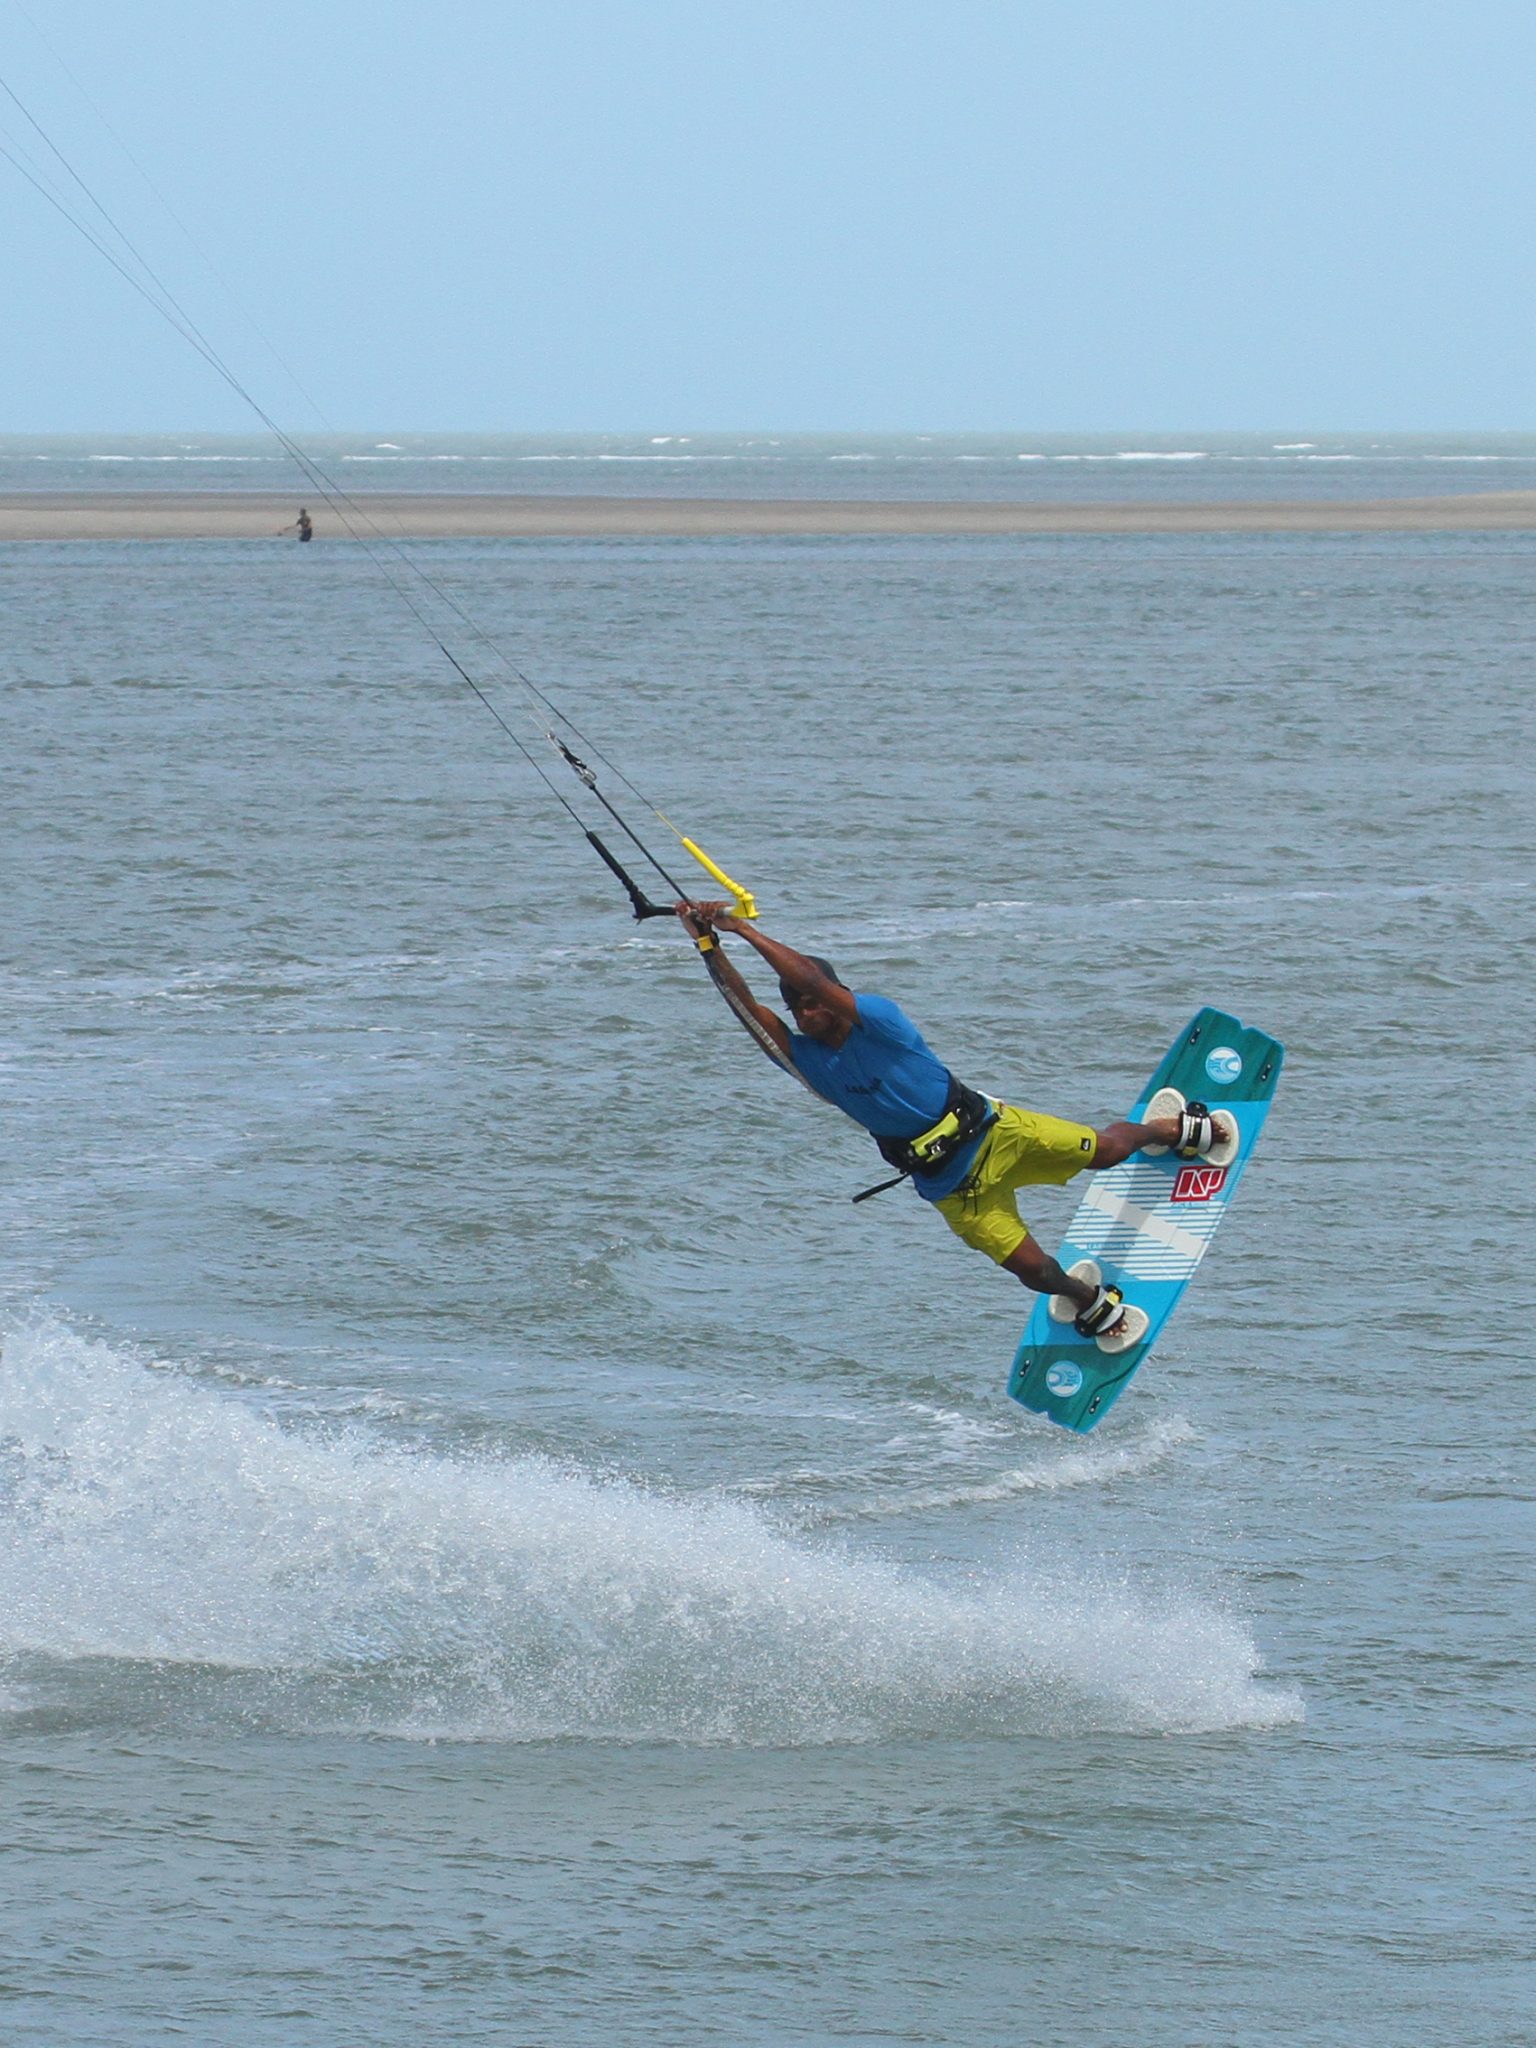
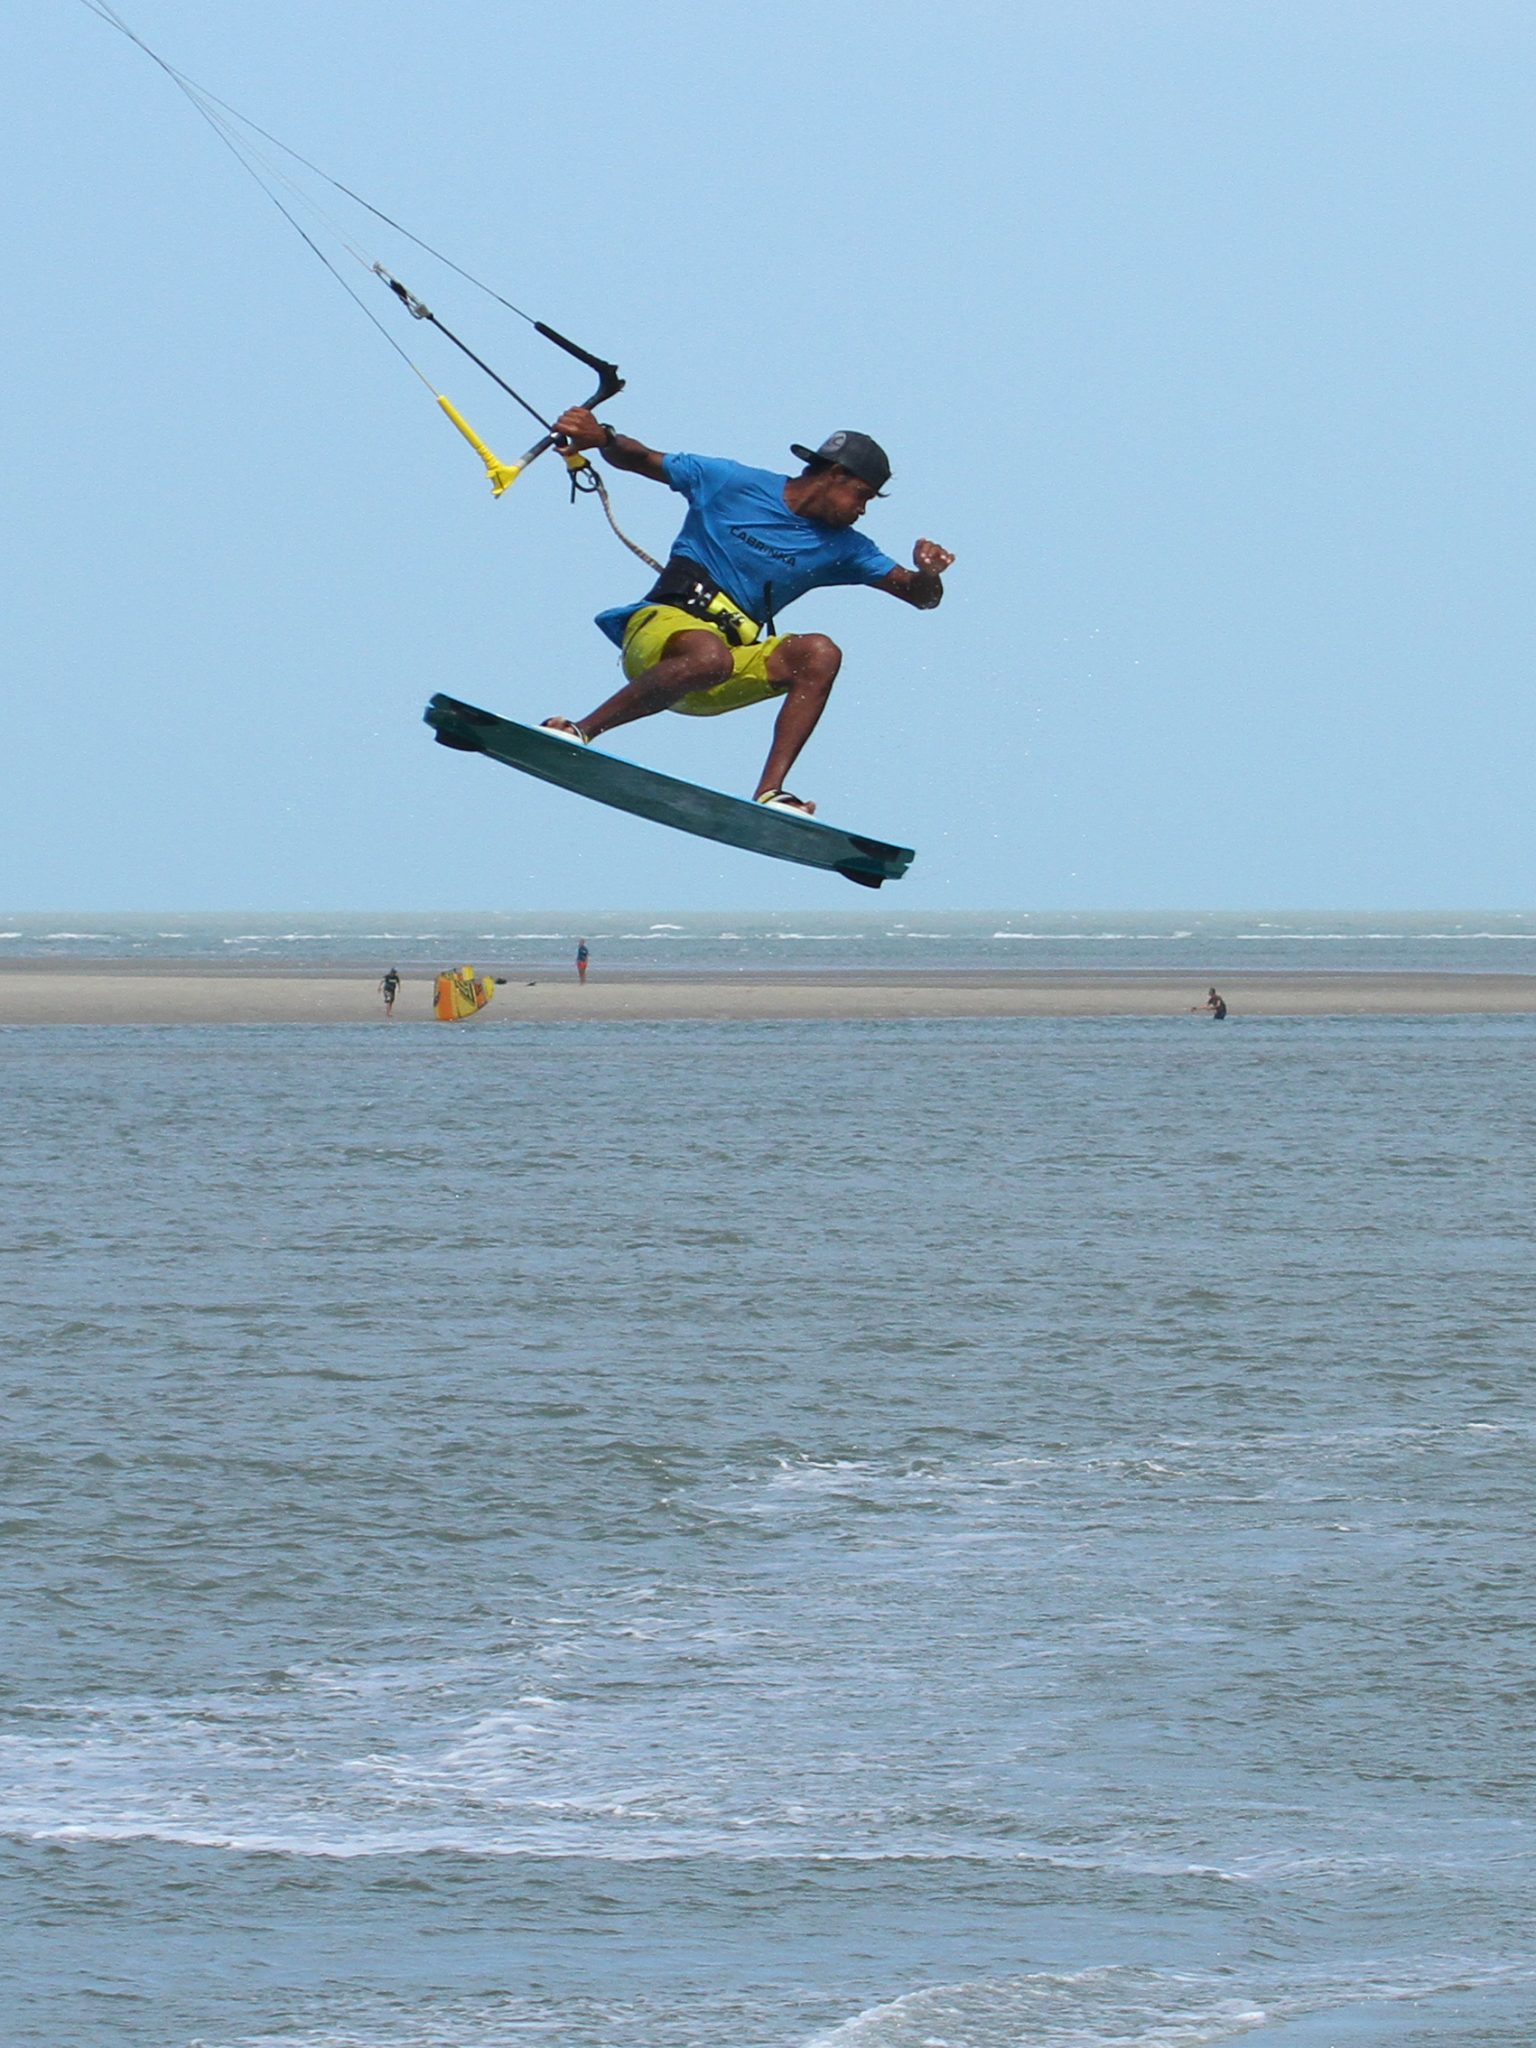
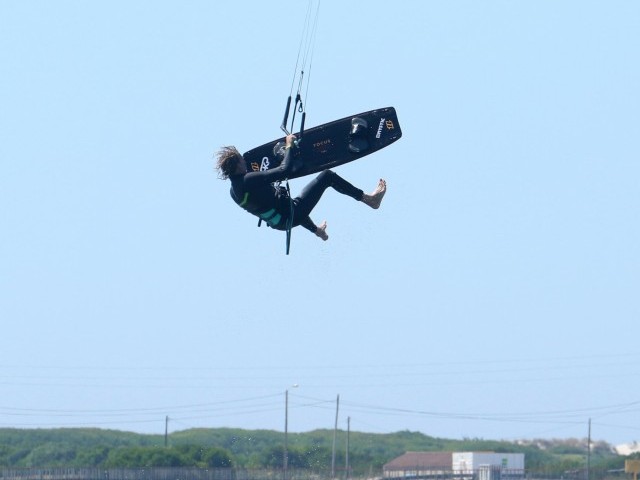
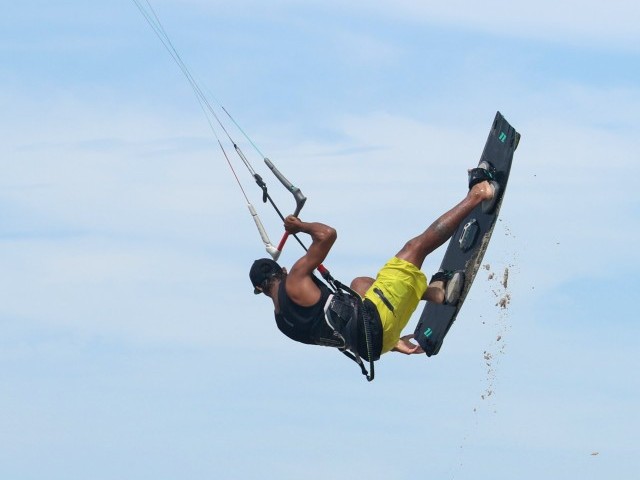
Up, Up then Away Pic C.
Once you’re on the way up and you know that you’ve got the kite where you want it, it’s then time to initiate a fast rotation. The way to do this is to lead with your hands and head. This will twist your upper body around quickly, and as is the want of the body and legs, they are guaranteed to follow. One other crux point here is that by leading with the head you will know where you are, which is critical as you can then get an idea of timing for the next bit. The photo clearly shows how Heliarde is throwing his hands and head into the rotation and as such he can peer over his shoulder and gauge where he is.


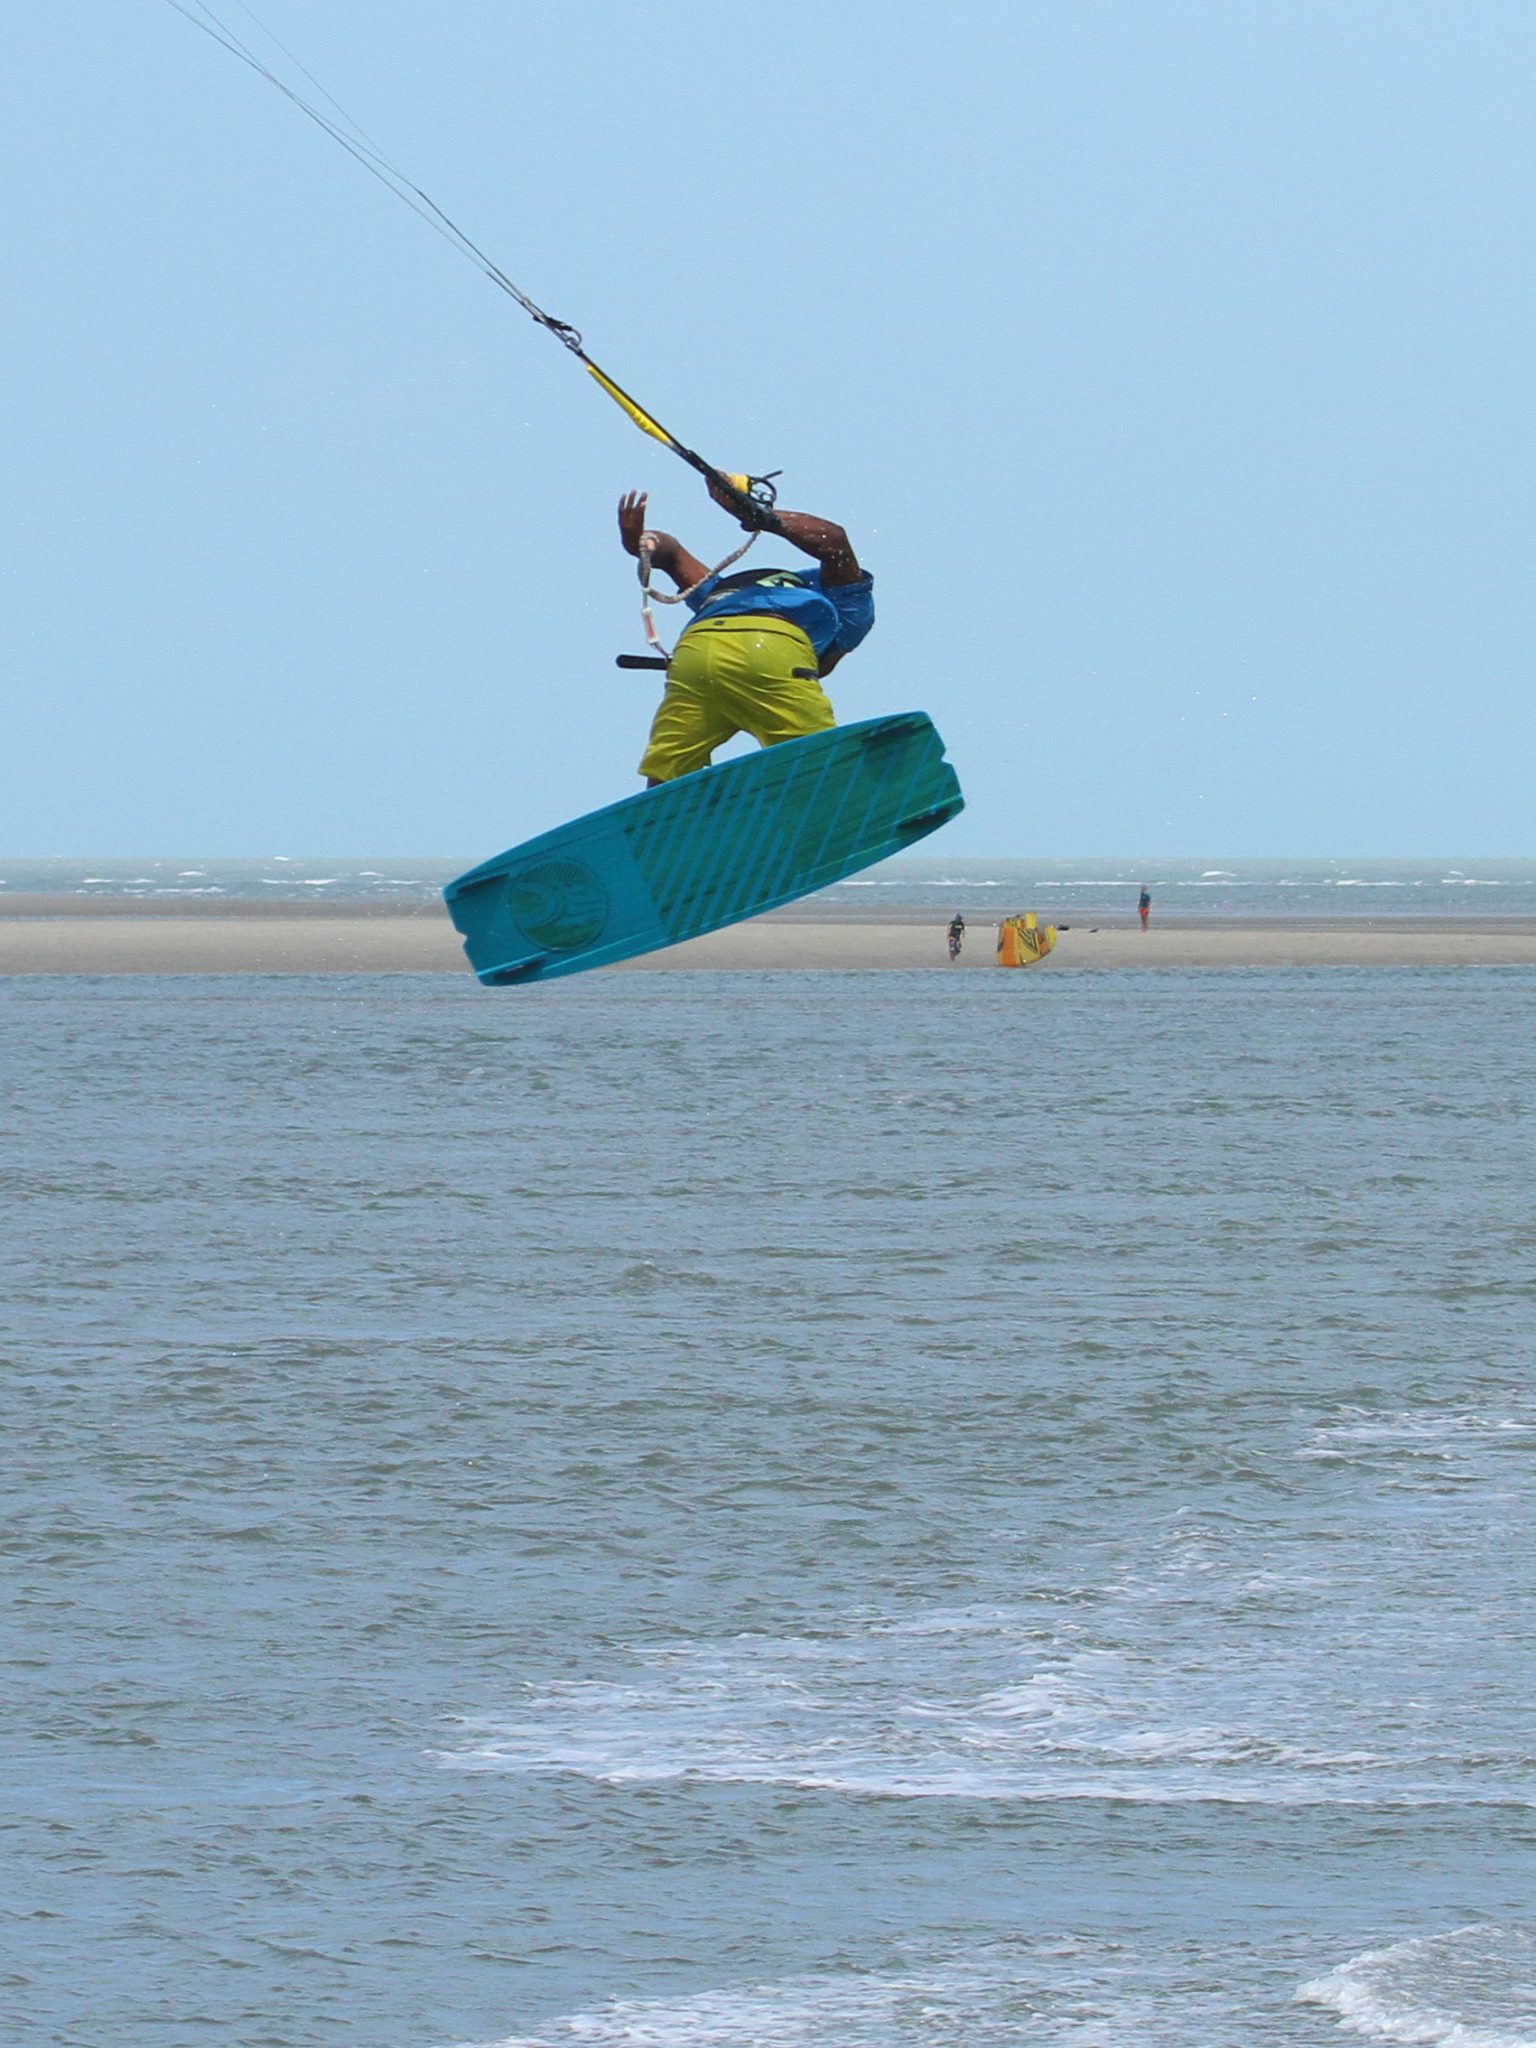
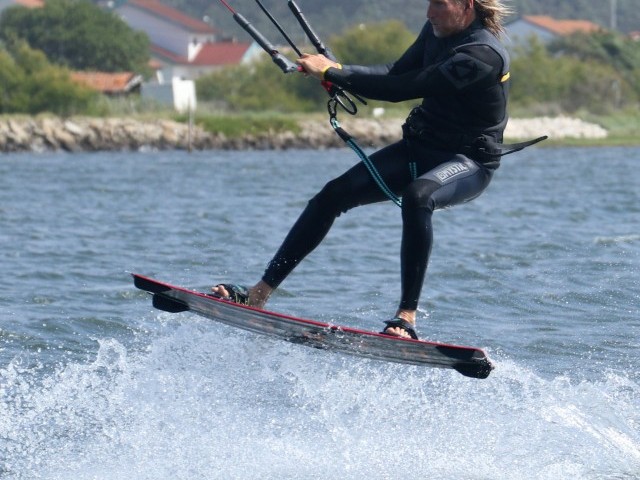
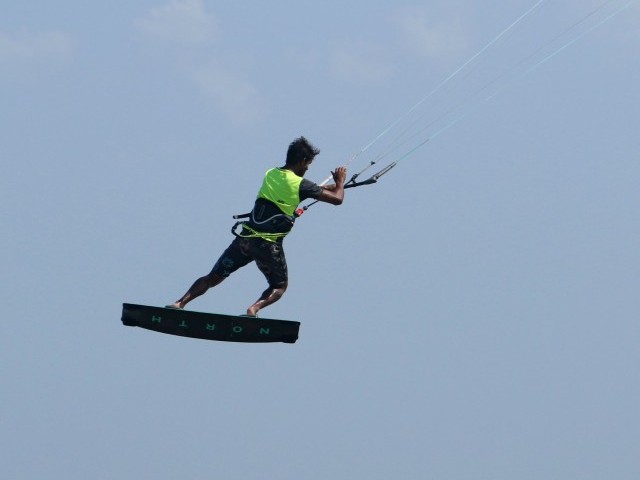
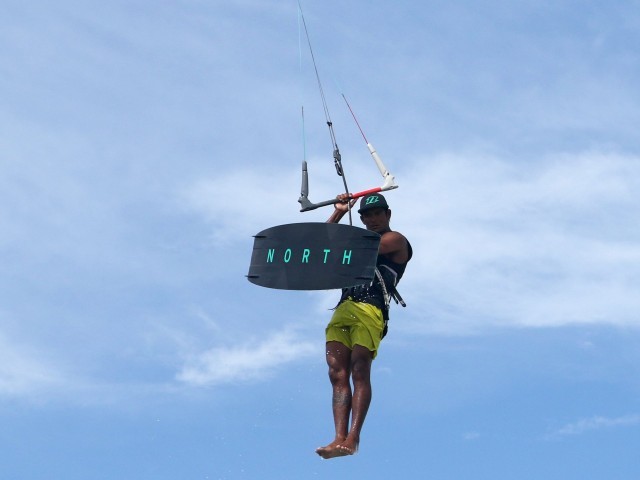
An Old Friend Pic D.
Look familiar! As promised from Back to Shifty. This is purely the result of starting slow and controlled and then leading with the hands and head. By leading with the head, you can anticipate when you’ll need to prep the pass. As Heliarde spots the water downwind of him, he knows it’s time to go, so he pulls himself up and over the bar, he brings his knees up, puffs his cheeks out, and he starts to pull the bar past his hips to set the throw part in action.
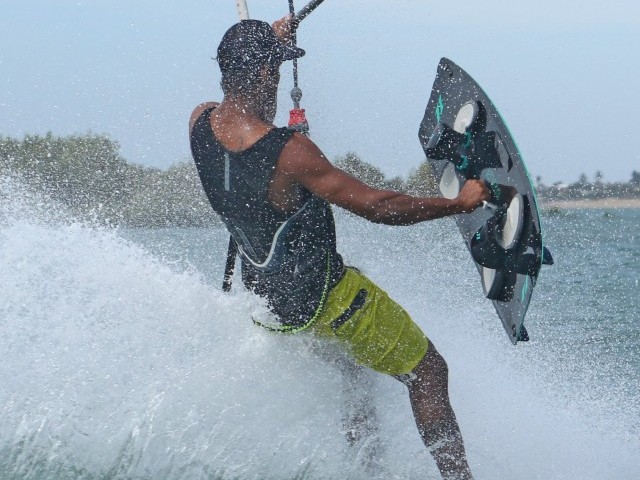
The Throw Pic E.
This bit should already be in your armoury too. As Heliarde has pulled the bar in and past his hips, he has brought his board, knees and legs up and kicked his back leg through under the bar. He’s released his front hand and twists the bar to allow his shoulders to rotate further. The throw is now fully in motion.
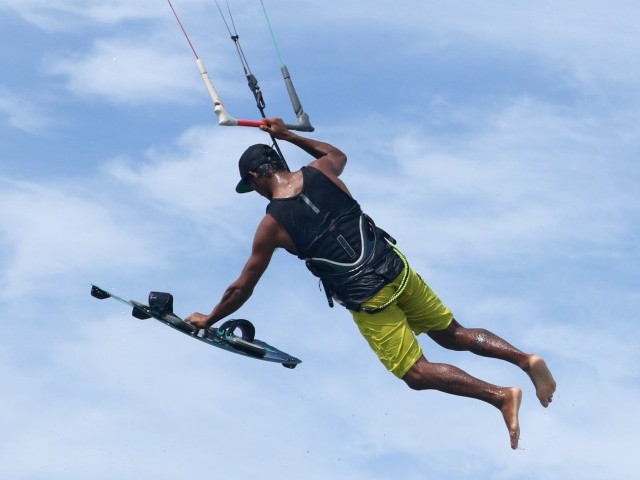
The Pass Pic F.
With the bar twisted you should be able to roll under the bar, which in turn will wrap the bar behind you, placing it within easy reach. This is a result of kicking the back leg through, as it moves you and the board under the bar, so you’re travelling with the kite and not getting left behind. You can see that as Heliarde wraps himself up in the bar, he’s reaching up, hand to hand, looking for the bar and ultimately the pass.
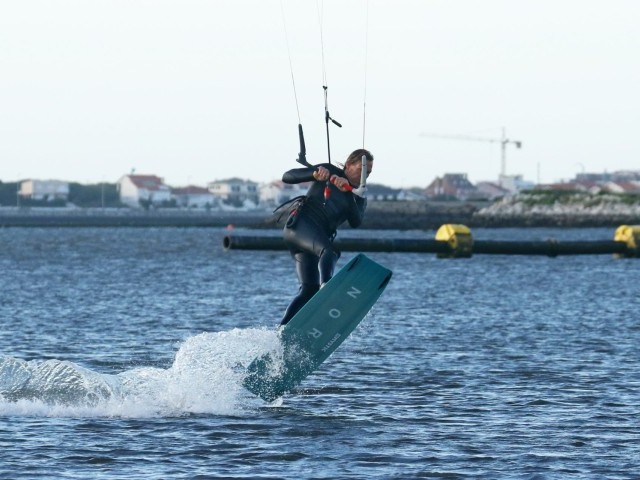
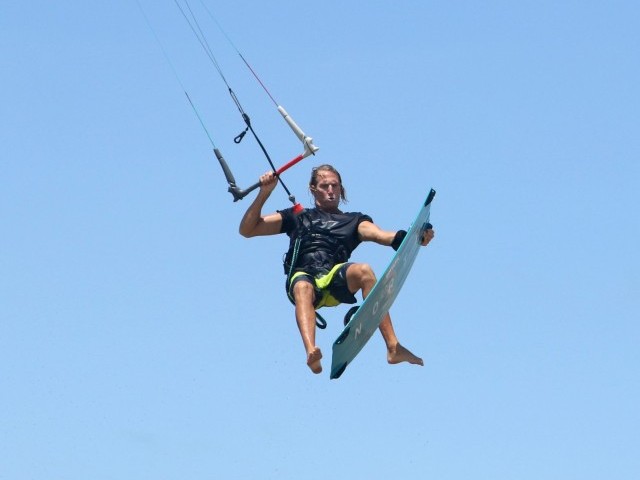
Claim It Pic G.
Once you feel the bar and release your back hand, remember that you still need to land the damn thing. It’s easy to just let yourself drop out of the sky as soon as you feel your free hand grab the bar. However, after all this effort make sure you finish the job! Most importantly keep looking around with your head so that you can see where you’re going and keep your chin up. Do this and the rest of the body will follow. If you don’t your legs may get left behind and you’ll land in a heap. You can see that Heliarde is still in a dynamic position, legs are still up, he’s compact and he’s looking towards where he’ll land.
Top Tips
Step by step will always help. There is no shame in breaking it down so that you can eventually think ahead. Make sure you’re comfortable with the kite position and the almost stalled back roll. If you can execute a number of these perfectly, then you’ll become more and more aware of where you are, and the result will be far more successful once you add the 3.


Other than that, control on take-off will always be easier in flatter water. Be aware that the smaller the kite, the less “hang” you’ll have and the quicker you’ll need to be, whilst the bigger the kite the more it will pull and the harder the pass will be. Find your happy medium.
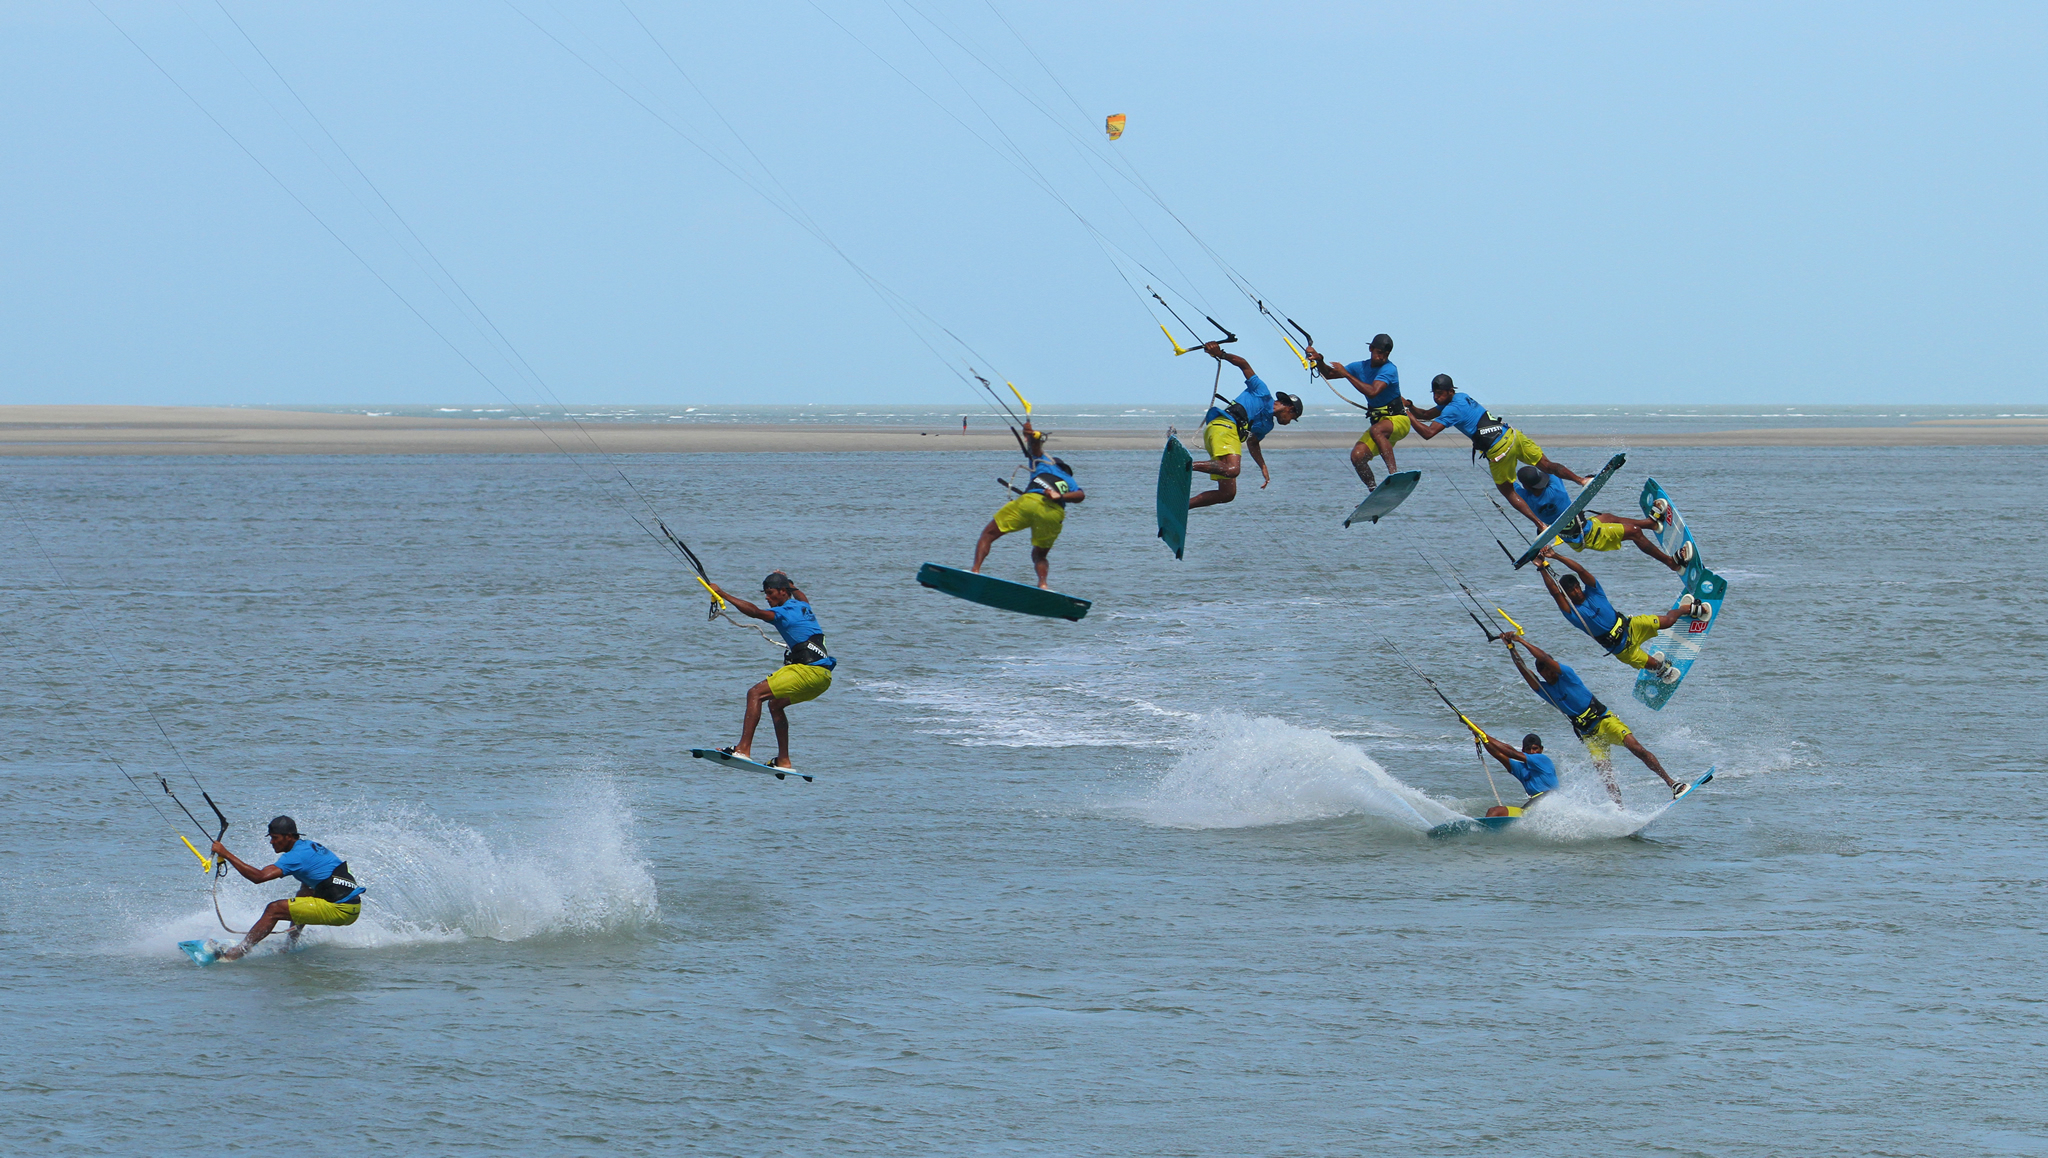
Now have a look at the sequence and videos to burn the Hinterburger into your psyche...
Common Problems
If you’re having problems controlling the kite during take-off and the initial rotation, then don’t allow your arms to stretch out too much whilst you’re carving up into your pop. This will have the added bonus of making the pass easier too.
If you find that you are rotating too quickly and therefore don’t have time to either anticipate or throw the pass, and that you come around all stretched out and extended away from the bar, you’re turning your body into the rotation too much on take-off. Really concentrate on extending and popping up into the move and only then turning your head into the rotation.
If you’re being pulled over the board on landing it is a sign that the board and your lower body are being left behind during the pass stage of the move. It’s really important to pull yourself up over the bar and make sure that you bring your back leg through and under the bar so that you stay with the kite. You are effectively trying to overtake the bar so that you’ll land without being pulled.
Keystones
- Approach with speed and kite relatively high
- Aggressive carve and hard pop up
- Only then rotate, lead with head and hands
- Pull yourself up and over the bar before passing
- Make sure your back leg kicks through and under
This technique article was in Issue 73 of IKSURFMAG.
Related
By Christian and Karine
Christian and Karine have been working together as a coaching team, running improver to advanced kitesurfing clinics since 2003.
