
Beach Start Pass
Technique / Advanced


Introduction
This is an audacious move that you’ll often spot in fun-filled videos of distant shores. A jumped beach start looks mighty fine but throwing a pass in as well, that’s the icing on the cake. If you’ve ever tried it but not yet succeeded, you’ll agree that it’s not as simple as first appears. However, rest assured with a few minor tweaks here, care of Heliarde, you’ll be cracking them out ten to the dozen. This issue we’re looking at what is essentially a blind judge off the beach, so it could equally be approached as a raley to blind!
Couple of things to note before attempting this. If you can already pass it’ll make life a lot easier, but if not at least a raley to blind will help you along the way. And wind direction is critical. Once you’ve got this down, exploding off the beach will even work with cross shore wind, but to start with want something with some off in it and water that’s deep enough to fall into. If you can tick the above boxes, read on...


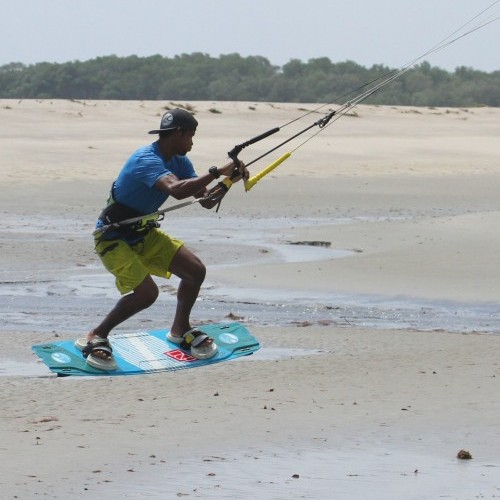
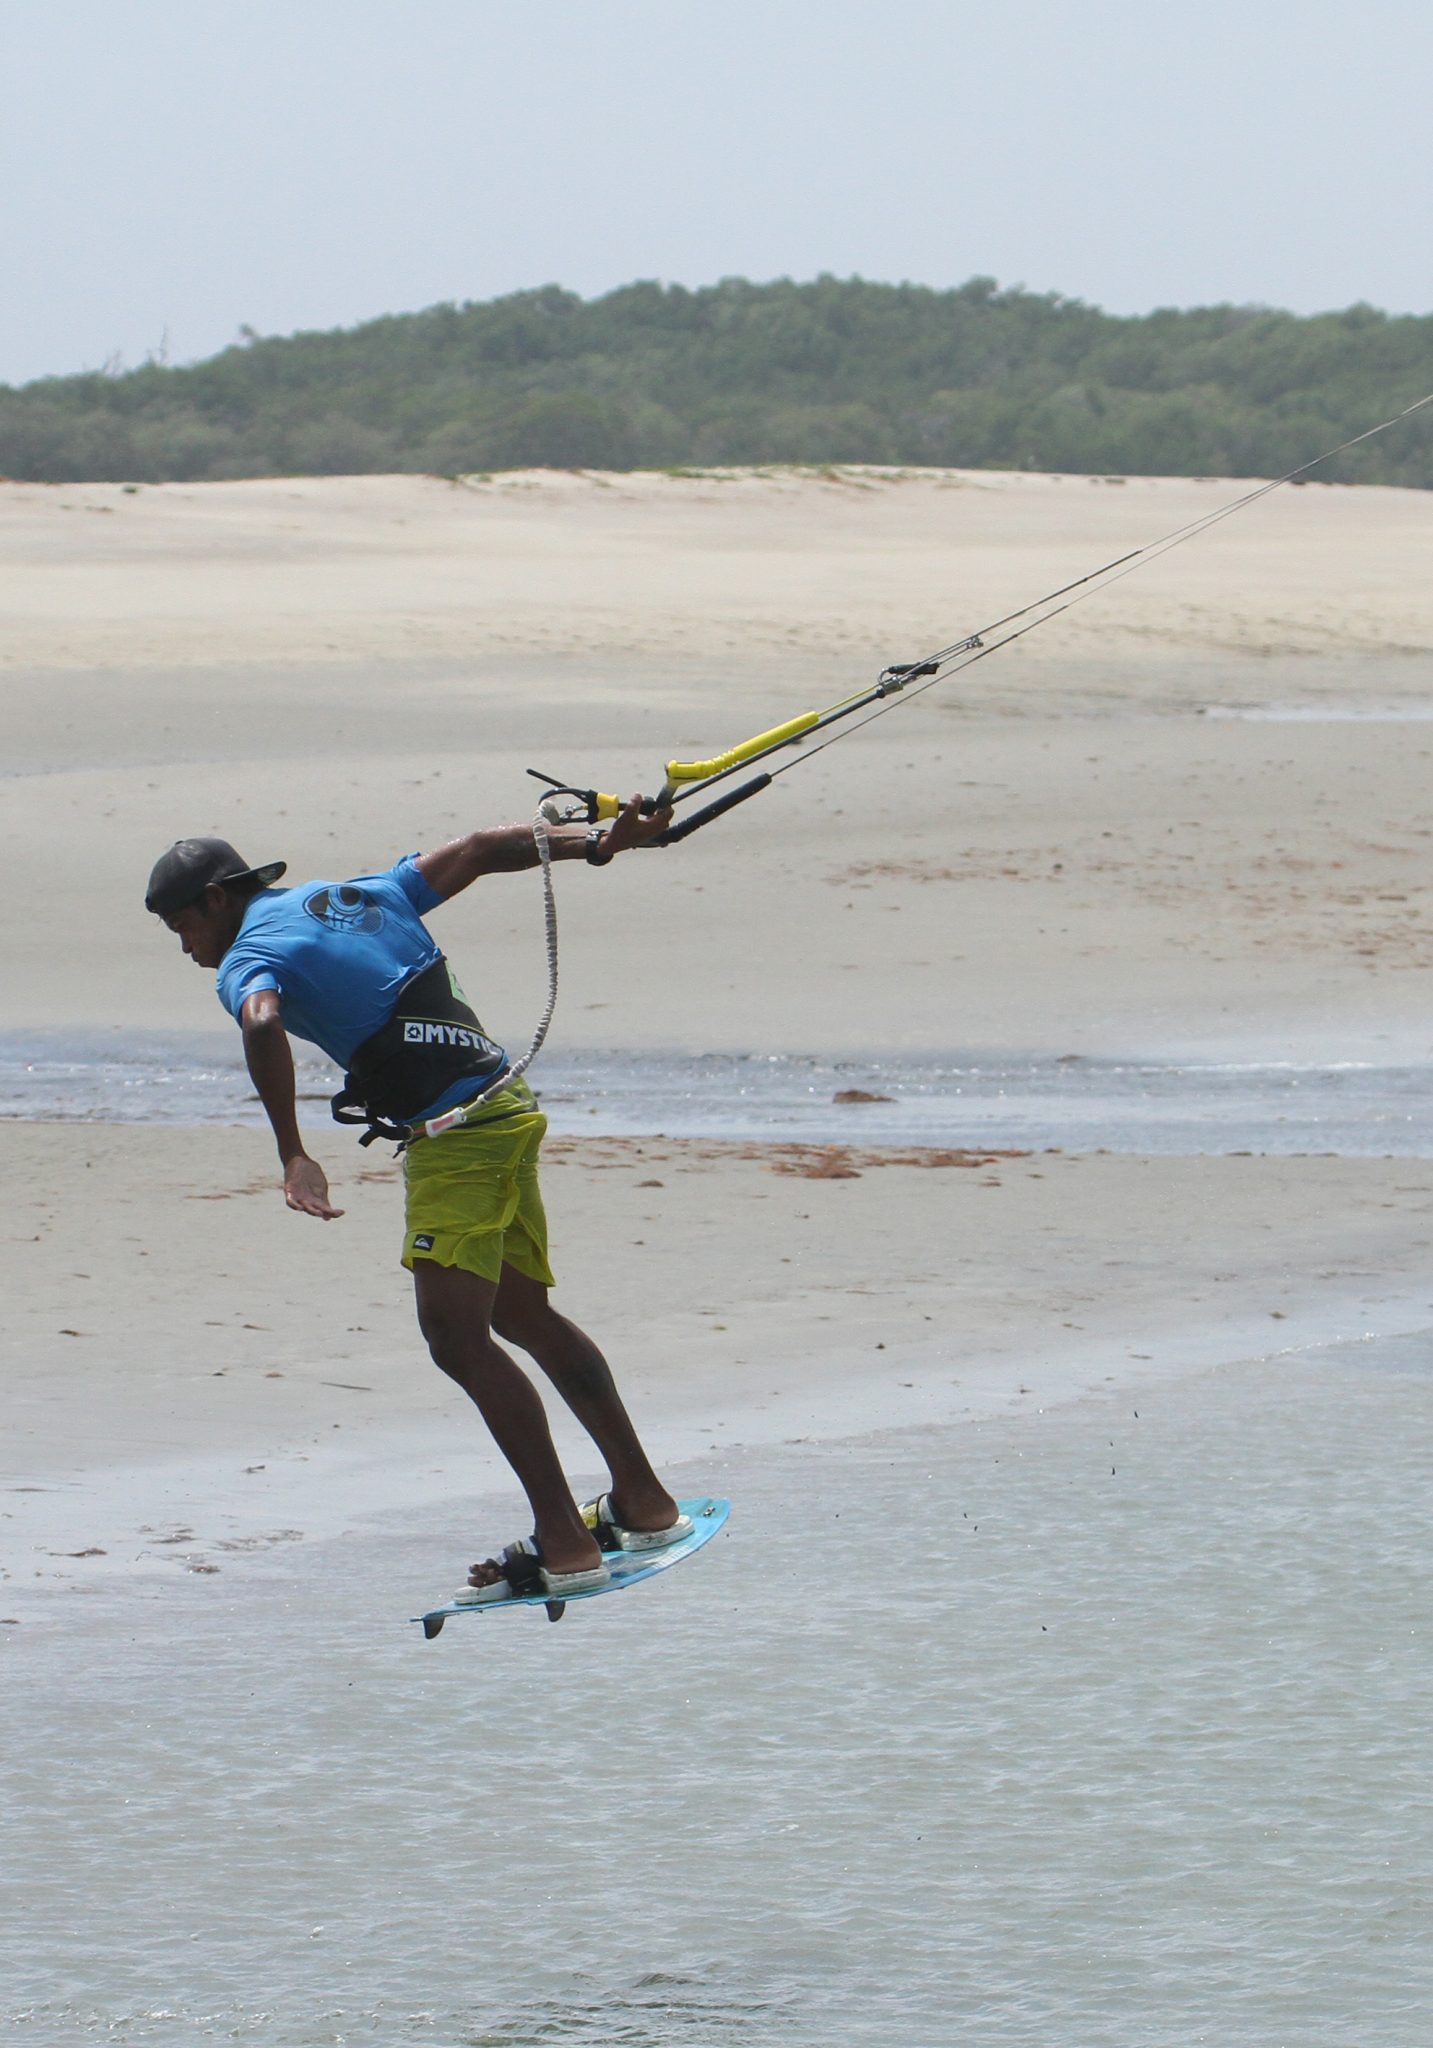
Positioning Pic A.
The wind in this picture is blowing just cross-off. Looking at Heliarde’s board, you can see that it’s pointing straight out towards the water. Any jumping beach start requires this positioning, with the board’s nose pointing ever so slightly downwind or across the wind. The reason for this is that you’ll be starting with your kite behind you, in this case at least at 11 o’clock, which means that the pull will come before the kite gets to 12. You need to be able to resist this pull, and having the edge perpendicular to where the pull will come from is essential. If you can avoid wet sand, it helps as it’s more likely that the board will get stuck. With your bar trimmed as you would for unhooking and your hands centred on the bar, move the kite slowly back towards 11 o’clock with your chicken loop hooked in. The exact positioning will depend upon wind strength, but the kite needs to move to generate enough power. Once the kite is back, try to feel some power so that you can rock back onto your heels.
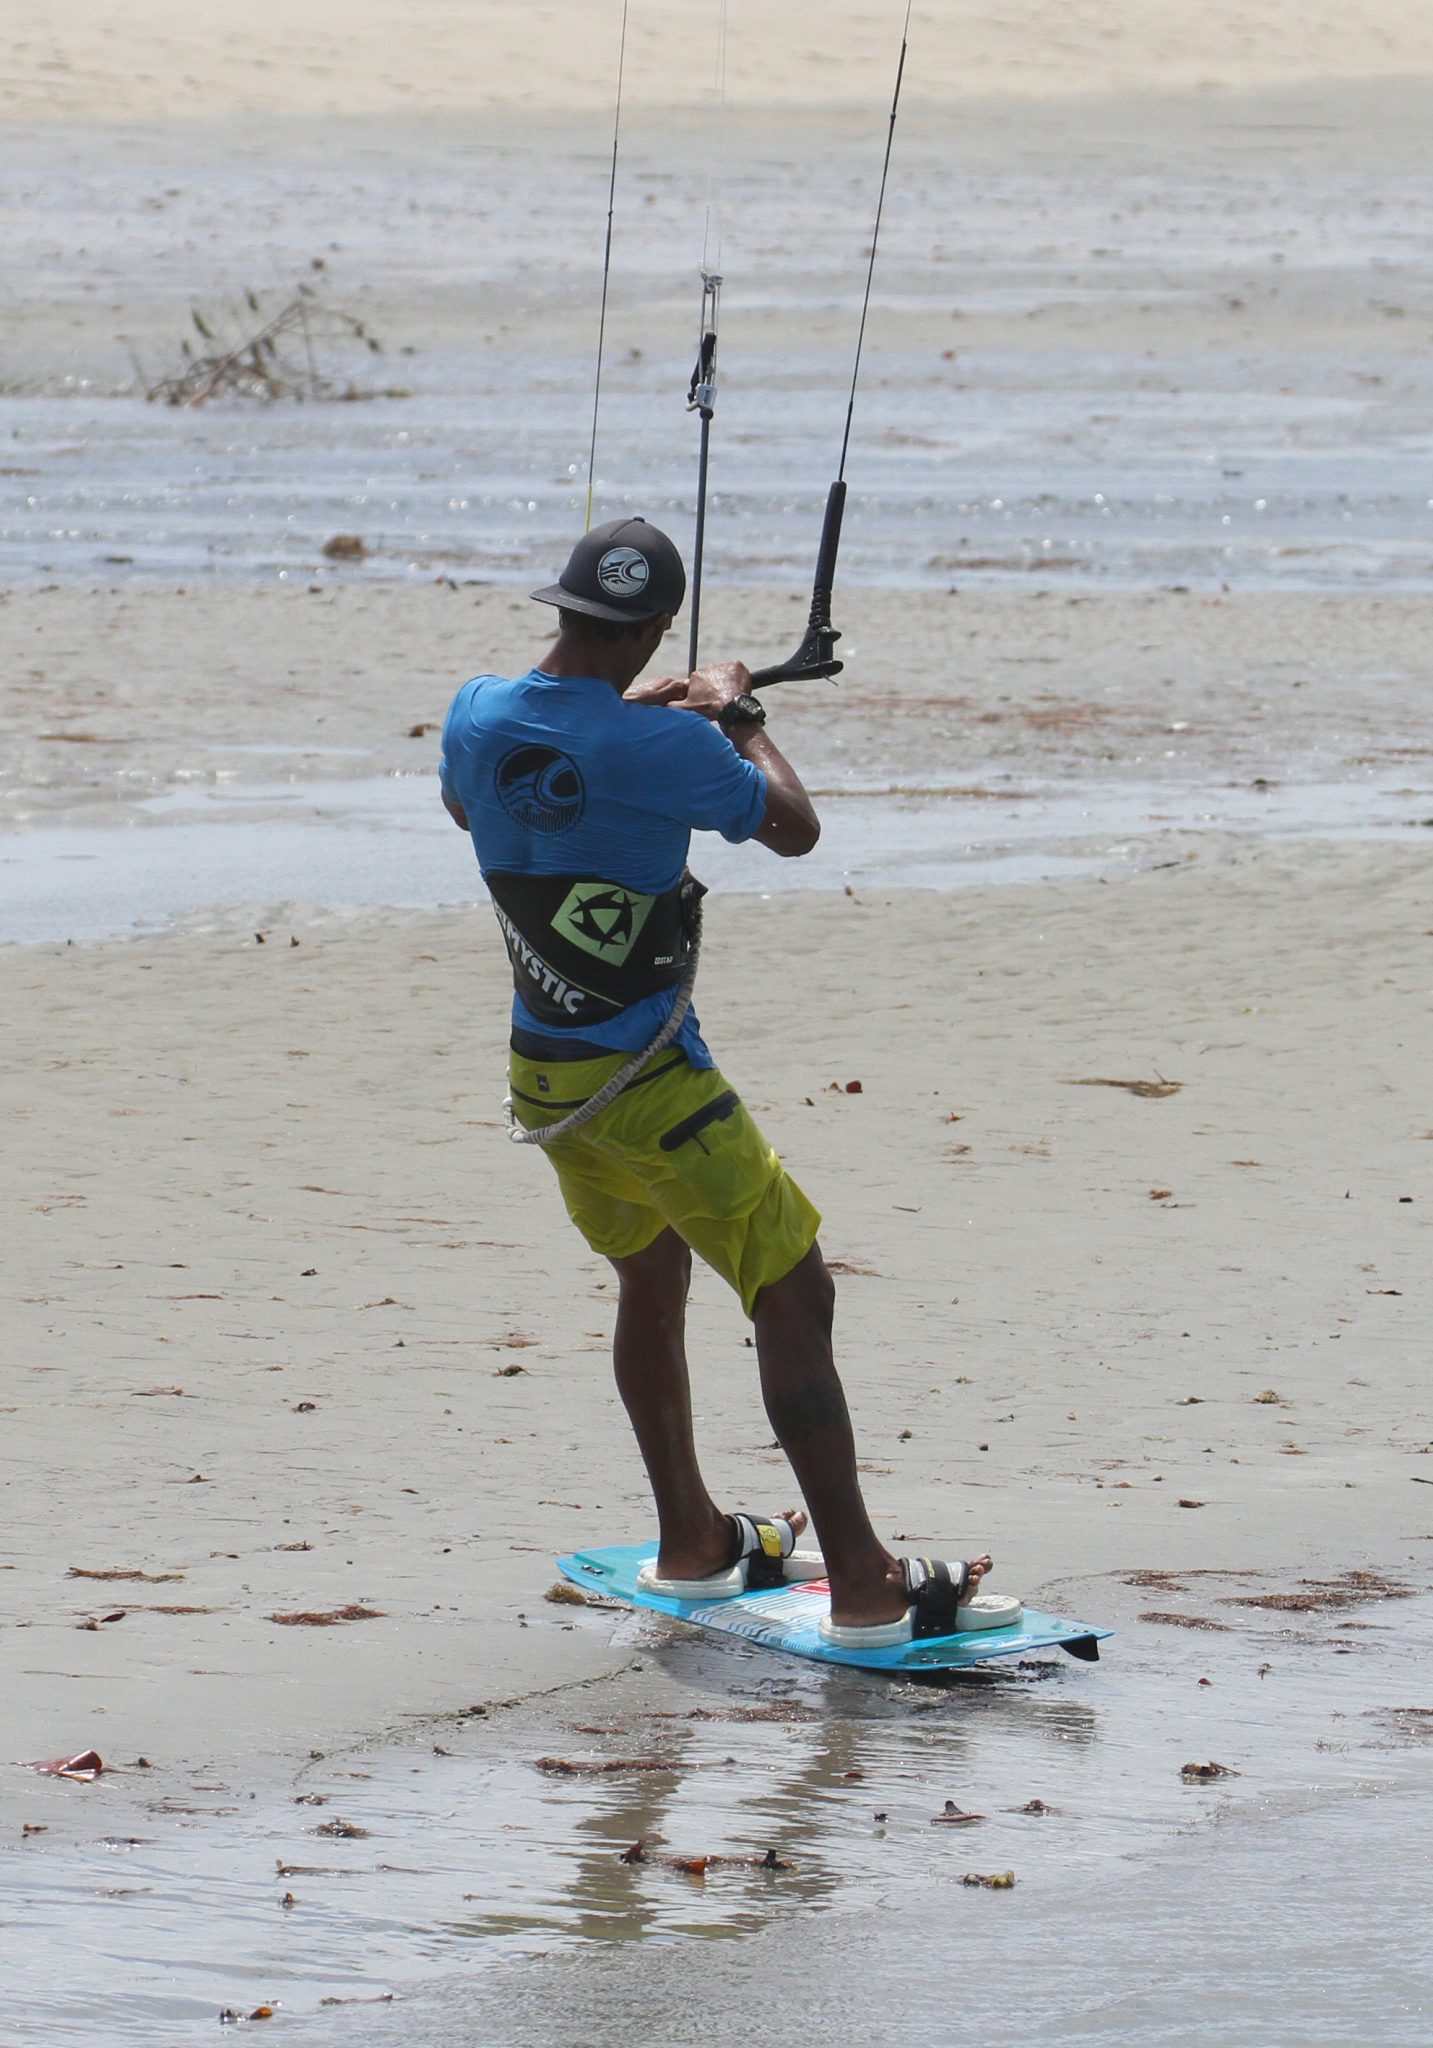
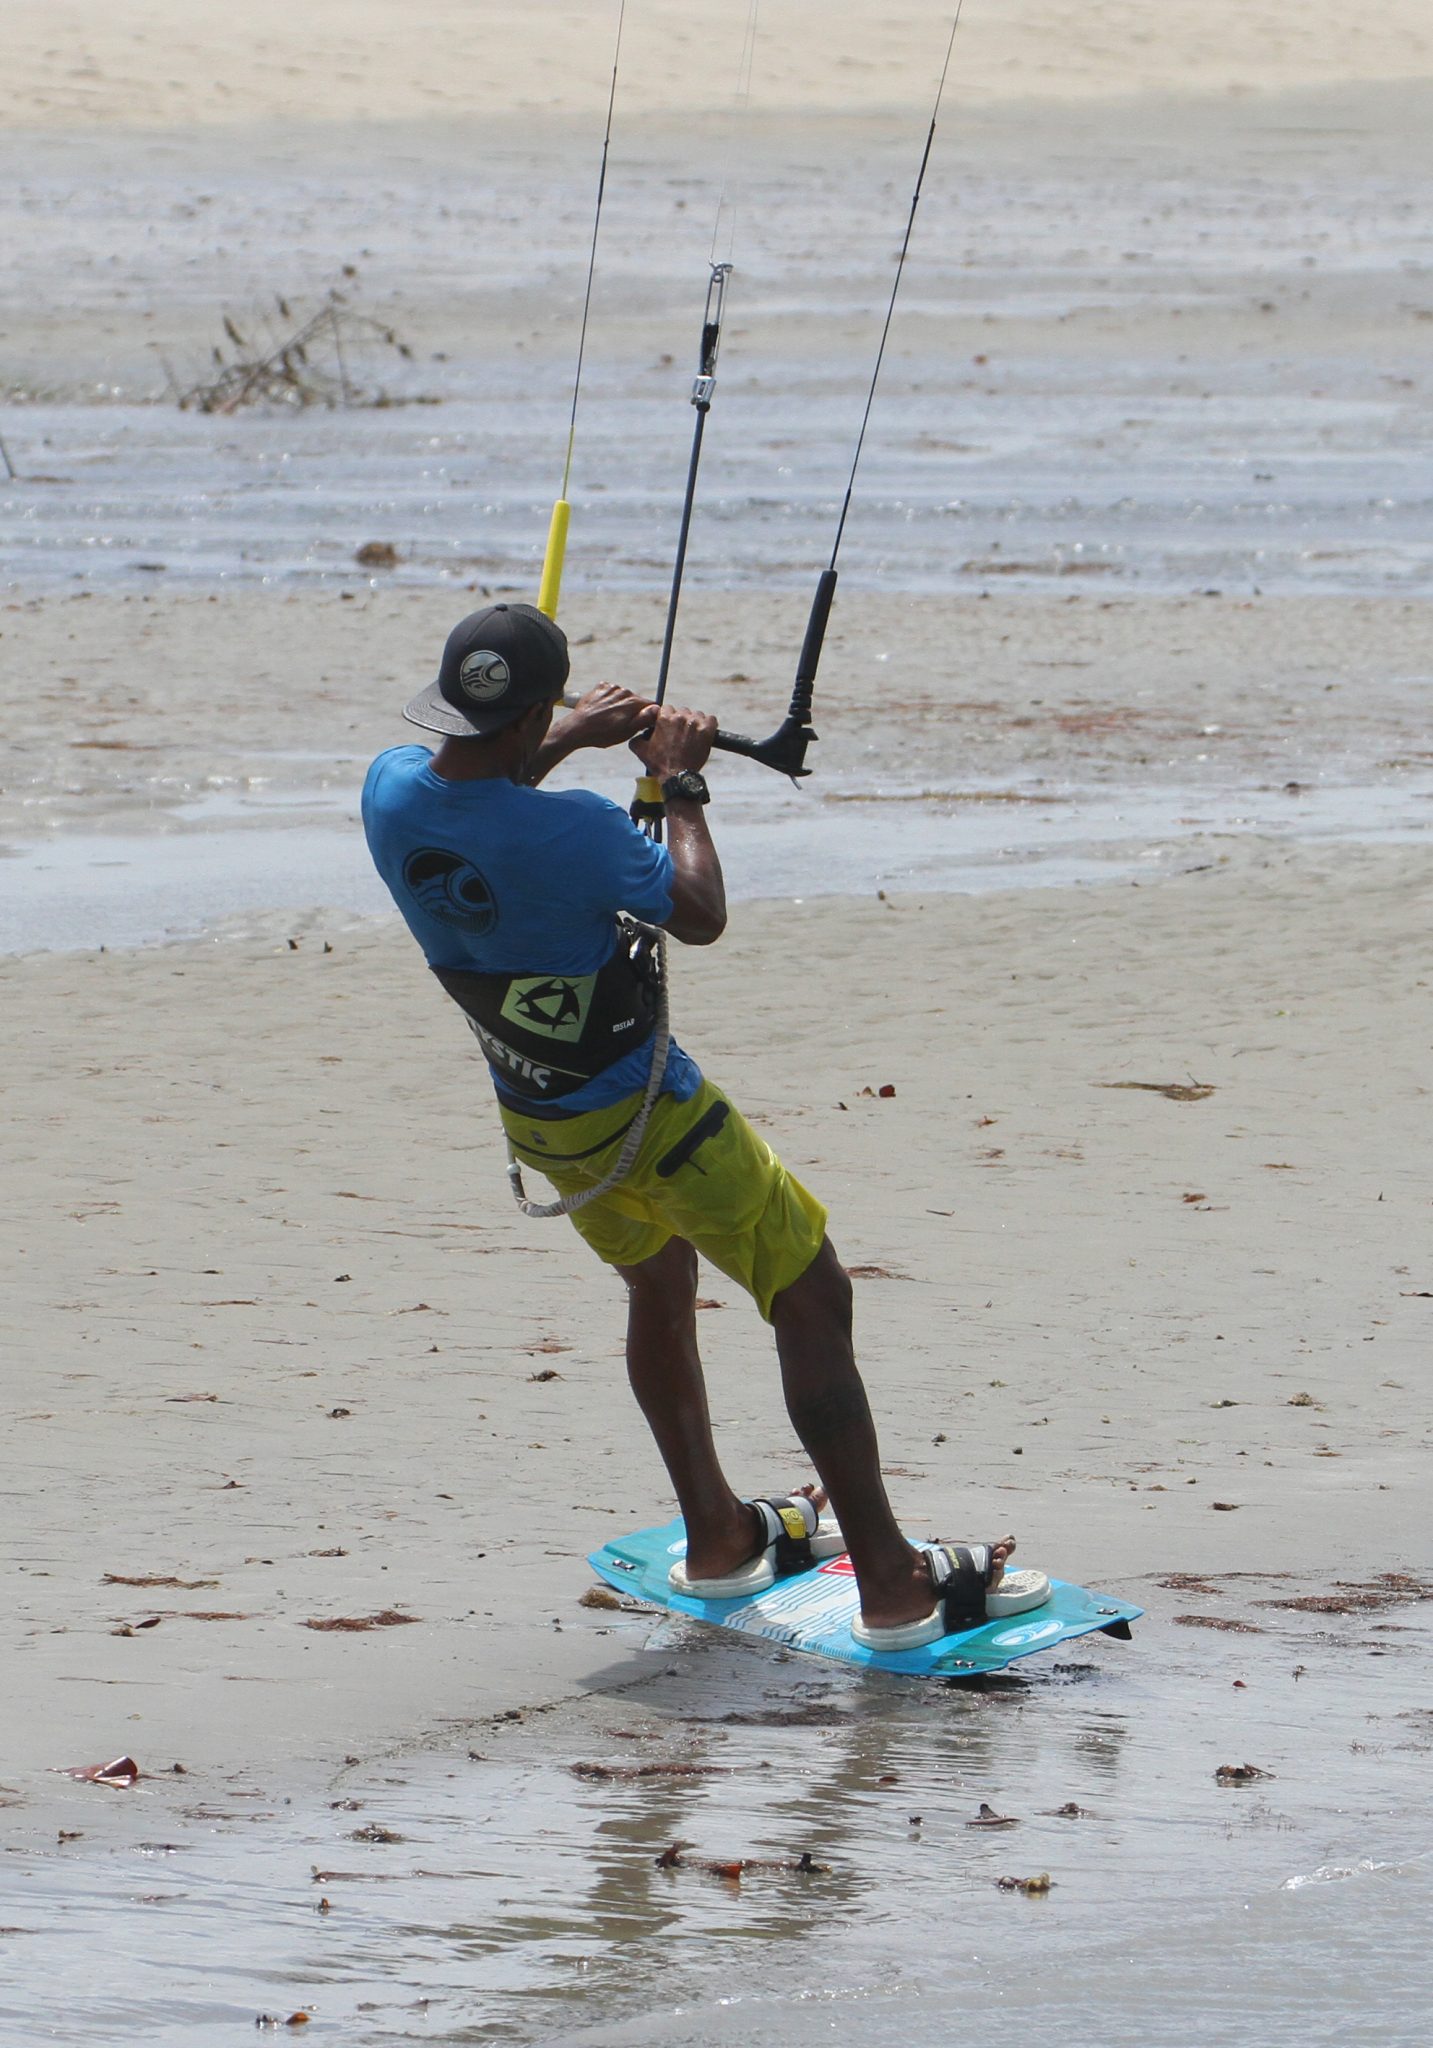
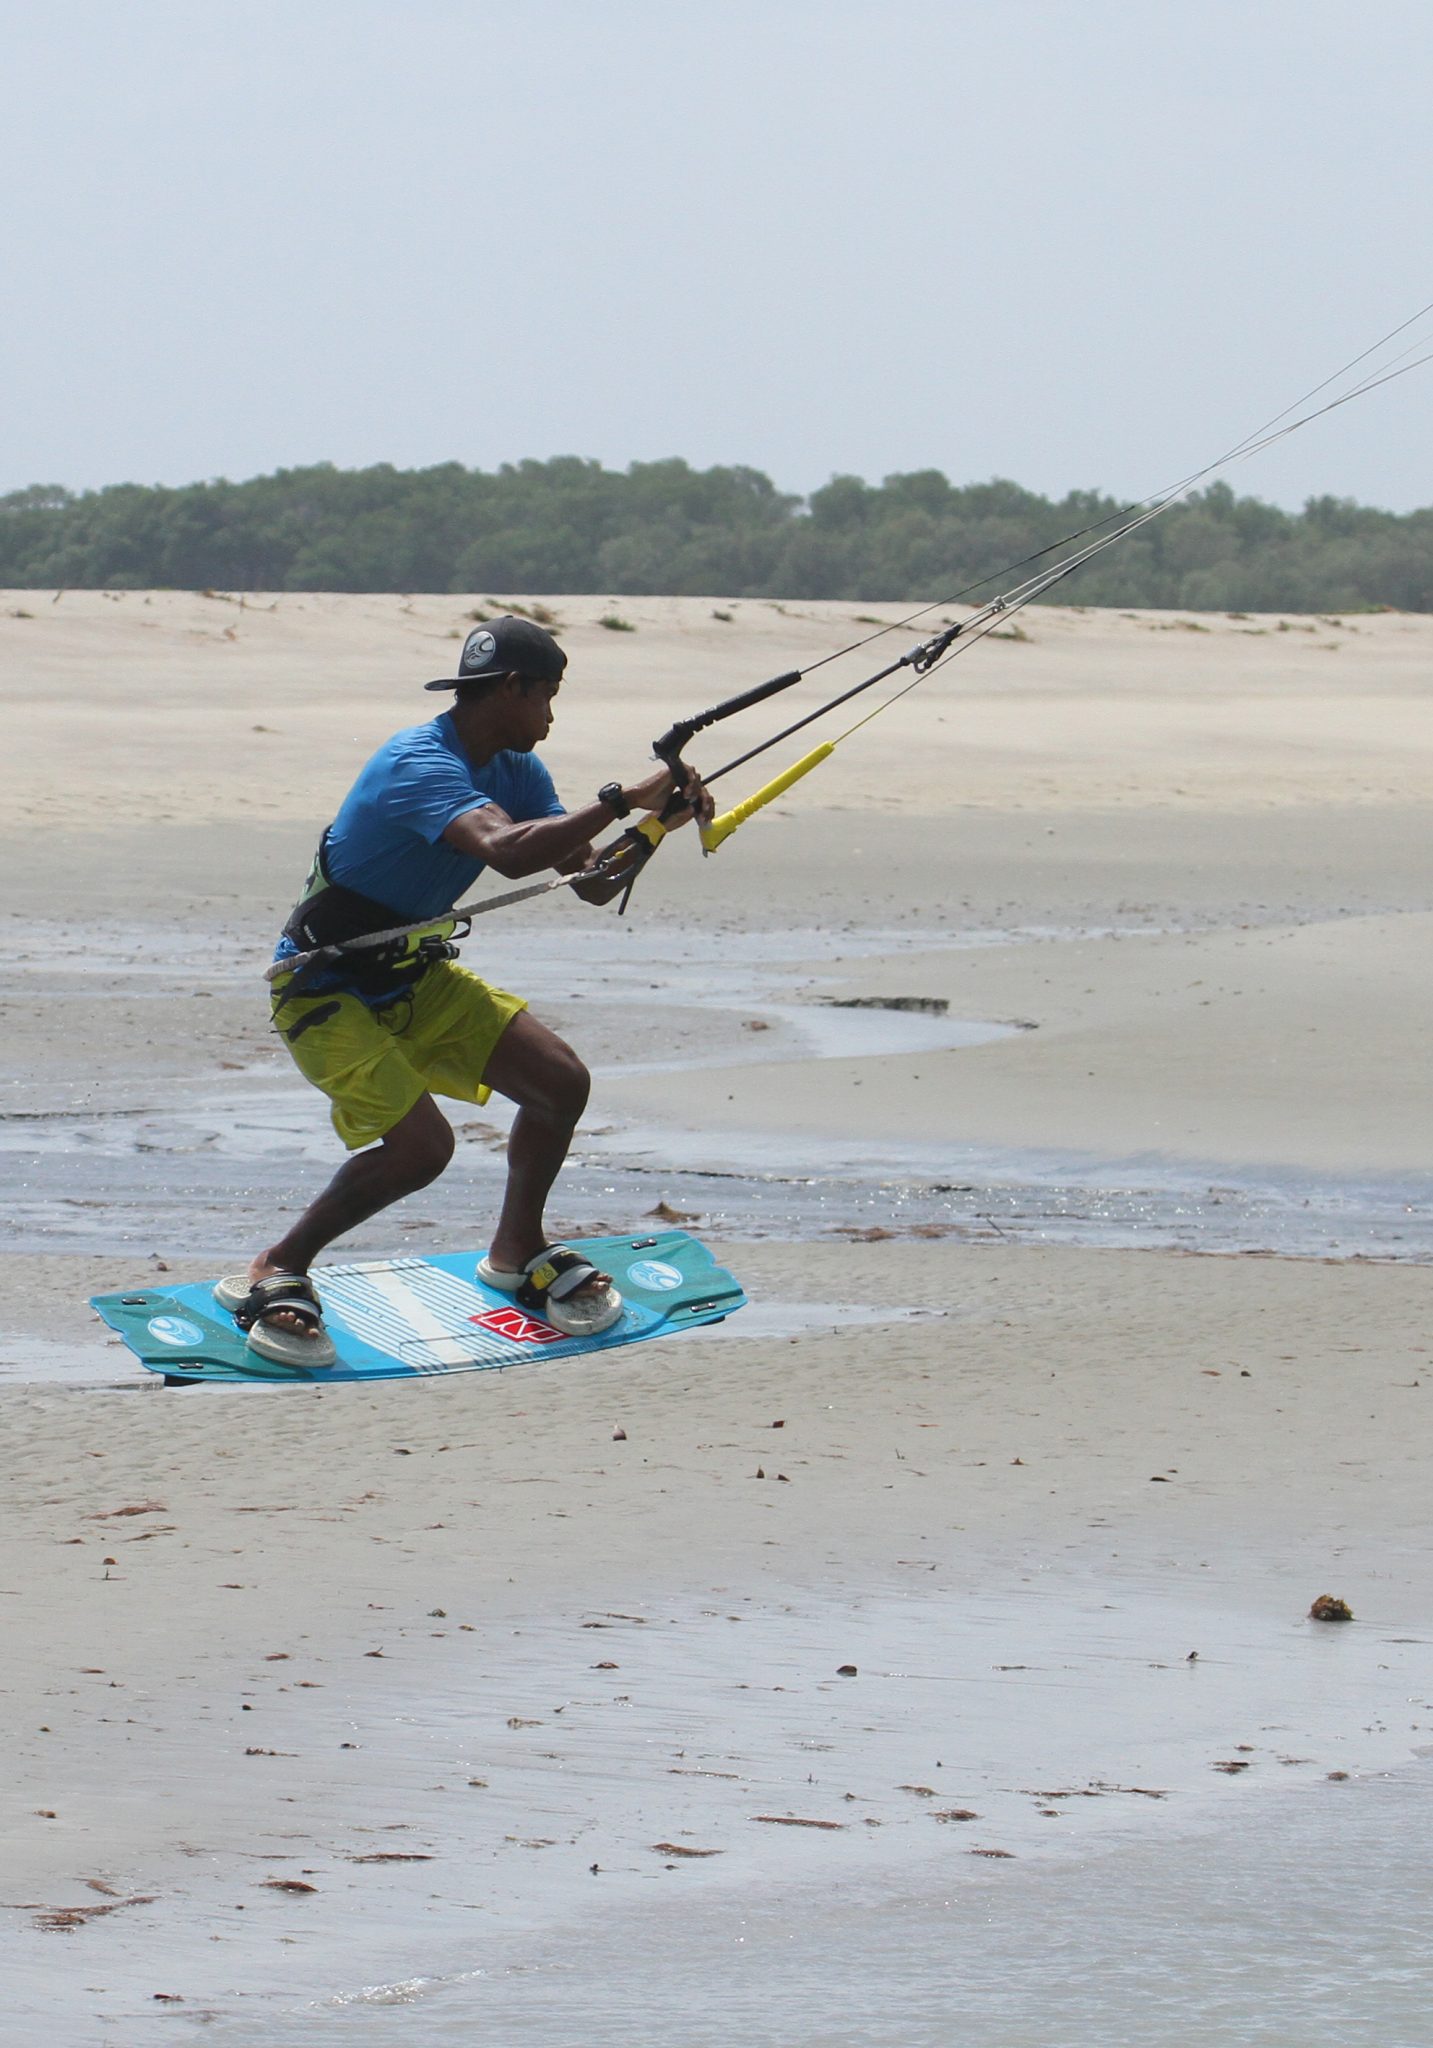
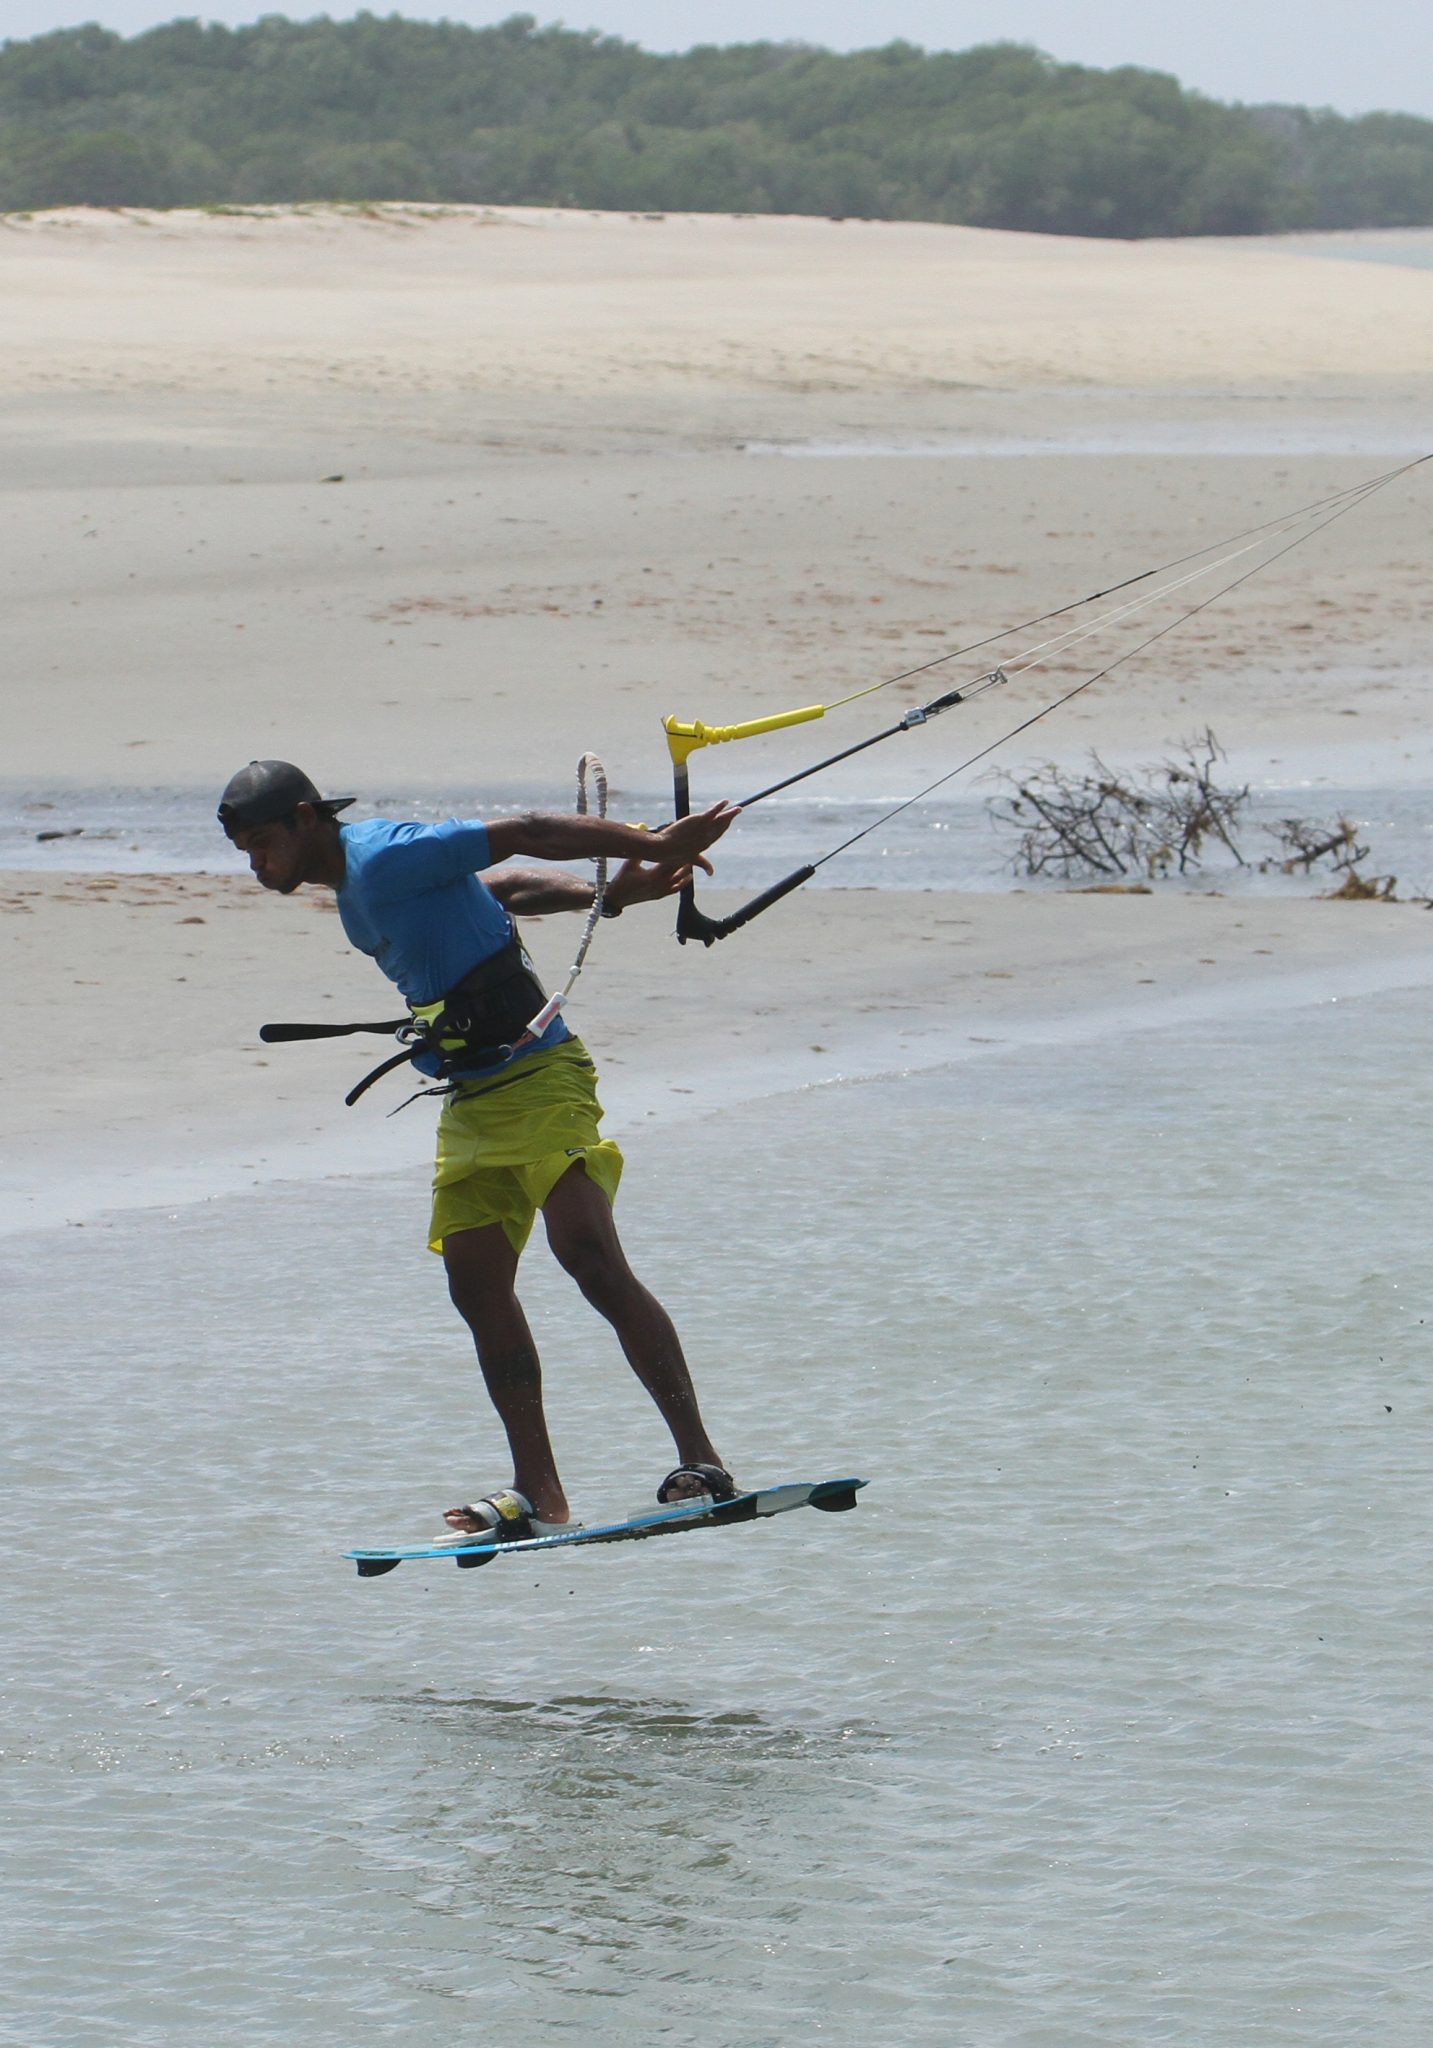
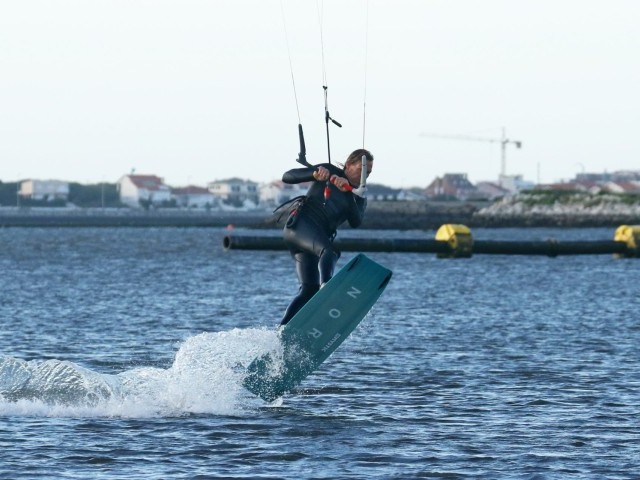
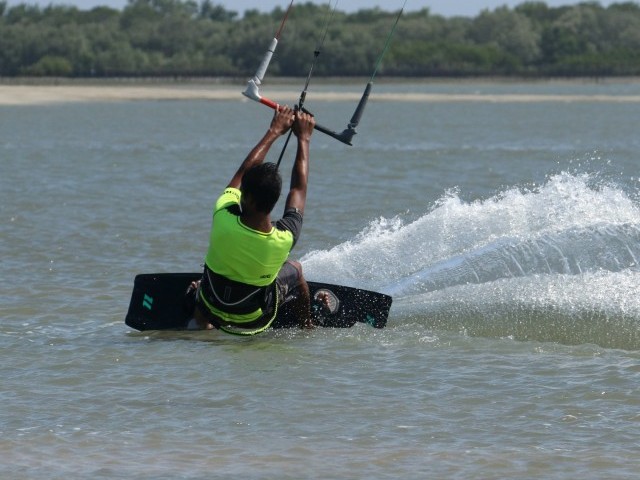
The Start Pic B.
Once you’re balanced and feel that there is wind in the kite, it’s time to get this show on the road. Looking at Heliarde here you can see that he steers the kite across the window with a positive send, pulling and pushing to get the kite moving quickly, while still hooked in. This is one of the first little tricks that makes it easier, to start hooked in. It’ll keep you in a better position to get the move underway. Heliarde is rocking back further onto his heels. This way the board hopefully won’t stick to the sand, and he’ll effectively be edging against the power as the kite moves. The tricky bit now is to unhook as the kite comes towards 12.
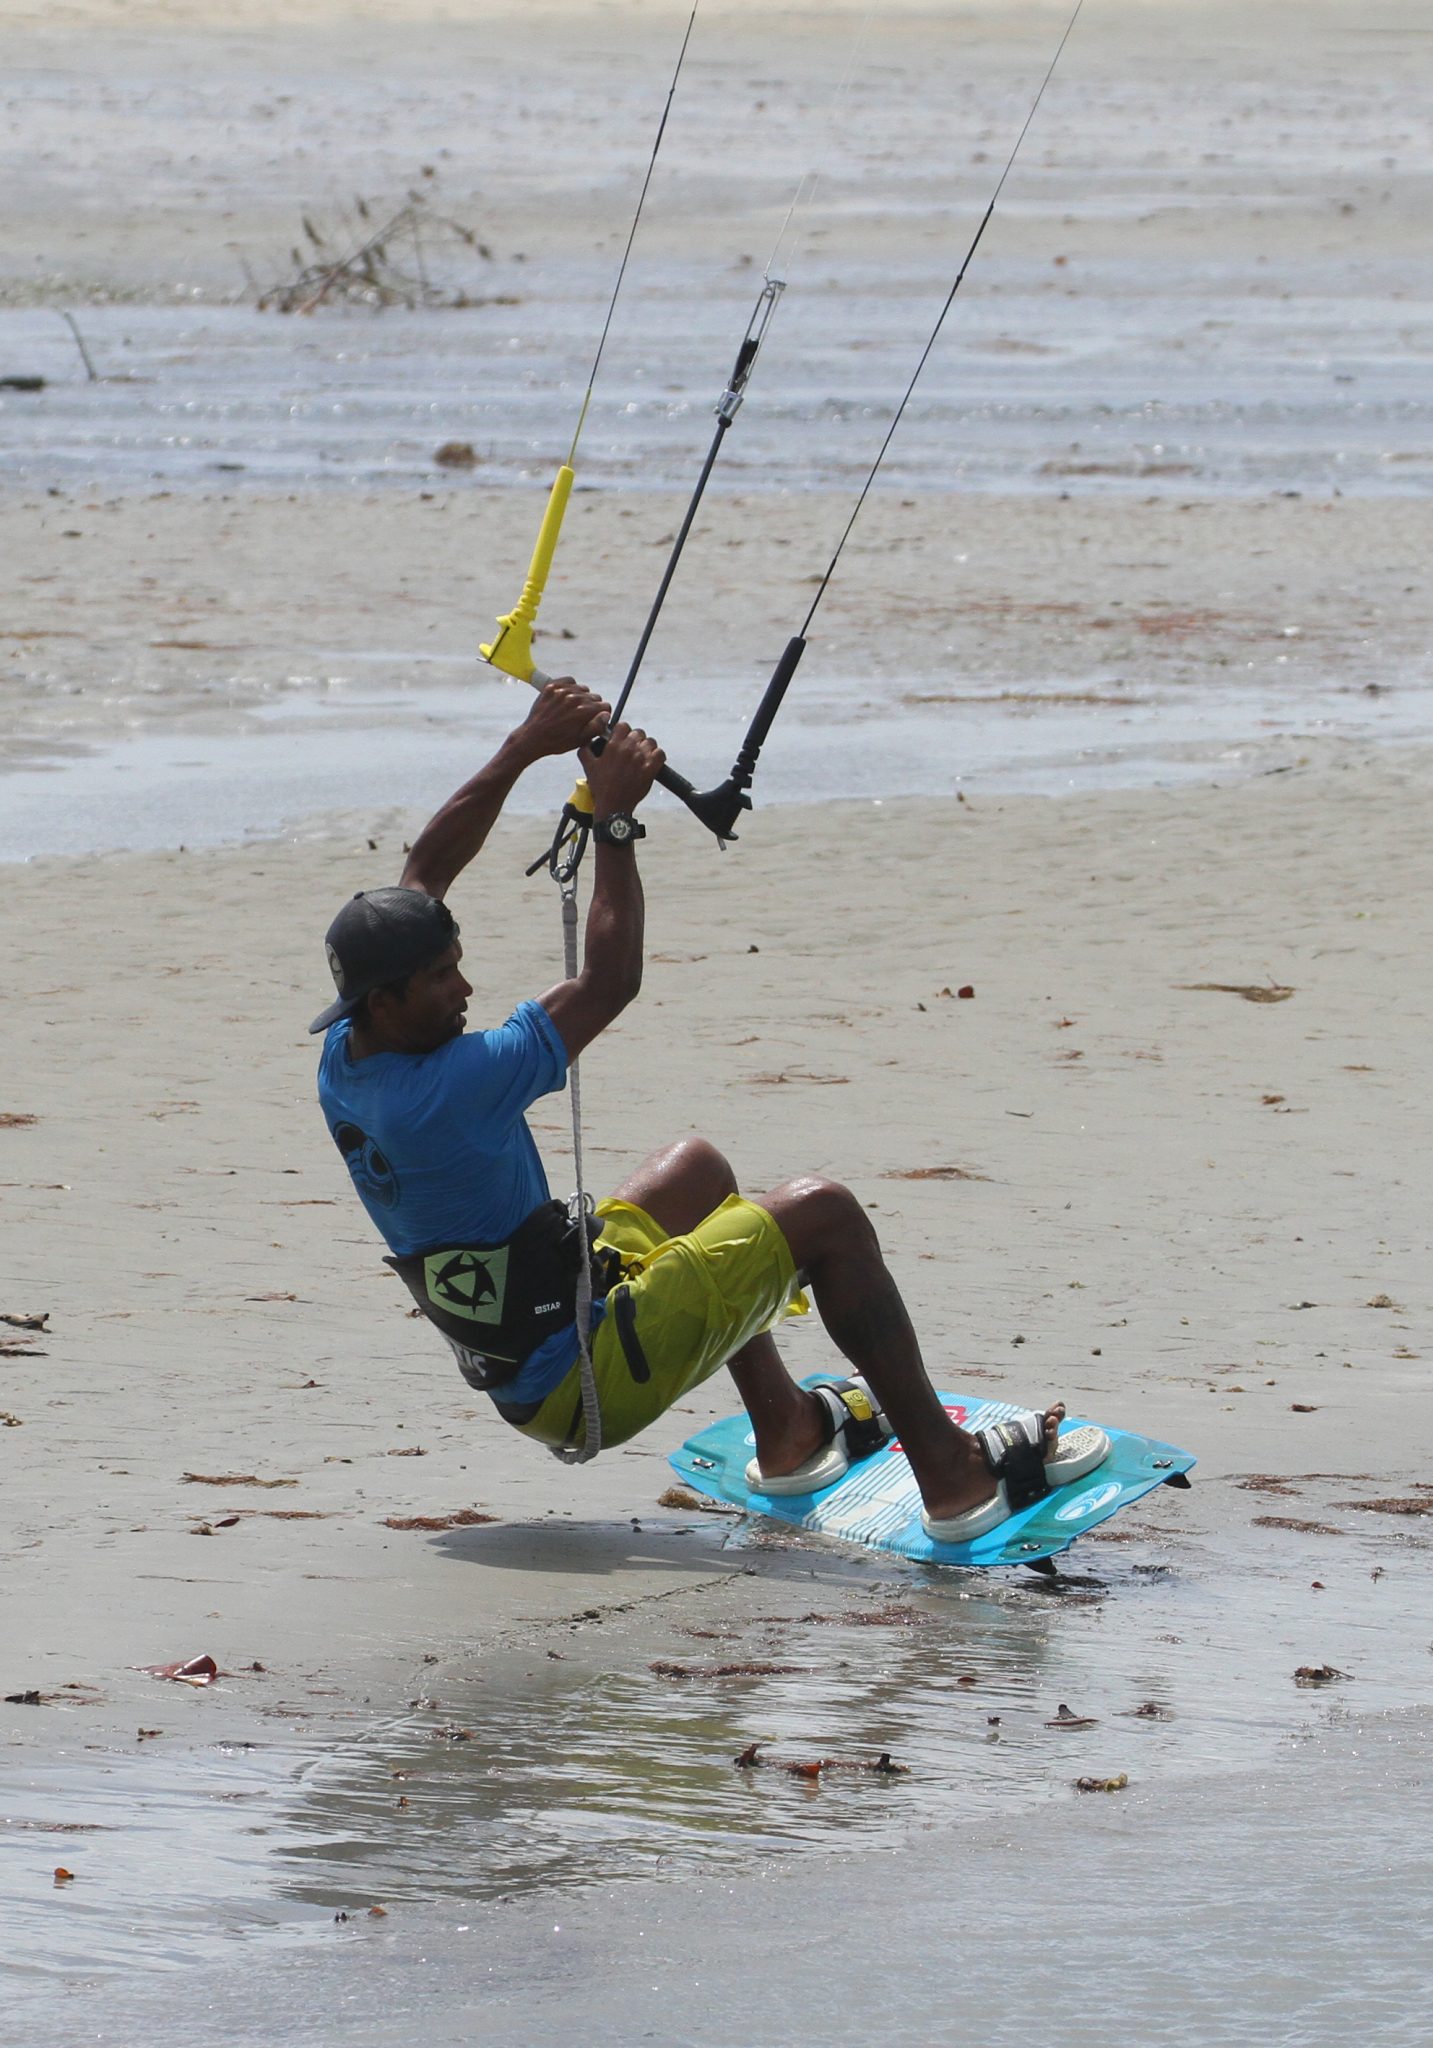
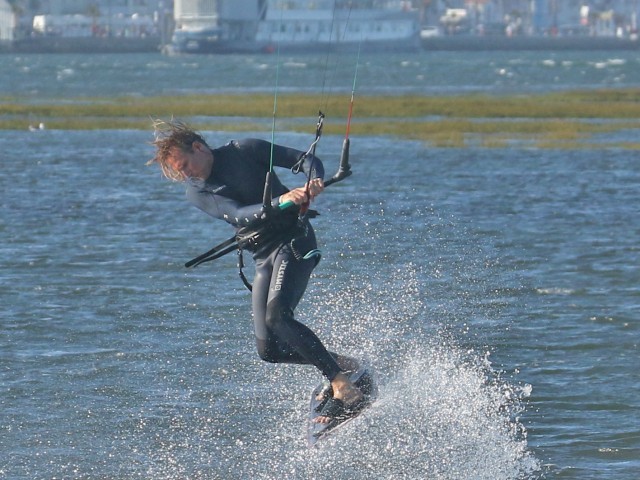
The Crouch Pic C.
As soon as you’ve unhooked, you need to get your weight low while staying on your edge, resisting the kite as it goes up and over 12 o’clock. You can see how Heliarde has coiled himself low, which means that he is both in a good position to resist and in a good position to spring up from. He’s still steering the kite forwards as he wants it to lift him and move him forwards out away from the beach. It's not a bad time to mention that his leash is on his leading hip. Final thought. Even though you’re dropping your weight, try not to extend your arms fully, otherwise, it’ll be harder to get the bar in close later in the move.
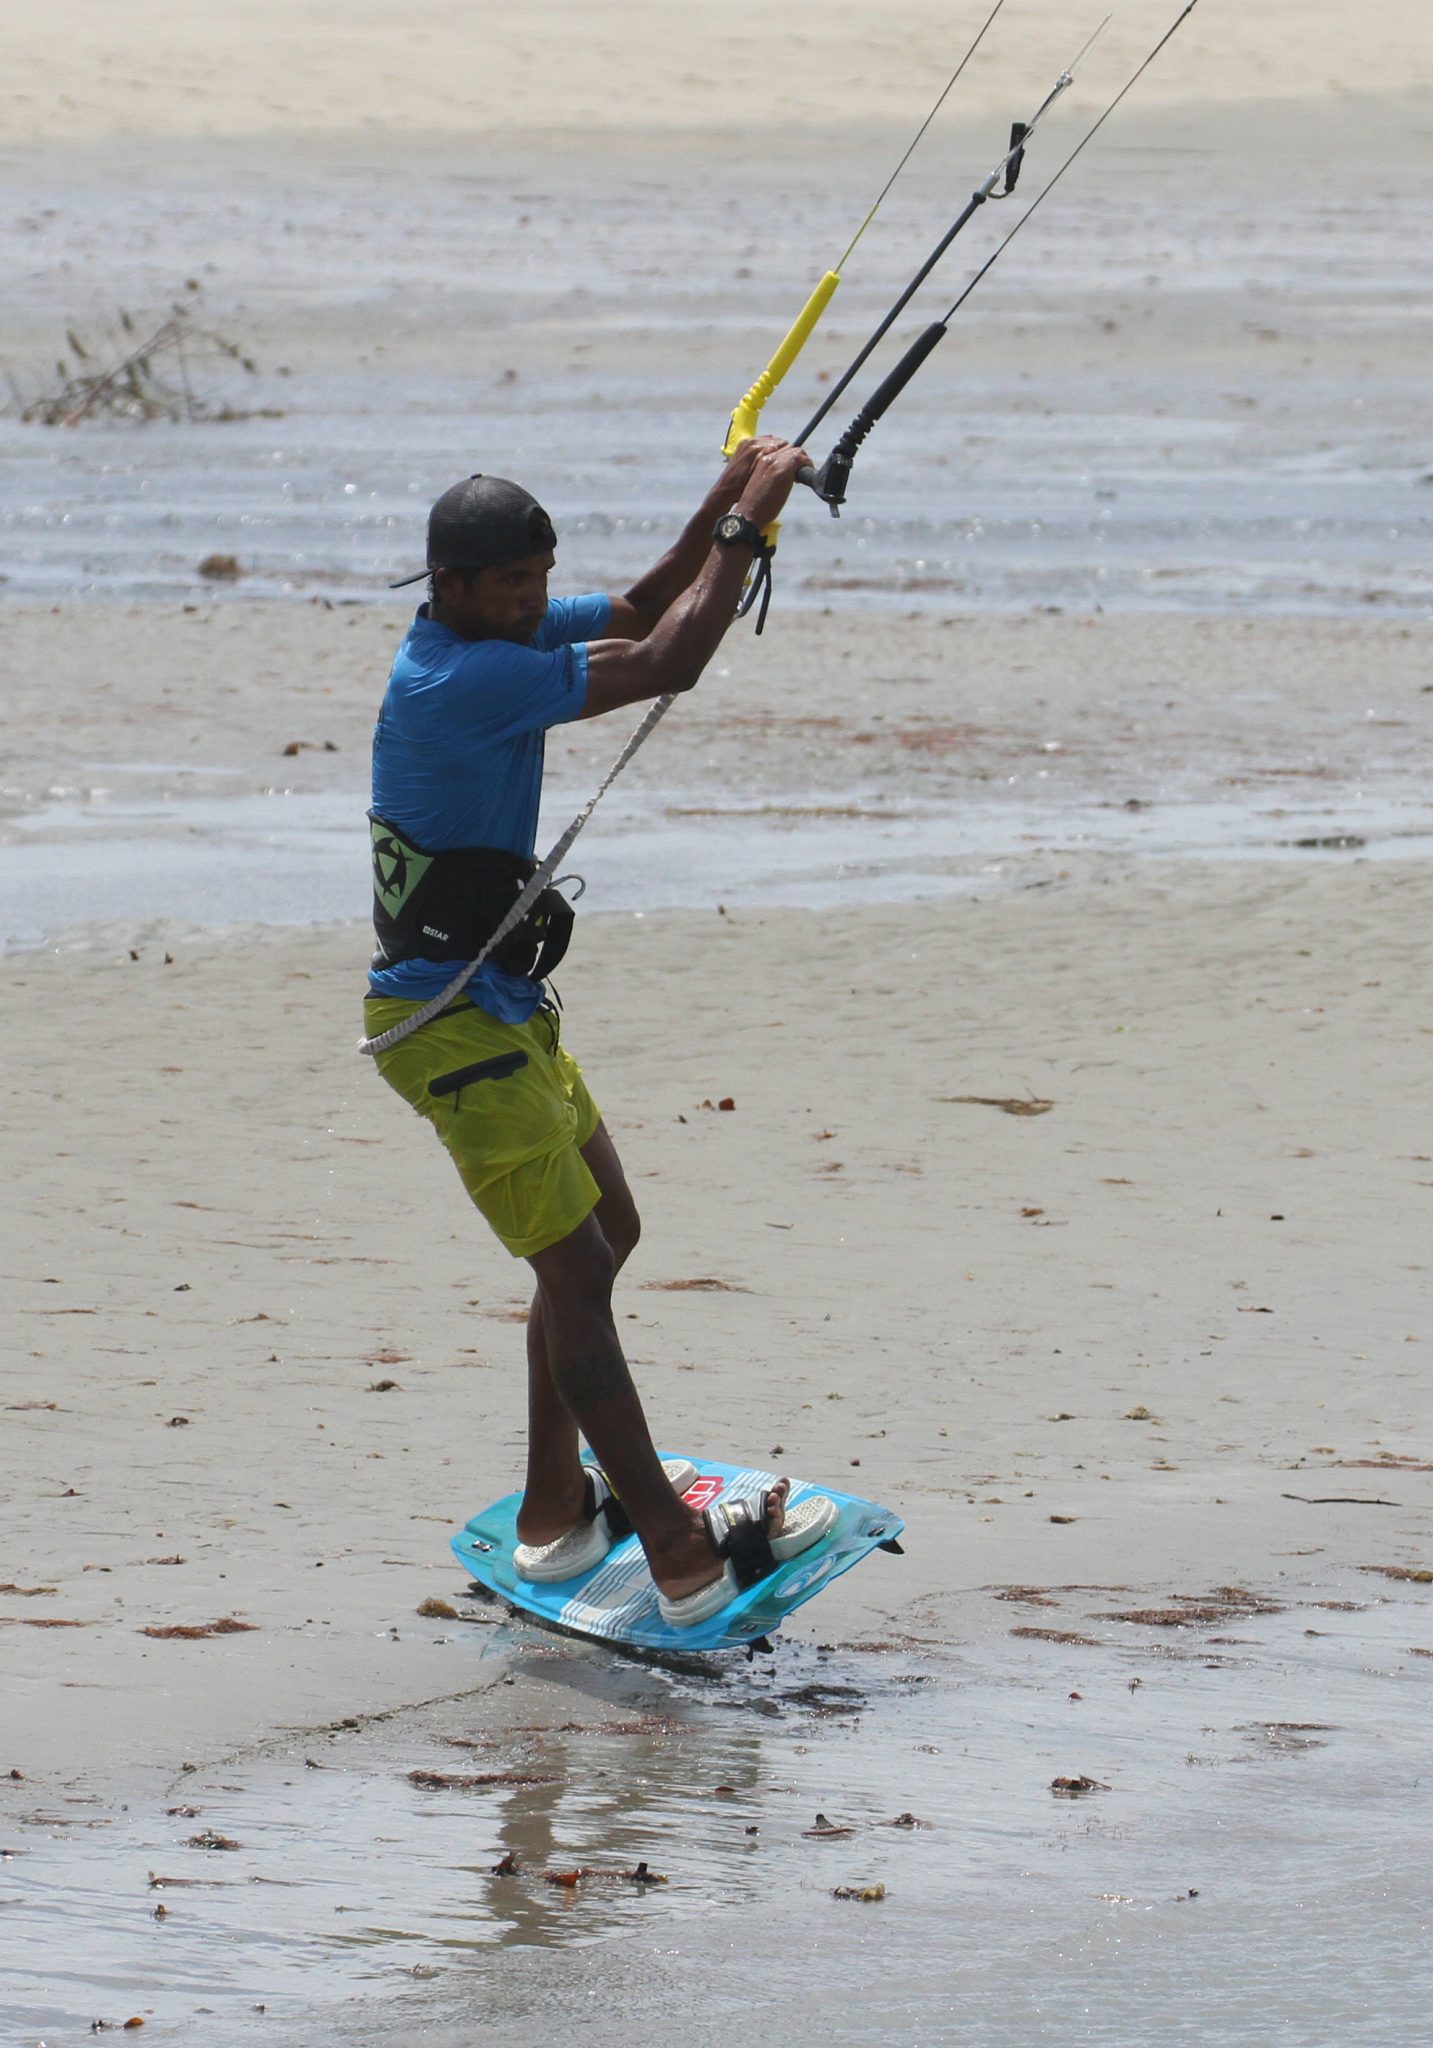
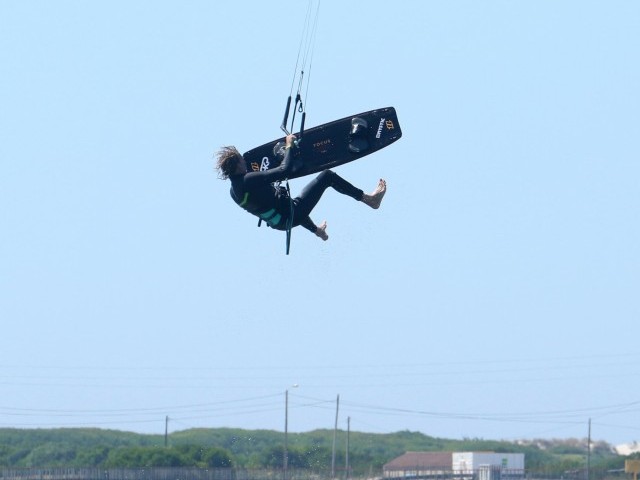
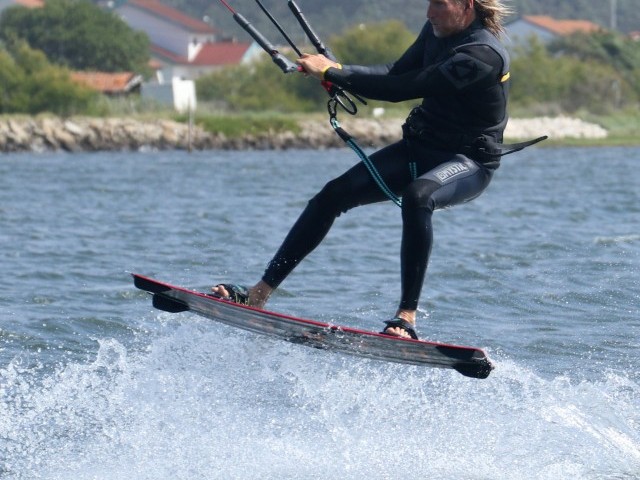
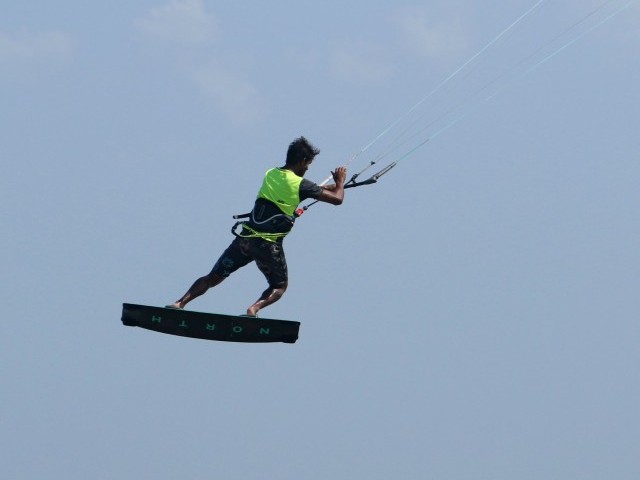
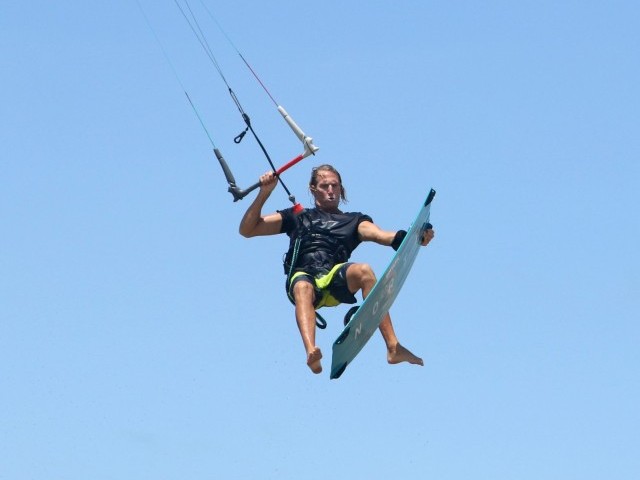
The Spring Pic D.
To get maximum oomph off the beach you need to resist as long as you dare, but without the kite pulling you out of position, when your shoulders get pulled over and out in front of your waist. This means that you’ll be building as much tension and ping into the lines as possible. Once you feel that you can’t resist any longer, and we’re talking microseconds here, it’s time to launch yourself up. If you look in the pic, you can see that Heliarde is jumping up and away from the kite, not towards it. He’s jumping off both heels while keeping his arms slightly bent. Once your legs are straight, you’ll be off!
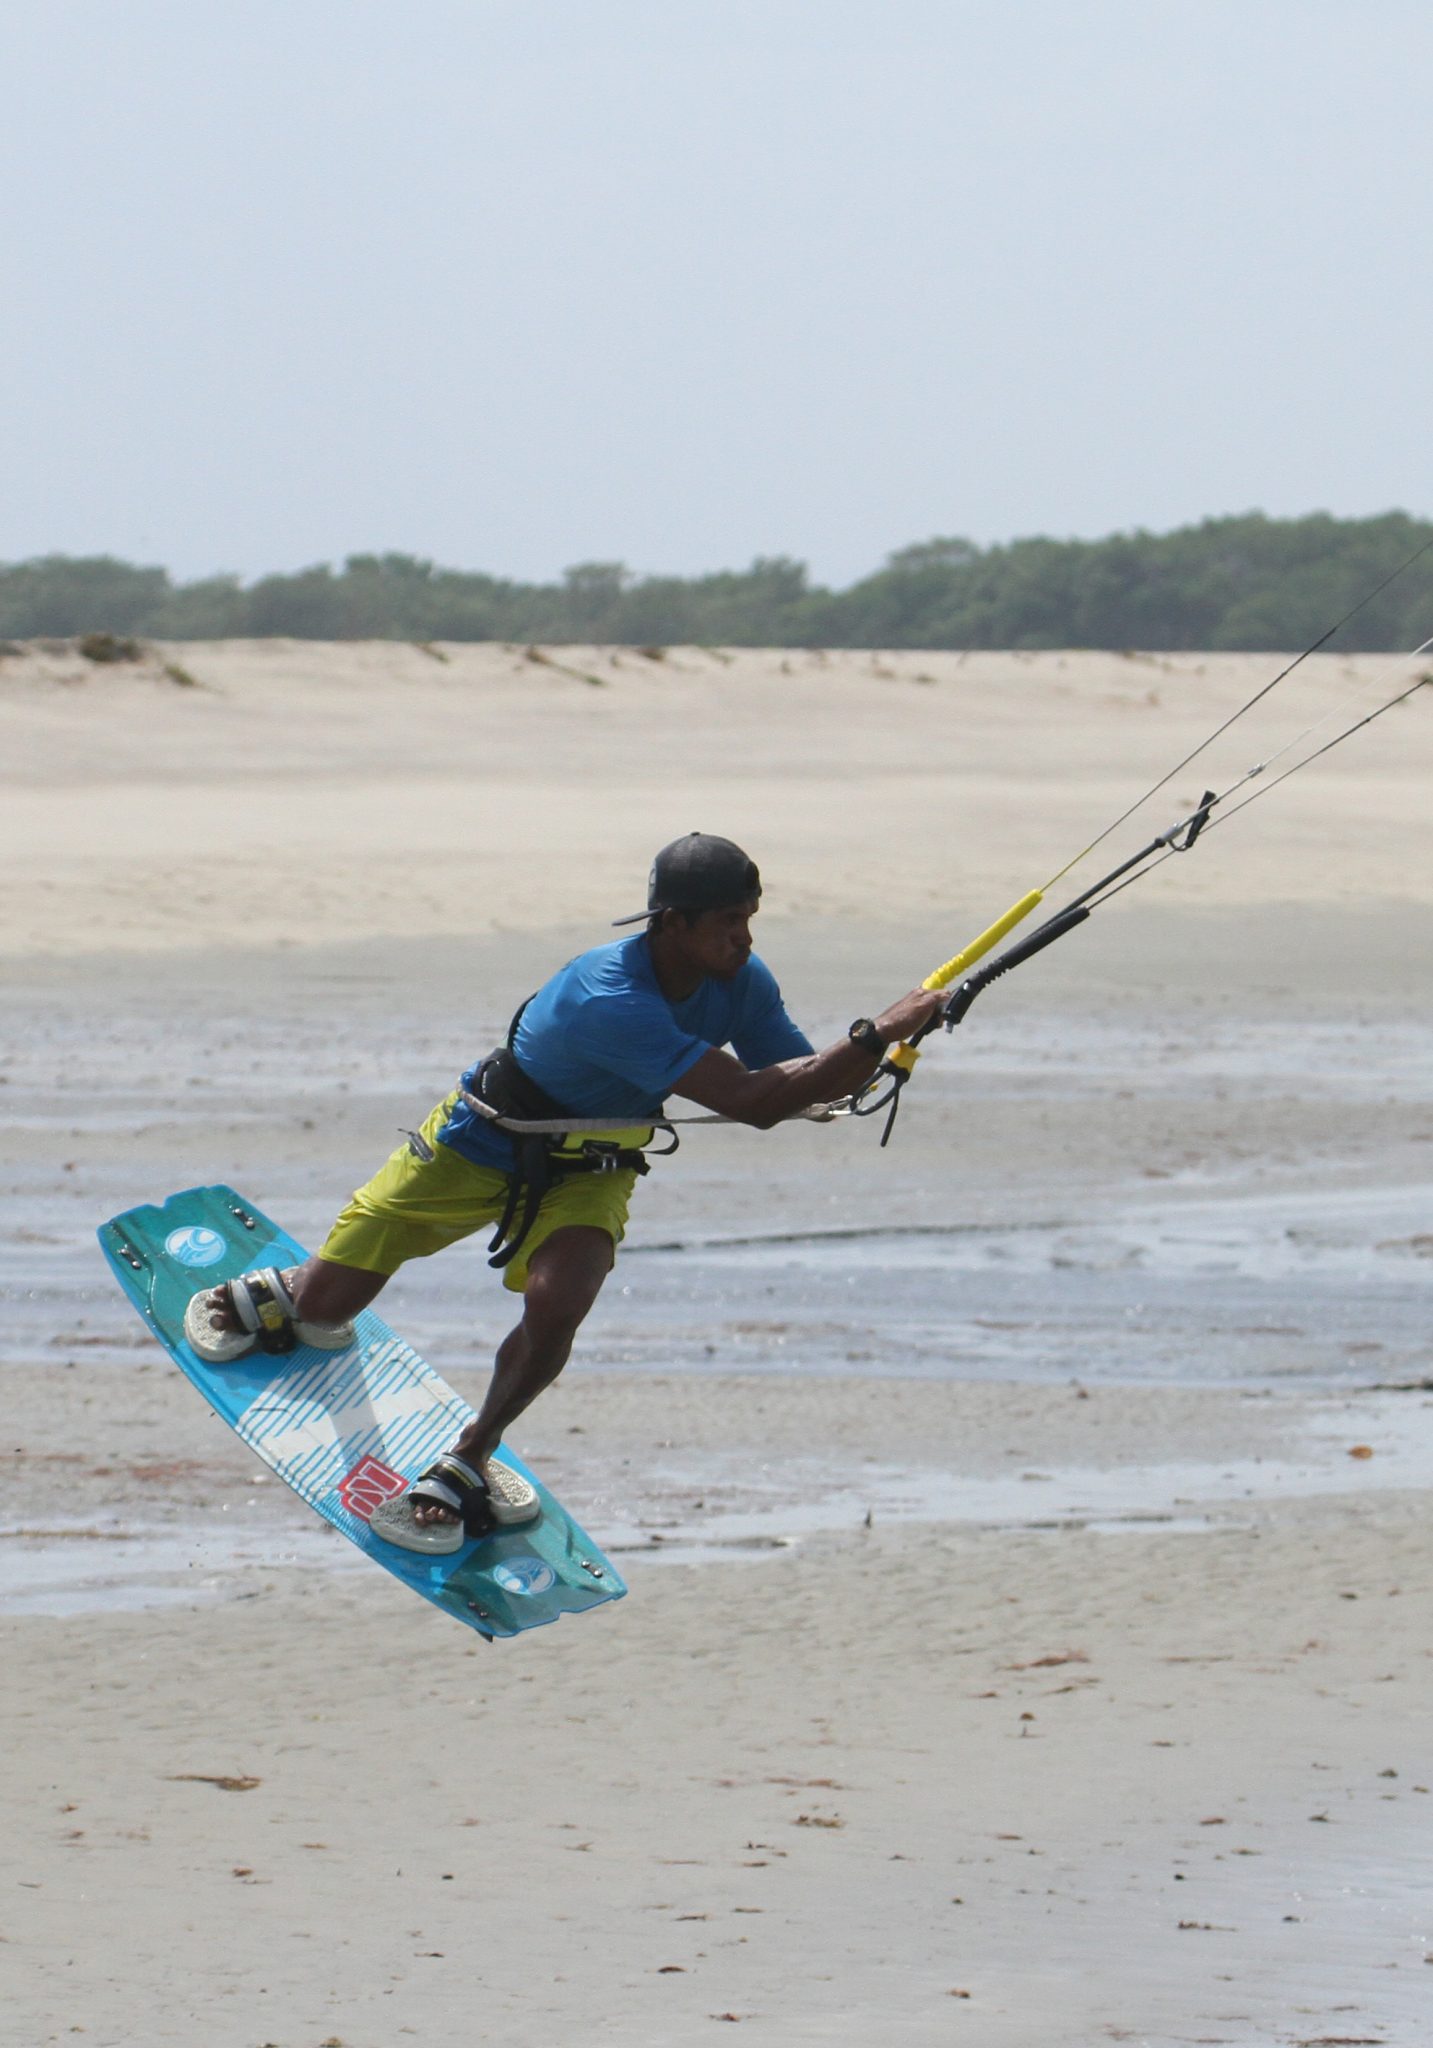
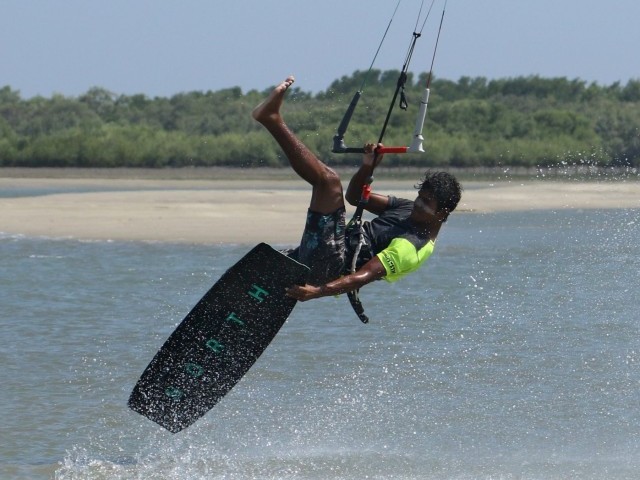
The Flick Kick Pic E.
Once you’re in the air and moving forwards and upwards, you have two jobs. The first is to control the kite. By this we mean that you need to stop its arc, it should now have moved from 11 to 1, or just beyond, but you don’t want it to carry on down. Instead, you want it to move forward in the direction you’re travelling in, so level the bar out. Your second task is to twist our hips back so that your leading leg can flick or kick back. If you’re familiar with any blind, wrapped or beyond manoeuvre, this should be familiar territory to you. You can see that Heliarde has let his front leg flick back, he’s levelled the bar, and his arms have pulled the bar closer. Now’s he’s ready….


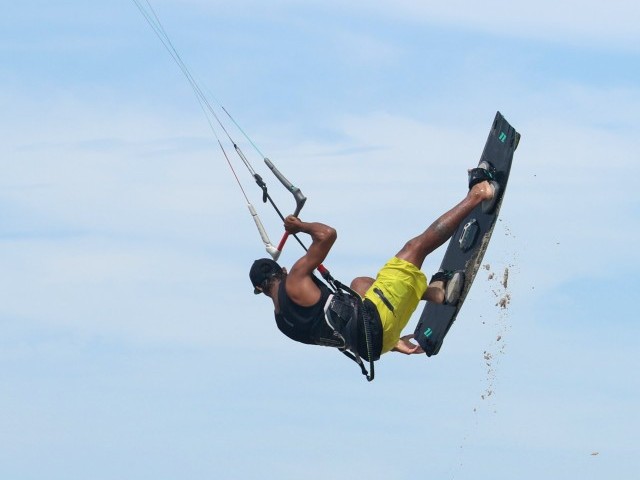
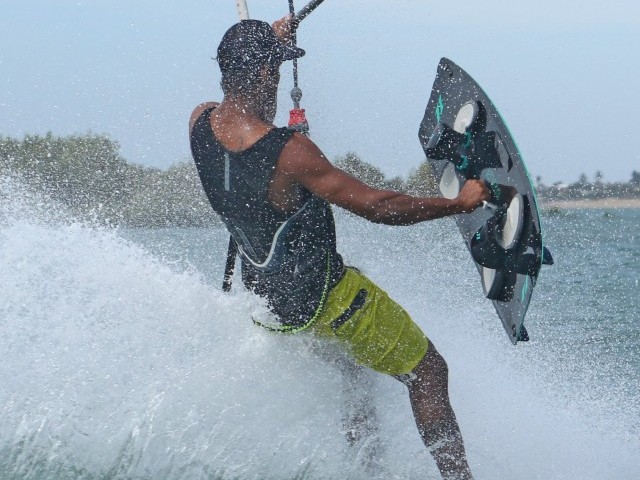
The Pull Pic F.
From here on in it’s a pass as usual. Looking at Heliarde, it’s clear to see that he’s turning his head and shoulders back, pulling the bar in and down past his front hip hard with both hands, while bringing his front knee aggressively forwards and in towards the bar. This combo should be enough to initiate your body’s rotation. It’s worth noting that as he turns his head and shoulders, Heliarde is already starting to twist the bar with his hands. This will make it easier to continue your rotation once you release the bar.
Release & Roll Pic G.
If you pulled hard enough and swung your front knee through with enough force your next step is to release your backhand and rotate further. So that you don’t block yourself, it’s essential to keep twisting the bar palm up. This encourages your shoulder to open up and keeps you turning. The other key element here is to keep your chin up so that you continue to rotate on the same axis. If you head goes down, your bum goes up, you’ll slow down, and the pass will be trickier.
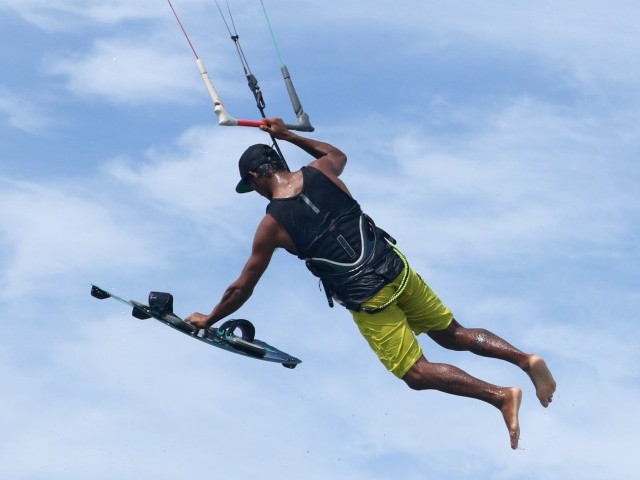
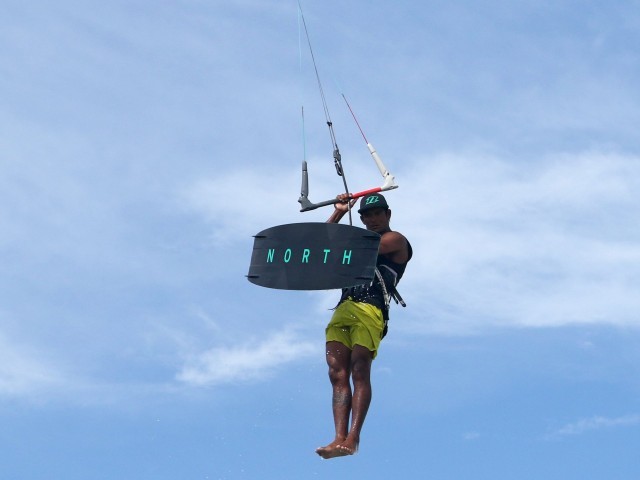
The Pass Pic H.
Assuming that you’ve nailed all the above, you will roll towards the bar. There is often a tendency to let go, thinking that you’ll miss, but if you hold on you’ll wrap yourself around the bar, and the pass will be a doddle. Turn your free hand palm up and reach towards your other hand. Although you can’t see it, you’ll find it easily enough. Once you have the bar in the new hand, immediately release the one that was holding it. The final task is to land on a flat board, and again here keeping your chin up throughout the move will help no end. You can see that as Heliarde passes, he’s over the board, so will land smoothly.
Top Tips
We’ve broken this down into many steps, but if you’re looking for the magic wand here concentrate on the hooked in initial send, the leg flick/kick and keeping your chin up:)
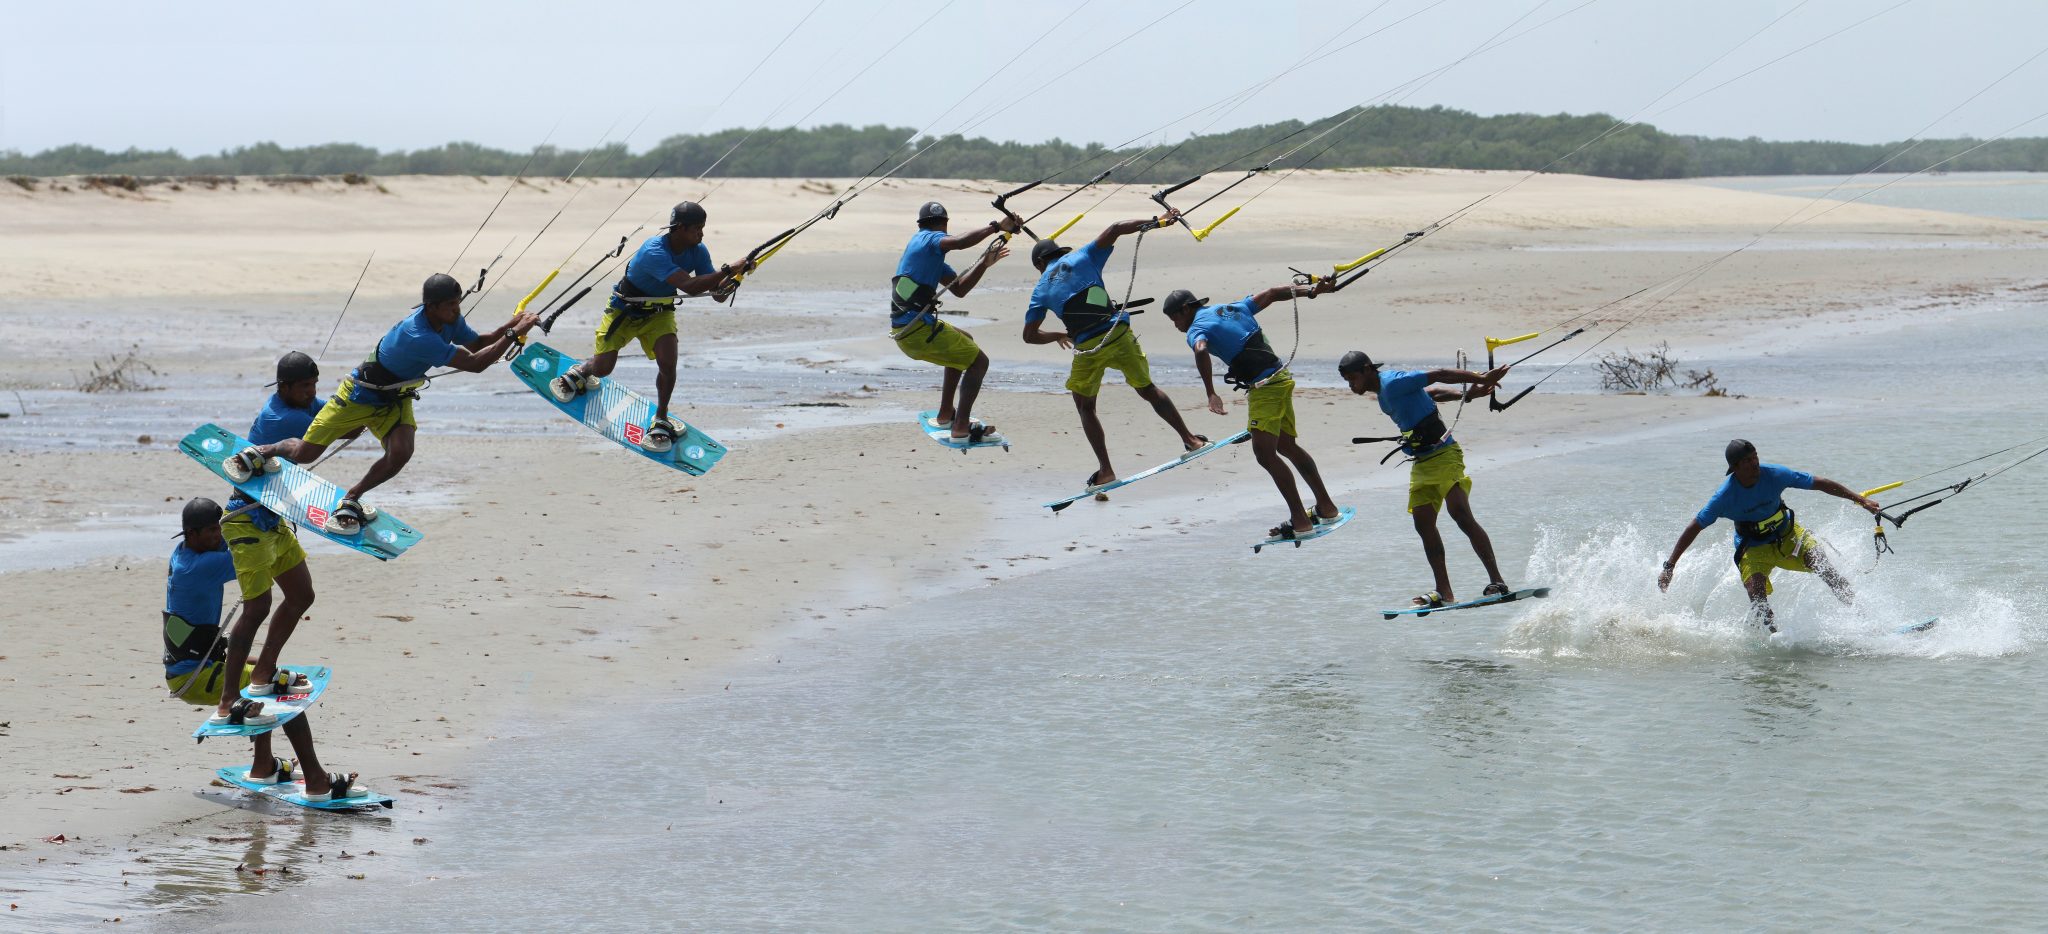
Now have a butchers at the sequence and videos for a real time walk through.

Common Problems
- Getting fully extended on take-off and therefore finding the pass tricky. If your kite is trimmed, enough the kite will pull as it cuts through the window, which will pull you over the board much more efficiently. So, make sure you’ve trimmed the sweet spot close.
- If the board is sticking, or you’re losing it. This is a sure sign that you’re jumping up off your feet rather than your heels. Dig them in, resist from your edge and jump away from the board with your heels.
- If you’re getting pulled over on landing. This can mean that the bar was too far from you when passing. Keep it in while sending, and pull it in with everything you’ve got before releasing your backhand.
Keystones
- Board position – slightly back
- Trim kite and move back slowly
- Send forwards while still hooked, then unhook before dropping onto an edge
- Explode up off your heels and flick back front leg
- Pull with both hands, knee through and head up to pass
This technique article was in Issue 69 of IKSURFMAG.
Related
By Christian and Karine
Christian and Karine have been working together as a coaching team, running improver to advanced kitesurfing clinics since 2003.
