
Unhooking
Technique / Beginner
Introduction
Having watched with great amusement the bursting veins of many friends as they wrestled to hold their “classics” and “surfboards” down, we patiently waited, deep within our subconscious, for the advent of the 4-line kite, and the luxury of a chicken loop. As kit developed, the odd maverick such as Lou Waiman showed the up and coming talents what would be possible. Now many years down the road, with more tame-able kit, riders (particularly young ones) all over the world are unhooking within moments of learning, and enveloping themselves in a world of fancy tricks and radical riding.
Don’t let the wake style badge put you off, because unhooked tricks are very much a part of our sport. They lend themselves to certain conditions, and even give you something to try when the wind is insufficient to throw a 30 foot deadman….


Unhooking is a skill with no real purpose of it’s own. The early days showed us that riding around, holding onto to the bar for dear life was over-rated. However as a tool it can open many doors to a variety of tricks, a bevy of waves and will even teach you a fair bit about your equipment. The fact is you unhook to do something, and once you’ve finished you hook back in.
Balancing Act
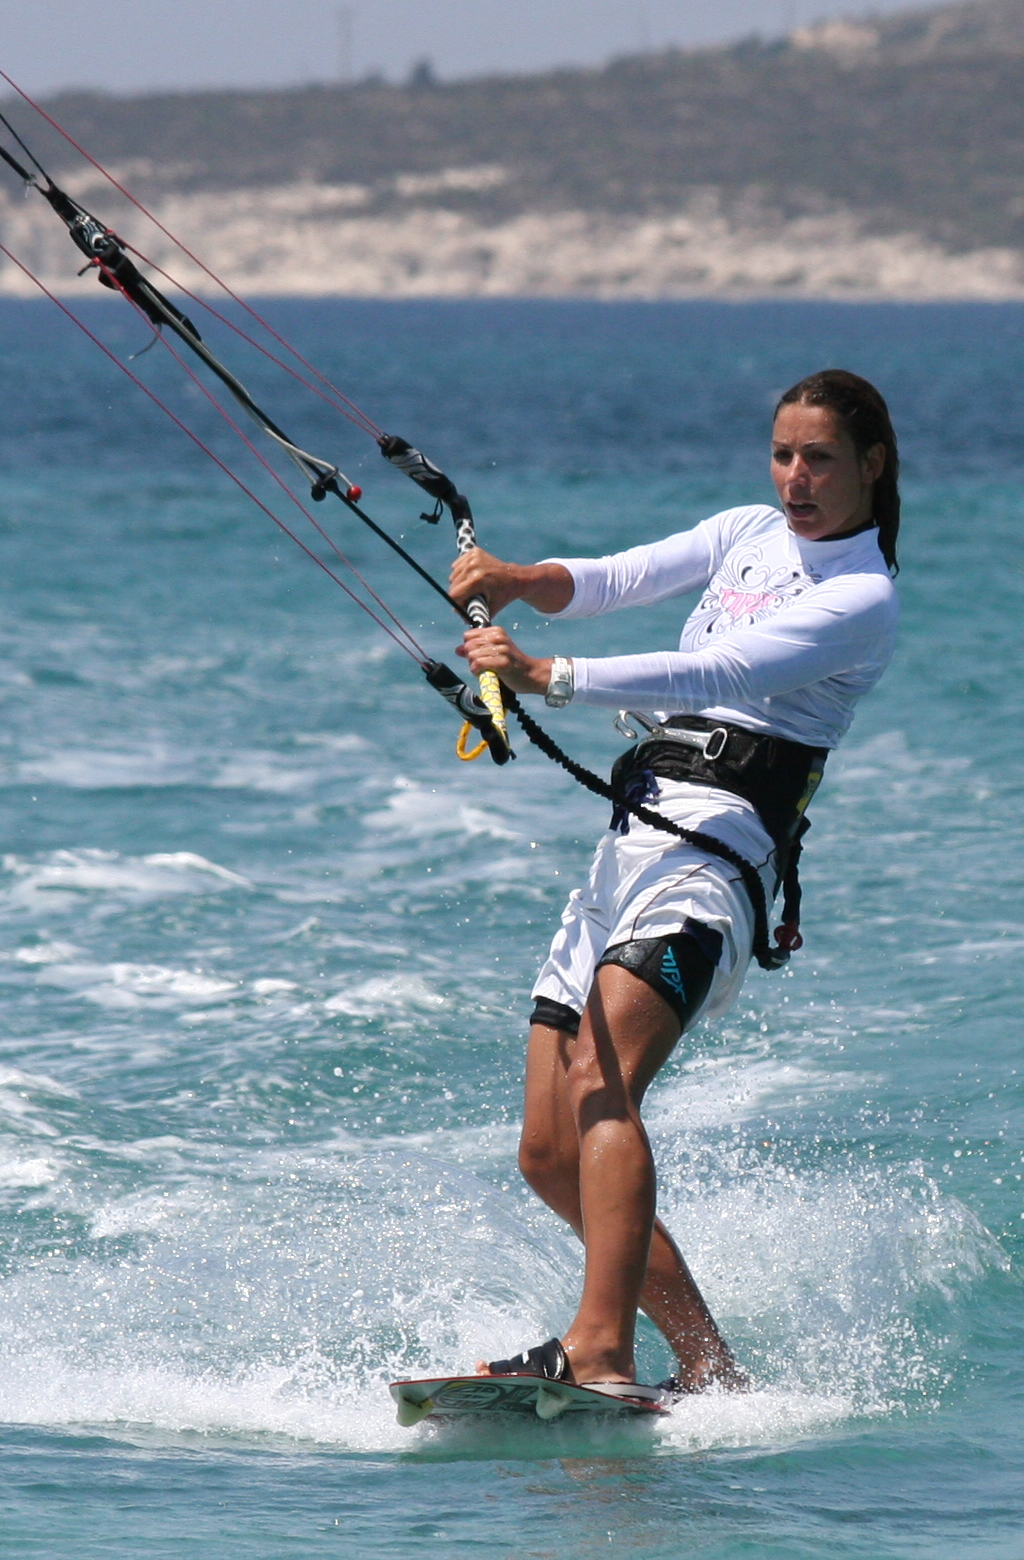
Before you even consider sliding out from the sanctuary of your chicken loop you’ll need to consider the best possible way to set your kit up. We talked at great length about “trimming” your kite in the last issue (No. 5), so with that in mind you’ll need to make sure that you set your lines on the necessary pig tails and knots so, even when powered up on the water, you will be able to pull down on “the strap” and trim the “sweet spot” right down to where the bar rests above the chicken loop as in Pic A. The epitome of this will be when there is equal tension on the front and back lines.
As tempting as it may be to try and unhook with the sweet spot further away from the chicken loop, this will only result in the kite falling back in the window (flaring), as there will be too much tension on the back lines. Trimmed like this the kite will pull you off down wind. However it’s a fine line, if you trim the kite too much you’ll end up with too little power, as the back lines will be slack, and you’ll grind to an unintentional halt.
Eating Peas in an Aeroplane
We know from many of our clinic guests that when they first trim the kite this far down, they feel there is no power in the kite. This is more often than not because they try and keep the exact same body stance that we’ve drummed into them. With their arms extended, the bar will be pushed away and therefore in the de-power area above the sweet spot. Once you trim the kite, you’ll have to make a huge effort to control the bar on the sweet spot, above the chicken loop. It’s a mighty fine idea to get used to riding like this, feeling where the power is and adjusting your body accordingly.
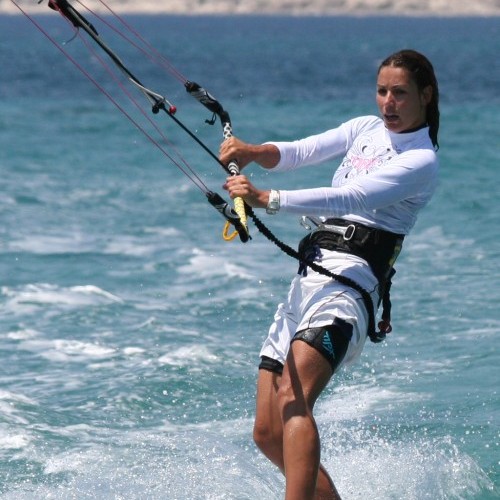
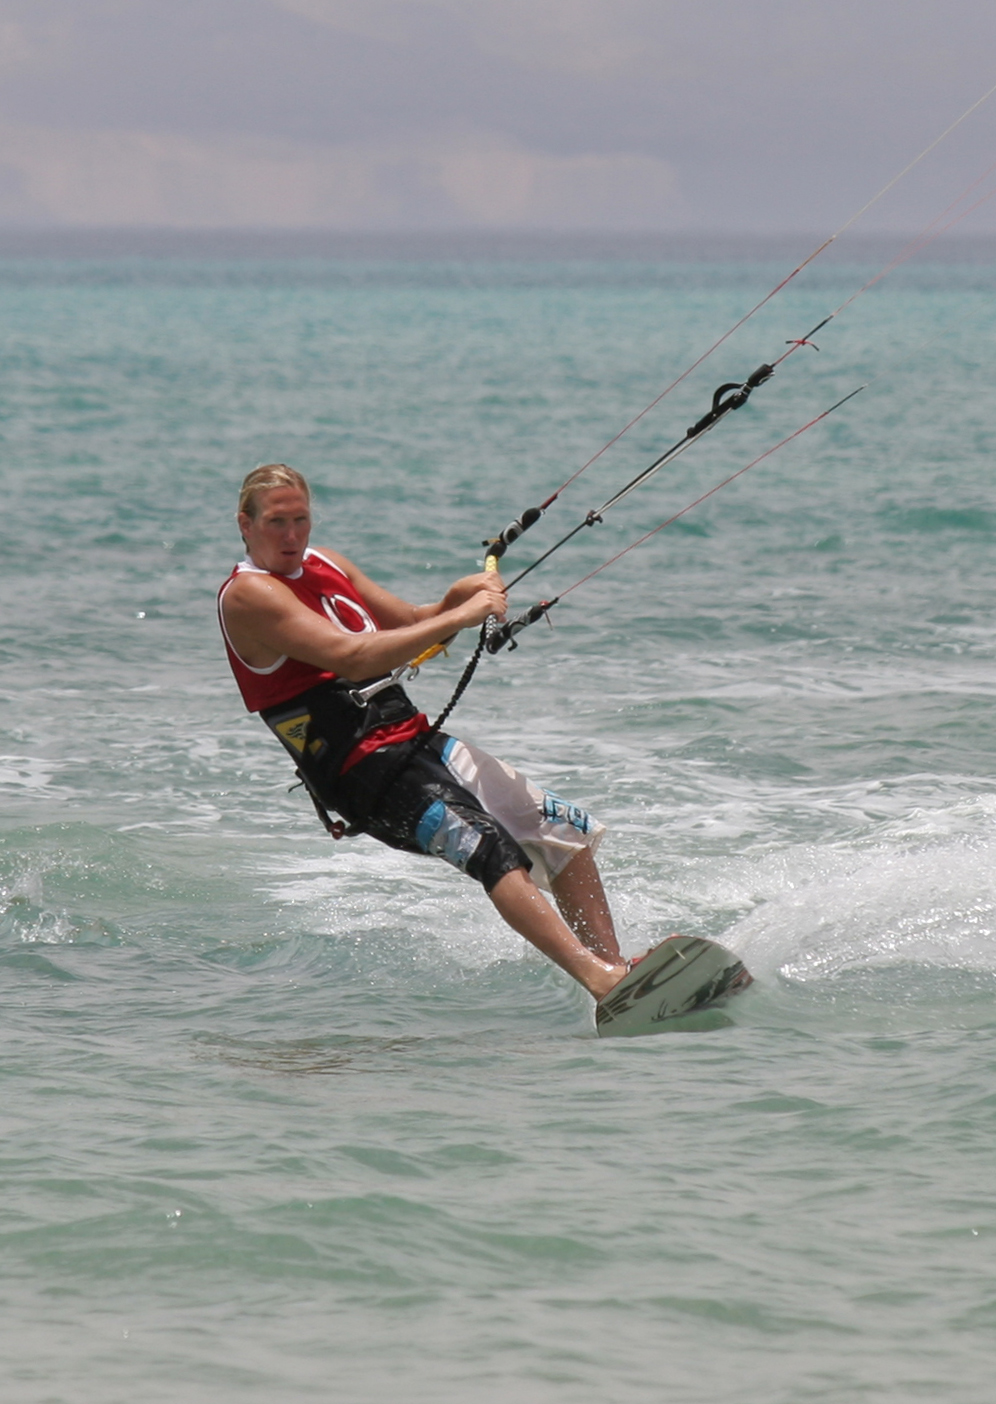
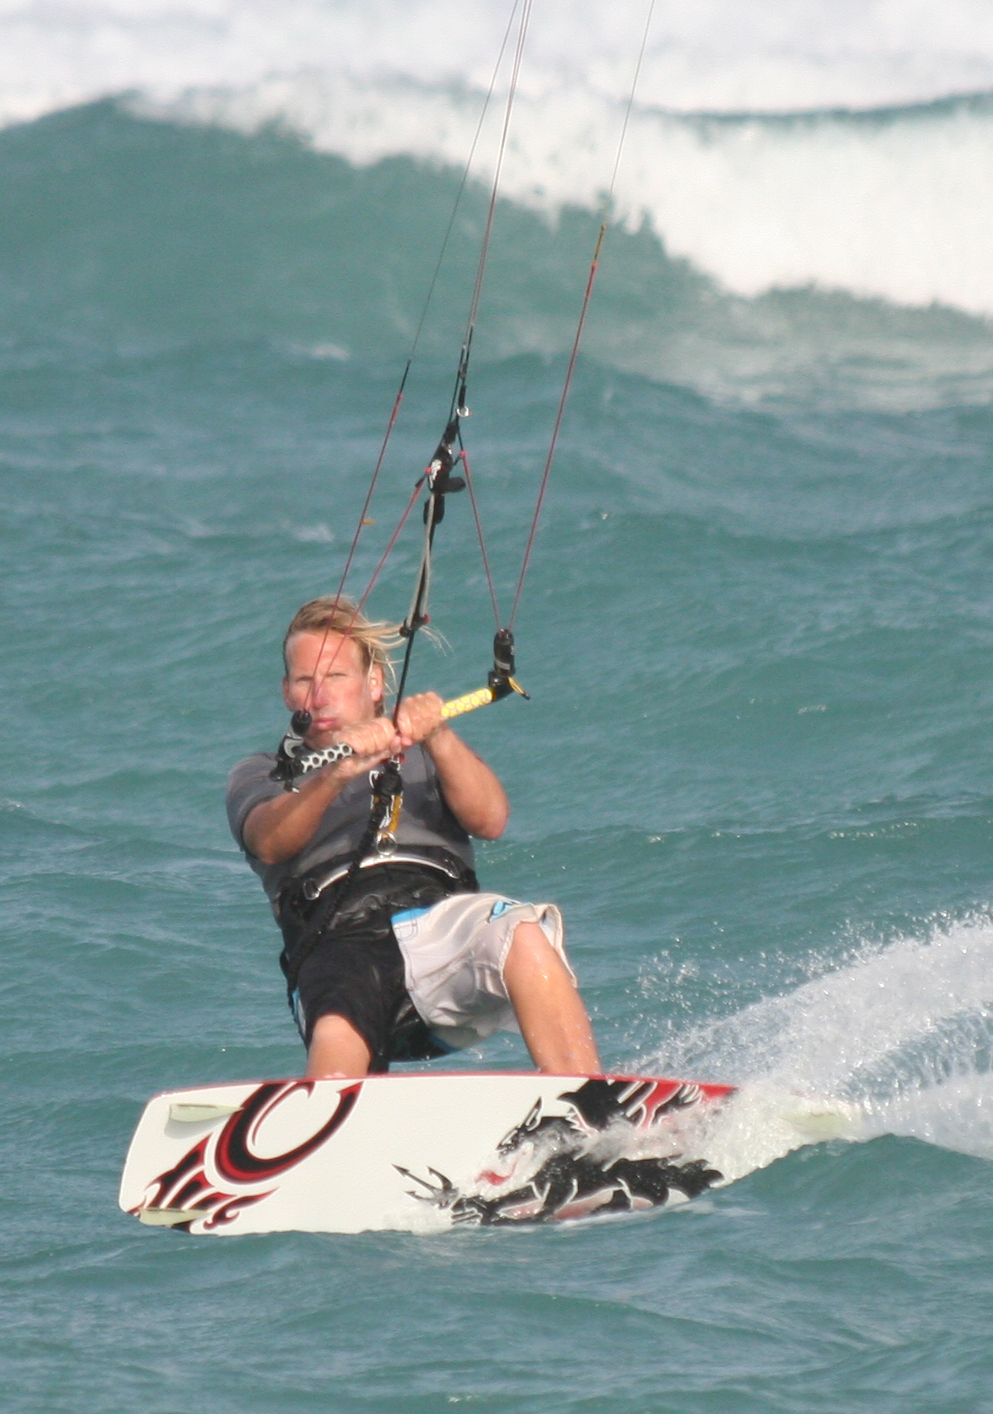
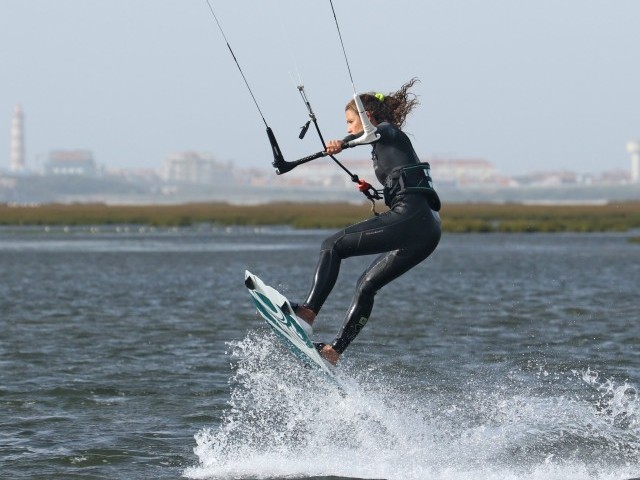
In Pic B you can see how Christian’s elbows are tucked in close to keep the bar in and on the power. Just imagine that this morning you mistook the carpet adhesive for your deodorant, or that you’re the freak off the telly keeping fish alive. Your elbows should be close into your sides, but the rest of your body should be as normal – loving the bar, looking upwind and driving through you back foot. In Video 1 you can see Karine trim her sweet spot down and then relax into riding with the power here.

Mirror Image
The last big issue for unhooking is where you put your hands. You will need to hold the bar in the middle with both almost touching the chicken loop line. With your hands centred, you will not get any involuntary movement of the kite. On the flip side if you need to work the kite to get some extra power, with your hands offering no leverage and your arms squashed into that mile high culinary position, you will have to work hard, using both hands together. When you pull on one, push on the other.
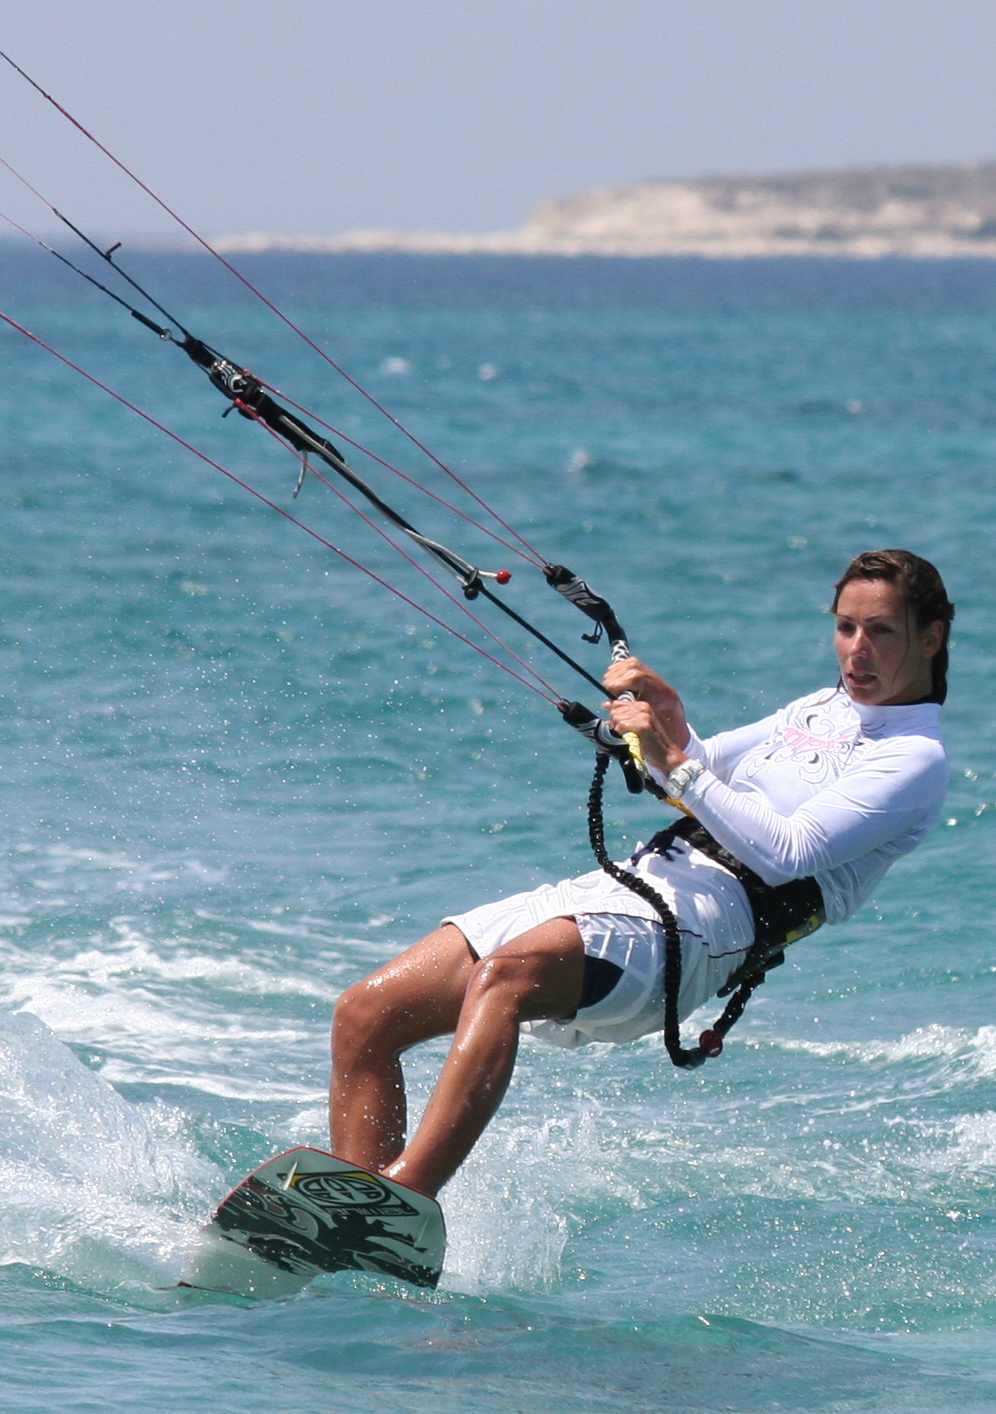
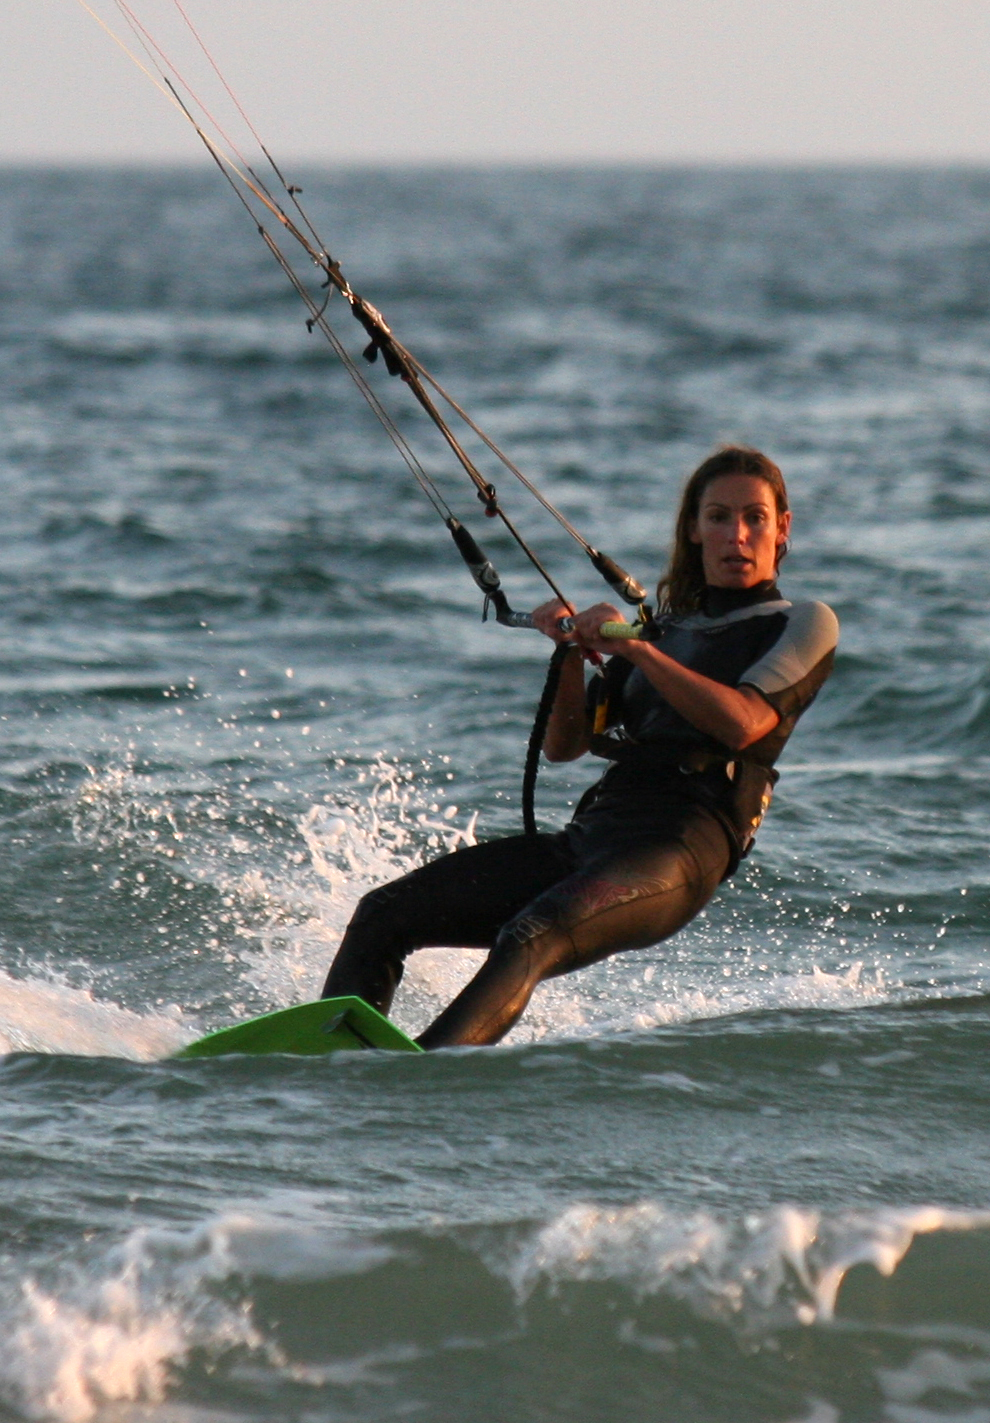
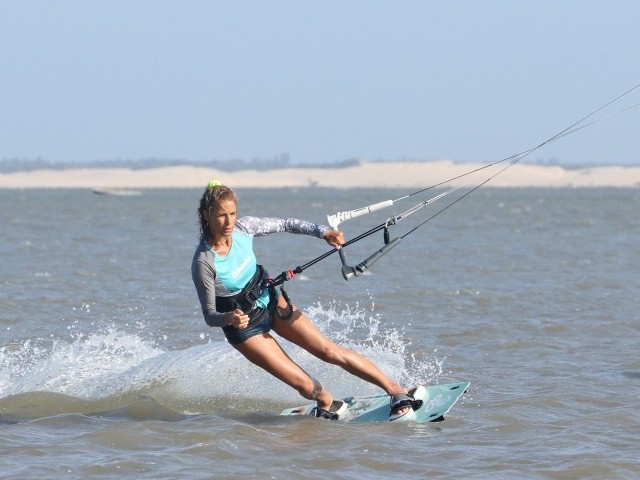
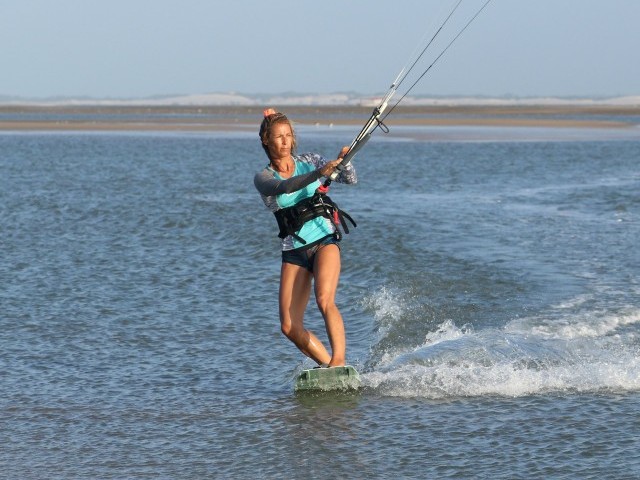
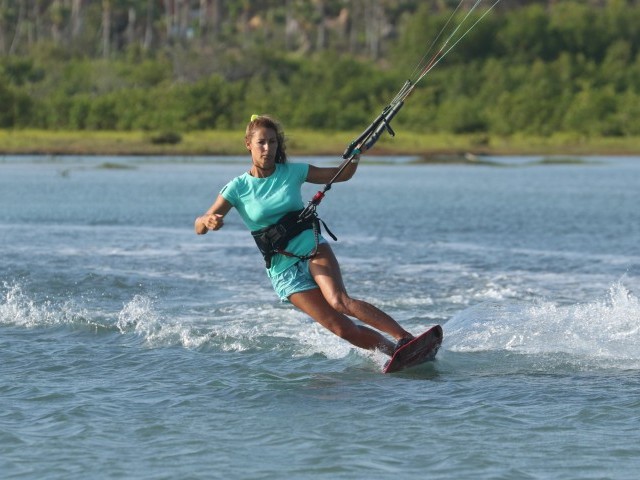
If you look at Pic C & Pic D you can see how Karine is still very much loving the bar, her shoulders are back and twisting to face the kite, hips are up, but her elbows are glued in close. In both pictures she is unhooked, yet she looks much the same as Christian in the first two pictures riding hooked in.
Dropping Out & Slacking Off
Once you’ve got the correct trim of the kite and your body position dialled its time to think about unhooking. The two main players here are the actual body movement to slip out of your chicken loop, and the ability to loose enough tension from the lines to allow those of you not built like Arnie to do this.
Assuming that you have enough power to be gliding across the ocean, with the bar trimmed down, holding a good edge with a smug grin on your face, you may well have noticed that it’s a lot easier to hold this new position with the kite flying lower, let’s say around the 10:30 or 01:30 mark, or 45°. You can lean out, twist round and edge hard, which helps the kite flying further around towards the edge of the window (further in front of you in the direction of travel, as apposed to down wind of you).
To slacken the lines you need to head down towards your kite. In theory this sounds great, but the nagging memory of all those downwind death runs in the early days remains. The trick is to change direction suddenly, almost wrong footing the kite, which gives you a window of opportunity.


Look at Video 2 and you can see how Karine suddenly comes off her edge and bears away down wind. This can be done in much the same way as carving. Allow yourself to be pulled up over the board, by bending your knees, leaning slightly forward with your shoulders and applying a bit of pressure to the toes of the back foot. All the time looking down wind where you want to go. Once you’re in this position Pic E you will be able to hook out. Once again you can practice this hooked in which will give you a feeling for when the bar goes “light” as the lines slacken, brilliant.
The motion for getting yourself unhooked is straight out of an MC Hammer video. In Video 3 you can see in slow motion how Karine pulls the bar in and pushes it down in a circular movement, whilst keeping her shoulders back. Once again it’s all about the love – hands to hips and grind it down.
Health and Safety Executive
Now you’re ready for the off let’s conduct a quick pre unhook risk assessment
Firstly you’ll need a strong leesh. Most modern kites come equipped with such a beauty ready for the task. If you’re still using something that attaches with a plastic clip, it’s time to splash out on a new one. Modern leashes will have a Quick Release on the end, which attaches to your harness and a fairly solid type of fixture, which will not twist off from your kite.
Secondly you should attach your leash to your 5th-line if you have one, or on your chicken loop line, below the bar, on a de-powering bow. If you have a stopper to prevent the bar from disappearing on your bow, loosen or remove it. When you are learning, if you loose your bar you’ll be so much better off if your kite de-powers. Under no circumstances attach your leash to your chicken loop. The apt name and possible consequences of the “suicide leash” hardly need explaining and should be left to the pros.


Thirdly attach your leash onto your harness where you can reach it. It may look rather cool hanging from the back, but trying to reach the safety here when you’re getting dragged backwards up a beach, or submarined in the water is something the great Houdini would have been proud of. If you're right handed stick it on the right hand side, and if you're left handed, stick it on the left. Some harnesses come with a built in safety. One would hope not to have to release the kite, as this would put others in danger, but in certain situations it may be the only option.
Finally don’t forget to take out your chicken’s toe or donkey’s whatever, otherwise you could be wasting a lot of effort.
The whole shebang
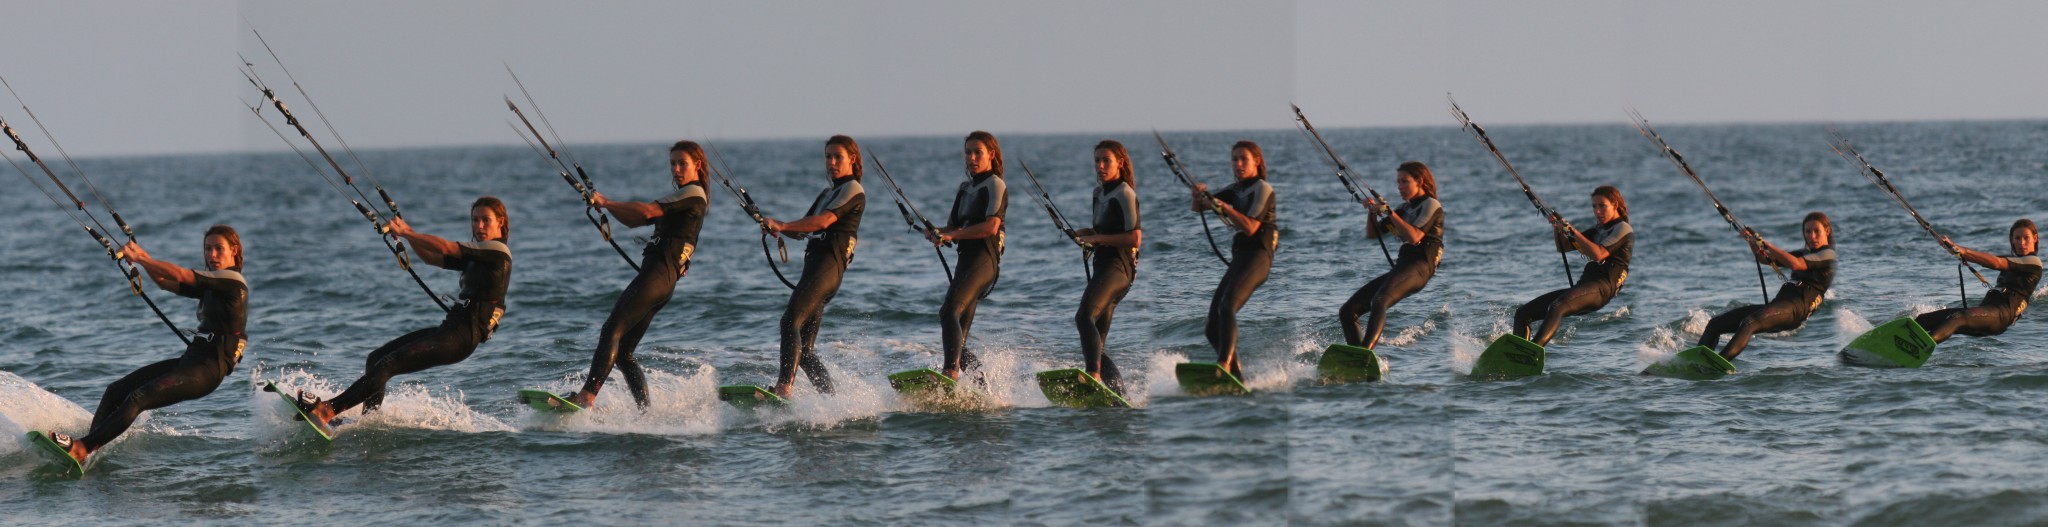
Following the sequence of Karine this is how you’ll be doing it.
- Pic 1. Karine is riding with speed and a decent amount of edge with the sweet spot trimmed down, hands centred on the bar and the kite around 10:30.
- Pic 2. Karine rolls her shoulders over towards the board and bends her legs.
- Pic 3. She takes the weight of the bar into her hands and pushes the front of the board away from her by extending her front leg.
- Pic 4. As Karine comes up further over the board she looks down wind.
- Pic 5. With the board flat Karine now moves her weight over her back toes, by pushing down through her back leg.
- Pic 6. As the board carves off downwind all tension in the lines is lost. This is her cue to pull the bar right in – hands to hips.
- Pic 7. And to push the bar down. Karine does not look down, as this would bring her shoulders forward, and put her hips back, making unhooking harder.
- Pic 8. The chicken loop has dropped out of Karine’s hook. Now she needs to concentrate either on hooking back in (for practice), or on getting back onto her edge to perform some insane manoeuvre.
- Pic 9. With her weight over her back leg Karine turns her head to look where she would like to go.
- Pics 10 & 11. Karine now drops her weight low, so she can pivot off her back foot and carve onto her edge, putting tension back on the lines.
Finishing the Job Off
It’s all good and well joining the unhinged fold, but getting yourself back into your comfort zone and locked into the chicken loop is a must. The best way to practice is to unhook as described but rather than drop down onto your edge and ride unhooked, just continue downwind and hook back in before carving back onto your edge as Karine demonstrates in Video 4.
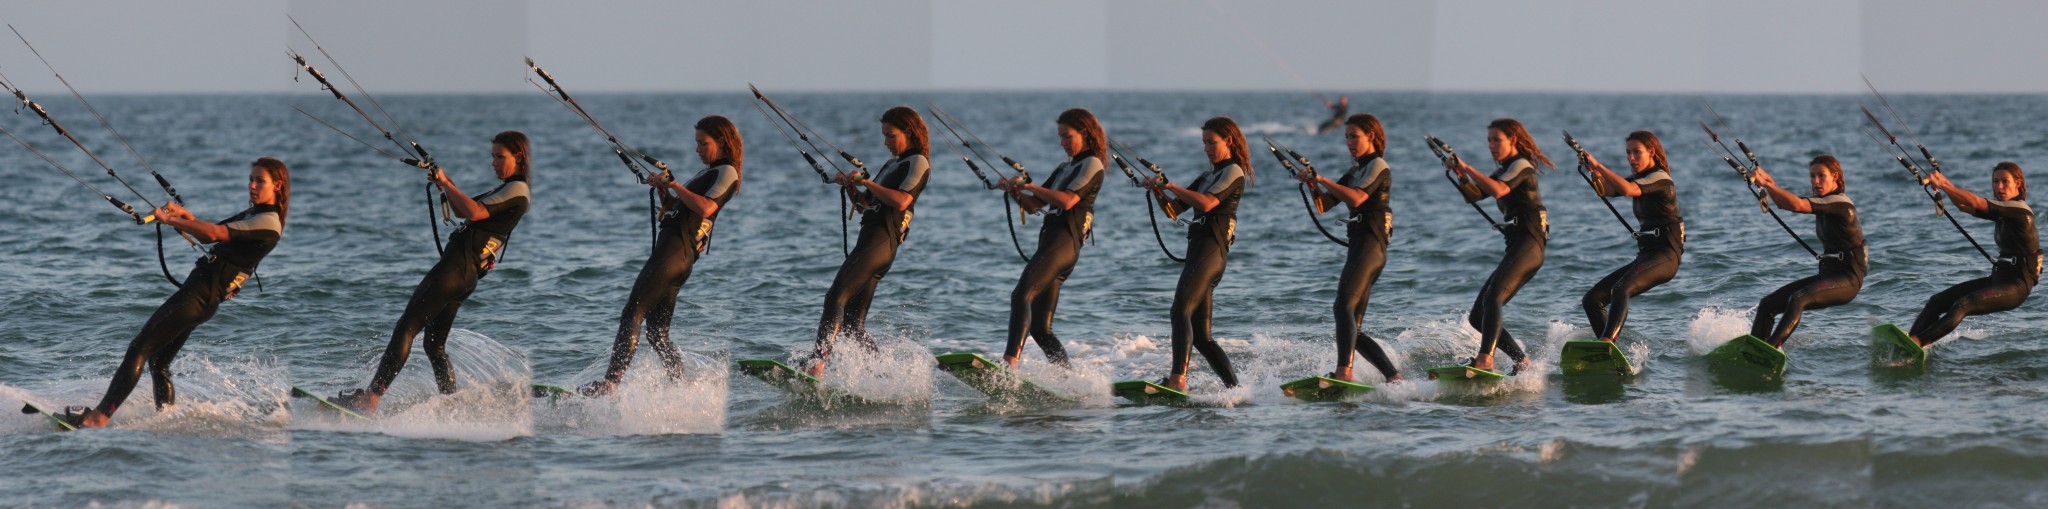
Whether you’ve been on your edge or have just landed some breathtaking move with the board flying down wind, your movements to get back in will be identical. If you look at Sequence 2 you can see the similarity between hooking out and hooking in.

- Pics 1, 2 & 3. With the kite still relatively low Karine pulls herself up over the board by rolling her shoulders forward and bending her knees to flatten the board.
- Pics 4 & 5. Now standing over her board, Karine straightens her front leg and carves the board off the wind with her back foot.
- Pics 6, 7 & 8. Now with the tension off the lines Karine can hook back in. She keeps her shoulders back to keep her hook up, pulls the bar down and right into her hips.
- Pic 9. Once she sees the chicken loop lined up and on target over the hook, Karine lifts the bar.
- Pic 10. Until the chicken loop is pulling up on the hook.
- Pic 11. Finally Karine can let the pressure off her arms and carve back onto her edge, tensioning the lines and relax back into her harness.
And When it all Goes Pete Tong
There will be times, particularly in gusty or choppy conditions, when you may have unhooked to try something, or have just finished a move, and find yourself overpowered. This could be due to a gust or a wind shift, but it could also be the result of your kite being somewhat higher than you expected, or even a combination of all of these. In any case it’s not game over, it just time to for a variation of how to hook in.
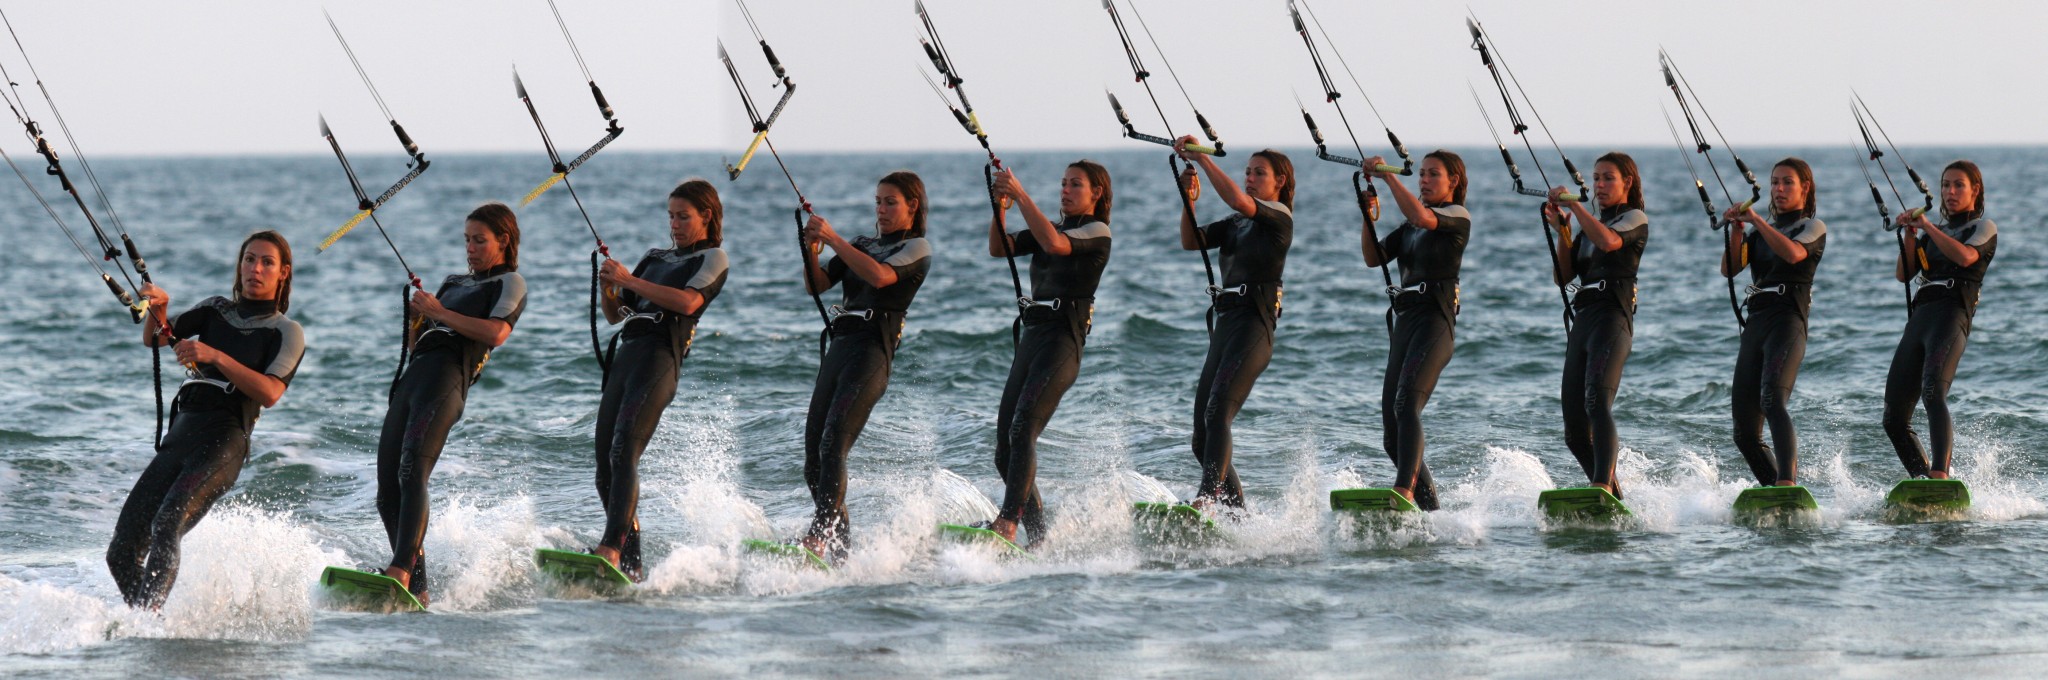
If you have a look at Sequence 3 you can see Karine is up to something. With her kite high, she will be unable to hook back in as the bar will be pulling up. Instead she releases her back hand from the bar and grabs the top of the chicken loop with it. With her front hand holding the bar near the centre, the kite should not move much, but if it does it will move down, which is better than up. Once she has a firm grip she can let go with her front hand, which can then grab alongside the other above the chicken loop. As the bar moves away the kite will de-power and this is when Karine can pull the chicken loop down and onto her hook. Once it’s in, she can carve round and regain control.
The Winds of Change
Like many a new skill, the best way to learn and practice all of what we have advised will be in marginal conditions, when you are confident to hold the power in the kite and nothing to surprising should happen. Flat water will make a world of difference as you’ll be much more stable when you flatten the board off and it stops cutting through the chop.
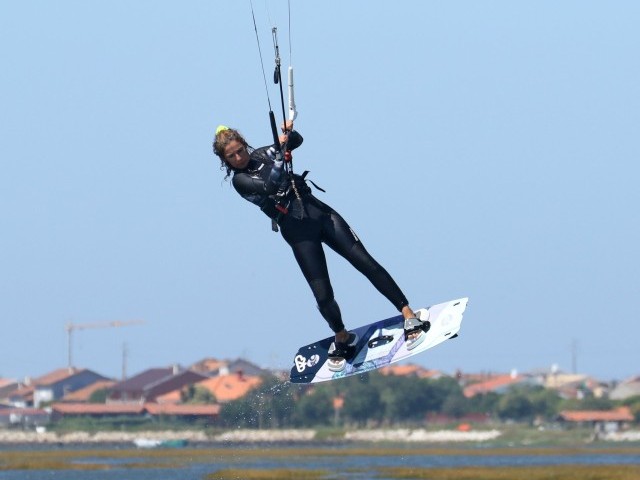
When you feel the confidence to try unhooking in stronger winds and launching yourself into raleys and the likes you will need to tweak you technique ever so slightly. If you look at Karine unhooking in powered conditions in Sequence 4 (we promise it’s the last sequence) you can see that she is still committed against the pull of the kite when she steers the board off the wind. She has not actually stood up over the board, but rather pointed her toes and physically pushed the board off down wind. This way she can maintain control at speed on choppy or flat water. It also allows her to carve into a very dynamic unhooked position with the bar held low. From here she is primed to pop or jump into whatever takes her fancy.
Excellent Stuff!
This technique article was in Issue 6 of IKSURFMAG.
Related


By Christian and Karine
Christian and Karine have been working together as a coaching team, running improver to advanced kitesurfing clinics since 2003.
