
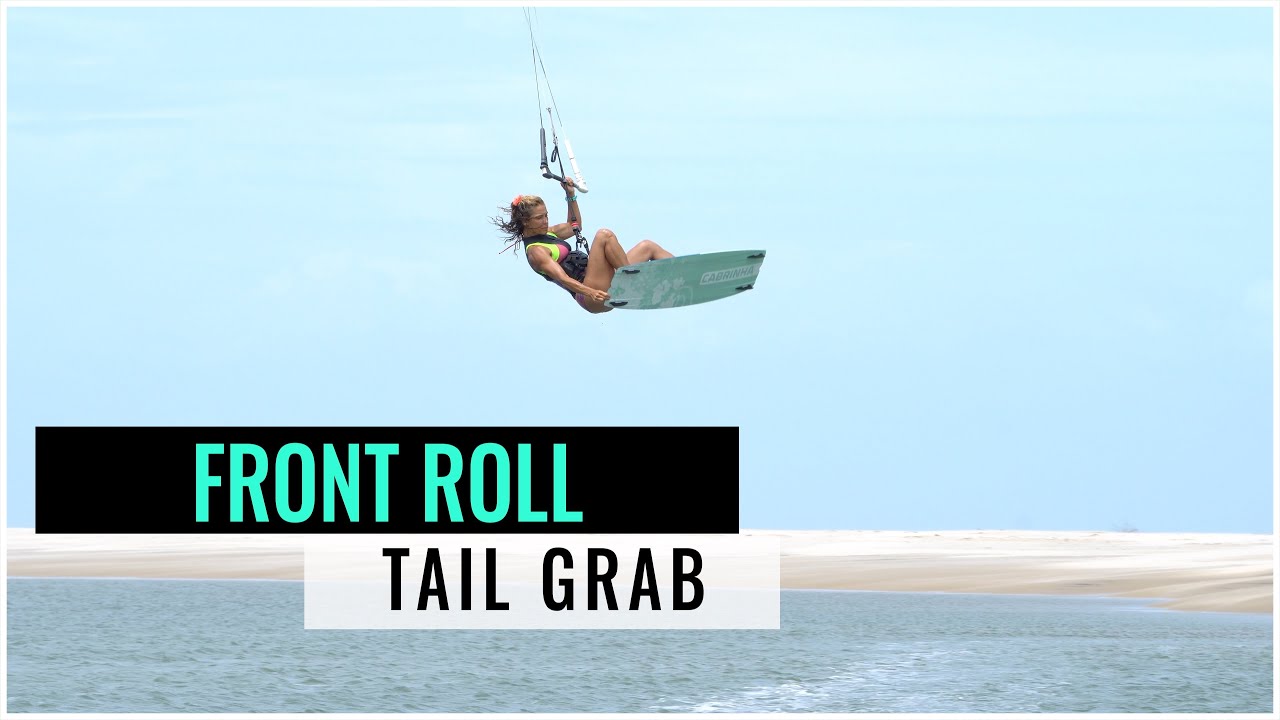
Front Roll Tail Grab
Technique / Intermediate
Continuing the “you can’t have one without the other” theme, which we introduced along with the front roll on the hallowed pages of IKSURFMAG issue 107. You can’t have a grabbed back without at the very least being tempted by the grabbed front now, can you? We always like to start with a bit of good news, and today, the positive is that a tail grab during a front roll is surprisingly intuitive. The very action of rotating brings the board up naturally towards you. This means that if you can bully yourself, read feel comfortable enough, to let go with your rear hand while throwing a front roll, the resulting grab, and please excuse the pun, should be well within your reach!
Realistically speaking, if you can bang out a few front rolls pretty consistently, then you’re ready to give this a go, regardless of whether the grabbed back is actually in the bag or not. That said, we’d strongly suggest that this is not your first grab, as if you can already fashion a straight jump with a tail grab, you’ll have some muscle memory working in your favour. To be crystal clear, you’re aiming to grab around the fin area, on the heel side edge of your board with your rear hand! Final thought. To give yourself time and float, you’ll be aiming to fly the kite gently forward from take off in preference to leaving it behind you until you start to descend.

Right, let’s dive into the details…
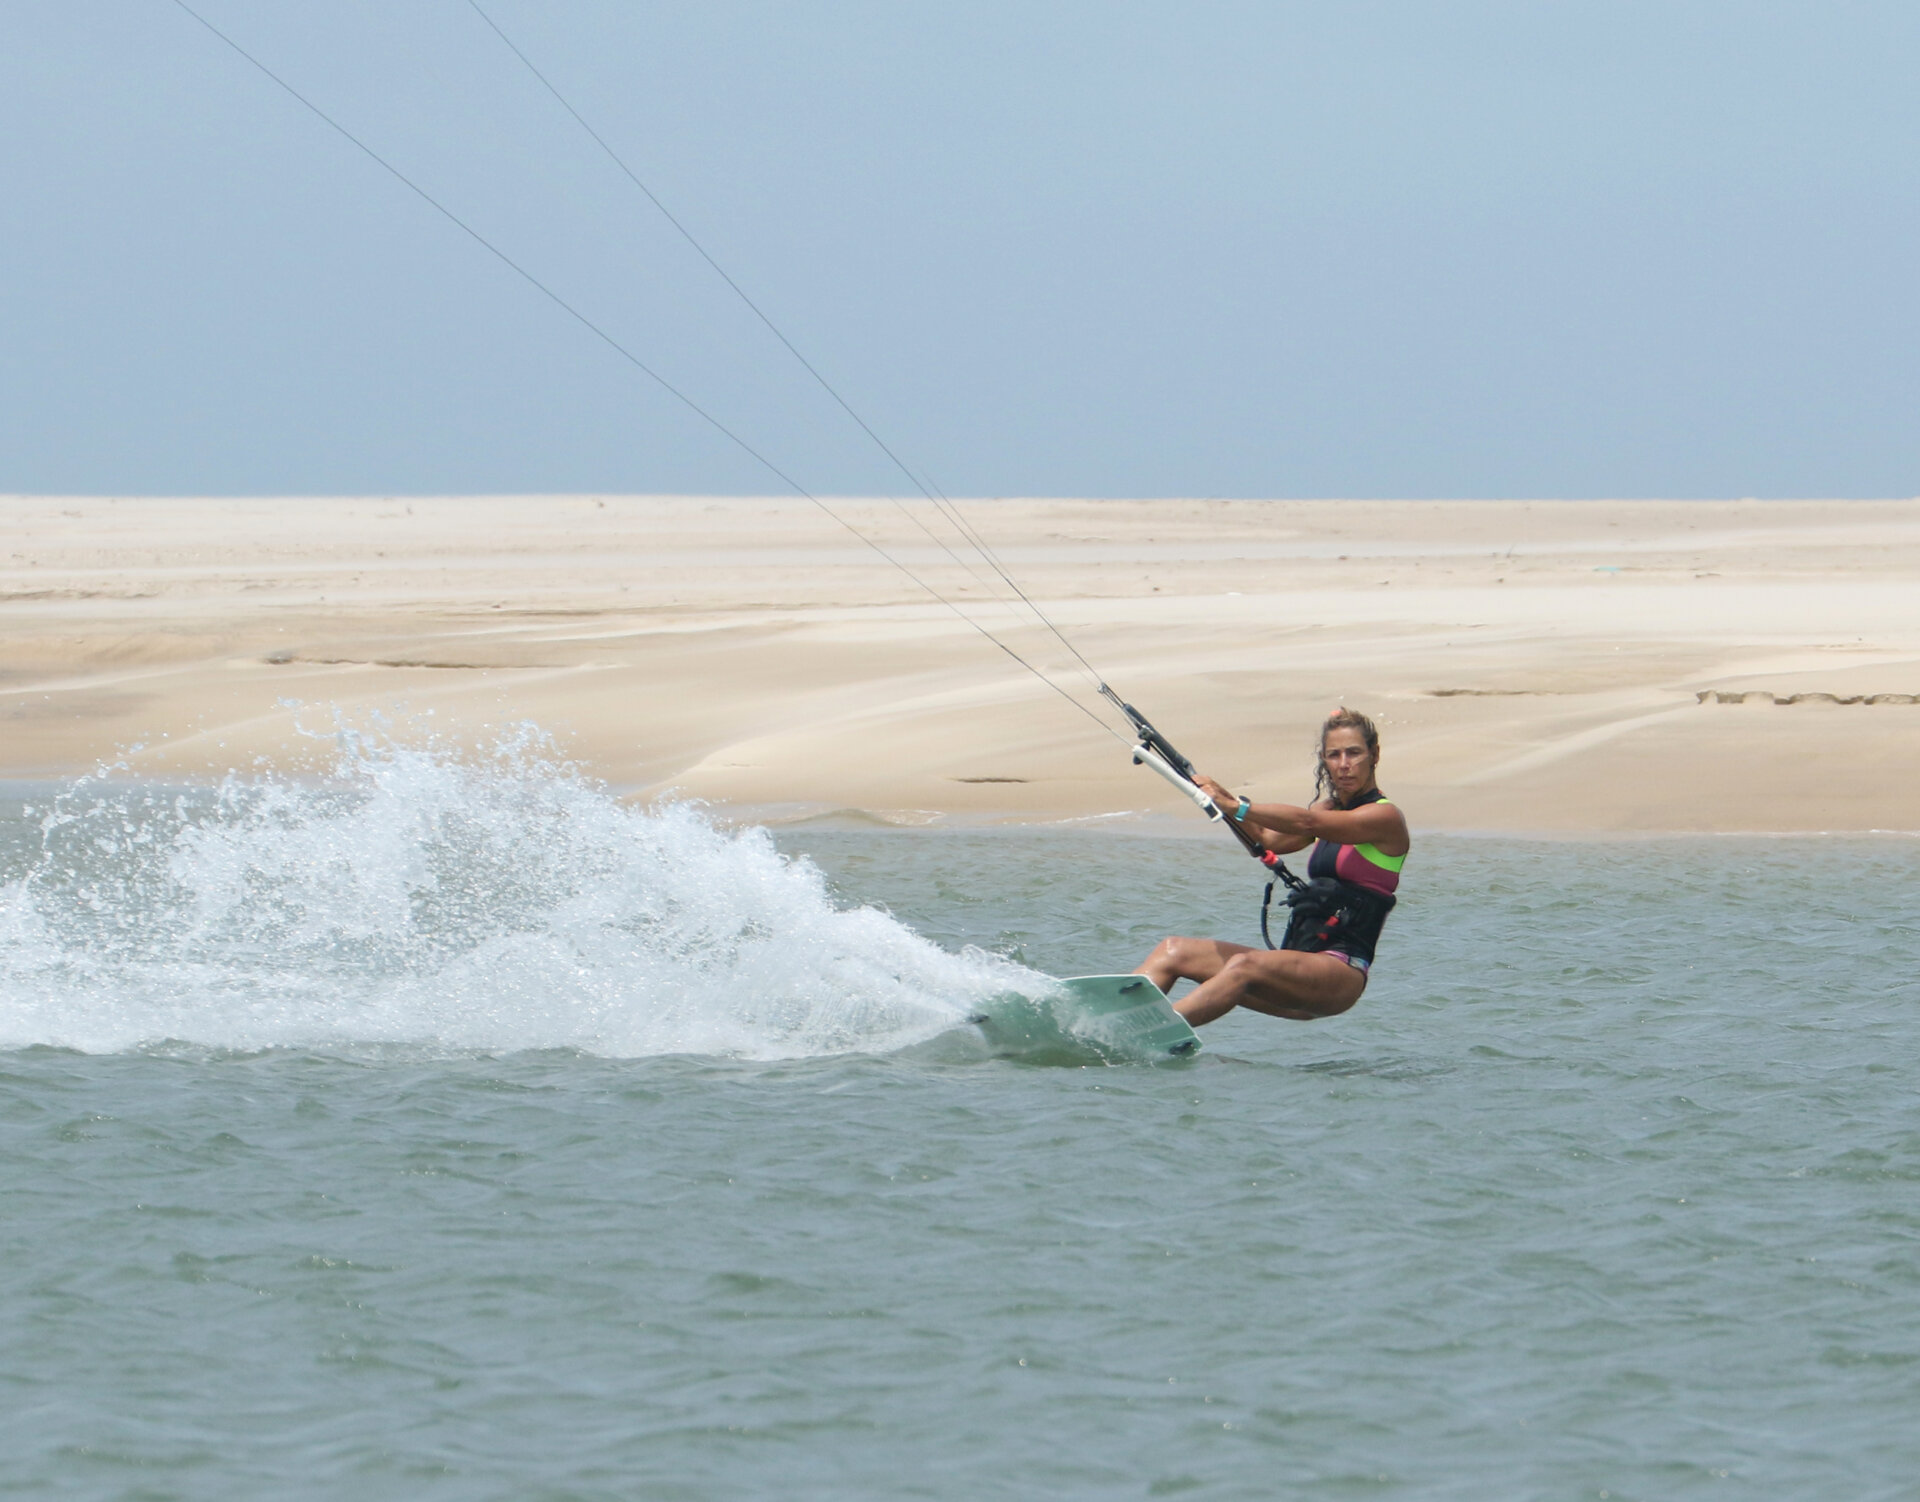
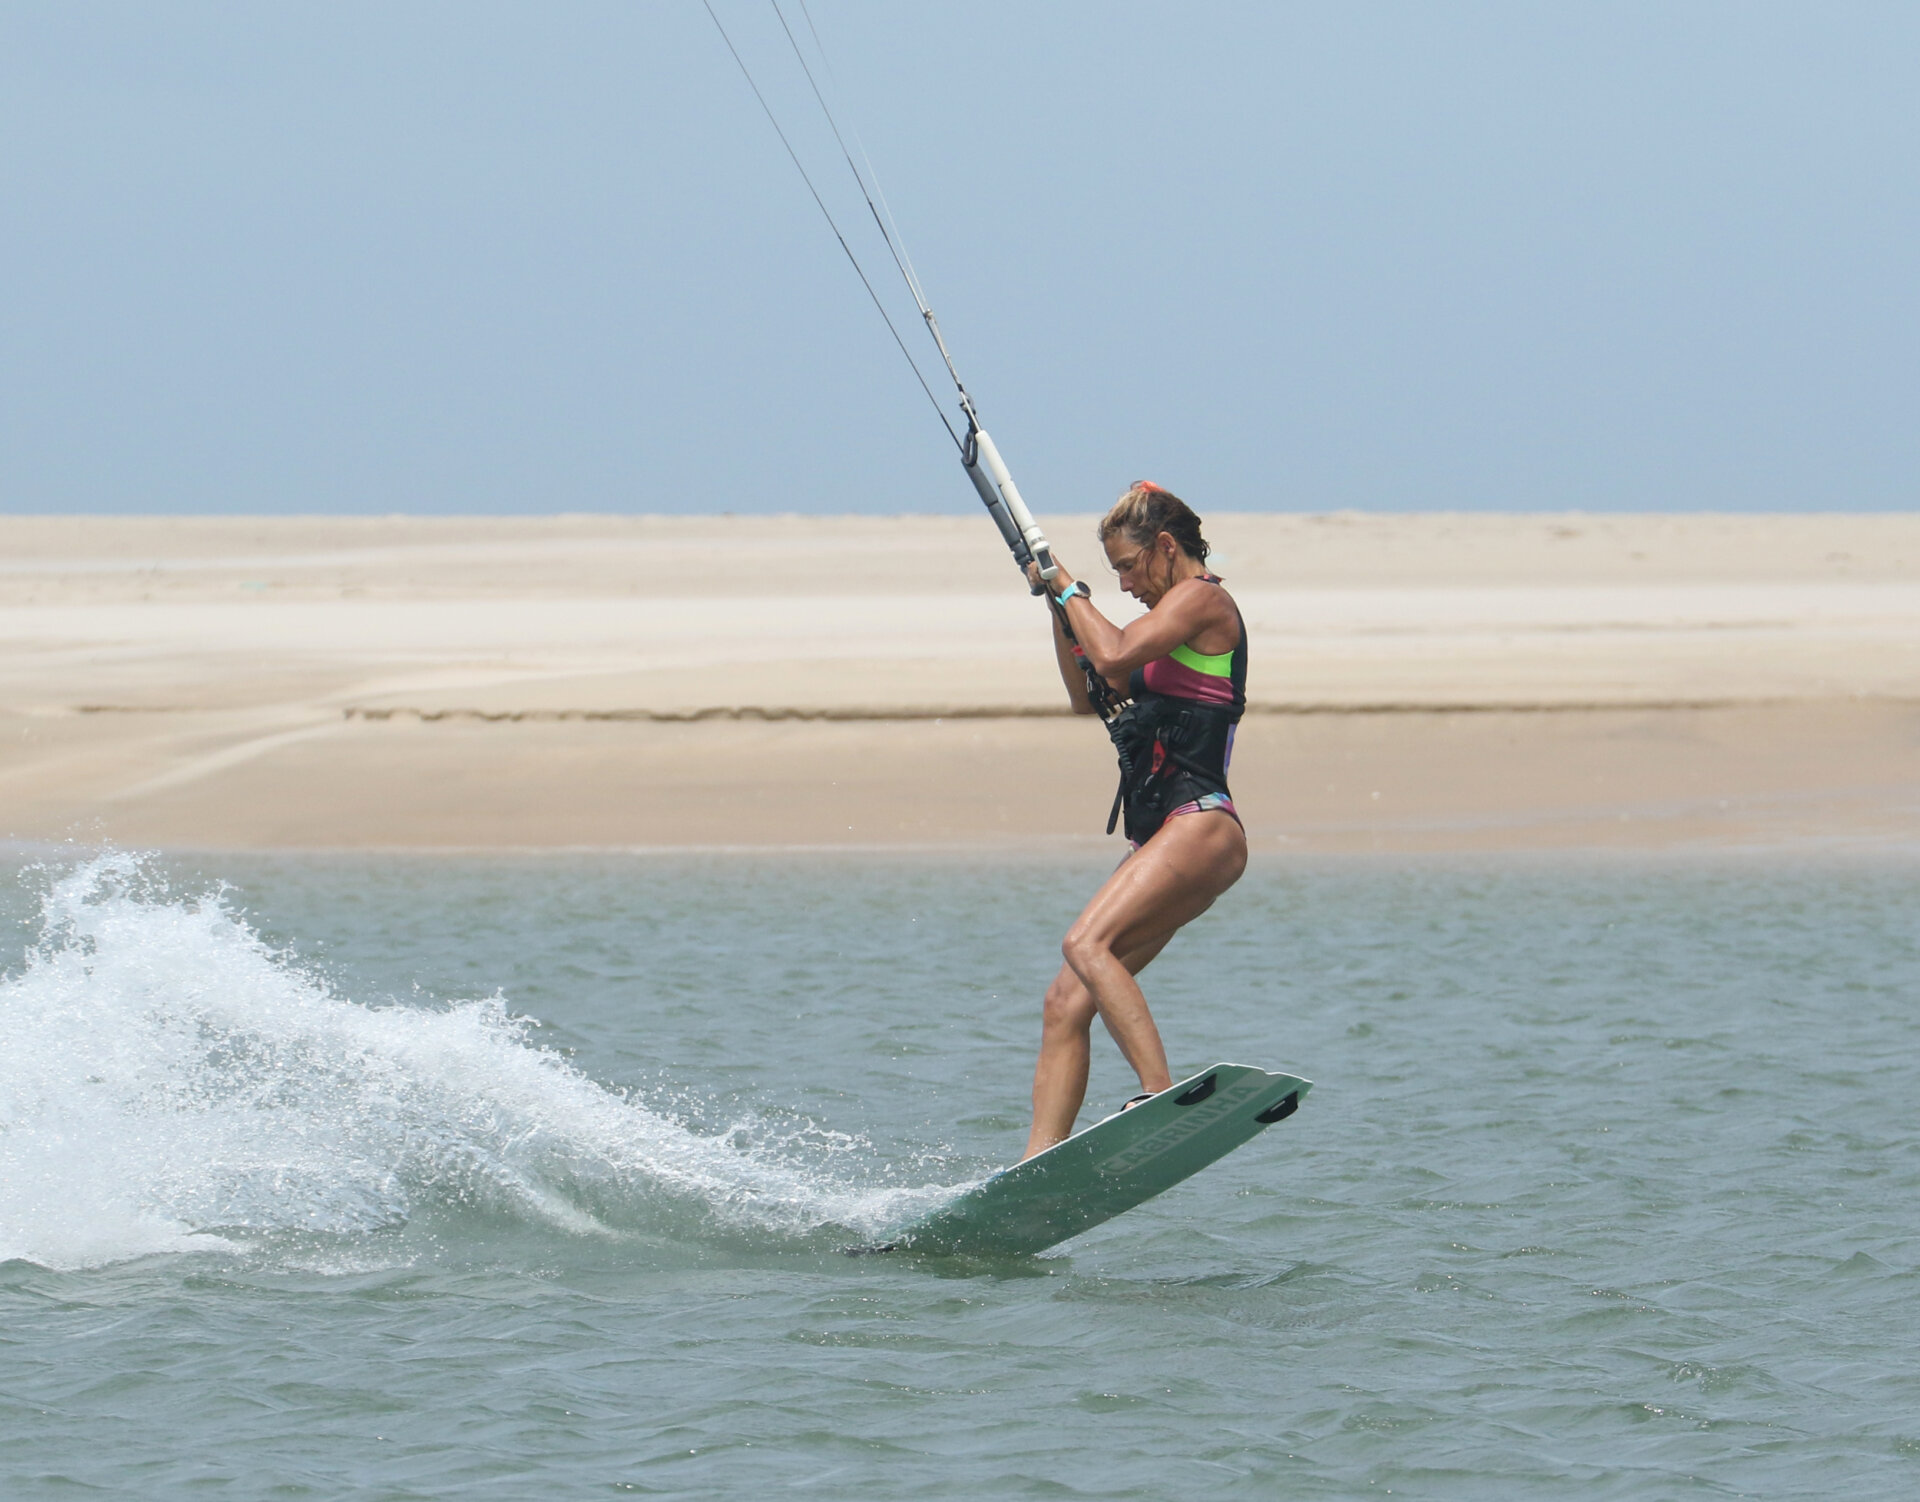
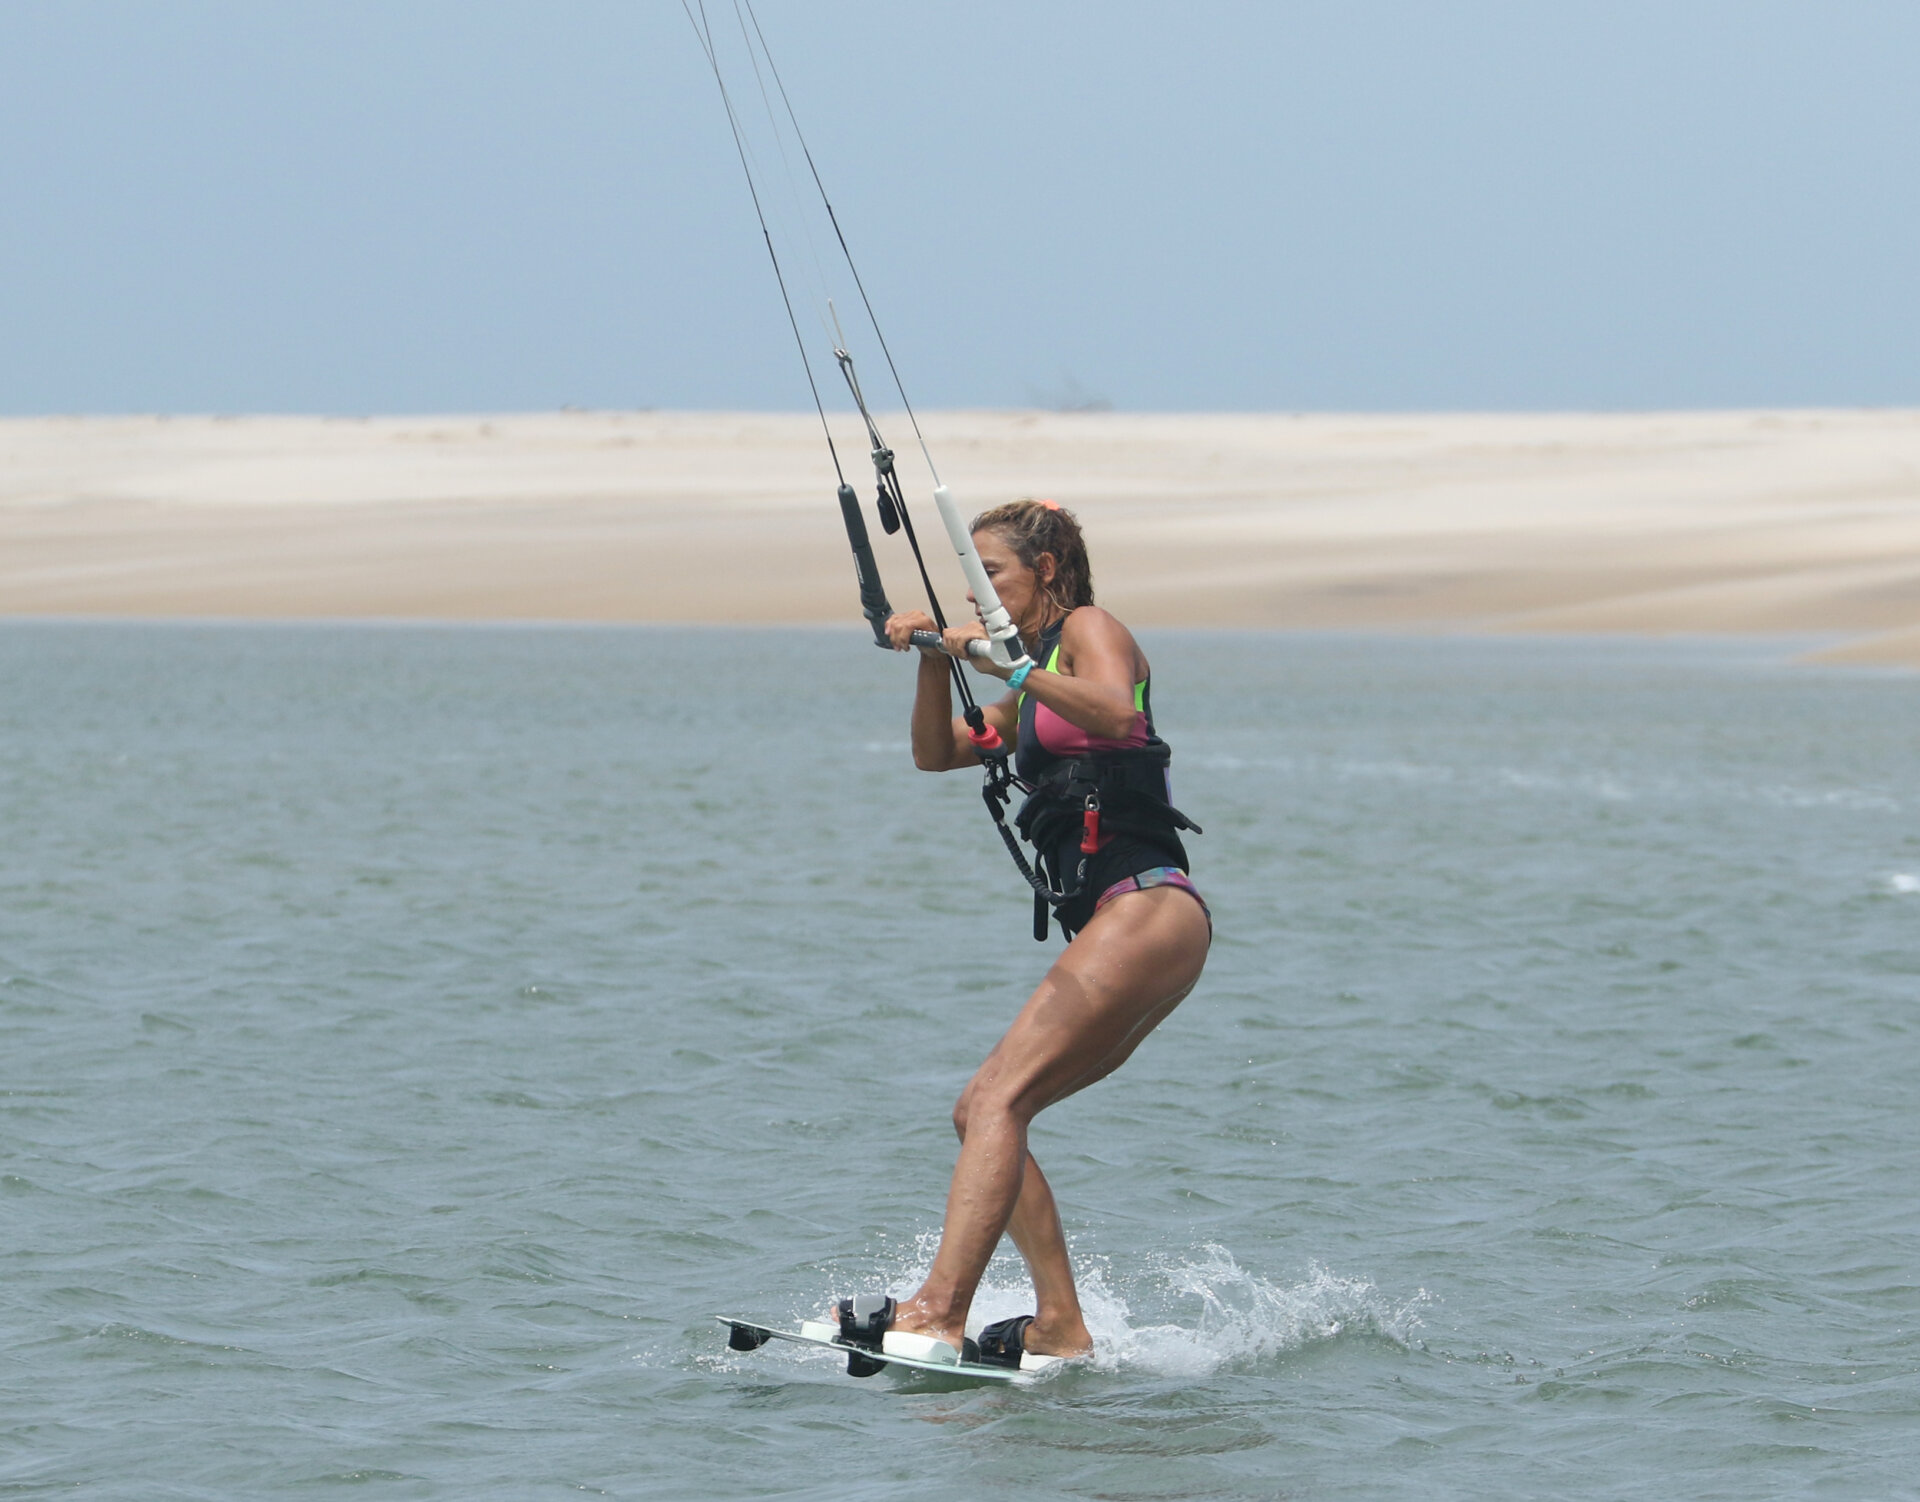
Approach Pic A.
Approach just like you would for a standard front roll. Good upwind edge, a bit of speed so that the board is lively, kite at either 11 or 1 o’clock, hands centred on the bar, sweet spot trimmed to centre of throw so that you’re comfortable, bum low, legs resisting, weight centred, back leg flexed but solid, deep water and lots of space. Looking at Karine, she’s edging strongly upwind, kite at 11, bum low and hands centred. She’s comfortable and ready.
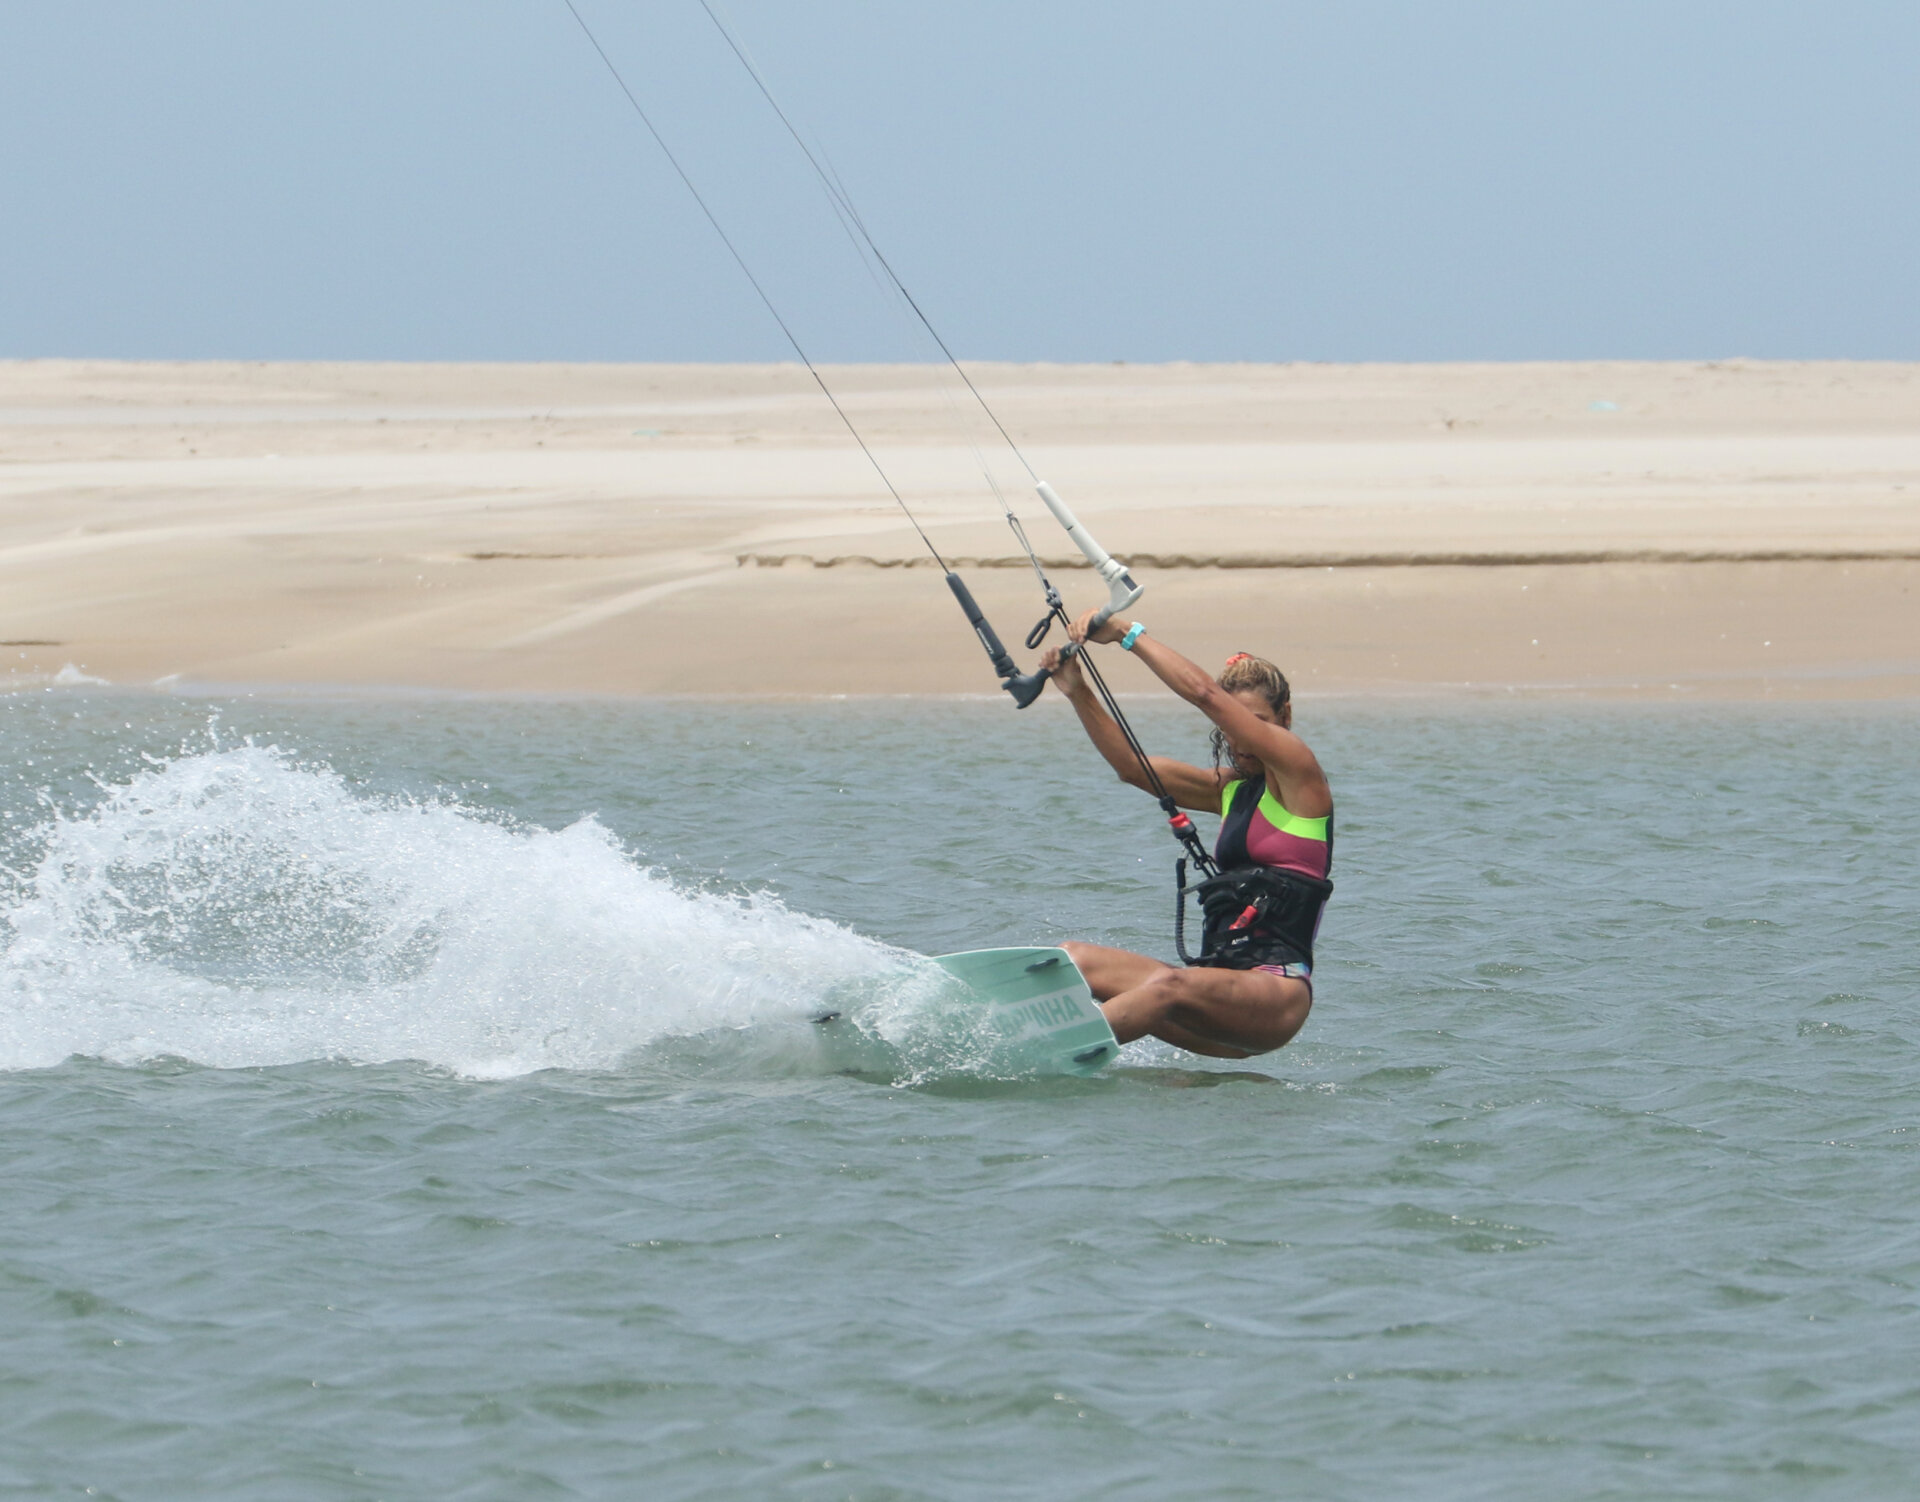
Send Pic B.
You still need to give the bar the same amount of input as you would for a regular front. If you change what you’re doing, it’ll confuse what follows. However, you don’t want to be going for your biggest ever! Steer the bar back to move your kite to about 12:30 and feather it out as the kite pulls so that you can keep your upwind line. This should help with a more vertical take-off. Karine has steered the kite up, feathering the bar out to follow the sweet spot so that she can hold her edge. She keeps her back leg flexed but solid and drops her bum as her kite rises.
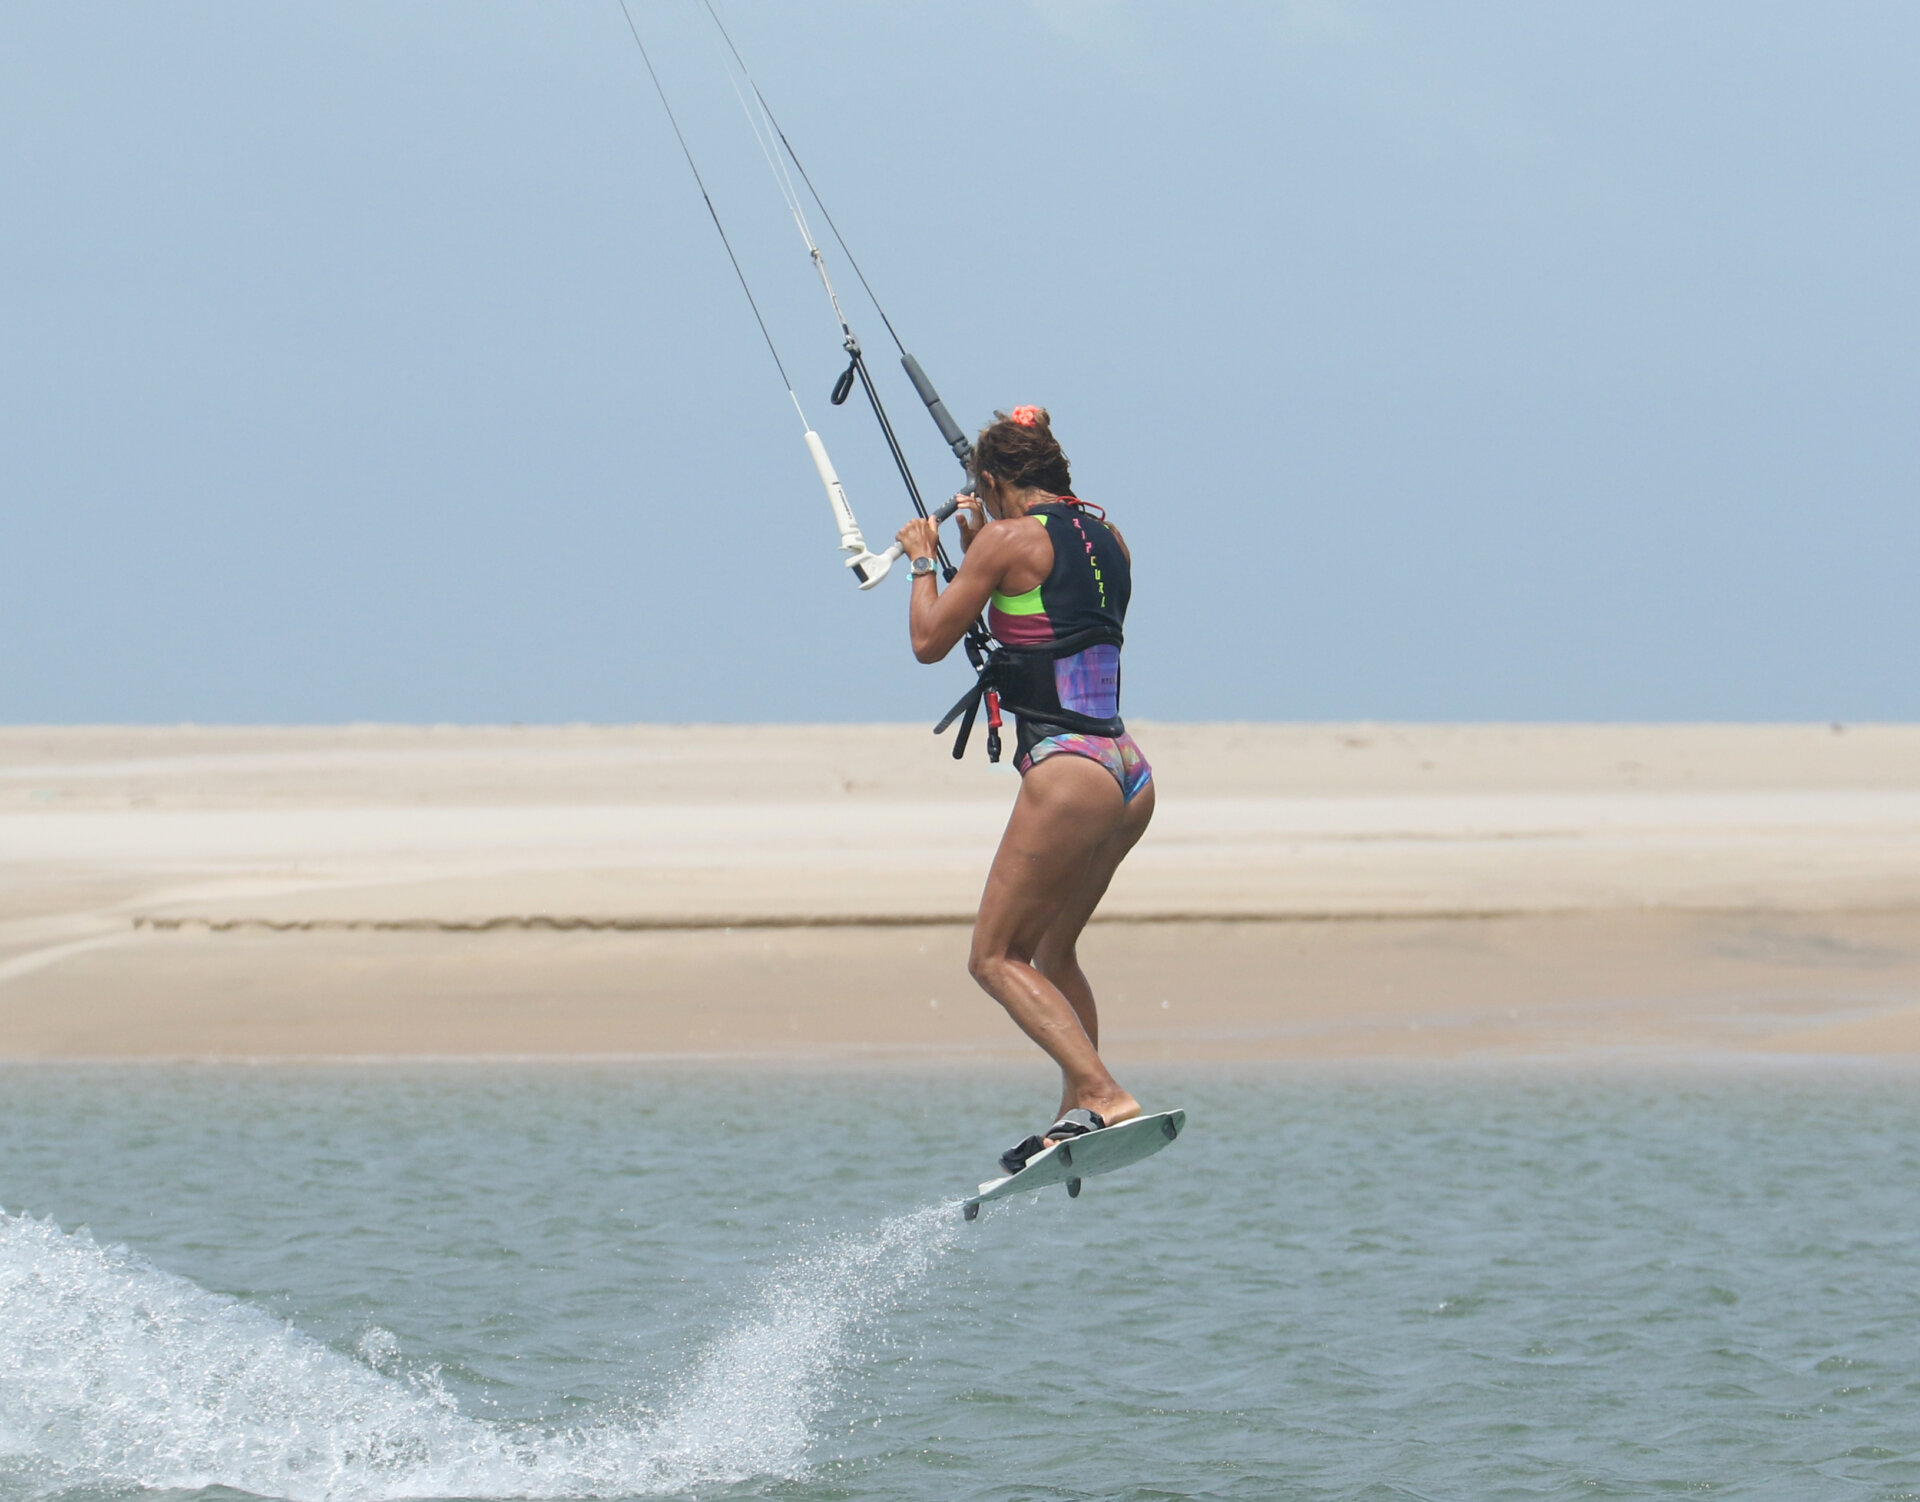
Take Off Pic C.
We’ve said it in all our rotations, your first job, just before take-off, is to level the bar and stop the kite going any further back. Remember that levelling the bar and pulling the bar are two different steps. Once you’ve levelled the bar, you can initiate your front roll-take off. Kick off with your back leg against your edge, and then give yourself a hand by pulling the bar in. You can see that Karine’s bar is level and she’s ready to kick off with her back foot, tucking her chin in to initiate her rotation. So far, so good!
Turn & Release Pic D.
OK, this is where we’re mixing the old with the new. As you kick off, you turn your head and shoulders to help with the rotation. However, now that you’re frothing to add a grab, you need to prepare for it. Release your back hand as you start to rotate. It’s also a good idea to give the kite a little steer forward. By the very nature of a front roll, the kite can fly back further than intended, and by tweaking it forward, you’ll be guaranteed some hang time for your grab as the kite comes back up. You can see that as soon as she leaves the water, Karine has already let go of the bar in preparation, and she’s steering her kite forward to bring it back up towards 12 for support.
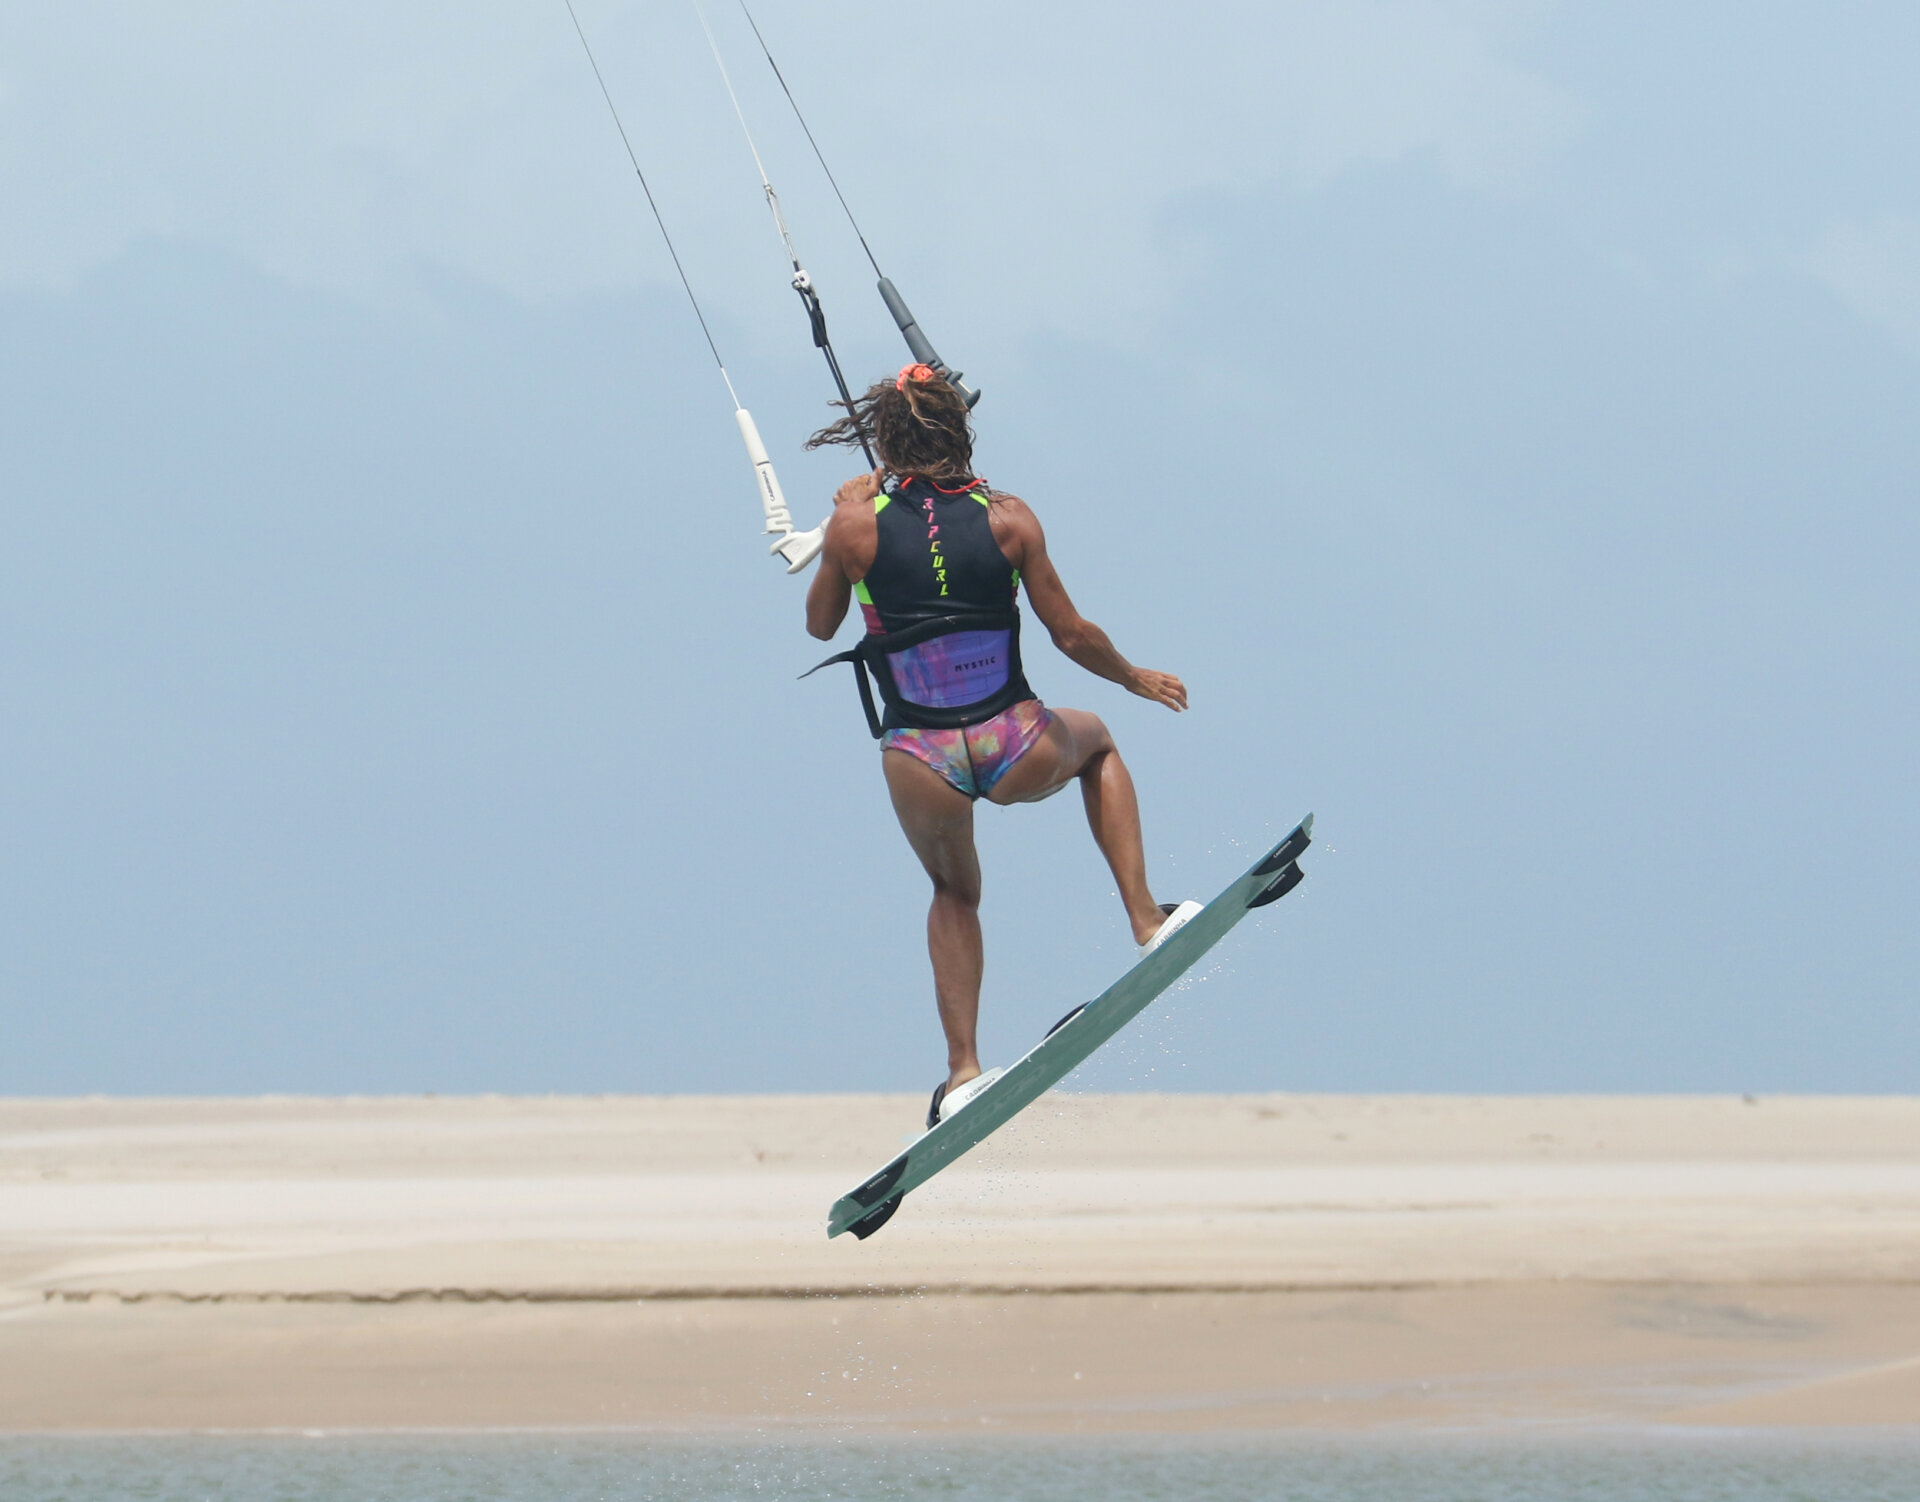
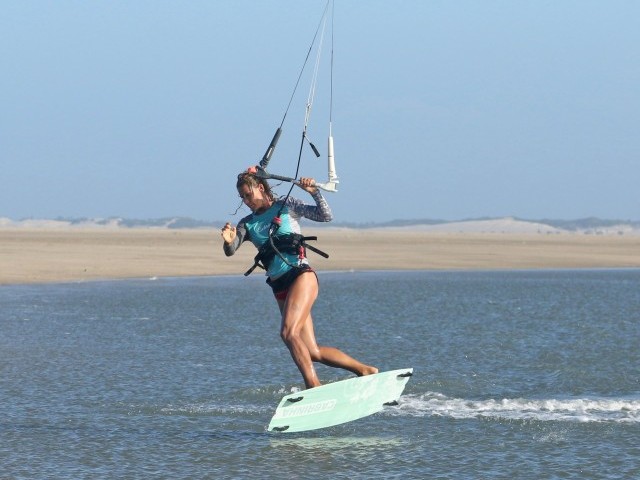
Knee Up Pic E.
As your hand drops off the bar, bring your rear knee up. This movement does go very well with the rotation as long as you don’t rush. Your front rotation will start quickly, but end slowly, so you have time. The important thing here is to keep your head perpendicular to your shoulders so that you don’t turn away from your board. You can see that Karine’s head, shoulders, hips and board are all aligned, and this is what will make the grab less challenging. It’s also worth noting that Karine is steering her kite forward. This is relative to how hard and how far the kite went back. However, if you keep your bar on the sweet spot, the kite should start to drift up to 12 slowly.
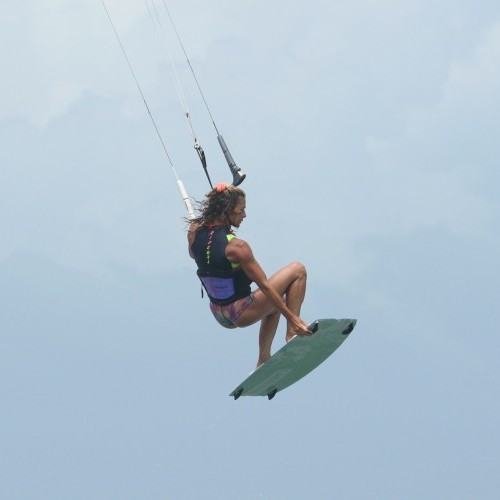
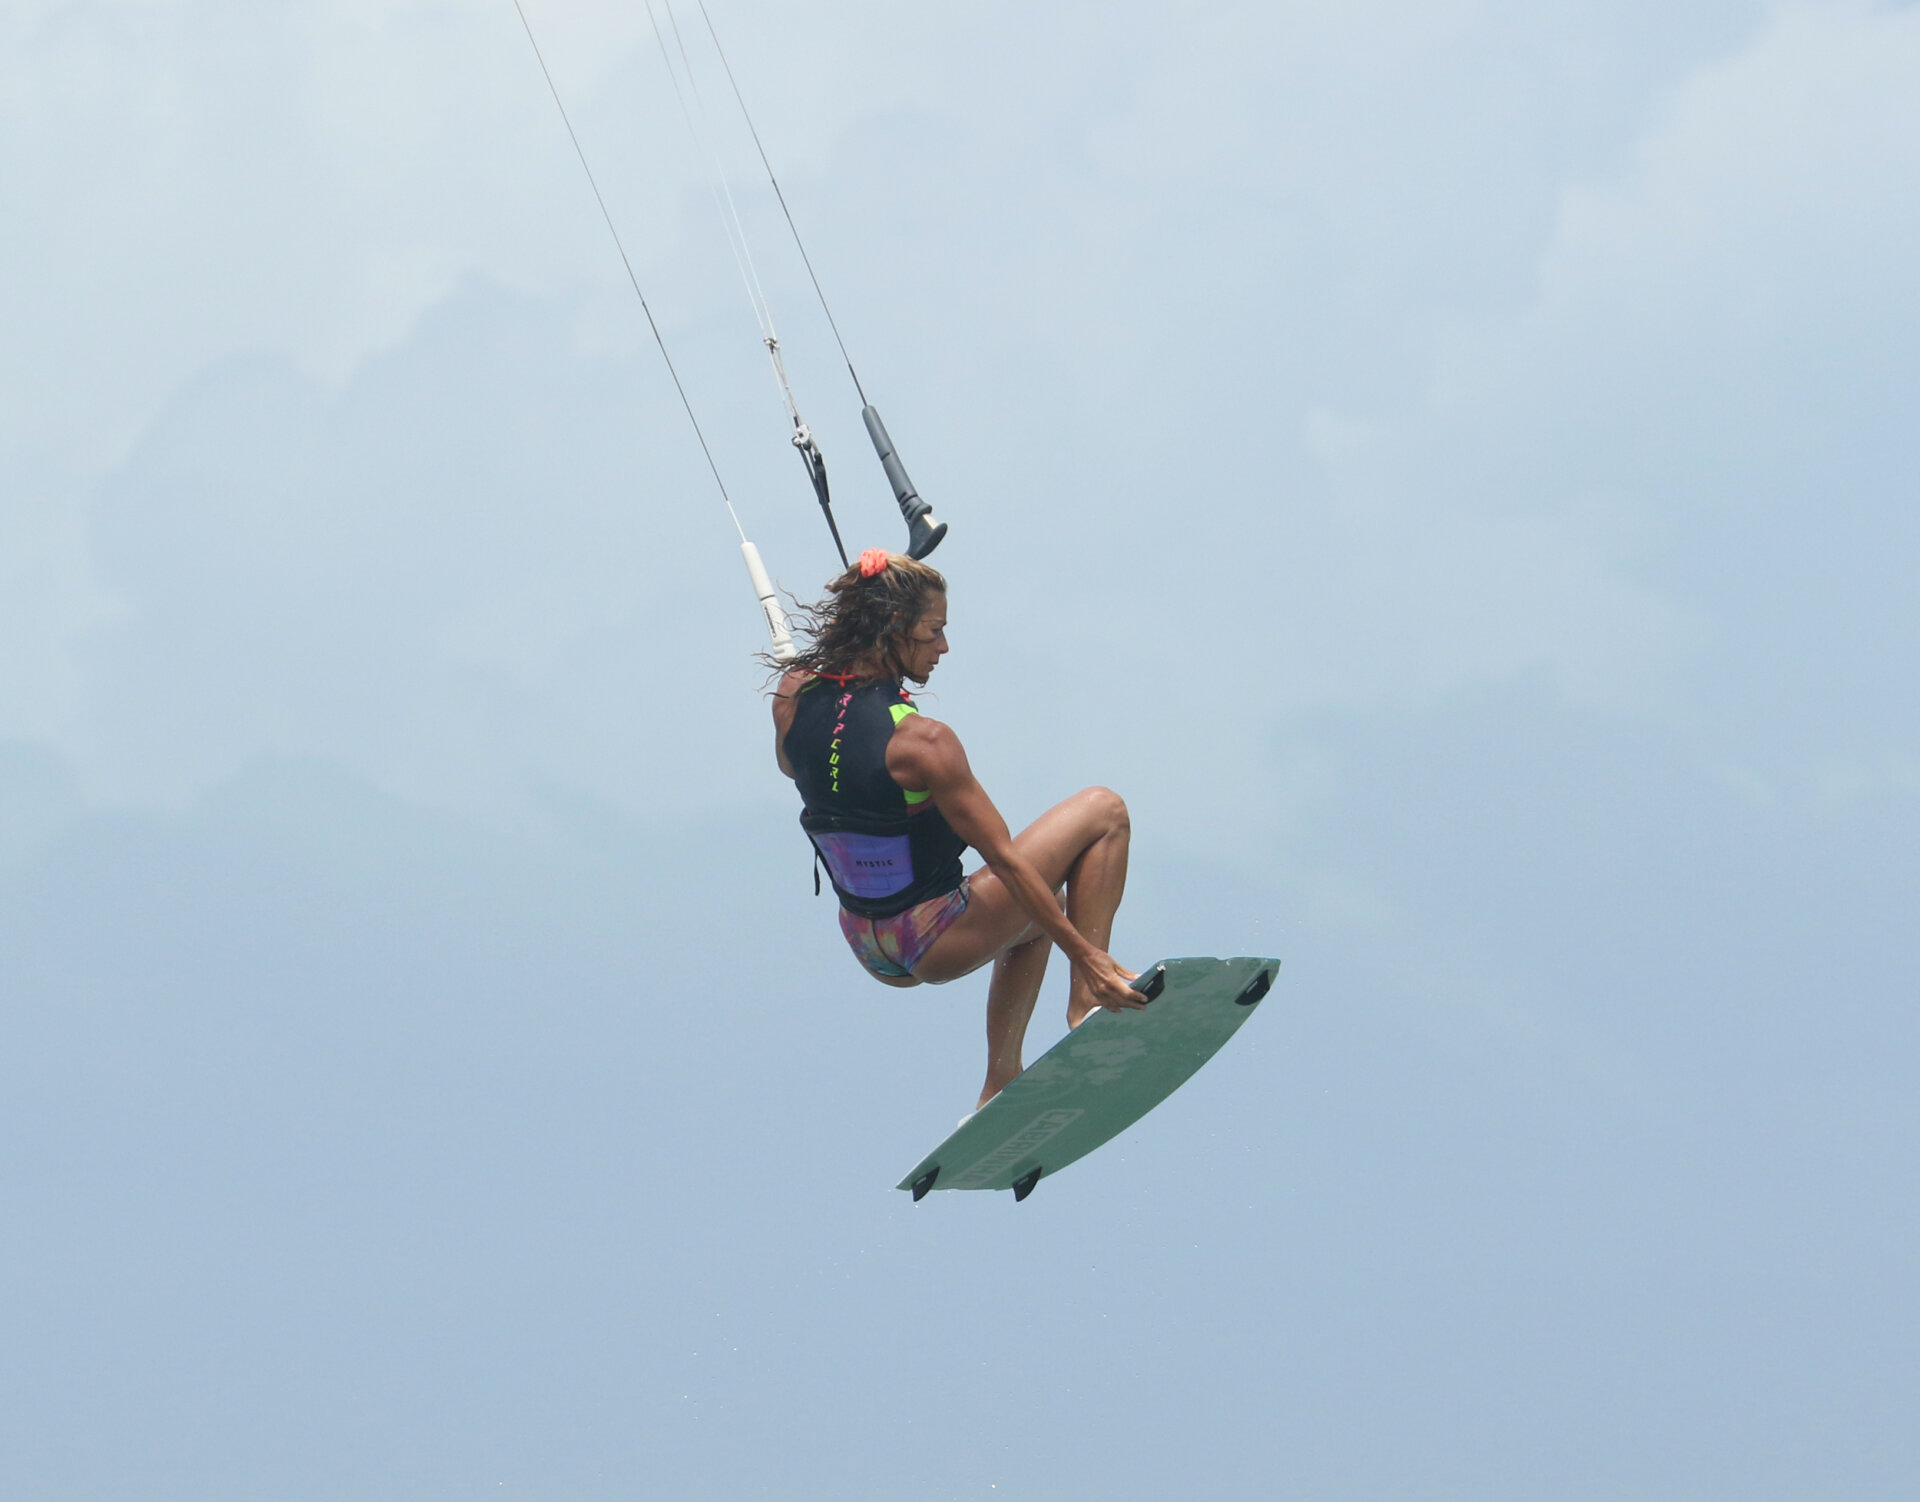
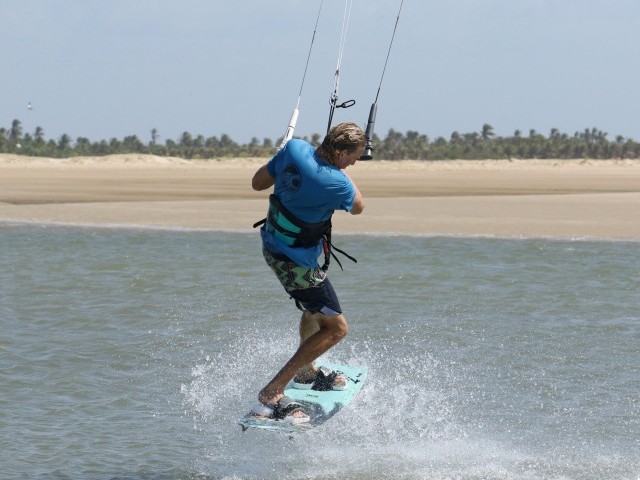
Grab It Pic F.
Eyes on the prize. We always say it, focusing on where you want to grab will make it considerably easier. As with any grab, the effort should be in bringing the board up towards you by lifting your knees, rather than reaching down for it. If you look at Karine’s board, it’s in front of her, not kicked up behind her. Looking towards the rear fin, Karine lifts her knees and grabs the board, whilst keeping her bar on the sweet spot. At this stage, you’ll likely be facing upwind, and you should feel support from your kite as it moves slowly forwards.
Hold and Relax Pic G.
Once you’ve got the grab, you can hold it for as long as you feel comfortable. Turn your head to look around in the direction in which you’re travelling to give you an idea of where and when you’ll land. Now, if you steered your kite forward to guarantee support, as Karine did, you can relax the tension on the lines by letting your front hand out a touch. This will slow the kite’s movement. Karine holds her grab as she comes around and starts to drop. She’s let the bar out a bit to slow the kite down and has turned her attention to where she’ll touch down.
Release & Dive Pic H.
Once you start to drop, you’ll want power to help you land into the wind. Release your grab, pull the bar into the sweet spot and dive your kite while keeping your eyes on the landing strip. You can replace your rear hand onto the bar before diving. Karine releases her grab, pulls her bar back down to the sweet spot and dives her kite.
Touch Down Pic I.
With both hands back on the bar and the kite diving, you can twist your hips and aim your board downwind for a smooth tail-first landing. Here Karine lands slightly tail first, over her board and running downwind. Once you’re balanced and comfy, you can carve back up onto your edge, regain tension, claim it and eventually untwist your lines:)

Top Tips
The best drill for this move is to keep both hands on the bar and concentrate on bringing your rear knee up as you rotate. This will get you well acquainted with the movement and put the board in a position where it’s just gagging to be grabbed.
At first, don’t feel like you have to get a firm grip on your grab; a cheeky tickle is a good starting point.
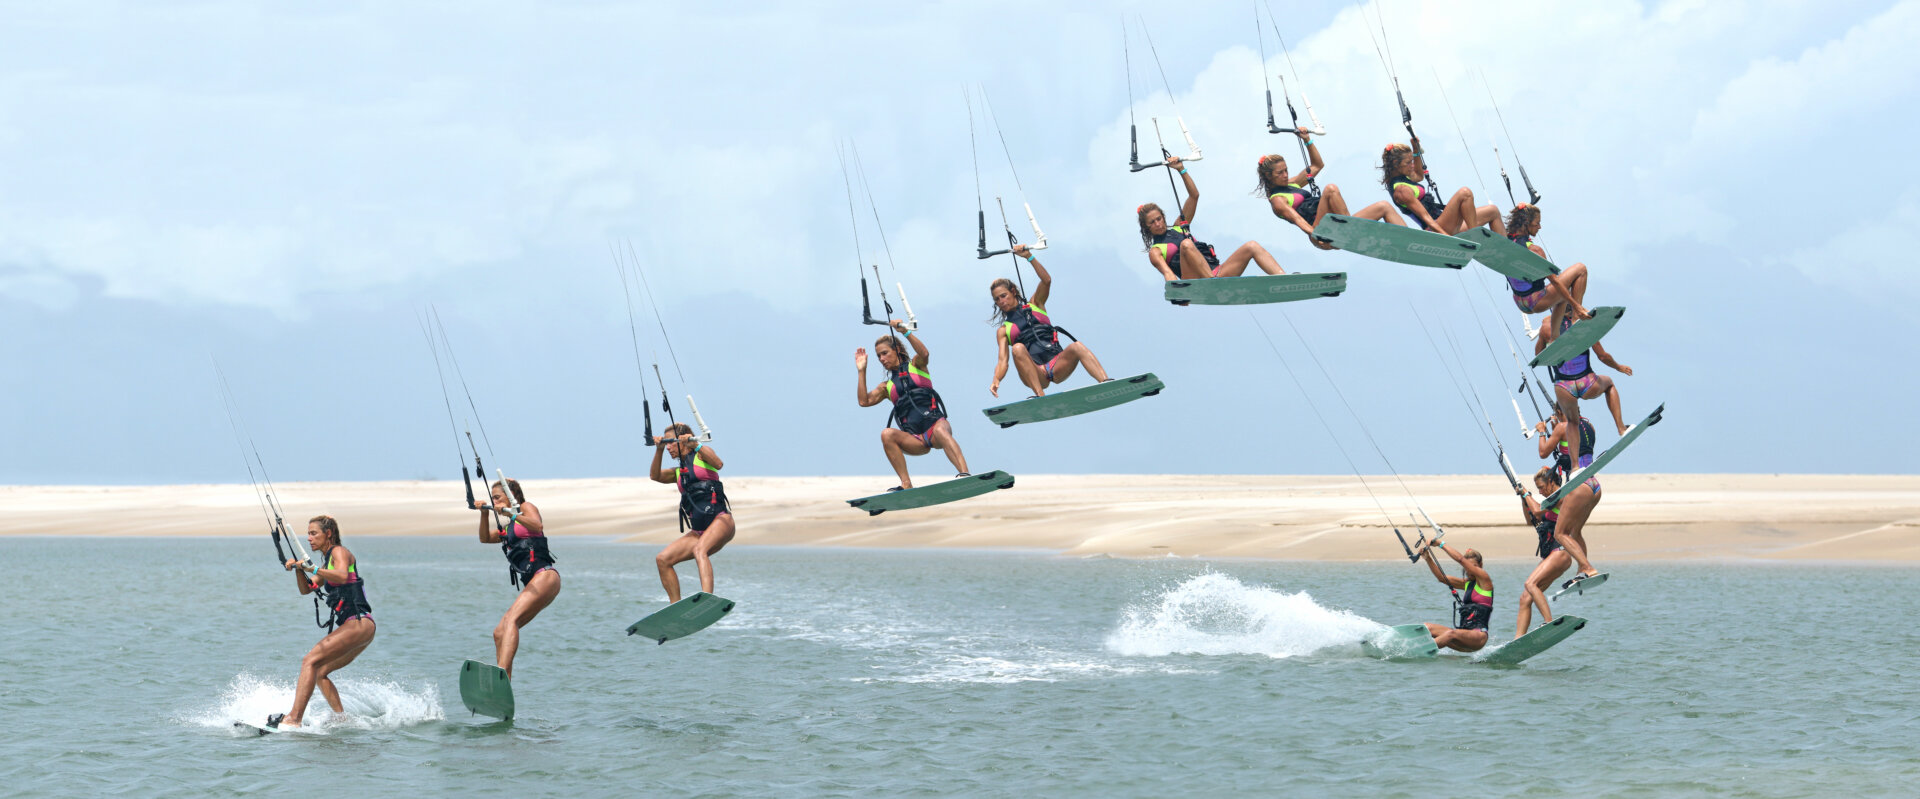
OK, have a look at the sequence for a step-by-step guide and check out the video for a real-time run-through.
Common Problems
If you’re struggling to reach the grab, it’s generally because you haven’t lifted your board enough. This can be a flexibility issue, but there is a solution. Concentrate on bringing your back knee up more and keeping the front leg less flexed. This will tilt the tail up closer to you.
If you feel unsupported and are struggling to hold on. This is the result of the kite being too far behind you. If you don’t level before take-off, this will happen. If you pull before kicking, this can happen. And surprisingly, if you kick your heels up to get the grab and lead too much with your head, it’ll also happen. Don’t rush the grab, and steer your kite forward as you take off.

If, however, you have the uncomfortable feeling of accelerating as you rotate and the kite pulling you forward, this is because the kite is too far in front of you. You have two choices: send it a bit further back before take-off, or ease off your front hand as you rotate.
Keystones
- Send Level Kick Pull
- Rotate, tweak kite forward and drop rear hand
- Lift the rear knee and look for grab
- Turn the head and ease the bar out
- Look downwind and dive out


This technique article was in Issue 112 of IKSURFMAG.
Related


By Christian and Karine
Christian and Karine have been working together as a coaching team, running improver to advanced kitesurfing clinics since 2003.
