
Back to Wrapped
Technique / Advanced
Introduction
The back to wrapped is a fairly funky move in it’s own right, although you don’t get to see them much. Most riders skip it in preference of going straight into the back mobe, and once they land that then they’re unlikely to go back to the wrapped version. However if you’re not one of the better riders in the country this is a very useful stepping stone, which will satisfy and build a consistency for more progressive moves. We’ll go through the foundations, then real time, followed by common problems and the keystone points.
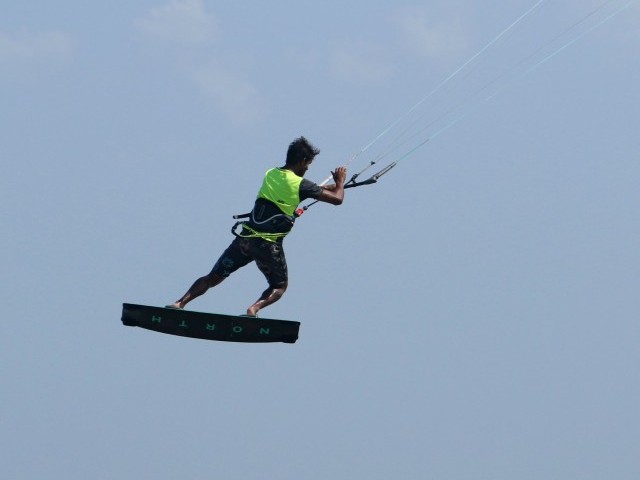
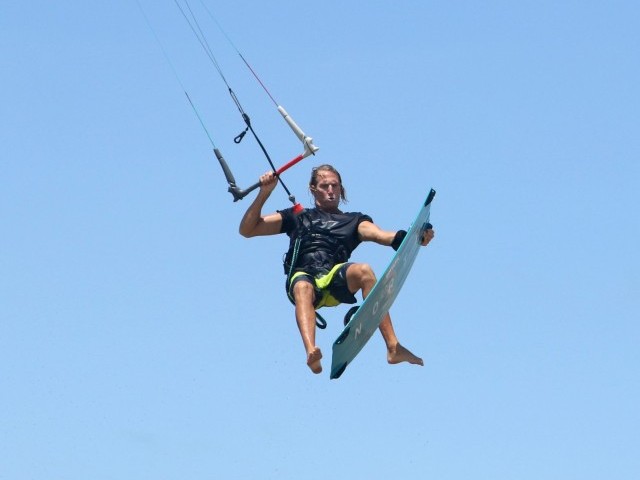
There are two methods of doing a back to wrapped. One involves completing a slightly more dangly back loop and then waiting for just prior to touch down before turning to wrapped. The second variation, which we’ll look at now, is one movement from take off to landing. Video 1 is a fairly close up shot of Karine enjoying this version.


We’ll be taking you through this style for 2 reasons. Firstly you’ll be able to work on it without needing excessive amounts of power. Secondly going for it as one movement will lead nicely onto the back mobe, should you so desire….
So what is landing wrapped? The easiest way to visualise is to attach a bar to something solid and walk through it, if you’re fond of a good boogie it’ll be breeze:
- Imagine that you’re riding in the direction that you feel comfy popping to toe side.
- Turn your body and feet so that you are toe side with the bar in at your hips.
- Now let go with your front hand and turn another 180˚, continuing in the direction you turned to get to toe side, so that you continue around to heel side. Whilst doing this, twist your hand that is holding the bar in the same direction as you’re going.
- You should now be standing facing whichever solid object you attached a bar to, with the arm attached to the hand holding the bar twisted, or rather wrapped, behind your back.
You’ve basically turned a full 360˚ into an arm lock.
The beauty of the back to wrapped is that the momentum of a slightly over rotated back loop can carry you around to wrapped. Without stating the obvious you’ll need a controlled unhooked backloop to toe side at the very least. If you’re already popping to blind this will help. Even though blind is very different, having a natural bar pass will make life easier.

Pop Late
In many pass tricks the difficulty is in slowing your rotation down. In this one you need to speed it up. The simplest way to do this is to carve way up into wind before popping off your back leg. This late take off will spin you faster and send you into a second rotation, at least to toe side, without you having a moments thought. The only disadvantage is that you won’t have much time to prepare for the rest.


Elbows In
When you carve into wind it’s more than likely that your arms will be pulled out by the power in the kite. As soon as you leave the water you need to get your elbows tucked into your side. If you can get them in, your hips will roll onto your hands, which keeps the bar in close and enables you to keep you balance, land and pass.
Twist Again
Not wanting to bring out any karaoke nightmares but your back knee needs to get rocking. As you rotate and pull you elbows in you’ll need to lift both knees. This will not only speed up your rotation, but will also place your back knee high enough so you can kick it through. This forcing of the knee will accelerate your second rotation and is what takes you past landing toe side. Remember to twist you wrist once you release the bar with your front hand, as you’ll be able to turn your shoulders further. Once you get the hang of things you can even pull your hands in and steer the kite down as you push through. This will bring everything together at you hips, and help keep the kite lower for landing, preventing it from pulling you out of position and off balance.

Touch Down
It’s all good and well doing all that precedes, but it means jack if you’re not ready for touch down. To stick this you’ll need to get around to downwind, preferably a bit further. To increase you chances you should try and land tail first, as the back of the board will then pivot you around a touch further. To make this possible get you weight on the balls of your feet, not your heels, otherwise you’ll keep slamming. Finally keep looking around so your body will turn to face your intended direction of travel and make the pass behind you considerably easier.
Give it a Go
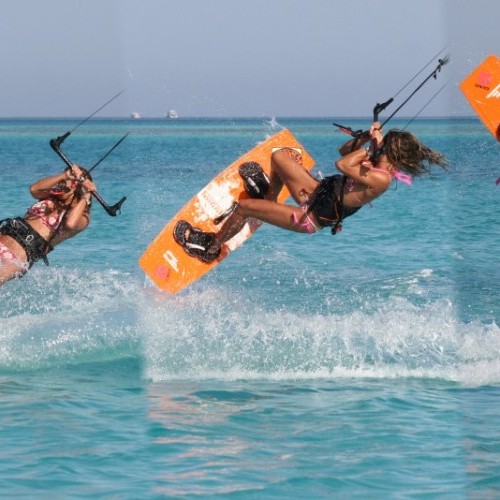
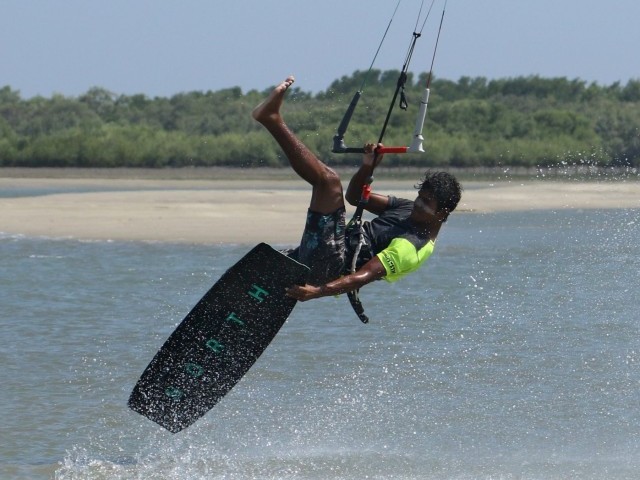
Sequence 1 shows Karine from take off through to landing. The Slow-Mo video will also help you see the separate stages.
Following Sequence 1
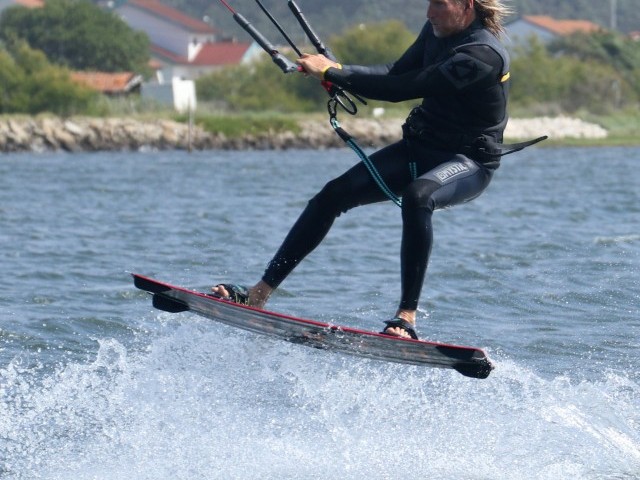
- Pic 1. Karine has checked for space, turned off the wind and unhooked, hands centred on the bar, with her weight over her back foot.
- Pic 2. She carves hard into wind, dropping her weight low and resisting the power by driving against both heels, making sure to take the weight of the kite on both hands evenly to stop any unwanted kite movement.
- Pic 3. Karine has carved further into wind than she normally would to pop. Her head is turned to look right upwind over her shoulder. Also as the board turns up into wind, and under Karine there is little resistance from the edge so she can already start to pull her elbows back in.
- Pic 4. When Karine feels that there is less pressure on the bar and on her legs she pops. This means that the explosion off her back leg will accelerate her spin. You can see that as Karine extends her back leg it pushes her around as opposed to up into a huge pop. The timing here is important, if you leave it too long you wont even get enough height to complete a backloop.
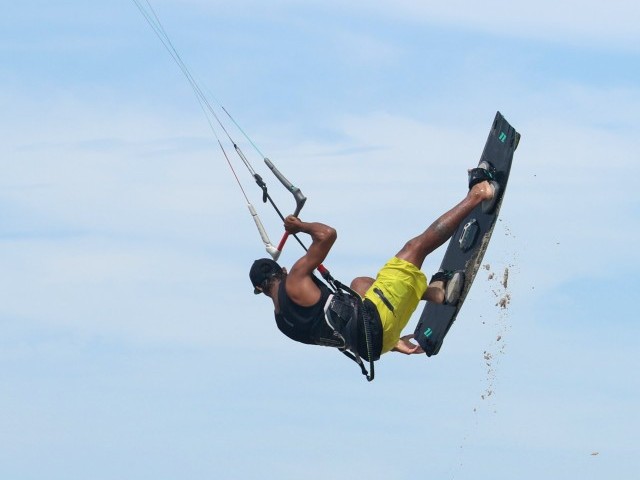
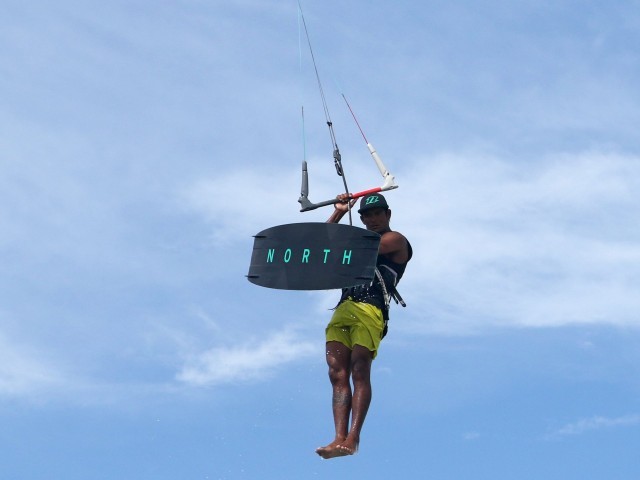
- Pic 5. Because she turned so far on the water, as soon as she leaves it Karine is already three quarters around her backloop. Her aim is to keep her elbows in and bring her knees up. Making her self smaller like this will help keep momentum going for the rotation to wrapped, and by lifting her knees the weight of the board will not pull her down away from the bar too soon.
- Pic 6. Coming around the back loop, Karine’s trailing knee is up near the bar and her hands. As she continues to rotate her hips will follow her knees and roll towards her hands. Once you’ve tried it enough to give your brain some time, this would be a good moment to jerk your hands in, and even steer the kite down as you do so. At this point Karine must keep looking over her shoulder and around into the next rotation. If she were to focus on where she could land it will slow her spin and prevent her from getting around.
- Pic 7. A split second before this shot, just as Karine’s hips rolled towards her hands she will have really pushed her back leg and knee through as is she was trying to give someone a dead leg, kicking her knee into their thigh. She does this with both hands on the bar, to keep the kite from going up and allowing her to get hands and hips as close as possible. As the knee comes through she lets go with her front hand and keeps looking over her shoulder.
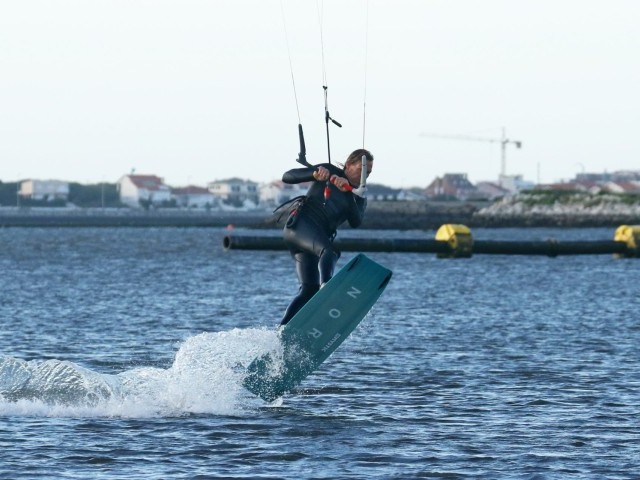
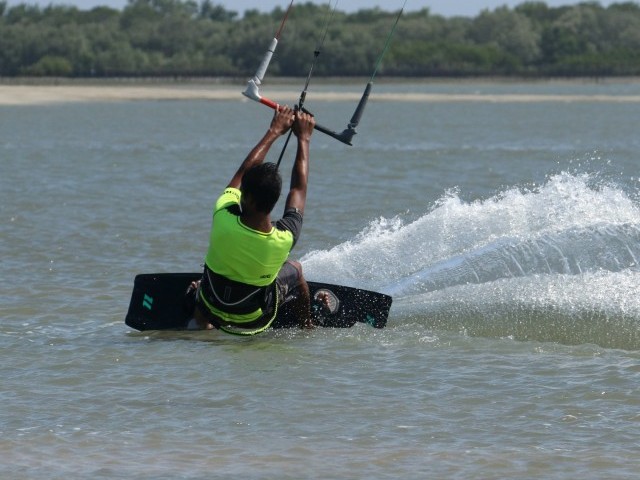
- Pic 8. As Karine turns she twists her wrist, thumb pointing towards the small of her back. This enables her to turn further. She lands back foot first with weight on the balls of her feet. The board will pivot further around from here without Karine catching her heel side edge.
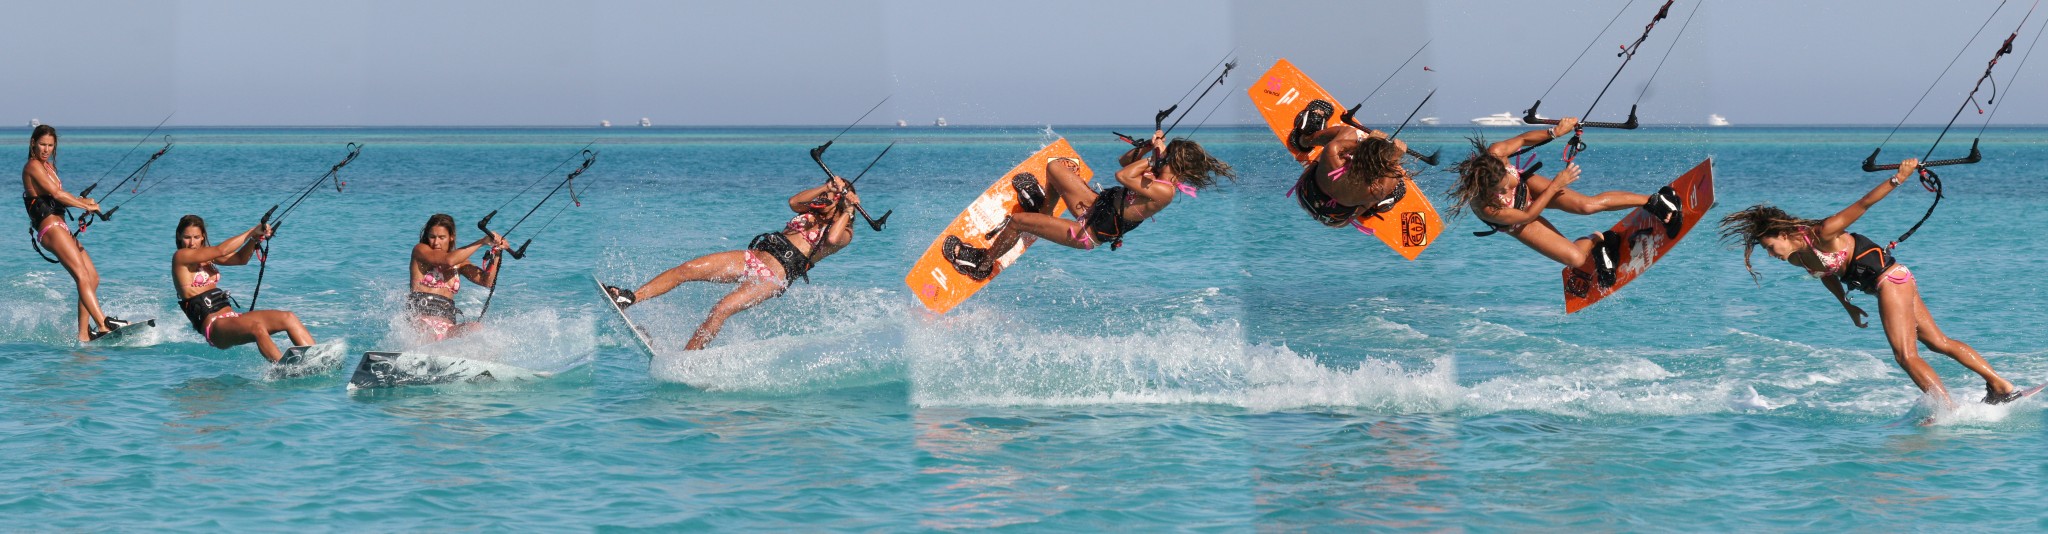
Sequence 2 gives you a good look at how to finish the job and pass the bar. Remember to look around to where you want to go at all times.


Following Sequence 2
- Pic 1. As Karine lands with the weight on the balls of her feet and over her back leg, she has completely twisted her wrist around so the bar is ready and waiting to be grabbed by her free hand.
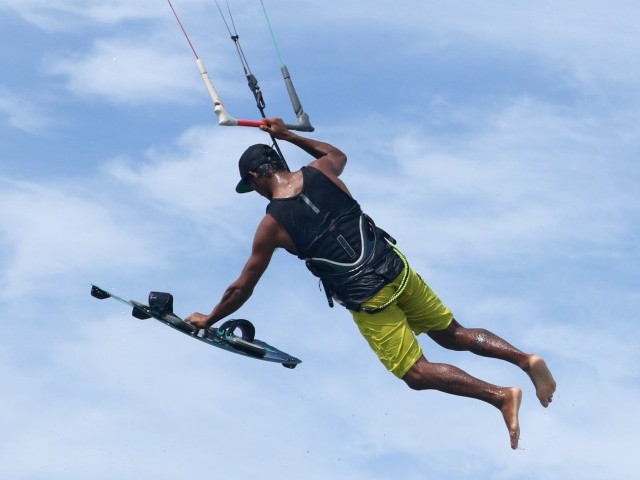
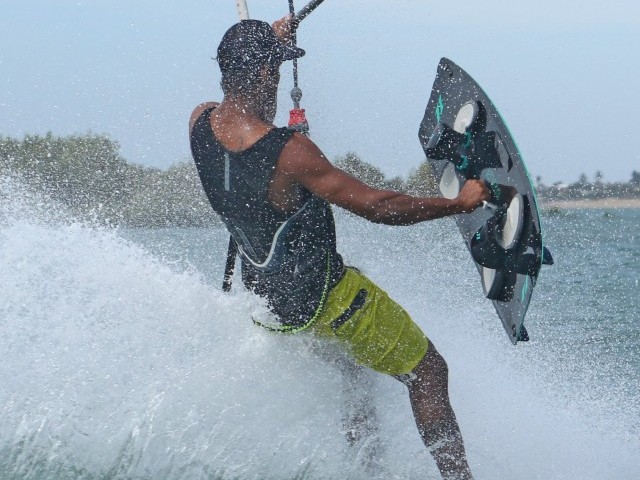
- Pic 2. Because the kite is not low (it will tend to go up as you’ll be holding the bar with your back hand), and therefore the bar is not in the small of her back, Karine has leant forward so that she can reach up with her free hand.
- Pic 3. She grabs the bar before the kite gets too high.
- Pic 4. And immediately releases her back hand.
- Pic 5. This allows her arm to untwist and she starts to get her weight over the centre of the board.
- Pic 6. With only her front hand on the bar and her weight now moving to windward and creating some resistance against the kite, the kite will start to steer back down and generate some forward momentum.
- Pic 7. Karine grabs the bar with her back hand and pushes her legs away from her, pointing the board slightly off the wind to gather speed.
- Pic 8. Once she feels in control she can push her hips up, hook back in and claim it.
Common Problems
There are too main obstacles to overcome.
- You keep landing toe side and don’t get going into the second rotation. If this is the case the chances are you’re watching where you would normally land which makes you land. This is often the result of not committing enough to the rotation to wrapped. If you attempt this trick with less power and don’t get too much height it’ll be much easier to force your head into believing that it’s a good idea.
- You don’t get quite far enough around to wrapped. The reason for this is that you don’t get the bar near enough to your hips, so once you release the kite pulls you and unbalances you. Firstly make sure you get the elbows in and the knees up. Secondly don’t let go too early, wait until the hips roll onto your hands and then release. Yet again this will stop the kite from pulling your arm away from you.
Keystones
- Carve hard and long, lead with head.
- Elbows in
- Knees Up
- Both hands to hips before releasing
- Twist your wrist
This technique article was in Issue 13 of IKSURFMAG.
Related
By Christian and Karine
Christian and Karine have been working together as a coaching team, running improver to advanced kitesurfing clinics since 2003.
