
Toeside Nose Grab Front Loop Transition
Technique / Intermediate

Introduction
This could almost be considered a touch old school. Remember those mutant boys, Shinny, Tobias, James, Flash et al.? They had a seemingly infinite number of variations that made changing direction look as positively exciting as the ginormous airs, spins and board offs (all with Mach 10 landings) that seemed commonplace amongst a freakish few back then. Nowadays there’s a lot of turning, a few BLTs but the variation to change direction is almost lost. And that is why we thought it high time that you got your heads around this little beauty. It’s basically a half popped front loop from toeside, with a grab near or on the nose, which is then turned into a transition, with an optional late kite loop to help if you’re on a smaller, faster kite. Or let’s be honest, if the kites gone a tad too far back for a plethora of possible reasons.
Before trying this, we will, of course, recommend that you’ve at the very least got a decent toeside and can manage a front loop transition. If you can already front loop from toeside, you’ll have a massive head start.


So, with the above in mind, what are the important bits of this move that’ll make it all the less frustrating to learn???
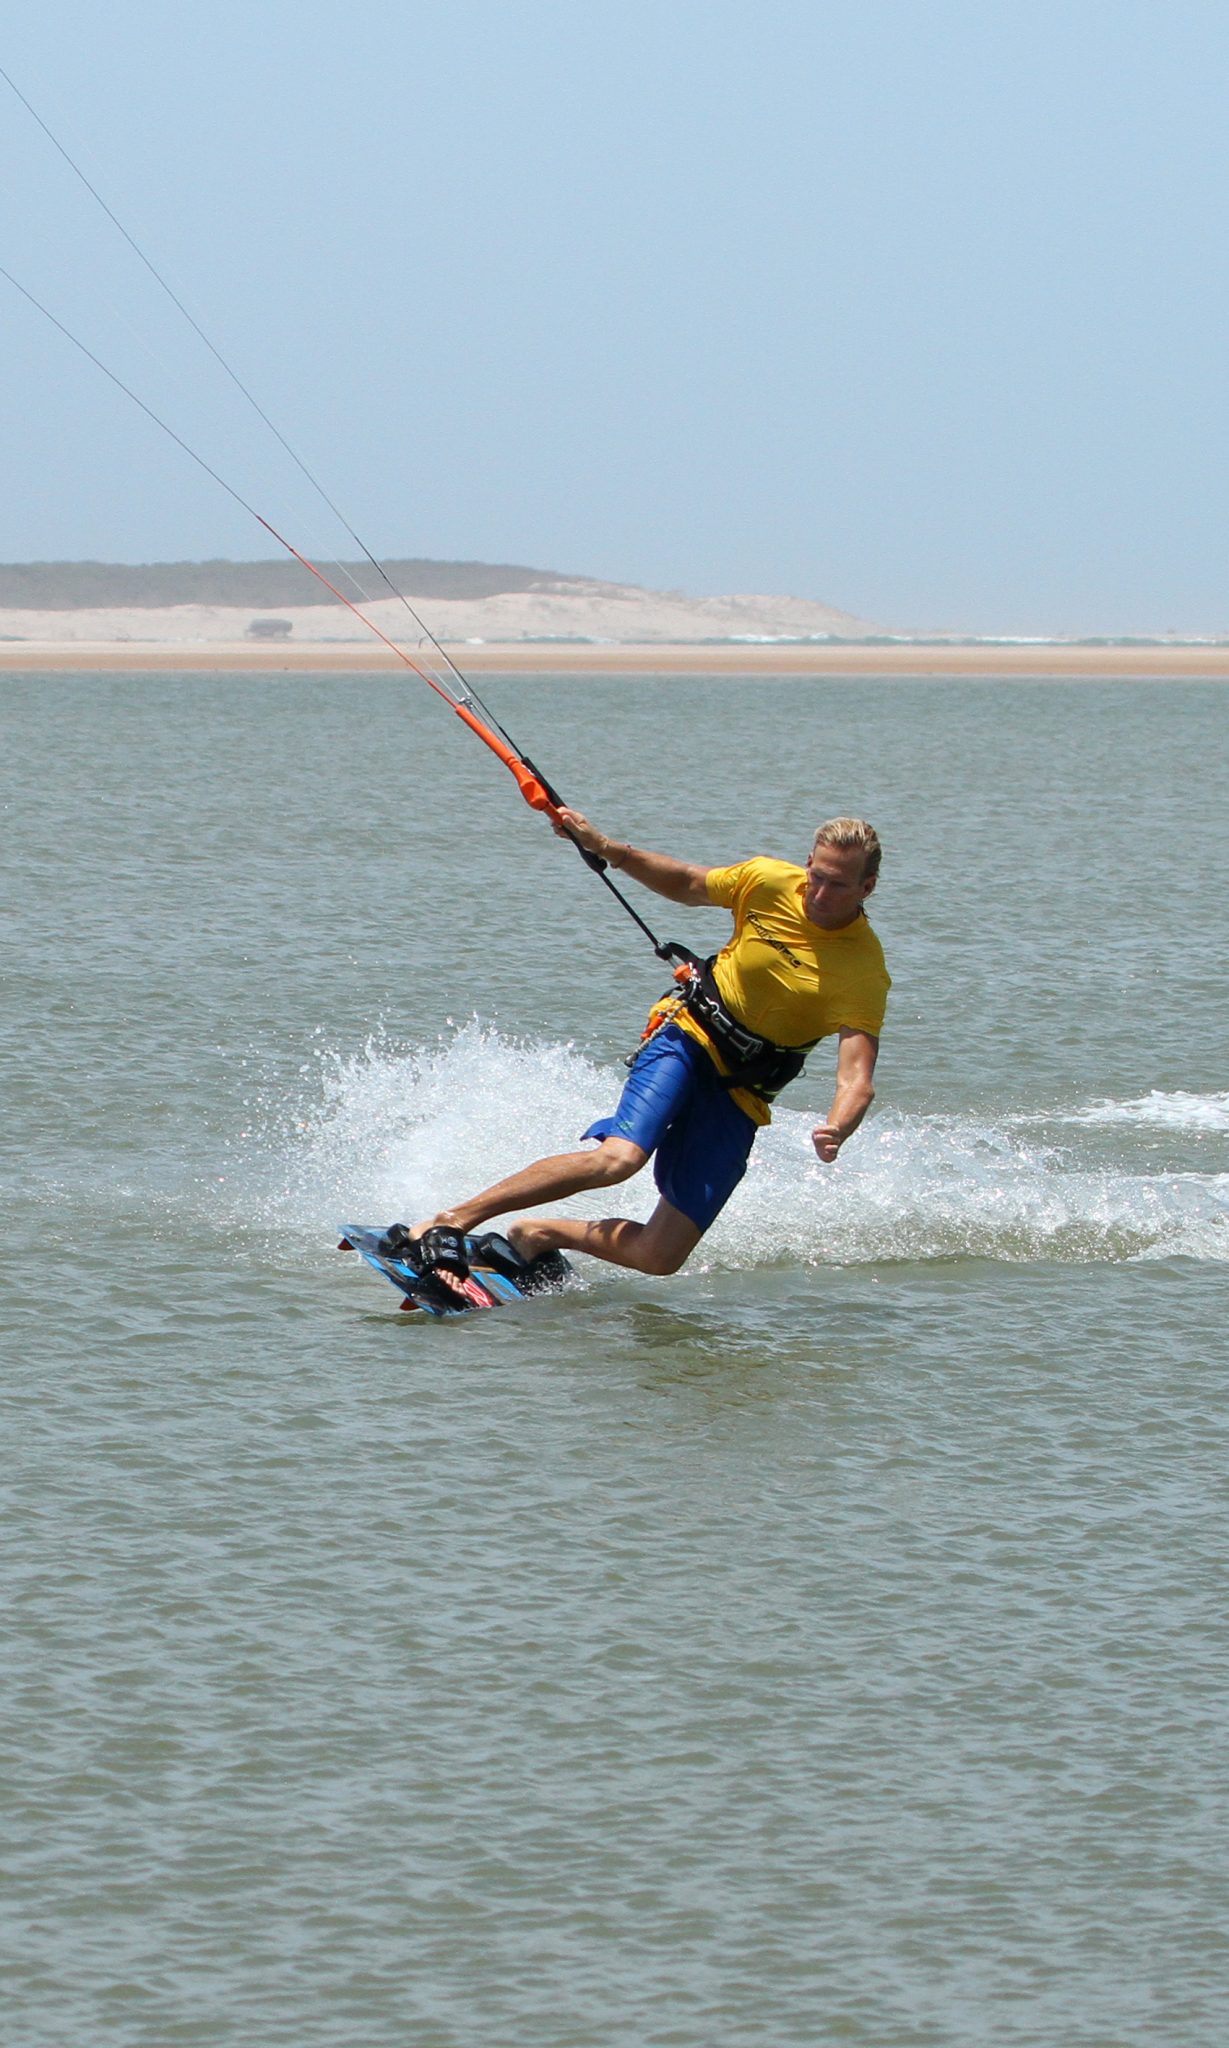
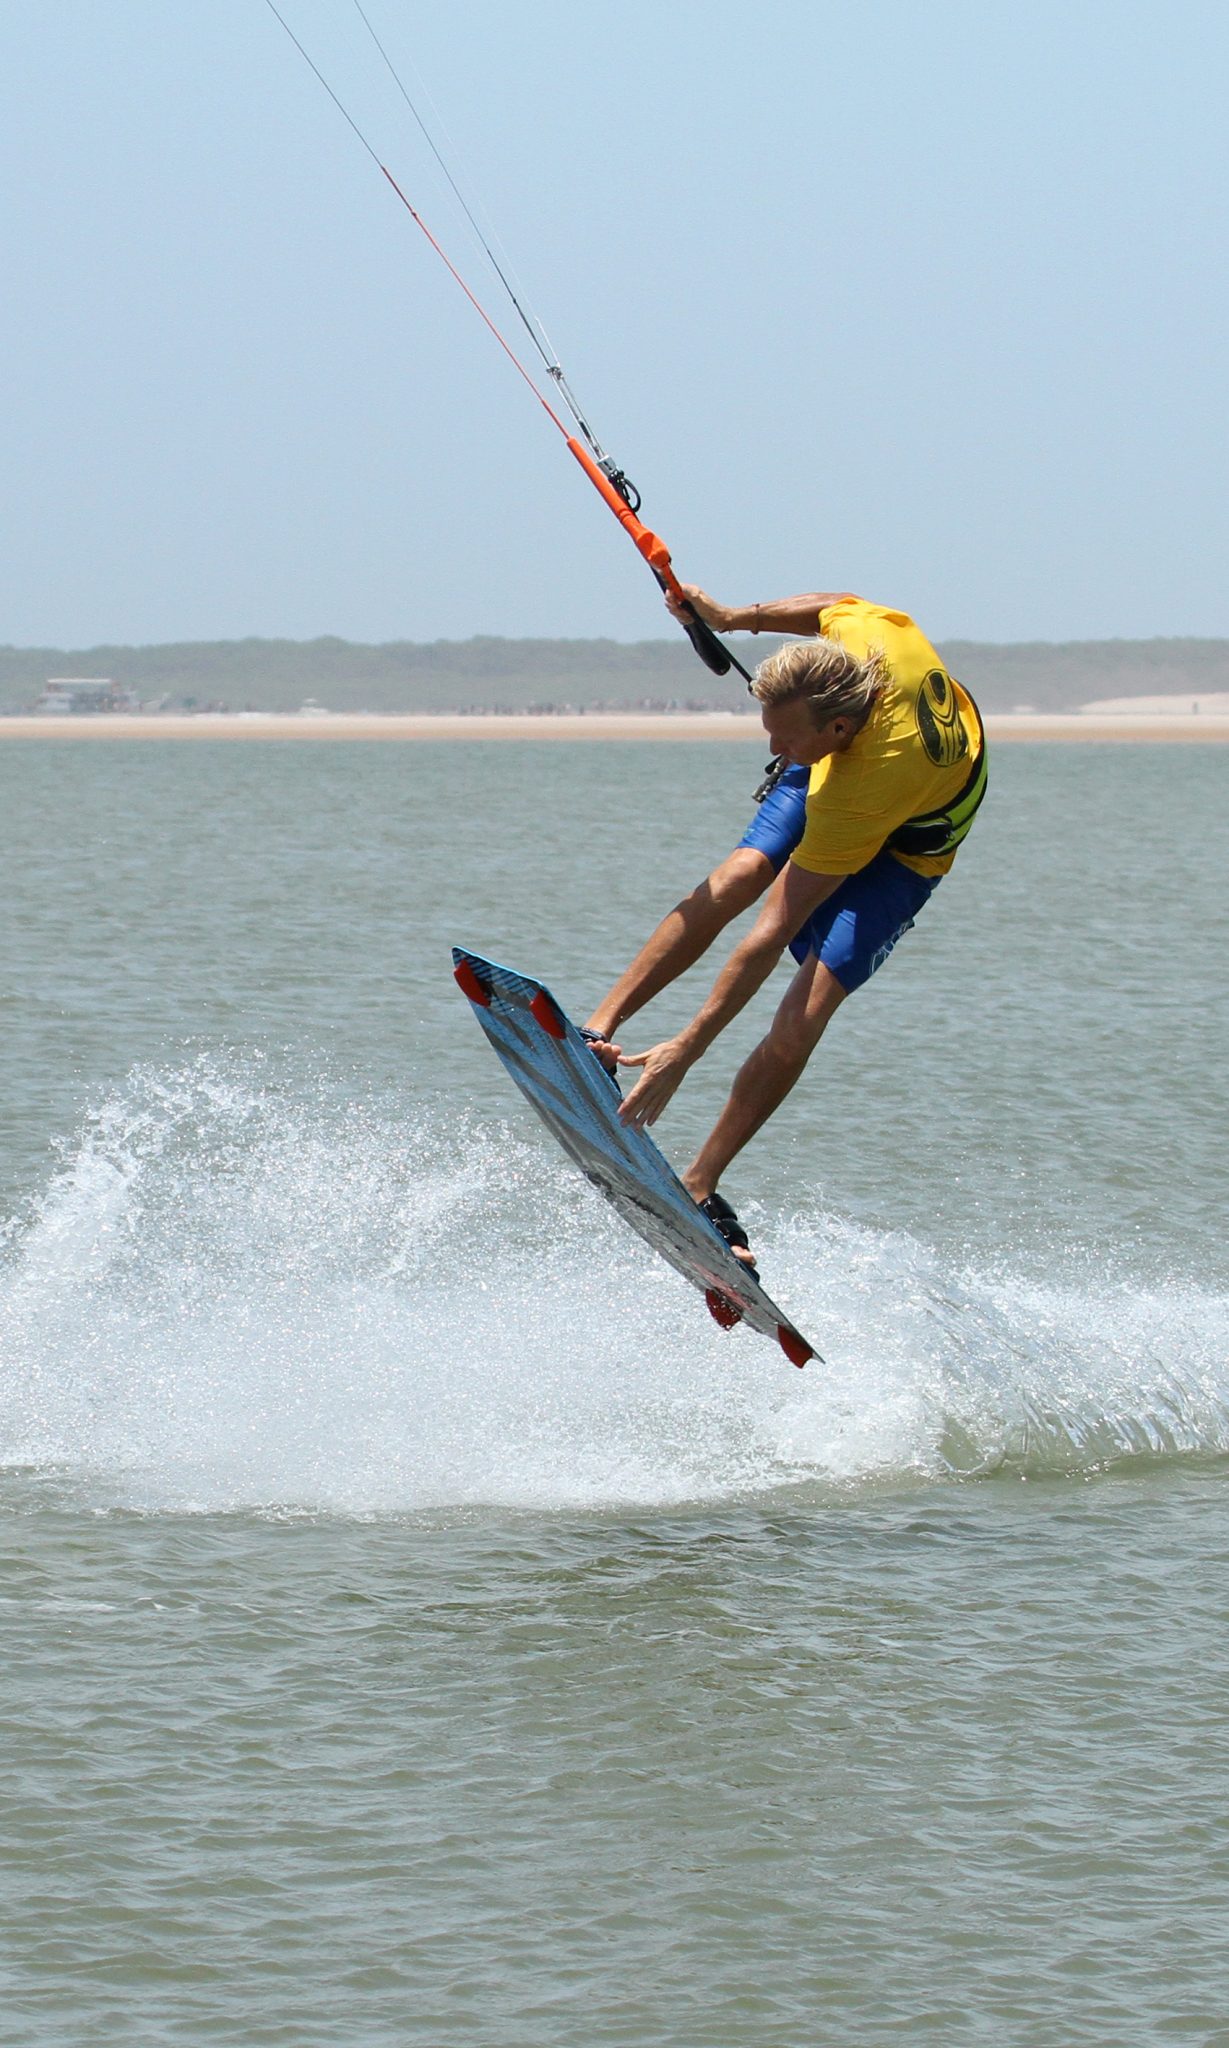
Driving Toeside Pic A.
We called this a half-popped transition. Translated, this means that you will need to pop into it, but you will also be drifting the kite up, so you’ll have some help, and then plenty of lift during the move. The downside is that you’ll need speed to pop, which means that you’ll likely pendulum under the kite and find that it ends up a tad further back than you intended and expected! It goes without saying that the foundation for making this work as best it can, is to have your toeside nailed so that it’s as efficient and effective as possible.
The key to a good toeside is using as much of the board’s edge as you can, which require you to get your weight forward. Too much weight driving through the back foot will not only slow the board and encourage it to follow the kite downwind, but it will also make popping extremely difficult as all the power will be directed through your back leg, making popping against it physically demanding. To get more weight forward get both knees working together, pointing forwards in the direction of travel. Then open your shoulders so that you’re facing forwards and not turning them upwind. Finally push your hips over to the upwind side of the board, squeezing your glutes together so that you can drive against the board with the balls of your feet.
All this will be easier if your kite is at either 11, 1 or a tad lower. Any higher and it will be hard to edge against. Get your sweet spot set close enough that you’re not tempted to pull in and stall the kite. If you pop to toeside from heelside with a bit of speed, it’ll be easier to adopt this position. Looking at Christian, he’s approached with speed, back hand centred on the bar and kite at 11 o’clock. You can see how his shoulders are open and up; he’s driving off his feet against his edge, pushing his hips upwind, with both knees pointing forwards. And finally, if you hold your free hand forward it will encourage you to lean that way. Once you’re ready, you can drift the kite up towards 12!
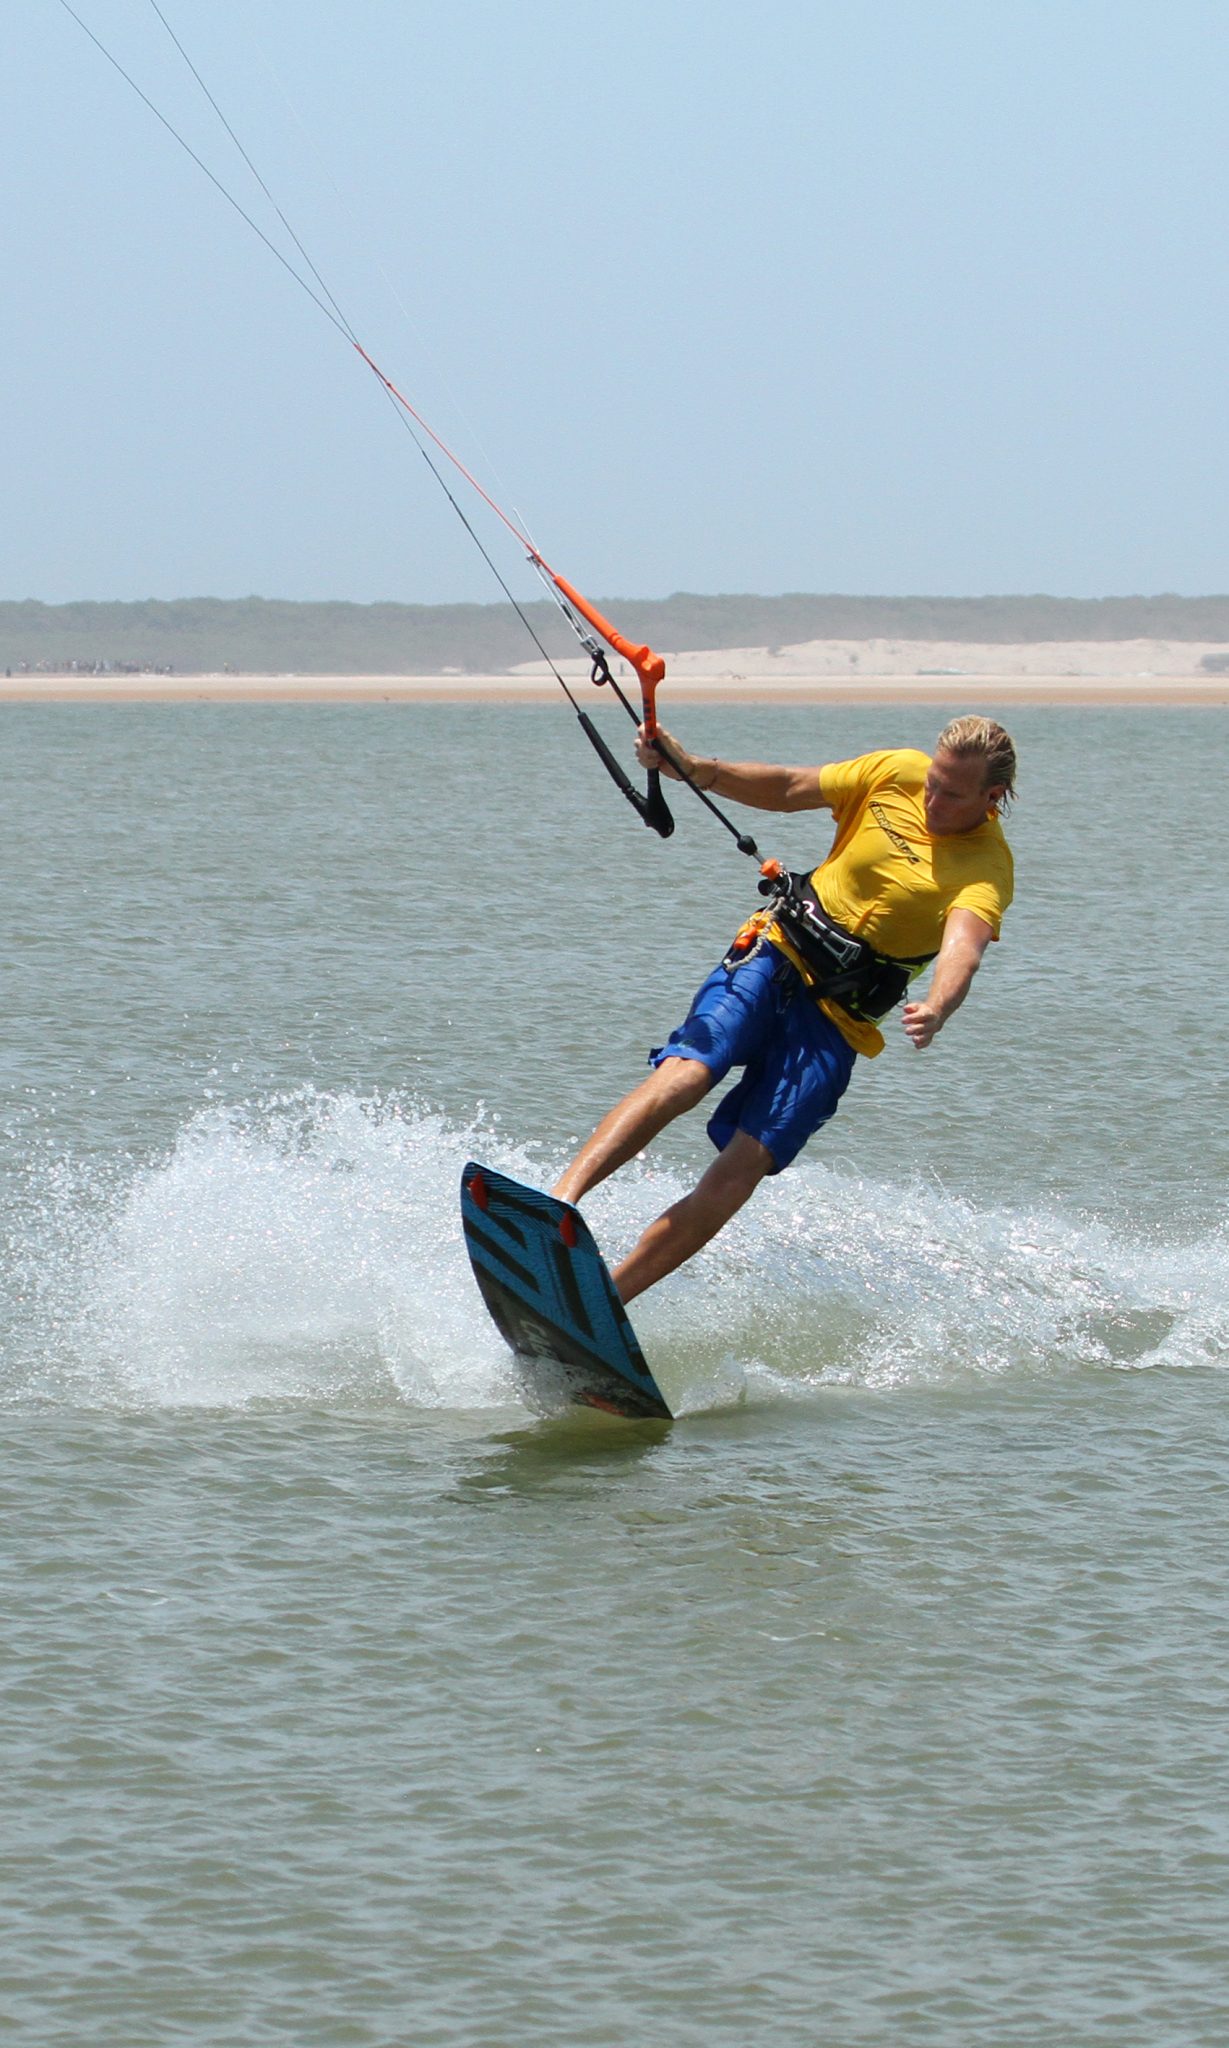
Pop Early Pic B.
Now back to that half pop thing! The fact that you’re popping means that you’re not using the kite to jump, but rather for assistance, so pop early. In real time action terms, this means that you should be popping before the kite pulls you off the water. To drift the kite, steer the kite with your back hand and keep the bar on the sweet spot. Once you’ve started to drift the kite with your back hand, it’s time to pop.


To do this, carve the board suddenly up into the wind while dropping your hips and weight back onto the back foot. As soon as it’s weighted, you can extend your back leg, stamping hard against your foot and the tail of the board. Here Christian has his hips back, and he’s exploded up against the board with his back leg. The harder you carve and pop the more speed you’ll kill and the easier the transition will be. However, if you just carve up, and for a tad too long, you’ll lose all speed and won’t get any pop! Christian may have his weight back, but his shoulders are still forward, open and up. Keep the bar in on the sweet spot so that the kite lifts as soon as it can. Let the bar out, and the kite will go too far back.
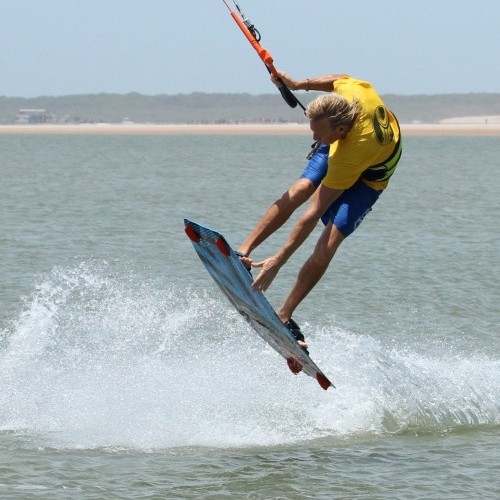
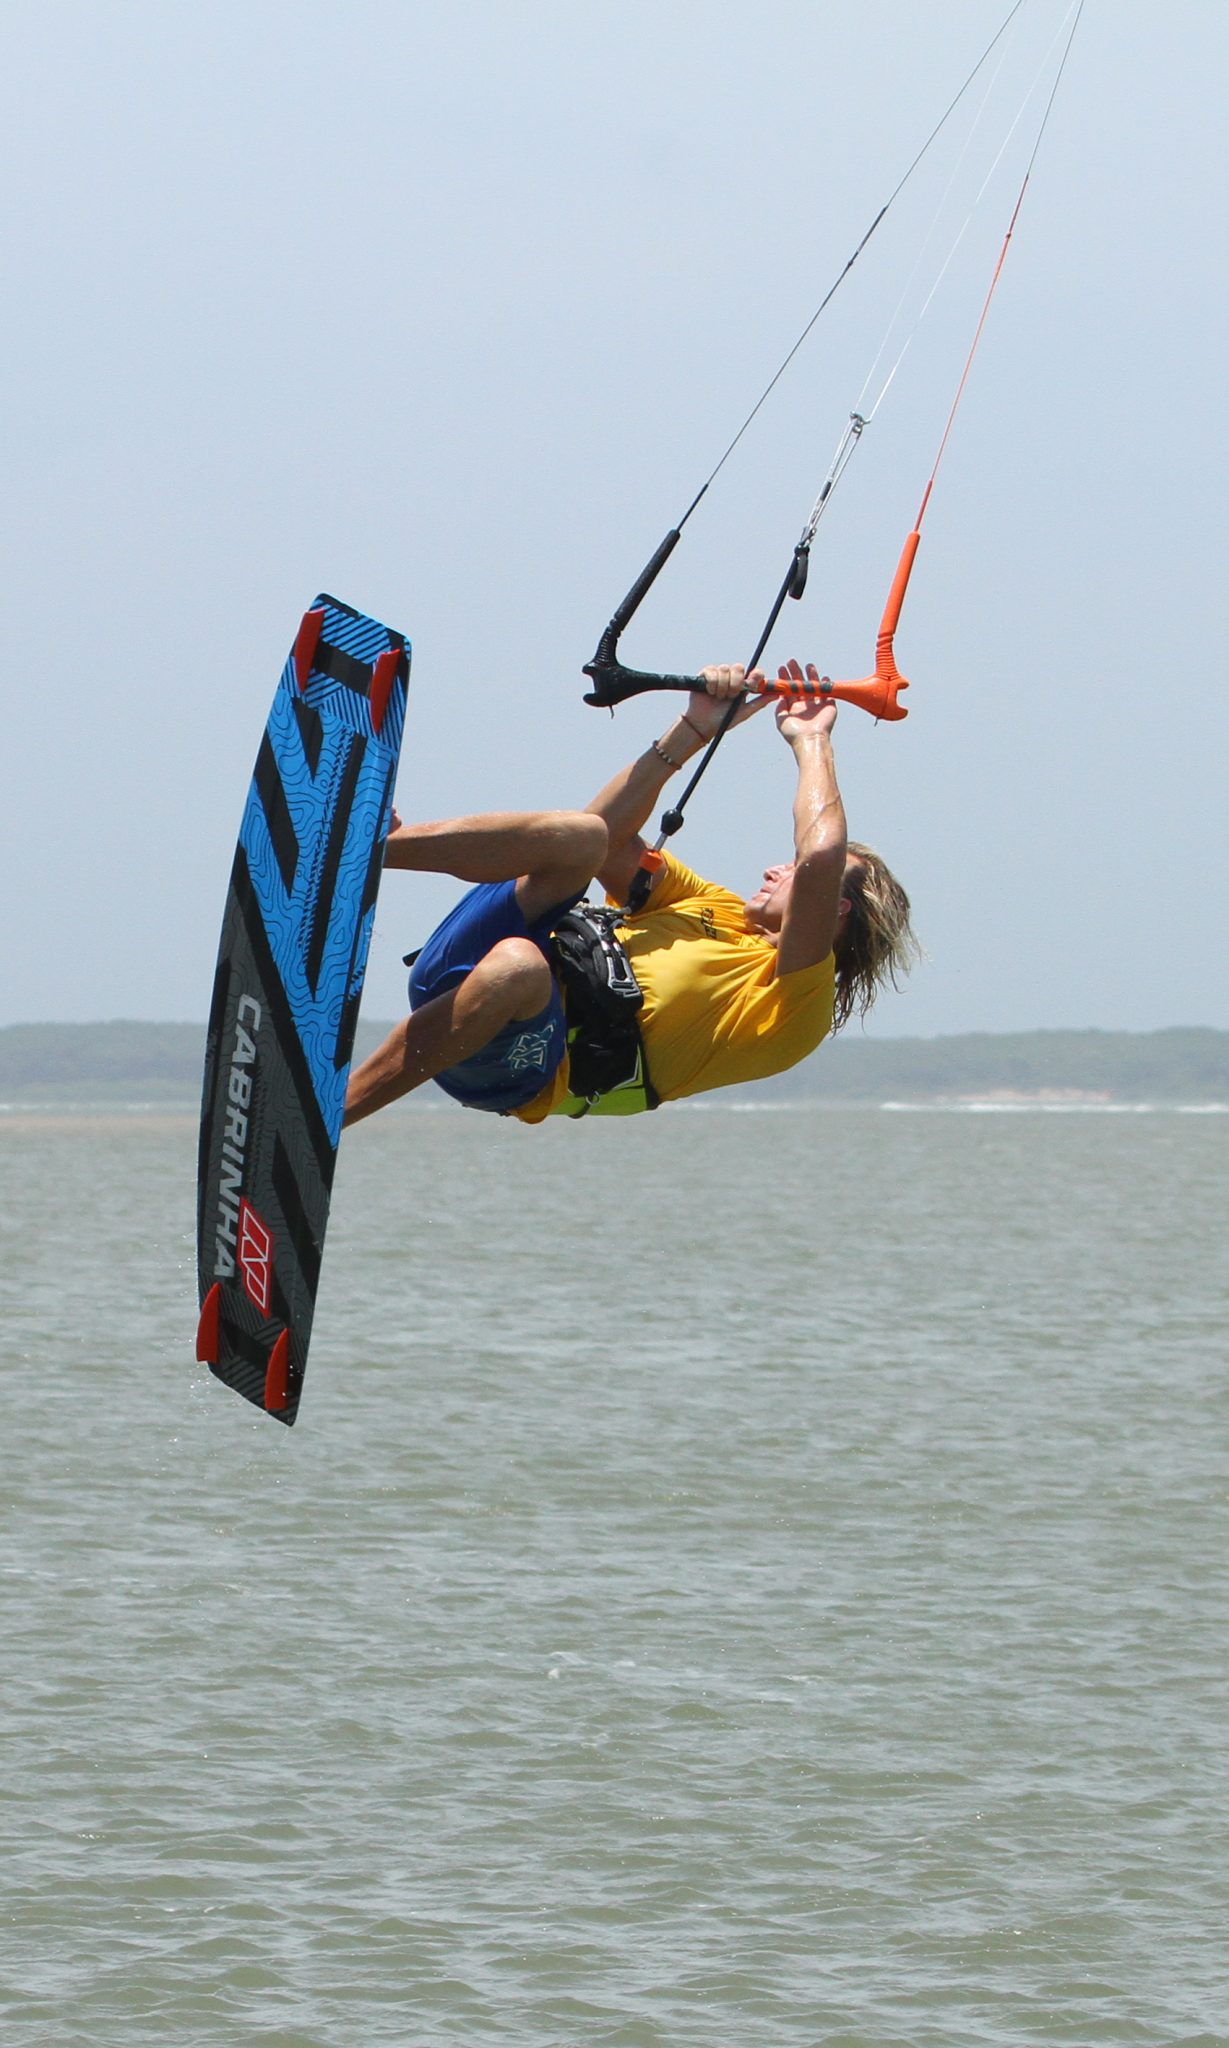
Grab to Rotate Pic C.
Once you’ve popped, it’s time for some serious multi-tasking. You must get control of the kite, encourage your front rotation and get the grab in. In the pic, Christian has pulled his bar in, while keeping his elbow high. This will give him a bit of extra lift and height, while also levelling the bar so that the kite stops drifting back. From his pop, Christian’s back leg remains straight, pushing him forwards. Simultaneously he turns his upwind shoulder down and around which puts his weight and momentum in front of and under the bar, allowing him to rotate. This is helped by the kite pulling on his harness, which will naturally try to unspin him from toeside. With his shoulders down Christian is looking at the board, reaching with his free hand towards the toeside edge near the nose, which should be within reach thanks to the fact that he already had his arm held forward.
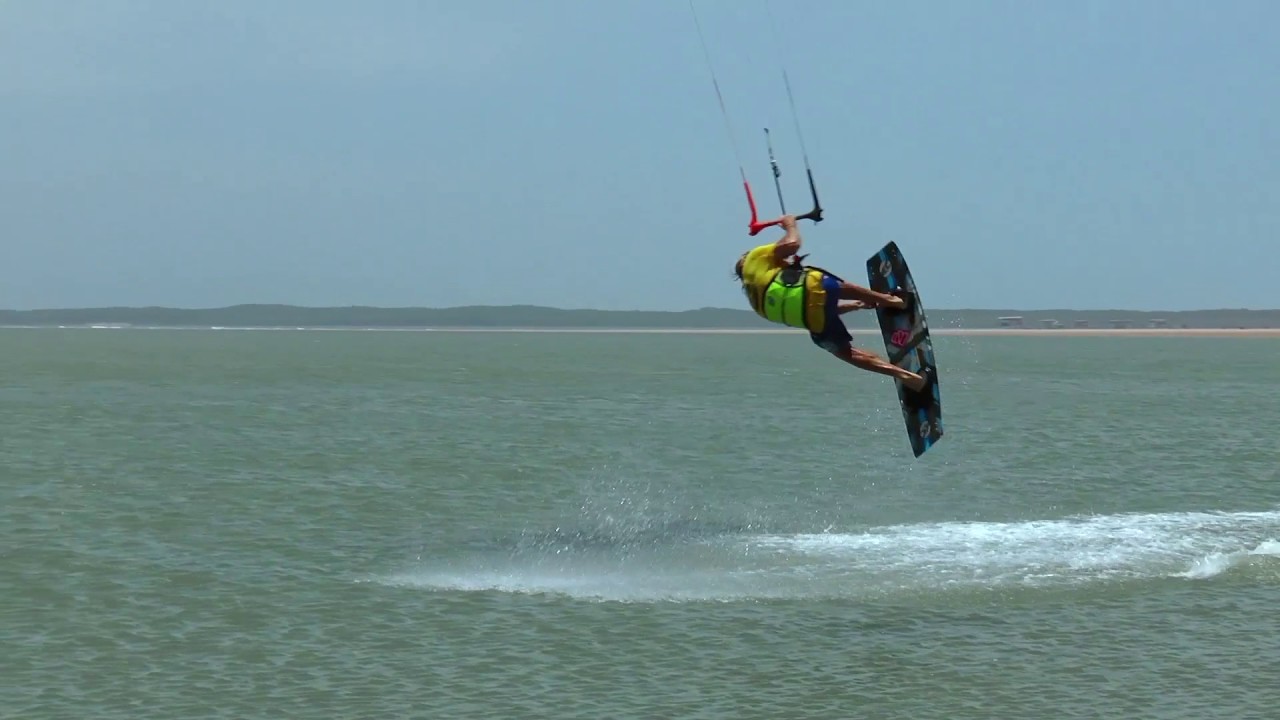
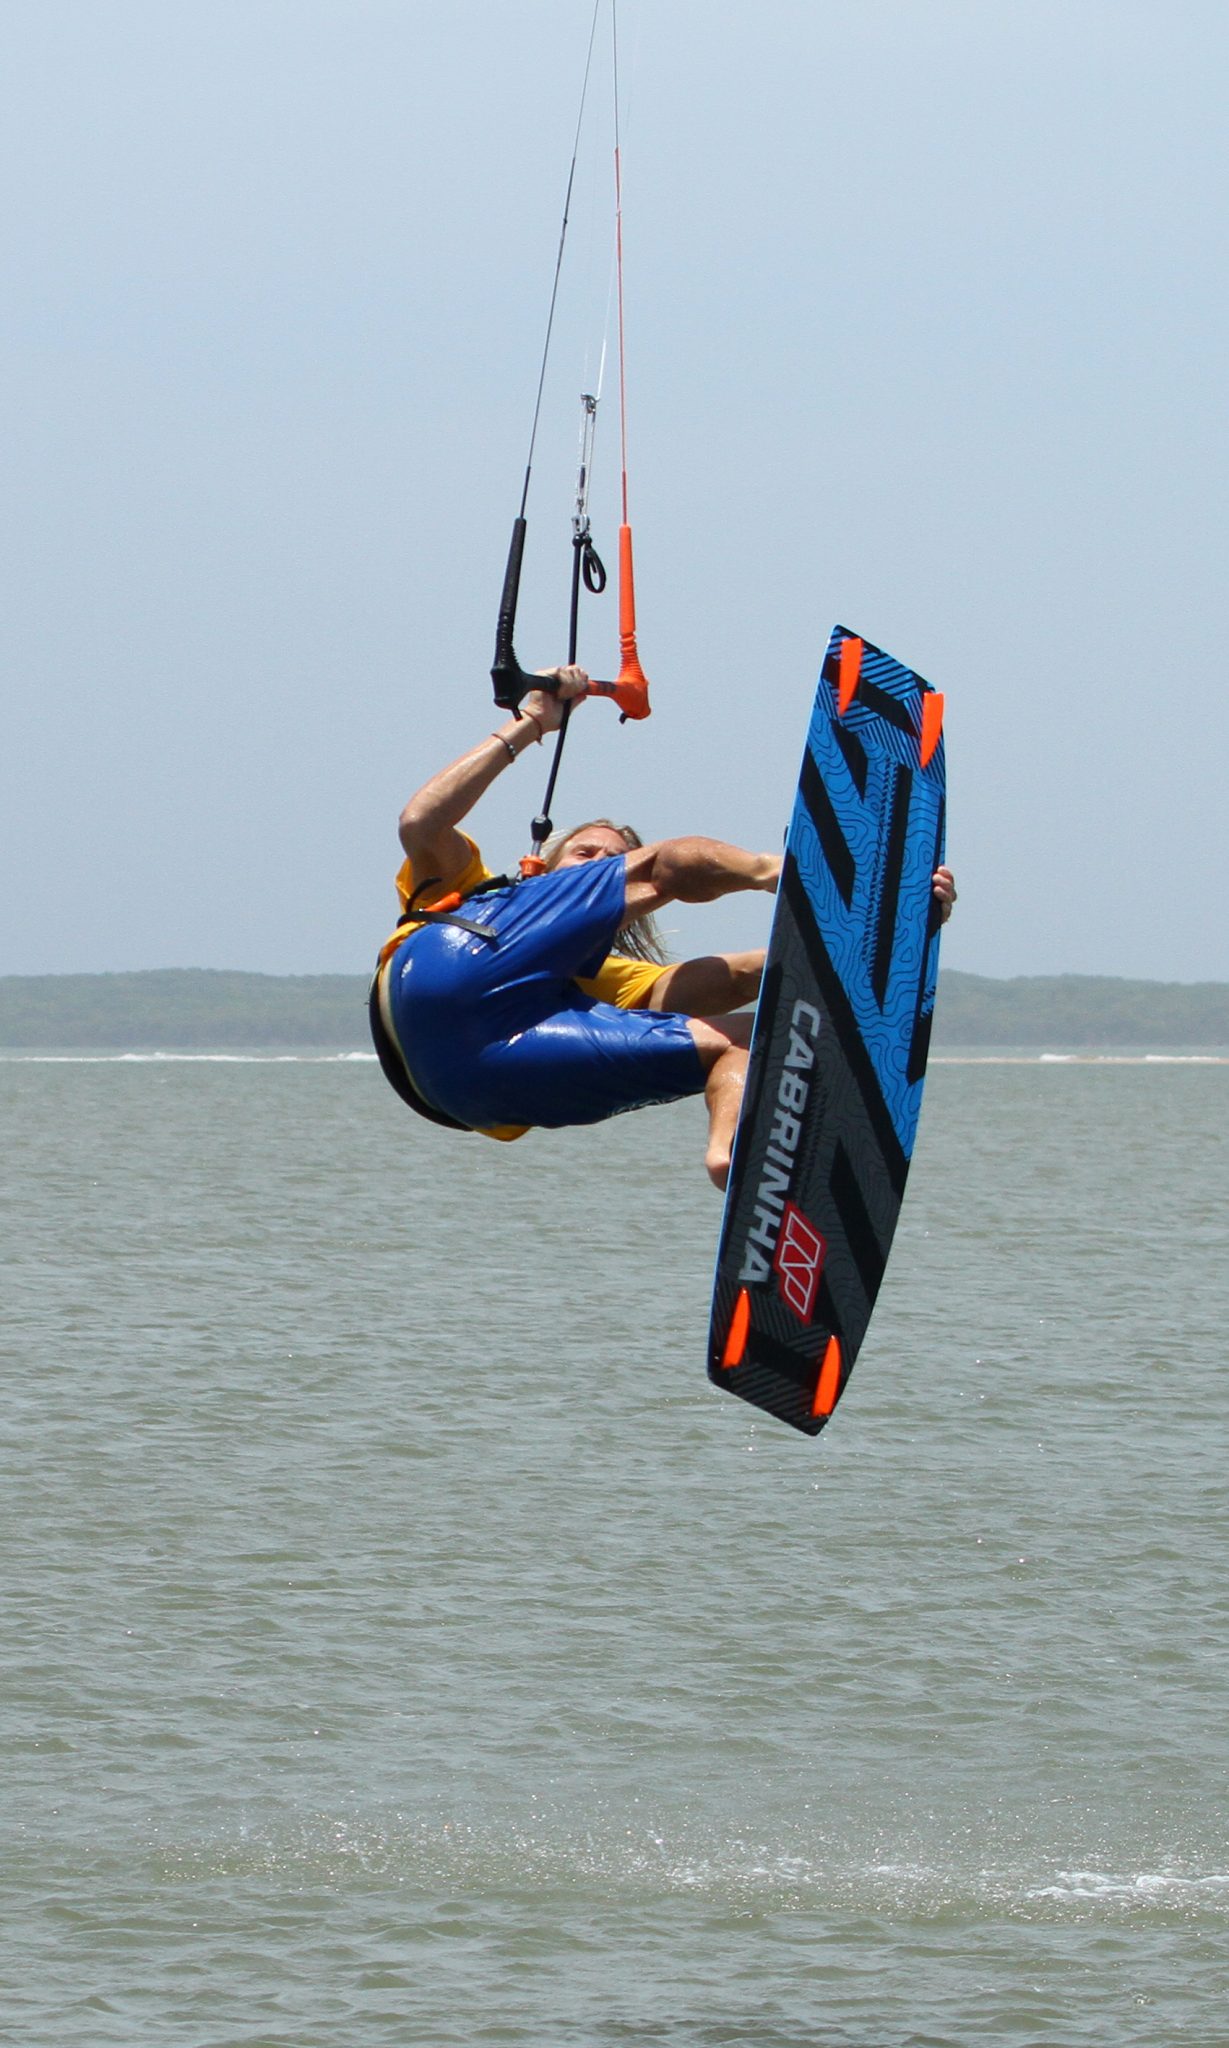
Patience Pic D.
If all the previous paragraph goes to plan you will be rotating, hopefully with a grab. As those of you who have tried a toeside front rotation before can attest, the rotation is fairly natural. With the bar held in and levelled the kite shouldn’t drift too much. Enjoy the moment and don’t rush to get around. Christian holds his grab, keeps the bar in, head looking over his shoulder, and waits until he comes around far enough to see what is actually going on.
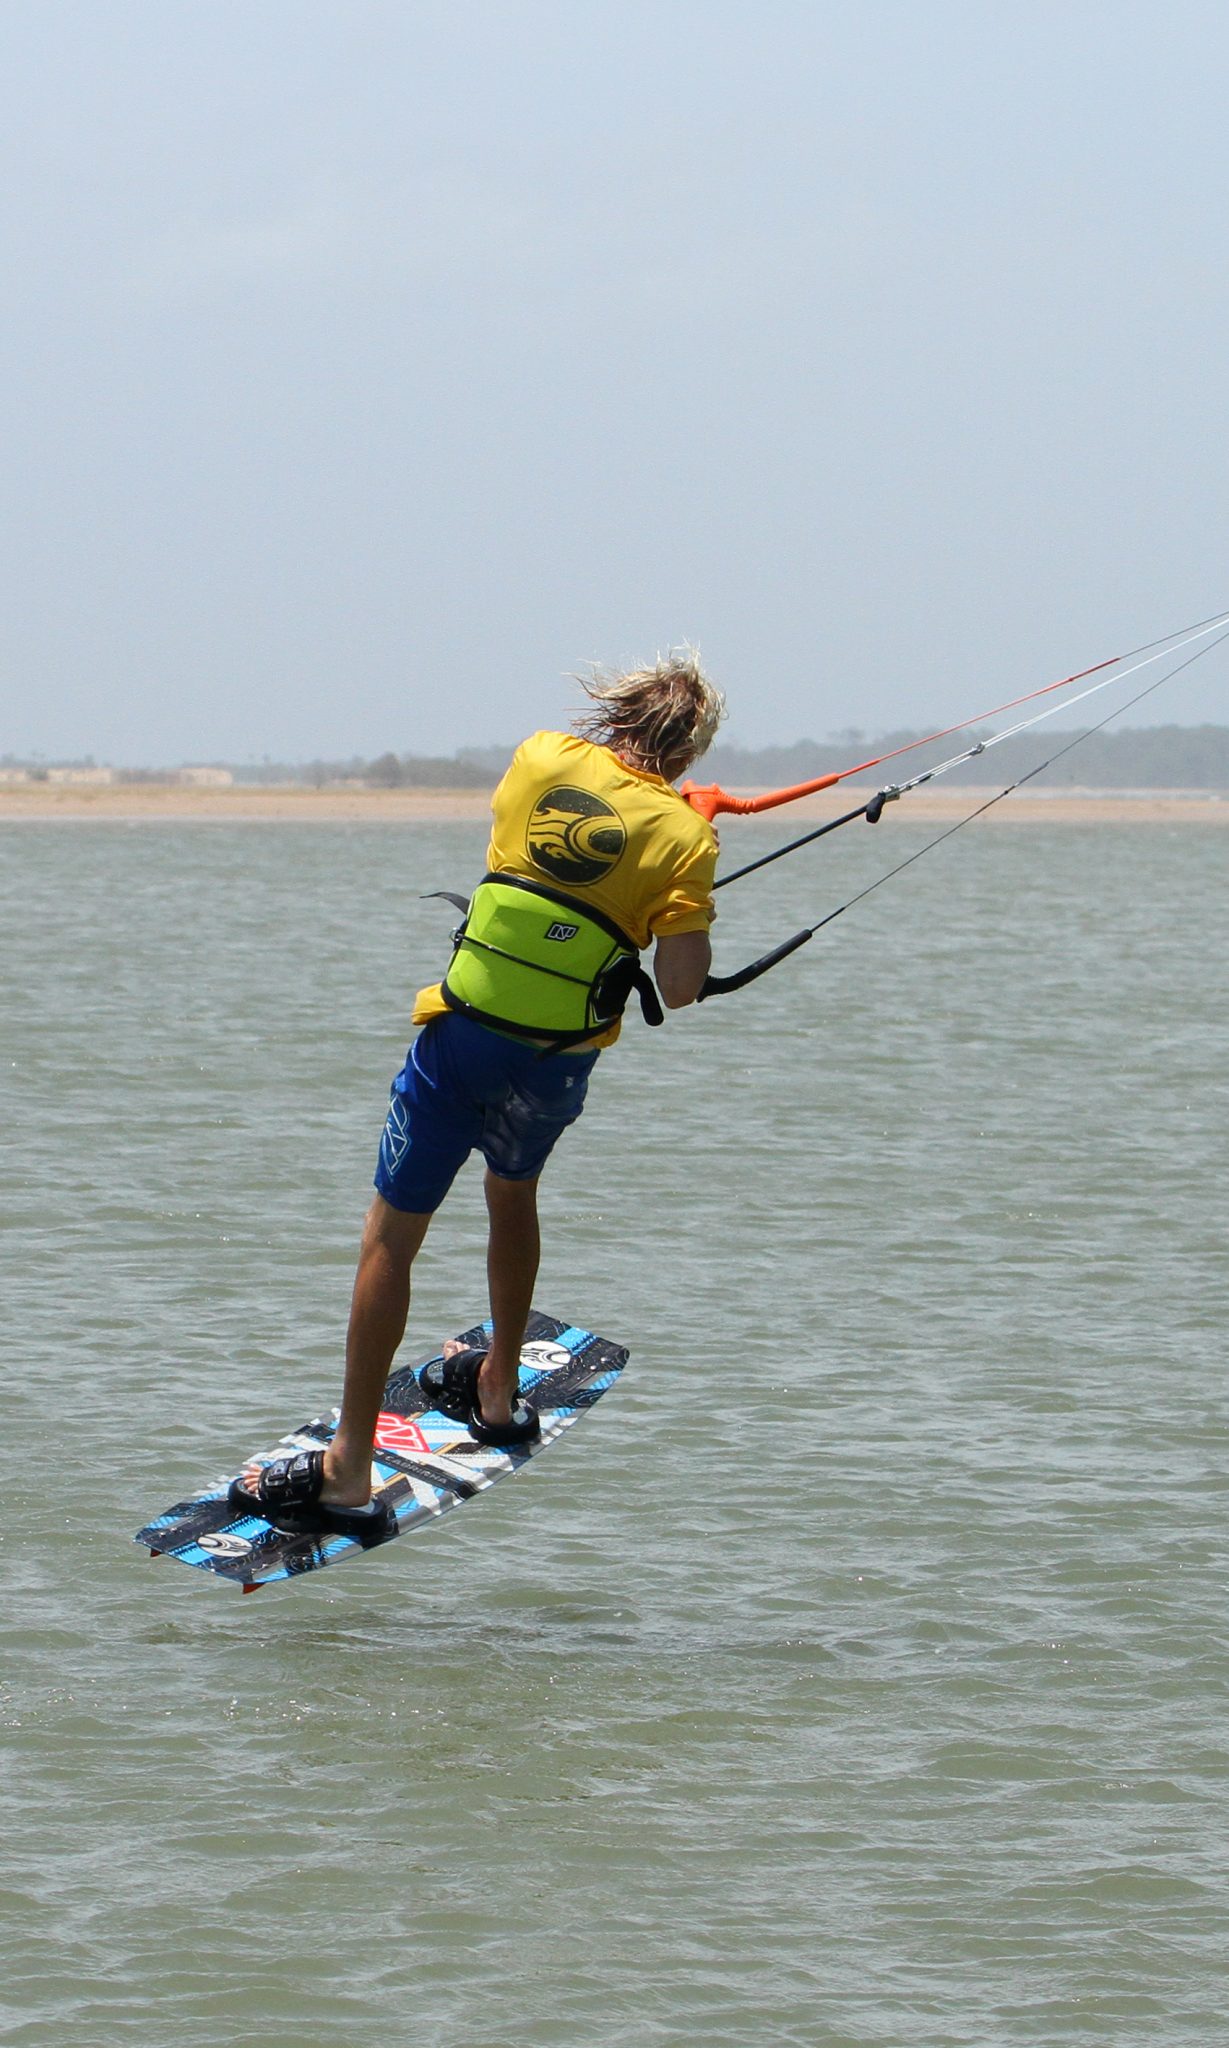
Take Control Pic E.
From the moment you take off, the rest of your flight time is fairly automated. However, in order to claim this move with both dry hair and a dry kite you do need to take command of the situation once the time is right. Your visual reference is being able to see the water downwind of you as you come around your rotation. The reason is that if you do nothing the kite will drift way back, you’ll keep rotating as you follow it and at very best you’ll land pointing upwind with the kite at the edge of the window, before sinking like a miniature Titanic. Once you spot the downwind world, release your grab so that you can get both hands on the bar and look at where you’d like to land so that you slow your rotation. As you release the grab, you should start to dive the kite. This will also help to pull you out of your rotation and get the kite moving down through the window, giving you power and preventing the kite from fluttering around to the edge where there’ll be no pull.
Prepare for Landin Pic F.
As the kite pulls and your rotation slows, you need to get everything in place to take the landing. It’s probably time to ponder the kite’s movements again. As mentioned you can land this move without a late kiteloop, depending on your speed and position of the kite. If however, you’ve got a lot of speed, the kite has drifted too far back, or you got some height you will need to finish it with a late loop. The idea of a late loop is to get power once you’ve landed, not to nail yourself in the air. So even if you need the loop, think of it as diving the kite, but not having time to take it back up once you land, and therefore continuing the pull so that the kite passes under and up helping you sail away. With the kite diving, your aim is to get the board underneath you so that you can soak up the impact. Christian has dropped his undercarriage, so that he can land tail first chasing the kite downwind. Try to keep you head up and if you want the kite to loop, keep pulling on what was your rear hand, with the bar on the sweet spot. Brilliant, job done.


Top Tips
We’ve covered the necessaries in detail, but nothing will scupper this move more than a wobbly toeside, so make sure that yours is solid. Other than that kite control and timing are everything in this move. Drift the kite up with meaning so that you feel the tension in the lines as soon as possible. And we can’t let you go until we’ve repeated that you must pop early. Don’t wait for the kite to lift you….
Now run though the sequence and the videos to see how it all comes together:)
Common Problems
The killer in all things toeside is dragging your weight back against a stalling kite. Check your stance and if your free hand is waving around behind you like a broken rudder - get it forwards. It’ll all be more comfortable and achievable if you trim your kite and get forwards.
If you find that the kite is going way too far back make sure that you move it a bit quicker and that as soon as you move it, you pop into your rotation. This way you can stop the kite.
Be aware that speed equals pendulum, which equals need for late kiteloop….

Keystones
- Dynamic toeside with sufficient speed
- Drift kite positively
- Pop early
- Turn head and shoulders, look for grab
- Dive once you can see downwind
This technique article was in Issue 62 of IKSURFMAG.
Related


By Christian and Karine
Christian and Karine have been working together as a coaching team, running improver to advanced kitesurfing clinics since 2003.
