
Surfboard Toe to Heelside Carve with a Down Loop
Technique / Intermediate


Introduction
There comes a time in every surfboard rider’s life when there is a need and a desire to squeeze in an extra bit of juice during a turn. It may be that the wind is light, that you fancy coming out with more power, or you want to feel an extra tingle of excitement. The down-loop or under-turn is just the ticket. It’s both practical, and it feels great, with many uses, and it definitely looks good too. Add to this the fact that as you spend more time on a surfboard and your strapless skills progress and you spend more time on a smaller kite than you previously did on a twin tip, the confidence to loop will help in what will become an everyday skill.
We would say that being able to carve from your toes to your heels strapless happily is essential, and if you have any previous experience with under-turns and downloops, it will help no end. However, the plan here is to give you a good idea of what is needed and when so that you won’t have too many surprises.


Let’s start off by looking at some of the key moments and how to go about them…
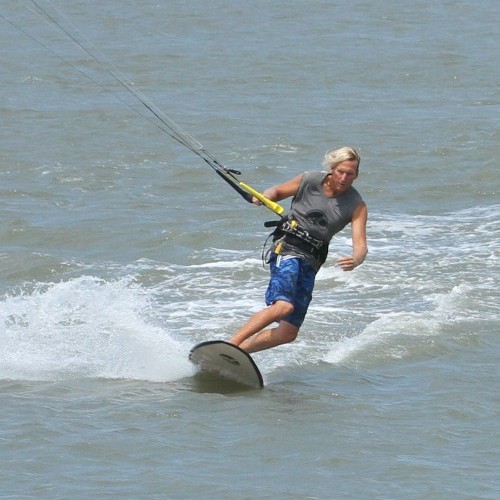
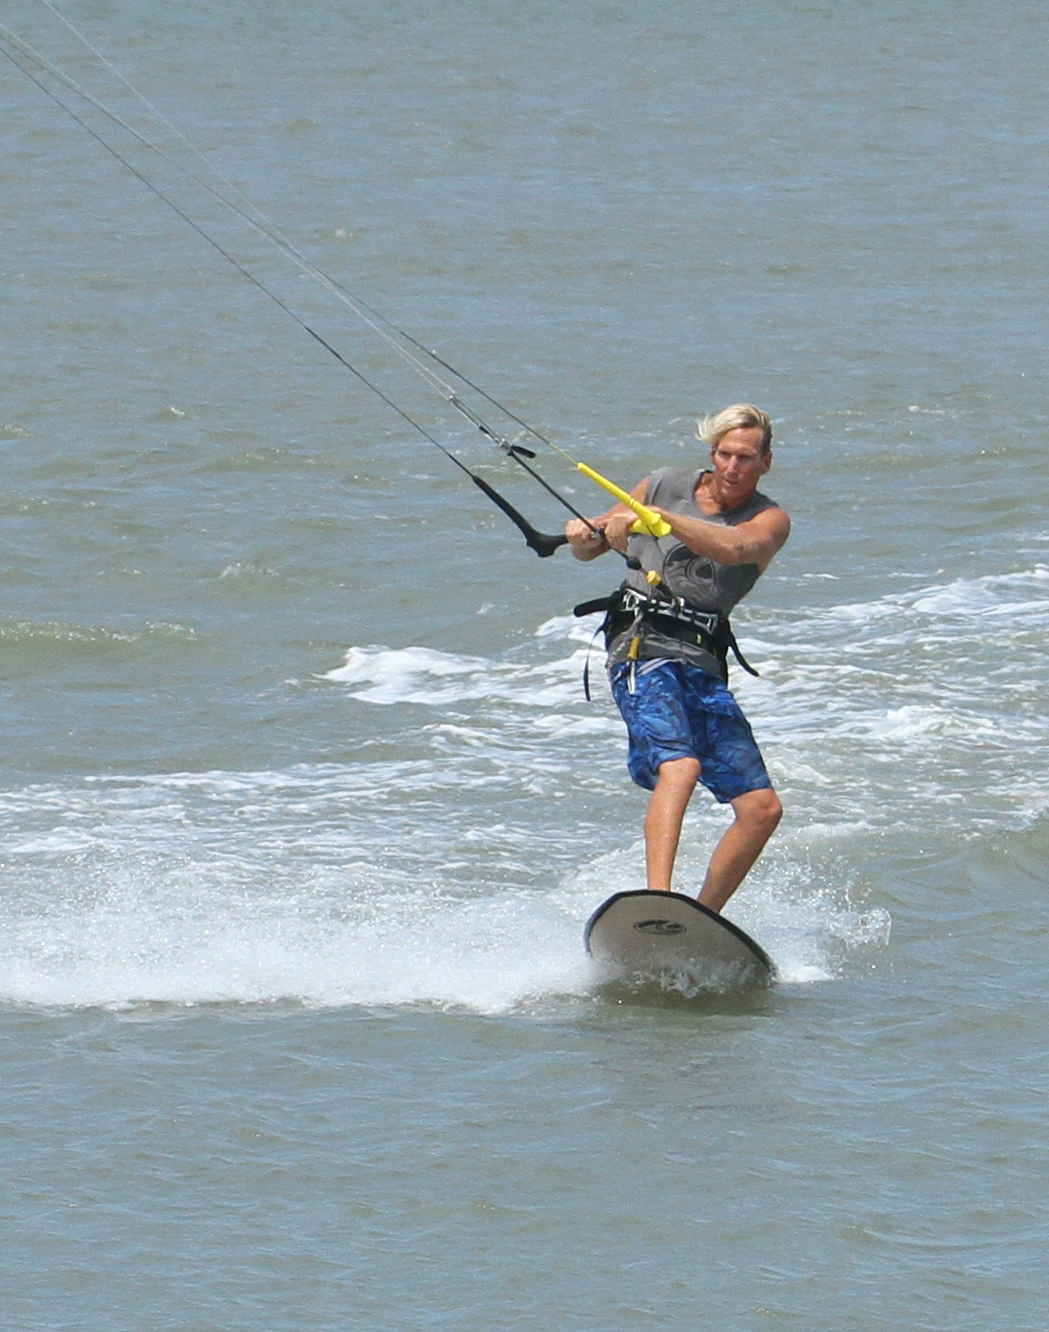
Your Approach – Pic A.
Nothing too flash here, all you need is a good solid toe side stance with the kite positioned in a normal riding position about 11 or 1 o'clock so that you can still edge and maintain speed while keeping tension on the lines. A few things will help you achieve this while also bearing in mind that your aim is to carve back around onto your heels. Starting with foot placement. Your front foot should be straddling the centre line of the board, pointing slightly forwards. Like this, you’ll get enough pressure on you’re the toes of your front foot to ride toeside, but you’ll be able to rock onto your heels as you come around the carve. Your back foot needs to be similarly straddling the centre of the board while being far enough back so that you can both initiate and finish the carve, so at least just on the foot pad. Both knees should be driving forwards together while your hips should be forwards over your front foot to keep the nose down. And finally, your shoulders should be open and facing forwards along with your head. This helps immeasurably with maintaining weight forwards. Looking at Christian you can see that his sweet spot is close enough to him that he’ll be able to reach the bar with his front hand – he’ll need to for the under-turn, his shoulders are forward and open, knees are both driving forwards and no doubt his feet are where they should be.
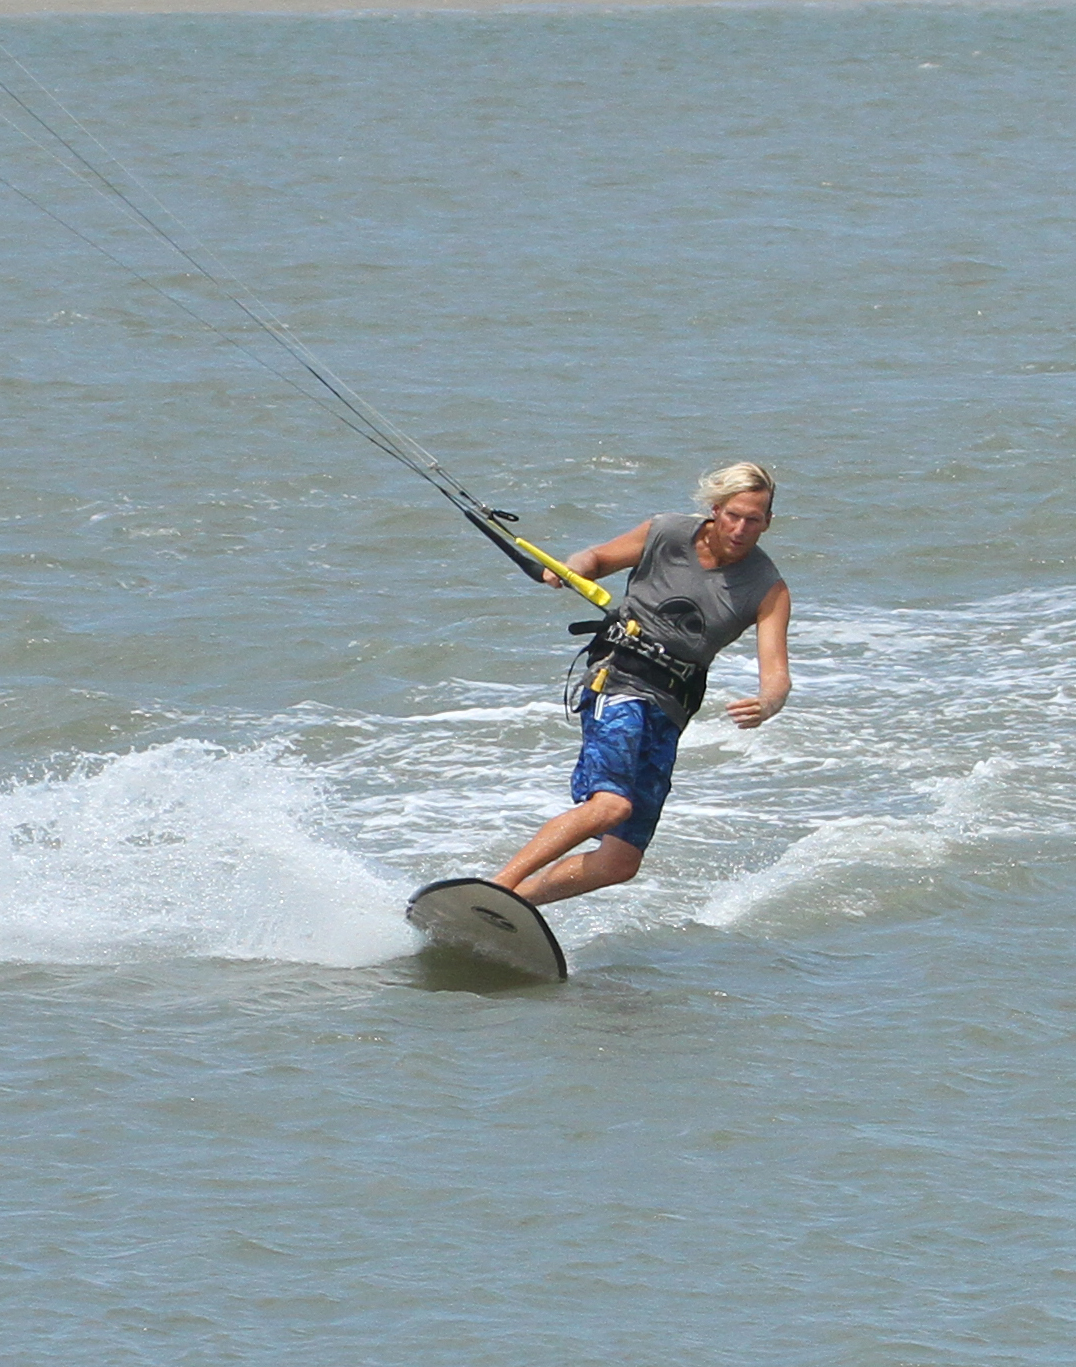
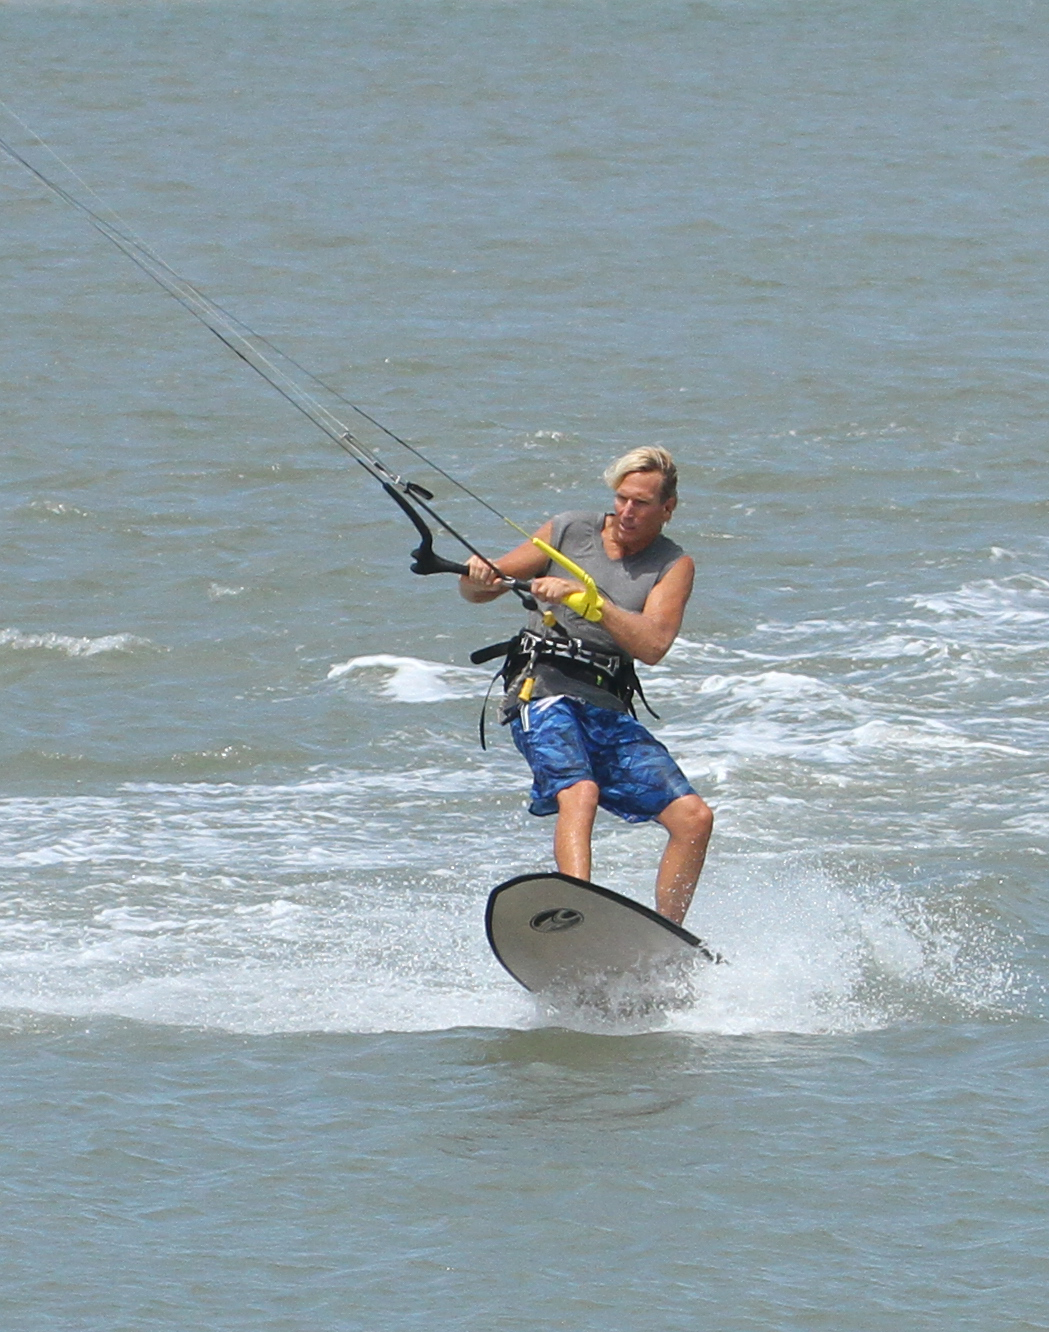
Pre-Carve - Pic B.
Once you’re settled and ready on your toes are a couple of things to tick off before setting the kite in motion. First off you need room to down-loop your kite, so it’s advisable to start with it high in the window. You can see that although he’s about to down-loop, Christian is steering his kite up with his backhand. The other advantage of starting the down-loop with the kite high is that if you turn the kite quickly from here, it will pull less – good to know during your first attempts. Also, as you raise your kite, you can start to drop your weight back over your back foot in preparation for the carve. Here Christian has moved his hips back slightly towards the tail of the board. As such his weight is over the fins and the part of the board that’s easiest to initiate the carve from. However, you can see that he’s kept his shoulders forwards and his knees are still upwind of the board.
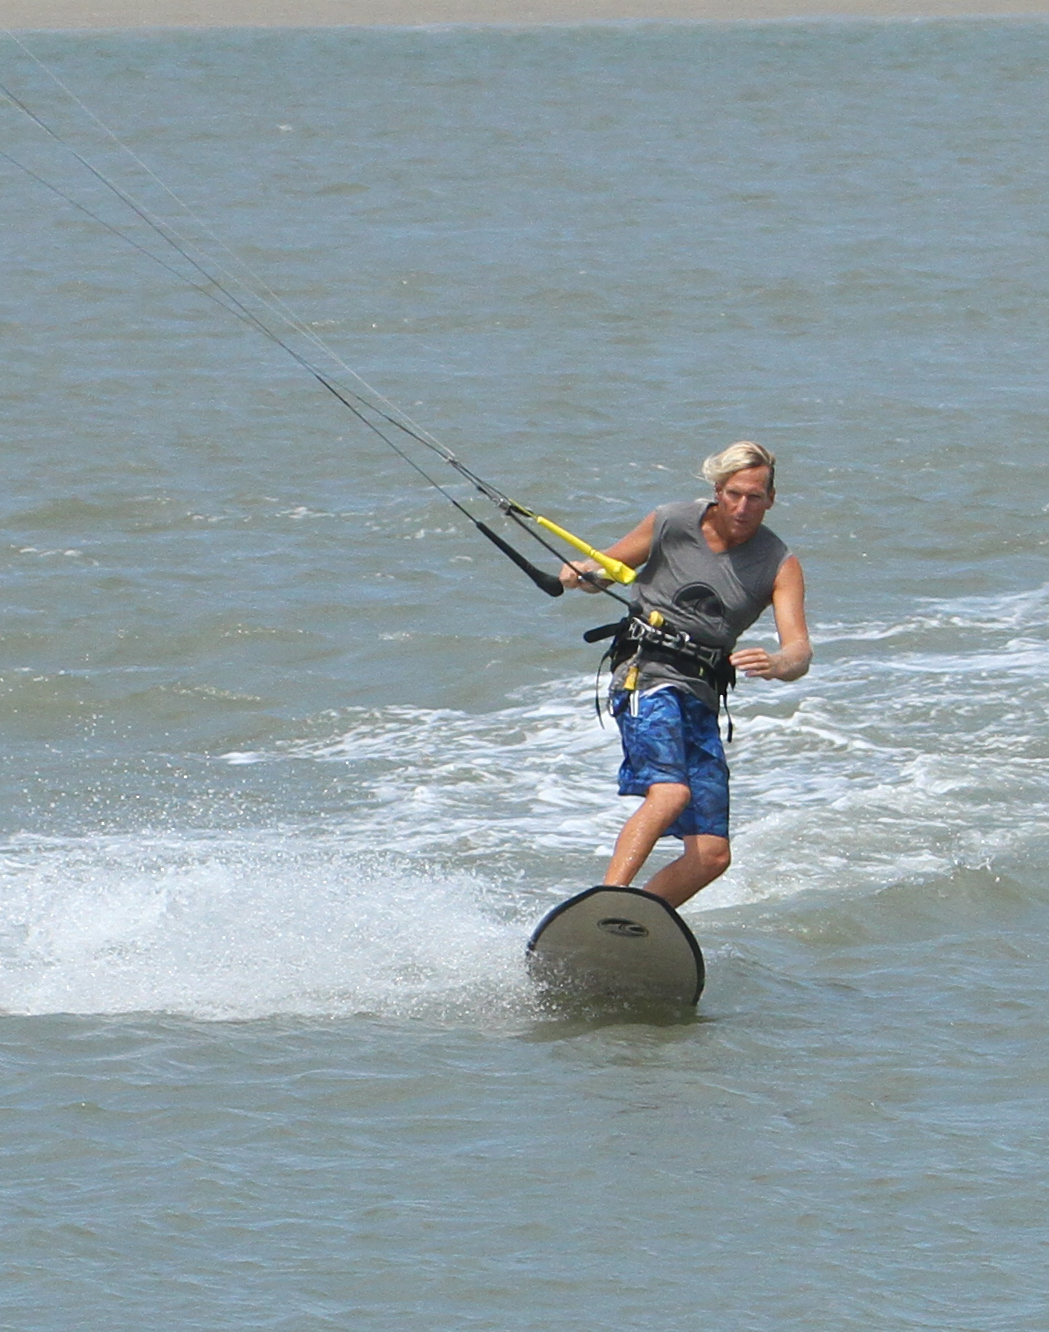
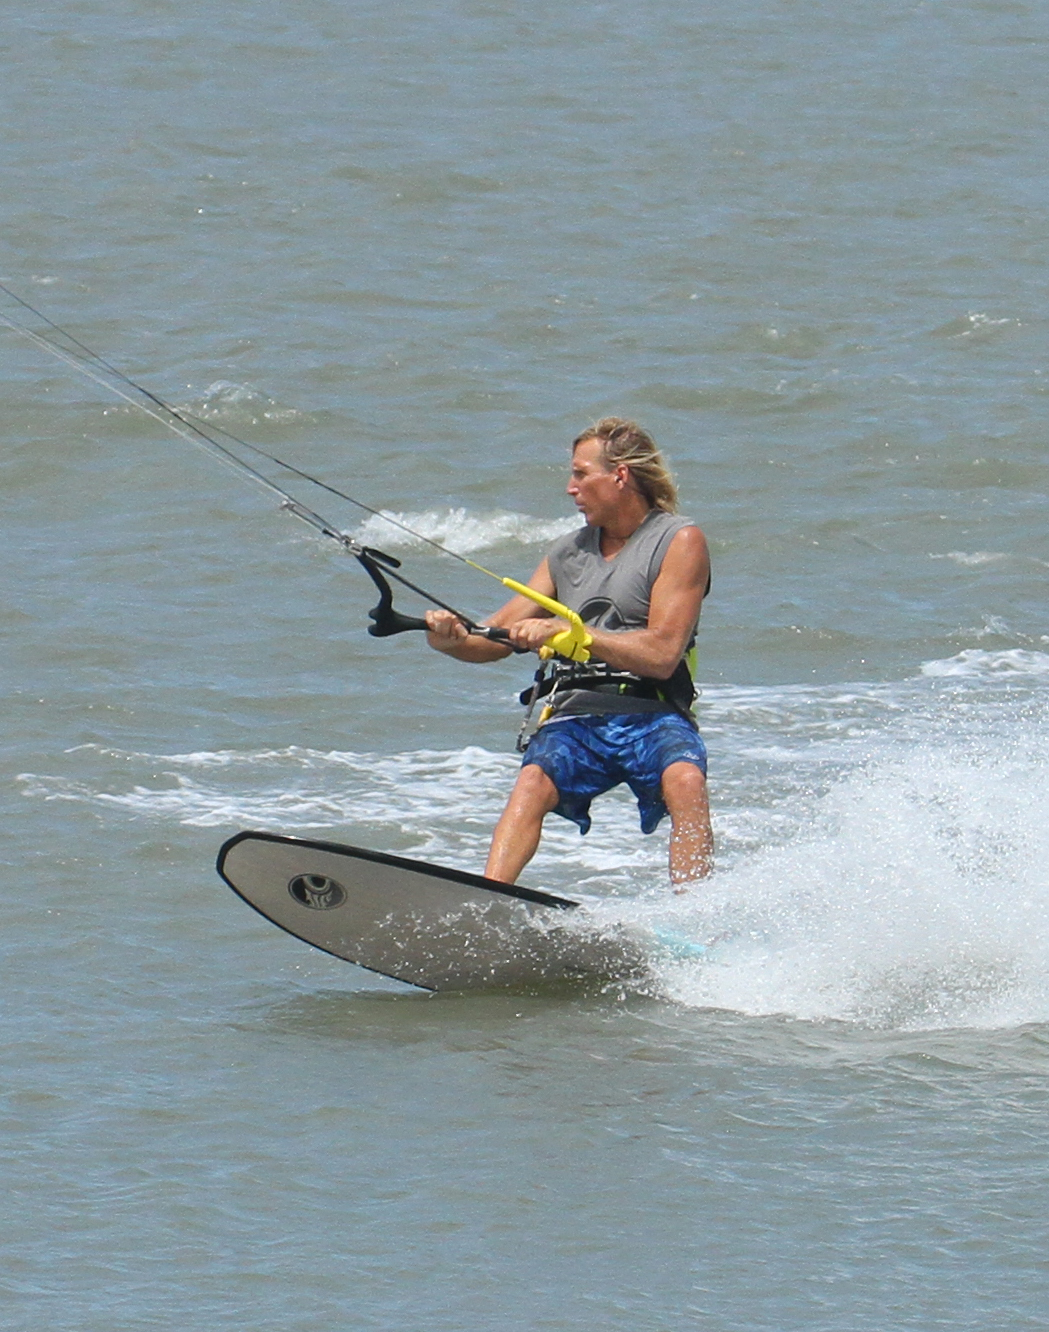
The Correct Order. A The Carve - Pic C.
From here on the order of proceedings is vital. The first thing is to get the board turning. A couple of reasons for this. The main reason is that you don’t want to be on an edge, moving away from the kite when it loops. This will generate more power and tension in the lines, and you’ll just get pulled off your board. The second reason is that once you start carving, your body will be set in position, and even if the kite powers up more than you expect, the chances are that you’ll make it around. With your weight back on the board, just moving your hips slightly downwind to weight your back heel should get you turning. As soon as you start to turn you need to get your front hand on the bar if it isn’t already. You can see that Christian’s weight is back and his hips have moved from upwind of the board and are now over it. His front hand is on the bar towards the end so that he can get plenty of leverage and the board is now flat as he rolls from the upwind to the downwind rail.
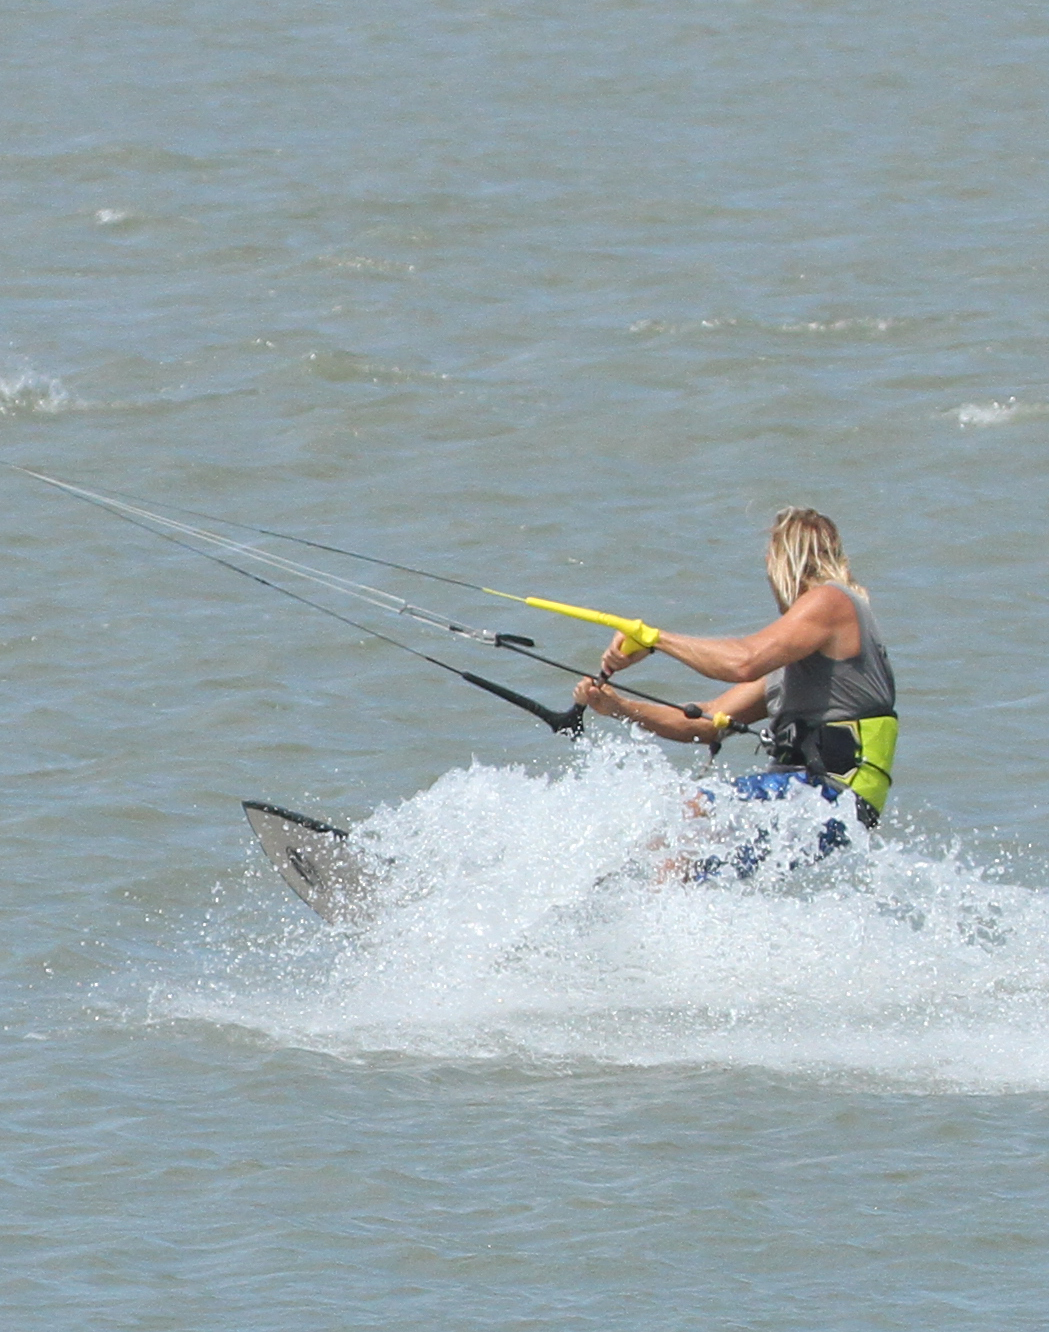
B The Down-loop - Pic D.
Once you’re carving off your back foot, it’s time to pull the trigger for the downloop. This way you’re no longer edging, but if you leave it too long, you’ll lose tension in your lines as you move towards the kite. We’re not expecting that this will be your first underturn/ downloop. That said it’s never bad to brush up on things, so concentrate on the following. You need to be on the sweet spot for the kite to turn well, and the sweet spot must be near enough so that you can both push and pull, using both hands to steer the kite. If you pull the bar in towards you, the kite will stall, and it won’t turn properly. If you gingerly let the bar out, the kite will stop turning or perform a large radius and powerful loop. You can see in the photo that Christian is pulling hard on his front hand, which is near the bar end, while pushing hard with his backhand, and therefore fulcruming the bar on the sweet spot.


Commit - Pic E.
Now it’s a matter of keeping everything going. As the kite loops down in front of you, there will be a pull. However, because you’re turning downwind, it shouldn’t be too much. The key is to commit and keep both the kite and board turning. You can see that Christian has turned his head and shoulders, leading the turn and focusing on where he wants to end up, which will be back on an edge in the other direction. More importantly, still he continues to keep the bar fully cranked so the kite will continue its loop and the power stays on to pull him out of the carve. It’s quite clear how both hands are working in unison, the front/right hand still pulling while the left hand pushed and the bar stays on the sweet spot. Christian has not twisted the bar to follow the kite; his hands remain in the same place.
The End – Pic F.
You need to keep the kite turning until it comes back up. It’s always better to turn it too much than not turn it enough. So, if at first, it climbs to 12 o’clock that’s not a problem. As your confidence grows, you can watch the kite around, and once it starts to rise, you can stop the loop by equalising your hands and levelling the bar. In the photo, Christian has stopped pulling and pushing as the kite starts to pull up, and as such he can power out of his carve on an edge with the kite already happily in place. There is no rush to untangle your lines once you're cruising back the other way, so make sure you’re balanced and comfortable before you untwist your lines with a full bar 360.
Top Tips
It’s often wise to take a step back before taking two steps forward, and here is no exception! Don’t be embarrassed to get into the water without your board and do a few loops while body dragging to get back into the swing of them. If they’re working sweet like this, you’ll be fine on the board.
And don’t forget to pre-plan this on the water and follow the steps, so make sure your front hand is forwards on the bar, so you also know which one is pulling in the heat of the battle, that the kite is high and that you start turning the board before your down-loop the kite.
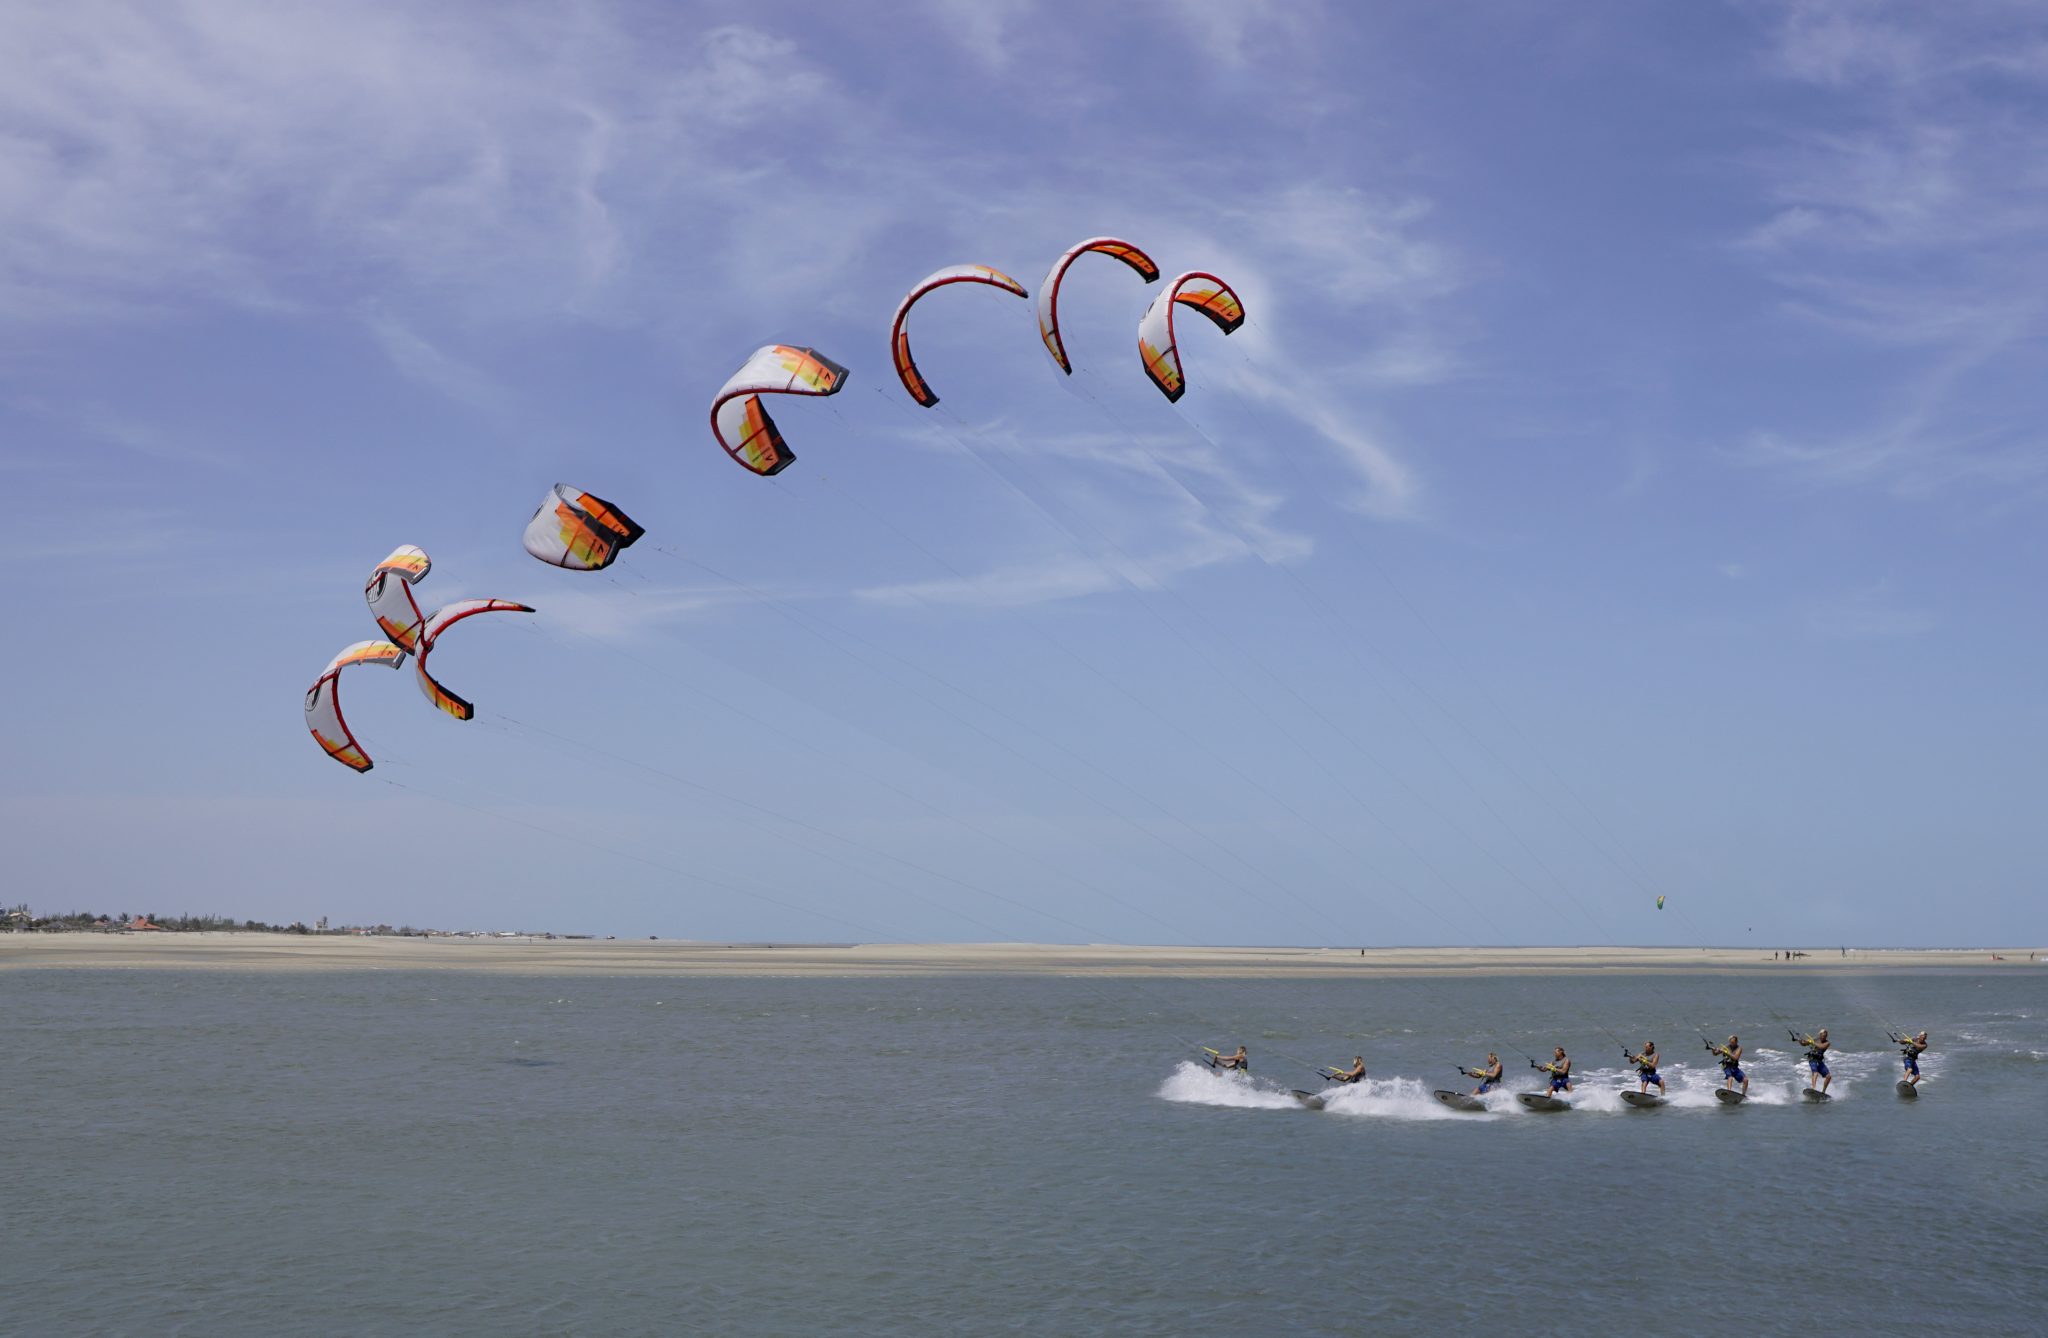
Now have a look at the sequence and video to get an idea of what is going on in real time.


Common Problems
We pretty much covered them already but your two most likely enemies are:
- Not turning the board first. Edging while looping is asking for trouble, or at least to get wet, so make sure you turn the board first.
- Not committing to the downloop. Once you’ve pulled the trigger to get the kite turning, have faith. Nothing is worse than letting the bar out as the kite starts to pull. With less or no tension on the steering lines, the kite will pull even more and turn even less, which can easily result in you crashing into the drink.
- Other than that, make sure it’s high enough before you start.
Keystones
- Good toe-side
- Kite up above 11 or 1
- Start the carve
- Push/Pull to loop the kite
- Keep the carve and loop until on edge
This technique article was in Issue 69 of IKSURFMAG.
Related


By Christian and Karine
Christian and Karine have been working together as a coaching team, running improver to advanced kitesurfing clinics since 2003.
