
Strapless Toeside Beach Start
Technique / Intermediate


Introduction
You may be wondering why on earth you should donate some of your valuable kiting time learning a toe side beach start when a normal heelside start stands you in good stead regardless of which direction you intend to start? The carat here is that this is in fact the base move for the somewhat trendier running version, and who doesn’t want that in their bag of tricks? If you’re now convinced please read on! If you have yet to master the standard strapless beach start please refer to Issue 23 - CLICK HERE to check it out
We should start by contemplating the main difference between the heelside and toeside version. When you start from heelside you stand upwind of the board and use the kite to lift you up, over and onto the board, whilst you have the board positioned pointing slightly upwind and the kite starting ever so slightly behind 12 o’clock. Whilst here on the toeside version you’ll be standing downwind of the board, so you won’t be wanting lift from the kite, nor will you want the board pointing upwind. With this in mind let’s continue…


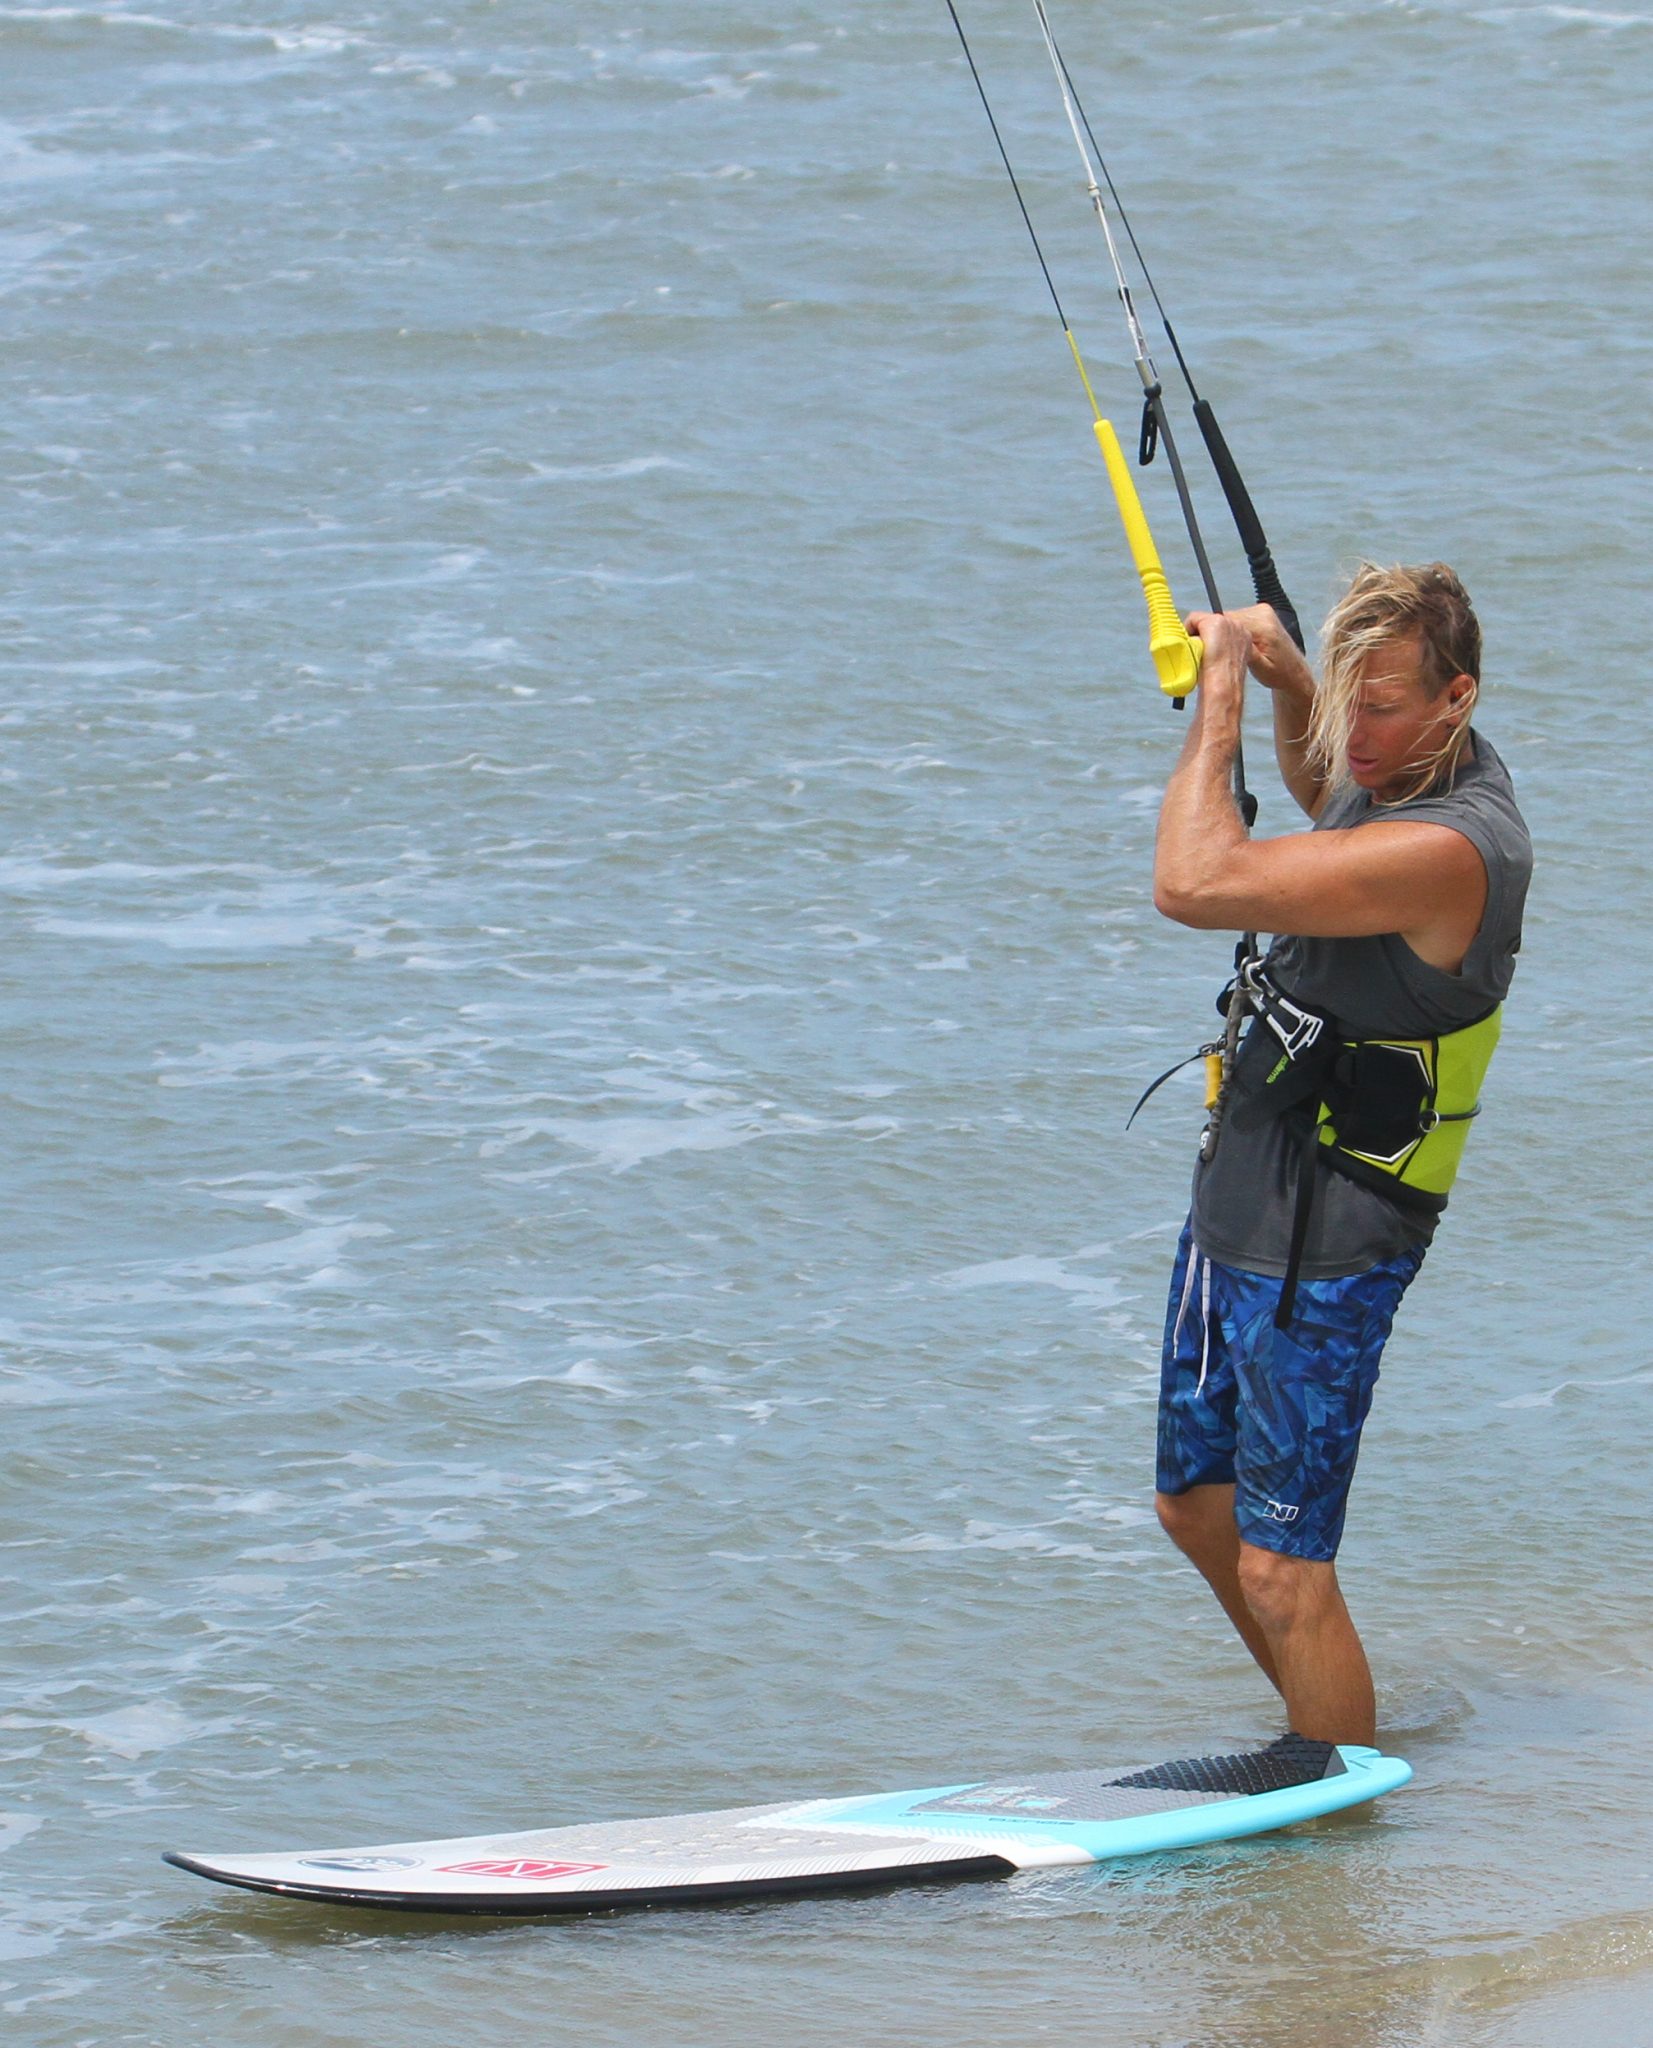
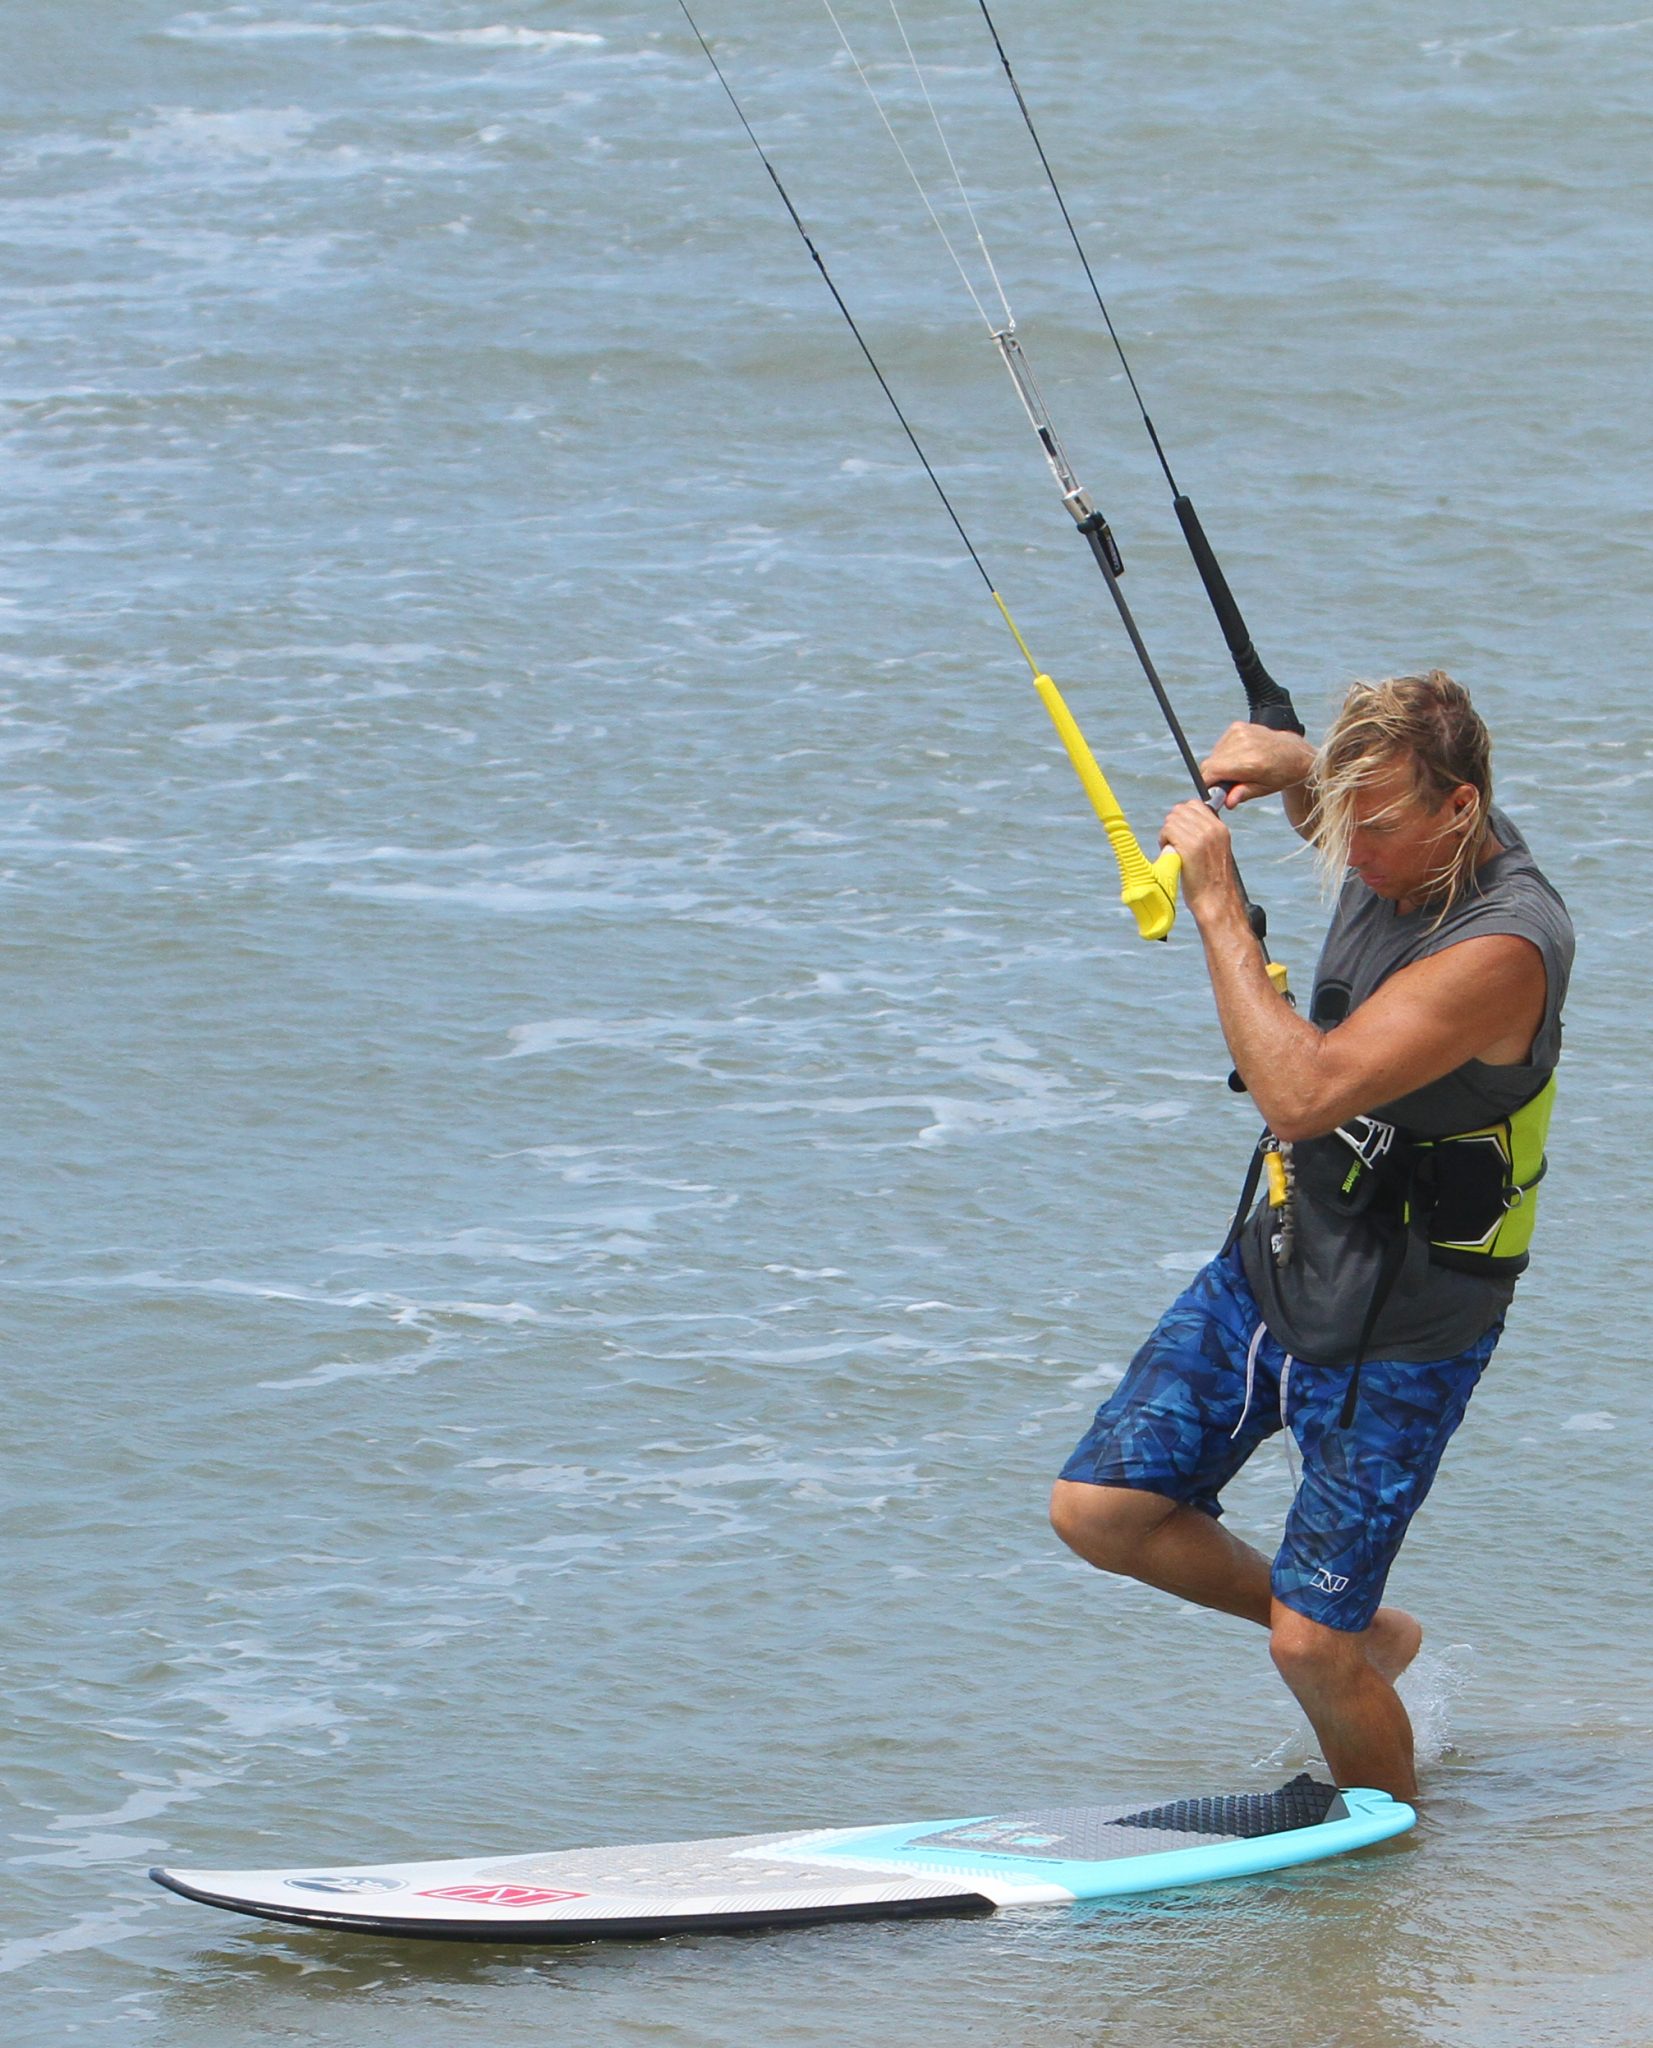
The Set Up Pic A.
To get an idea of wind direction have a look at Christian. The wind is blowing onto his back and his bar is roughly 90 to the wind. As such he’s standing comfortably facing downwind near the tail of the board. His kite is at 12 o’clock and his board is pointing slightly off the wind, with the tail upwind of his legs. This is how you need to have all the relevant components positioned. Why? Back into the wind is the norm, so we’re happy with that. Kite at 12 o’clock. If the kite is positioned further back it will create lift when moved which would then pull downwind. Seeing as how you’ll already be downwind of the board, you really don’t want to be pulled any further away from it. Standing downwind of the board. This is part of getting used to what’s to come in the running variation, where you’ll need to be downwind of the board whilst dragging it in your front hand upwind of you. Board pointing slightly downwind. This is necessary because you’ll be downwind of it. With the nose pointing off the wind it is in front of you, so you’ll be able to jump forwards towards it even though the board is upwind of you. Before we go any further we should mention that this will be simpler to learn if you’re jumping up into your favoured toe side.
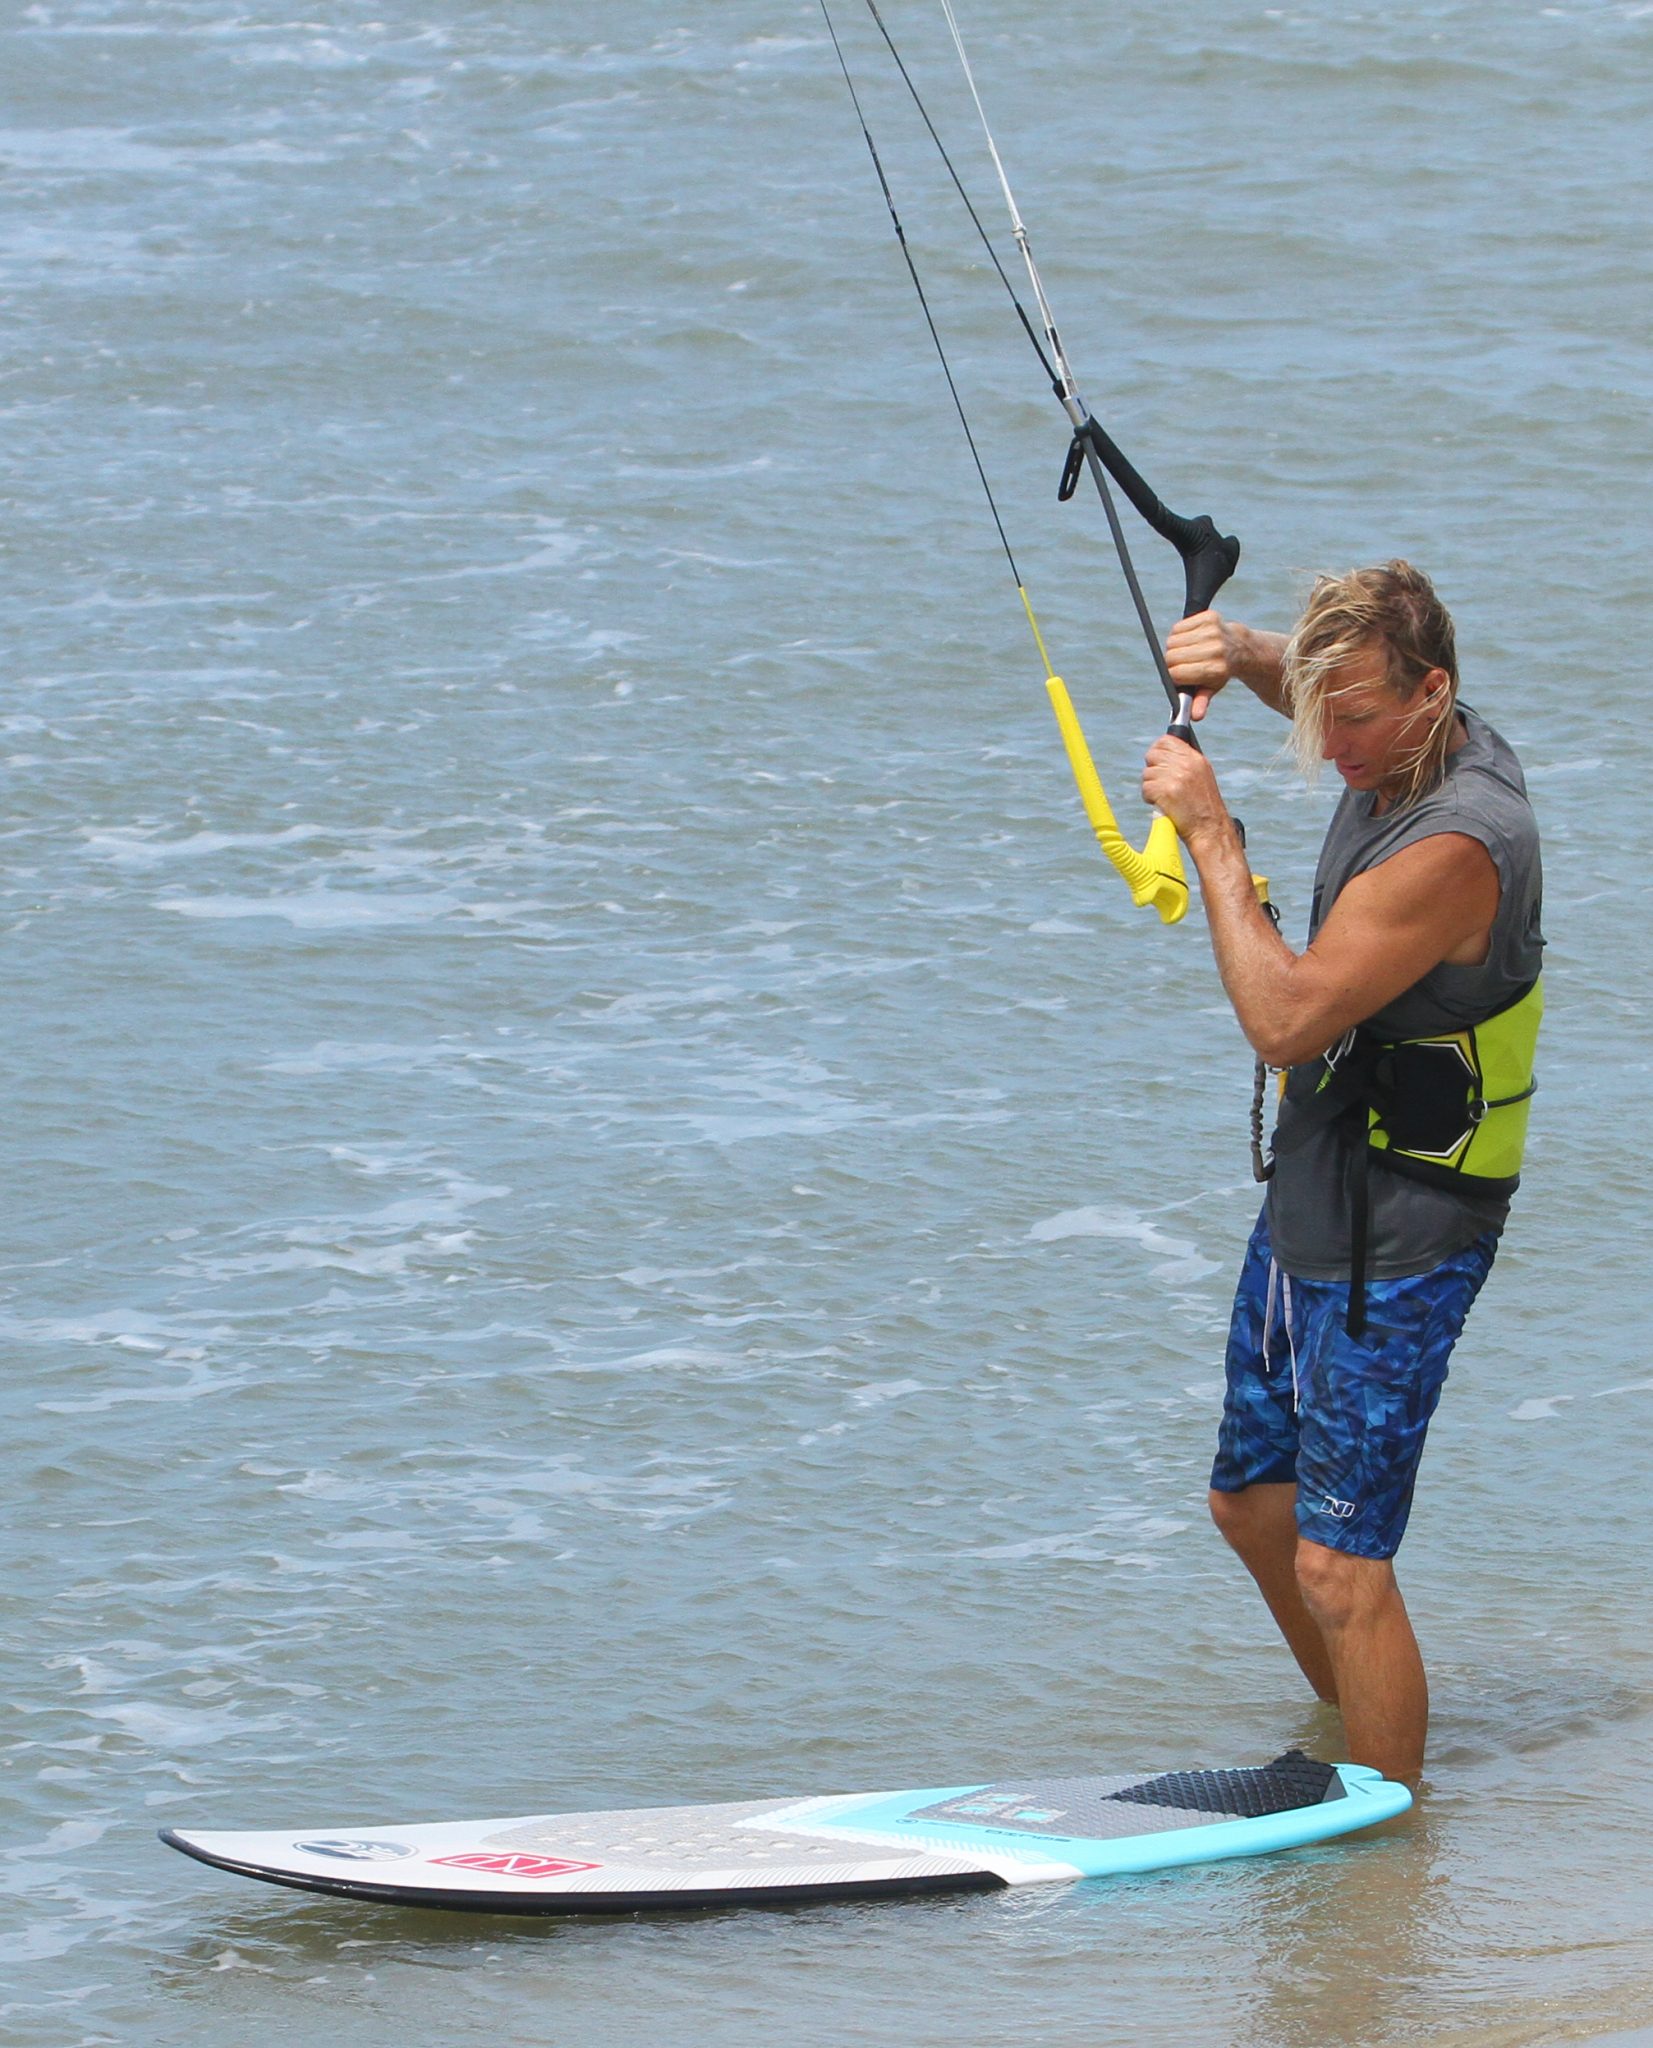
The Dive Pic B.
Time for the off, so Christian dives the kite quite hard, whilst keeping the bar on the sweet spot. He’s looking down at the board focusing forwards towards where he intends to plant his front foot. Preferably where he would have it positioned if he were riding. The hard dive is needed as the kite is at 12 o’clock so not much power is available. That said this is relative. Christian is on a kite size suitable for carving, if he were more powered he would give it a bit less, and so should you. Keeping it on the sweet spot is a must for all the usual reasons – you don’t want the kite to stall if you pull the bar in, but you do want the kite to turn, move and give you power so you mustn’t let the bar out. And looking at the board will not only aim your leap to the required landing zone, but it should also prevent you from kicking the board, sanding your shins or impaling your feet from underneath on the fins.
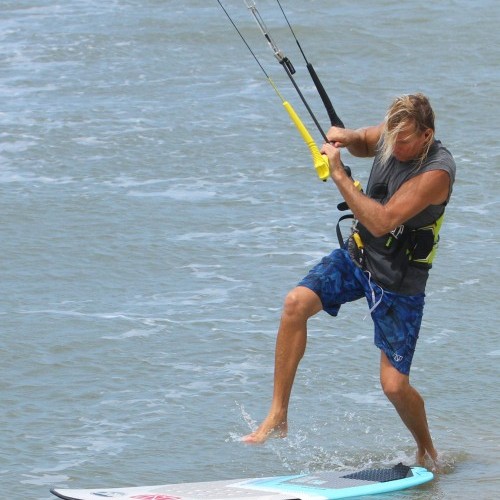
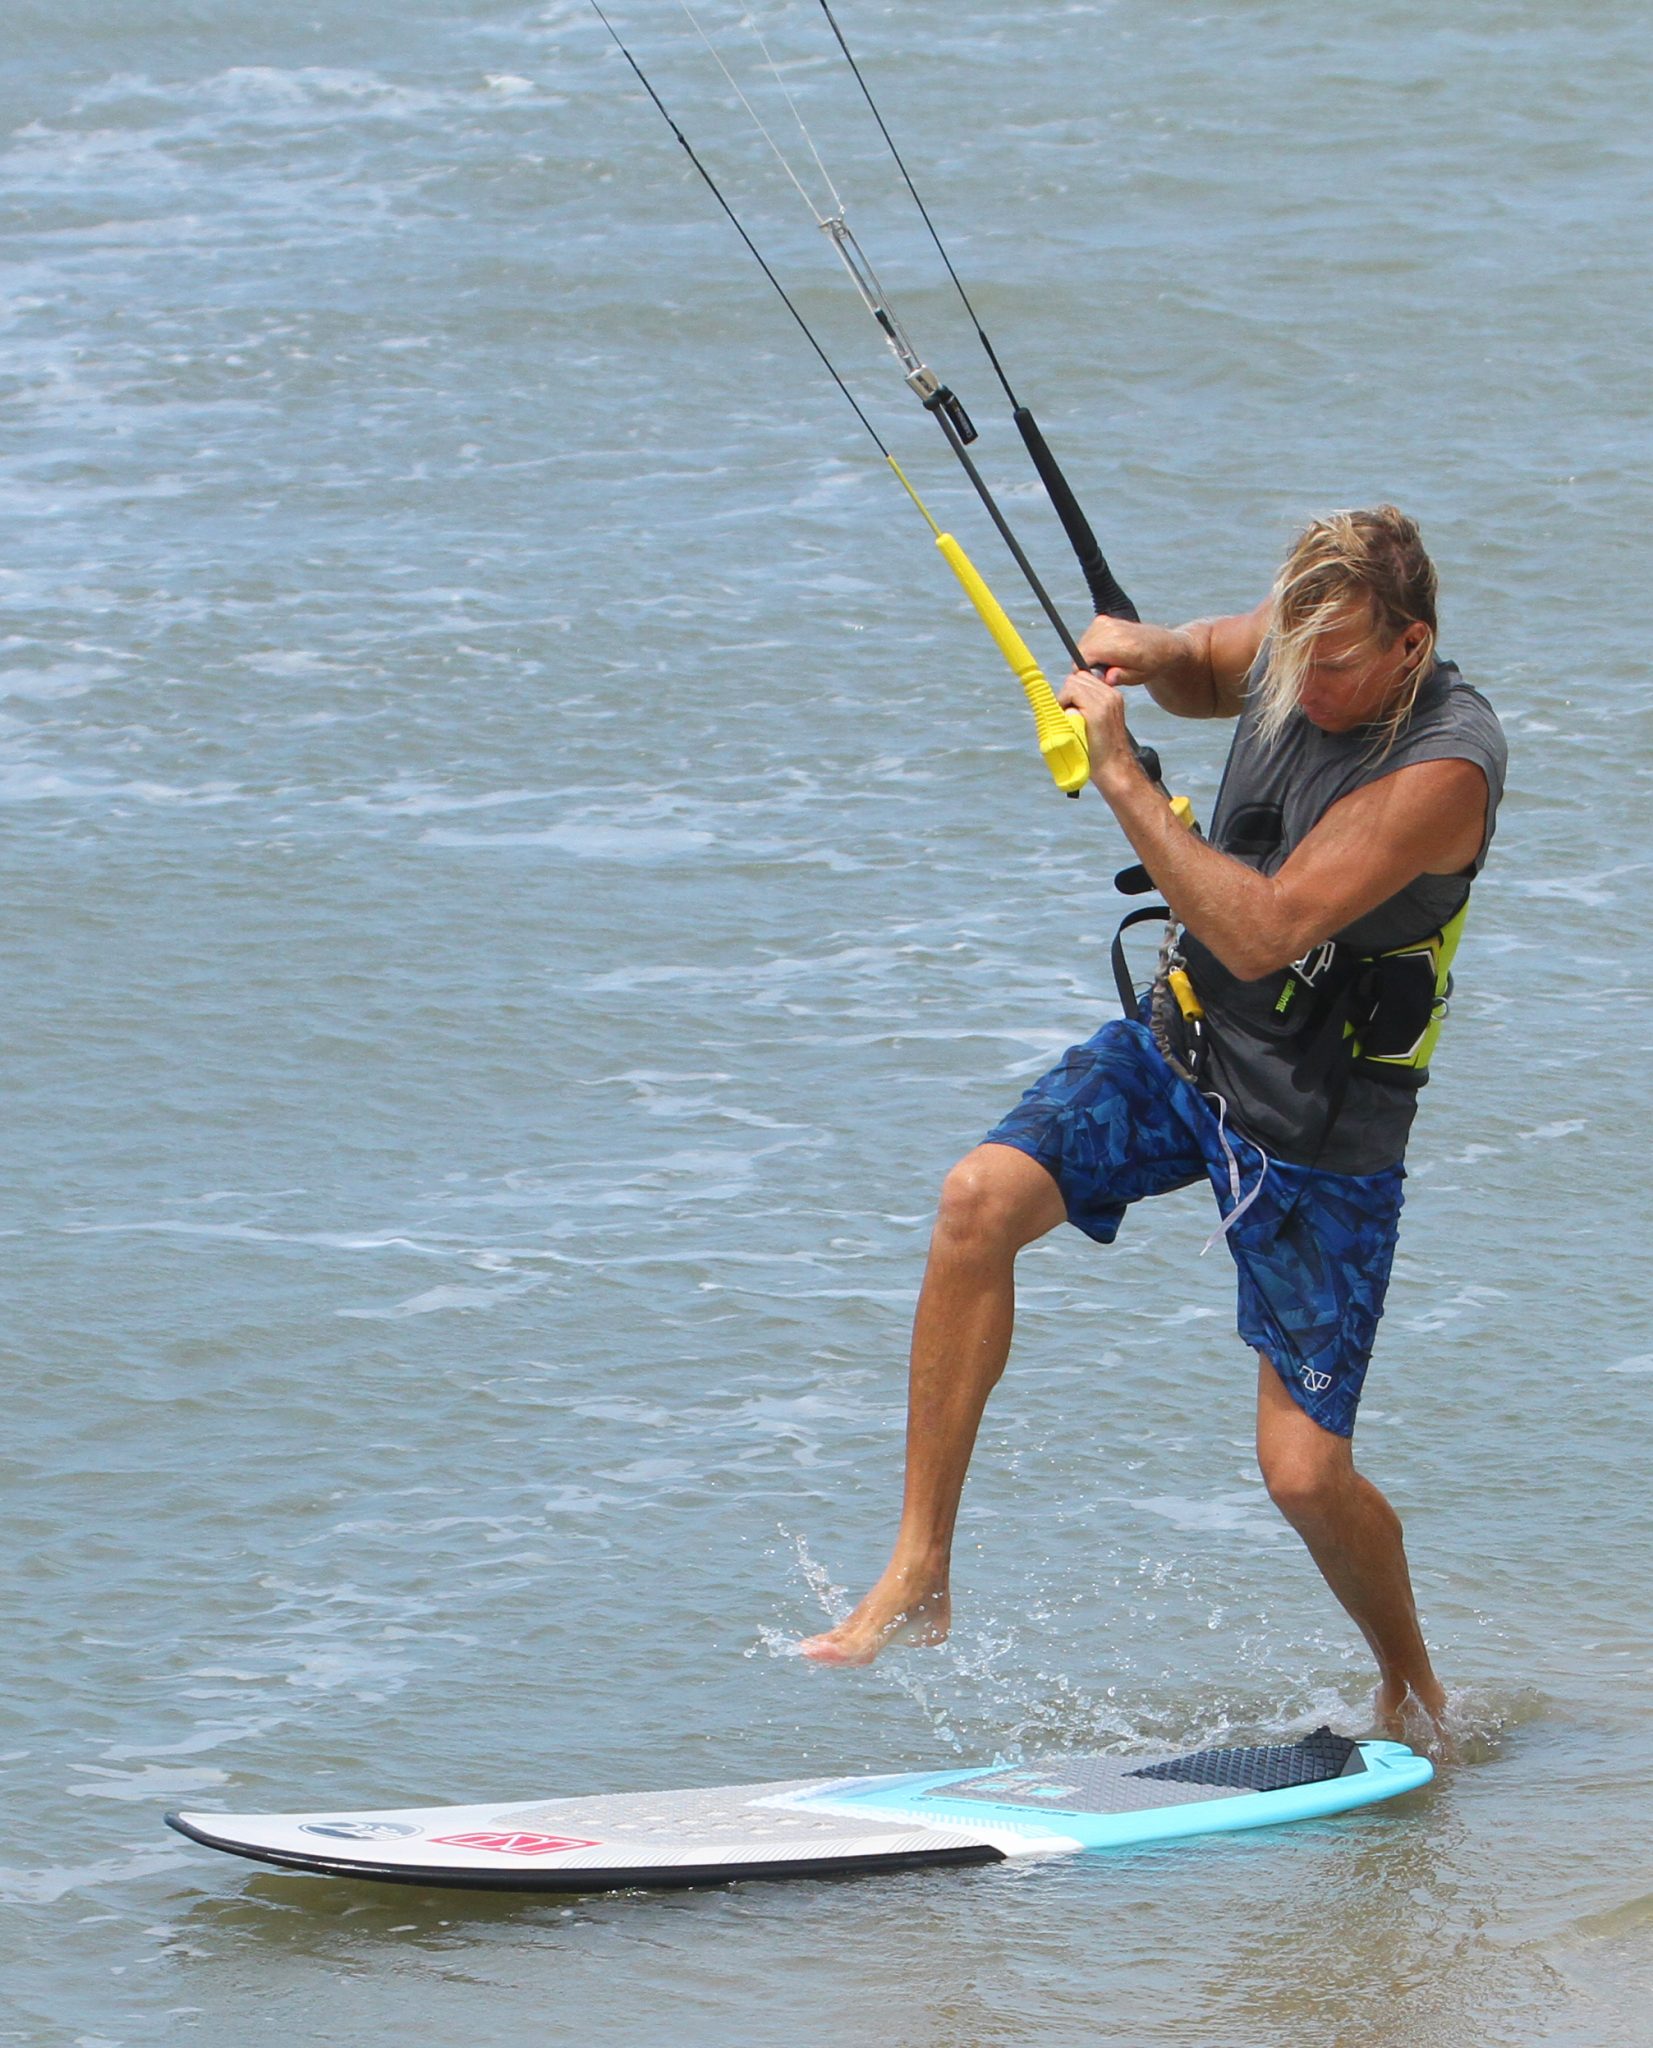
Open Up Pic C.
As the kite pulls it’s time to move with it. Stepping/jumping up to toeside is the same move as on the water, the shoulders open, the hips twist and the back knee comes up and around – should be a fairly instinctive movement! As Christian feels the kite power he plants his weight onto his front foot, twists and lifts his back leg, whilst still looking towards where his front foot should land. He also pulls the bar, a natural reaction to make sure you get all the power you want, and this also stops the kite diving as the bar levels out.
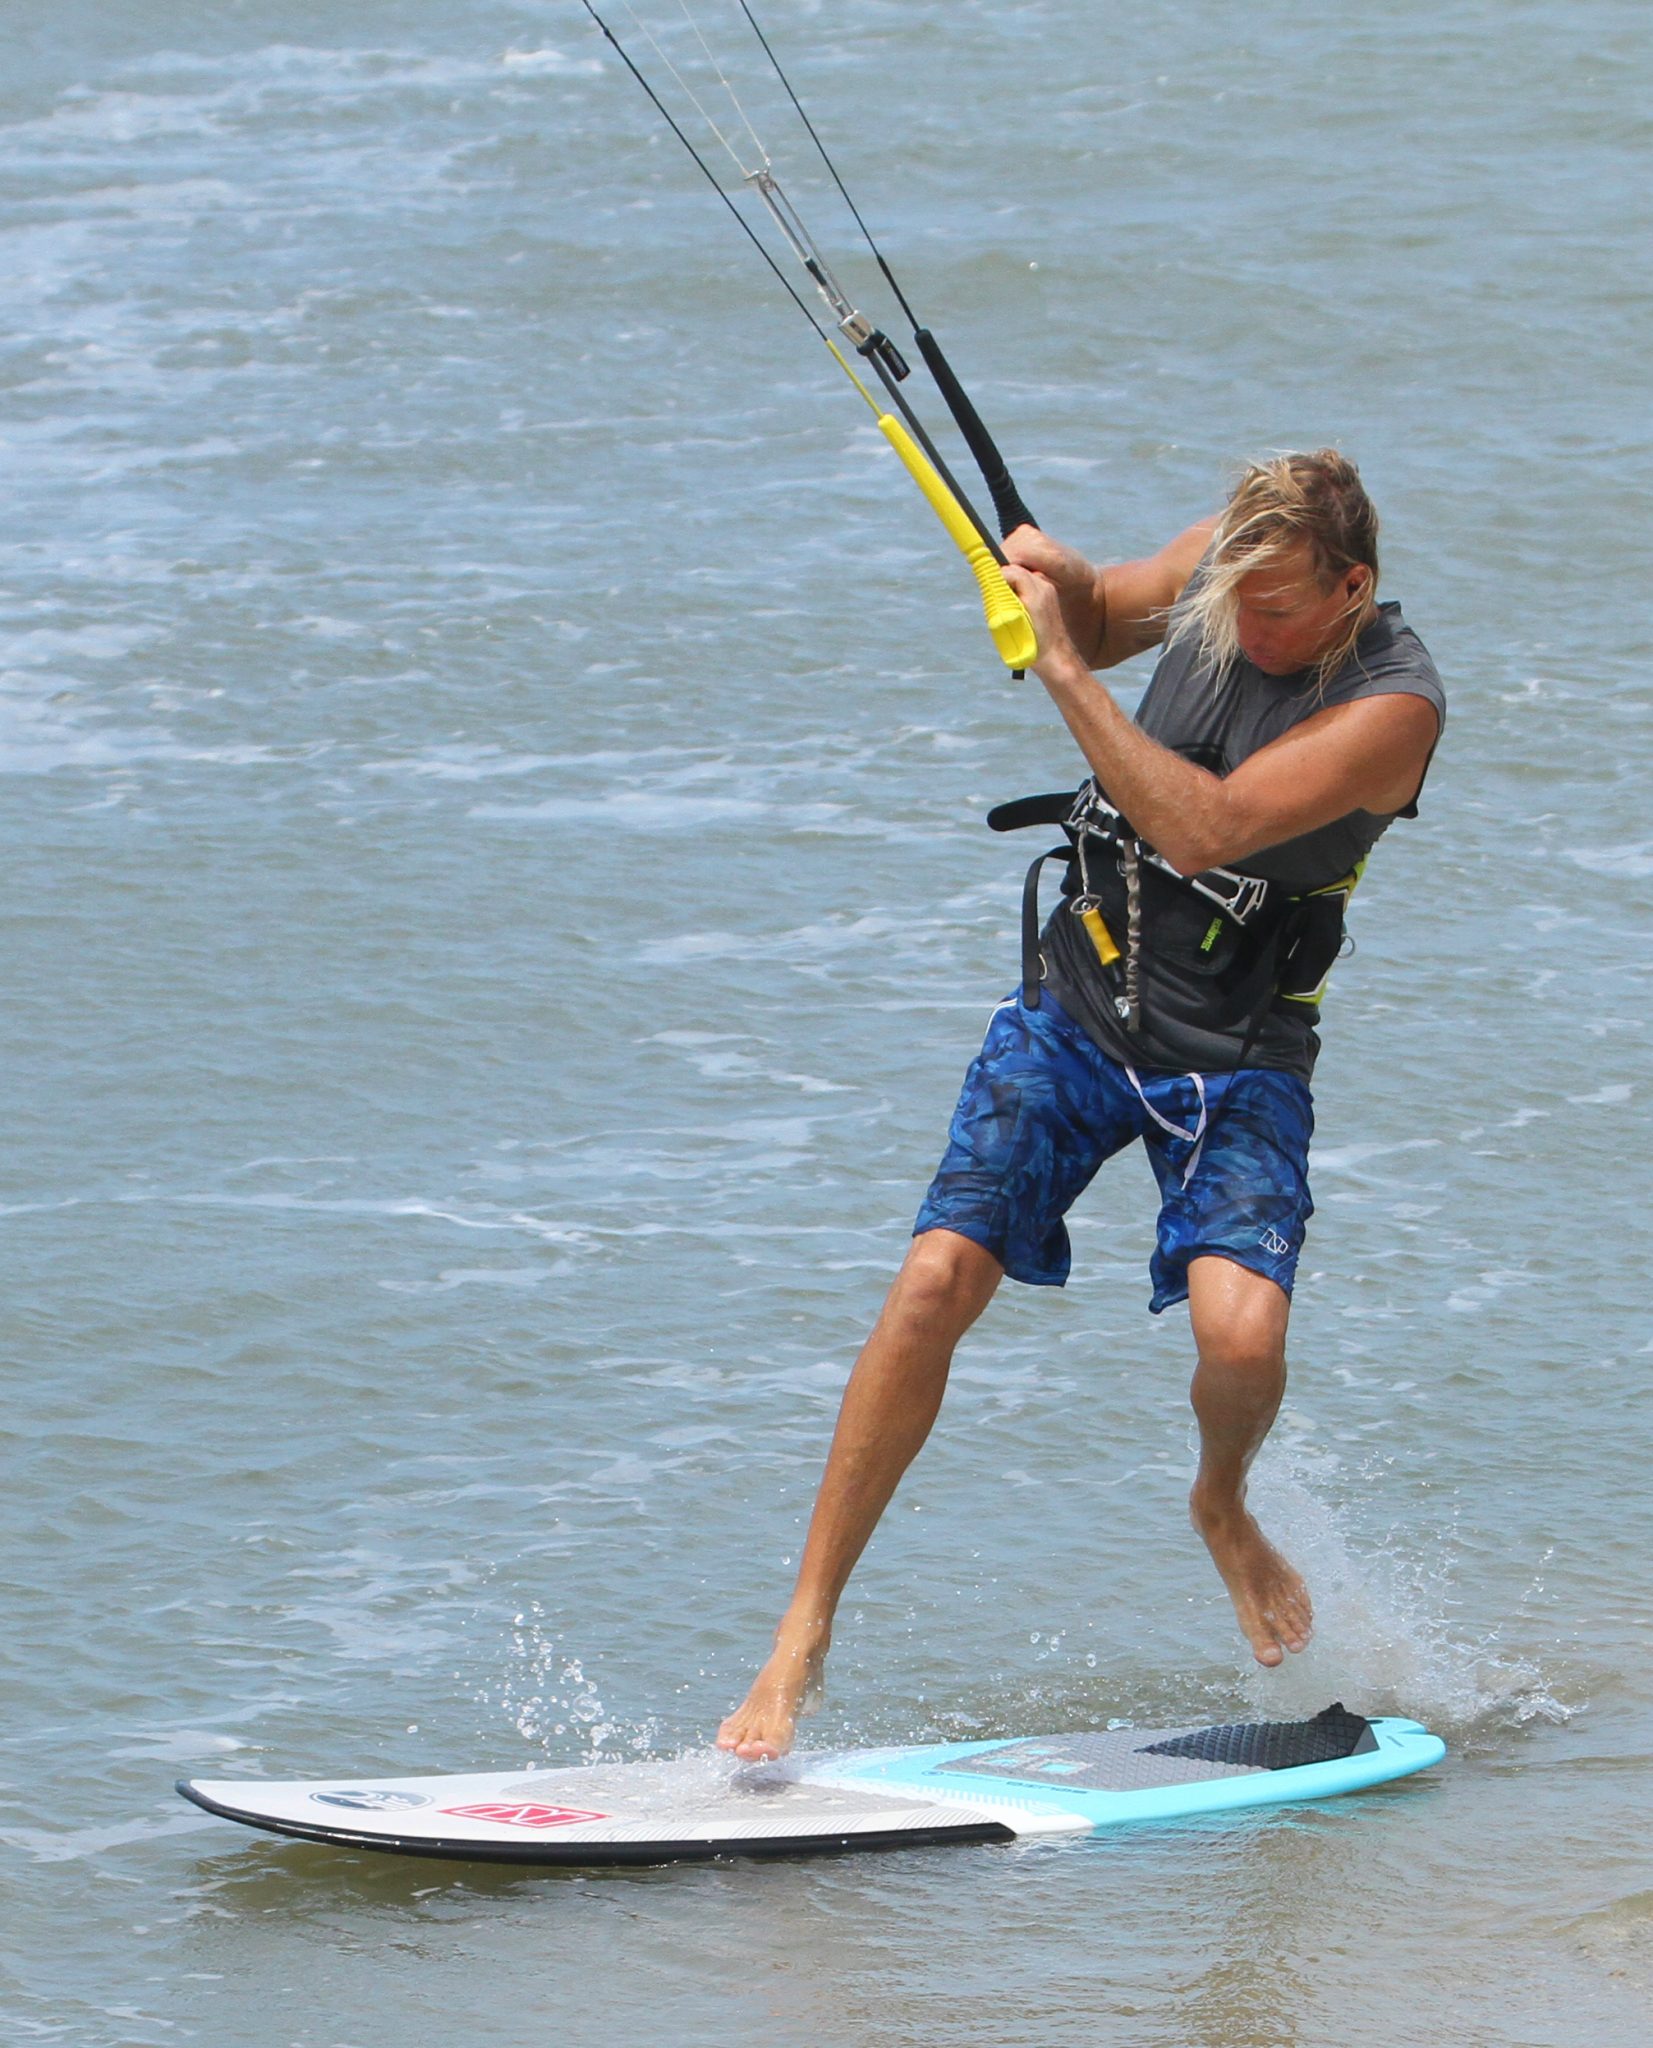
Leap of Faith Pic D.
Like a Gazelle springing gracefully forwards (no irony here…) Christian leaps towards the front of the board. If the timing is about right the kite will help pull him forwards as he is not resisting its pull. The nose will be further away than planned as whilst Christian has been faffing getting on with the job, the board, as surfboards are want to do, has of course drifted with the wind. The good news is that it will have drifted more downwind which means that although it’ll be further forwards it will also be better placed for your leap.
Triple Twenty Pic E.
Now that the flight path has been set, you need to be ready for making contact with the board, and encouraging it to move rather than to just stop you. If you have a look at Christian he has extended his front leg, pushing his foot forwards towards the front pad, his shoulders are up, but his weight (hips) is still back over a lifted back foot, whilst his back knee is very flexed. This means that when he hits the board he will push it forwards into action.


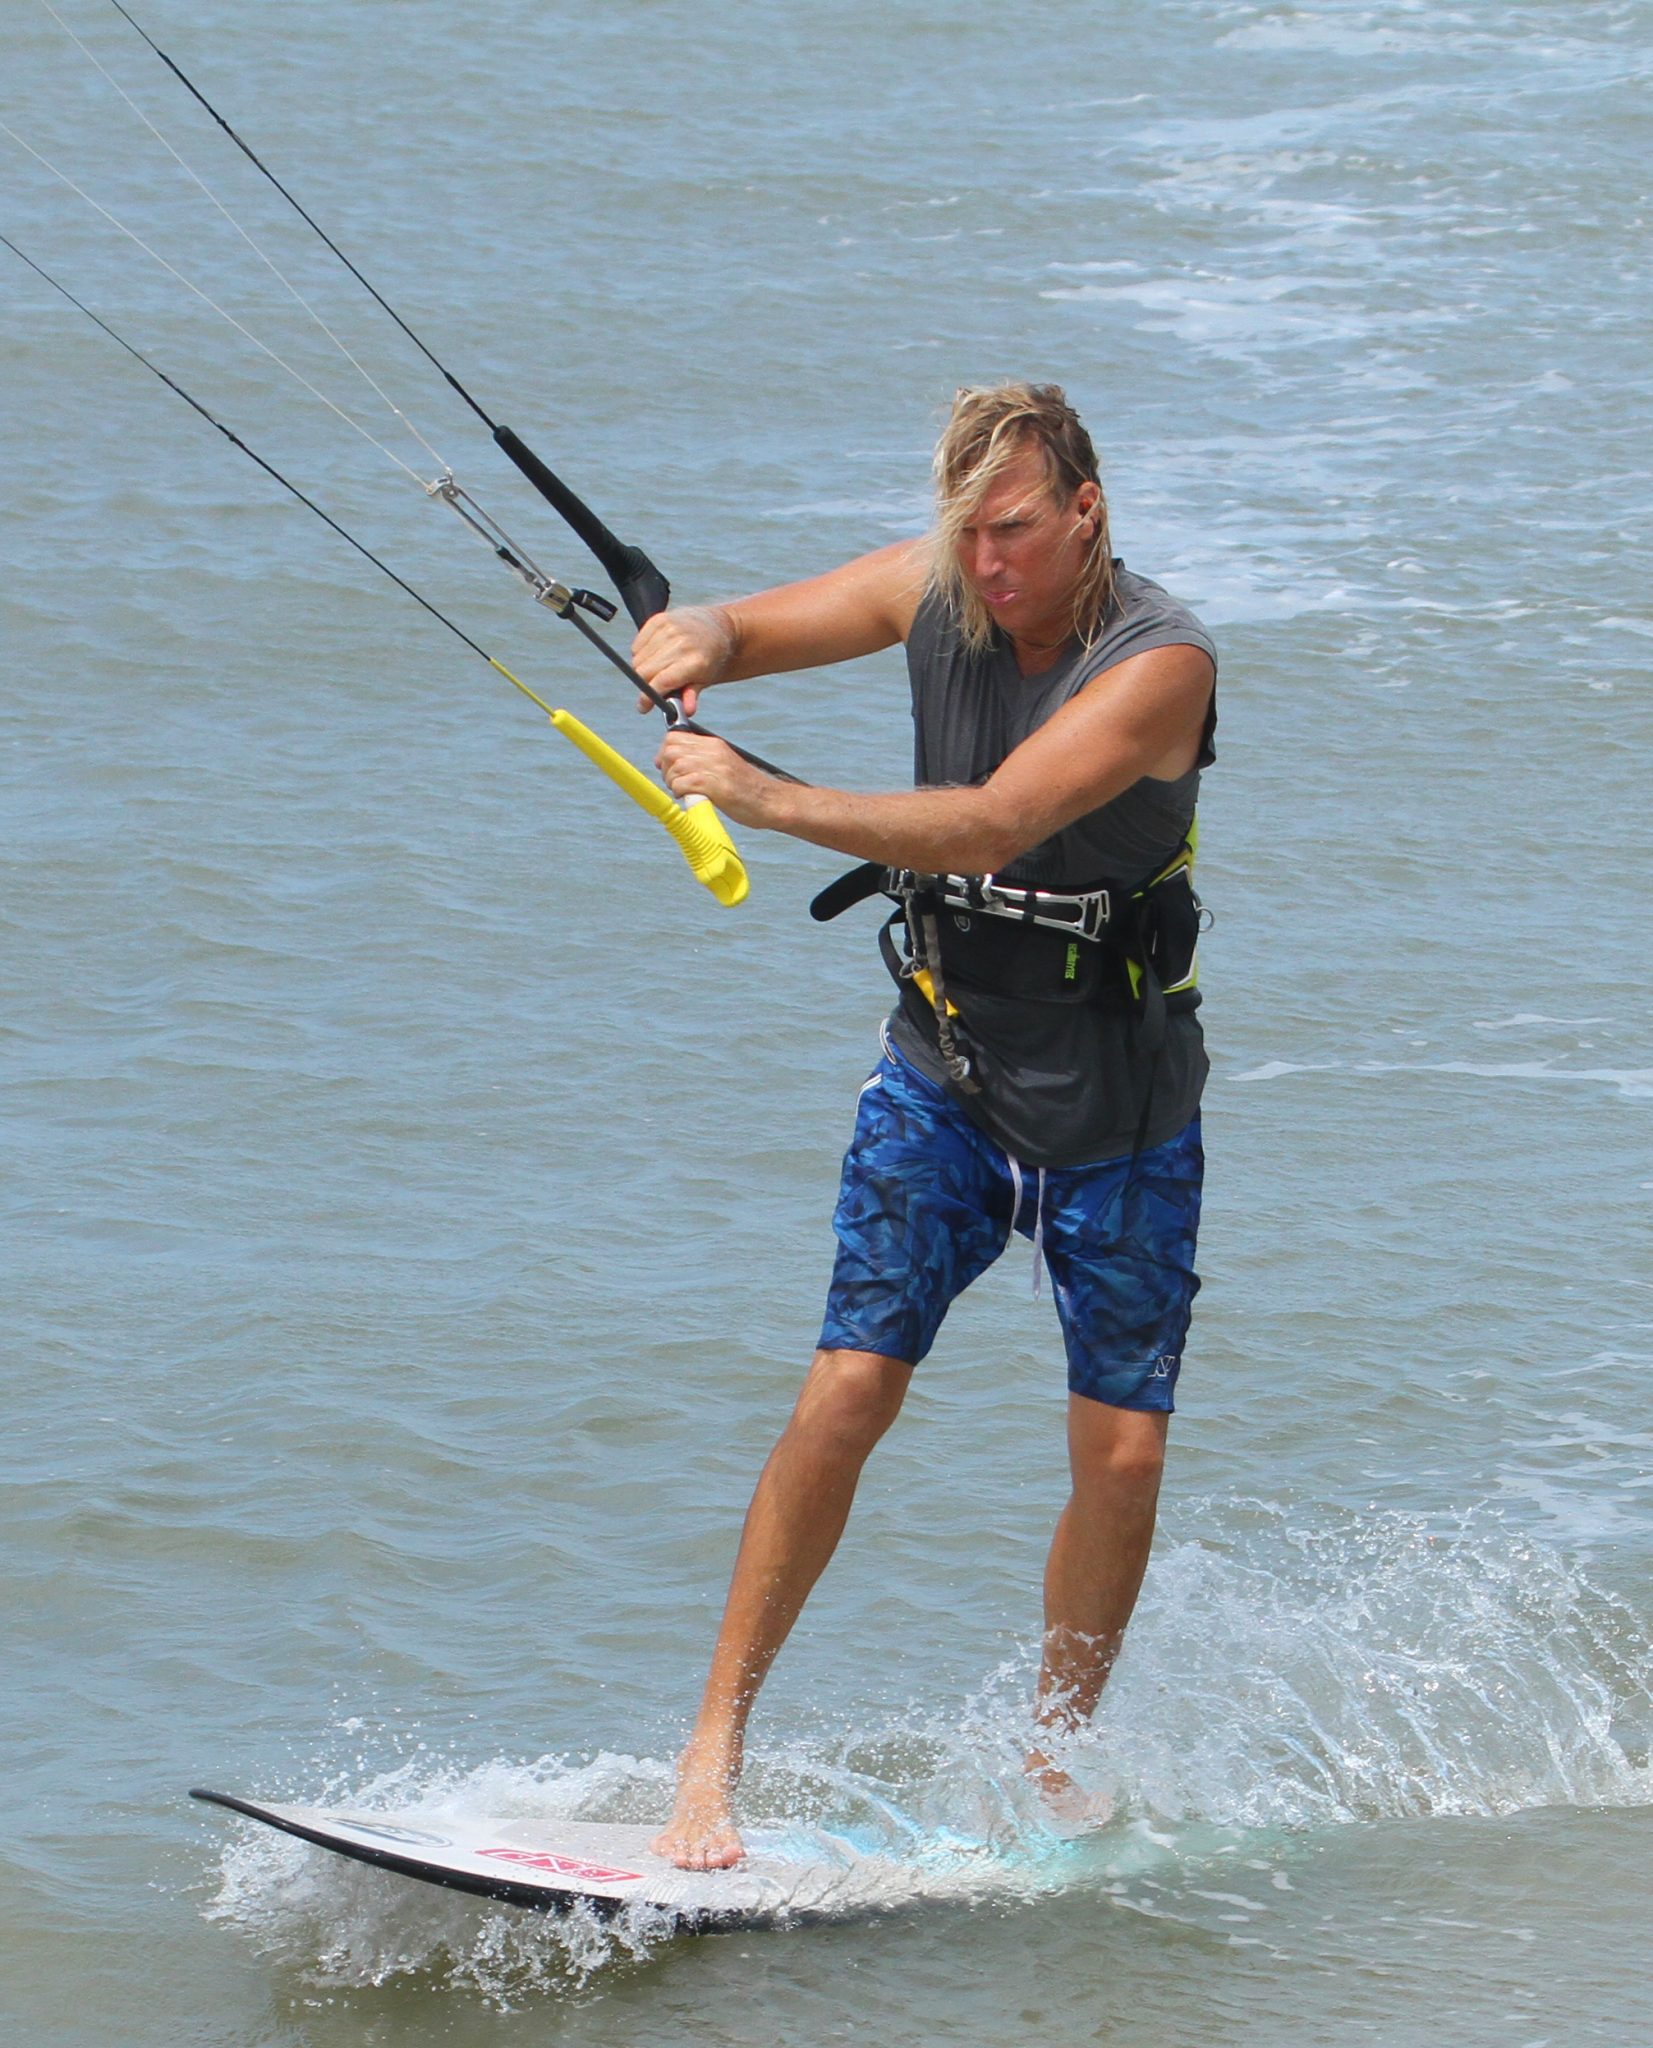
Ride It Out Pic F.
Once you land on the board there are only two things to think about, and it’s almost like learning to ride toeside all over again. You need to get back on your edge to get some tension in the lines and the board heading across or upwind, and you need to make sure that the kite can breathe and pull you along, which is always the most counterintuitive thing to do when you’ve just jumped aboard! You can see that Christian is flexing his back knee and ankle to get some pressure on the upwind rail, as his hips come across the centreline of the board, his front knee and ankle will also bend, so that he can them extend and push through the board. He’s also concentrating on pushing the bar back out onto the sweet spot. At this moment, you’ll be looking for support and pulling the bar in is tempting, but that will just stall the kite and kill your power. Hence push the bar out and if you need more oomph, work the kite.
Top Tips
As well as the already mentioned idea of trying this on your favoured toe side there are a few things that will help you make this easier. You won’t have lift from the kite so if you’re noticeably underpowered it will be harder, so make sure there is enough. A sandy bottom will help because you don’t want to be too deep. Once you’re knee deep it will be harder, but any shallower there is always the risk of touching the fins. Sand will make this uneventful. And try to land forward down the board. If the nose is held down the tail won’t sink so much. You need to move to edge so if you can get some inertia going from your leap on, it’s all going to be so much simpler.
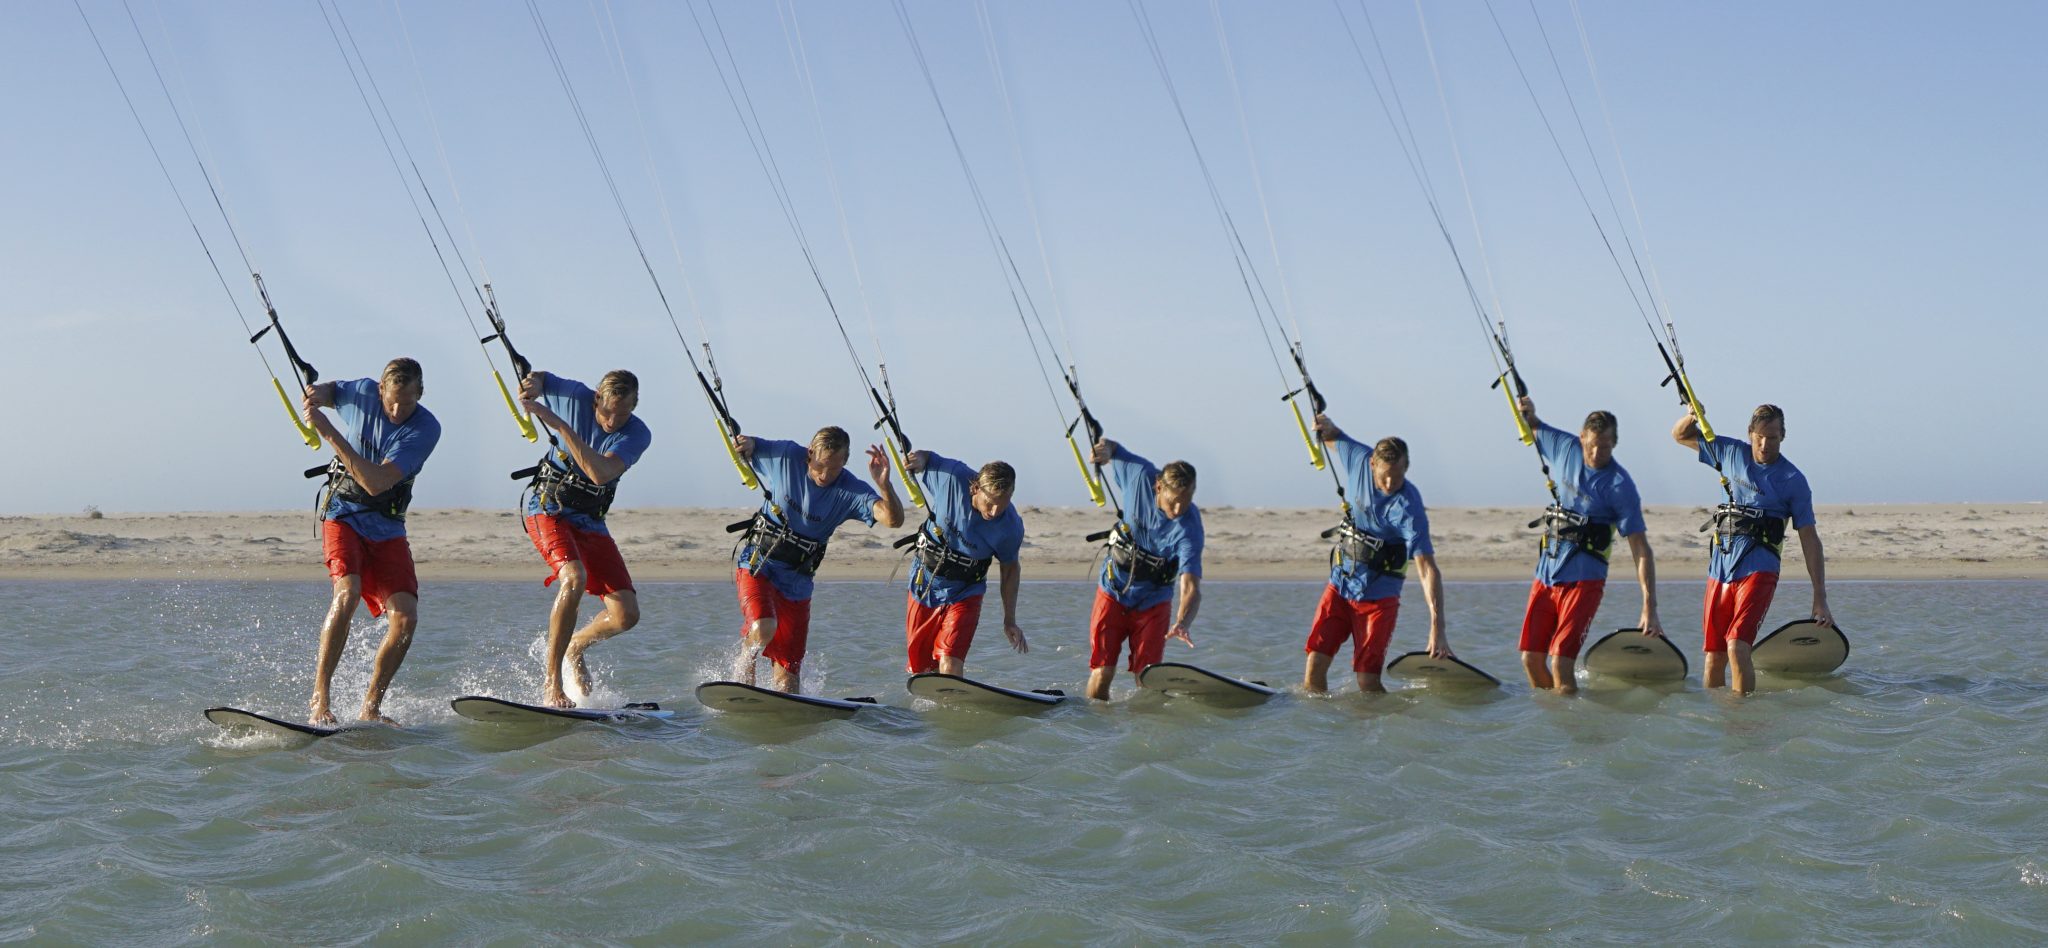
Now have a look at the sequence and the videos. In both we’ve added a slight bowling of the board to get it moving with your front arm, which helps when you’re dragging it behind.
Common Problems
If you’re finding it hard to reach the board and it feels too far away, make sure that you have the board pointing slightly downwind so that the nose will drift across in front of you and make sure that you don’t start behind the board.
If you leap on and the board surges downwind, the chances are that you’re landing with your weight on the downwind side of the board, so try and aim a bit more towards the upwind side.


If the tail is sinking heavily when you get on, make sure your front foot reaches far enough up towards the nose and make sure that you get your weight onto it. It’s tempting to lean your shoulders back against the moving kite but this won’t help the board. You can lean the hips back but keep the shoulders upright and forwards, as this then enables you to move the hips forwards when needed.
Keystones
- Stand with wind onto back, tail of board upwind of legs.
- Dive kite from 12, board pointing slightly off wind.
- Open shoulders and weight leading foot.
- Leap forwards whilst lifting rear foot to toeside
- Land front foot first and push forwards.
This technique article was in Issue 68 of IKSURFMAG.
Related


By Christian and Karine
Christian and Karine have been working together as a coaching team, running improver to advanced kitesurfing clinics since 2003.
