
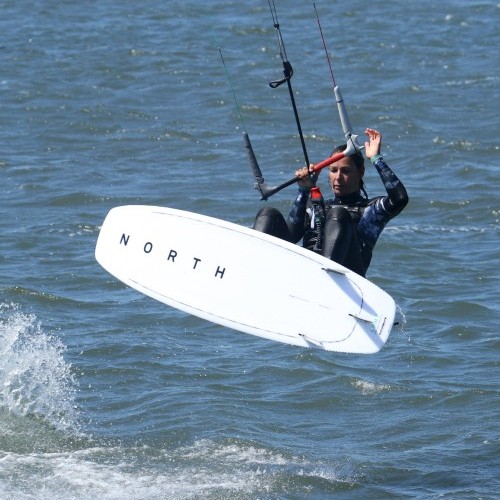
Strapless No Grab Air Gybe
Technique / Intermediate


Introduction
With a never-ending supply of media showing you just how easy it should be to defy physics and casually stomp you first 10m strapless back roll or double to blind, it can prove mildly frustrating when even a controlled air seems like a longshot. However, fear not, if you didn't spend your youth wearing out trainers imitating Rodney Mullen, or don't spend your life on the water chasing Airton, there are baby steps and more achievable tricks that will teach you shed loads about what's going on and which may in time lead you to the secret garden of strapless Nirvana.
Today's baby step is the no grab air gybe. What's great about this trick is that you don't have to be able to pop decent airs and you don't need to be going at mac 10 holding lorry loads of power. However, it will give you confidence and some more understanding of what's to come. And it's the slow precursor for a cheeky board 180. The beauty is you'll use a combination of wind and your feet to make something magical happen. What's not to like?


We won't go changing a habit of a lifetime, so without much hullabaloo let's have a look at the individual parts of this move that'll join to make it stick.
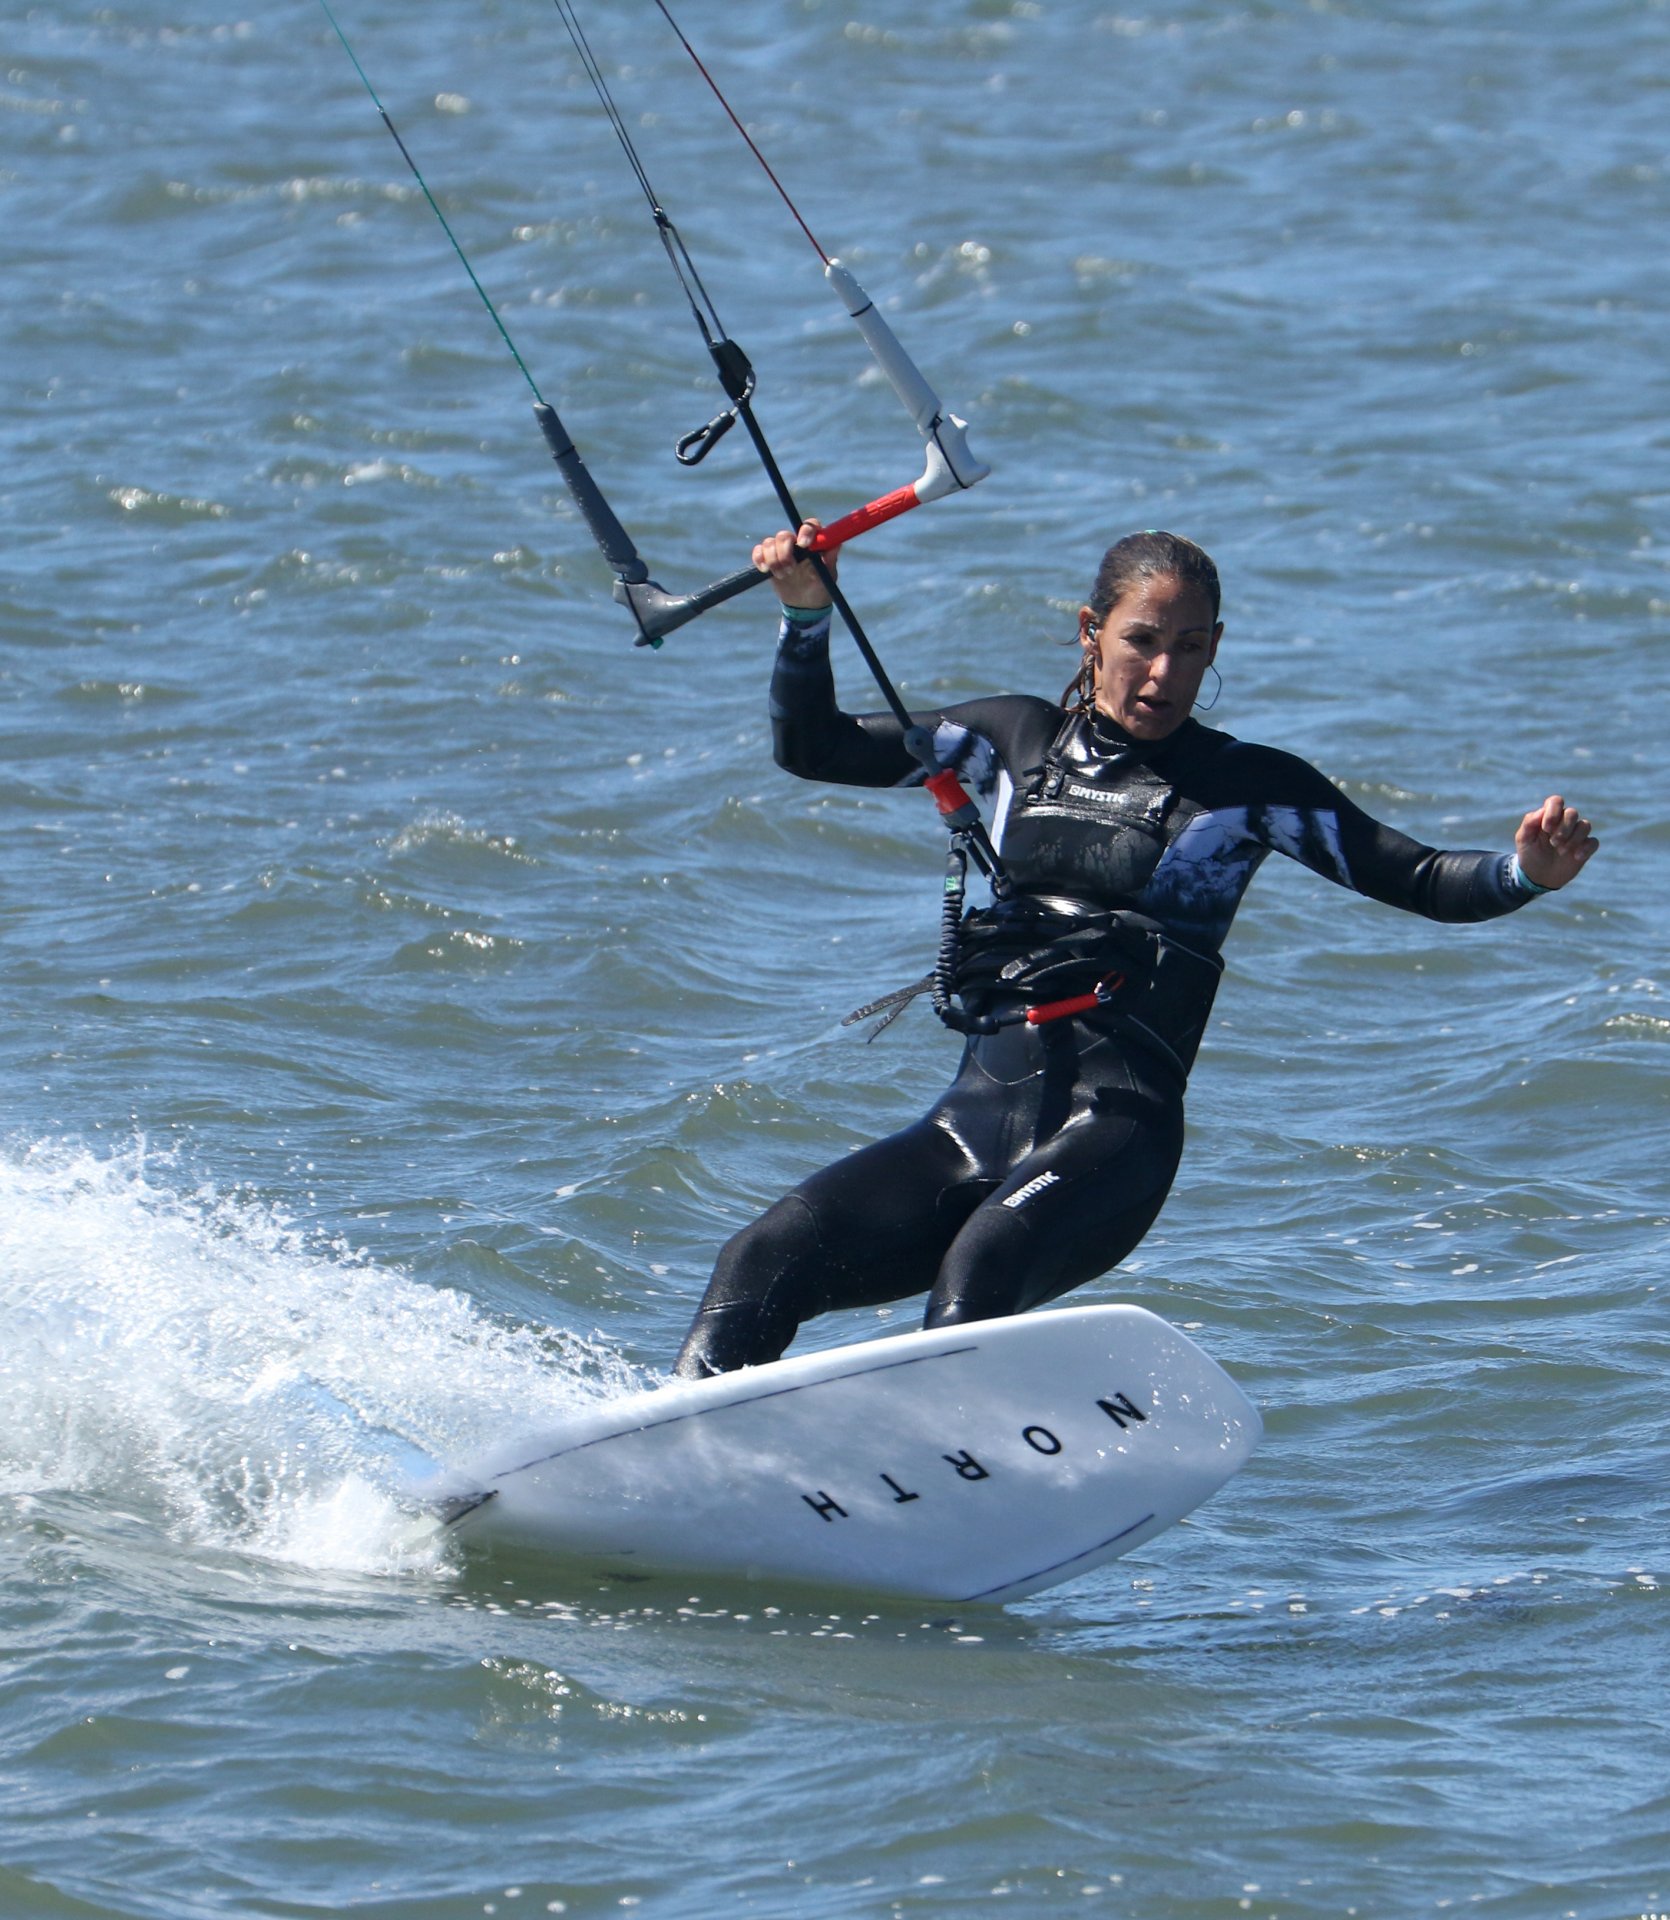
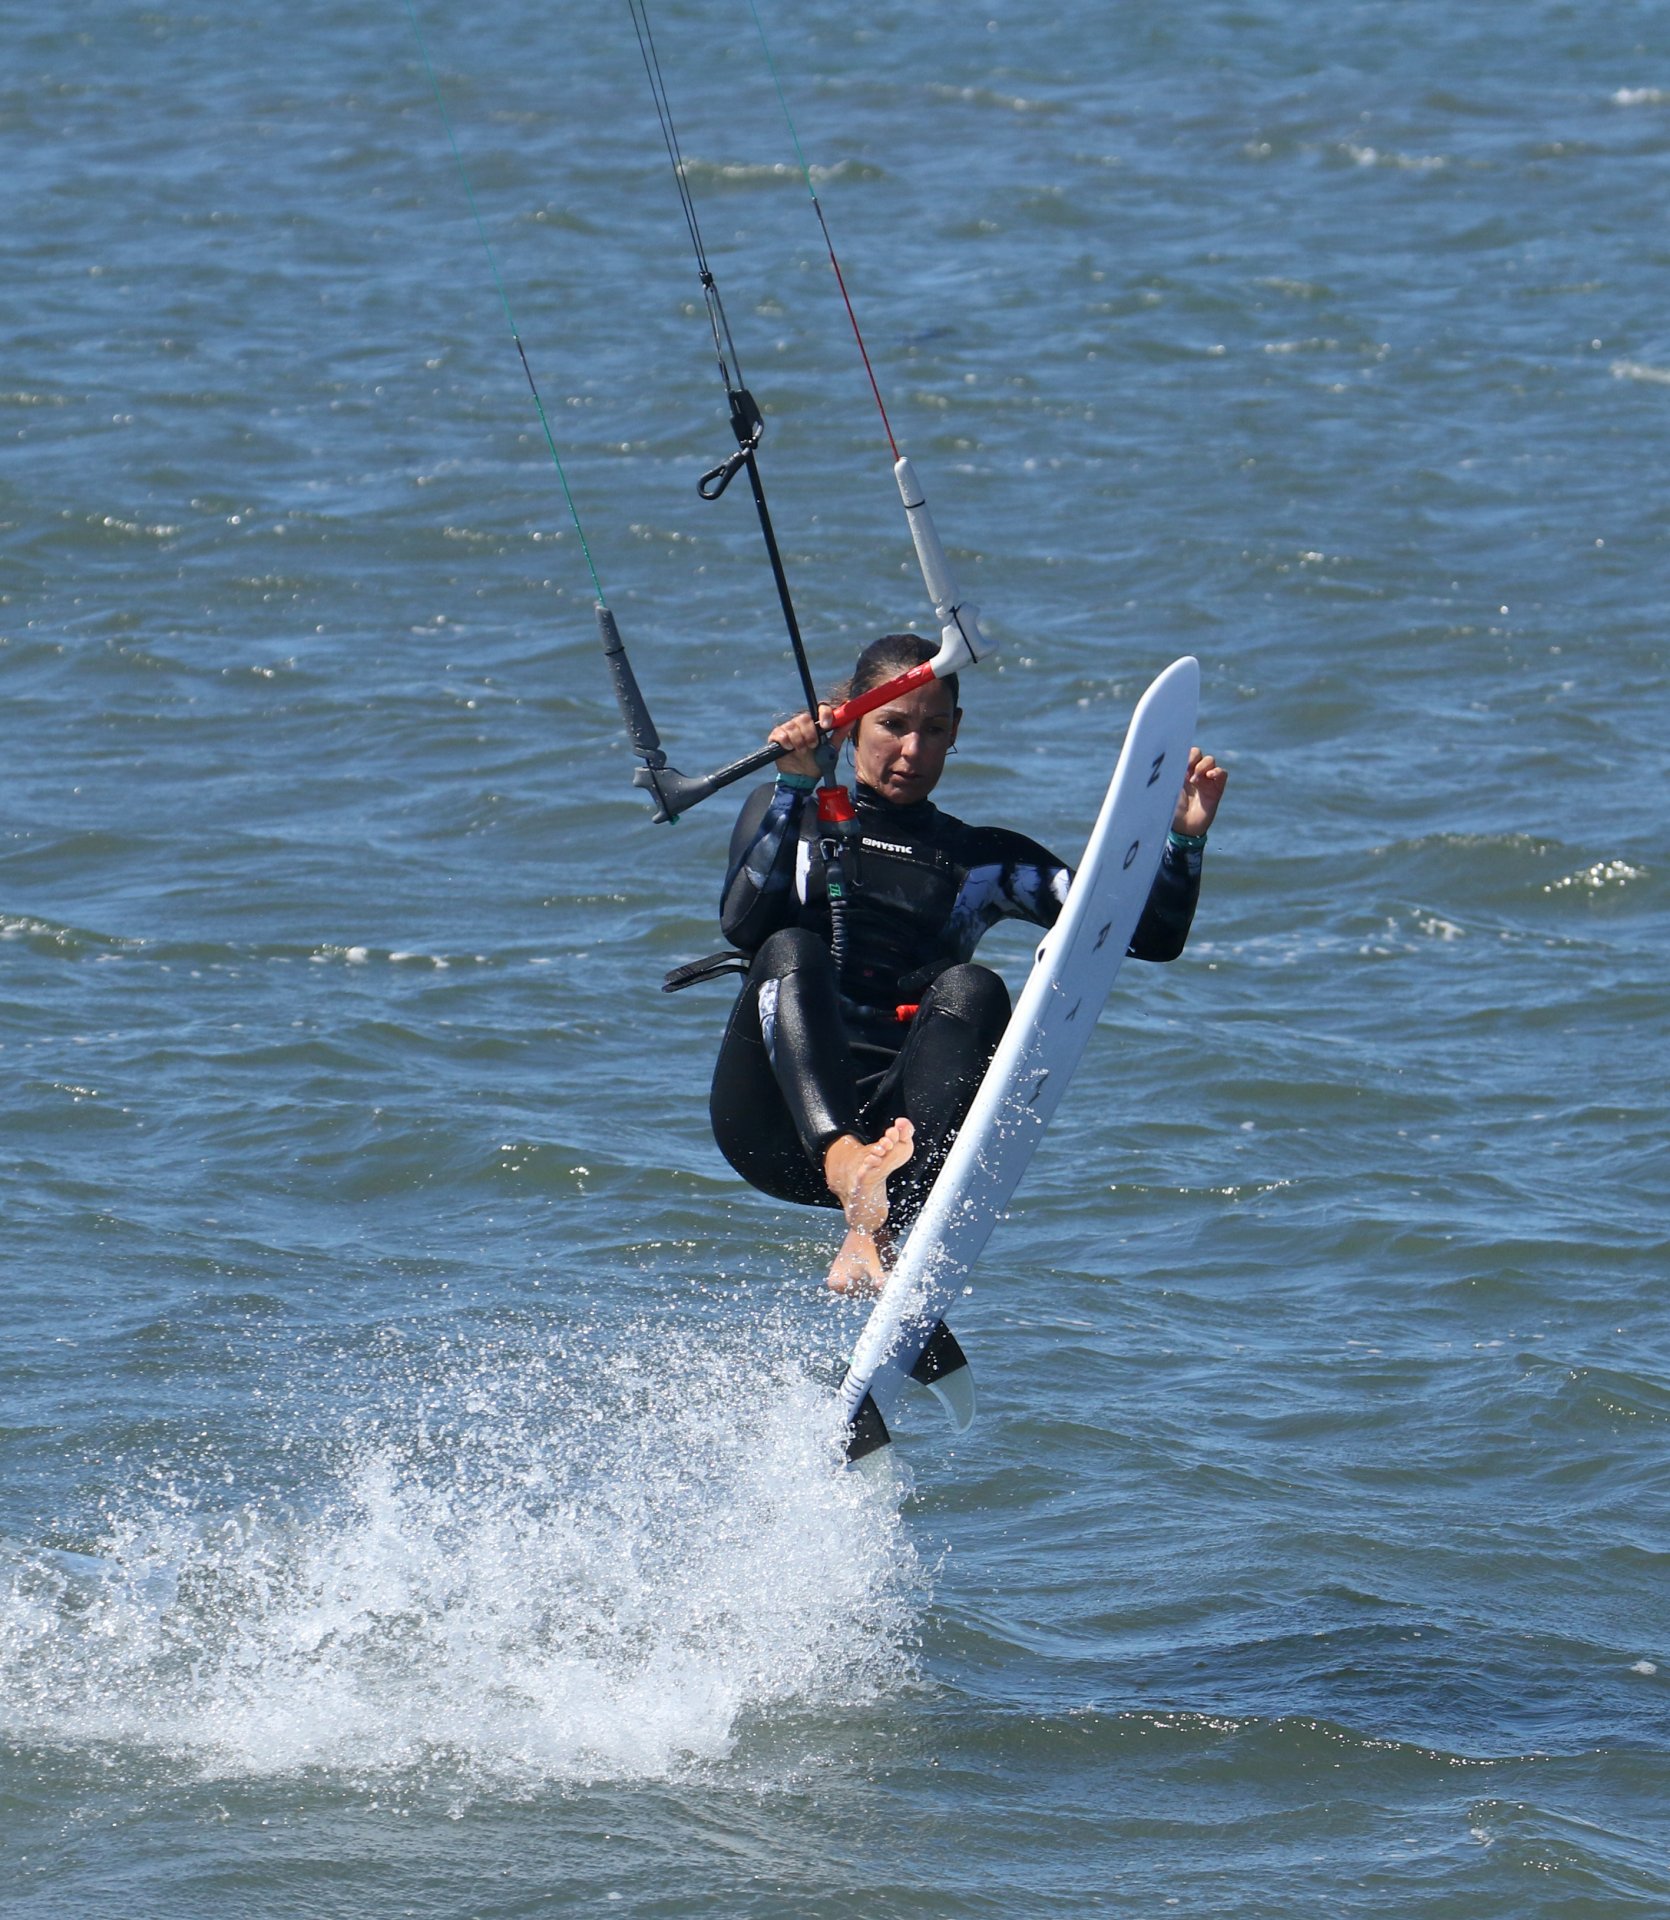
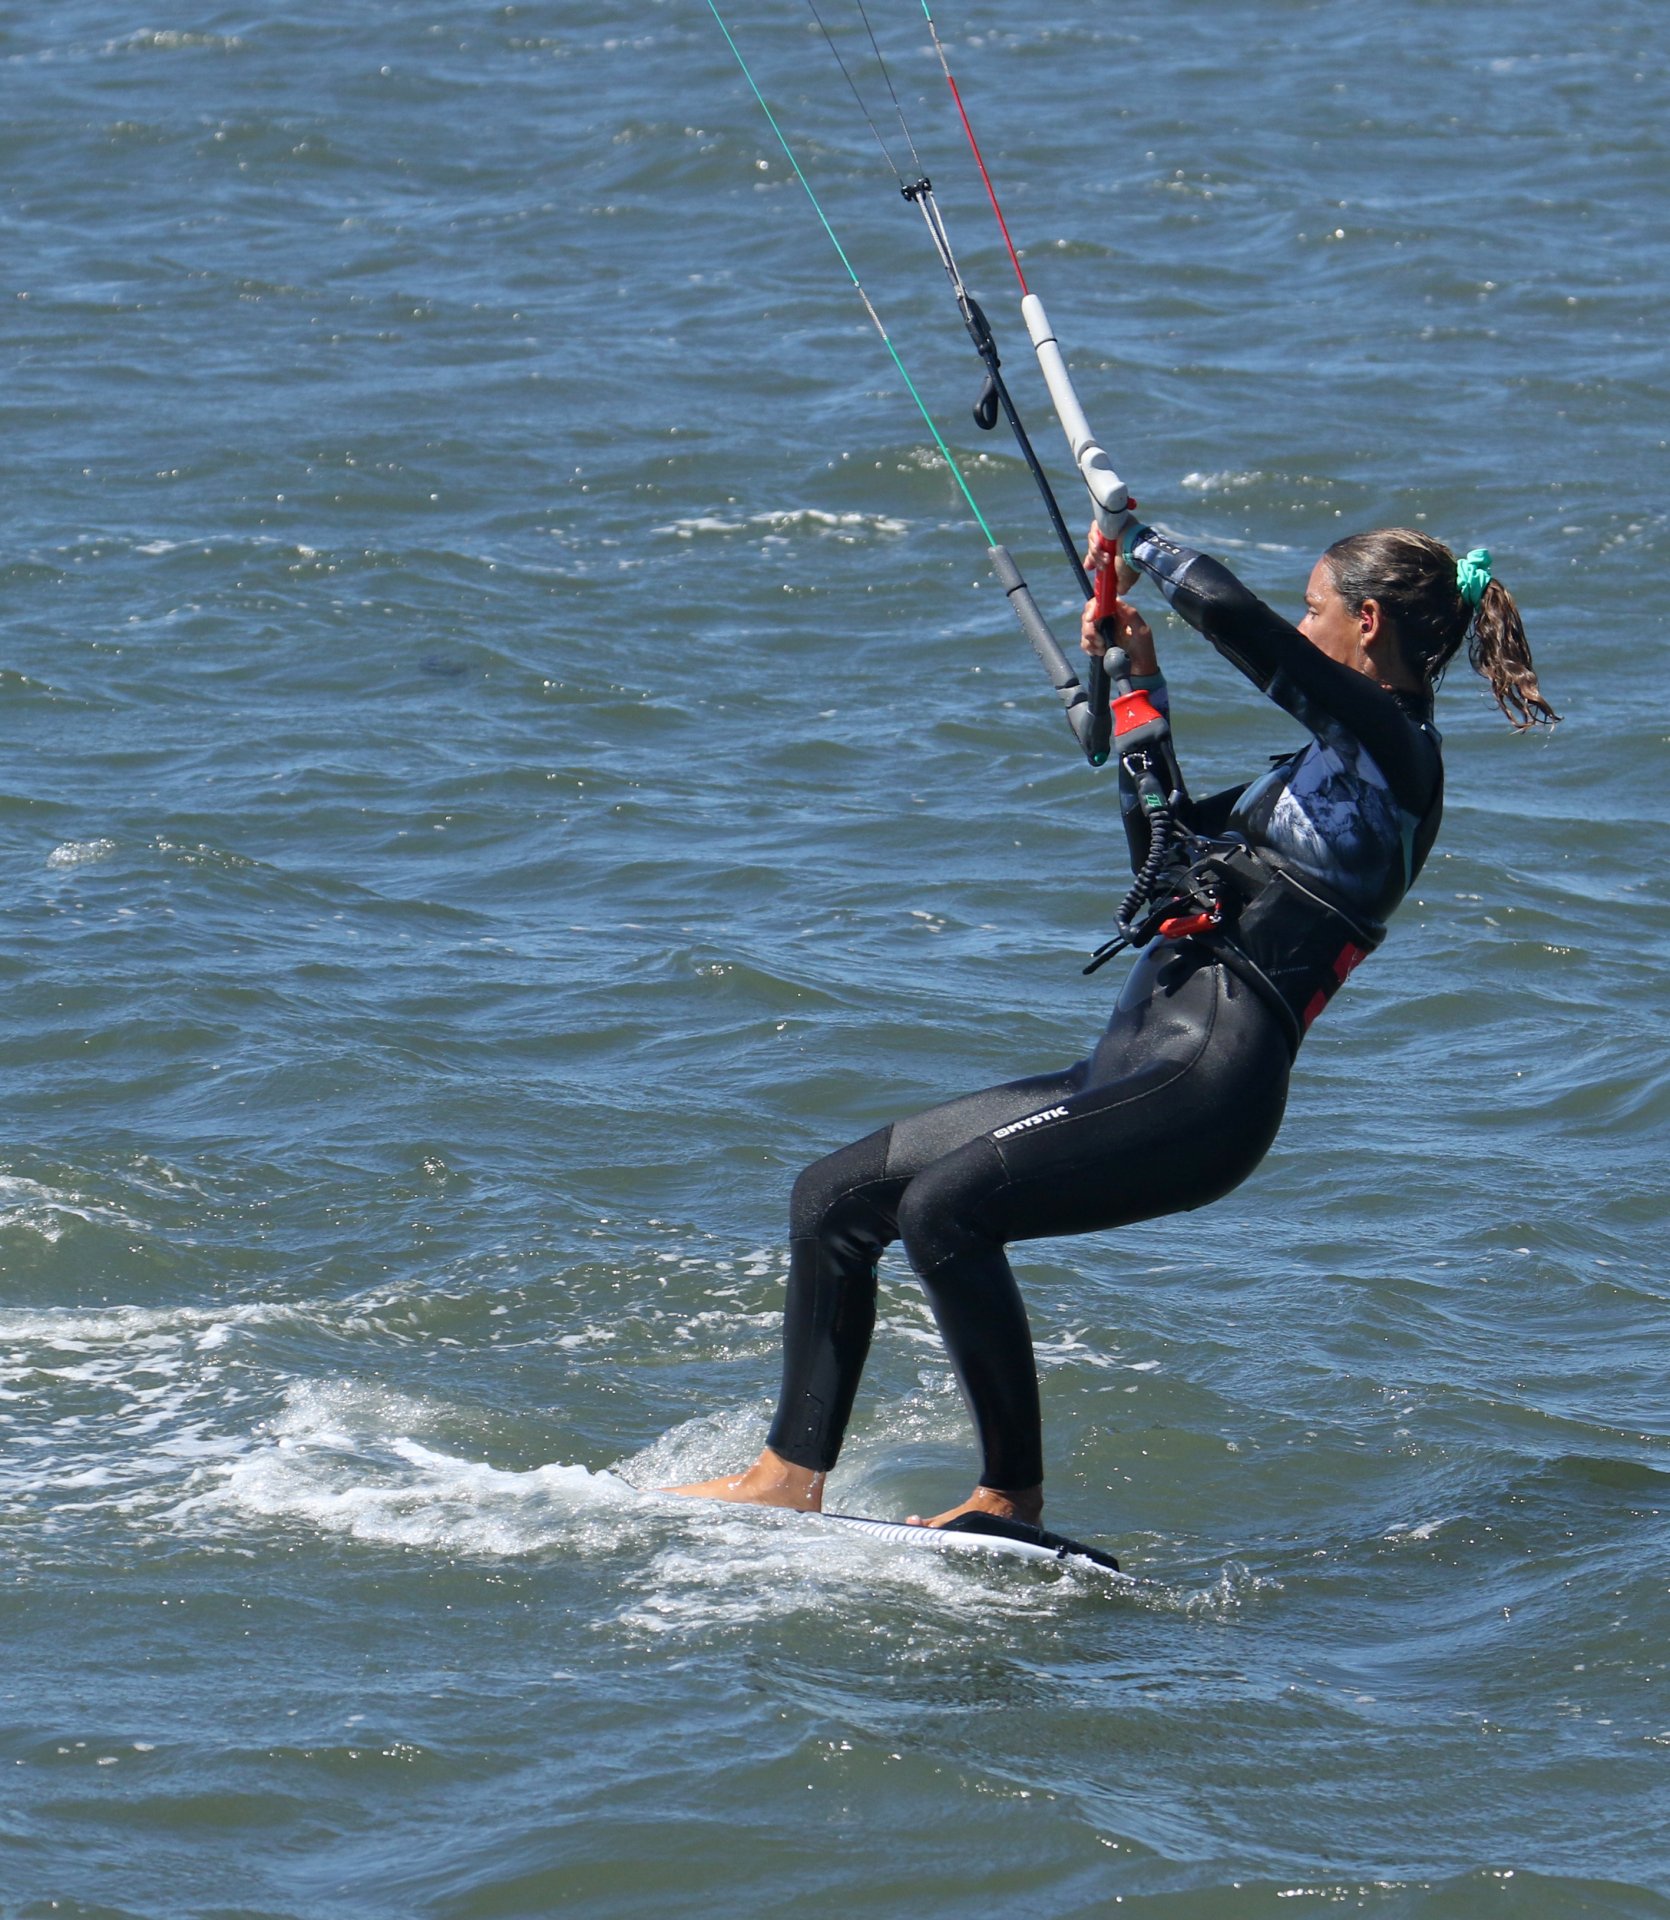
The Beginning Pic A.
As good a place as any to start; your approach. Set up and carve are the foundations upon which everything else is built, so best get them nailed! You need to be edging upwind otherwise you'll have no control over the kite or your upcoming carve, so feet slightly biased to the upwind side of the board. The front foot should be slid back a touch so that the nose becomes light and bouncy, just gagging to get some wind under it, whilst the back foot needs to be towards the tail, not right back but at least feeling the rear pad or over the front fins. Move your backhand right up to the centre line, or even split your first two fingers around it so that your kite won't move too quickly. To be edging your kite needs to be around 11 or 1 o'clock. Speed needs to be comfortable so that you're happily moving but easily in control—bar on the sweet spot and nobody in your way or behind you.
To start the move you have two goals, to drift the kite up to 12 o'clock and carve the board. As you're already edging upwind, just make sure that the bar is on the sweet spot and gently push and pull the bar to get the kite moving slowly up. As soon as it's in motion, you must start to carve, dropping your bum and weighting your heels to turn the board, whilst keeping your shoulders upright and over the board. Taking your front hand off will help lead you upwind. Also, beware that as the kite rises, and you carve against it will generate lift. To counter this lift, ease the bar out so that you can keep carving, aiming to get the nose into the wind. Looking at the first pic, Karine's kite is up at 12 o'clock, she's carving hard, her board's nose is up as her front foot is back, her bar is out so she can carve all the way up and her shoulders are upright, so she's over the board. If there is chop, it can be helpful to aim for a mini ramp, as it can assist with your timing.
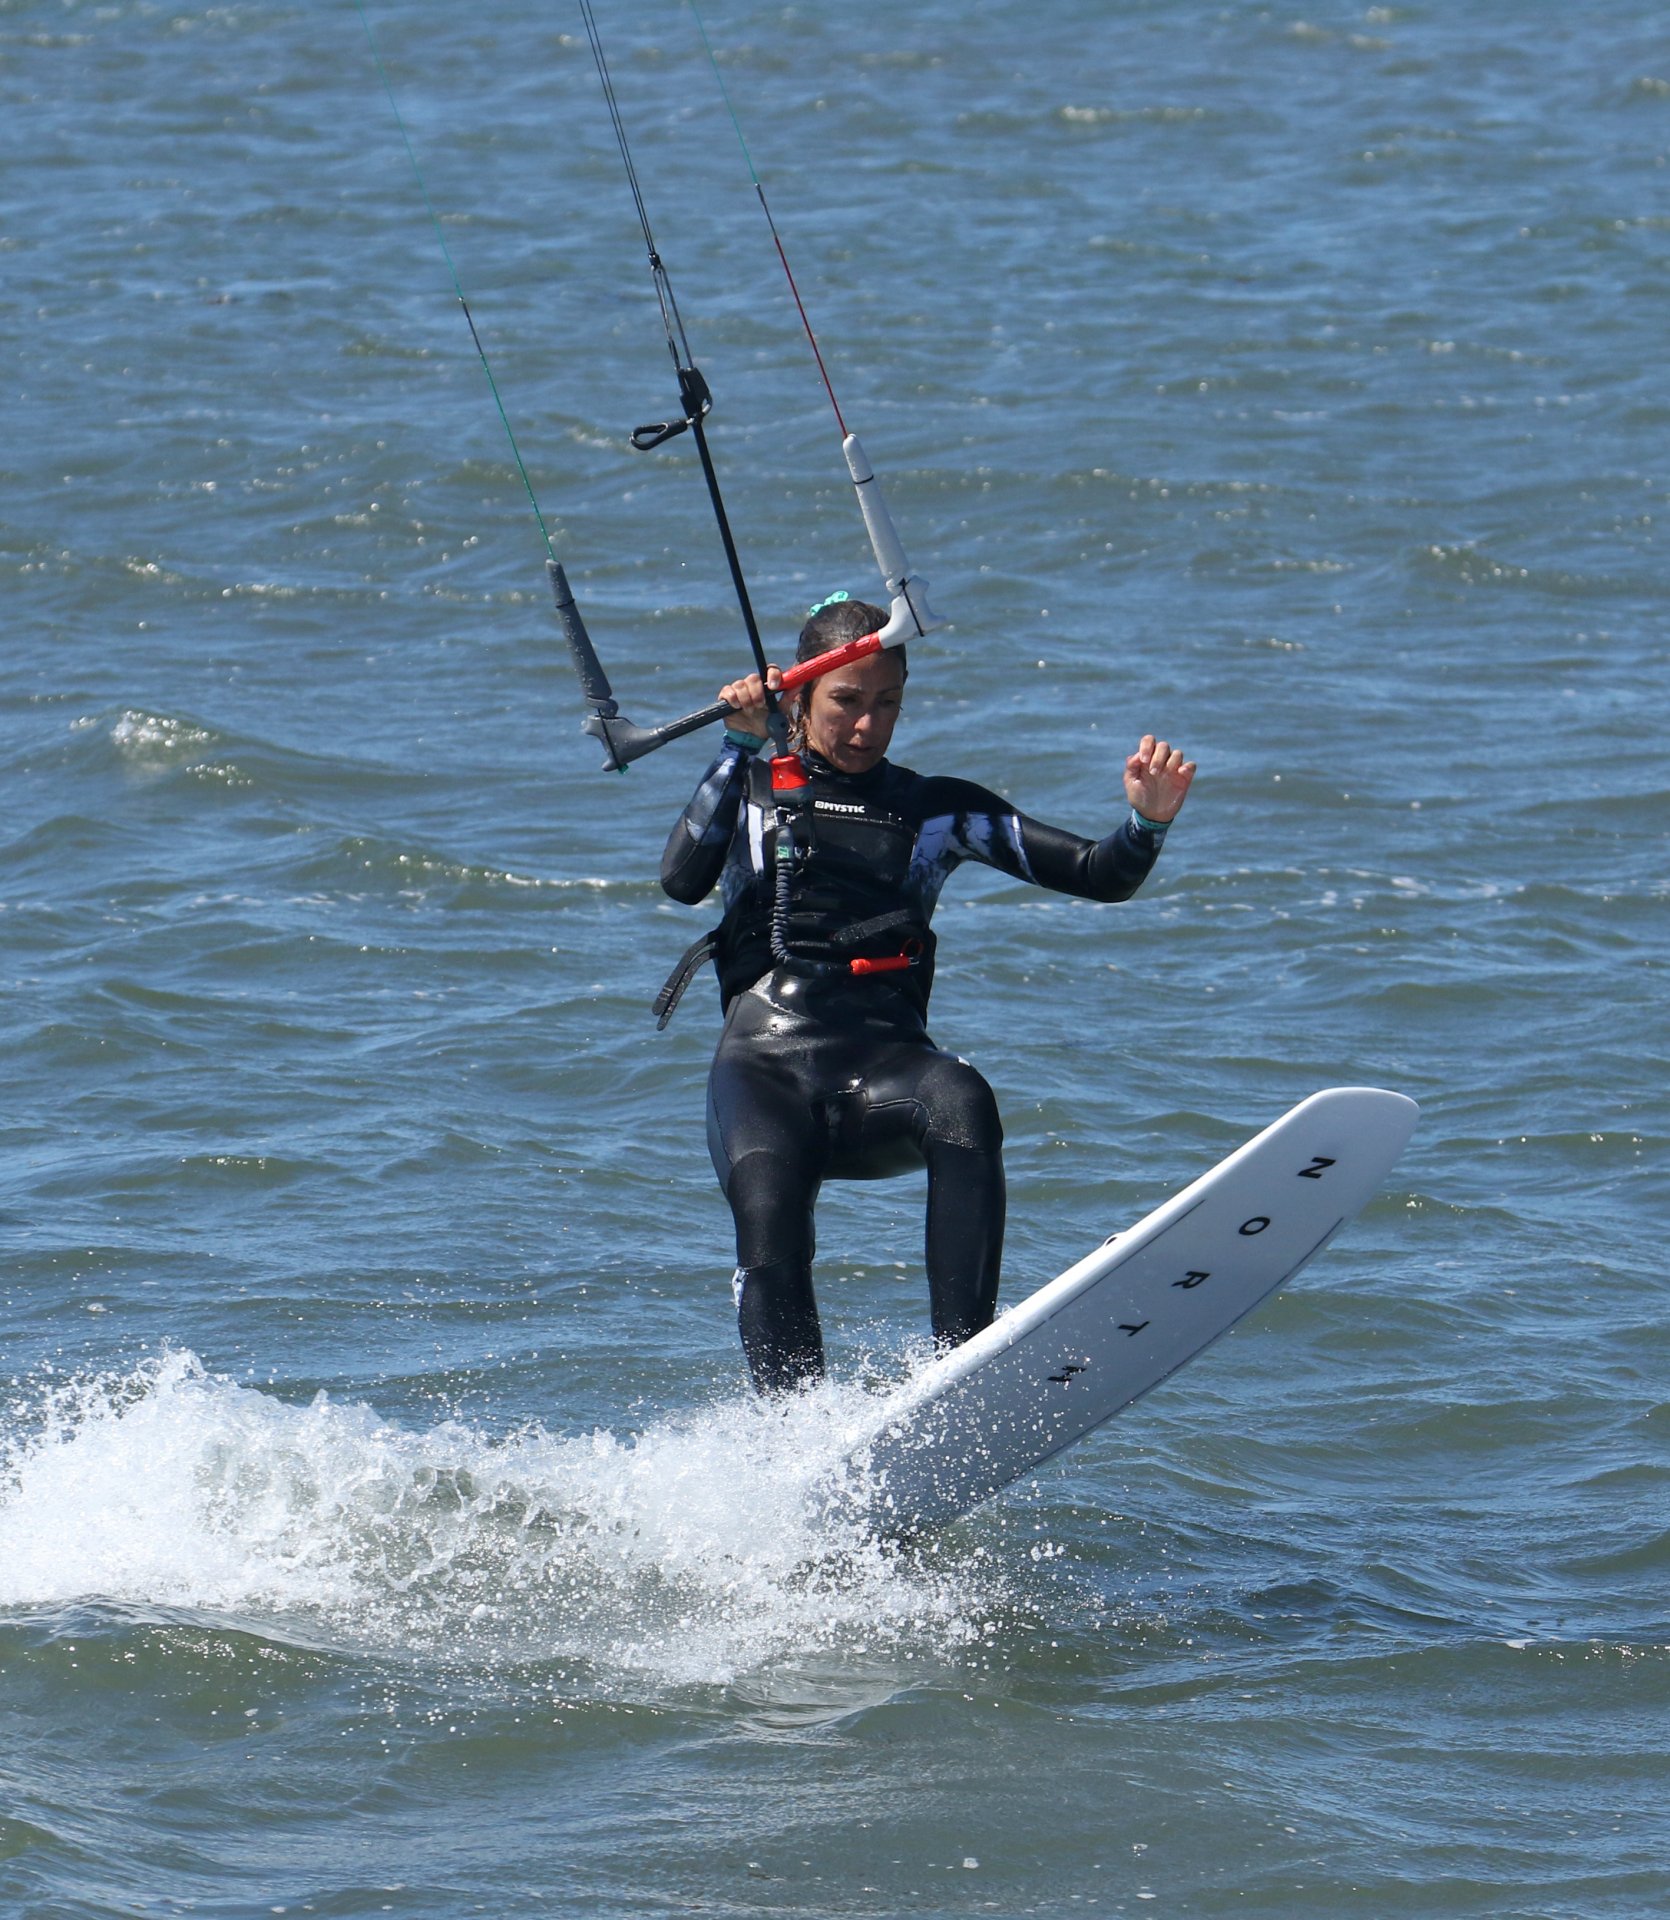
Going Up Pic B.
Getting the board off the water and yourself supported is your next trick. Board wise it's all about corking the board, to bounce it up whilst allowing the front to lift enough that the wind will catch the nose and lift it further. Getting yourself up will also come from the effort you put into the corking along with using the kite to support. Before we go further though, it is super important that once you carve, you're ready to pop. This allows you to carve more aggressively and to pop sooner, which will keep some of your forward momentum, which you'll need to turn the board. Also, by popping sooner, the kite will not travel as far back, which will also help you keep momentum. If you look at Karine, she's got four things on her mind. No 1 is to stamp down hard with her back leg, pushing the tail into the water, her pop. No 2 is to lift her front leg, bending the knee so that the board can rise whilst simultaneously moving her front foot back slightly, taking all weight off it. No 3 is to pull the bar in for lift. With the kite now at 12 o'clock she will get lift and support. And no 4 is to look at the board. This part is equally important as it's about aiming your eyes where you'll stick your foot in a moment. Without giving too much away just yet, Karine has her eyes fixed on where her front foot should generally be when riding.
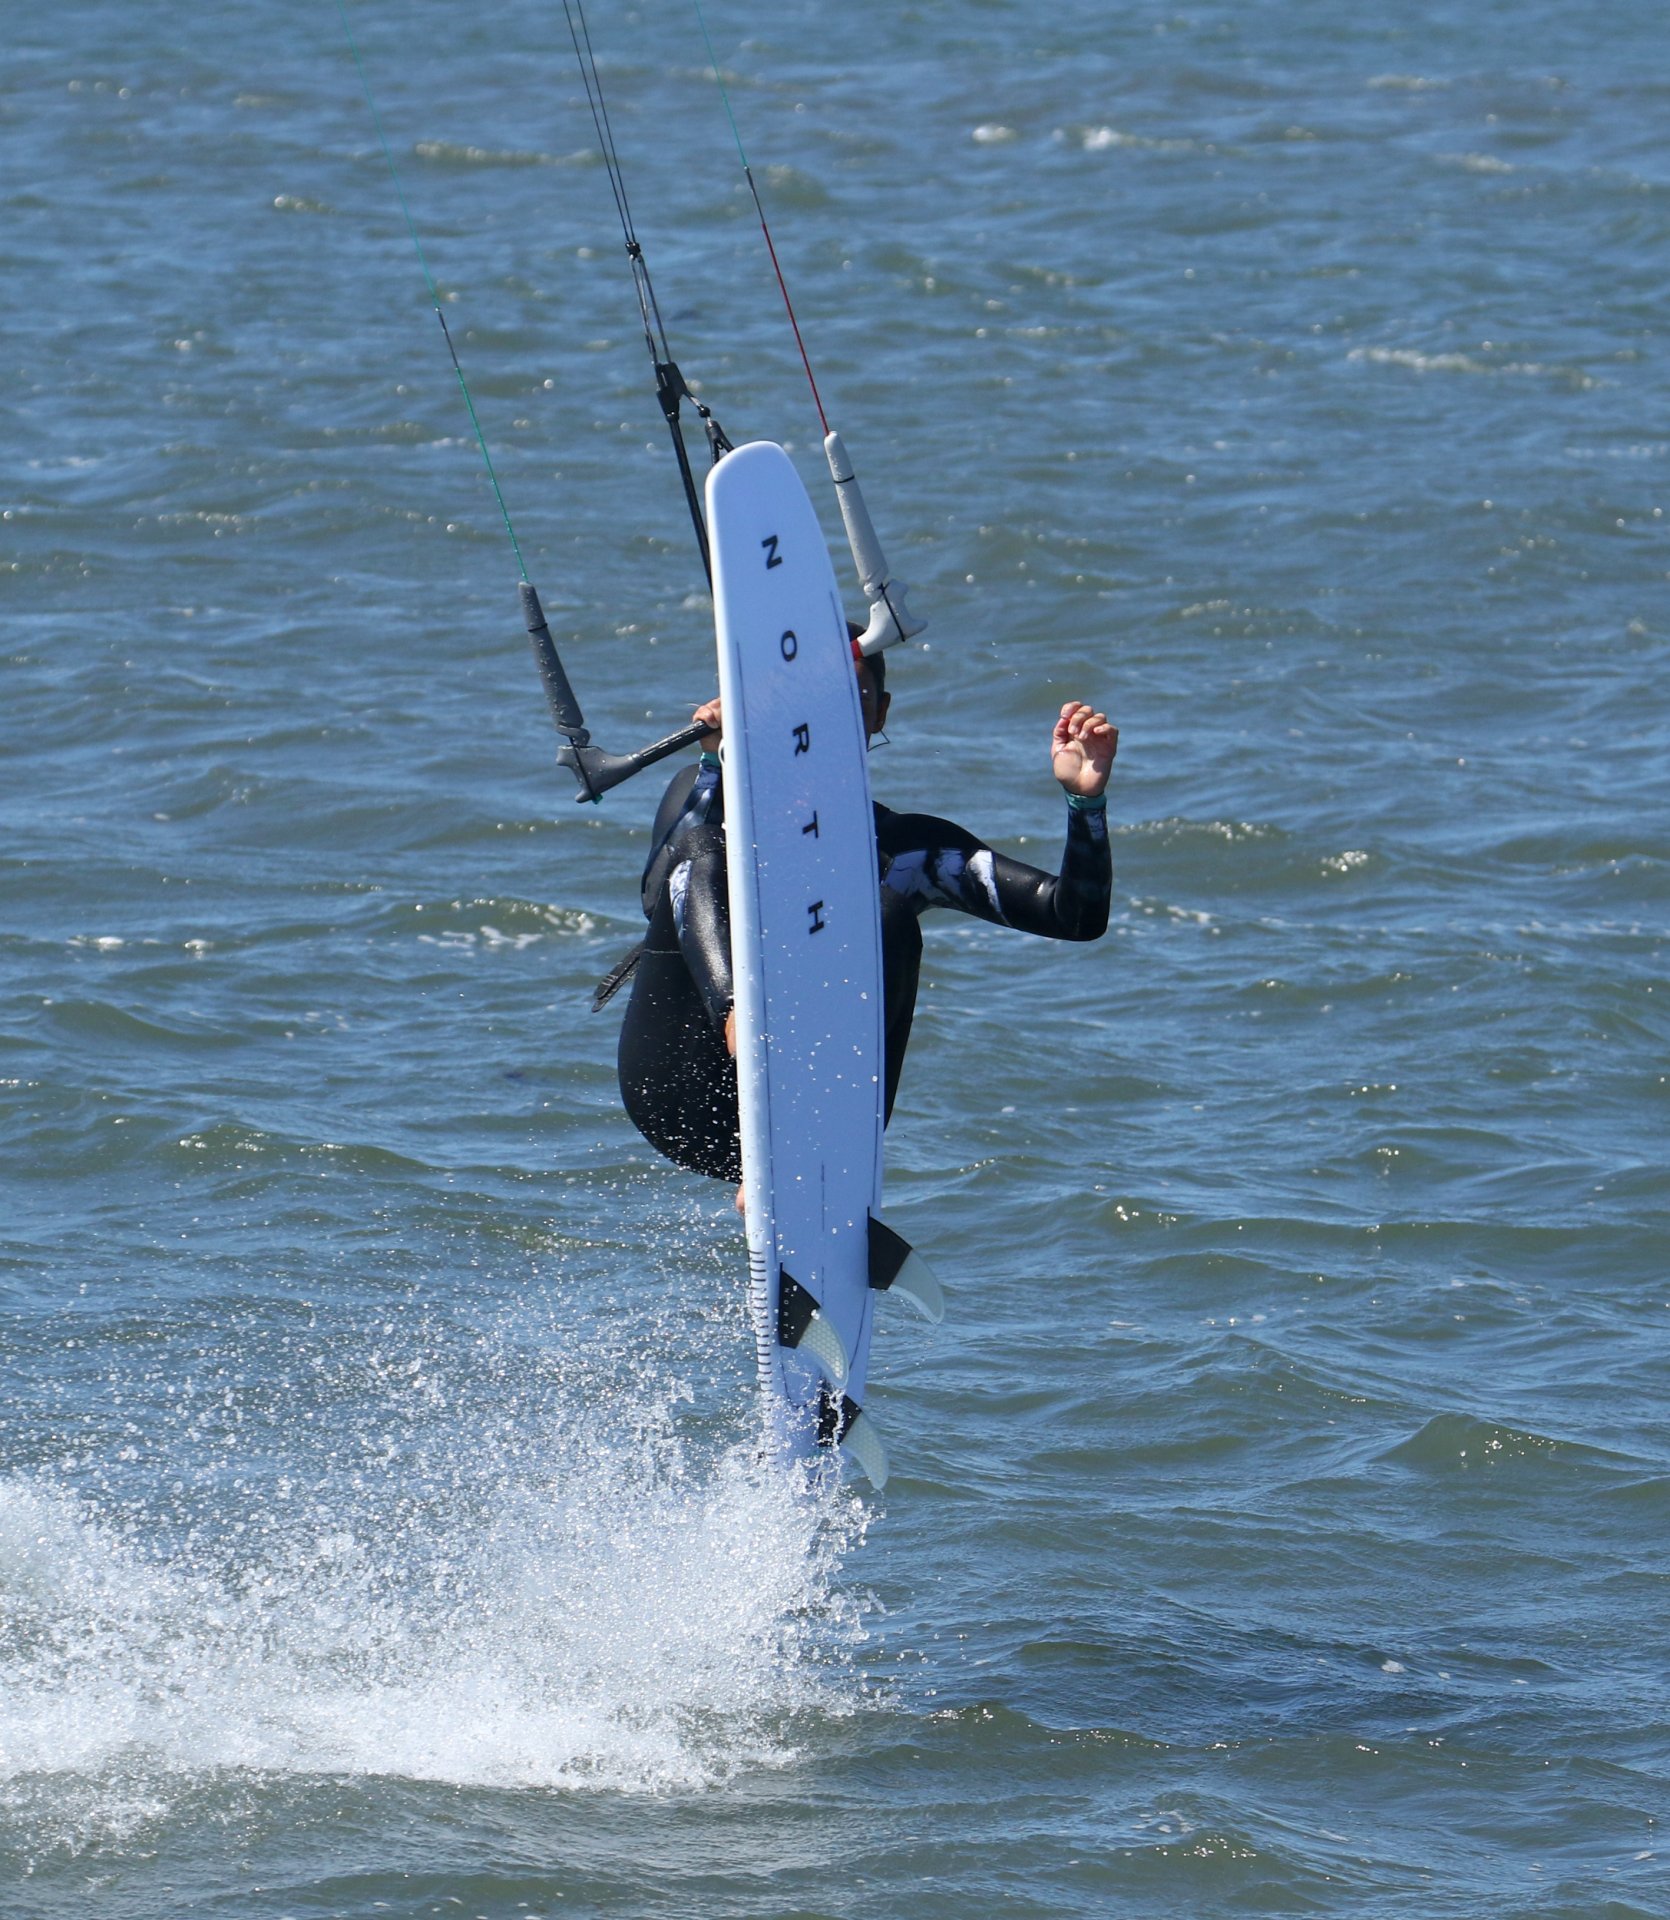
Mid Air Foot Change Pic C.
Here we go then, the crux of the move. Get this right, and the board will turn, and you've got a good chance of landing on it. Theoretically, if you've got the board up and off the water, you are supported by the kite, and you still have the smallest amount of momentum it's yours for the taking. You can see in the pic that the board is momentarily floating, held by the wind blowing onto the underside, even if just for a fraction of a breath, but long enough to allow you to bully it. The plan here is to swap your feet, much like you would gybing, pre or post turn. The emphasis here is on getting what will be your new front foot where it belongs to go back the other way. You need to do this sharpish as time won't stand still, and the board won't wait forever. Karine is still focused on where she wants to move her foot. Whilst hanging from the kite, she lifts her back foot which she used to pop the board, bringing her knees up whilst moving the foot forwards. At the same time, she moves what was her front foot back. To do this, she twists her hips, almost as if she's going toeside.


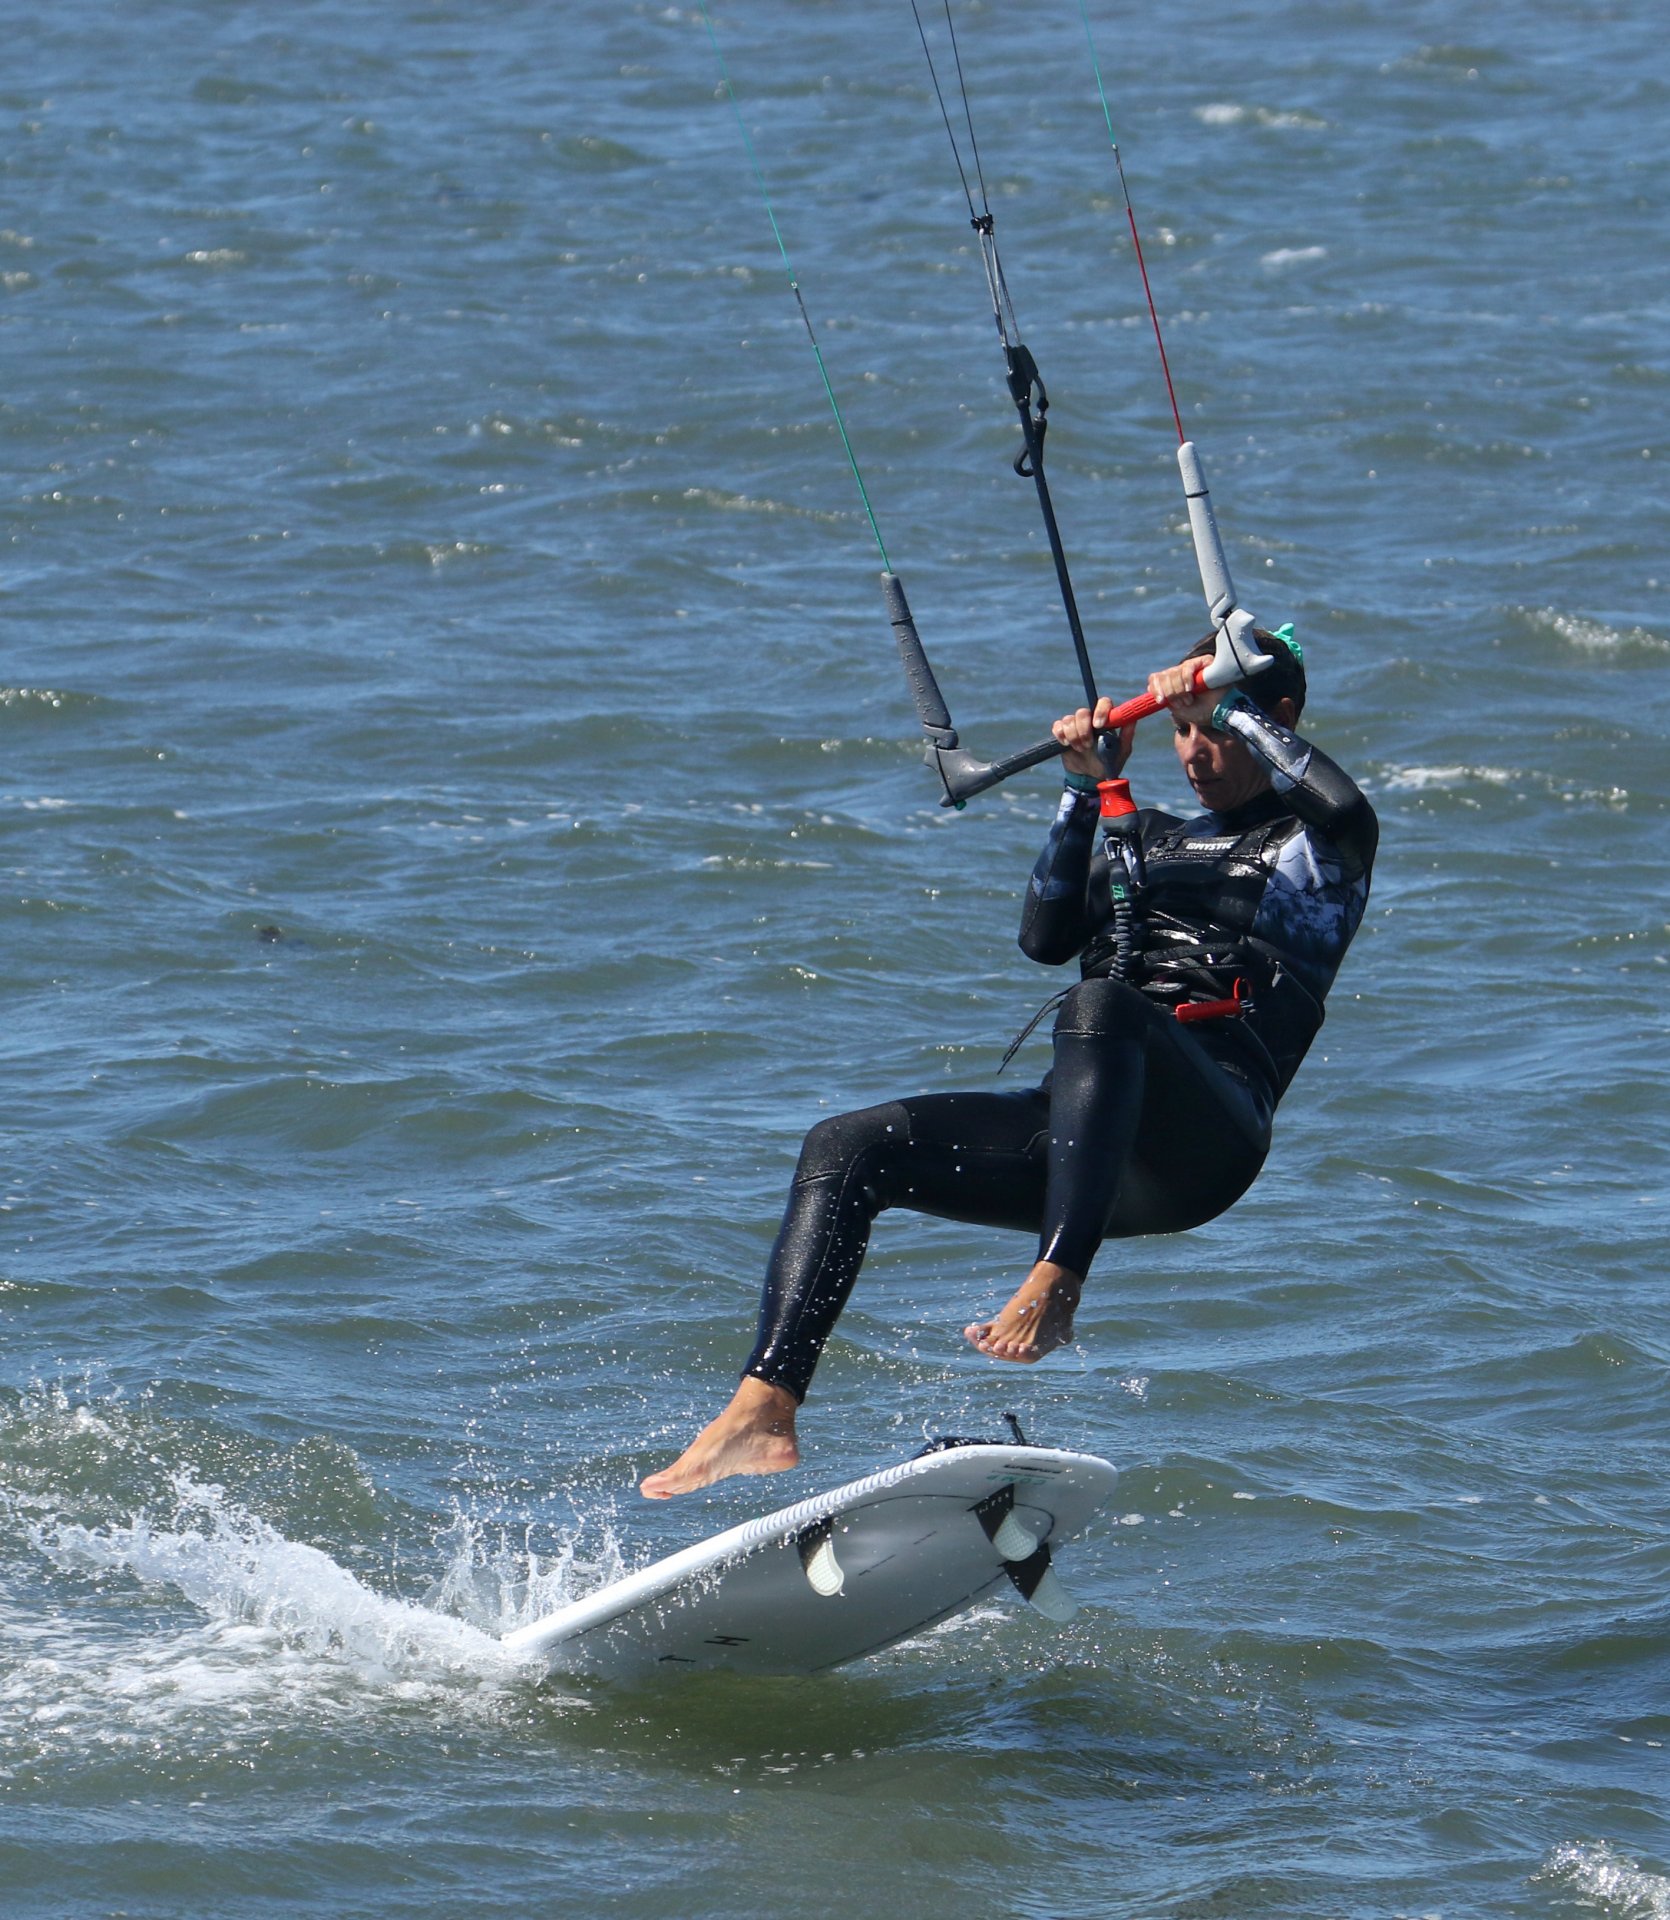
The Catch Pic D.
Well at least for those of you who can catch with your feet. If you haven't before, you will now! The wind is blowing the board off downwind, imminently ready to flip it in any combination of random ways. Before it has a chance, you need to get that new front foot on the board so that you take control of it and stop the wind flipping it. Here Karine has her foot on the board, and as such, the wind can only push the board against her foot. It's essential to get the foot where it usually is. Place it too far back, and the board will flip over it. Too far forwards and it'll blow under it. As you become more accomplished, you'll learn to match your pop to wind strength. Too much pop in too much wind and the board will be off in a jiffy.
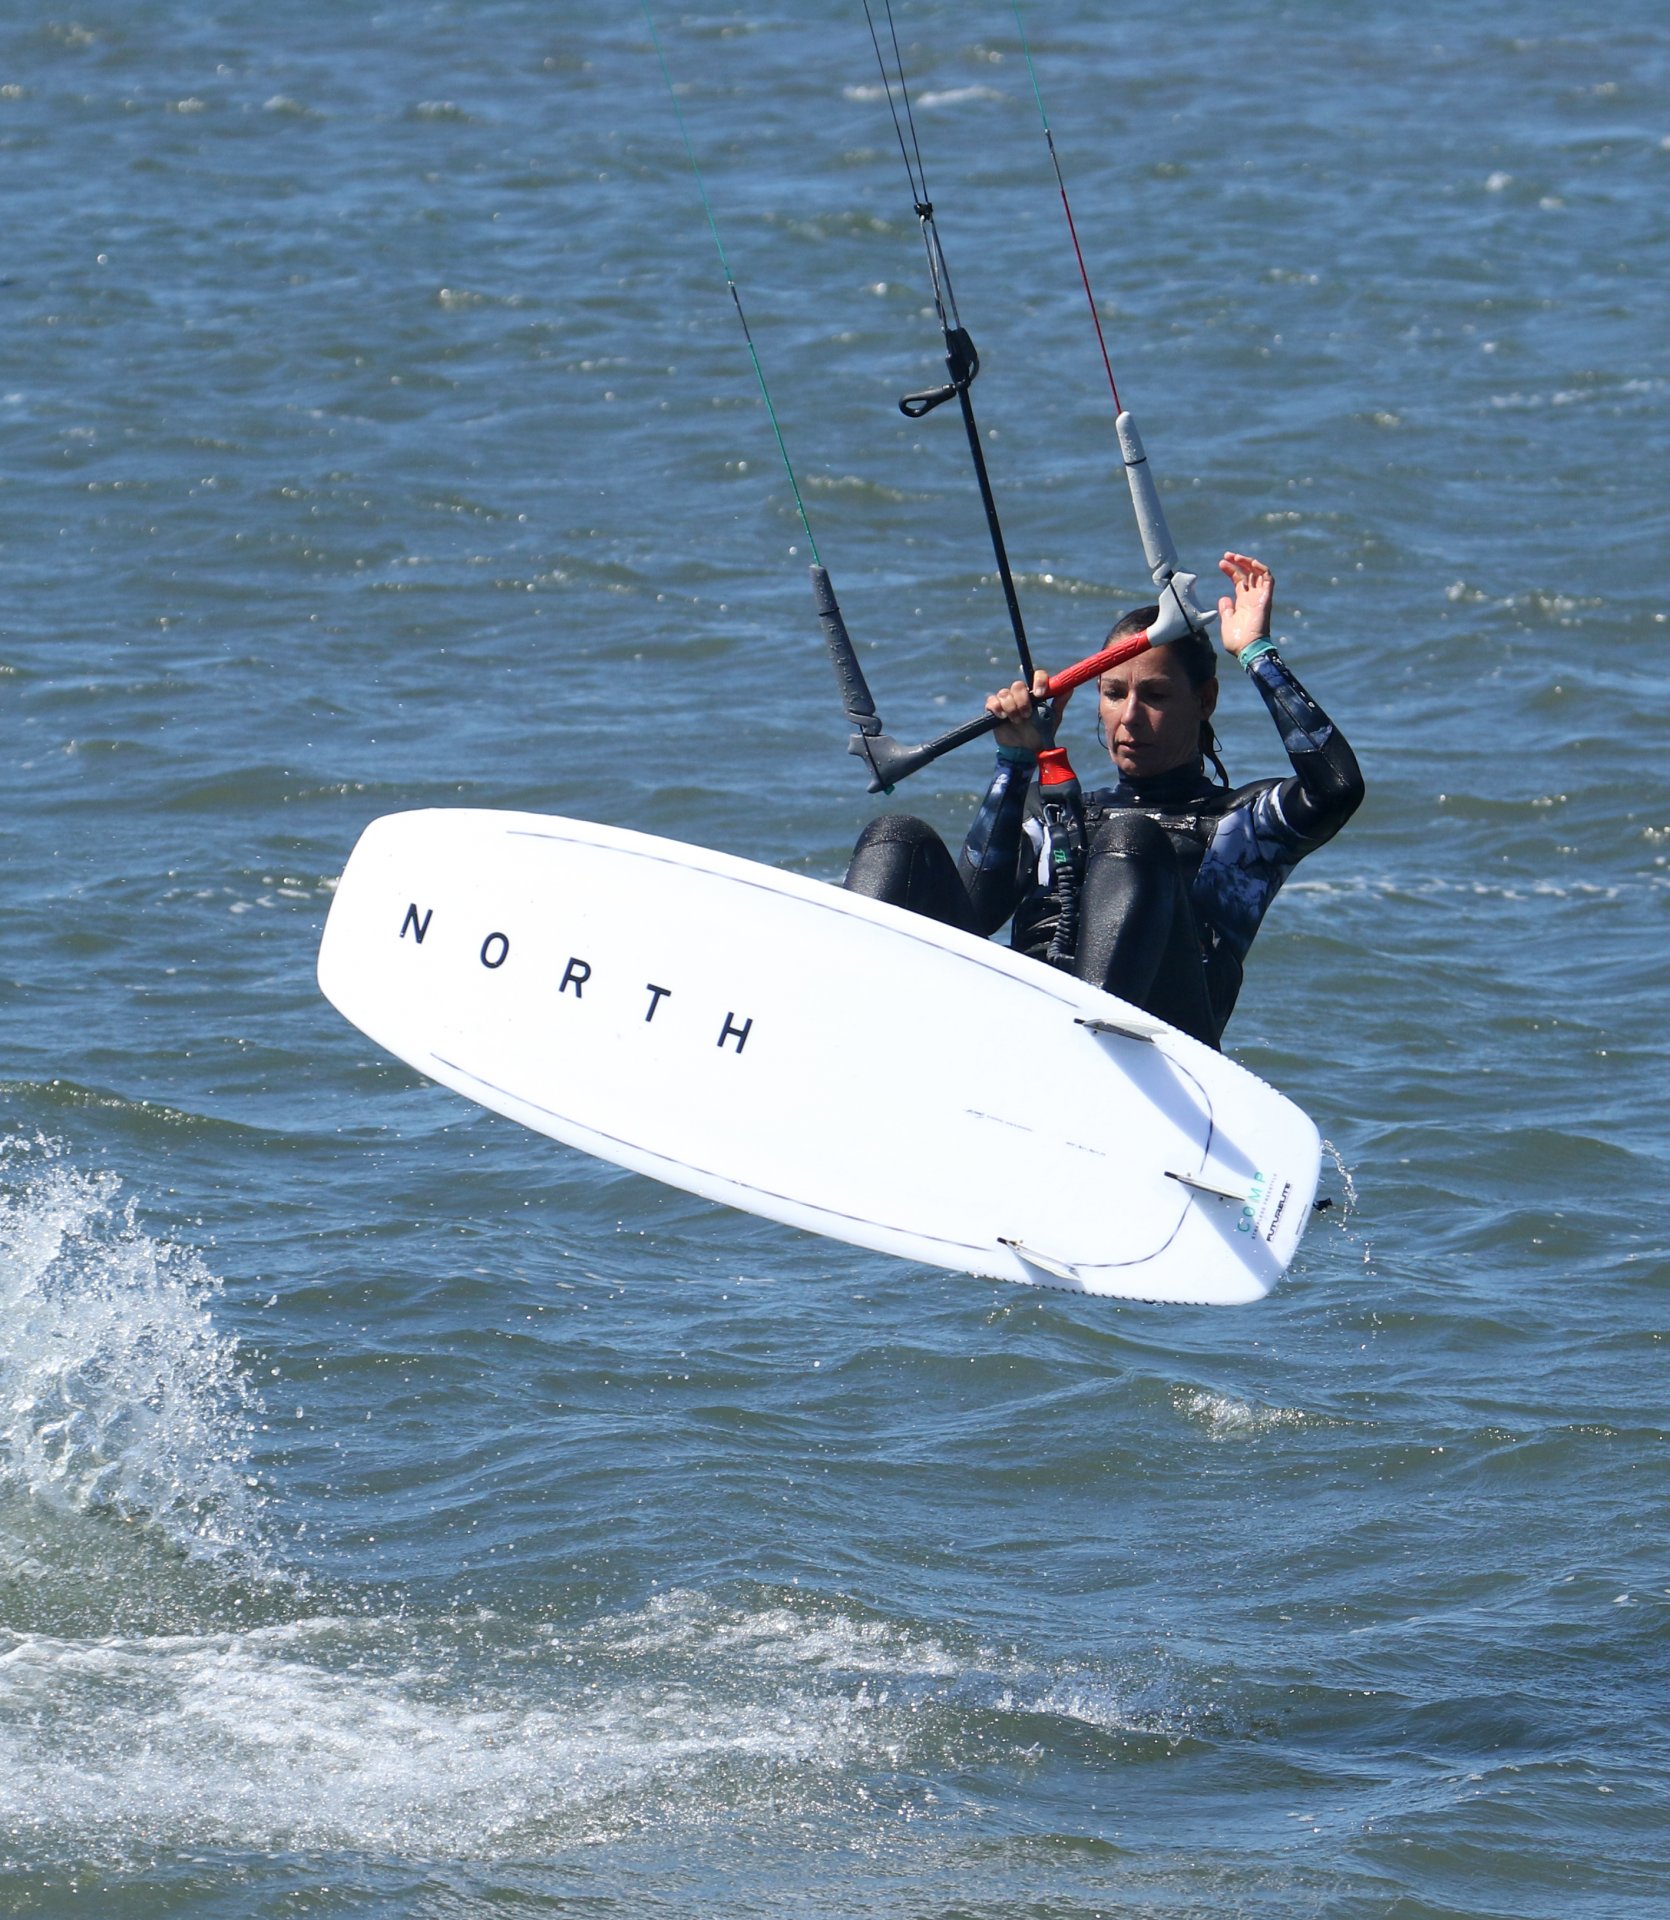
The Push Pic E.
With your front foot on the board, or at least in contact with the board, you now want to get your other foot engaged too. This is where your momentum comes into play. With both feet in contact with the board, and you moving even ever so slightly forwards, you will push the tail of the board around. It goes without saying that you need to still be supported by the kite at 12 o'clock. Captured in a photo, it all looks relatively peaceful. However, in real-time, you'll only have a moment to push the board before it starts to fall, and the wind takes over since you're now offering the top of the board to the wind. Karine is concentrated on two things, foot placement and support. You can see that both knees are lifted right into her chest so that she's as close to the board as possible.
The Drop Pic F.
As the wind and gravity take over, your board will fall towards the water. By having both your legs tucked up, it allows you to extend them and try and keep your feet as close to the board as possible. Keep watching it, trying to aim yourself to land where you had made contact. If you're floating or lifting too much, you can also let the bar out to drop yourself with the board. You can see that Karine has her feet spread, ready to land where she should be standing on the board.
Dive It Pic G.
As you're coming down all that is left is to get the power on. As with any move you need the kite to pull you out and downwind, and here is no different. Concentrate on pulling and pushing. As you've been hanging off the bar, if you just pull not much will happen, the push will help. Get yourself ready for the power by keeping your weight back and both feet planted on the board. The joy of surfboards is that with all that finnage, the board will obeyingly pivot off the wind as the kite pulls, and you can then carve back onto your edge with that relatively warm feeling of having just nailed something new.
Top Tips
This is another case of a "go early" move. It's easy to carve for too long and miss the moment, so get yourself primed and ready to stamp so that you can be up and off before the kite travels across to the other side of the window. This is where a piece of chop can help, as it'll give you a reference point to use, whether you feel lift in the kite or not.

Have a look at the sequence and videos to get a feeling for what's happing when you can't freeze time.
Common Problems
The first problem you're likely to encounter is that you feel that you're being pulled back away from the board after taking off. This is due to the kite travelling too far across the window. You don't want it to pass 12 before you take off. Either slow the drift down or pop earlier.
If you find that you're making contact with the board, but it sits above your feet, rolling fins up. This is because as you change feet, you're landing the front foot to low on the board. By which we mean that it's too much on what will be your new upwind edge. Try and get it to touch the centreline of the board.
Also, if you find that the board is flipping under you, it's because you're making contact to high on the board; hence the wind rolls it the other way. Once again get your foot in the middle.
If you're getting your feet swapped and landing on the board but falling in, it's because the kite is drifting too far across the window. Either try and level the bar once you get it drifting, or make sure you give it a hefty dive to land so that the kite pulls from downwind.


Keystones
- Front foot back
- Quick, aggressive carve and early pop
- Aim for front foot position and swap feet
- Front foot first in the centre of the board
- Drop and Dive
This technique article was in Issue 83 of IKSURFMAG.
Related


By Christian and Karine
Christian and Karine have been working together as a coaching team, running improver to advanced kitesurfing clinics since 2003.
