
Strapless Carving Upwind 360
Technique / Intermediate

Introduction
This is nearly the last in the series of all things related to tacking on the surfboard front! We have one more left in the bag after this fun addition to your armoury. The strapless carving upwind 360 in its simplest form is a heel to toe duck tack with a downloop tagged onto the end to take you all the way around and back to the beginning. As such if you’re a master tacker, you should have all the necessary skills and patience to nab this one. As with all the other tack moves, learning this on a surfboard will no doubt help you when it comes to foiling too.
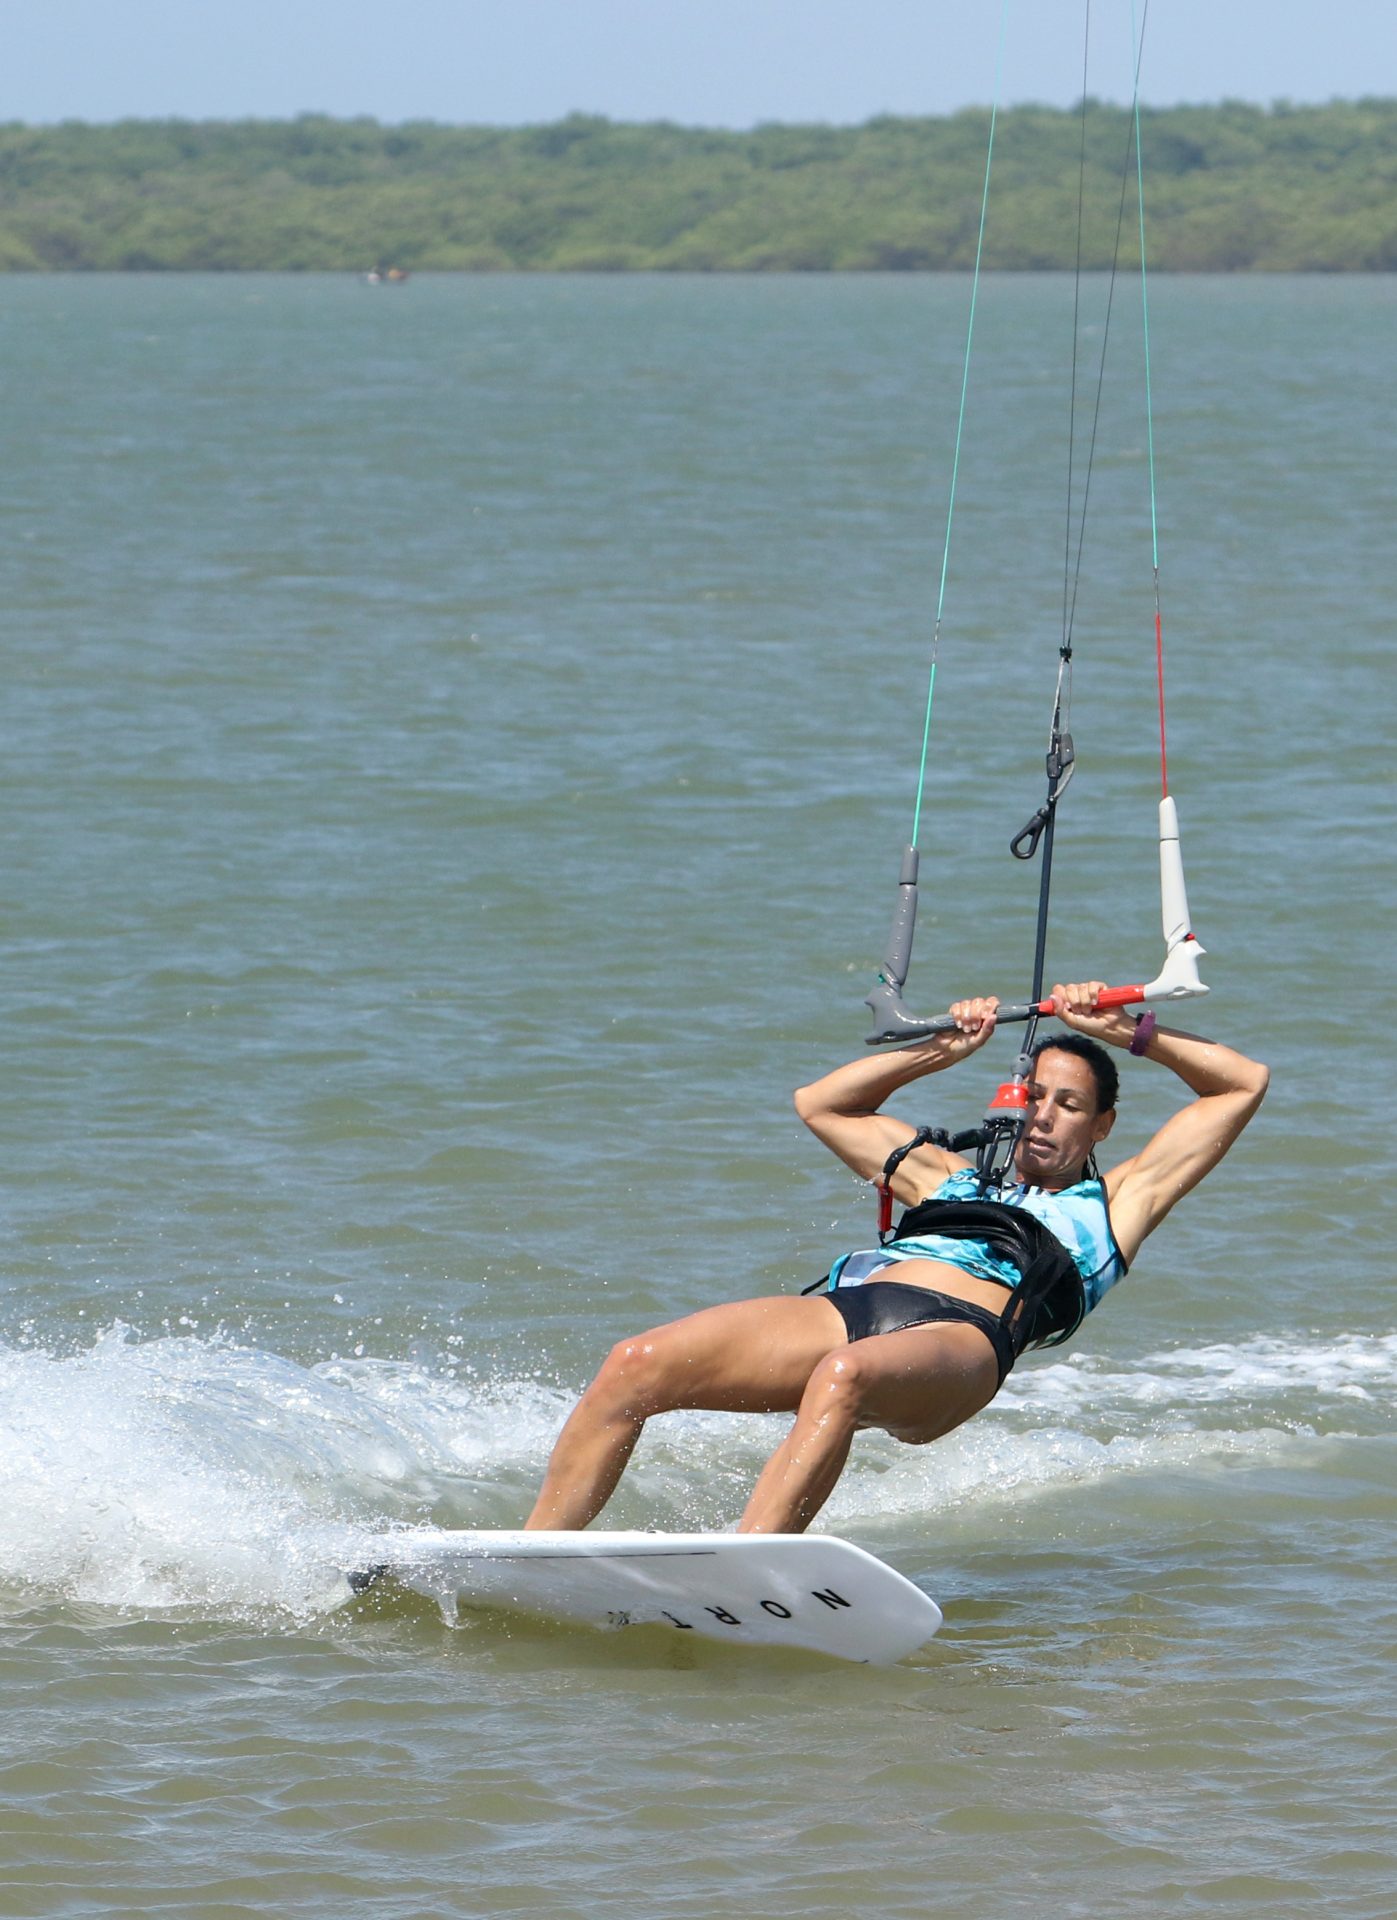
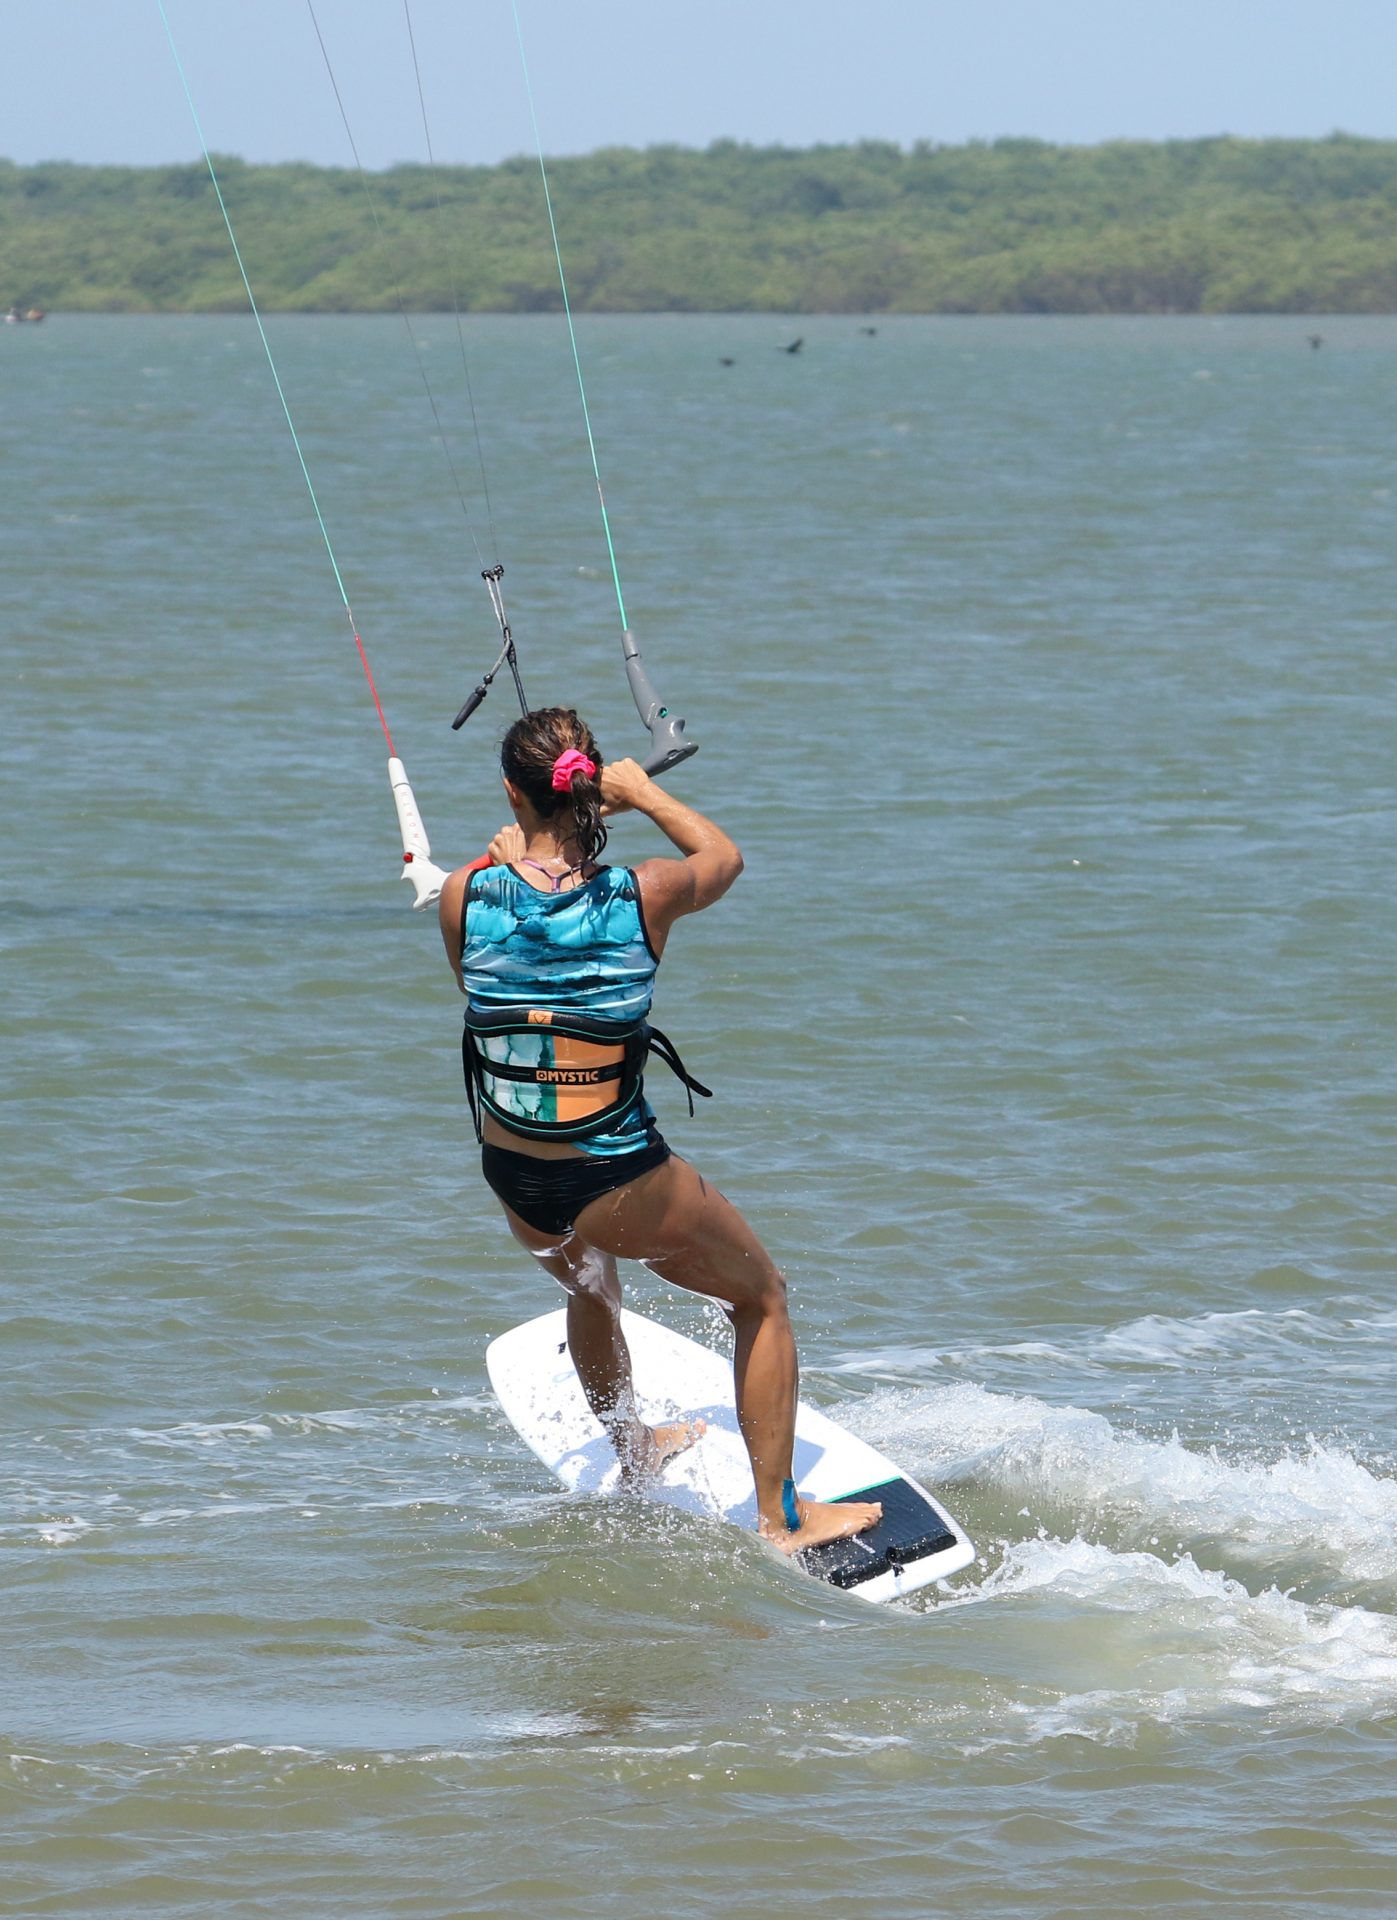
Your Prep Pic A.
You’ll need momentum so that you can carve up, and as such, you should be coming in on a good edge, on an upwind course, so that you have some speed but also control. Your heels should be on heel-side of the board so that you can sit on them to engage the rail when you carve, but not too far as you still need to be able to balance once you get to toeside. Your back foot doesn’t want to be too far back; otherwise, you may struggle to move your weight forward when the time comes. Centre your hands so that you won’t move the kite aggressively. From here you can drift the kite slowly up towards 12 o’clock. You can see that Karine is edging in and therefore can control her speed and the kite while feeling the pressure against the board so that she’ll be able to get a good solid carve.


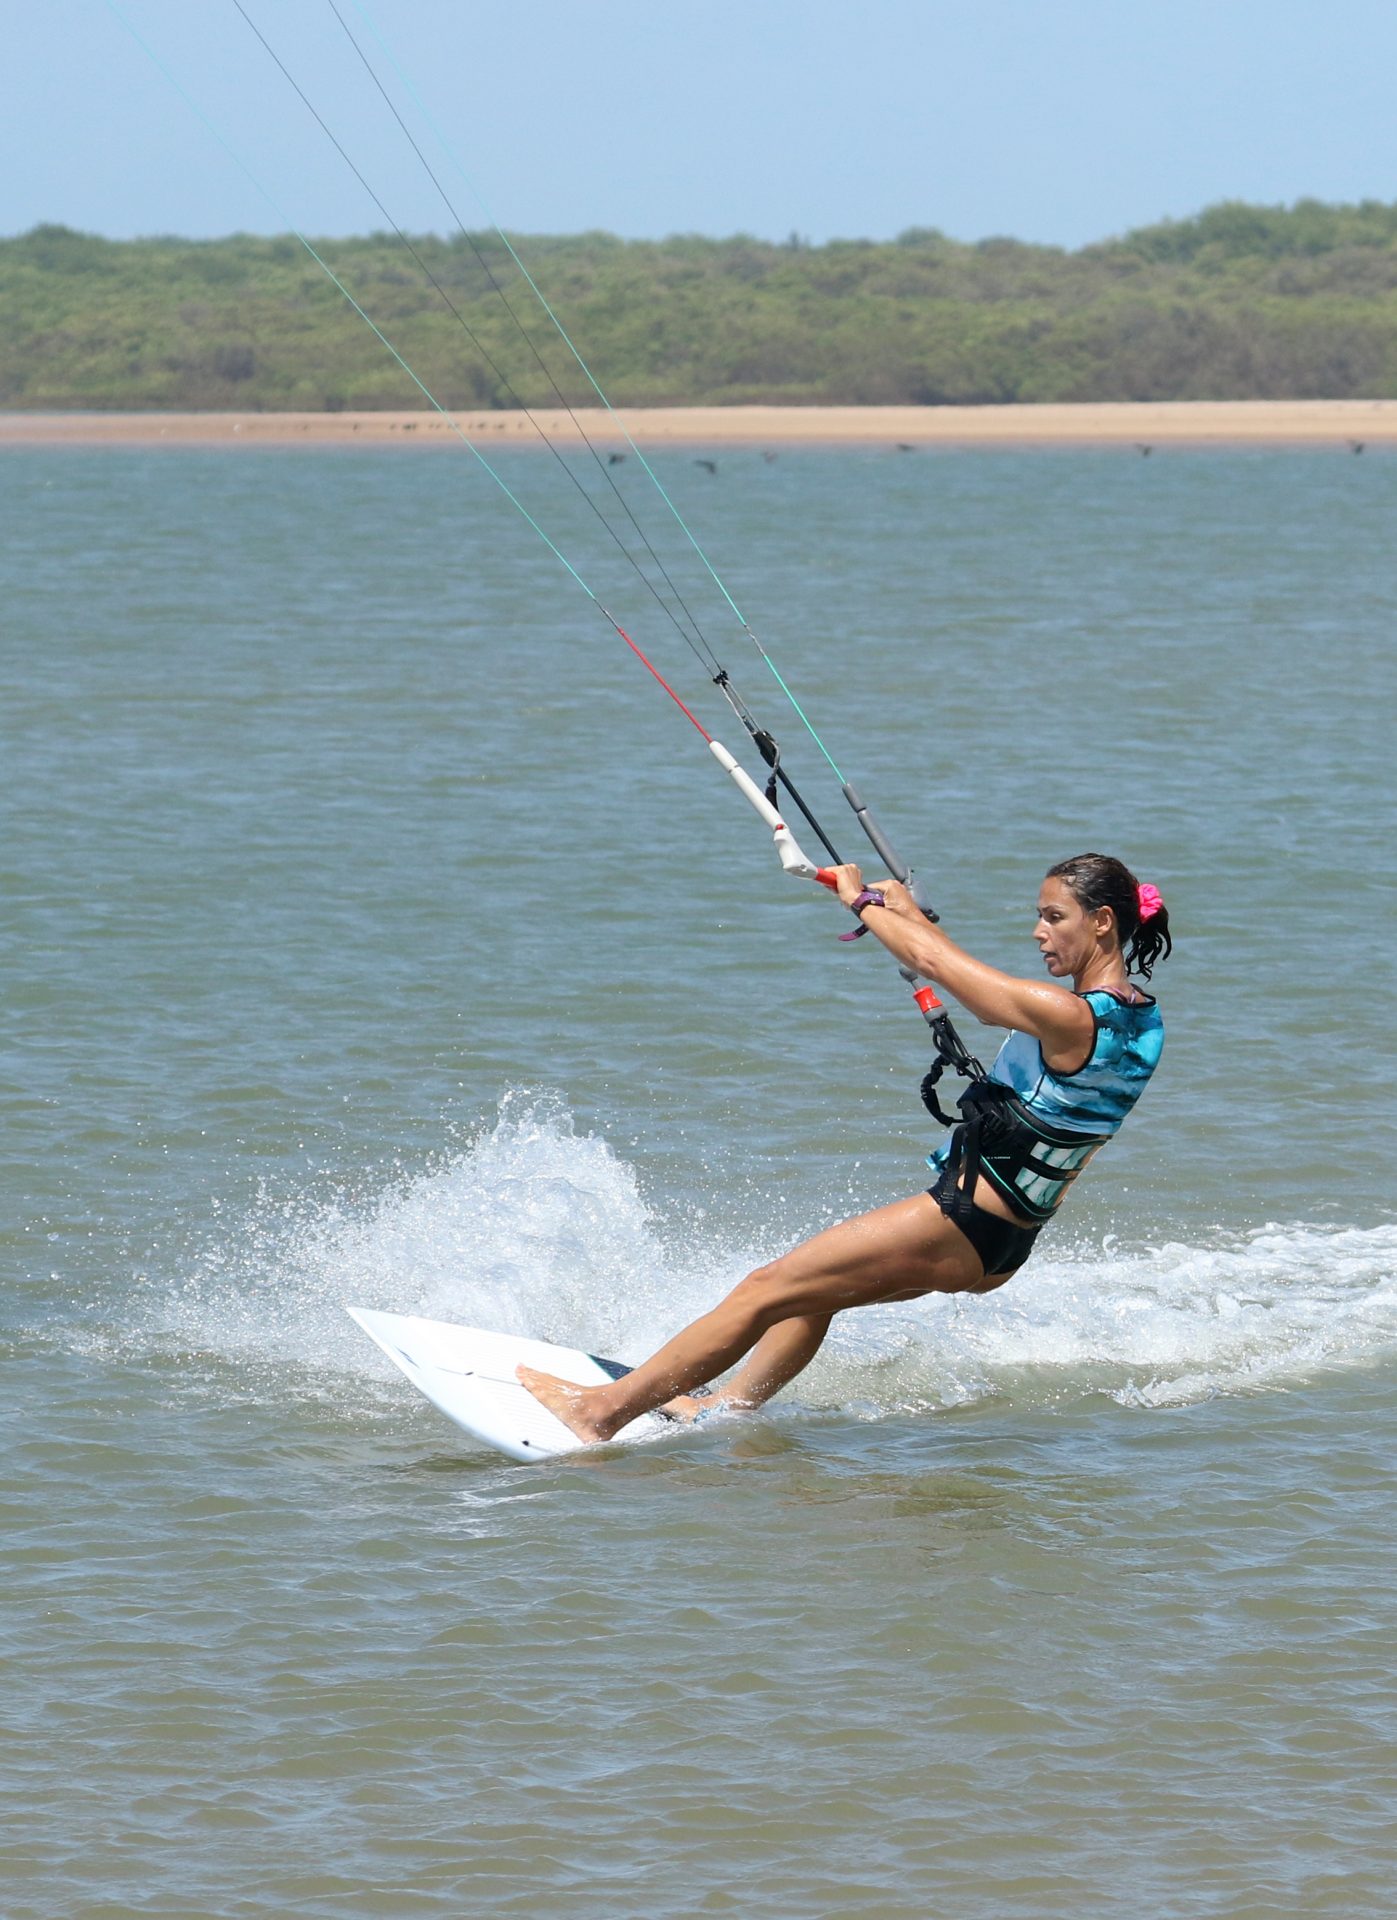
The Carve Pic B.
With the kite now moving up to 12 o’clock, you can push the bar out so that the kite doesn’t pull you up and off your rail. You want to carve the board as far as possible, through the eye of the wind, so drop your weight and engage your rail, driving with both feet and knees. It needs to be a carve if the tail slides you’re done, so keep plenty of weight over your back foot and drive the board around. In the pic Karine has dumped power from the kite, her hips are back, and she’s carving the board up into the wind, pushing her legs against the pressure of the board.
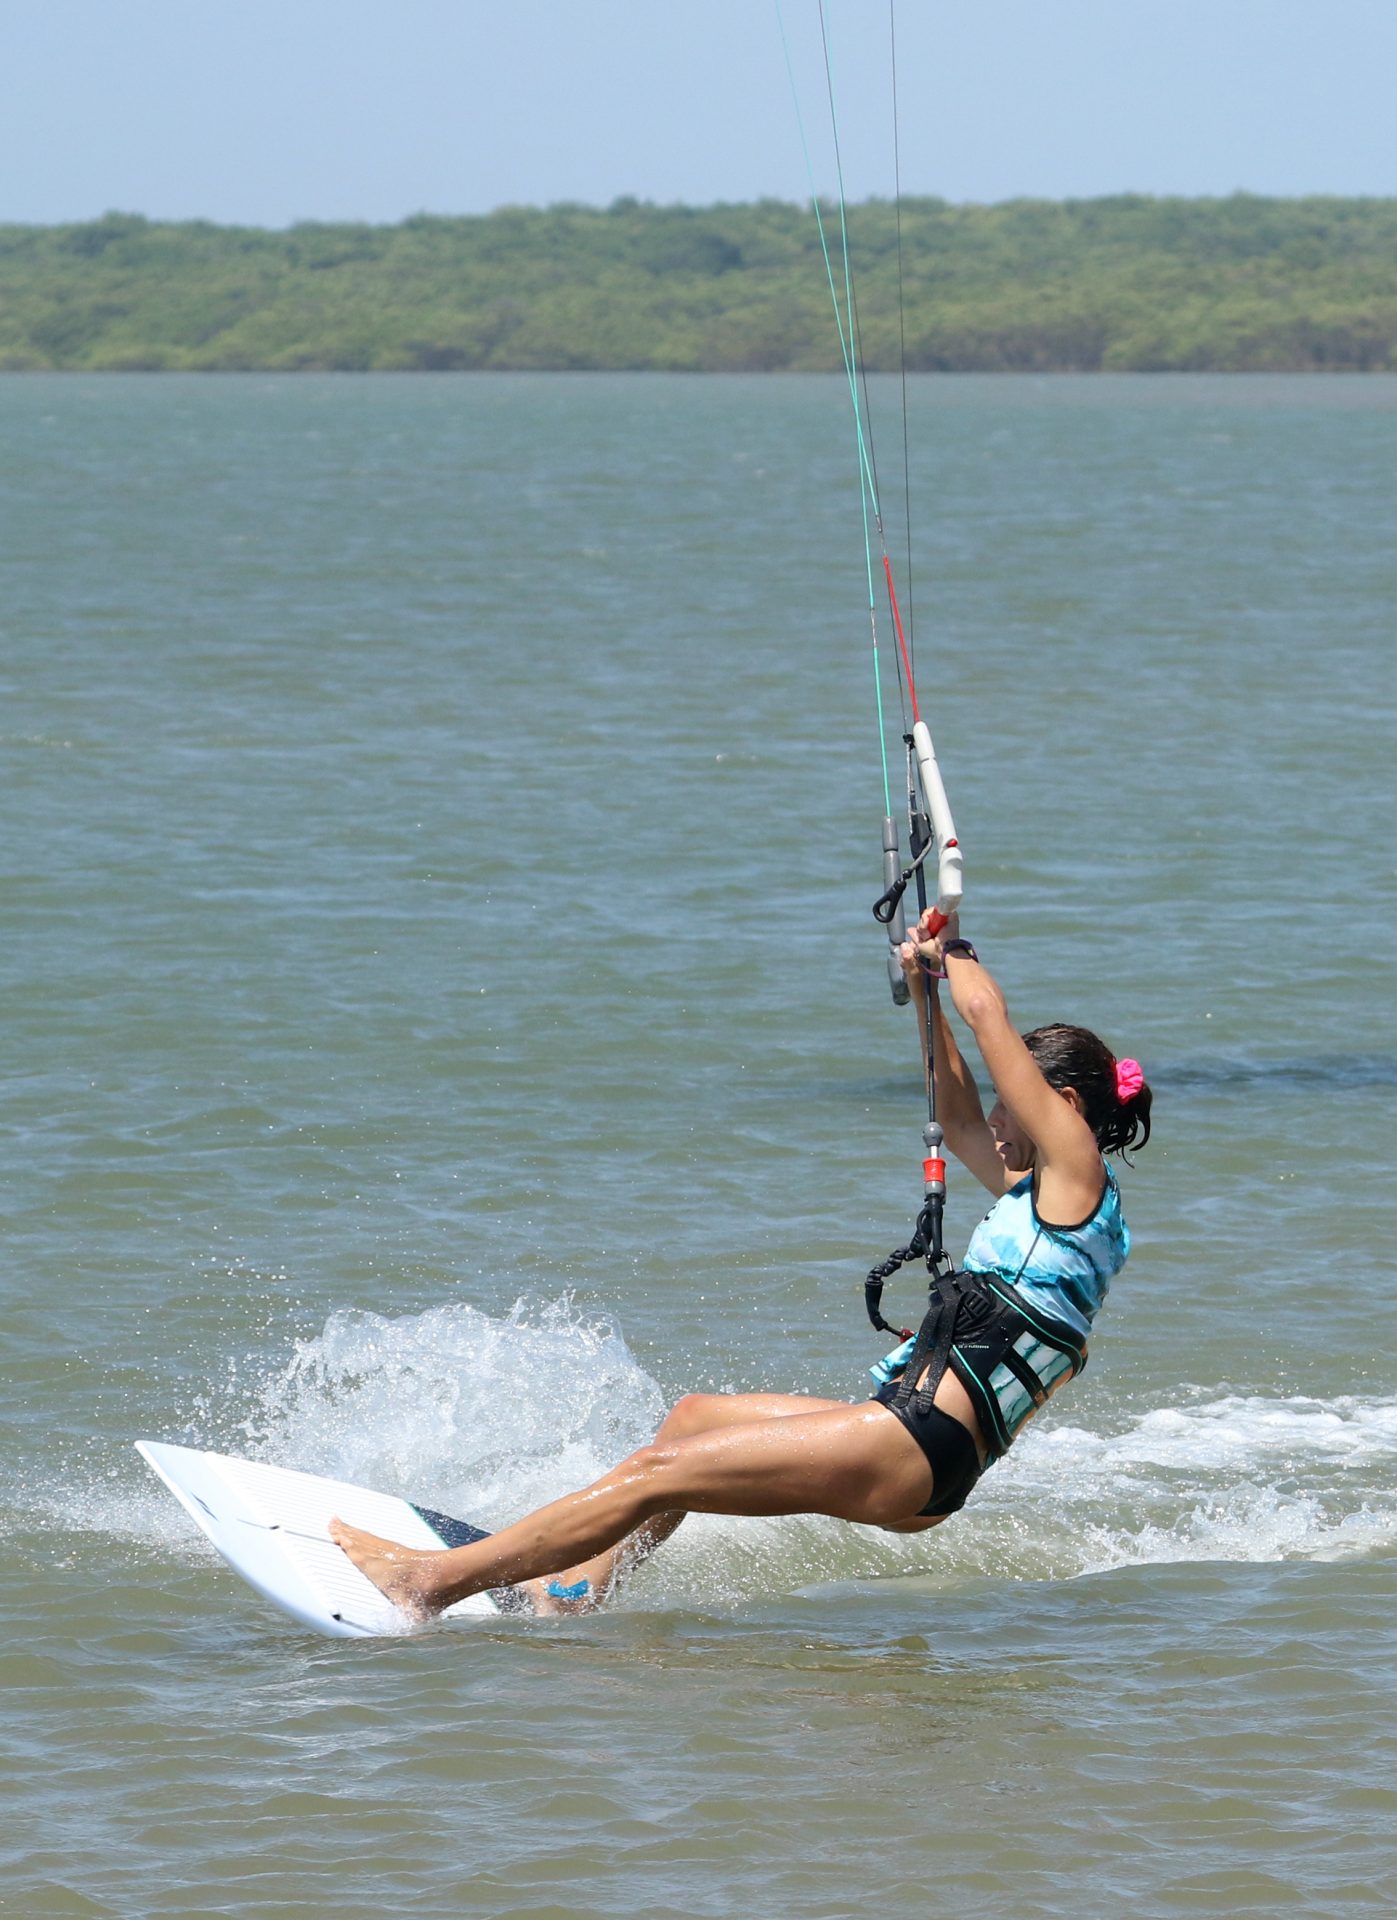
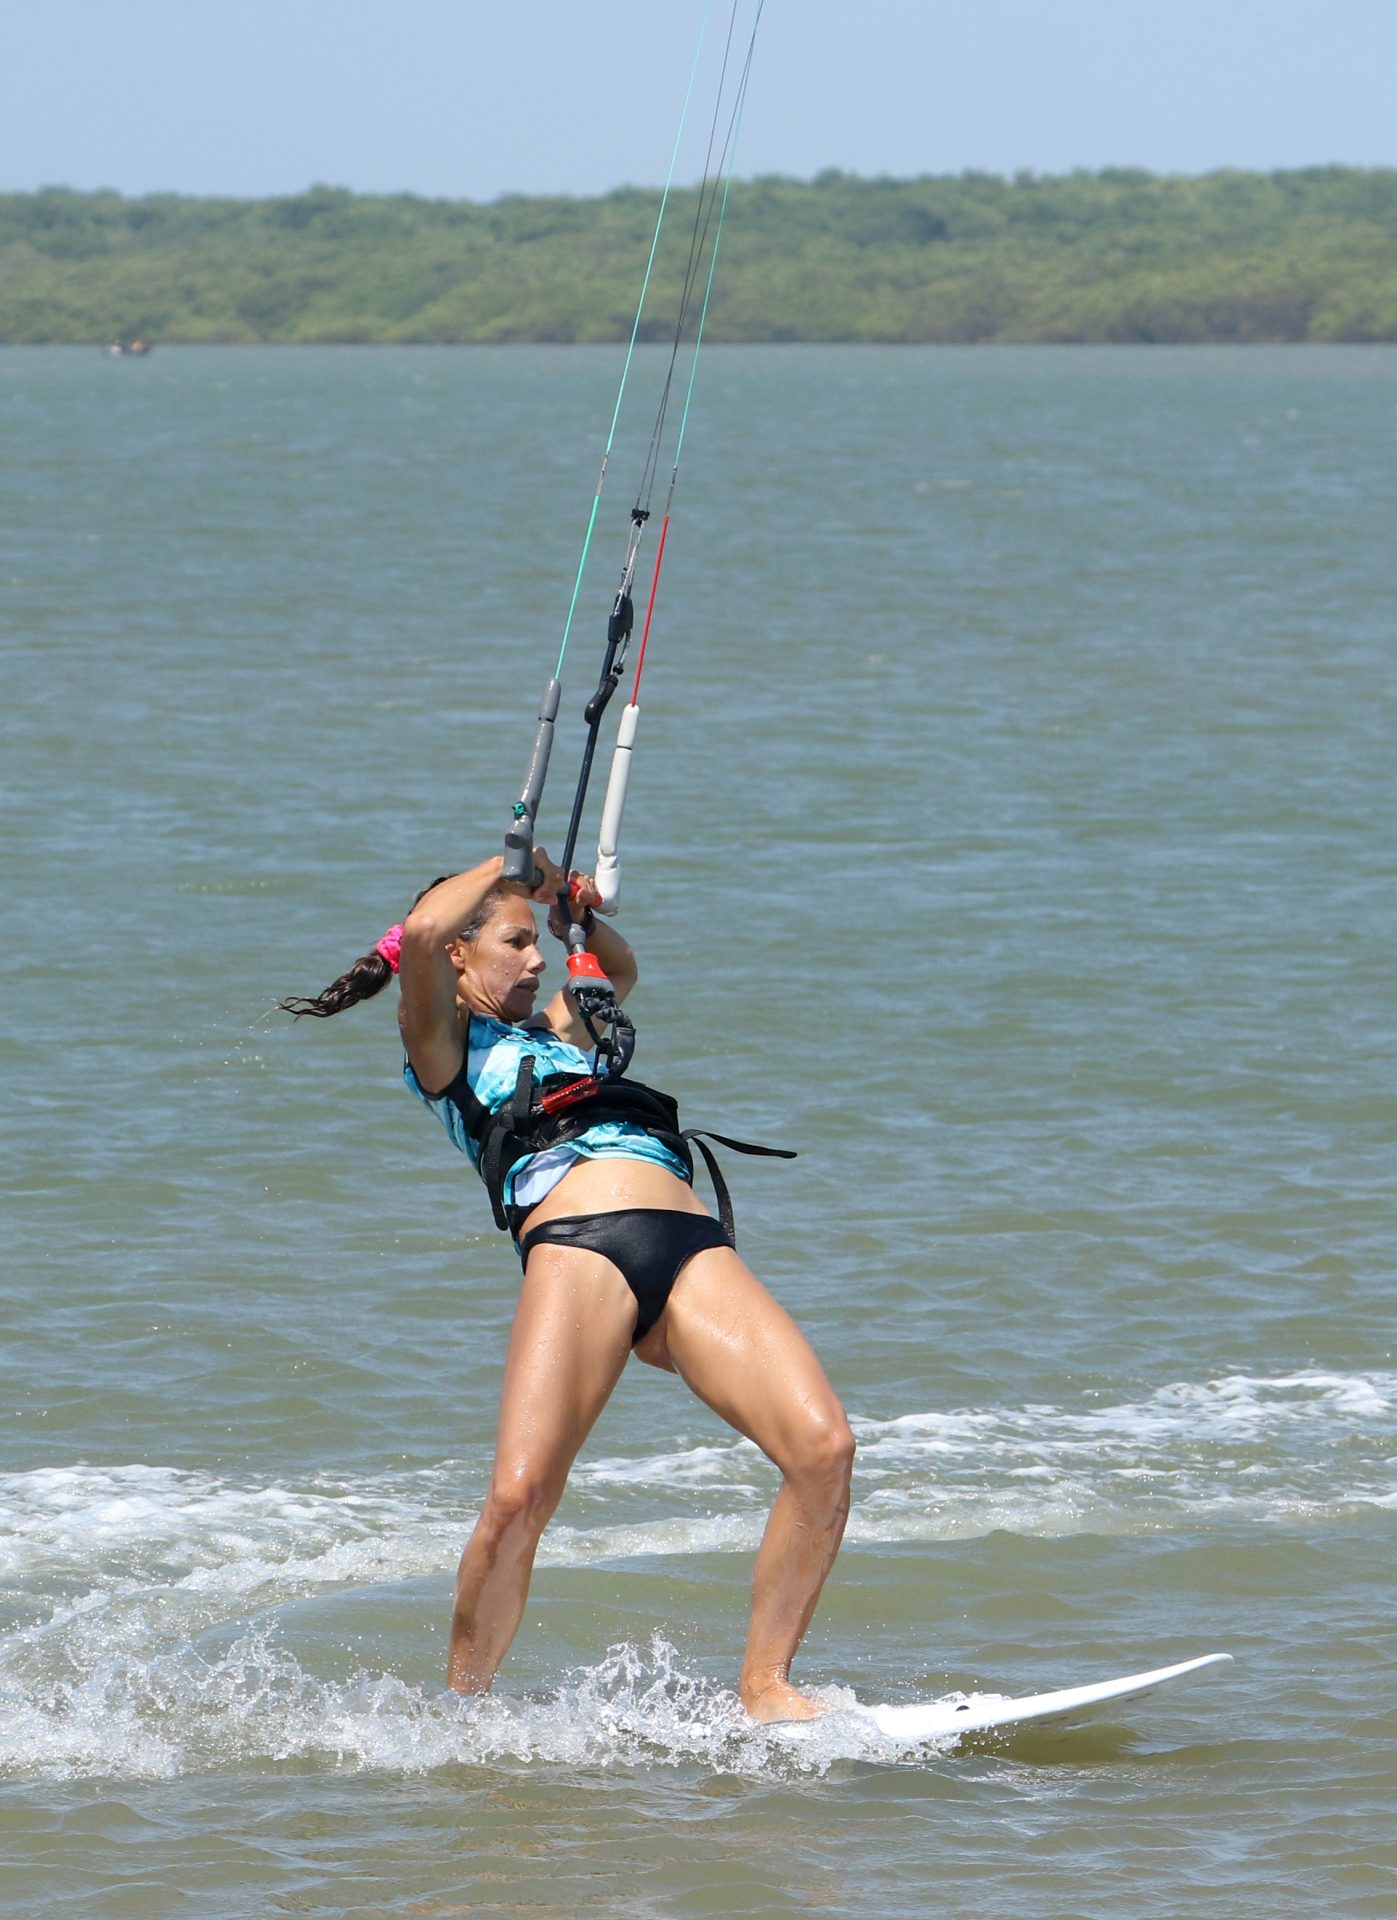
And Some More Pic C.
Not wanting to thrash a point, but you need to get the board as far as possible through the wind with your carve. This does mean that as the board carves further, you will need to push both your knees forwards towards the nose of the board, engaging as much rail as possible. It also means that as the board passes through the wind, it will turn back towards you, so you’ll have nothing to support yourself against. Therefore, it’s time to use the kite, pull the bar in and try to steer the kite across 12. Here Karine has the kite drifting across 12, while she pulls in on the bar for support. She’s still carving, as shown by the wake and spray from her board, fins engaged. Worth noting that Karine is looking at her front foot, as this is where she’ll aim to get her weight very soon.
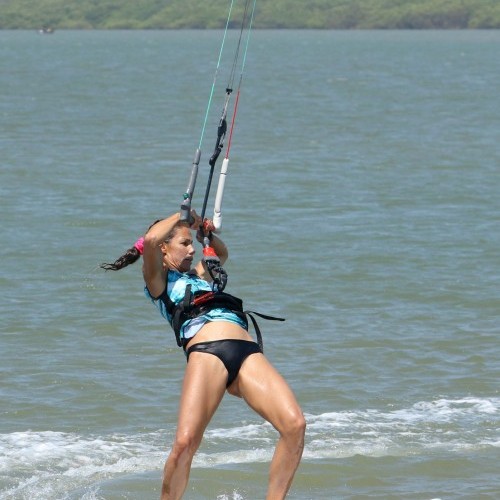
The Acrobatic Bit Again Pic D.
This part always looks like someone is defying gravity, somehow hanging on with their pinkies while the rest of the world spins without them. However, the combination of a good solid carve and the continual drifting of the kite, are actually what makes this possible – honestly. With the board through the wind, you can stop driving against it, and soften your knees, and allow your hips to swing under the bar and over the board. Now with the kite moving slowly across to the other side of the window, it will pull you that way, which just so happens to be forwards and onto your front foot, result! Karine has relaxed her legs, swings her knees and hips forwards and pushes her weight towards her front foot. All the while supporting herself on the bar.
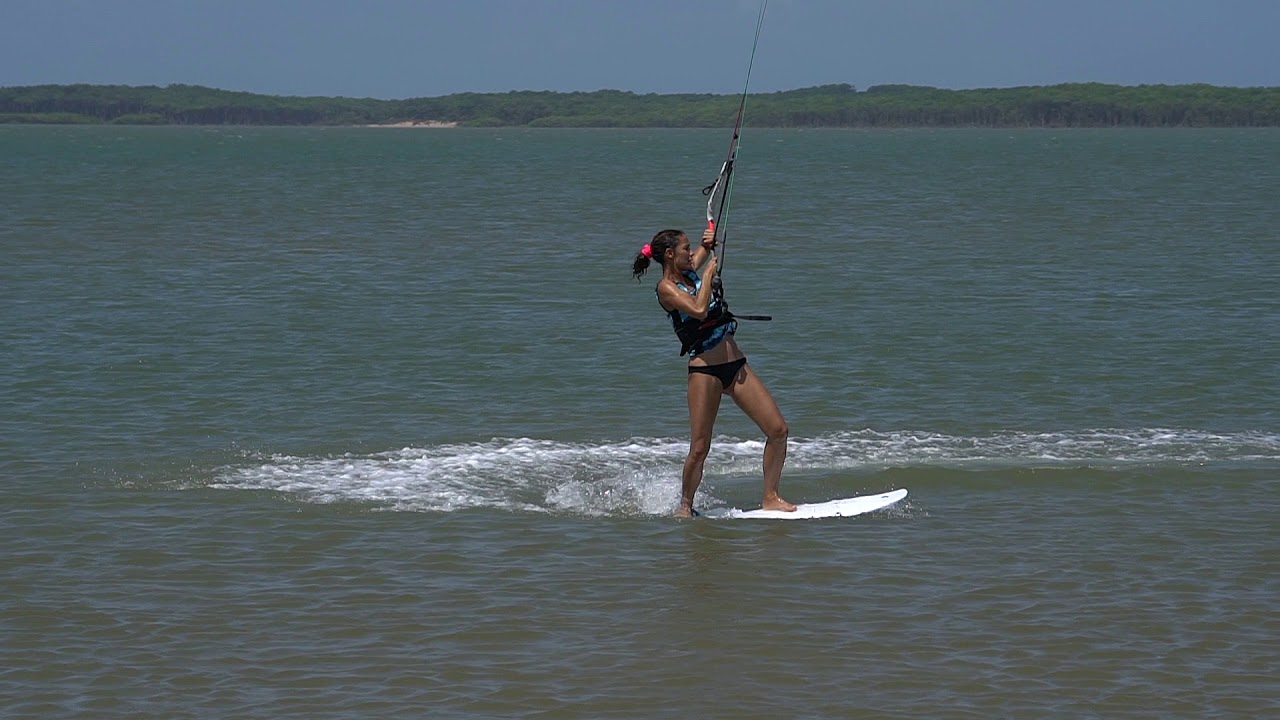
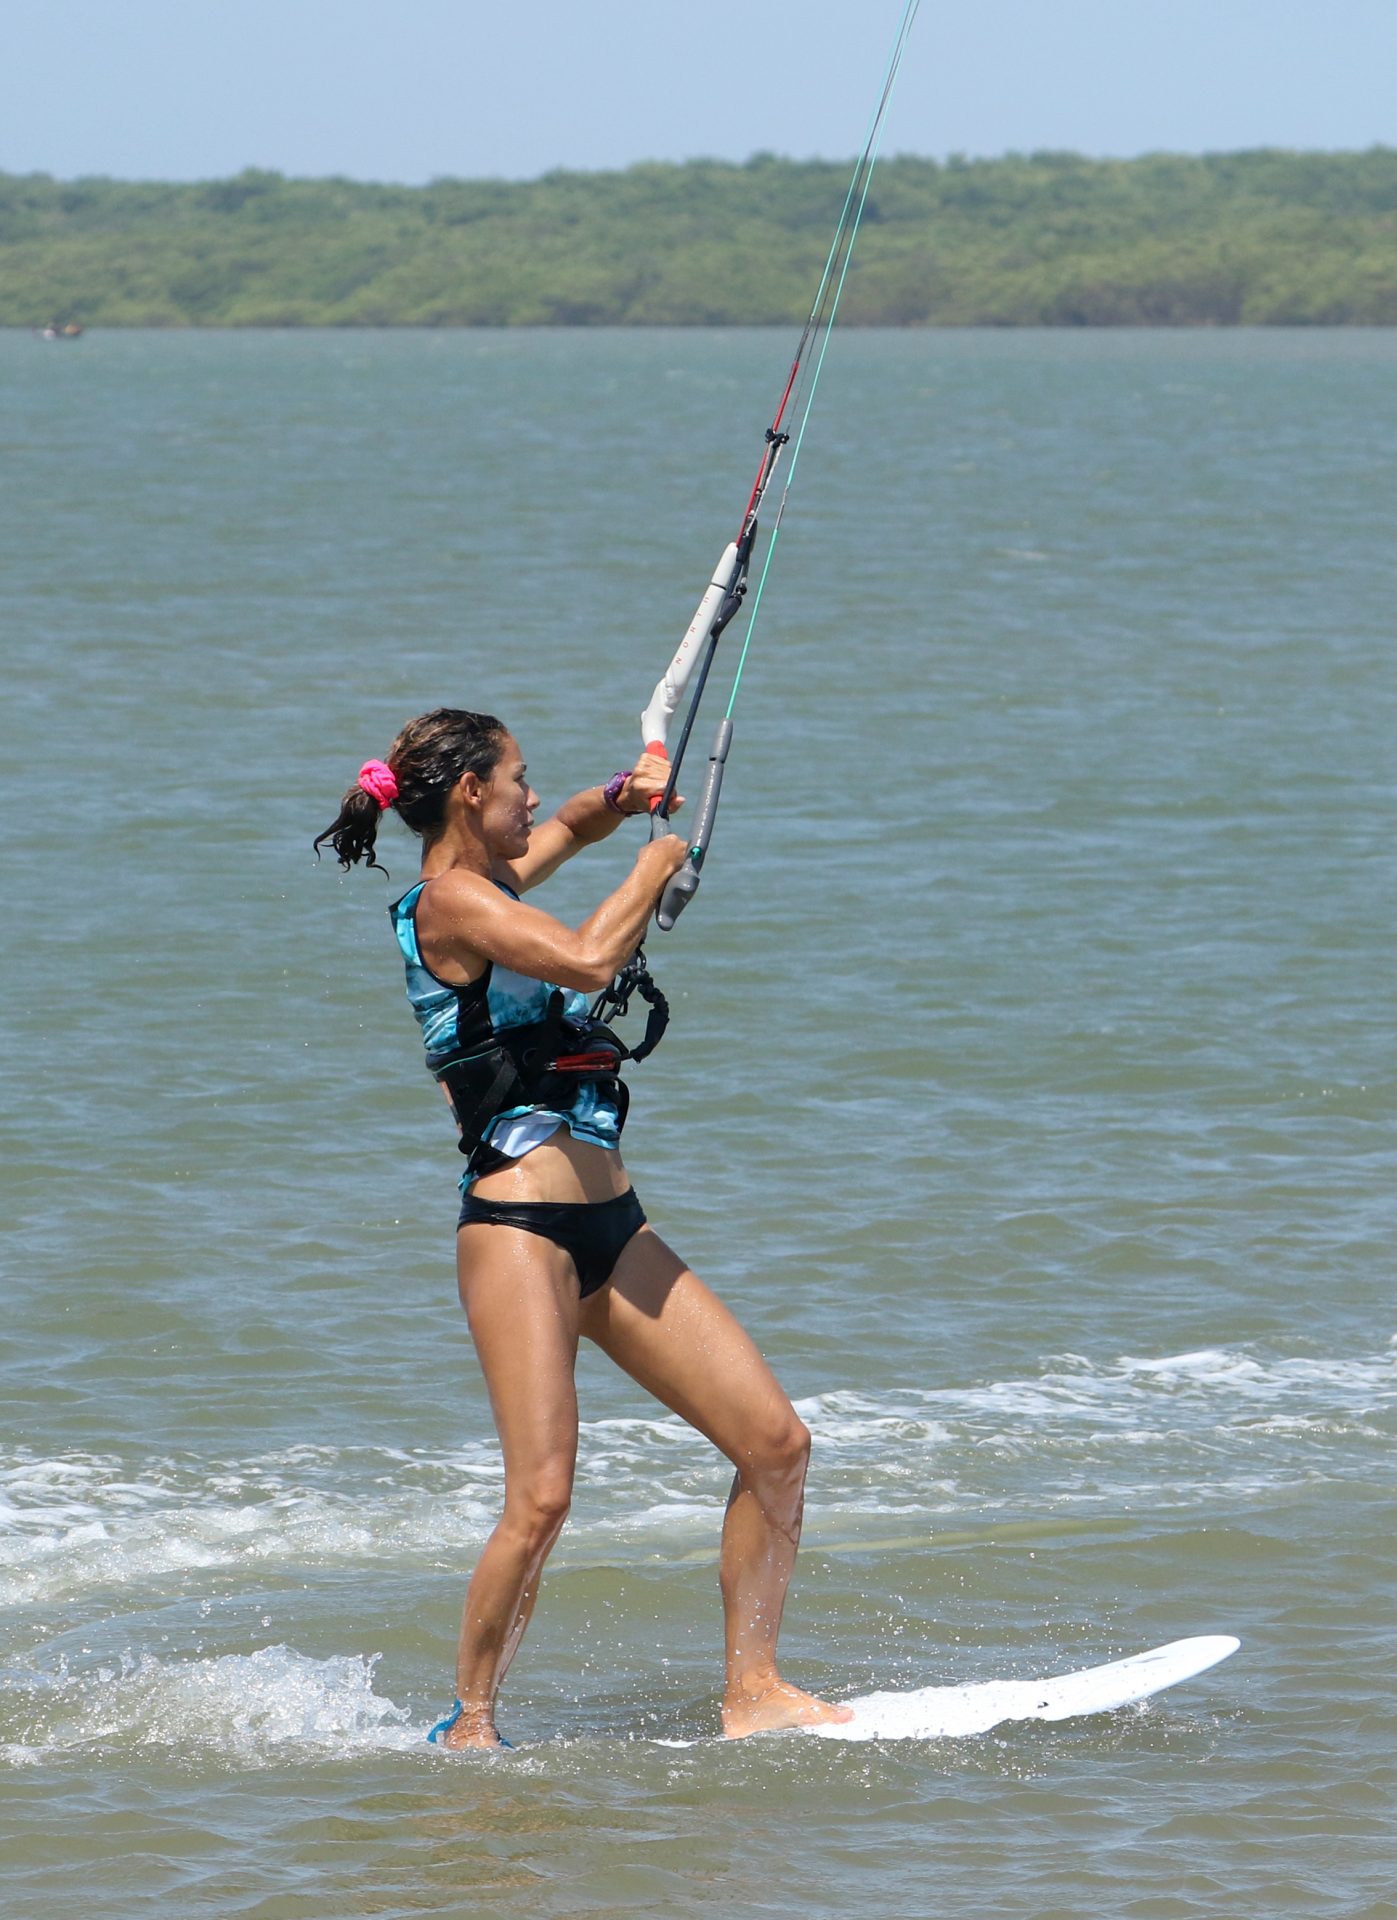
Take a Breath Pic E.
Well nearly. First, it’s time to move your weight forwards towards the nose of the board, as this will help get your body back where it belongs. The movement here is twisting your shoulders round towards the new direction. Imagine that you want to roll around so that you can lean onto the bar. While twisting your shoulders, you can push your hips forward off the back foot. Karine has the bar in, she’s twisting her shoulders aggressively around to try and face in the new direction, leading with her hands and bar, and she’s pushing her hips forwards off her back foot and over her front foot. Note that her feet have not moved! Now you are genuinely balanced, with your weight supported by the volume of the board. You can pause momentarily here and breathe:)
Part 2, Pic F.
From here on it’s a stationary toe to heel chicken gybe-esque downloop! In layman’s terms, you need to get your weight back so that you can pivot the board and control the power while you give the most almighty of push-pulls on the bar to downloop the kite at the edge of the window with as little power as possible. Looking at Karine, she’s continued to drift the kite over towards the edge of the window. With her weight still over the board, she drops her hips to sink the tail slightly and lift the nose. Her bar action is the full Monty, pulling her front hand down and pushing completely with her back hand so that her bar is parallel with the centre line. The bar should be on the sweet spot or just a tad further out if it’s windy.


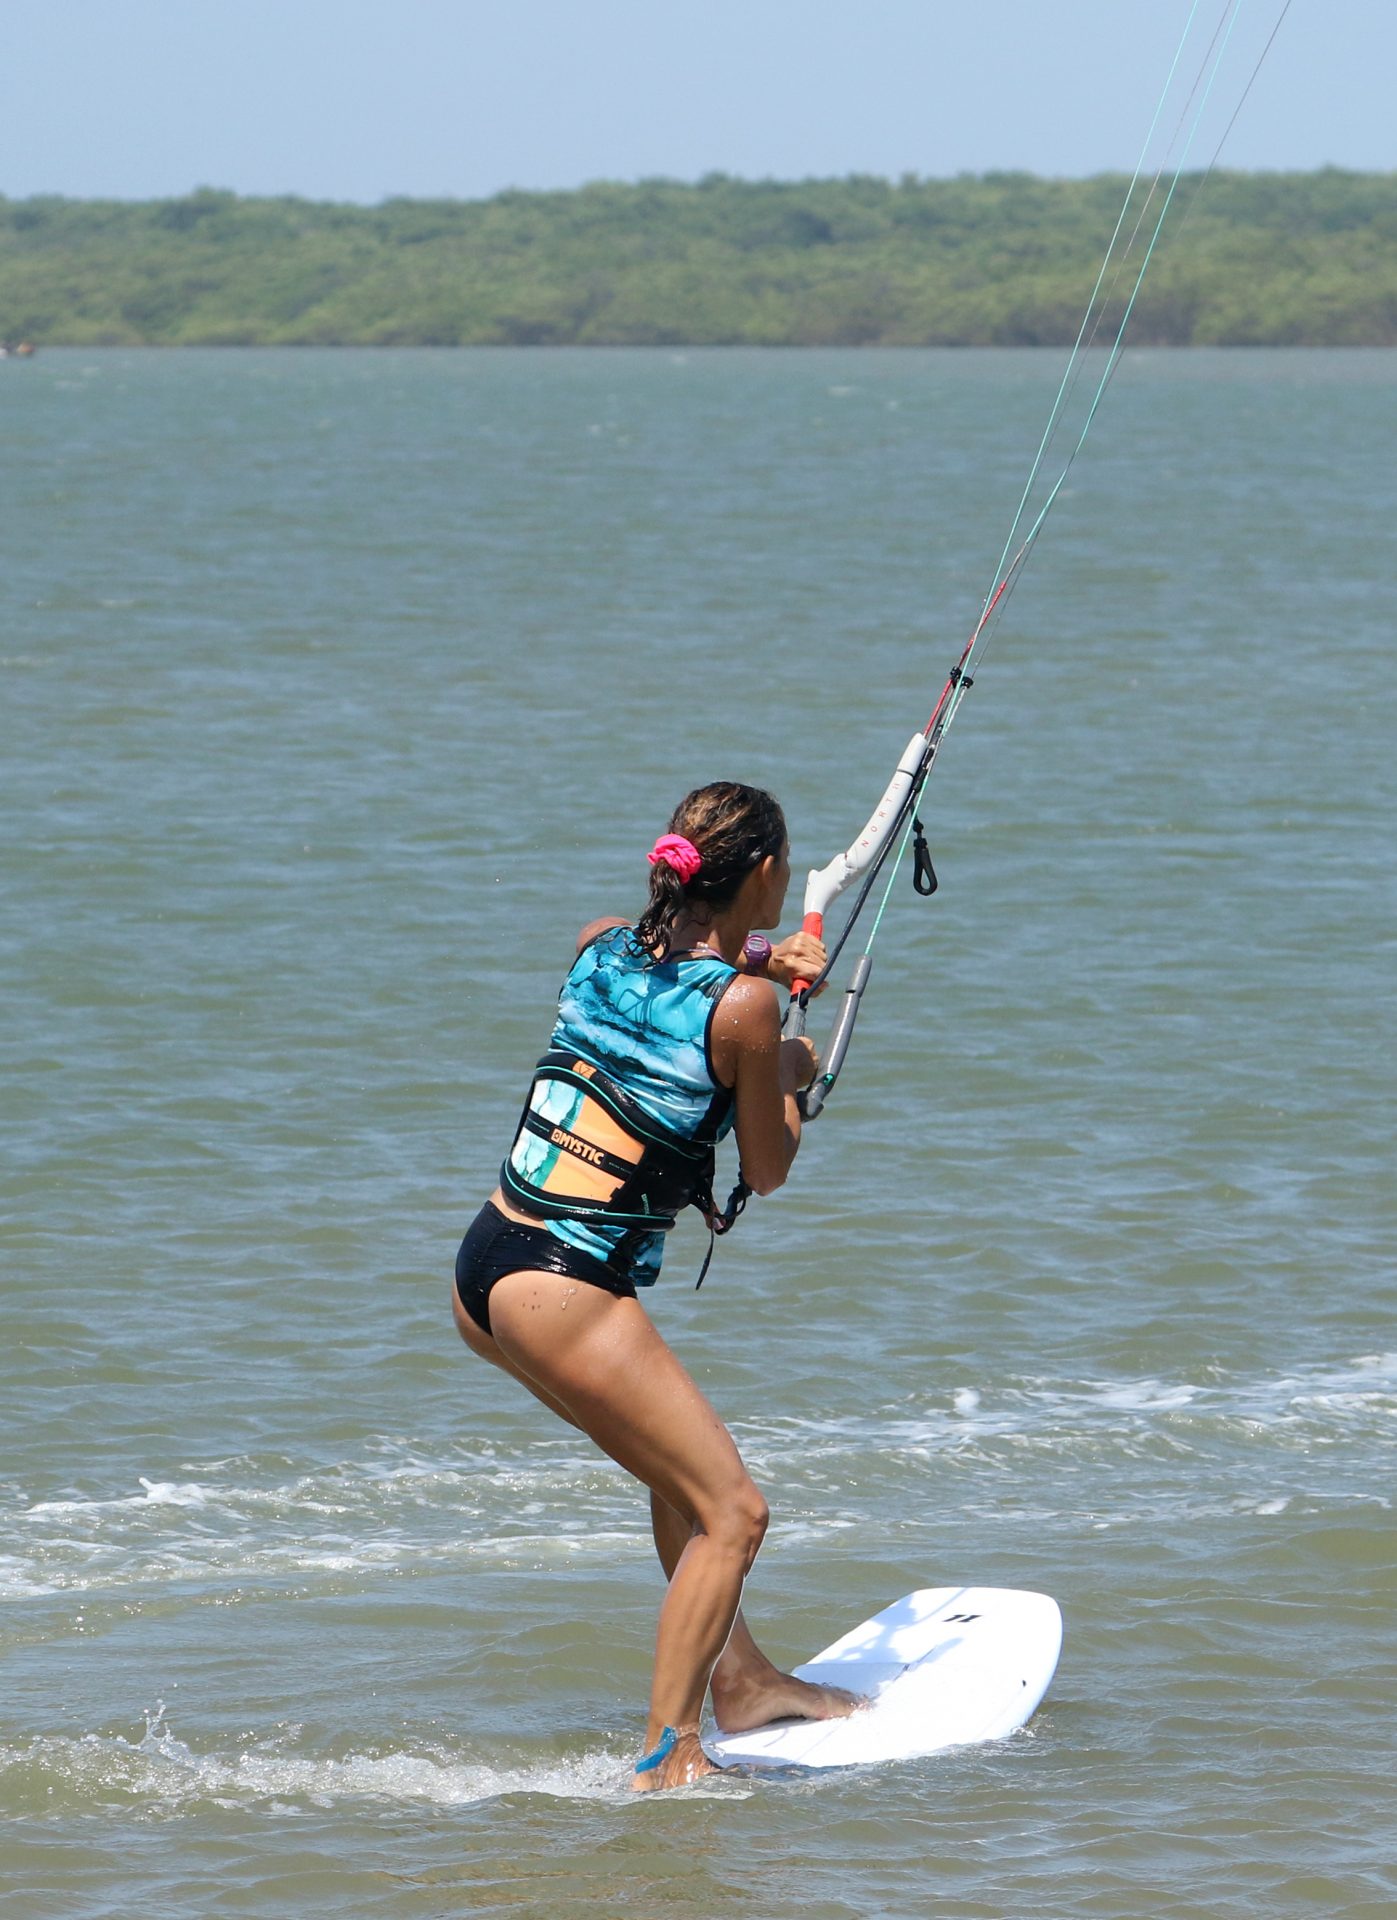
Carve Out Pic G.
As the kite downloops and comes back through the window, there will be a surge of power. With your weight over the back of the board, you’ll be in a position to take it. Be sure to also shift your weight across to your heels so that the board will carve as it accelerates. Once the kite moves up, you can stop steering and aim both the kite and the board across the wind in the direction of travel. Karine has her weight both back, and on her heels, so she is comfortable and balanced as the kite pulls. She carves the board around the rest of the 360, keeping the bar on the sweet spot and has levelled the bar out to stop the kite looping and straighten it up onto her new course.
Top Tips
Flatwater will make this much simpler, as it will be easier to carve the board through the eye of the wind.
As mentioned in the intro, it’s best to approach this as a move of two halves, the carve-up onto toeside and then the downloop and carve out. If you busy yourself trying to do it all at once, you won’t be balanced. The only part that is continuous is the slow drifting of the kite.
If there is very little wind, you’ll pivot around on the tail for the second half, but as the wind increases you will be carving in and carving out.
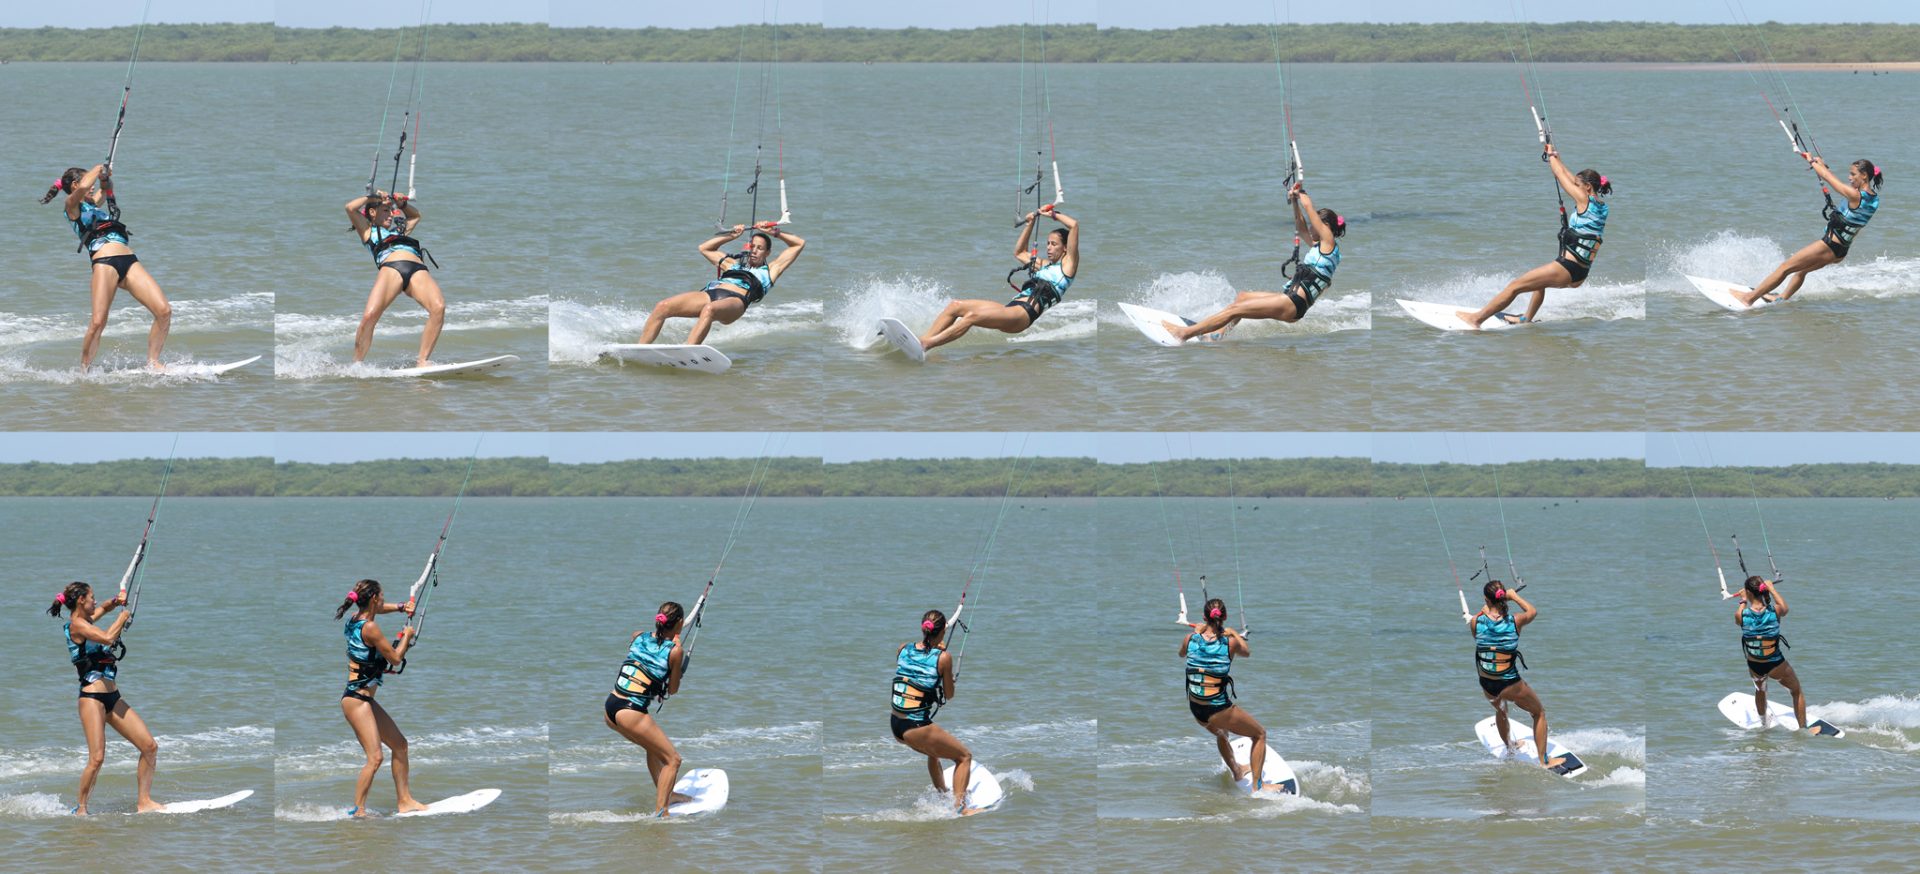
Now have a look at the sequence and the videos to see how this goes in full technicolour...


Common Problems
If you’re struggling to carve the board far enough into the wind, your tacking technique might use a little slide and pull action, which won’t cut the mustard here. Feel the pressure when you’re edging and then use this force to turn the board. It still needs to be urgent though; a long, languid arc won’t work either.
If you can’t get support from the kite when it’s time to stand up and take a breath, this is usually a case of the kite being somewhere that it shouldn’t. If you haven’t drifted it to 12, you’ll find carving through the wind without getting pulled off the back of the board fairly tricky, so make sure you move it more. However, if you get pulled off the board when standing you’ve moved the kite too far past 12, so ease off a tad next time around.
If you’re getting pulled too aggressively when you loop the kite you may well be pulling too early. However, it is also possible that you have too much power, so first trim, and if that doesn’t help make sure you get the kite downlooping at the edge of the window. Otherwise, it’s a smaller kite!
Keystones
- Come in on an edge, kite up and bar out
- Carve through the wind
- Roll hips up and over your board and twist shoulders while drifting kite.
- Stand, then drop your weight back, heavy push-pull.
- Carve out on heels
This technique article was in Issue 78 of IKSURFMAG.
Related


By Christian and Karine
Christian and Karine have been working together as a coaching team, running improver to advanced kitesurfing clinics since 2003.
