
Mythical Wave Riding
Technique / Intermediate

Introduction
Mythical wave-riding is a term that we have used for many years to describe a practice that sets you up for, you guessed it, non-mythical wave-riding. The theory being that if you can’t wave-ride without the hindrance of waves, you will undoubtedly find the practice of smoothly carving and shredding with the added challenge of a moving ocean much more of a struggle than you perhaps gave it credit for. Practice makes perfect, and if you can make it easier to practice then hopefully you’ll be better set up for the challenge ahead. As people in the business of “how to” one could argue that this article is perhaps more of a what to.
Mythical wave-riding has something for everybody, whether you’re just getting into riding a surfboard, or have a good level but find linking a few turns together a tad more tricky than you’d hoped. For sure we will touch a few pointers and reminders so that your carves and timing are spot on, but really this is about what to practice to make yourself better on a wave, and what to think about when practising so that you can improve even more...


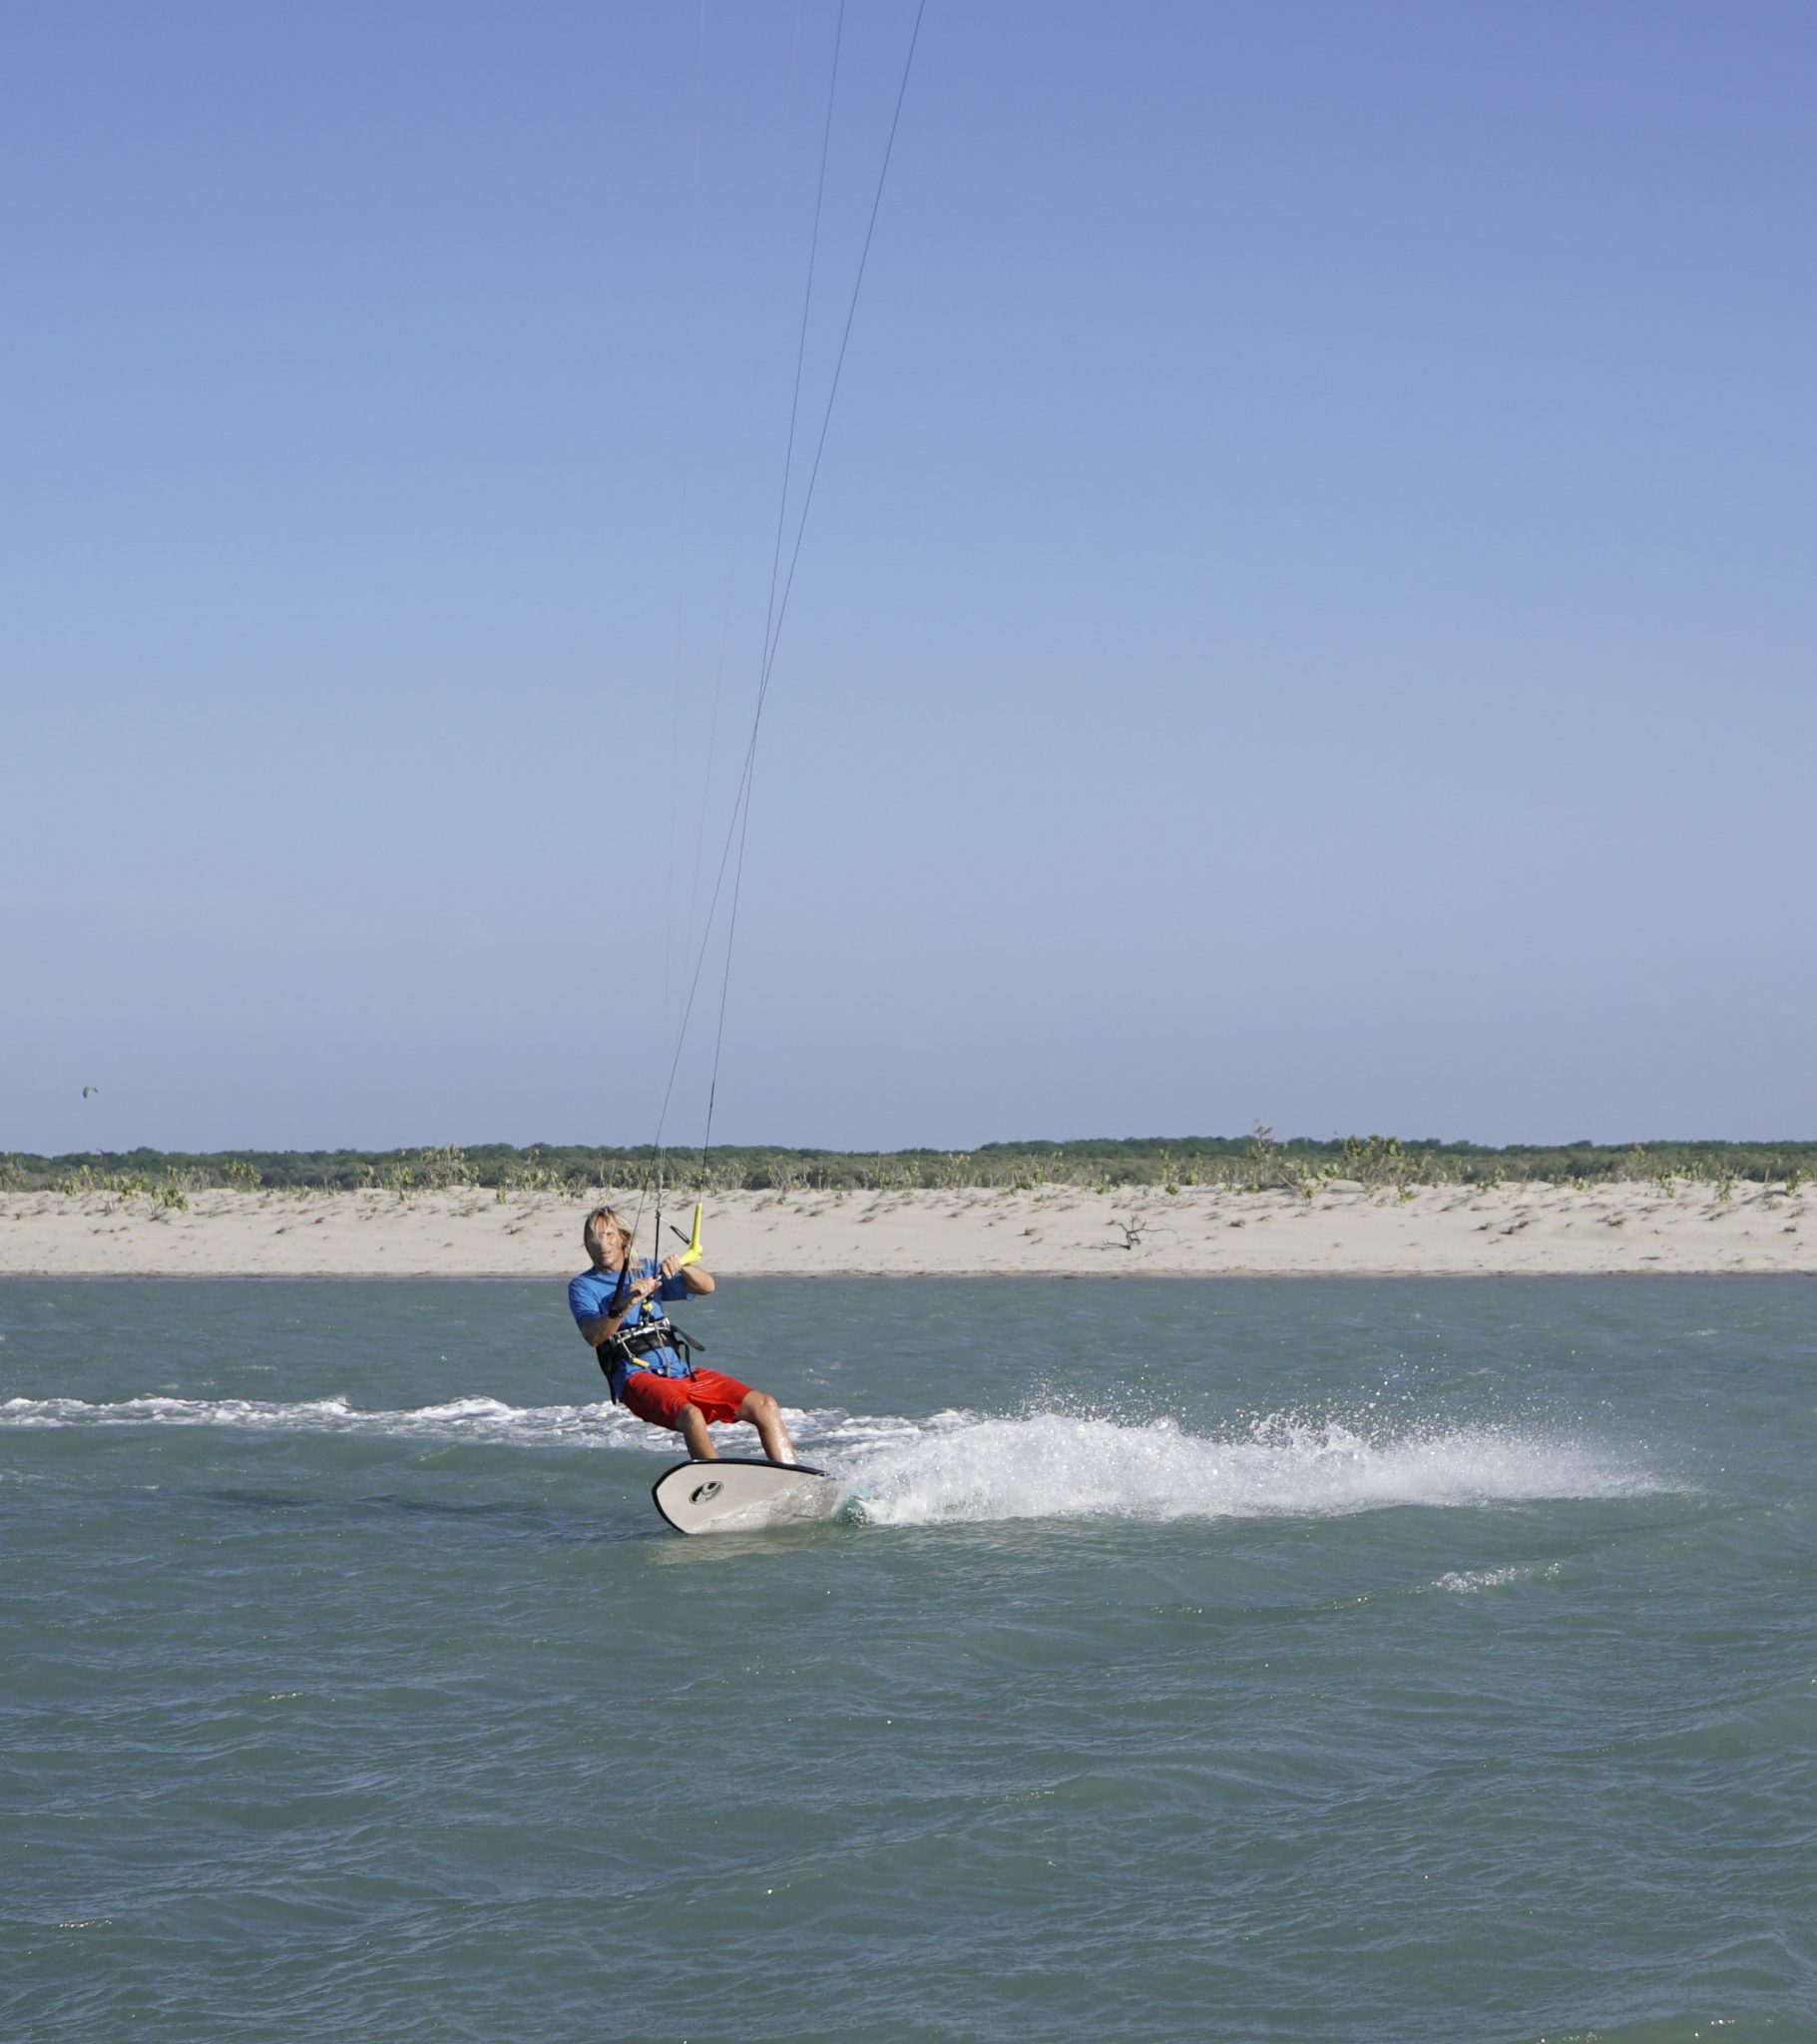
So what is it? Mythical wave-riding is all about carving turns, heel to toe and toe to heel. Linking them together on flat water so that you can improve all the elements necessary without worrying about timing your turns to fit on a wave, or whether you’re riding front side or backside. It gives you the opportunity to find your flow, becoming more comfortable, smooth and in control. Feeling out your boards and dialling in your kites. Testing out the limits of our what you and your kit are comfortable doing, building your confidence and then finally you can go bash a few real waves while giving it 100%.
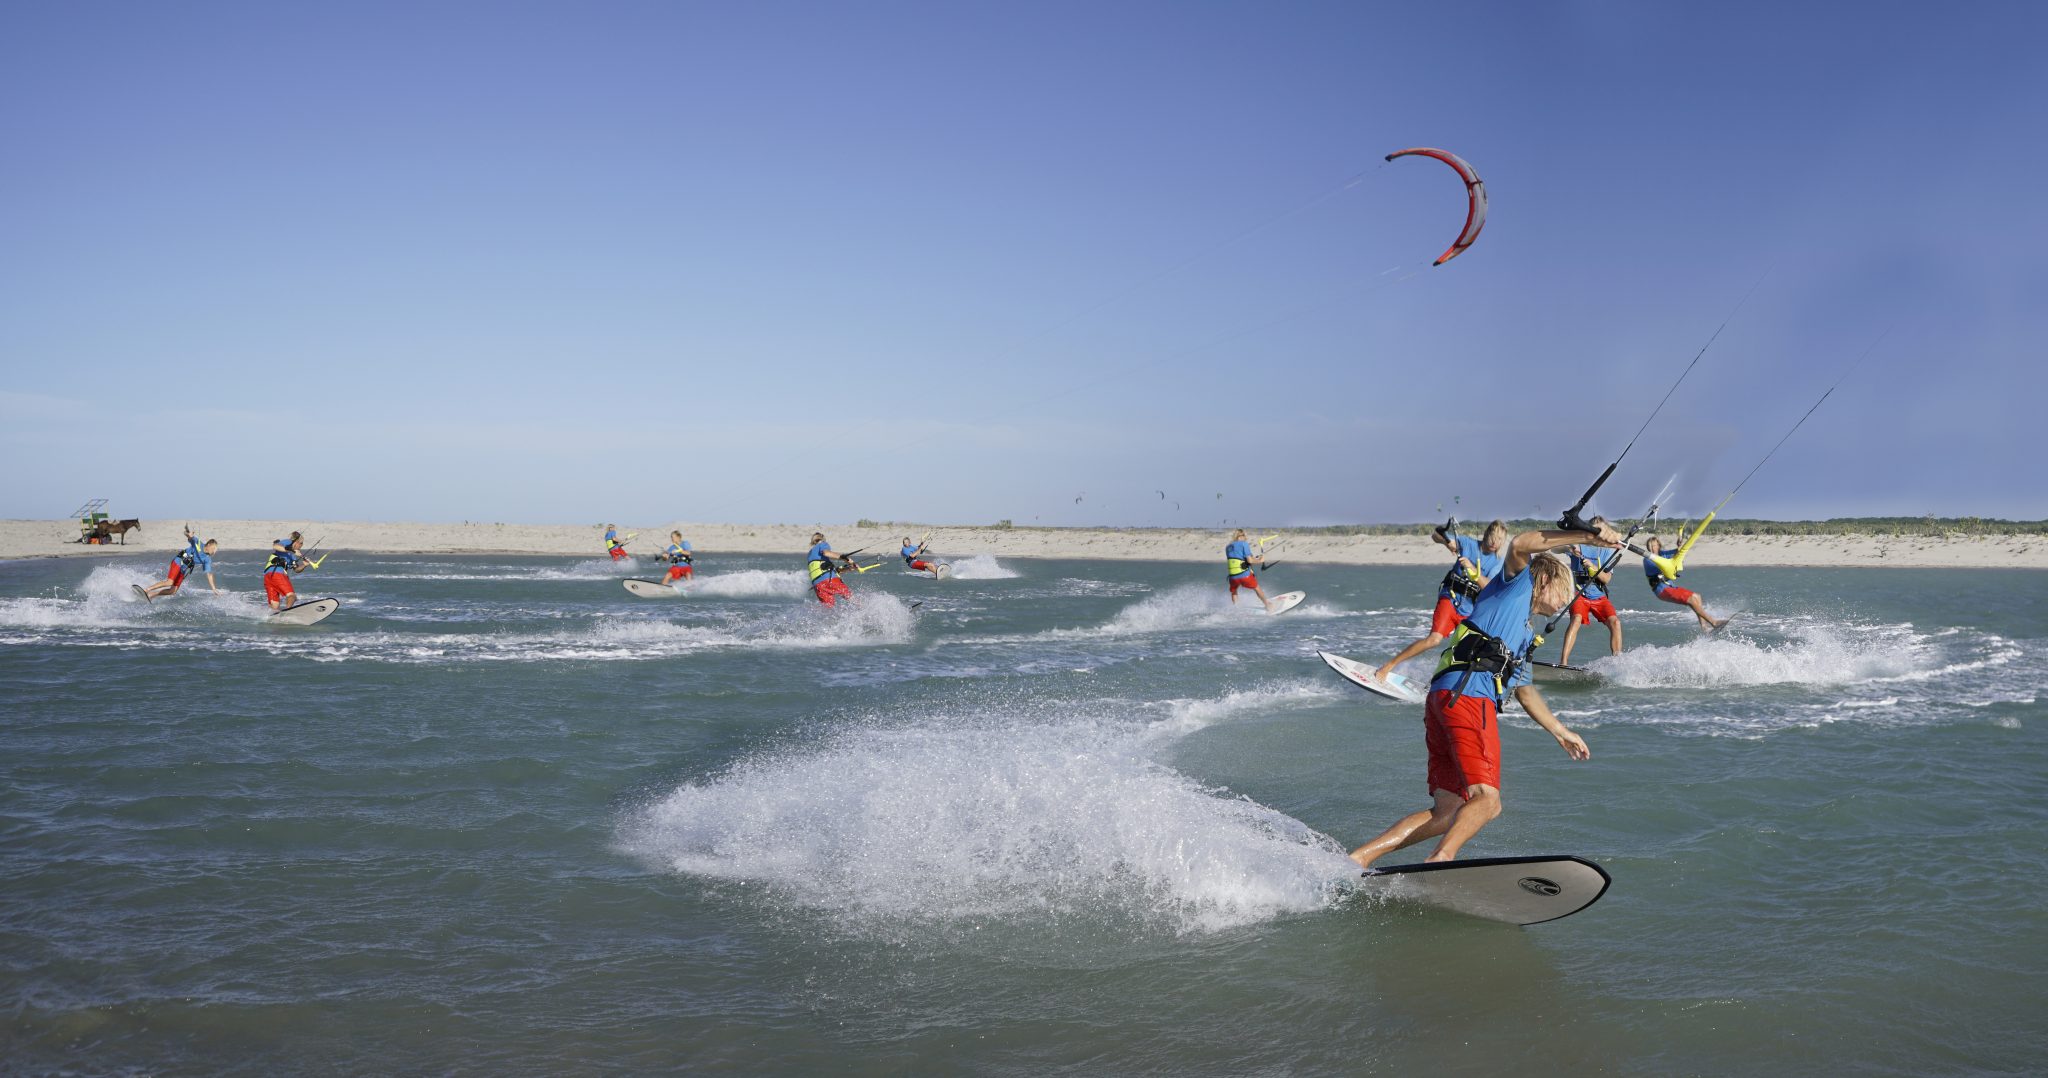
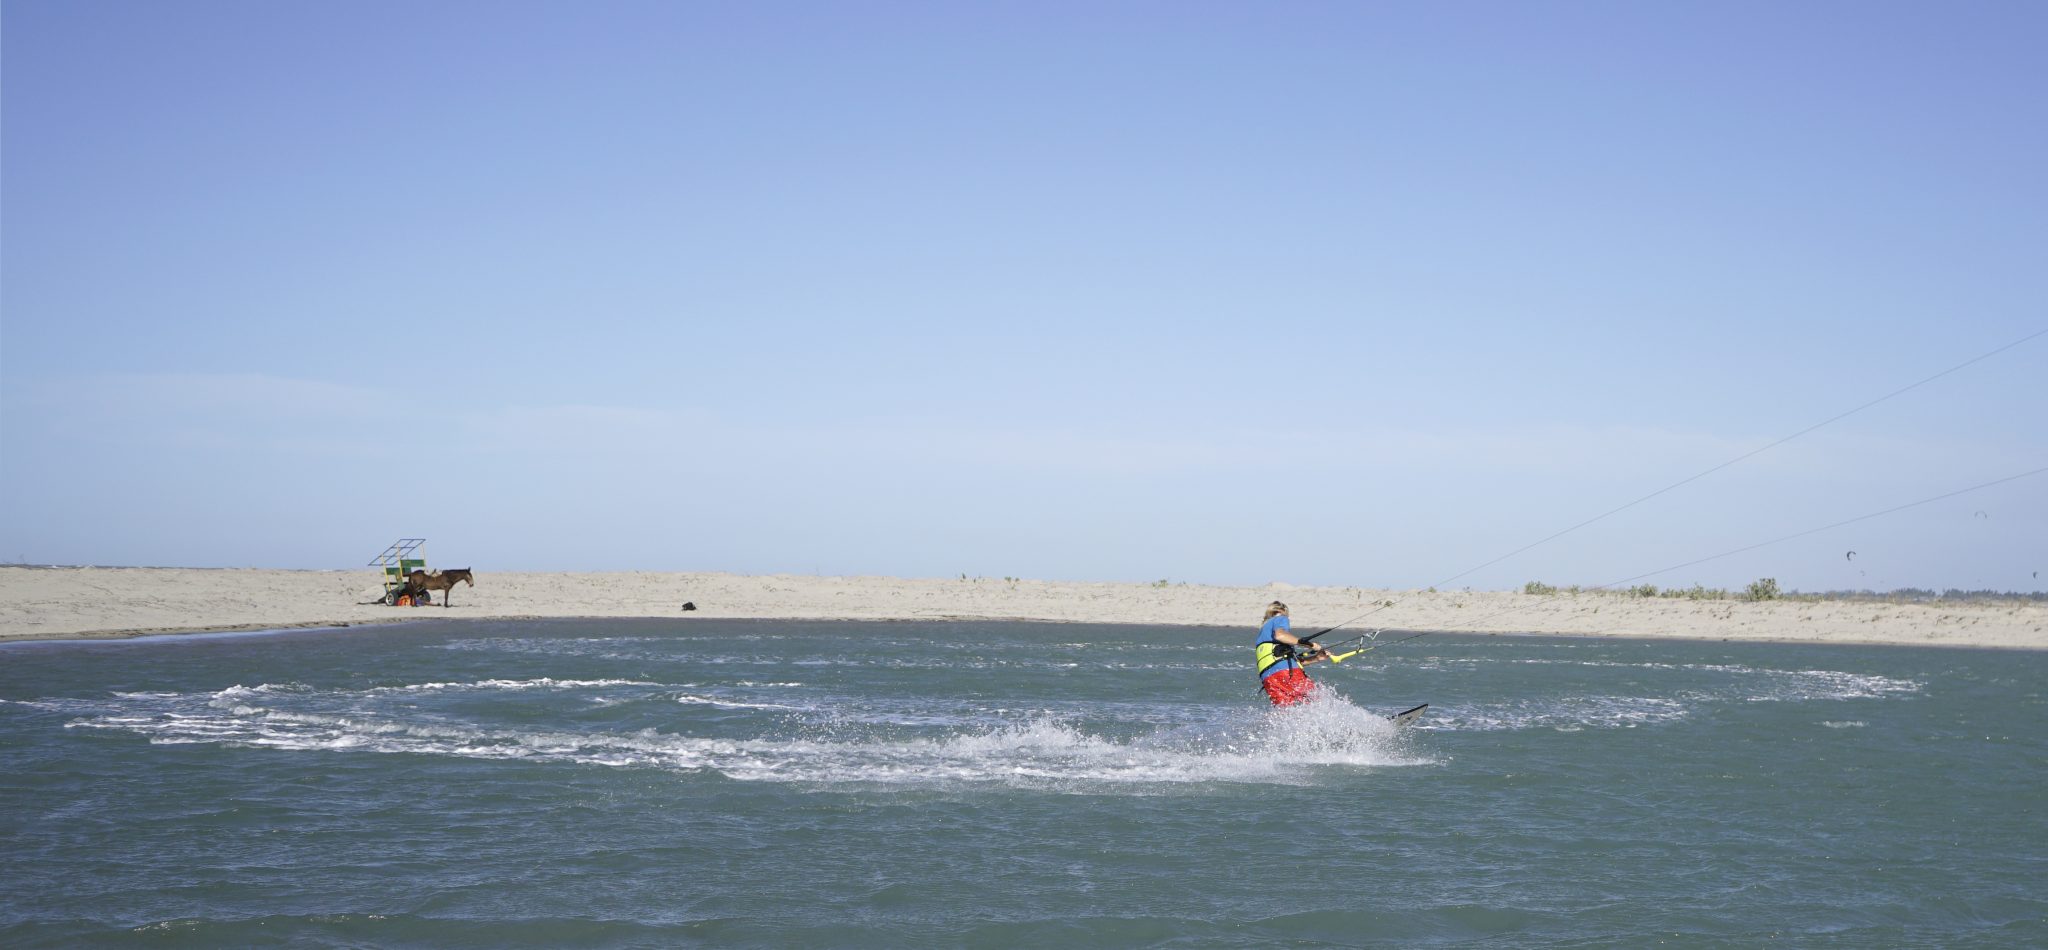
Take a look at Pic A. Christian started at the top right of the image, you can see his trail as he S’es his way downwind towards the camera. He’s riding with his preferred right foot forward (goofy), and without a care for changing his feet, is merely carving one way and then the other. Mythically there could be a wave either on the right-hand side of the image or the left and as such either turn/carve could be a potential top or bottom turn. The point is that it doesn’t matter.
And this is why it’s such a good exercise. Think about it for a moment, riding a wave with a kite in its most basic form is carving downwind while using the wave as a bank to perform your top turn. Like a skater who only has a ramp on one side. This is why wind direction in relation to the wave and shore is so essential, and why it dictates what you can and can’t do. However, that’s for another time. Suffice to say that although being mythical is not exactly like wave riding, you could do a lot worse than hone and polish your skills this way.
Now you might well be thinking, “what are these two getting so excited about carving downwind for?” Well believe us, flat water will show up all your weaknesses just as much as the waves, but without the waves to blame you’ll see that action needs to be taken to improve your game. And although the theory is great, to be genuinely confident, you need the feeling, which only comes from repetition. While we’re getting so excited about carving downwind have a look at the Sequence 1 to see what you’ll be up to:)
What to work on
While you fixate yourself with linking some carves together let’s ponder what you should be working on:


- Surf stance, foot position and board trim while riding in a straight line
- Timing of kite movement and carve, and aggression of kite movement and carve
- Finishing your turns, getting back onto an edge so that you’re ready for the next one
- Shortening the time and distance between your carves
- Mixing up how long or sharp you carve
All the above are relevant whether you’re heel to toe carving, or toe to heel carving.
Thinking heel to toe
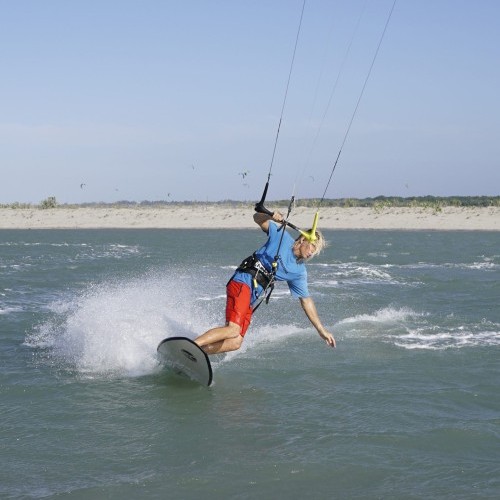
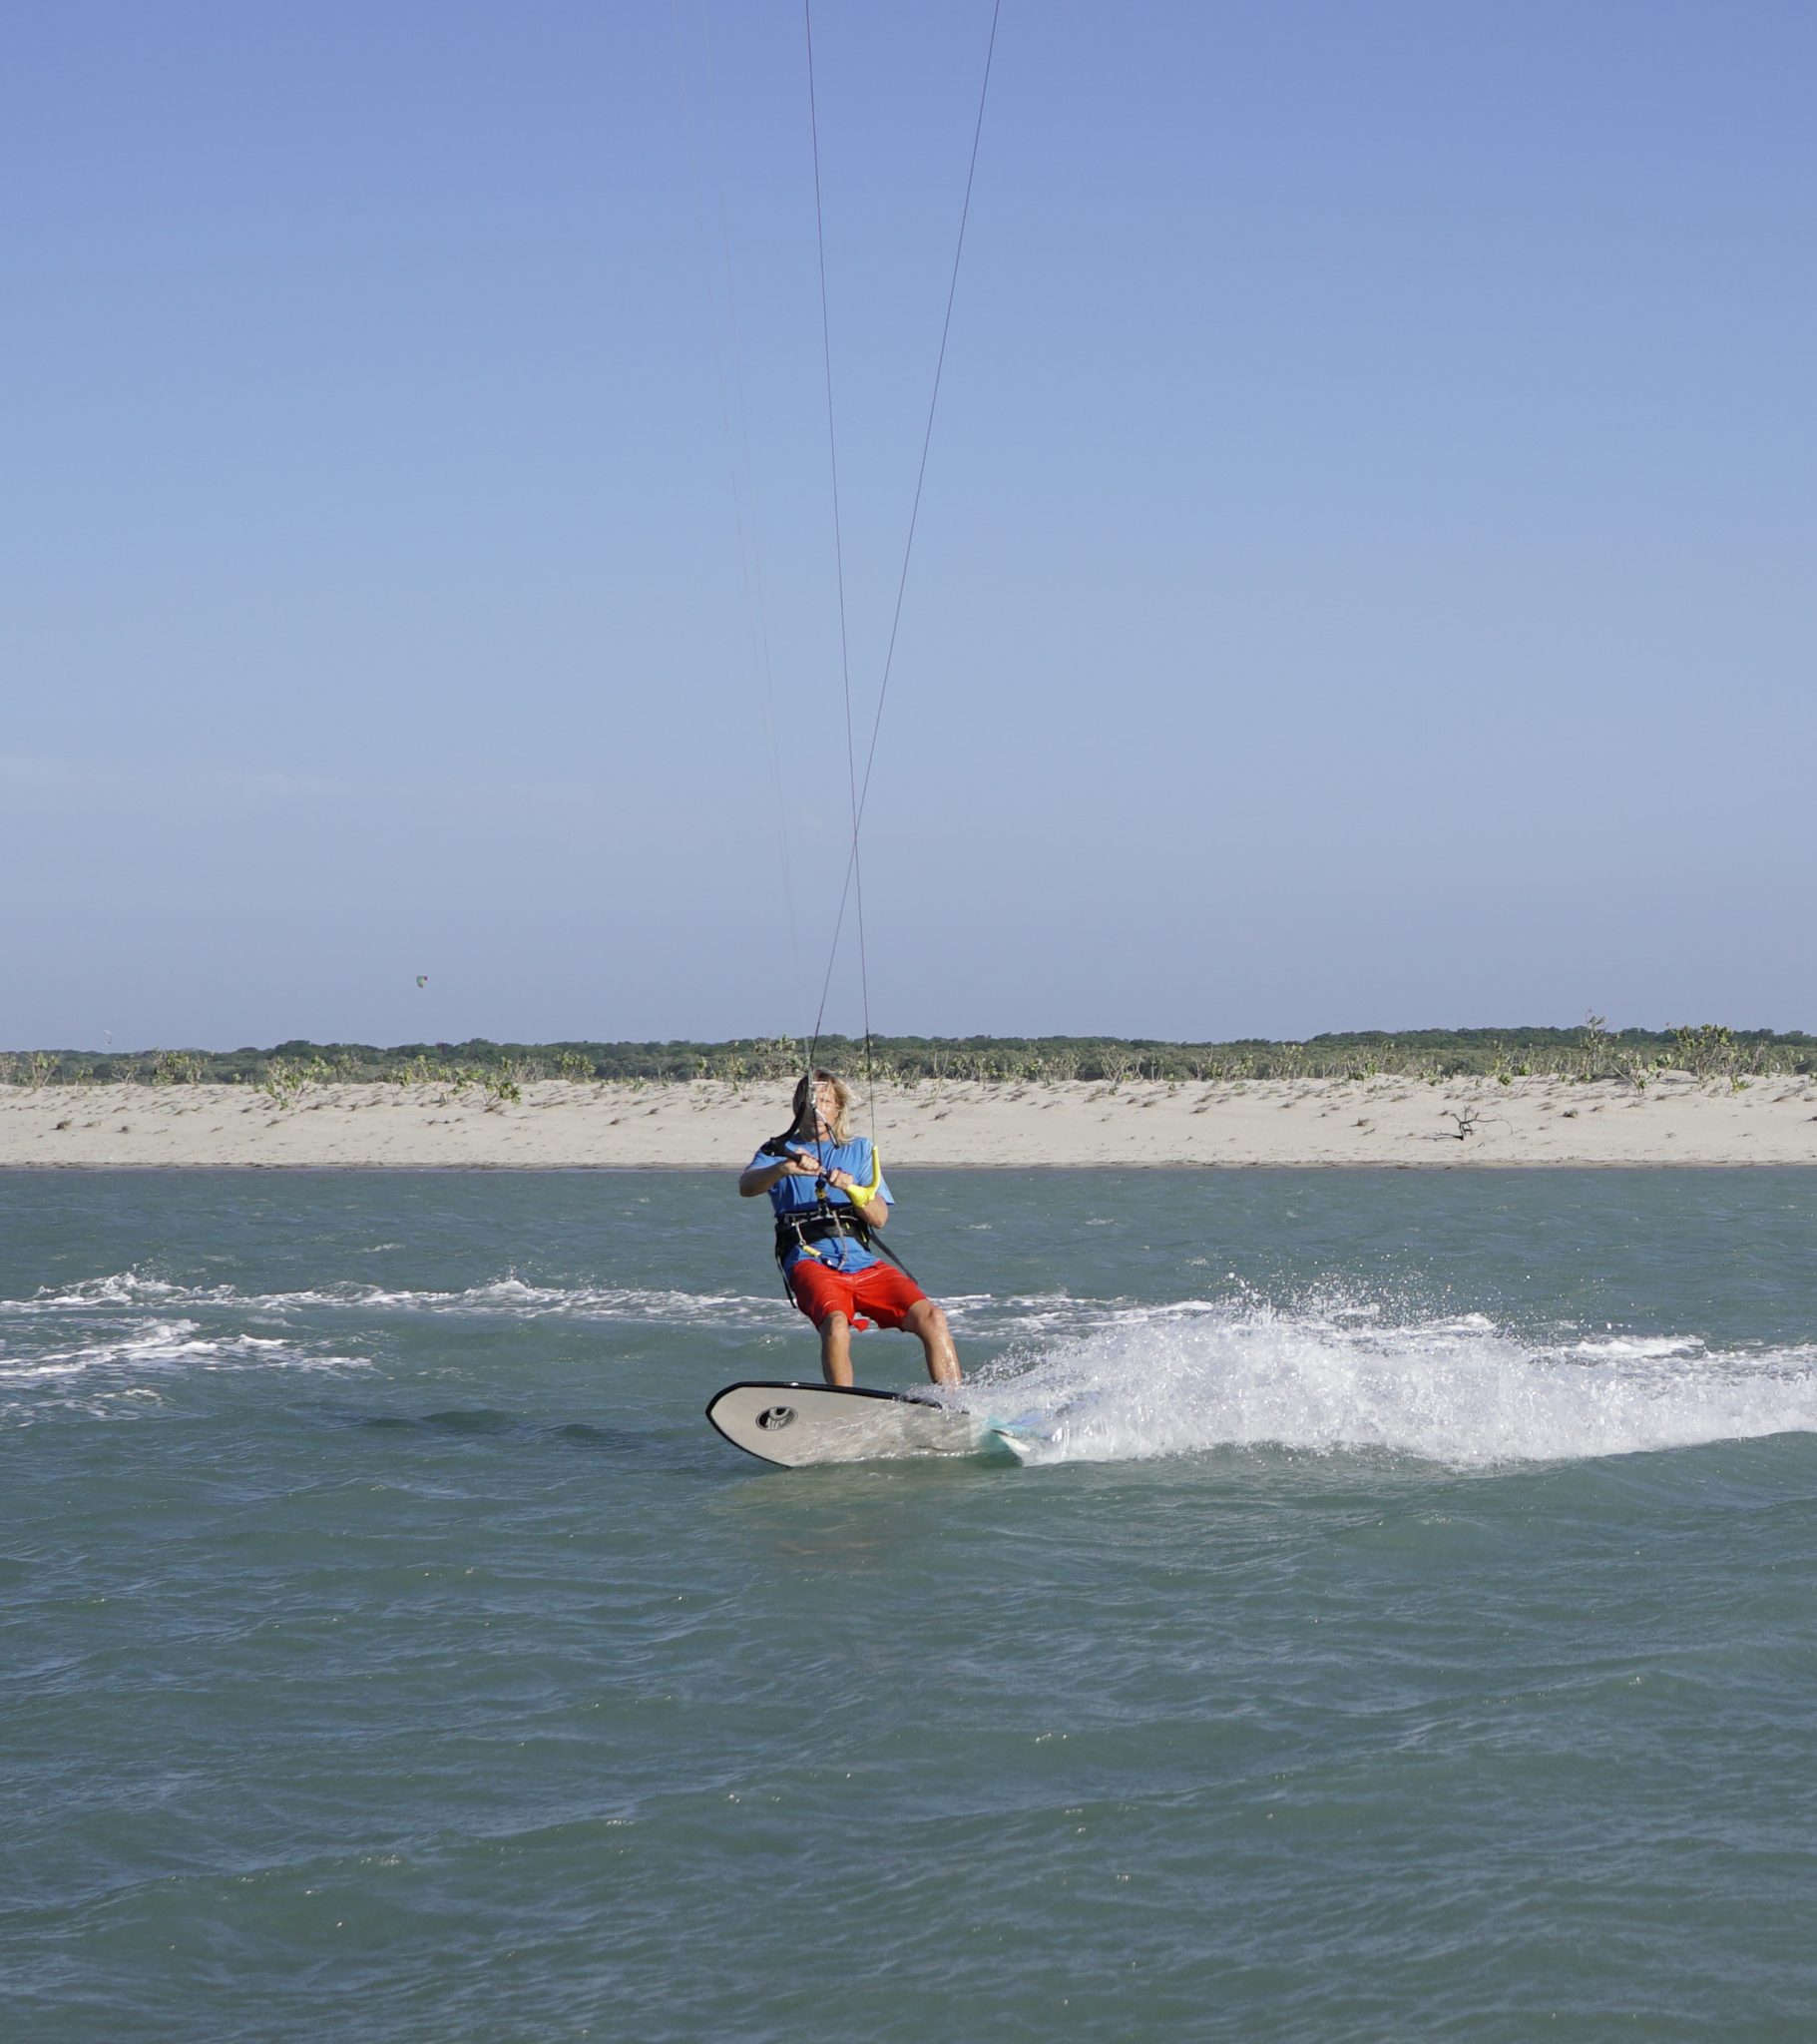
Stance - Pic B.
Regardless if you’re coming out of a turn, about to go into one or you’re just setting up to ride a wave you need to change from your usual easy upwind cruising stance into surf mode. We’ve been through this in the past, and as such, we’ll borrow directly from a previous article. Foot and body position are critical for a solid carve. It’s going to vary from board to board, but you’ll always need to make sure that your front foot is both forwards and across the centre line of your board so that you can finish the turn on a decent upwind toeside edge. The back foot also needs to be back far enough so that it can straddle the centreline comfortably. This way you can still edge in against the kite on your approach, but you’ll also be able to keep the board pushed down once you’re around to toeside. Yet again you don’t want to have an awkwardly wide stance as this can lock your hips in place and make it very difficult to shift your weight during the turn. Your kite needs to be low enough to edge against, so no higher than 11 or 1 o’clock. And finally, you need to edge to have tension so that you can make the kite turn– bend your knees and sit down a little bit so that your bum drops upwind of the board and pushes your heels down into it.
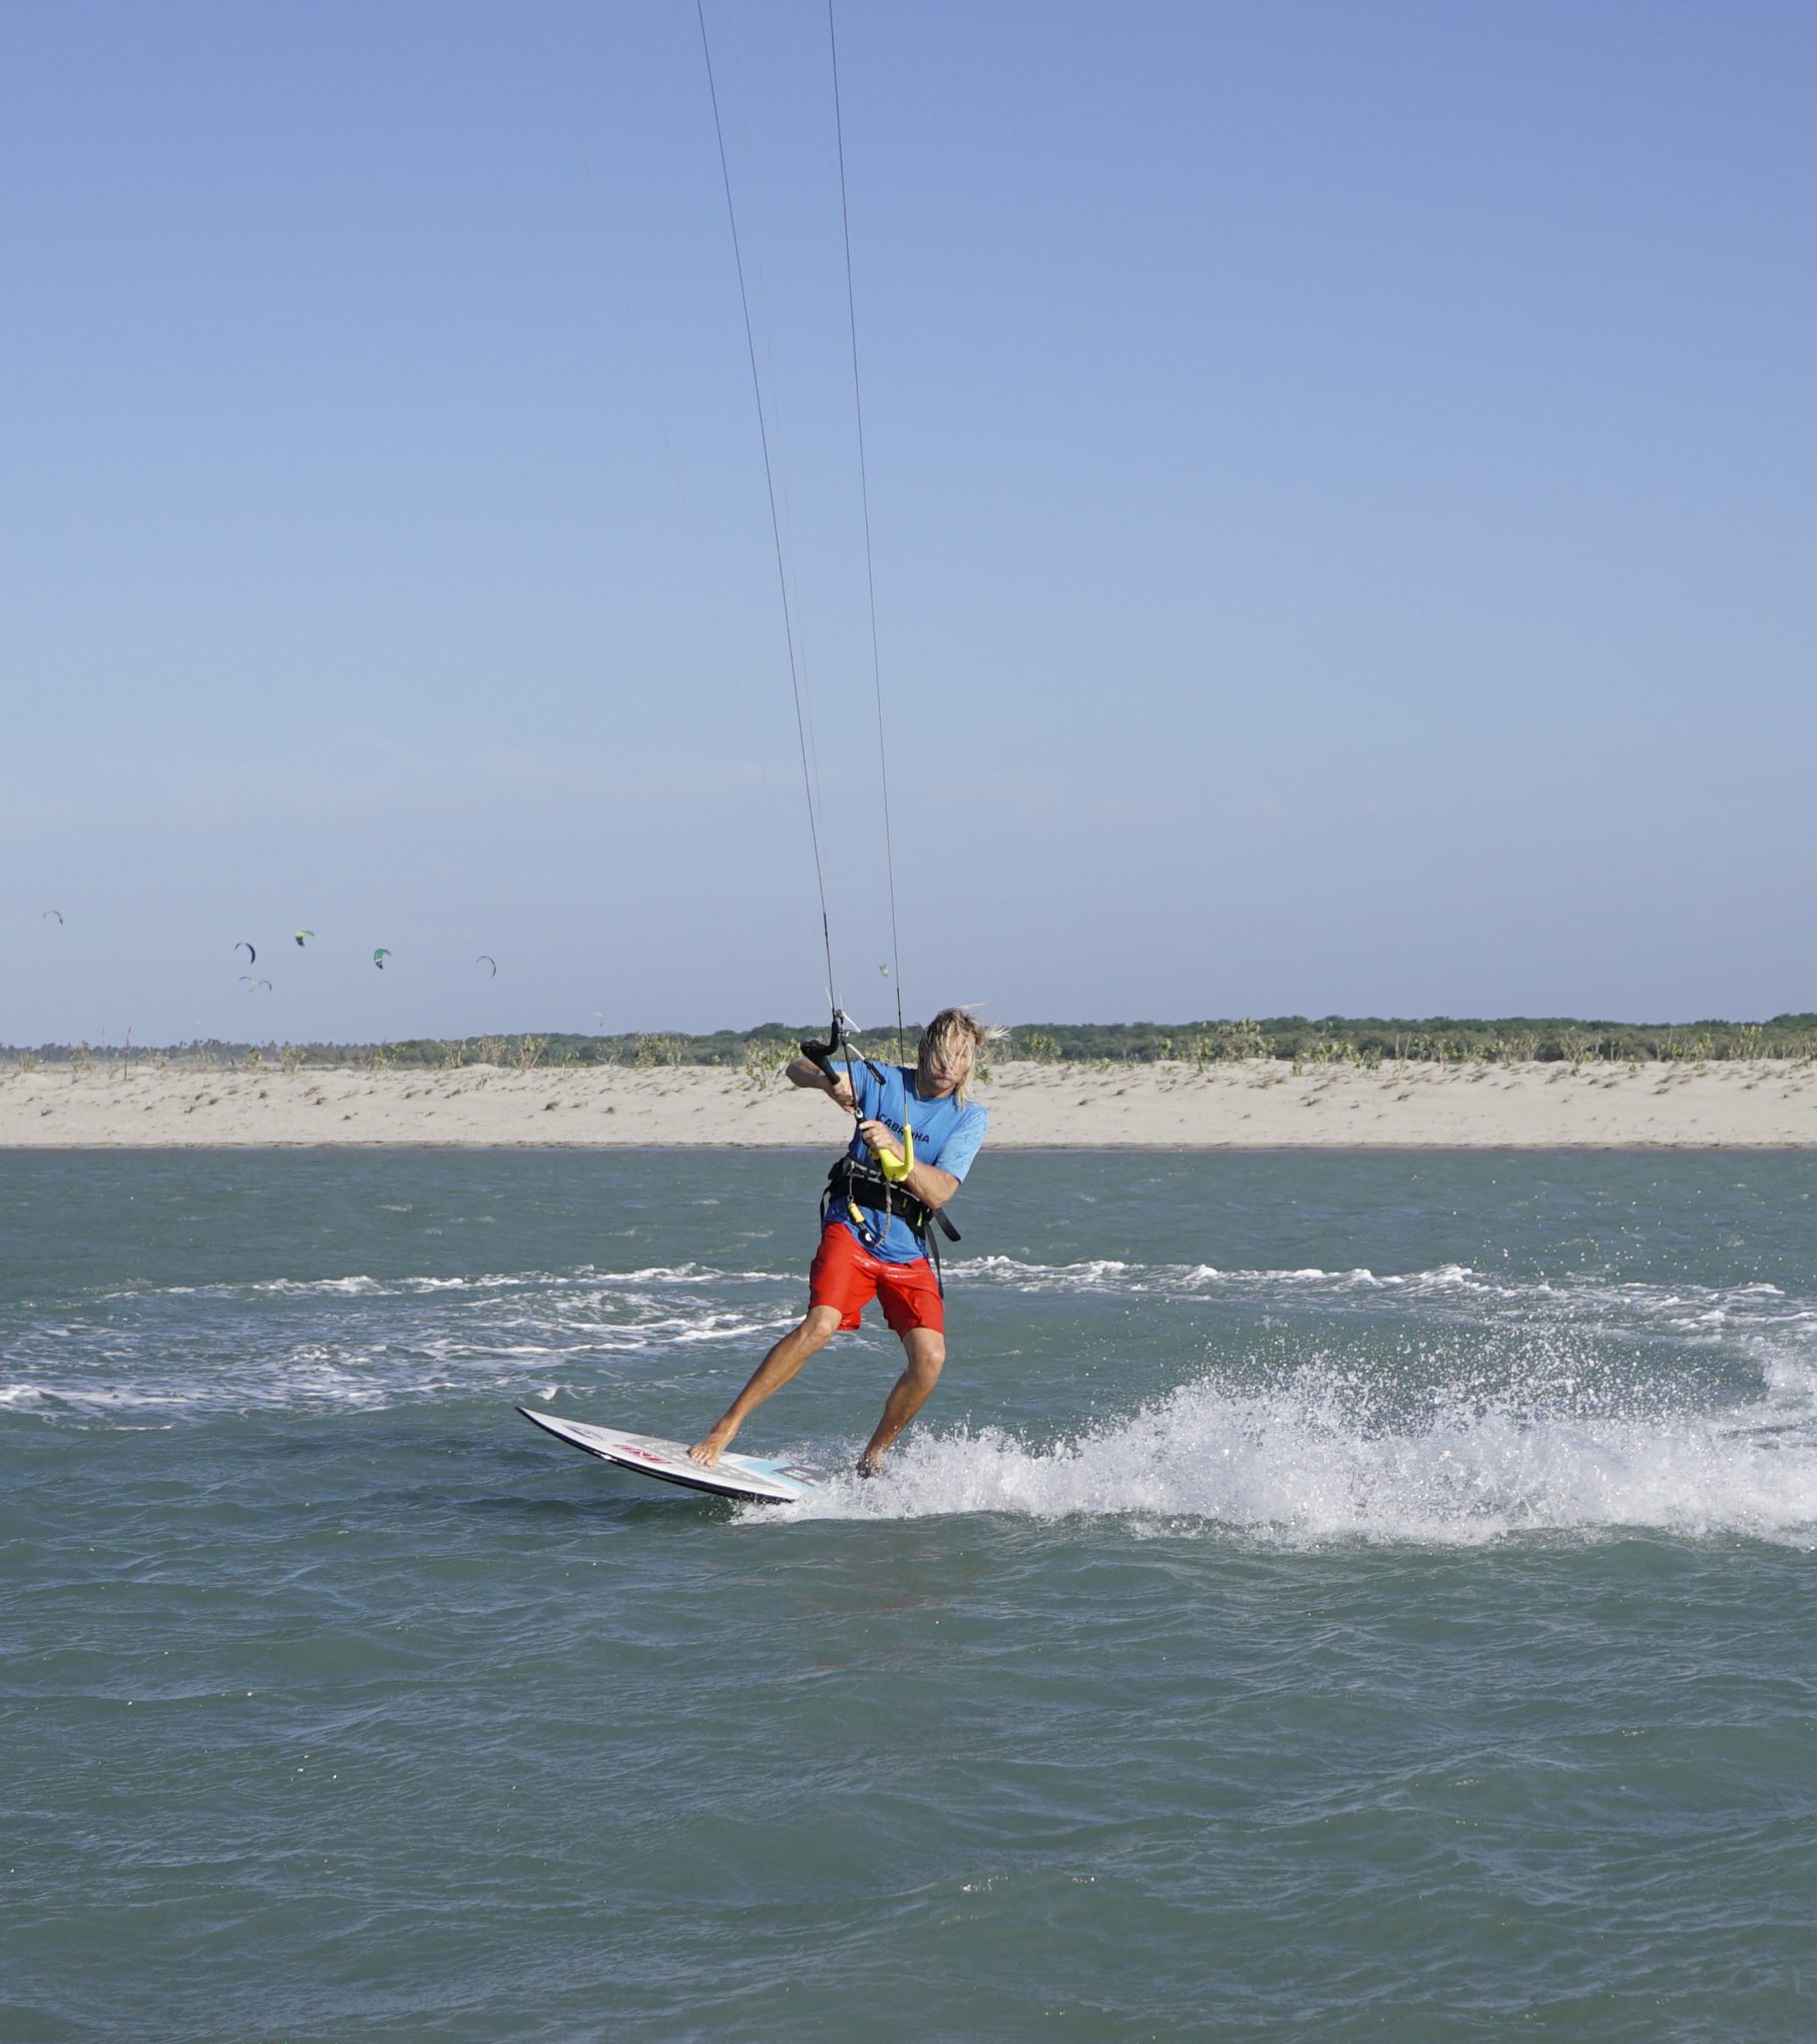
Kite - Pic C.
The way you send your kite is critical. If you move your kite too slowly it will travel up and over you, meaning that you’ll lose power and have nothing to keep moving with as you come around, and worse still, the kite will lift you as it goes over, pulling you up and out of your surfers squat and potentially lifting you off the board. As such you’ve got to get the kite to turn quickly so that it cuts off the top of the window. To get the kite to turn you’ll need both hands, for a decent pull and push. With the board edging, you have tension, and so the kite should respond. How much of the window you cut will depend on how hard you carve and how powered you are, how much you can depower the kite and where your trim is. All these variables need to be addressed, and here on the flats, you’ll be able to play with them and find the balance.
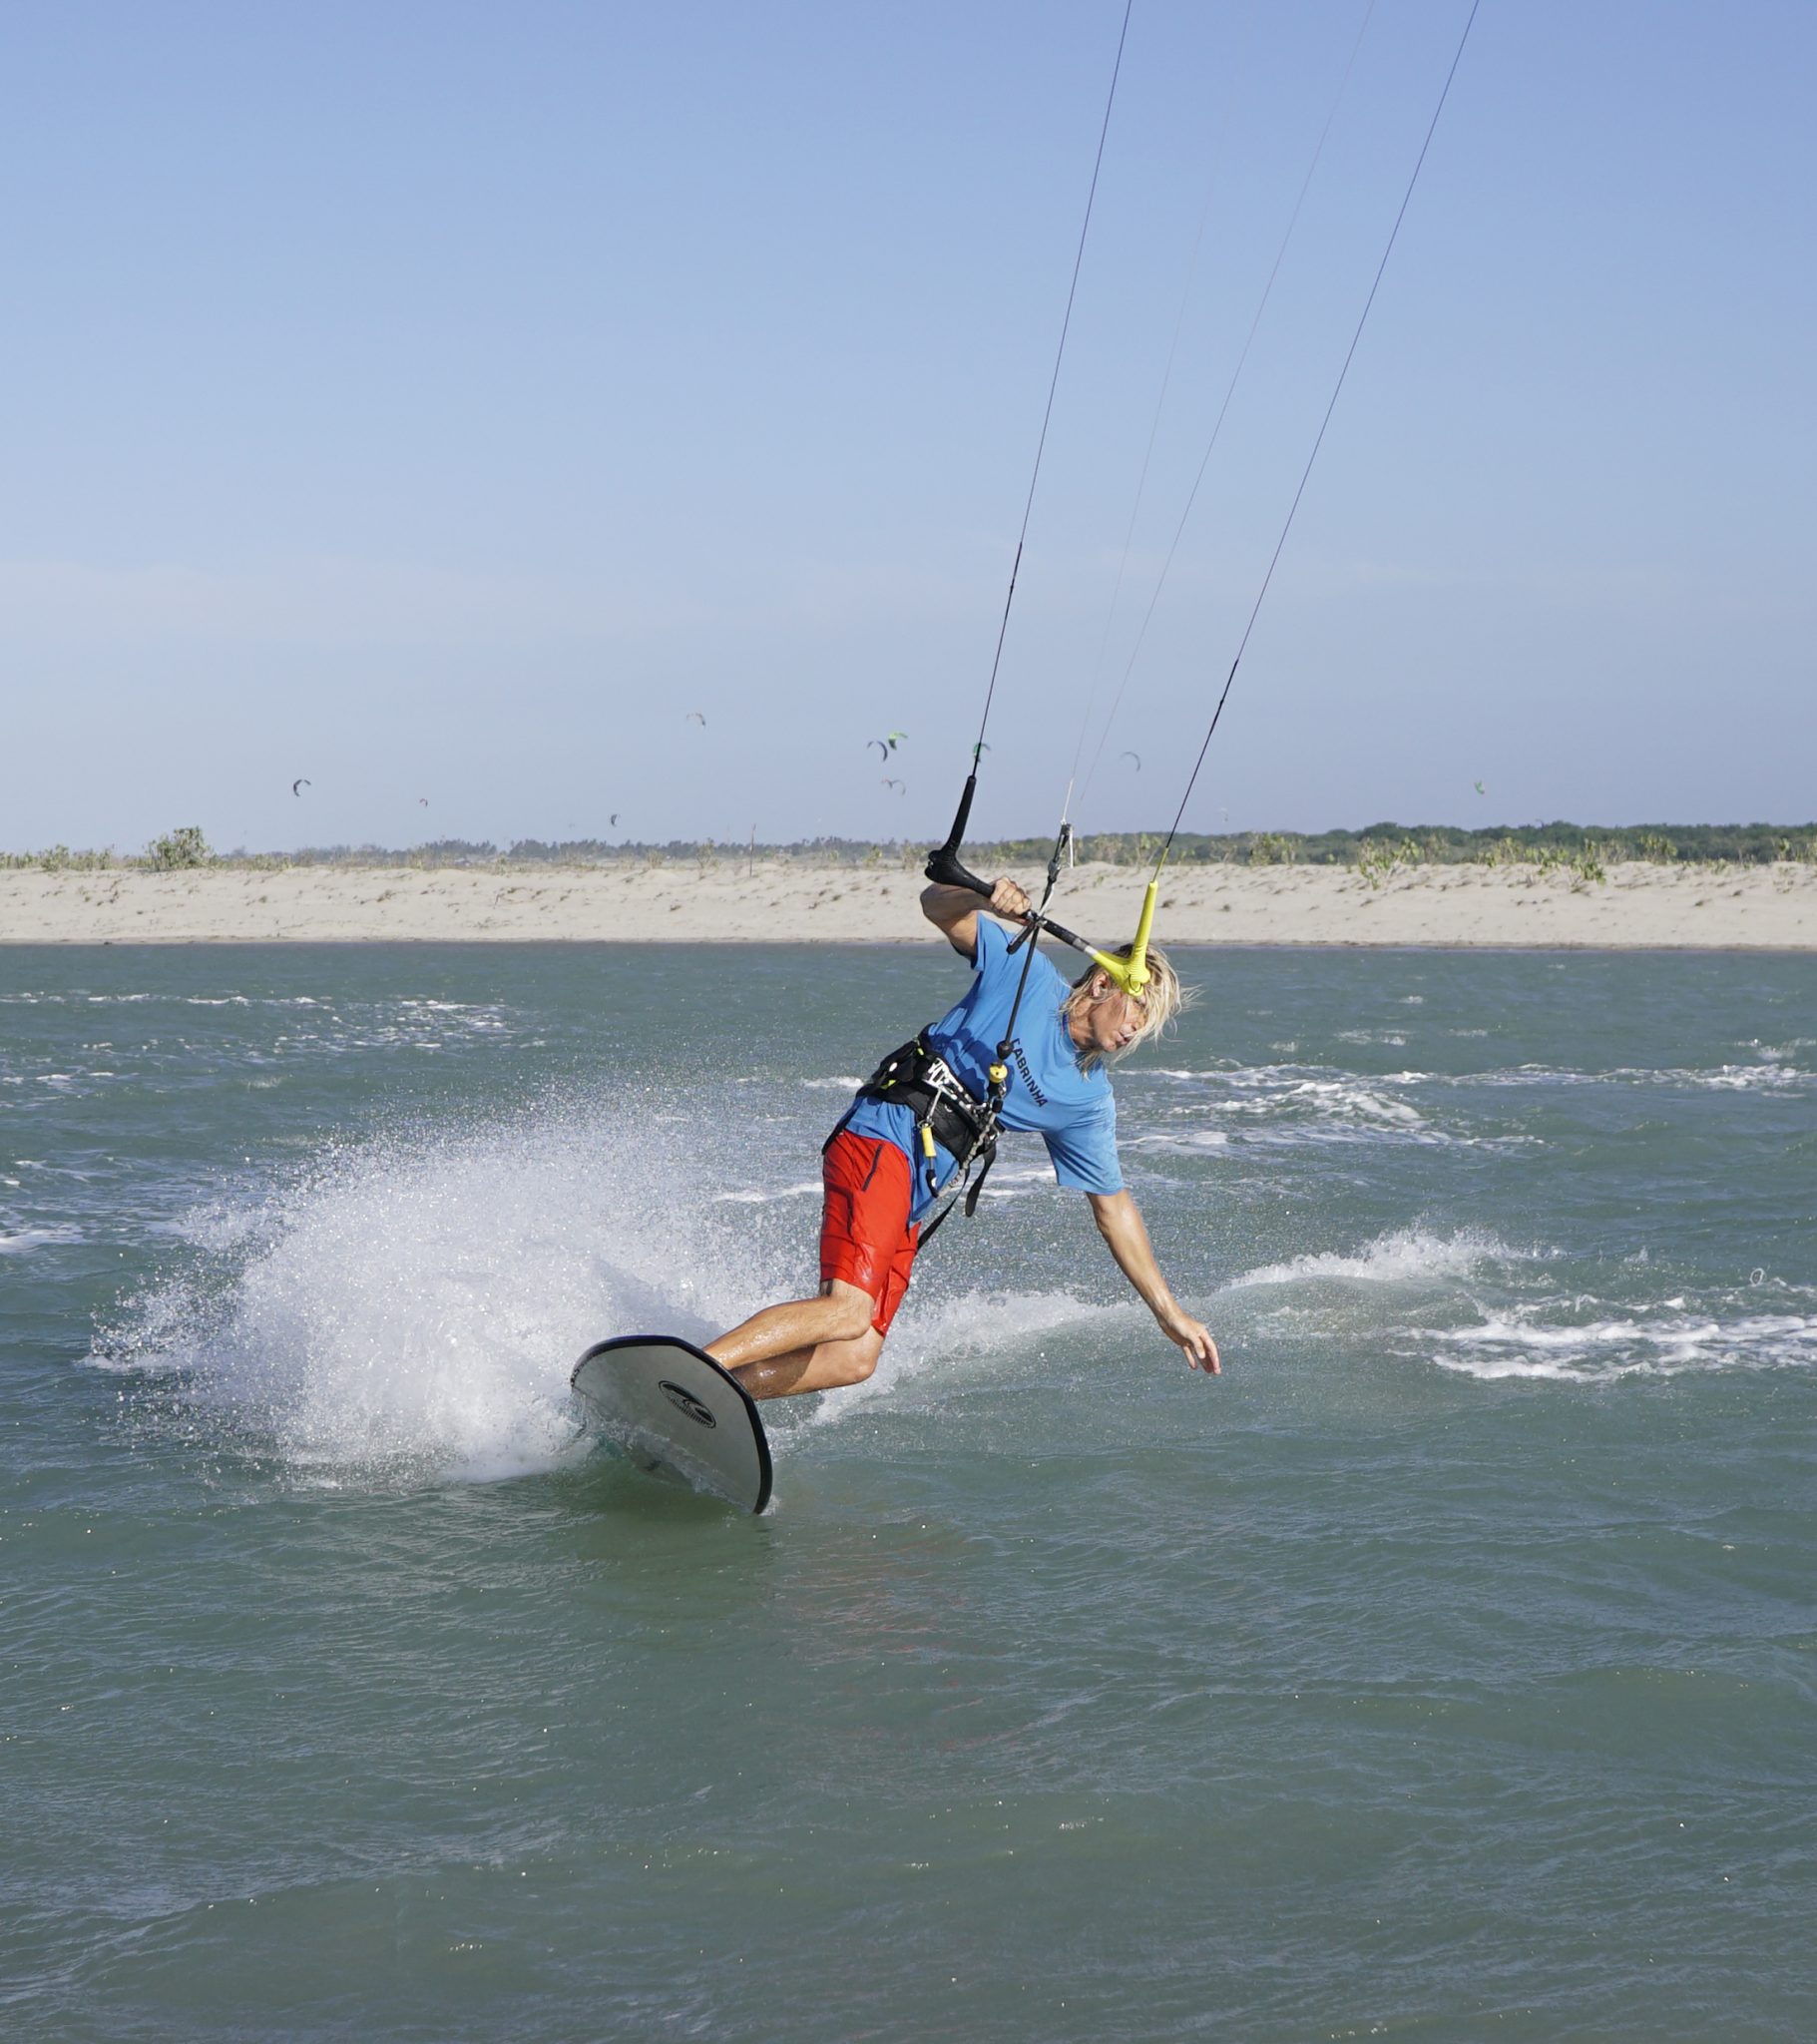
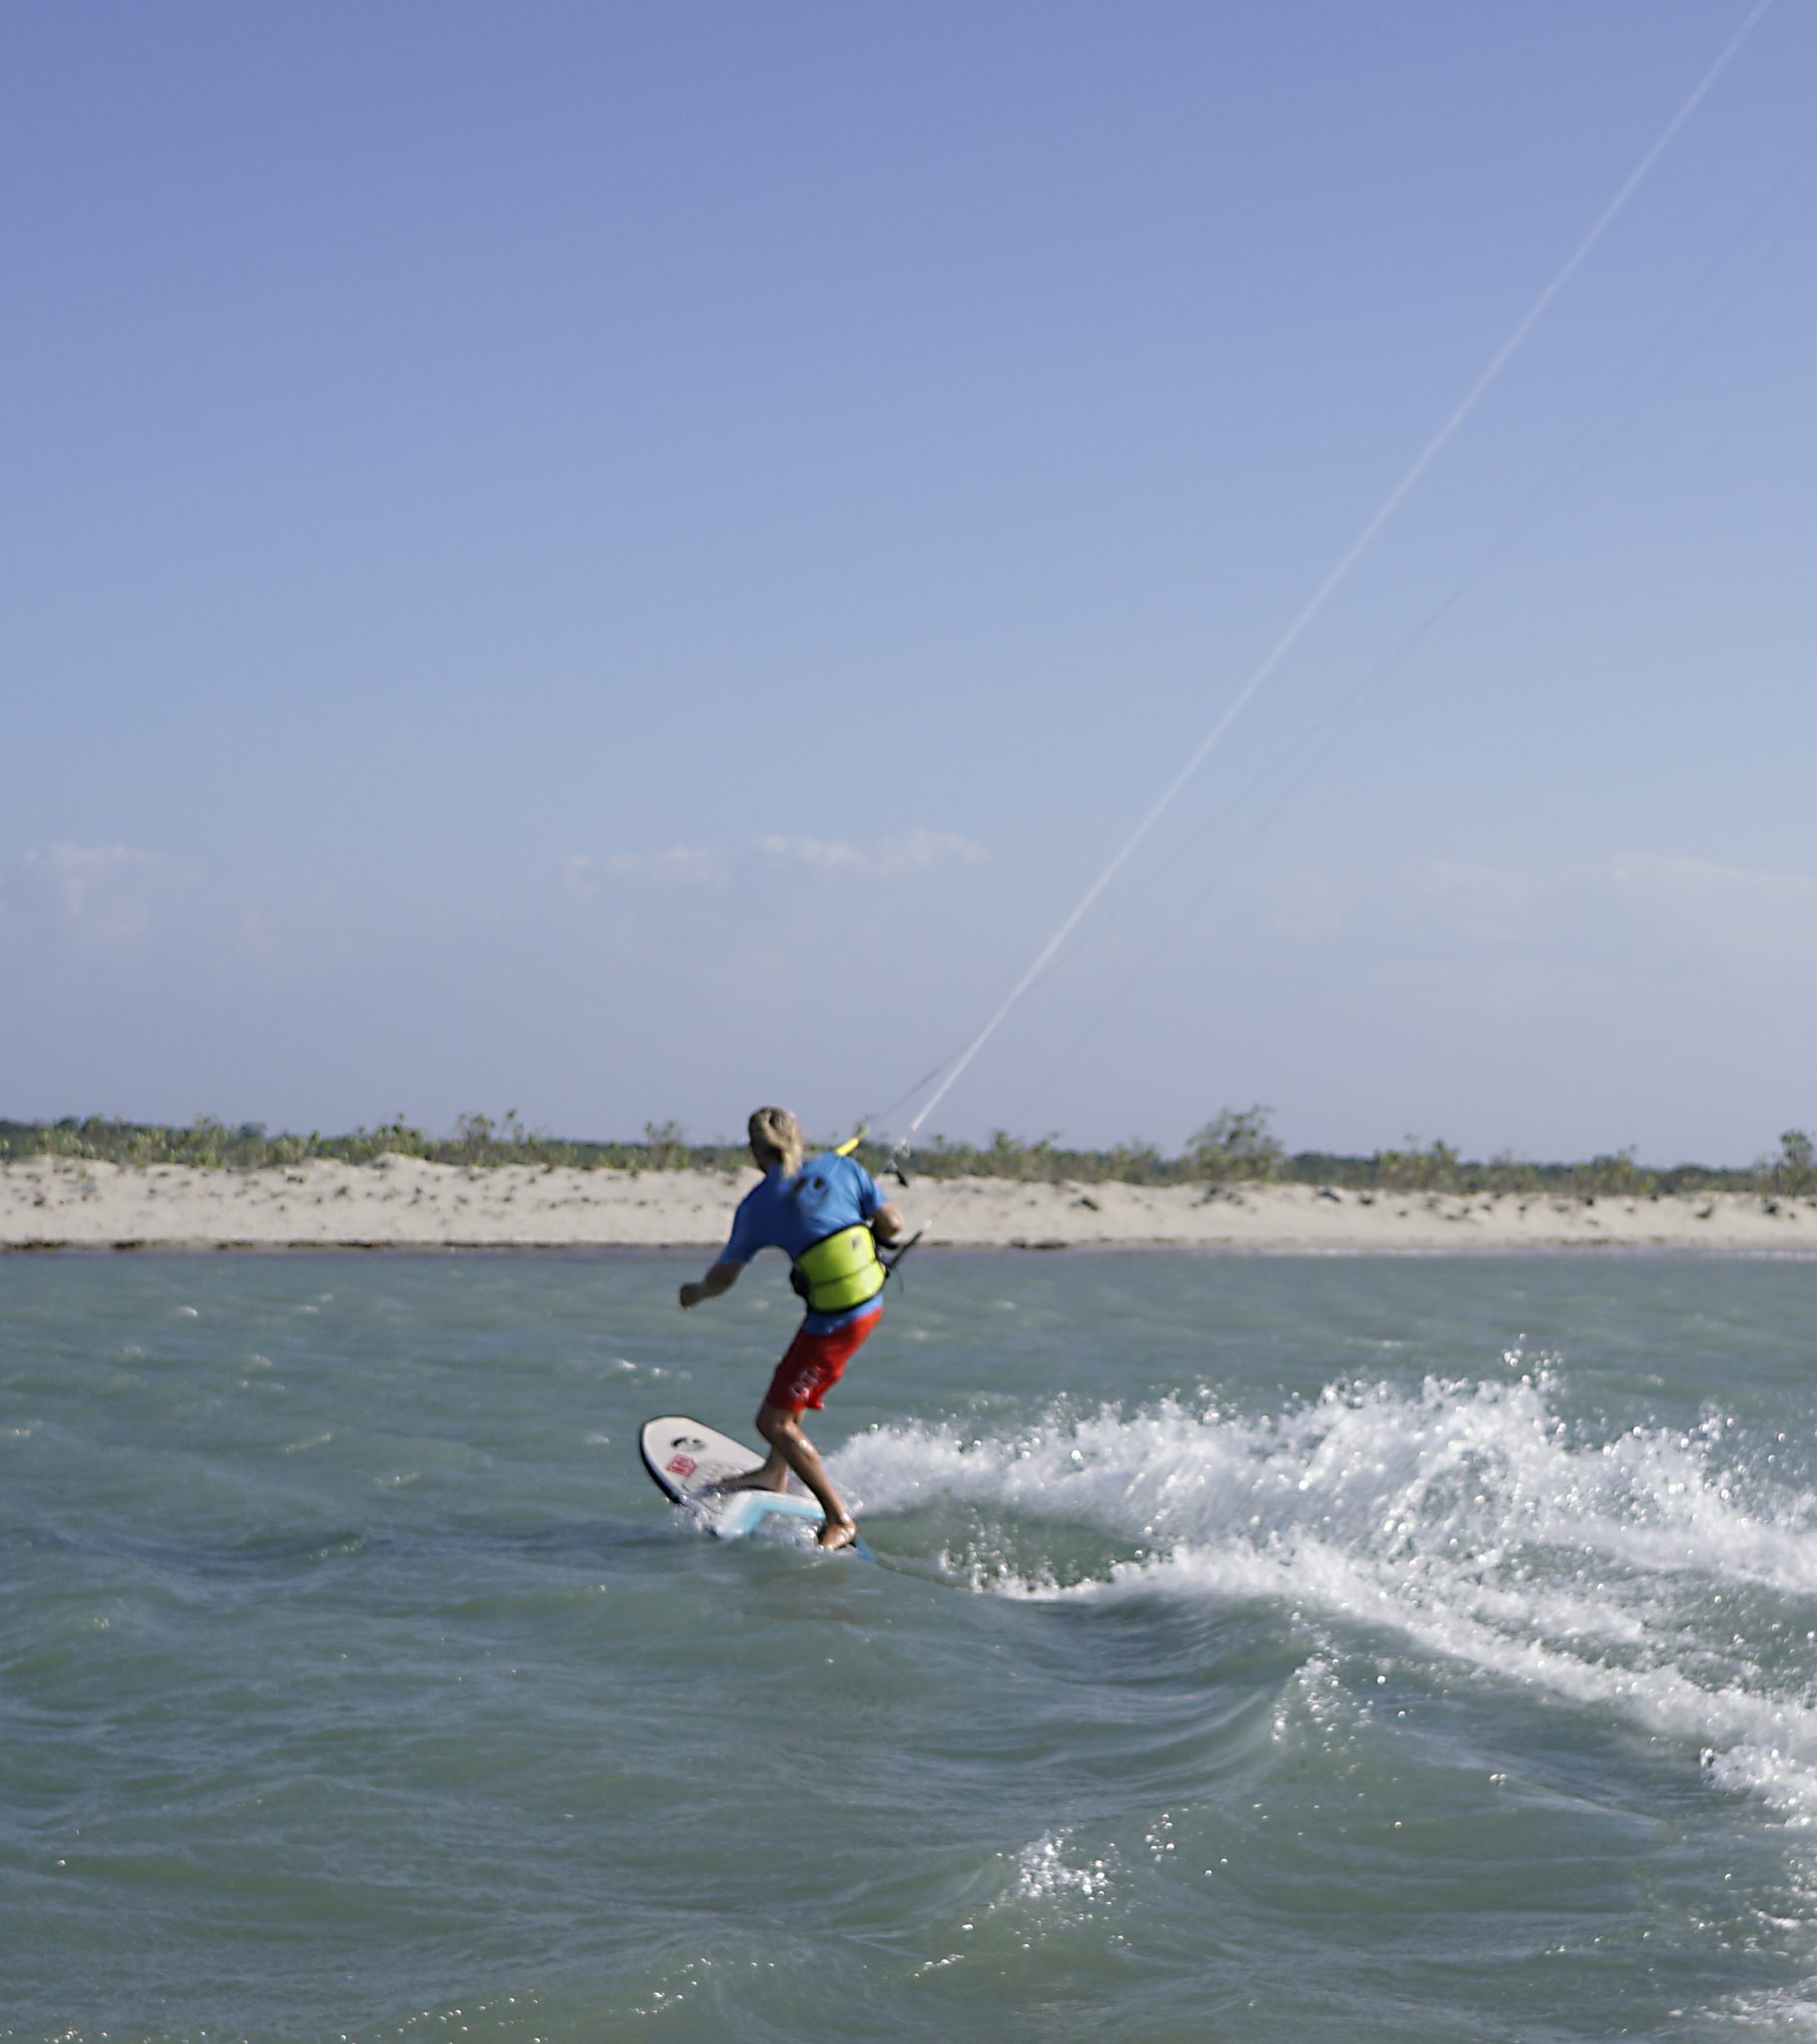
Coming Across – Pic D.
Here’s a little reminder and another reason your kite needs to cut the window. If you have your kite parked at the edge of the window and turn it quickly, it will pull you from in front of the way that you are going, so forwards and over the board. Your carve starts with you still going forward, it’s not a sudden change if direction. This helps get you into a solid and dynamic carving position, weight on the board while your knees and hips commit to the inside of the turn. If, however you’re a tad gentle with the kite, it will go up, and you’ll end up leaning back, sinking the tail and pivoting the board to a standstill. Basically, you can harness the power of the kite turning quickly to get yourself into a good carving position. Yet again on the flat water here in a mythical land, you can play around with timing and severity of movement, testing yourself and your kit to find what works for you.
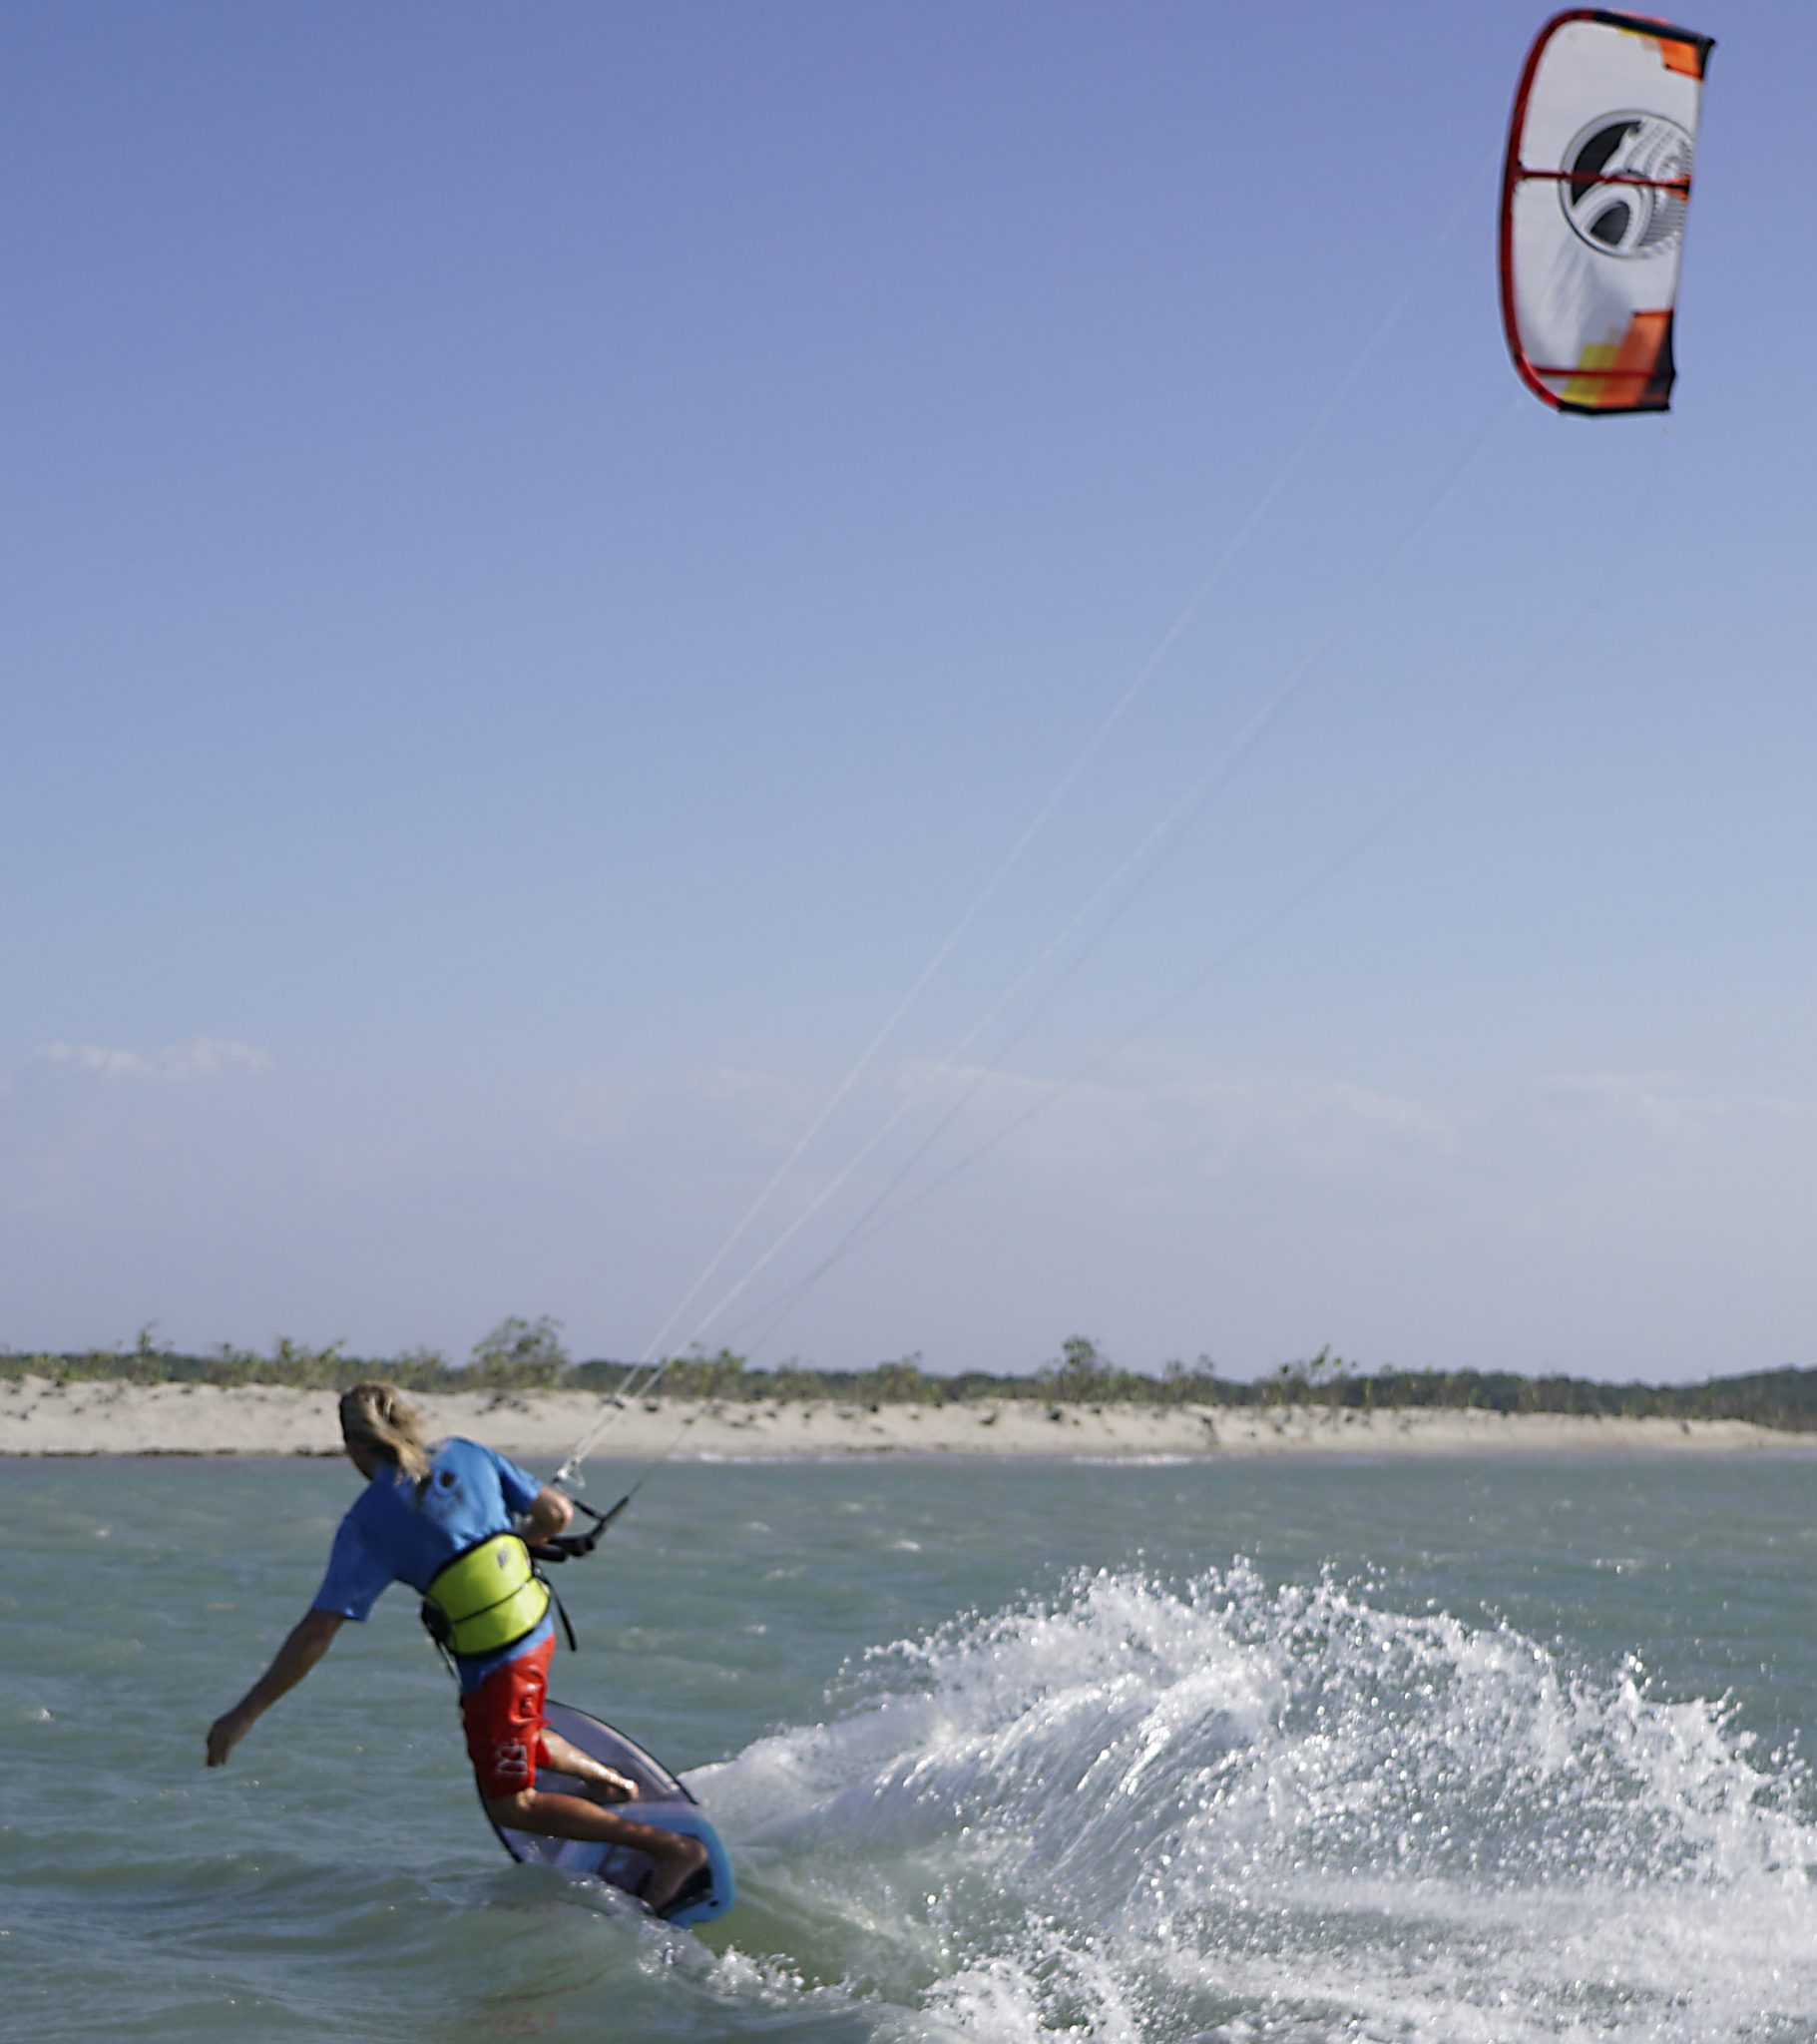
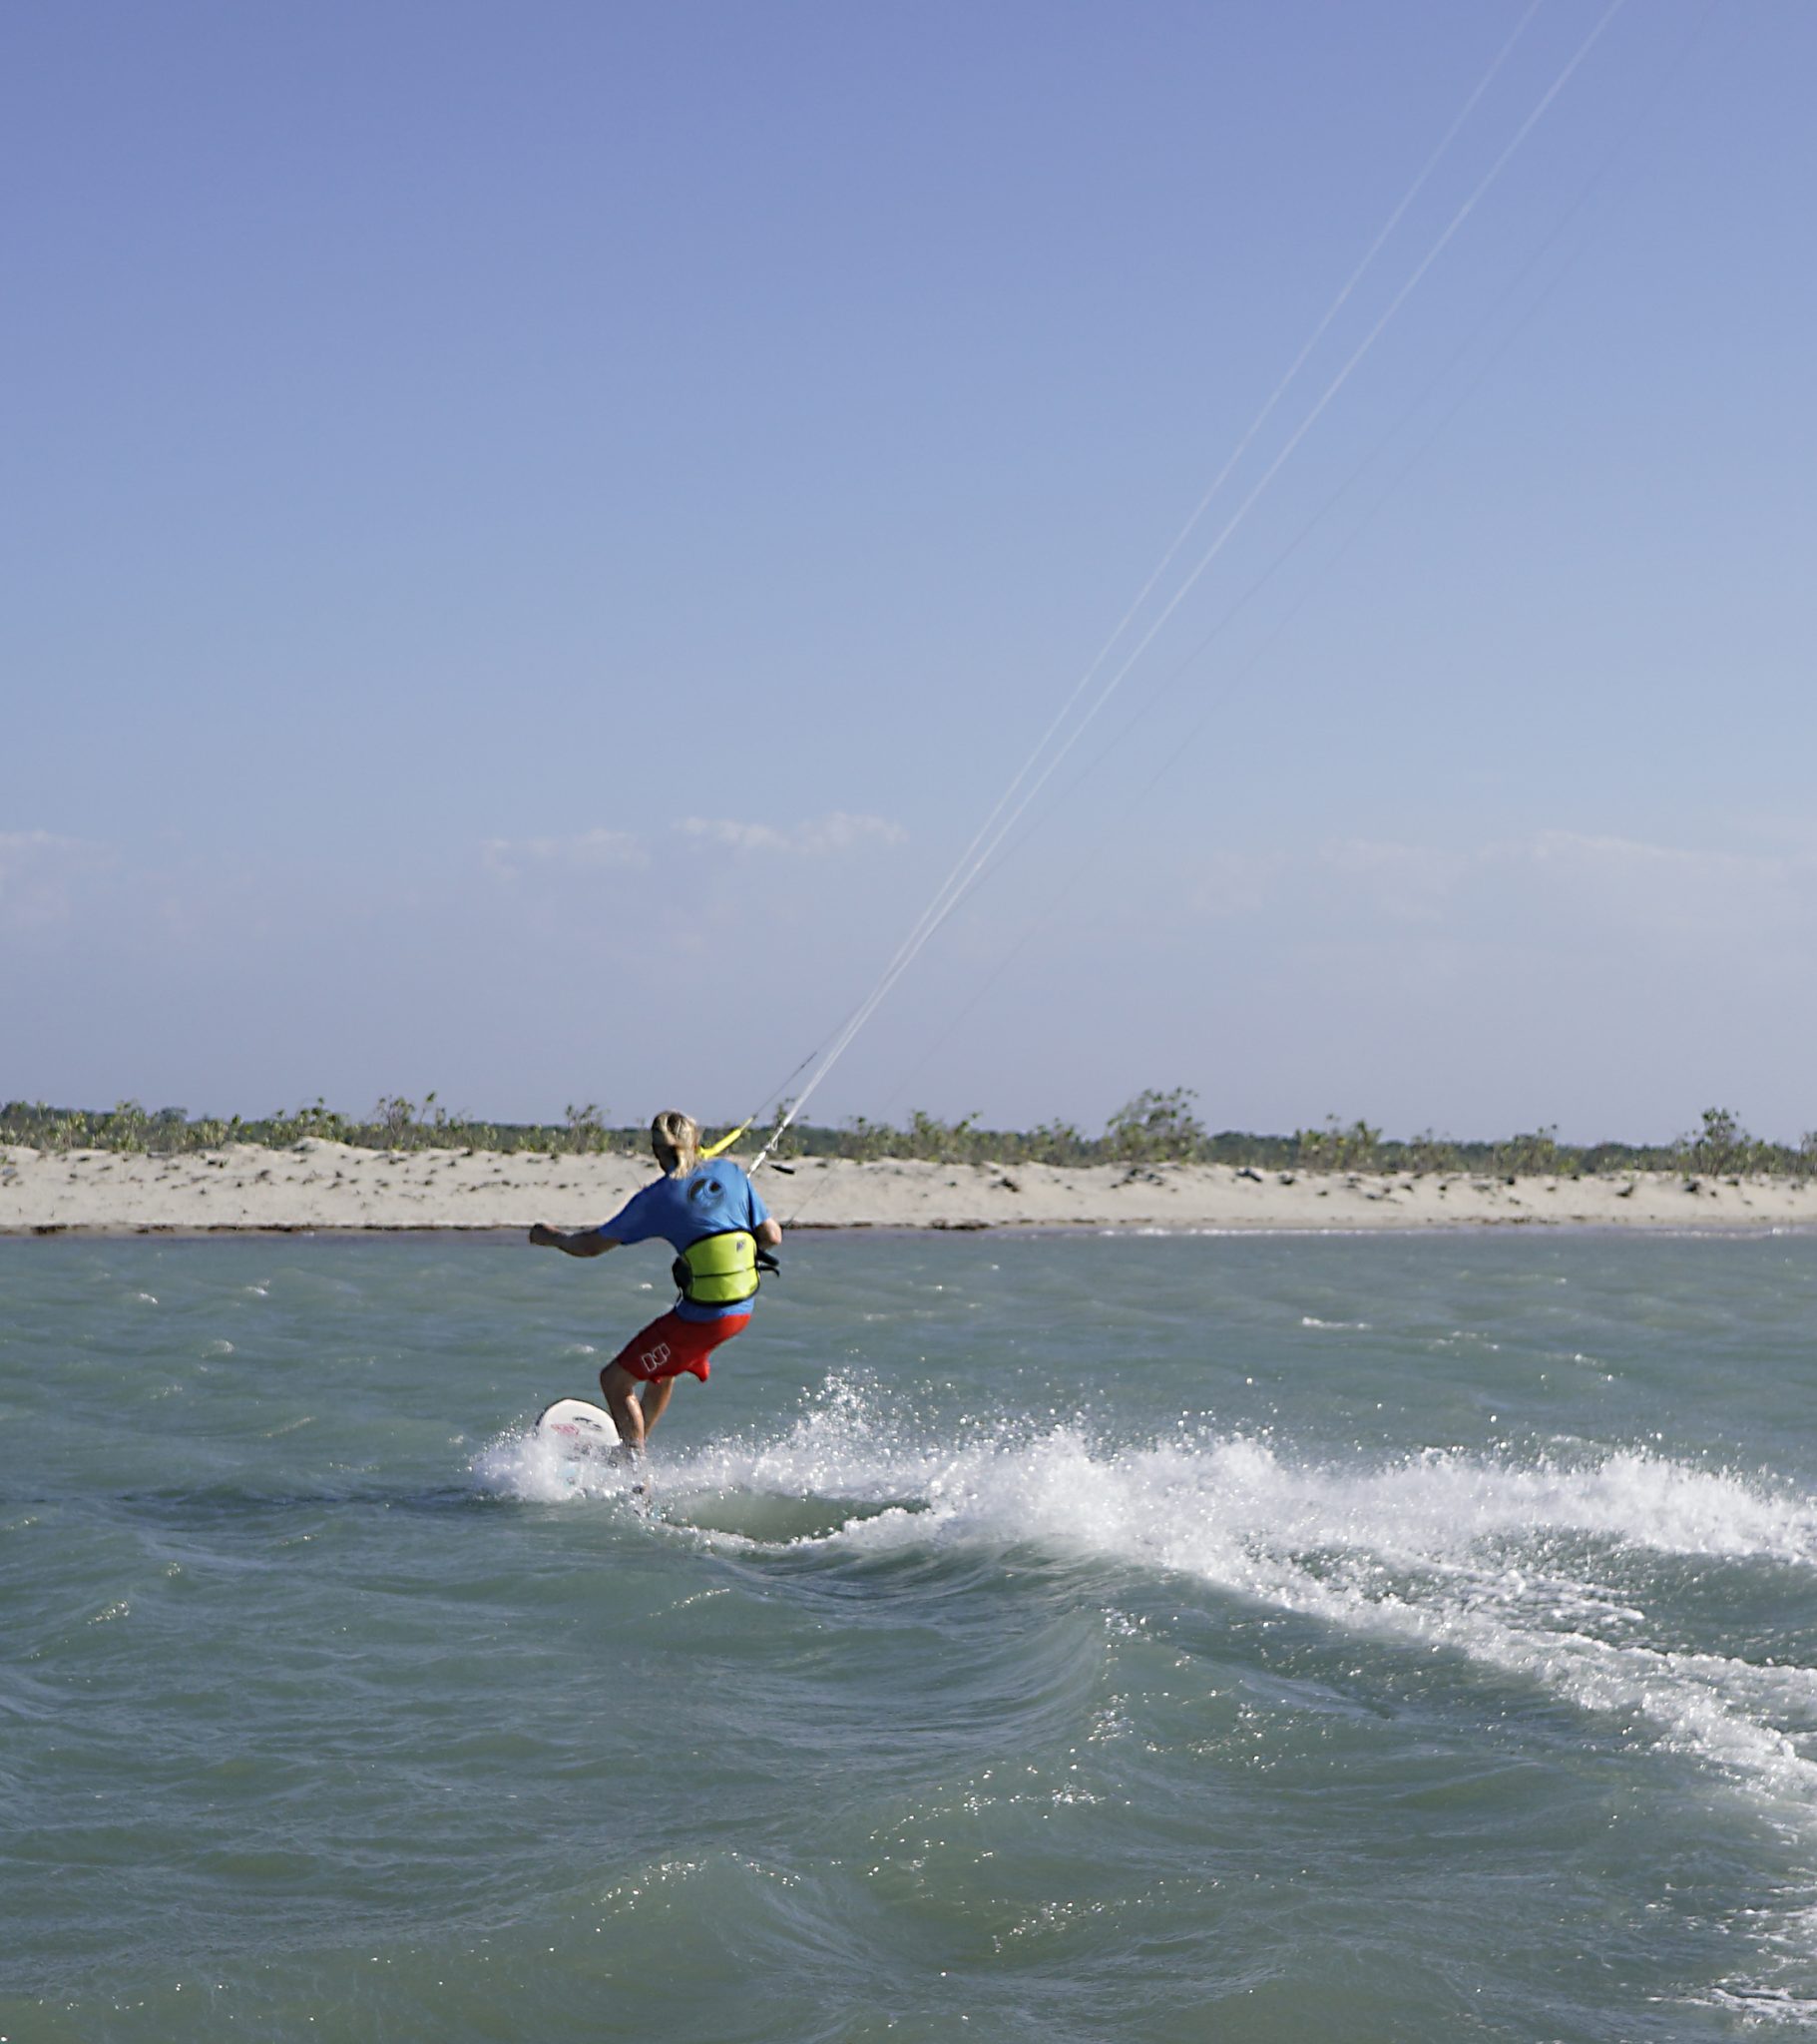
Good Carve - Pic E.
If you send the kite hard it will pull, but it’s just a short turbo boost. As long as you’ve set yourself up, you can release your backhand and dump the power. The beauty here is that as you’ve sent the kite on its way, it will still continue across the window even with slack in the steering lines. You’re in control, and the kite is going to the right place, that’s a win, win in anybody’s book.


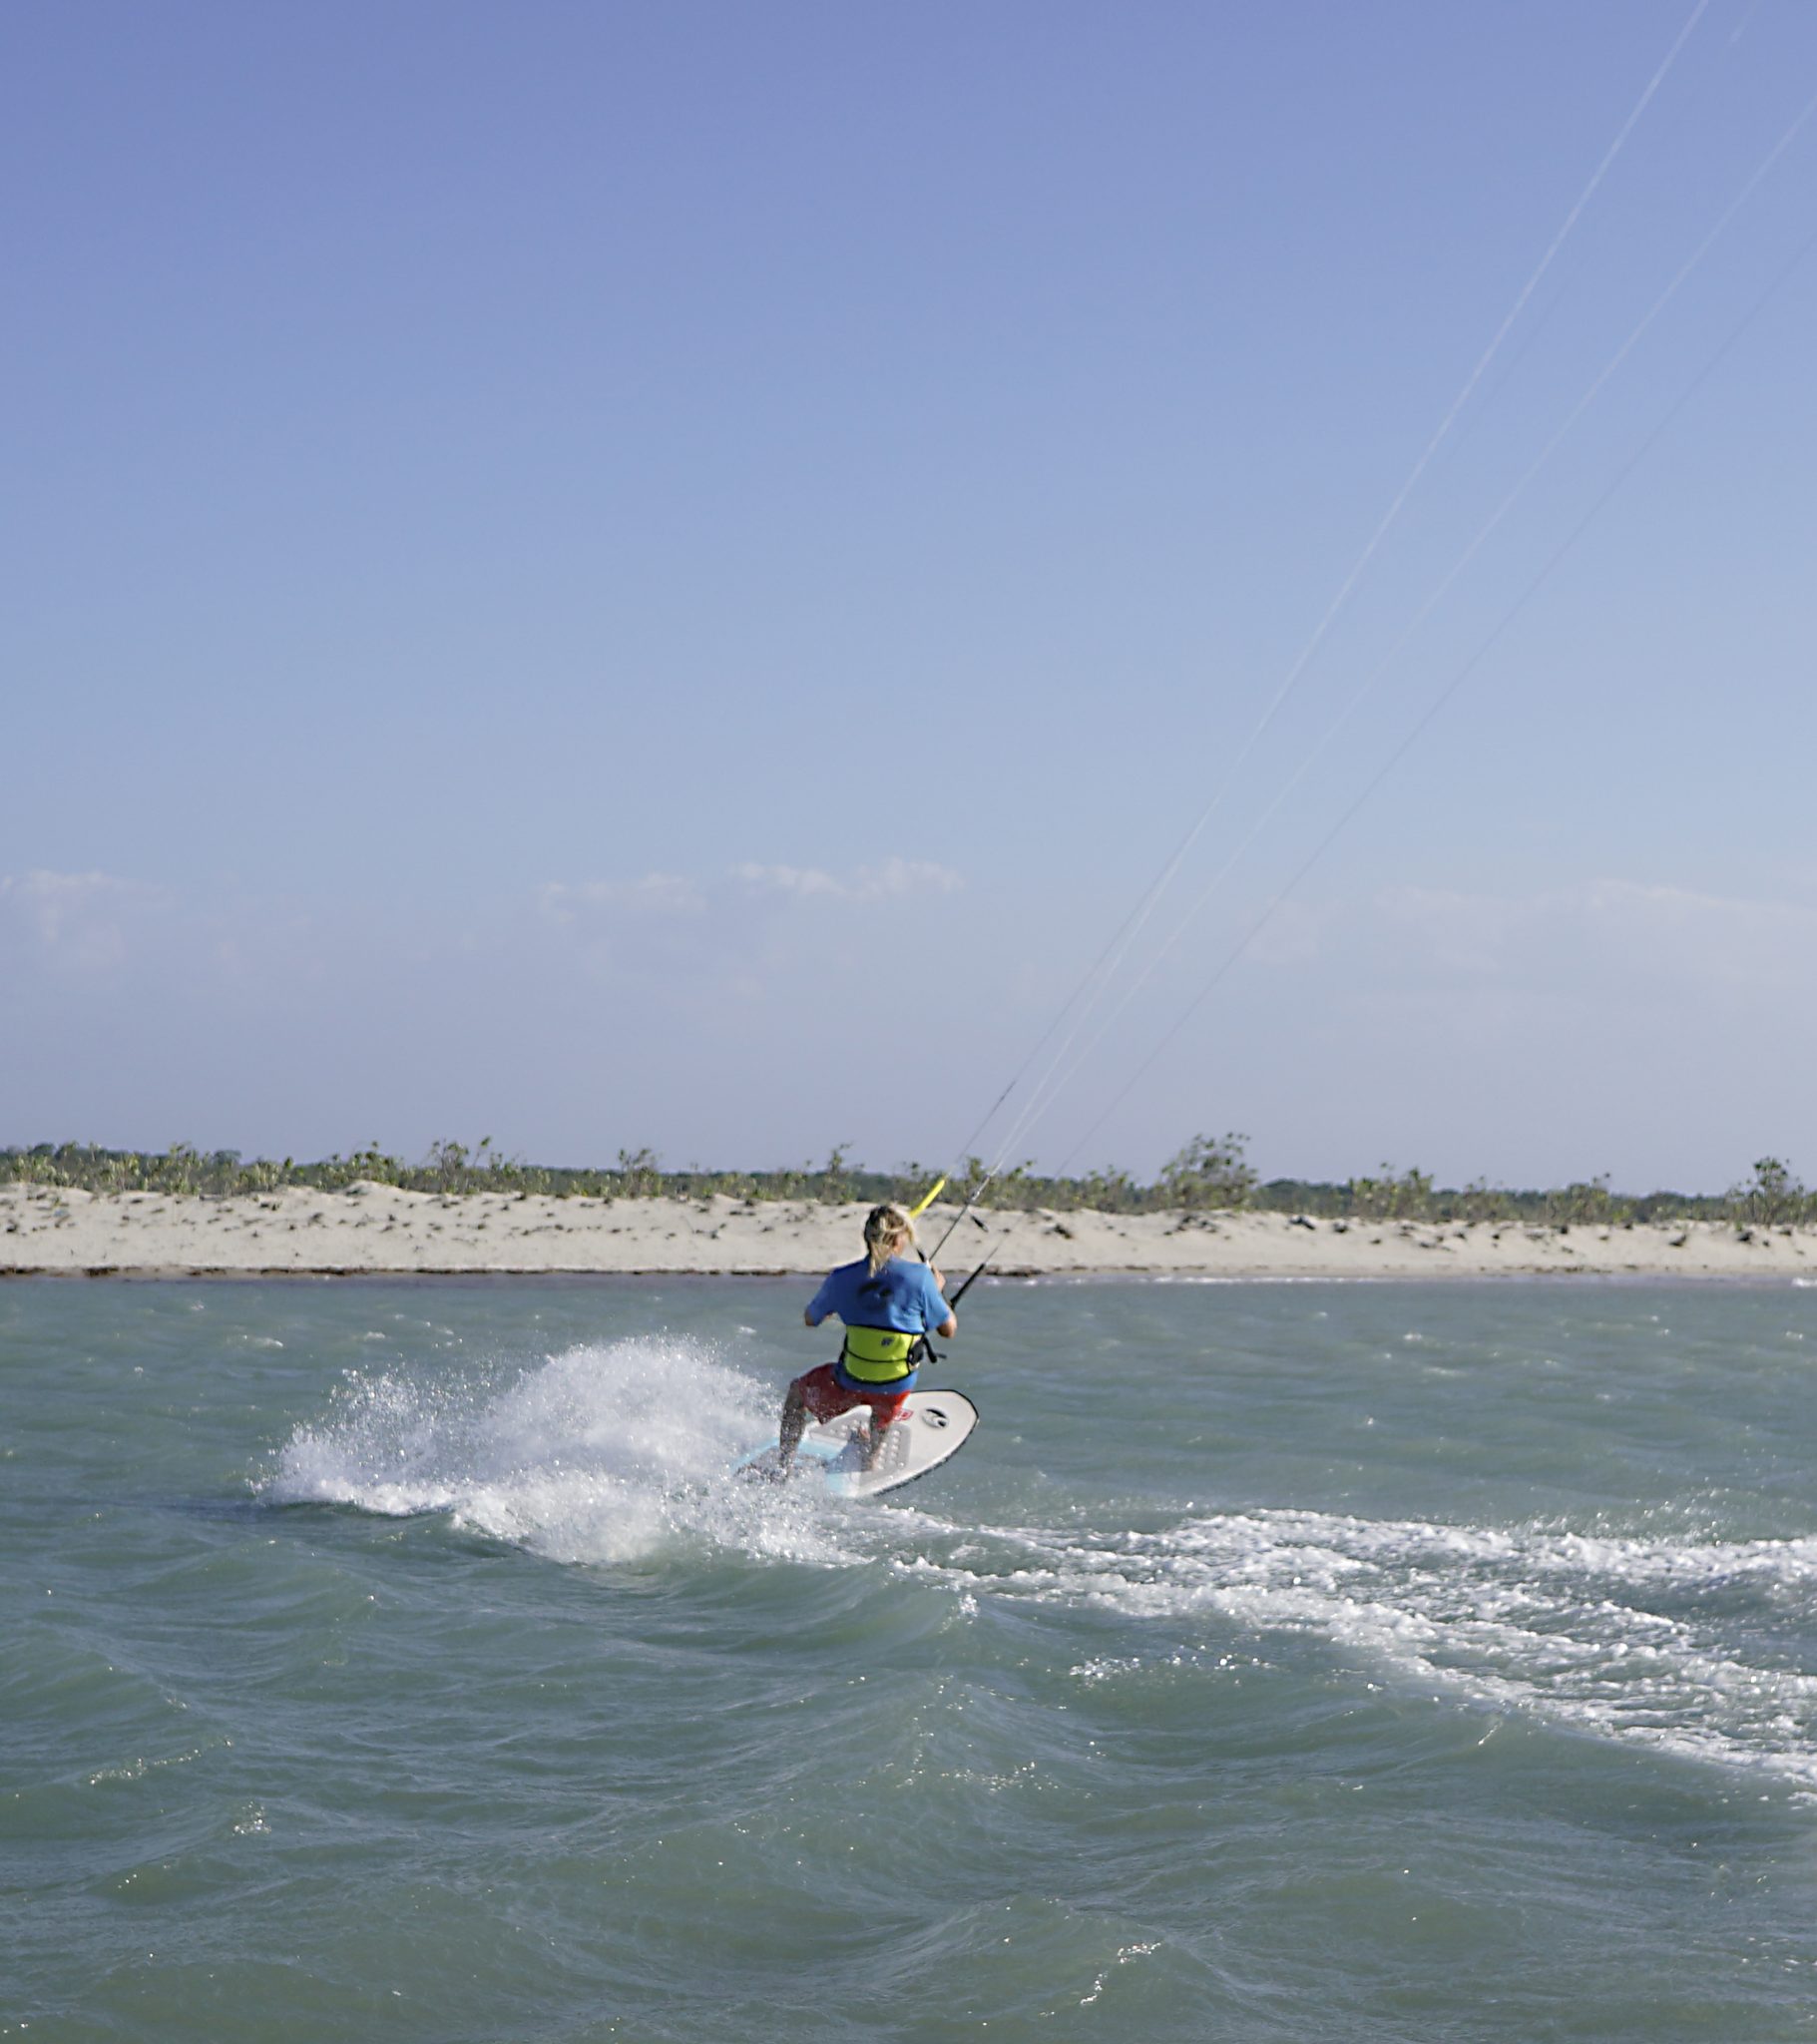
Finish The Turn - Pic F.
Finishing your turn means getting back onto your edge, effectively back into the position that you would be in to start your turn. On flat water you can spend 20 meters if needed, just to reacquaint yourself with your default toeside position with your feet in surf stance mode. You’ll need your hips to be more open and facing forwards, not twisted upwind, and you’ll need plenty of weight forwards, while still maintaining pressure on the back foot. It’s a lot to sort out, but once you find your sweet spot, you’ll know where it is for next time. The sooner that you can be ready, the sooner you can move the kite, and the quicker you can go into your next turn. Once you get this nailed, you can really shorten the straight between your turns, and as a result, you’ll be more dynamic and have choices once you head into the waves.
As mentioned earlier, finishing is setting up, so the last picture for the heel to toe is also the first for the toe to heel turn... the only addition is to get the kite turning and then you’re ready to. On the toe to heel you may want to turn the kite with just one hand, so make sure that you use your wrist to steer the kite, rather than just pull the bar in and stall the kite!
Drop Your Weight – Pic G.
Once the kite is turning, you need to be ready to turn. It’s often likely that you’ll be less aggressive with the kite when carving from your toes to your heels. Even so, you must be ready, and as such keep your knees and hips committed upwind of the board. Taking your front hand off the bar will help you keep your weight where you want it. It’s tempting to stand up early, but then the board will flatten, and the kite will slow. However, you do need to drop your weight back over the tail of the board, but only your hips. Keep the shoulders forwards.
Start the Carve – Pic H.
Just like with a heel to toe, wait for the kite to move before carving. With your weight upwind and forwards as above, as the kite pulls, you can roll onto your back heel and start the carve. However, no turning the shoulders or head just yet or else you may get pulled off the board. This is a crucial part of a toe to heel carve, and one with which you can play with. There’s the option of going for a long, drawn out carve that may be a backside bottom turn with your weight more forwards, but there’s also a quicker, more snappy turn that you’ll be able to transform into a frontside top turn with your weight dropped further upwind and back.
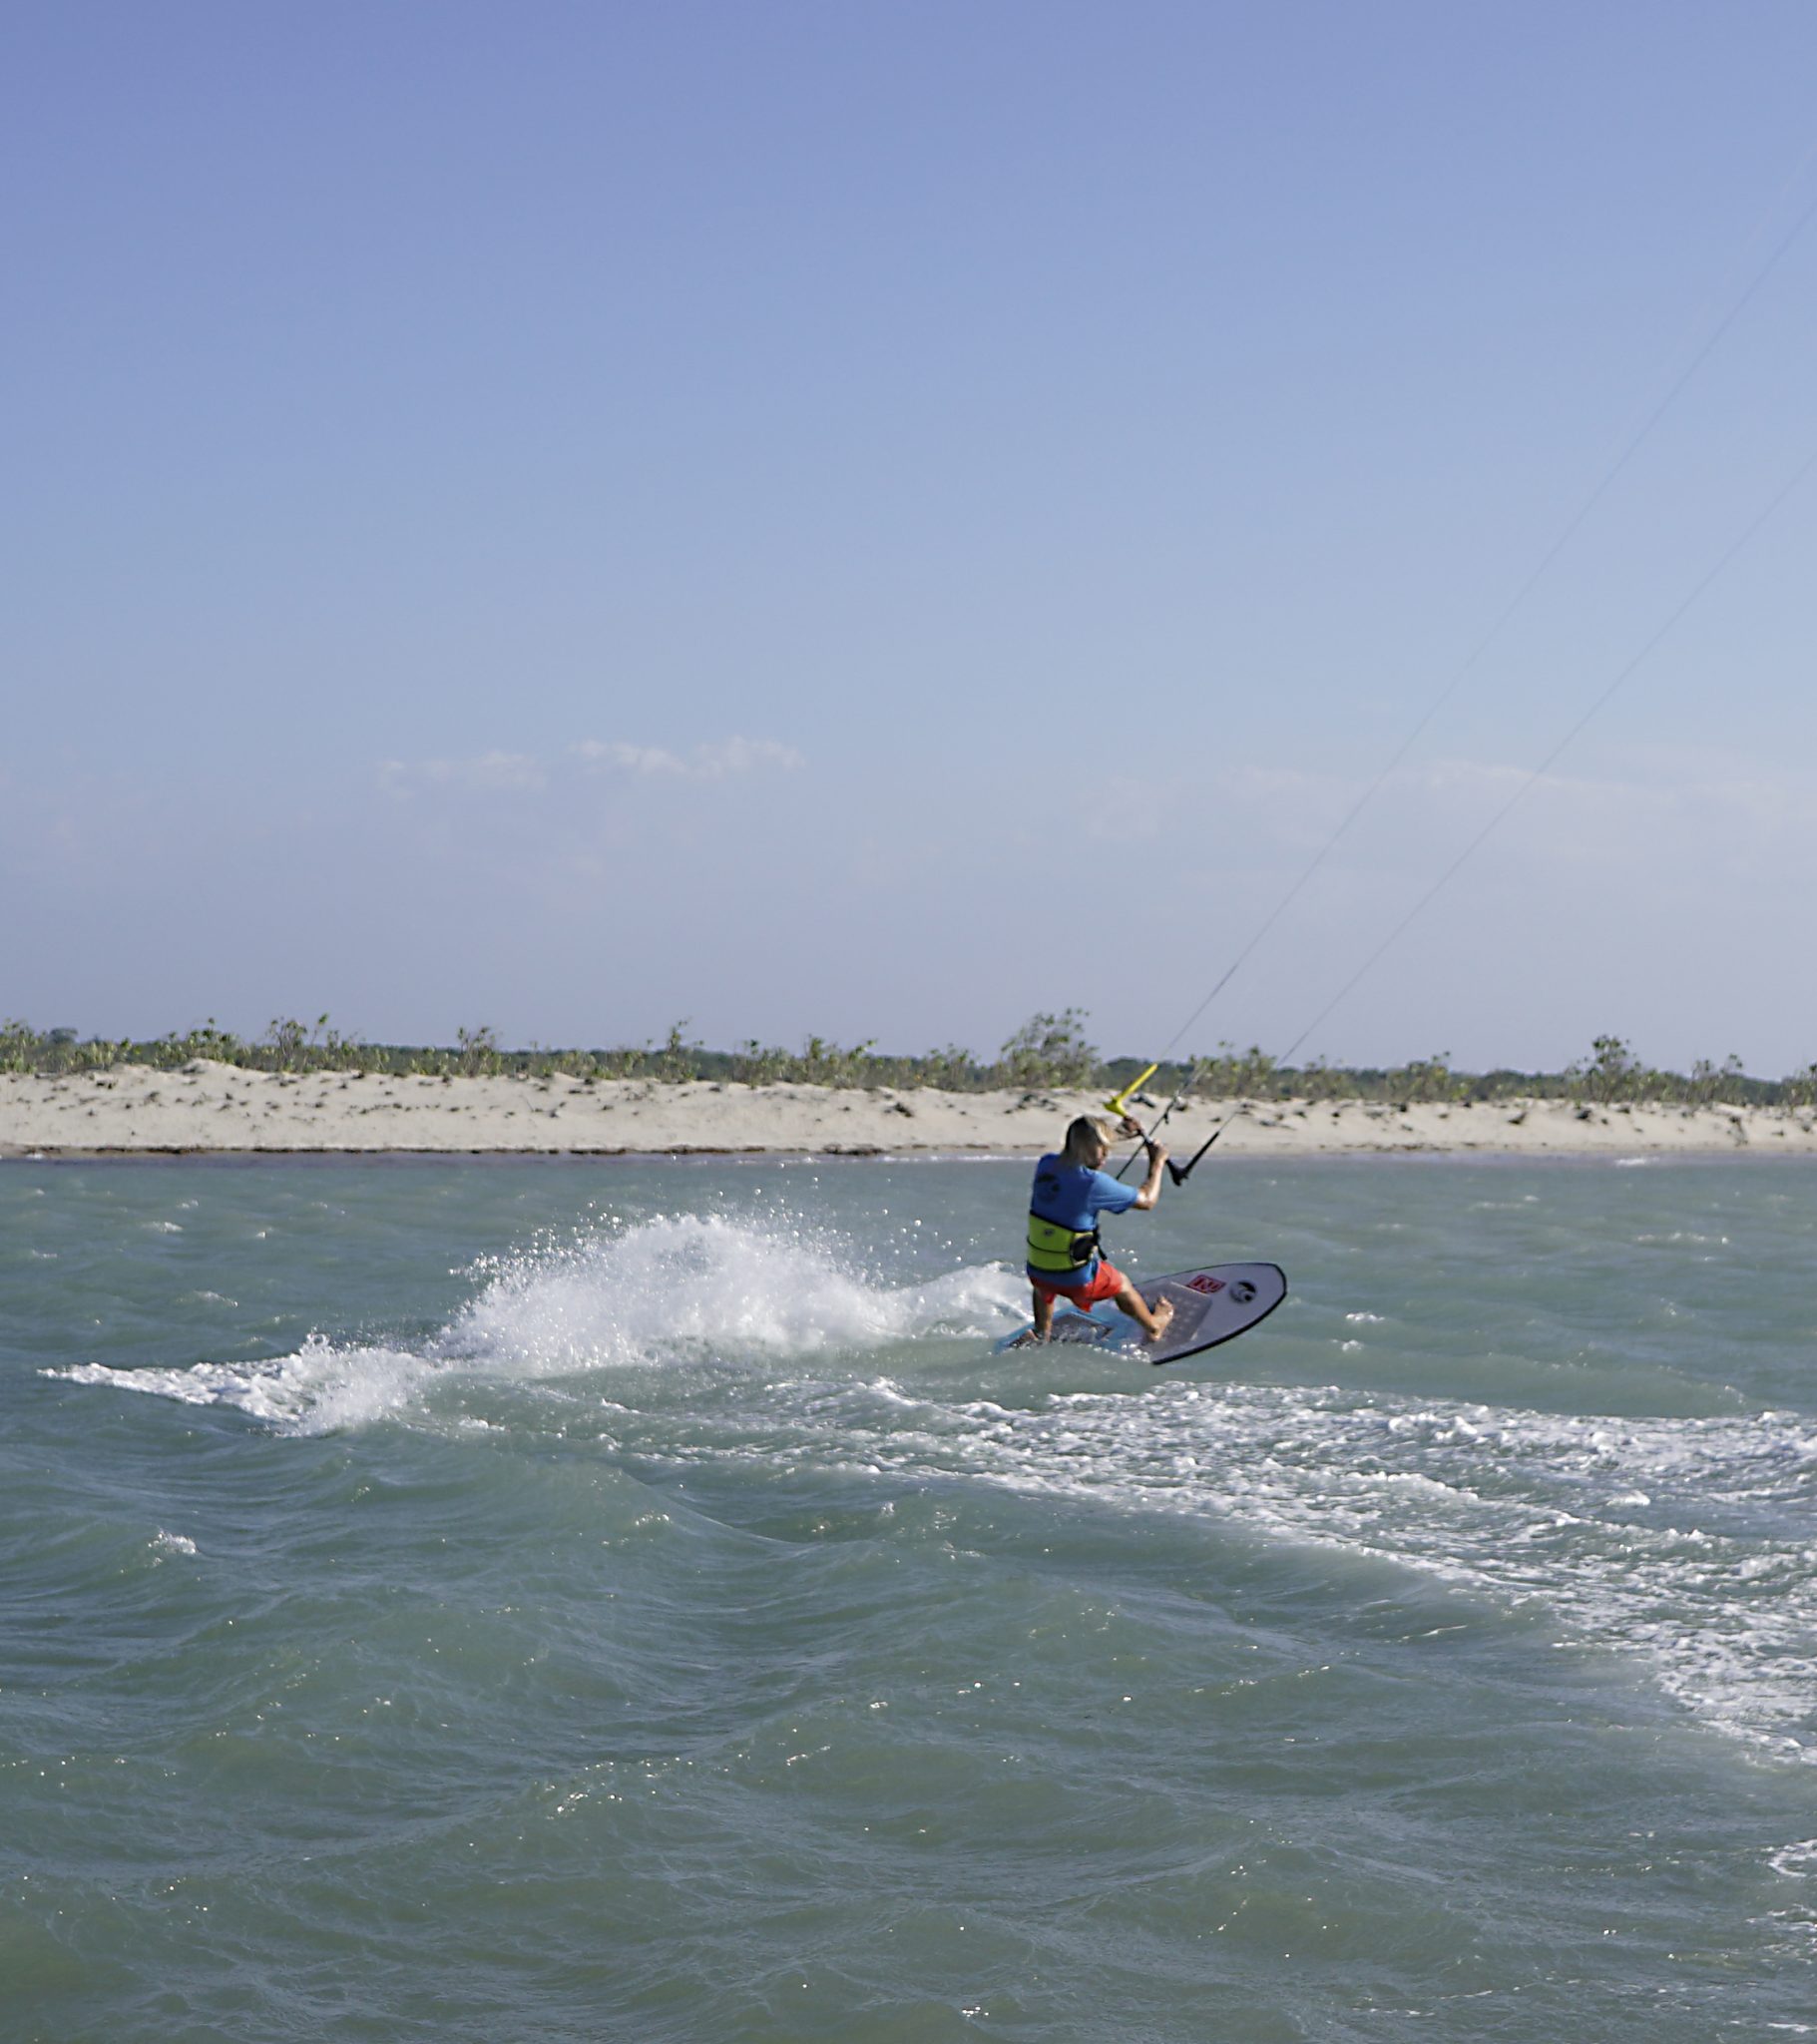
Drive Through – Pic I.
Once the board is on its way around and you know the kite is moving in the right direction it’s time for some leg and rail work. There are not many things as satisfying as pushing against your back leg on a toe to heel, trying to force the ocean into rainbows as you spray buckets. Well surprise, surprise Ladies and Gents, again here is a wonderful place to practice. As you push you’ll need to get your body forwards and over the board so that you don’t just push the board out from underneath. Yet again, all boards are different, and you can really get an idea or purchase by going large without waves.


Finish The Turn – Pic J.
Deja-vu! If you’ve been driving against your back foot, it may well be possible that you also spent time admiring your spray. However, if you want to finish a turn while maintaining speed, you’ve got to concentrate on the ending. This means looking where you want to go, getting your back hand back on the bar and getting the nose down so that you don’t drag to a stop. It’s easy to throw some spray and pivot around, but to time it with getting the board ready and positioning the kite and bar to get some pull out of the turn takes a bit more practice.
Brilliant, there you go, two solid turns linked together. Now once you’ve finished this one it’s time for another heel to toe, and on it goes..... keep, and you’ll soon find that it all becomes much more natural and comfortable. More importantly still, you’ll really notice once you head back into the waves!
This technique article was in Issue 71 of IKSURFMAG.
Related


By Christian and Karine
Christian and Karine have been working together as a coaching team, running improver to advanced kitesurfing clinics since 2003.
