
Hand Plant BLT
Technique / Intermediate
Introduction
Here’s an absolute banger of a transition from the main man himself, Heliarde. No skateparks in the vicinity, but if this move isn’t straight out of some old school, dried out pool skater bowl action, we’ll eat our board bags.
Parental advisory, not suitable for most wind directions! Cross off in some sandy lagoon is obviously ideal, you can at a scrape get away with cross once you’re proficient, but anything with a sniff of on in it, well needless to say, it’s a no go.


To give this a bash you’re fundamental move is a handwash back roll transition, without a kiteloop. The great thing is that there are many possible bail options here should it not work out, which result in a gentle dropping onto sand as it’s all about speed and height management. Anything involving a loop over the beach or shallows is a bit silly. So get the hand wash BLT without a loop in the bag first and then we’ll talk...
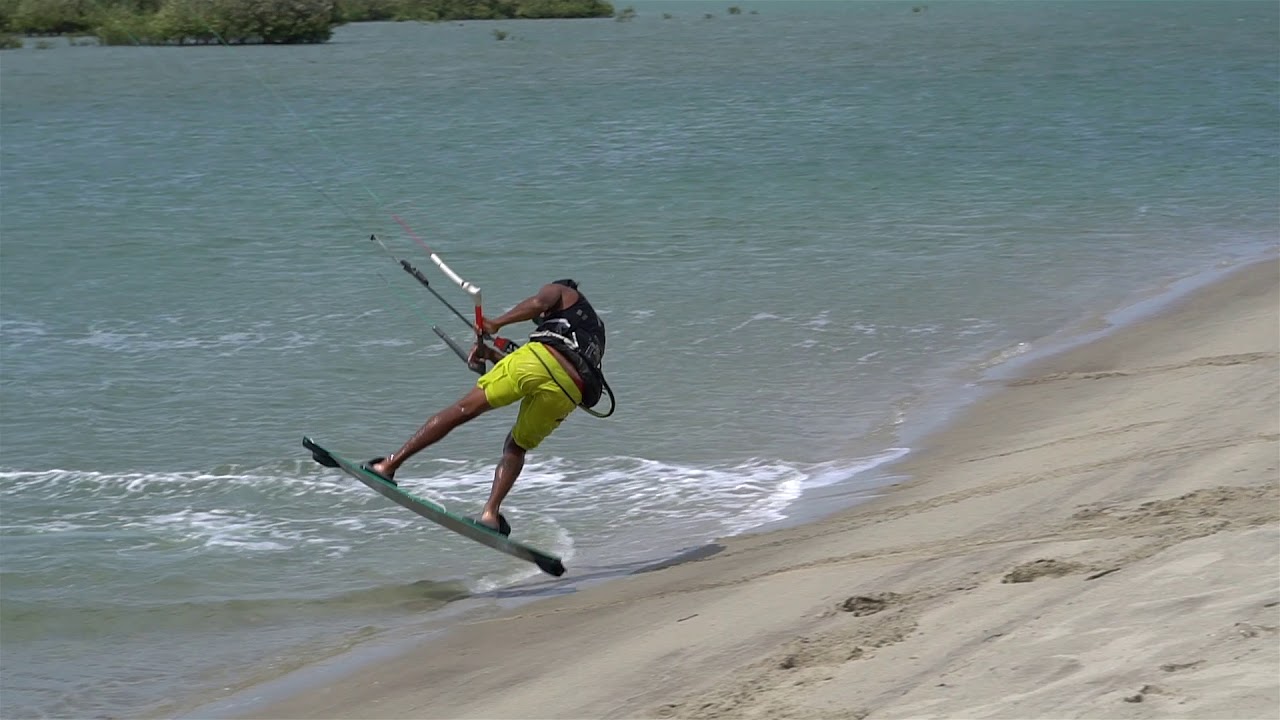
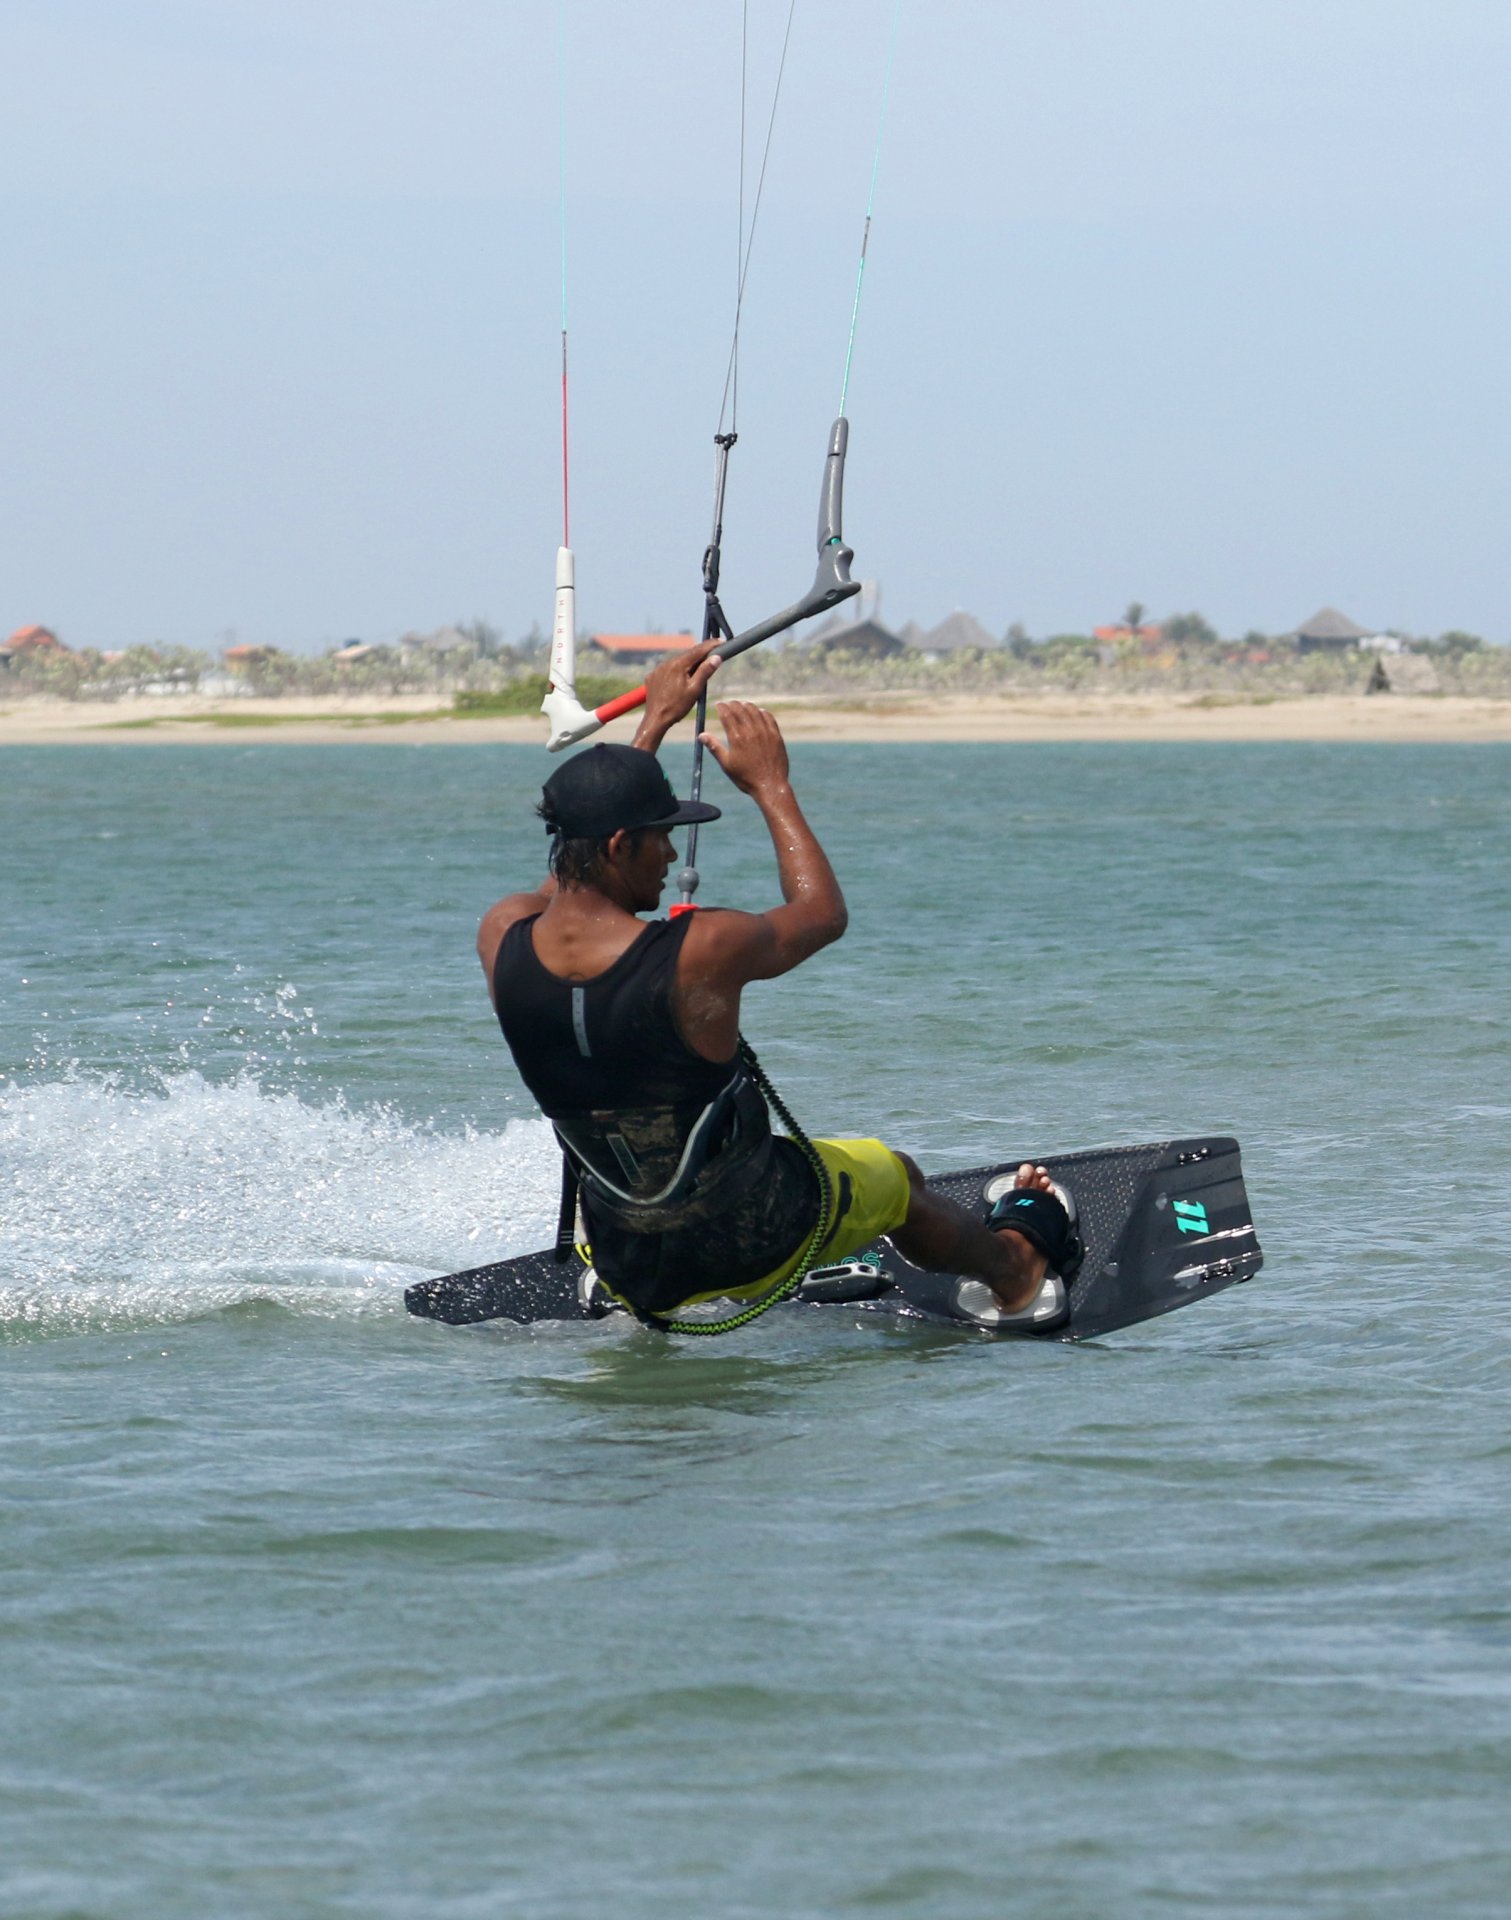
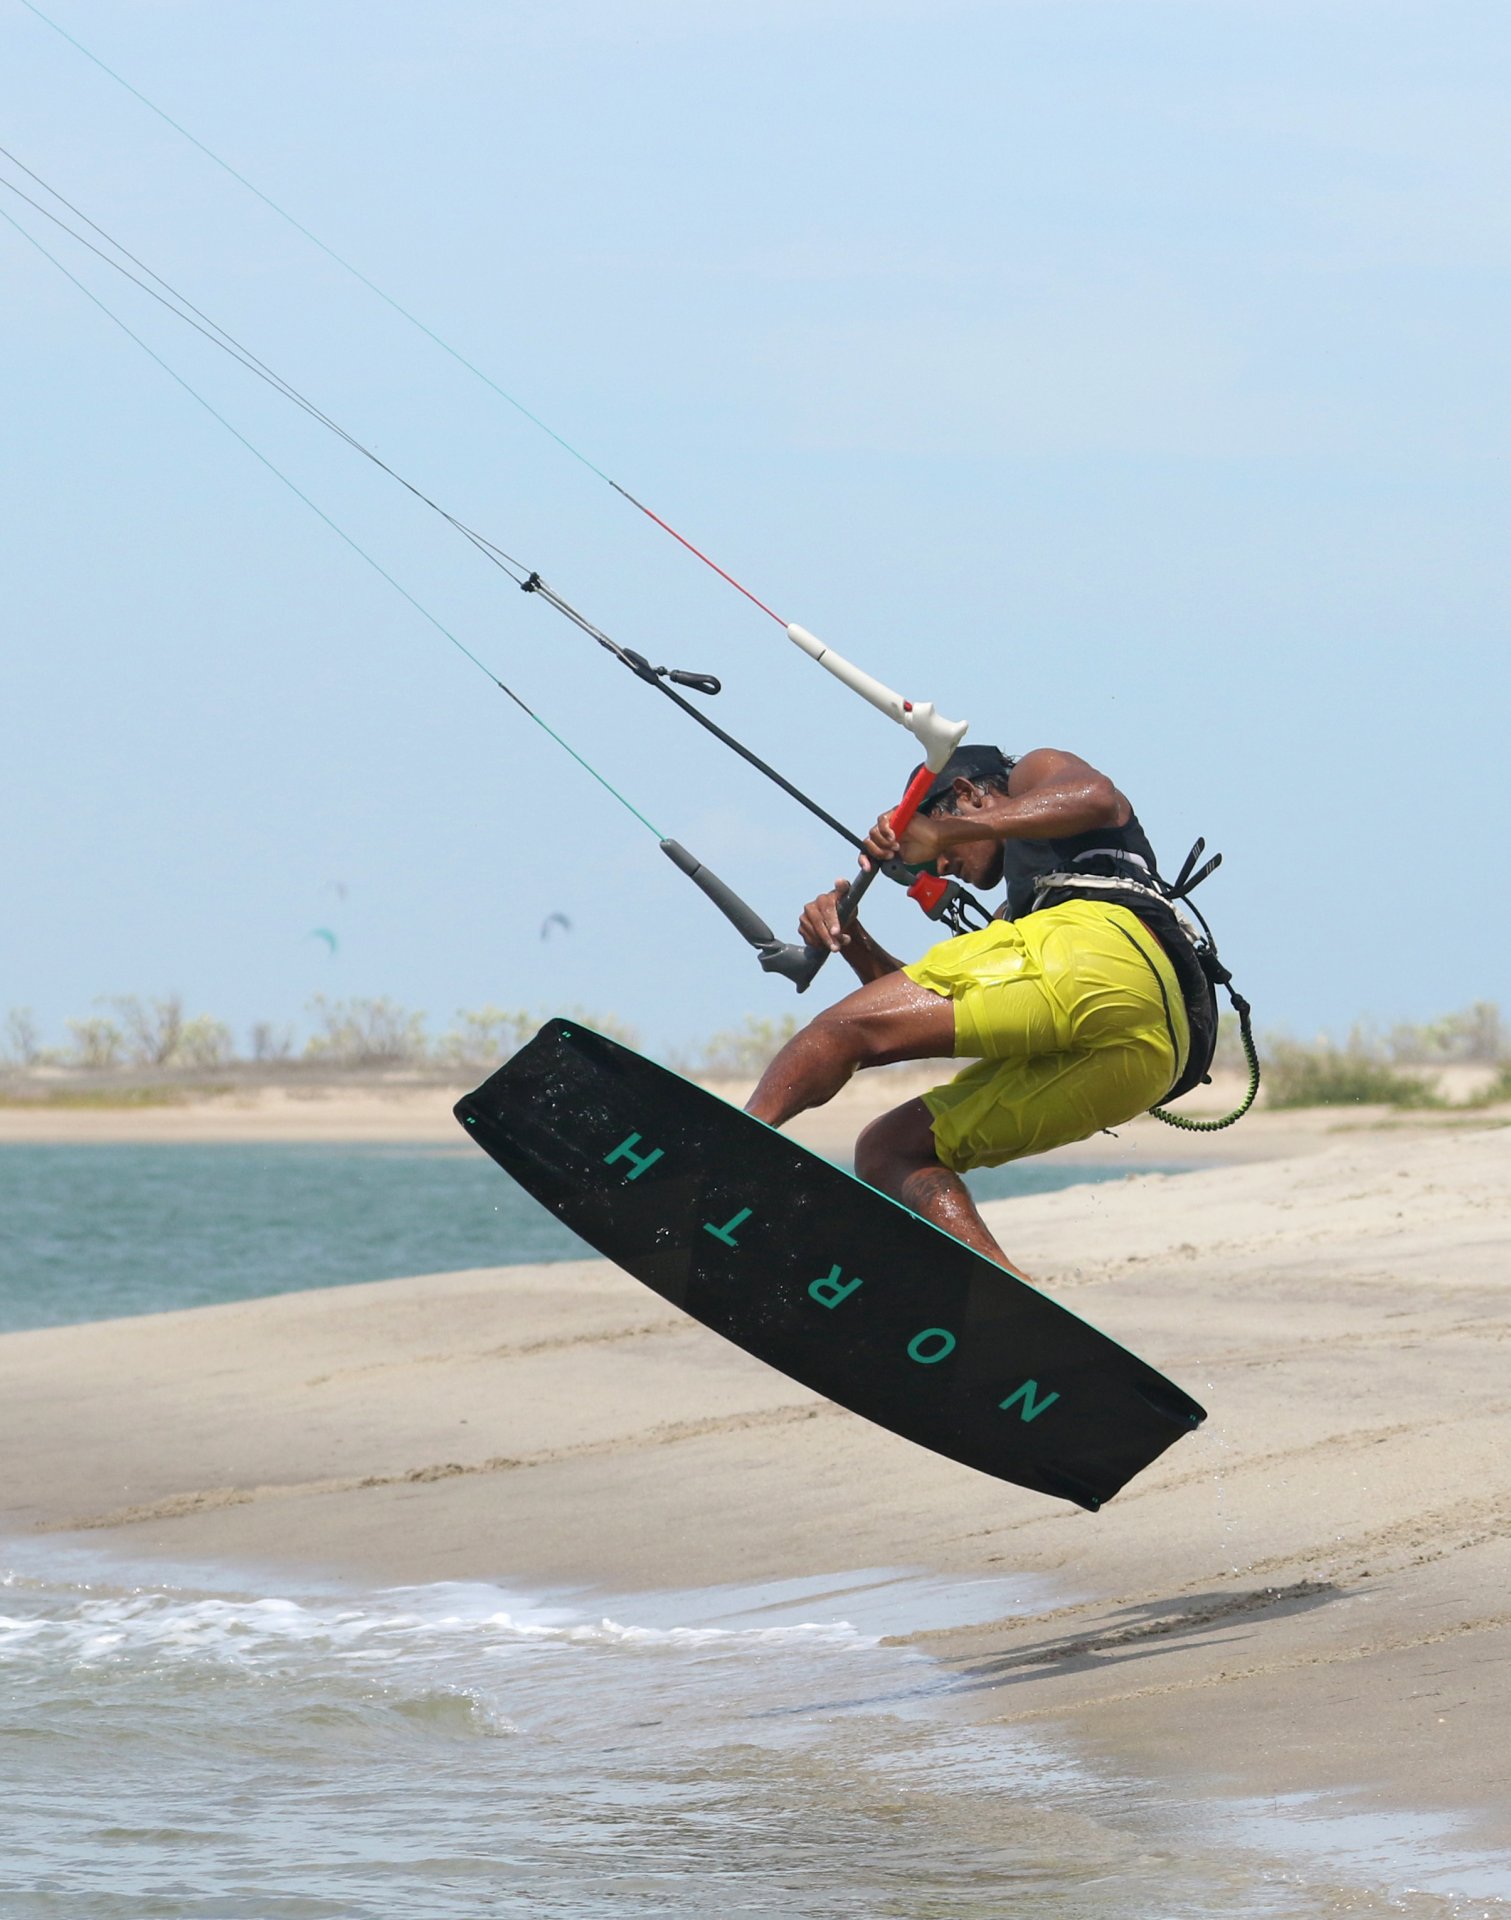
The Approach Pic A.
The Hand Plant BLT is essentially a support move, it’s just that you intend to stop over terra firma. As such you’ll be wanting lift in your kite and tension on your lines, without any boy racer speed. This means that you need to come in on a decent edge, with your weight dropped low upwind, and resisting hard. This way you can keep control as you drift the kite up. Start with your kite at the familiar 11 or 1 o’clock before steering it up towards 12. At what point or distance from the beach will depend on wind angle, kite size, board speed and trim, so best give it a couple of tries to land on the beach without any rolls just to get your bearings. Heliarde approaches with enough speed to make the kite feel alive with lift, he’s edging and he’s steered the kite up. As soon as the kite moves he lets the bar out and drops his front hand, so that he is able to carve up into the wind.
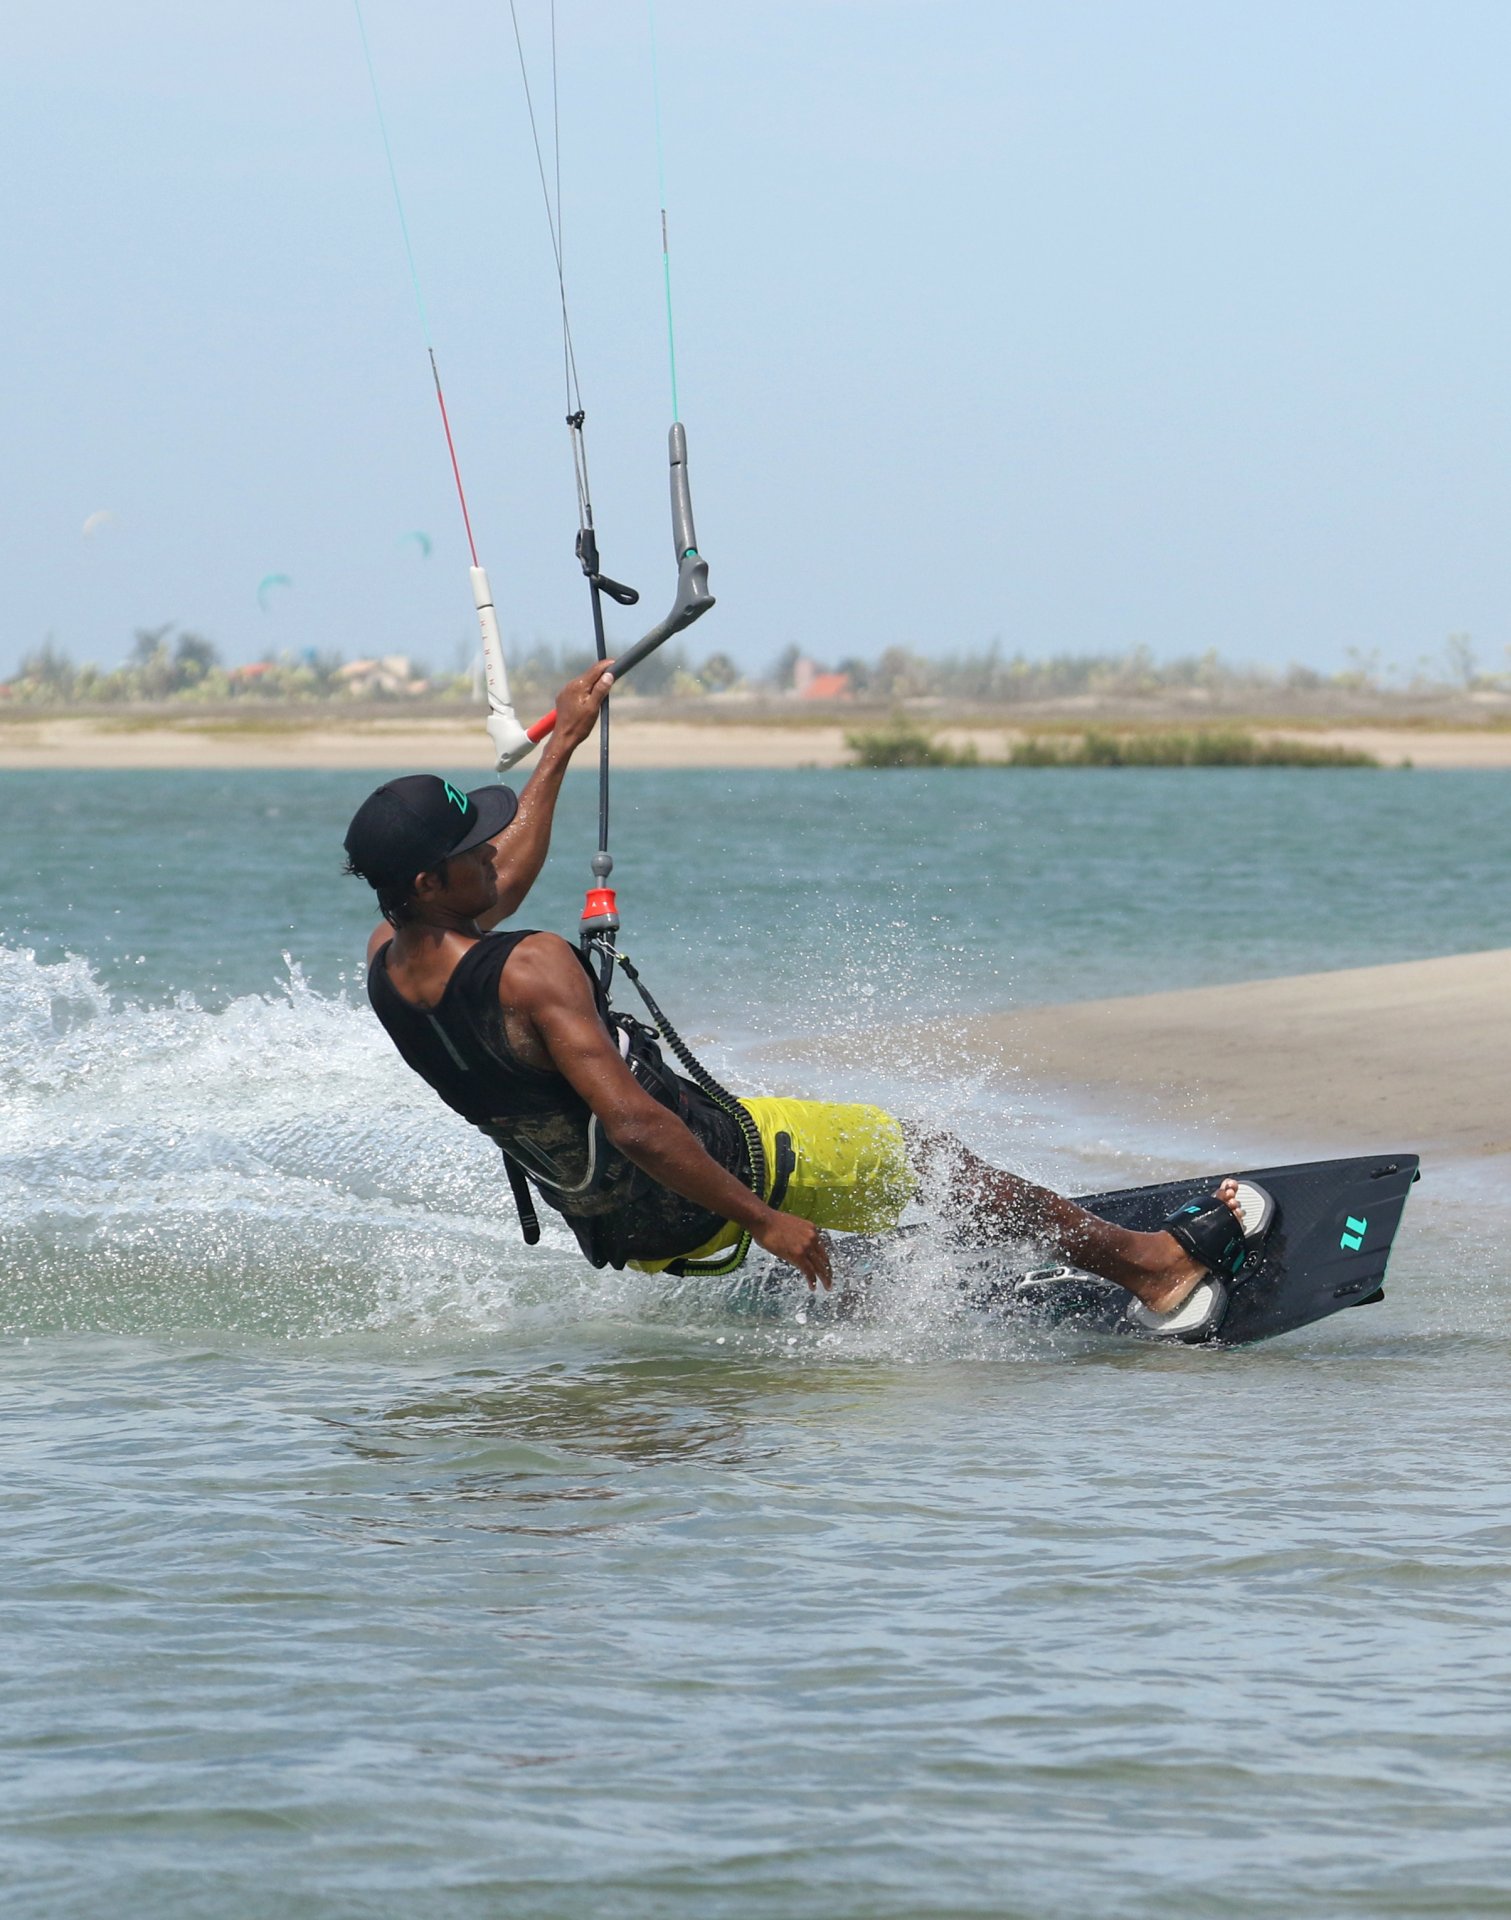
Brakes On Pic B.
With the bar out you can carve up into the wind to slow down as you near the beach. This needs to be done with some aggression, so do resist with your legs. This not only slows you down but the turning up action will be the initiation into your back roll. As soon as you slow enough, you need to stop the kite moving, as it should only sneak up to 12 o’clock, or a fraction past. You also need to rock your weight back in preparation for lifting the board. Looking at Heliarde, he’s leaning back, carving up and he’s pulling the bar in to get control of the kite.
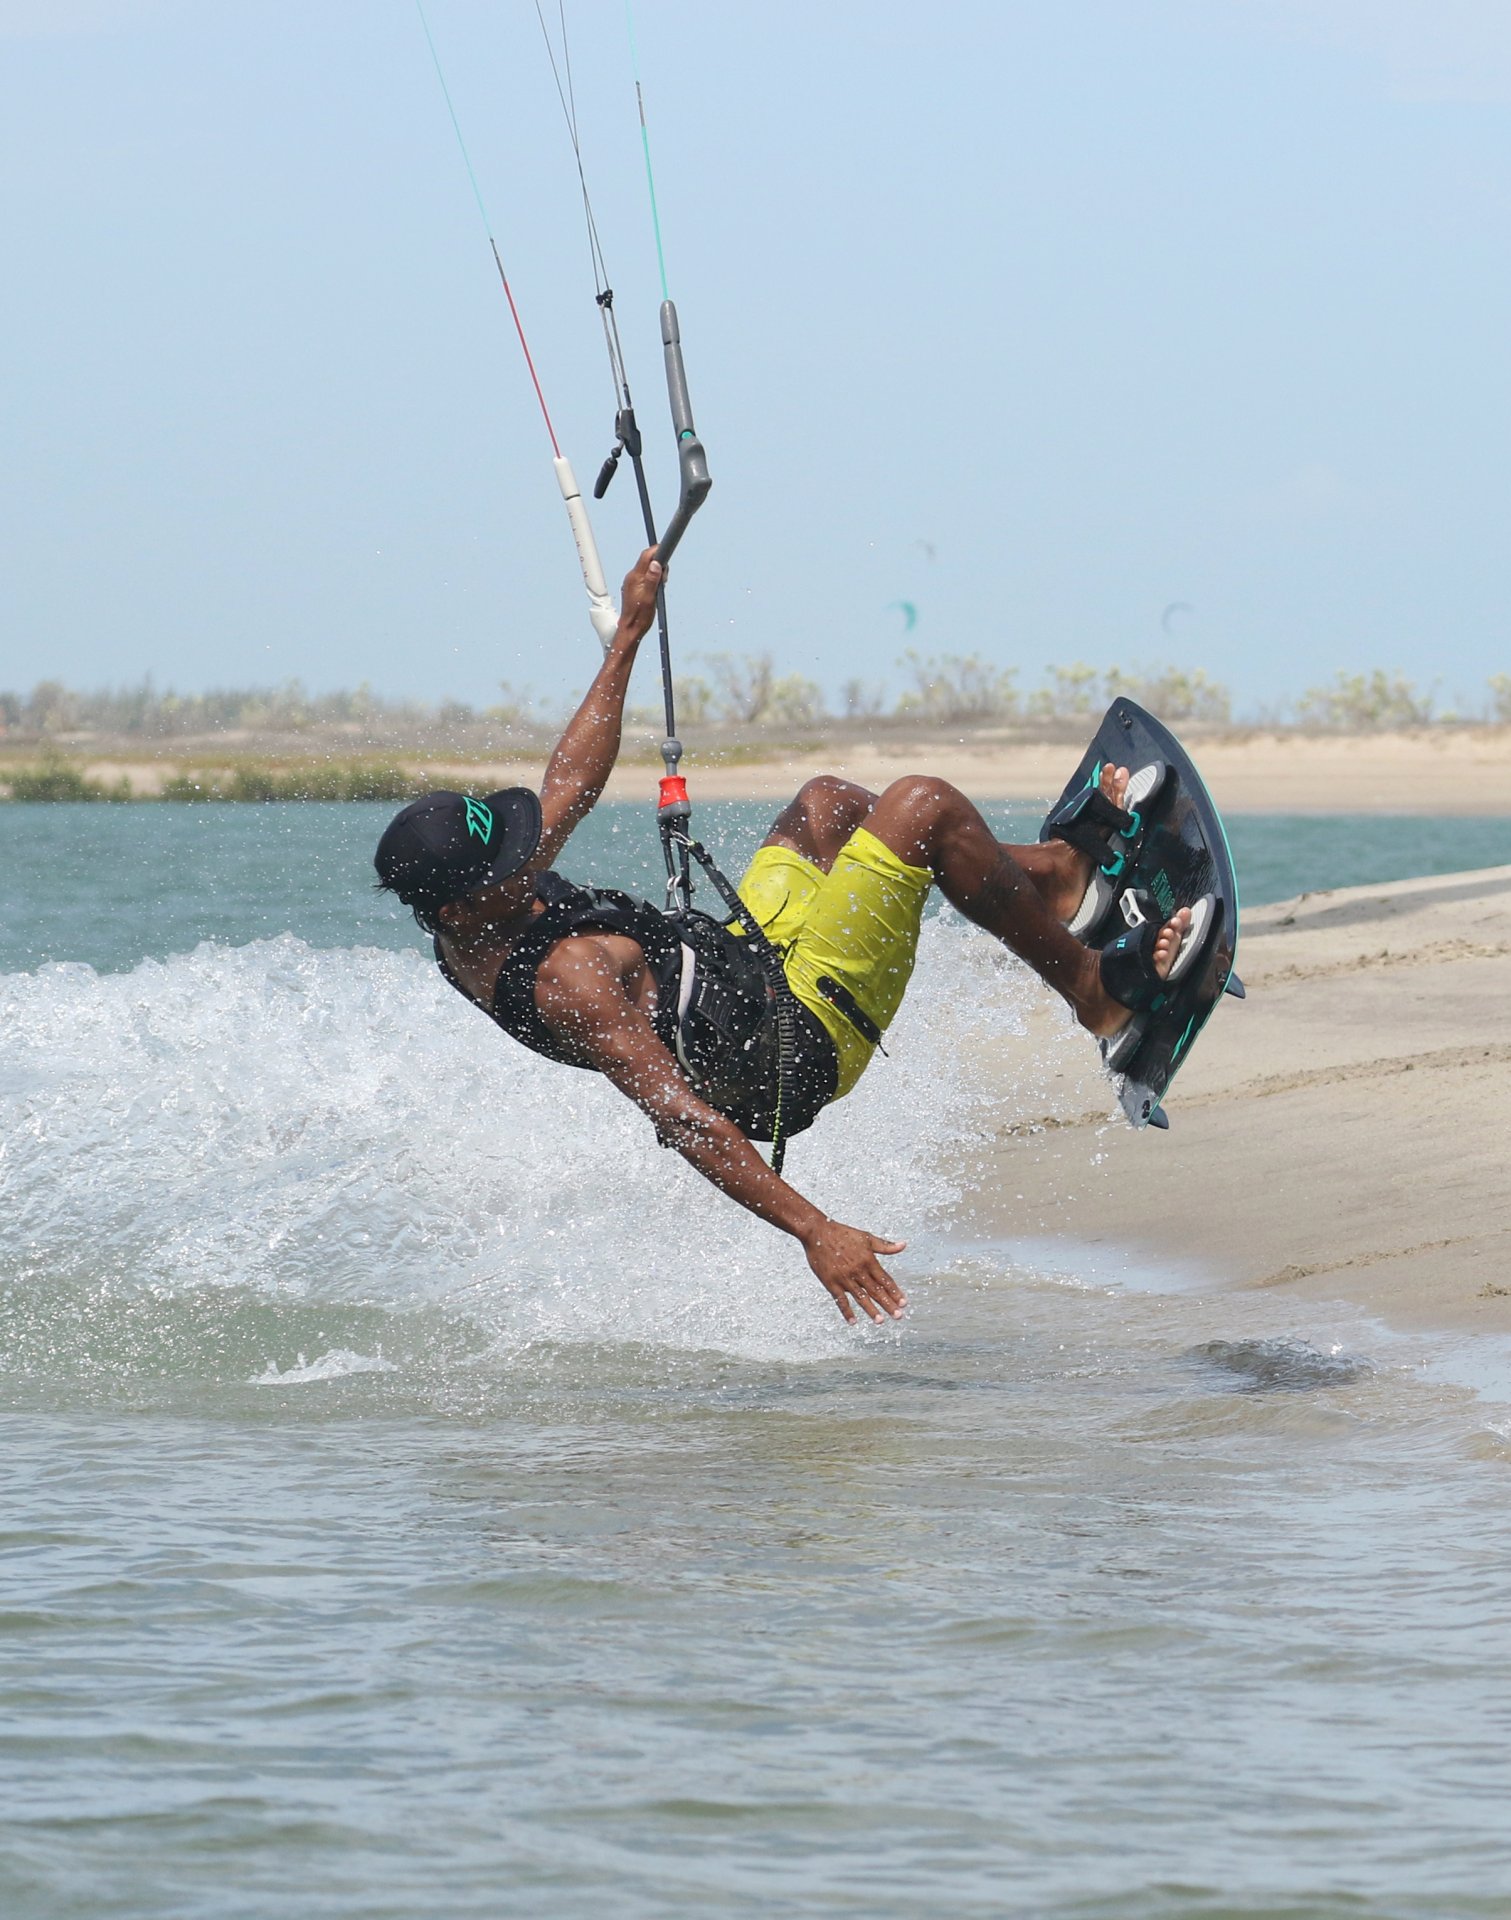
Double or Nothing Pic C.
Now it’s time to commit. It’s a big IF, but if you slowed enough, carved enough and stopped the kite you’ve got nothing to worry about. Next aim is to get the board up. Just like in the backroll handwash, you will lift it up with you knees, rocking it up as you drop your shoulder further back. There’s no popping or jumping. Your objective is to get the board up, without gaining any height. This means that should you doubt the outcome at anytime, you can simply ease the bar out and you’ll drop gently down. You can see that Heliarde is still low to the water, he’s rocking back and lifting the board up. His bar is in, level on the sweet spot and he’s turning his head to help with the rotation whilst focusing on the beach. At the moment you can be happy in this position, any thoughts of inversion and showmanship can wait.
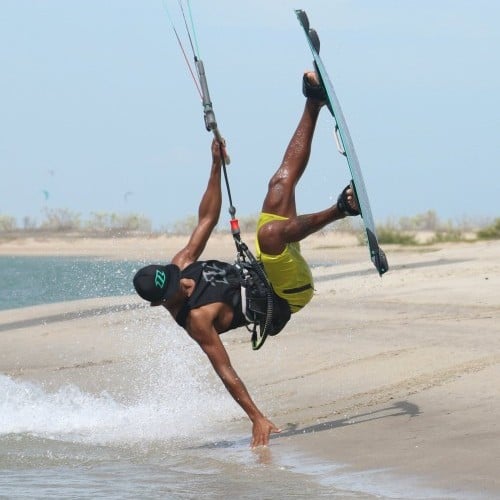
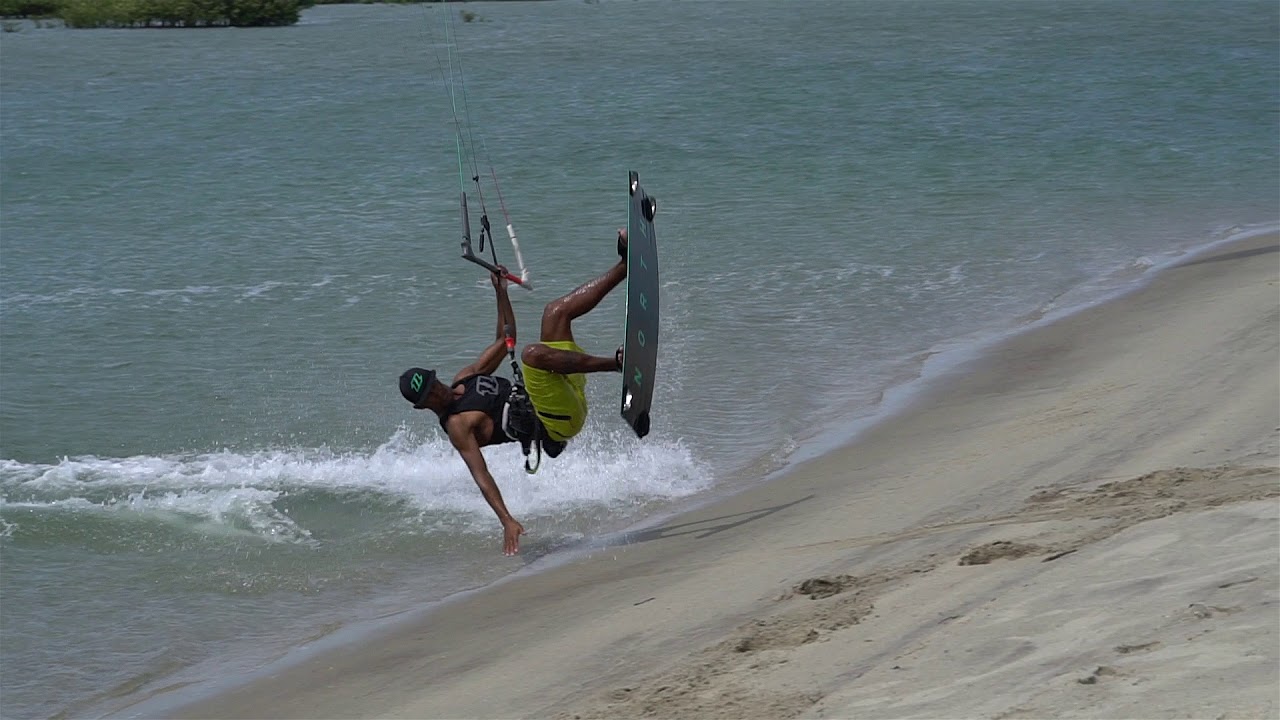
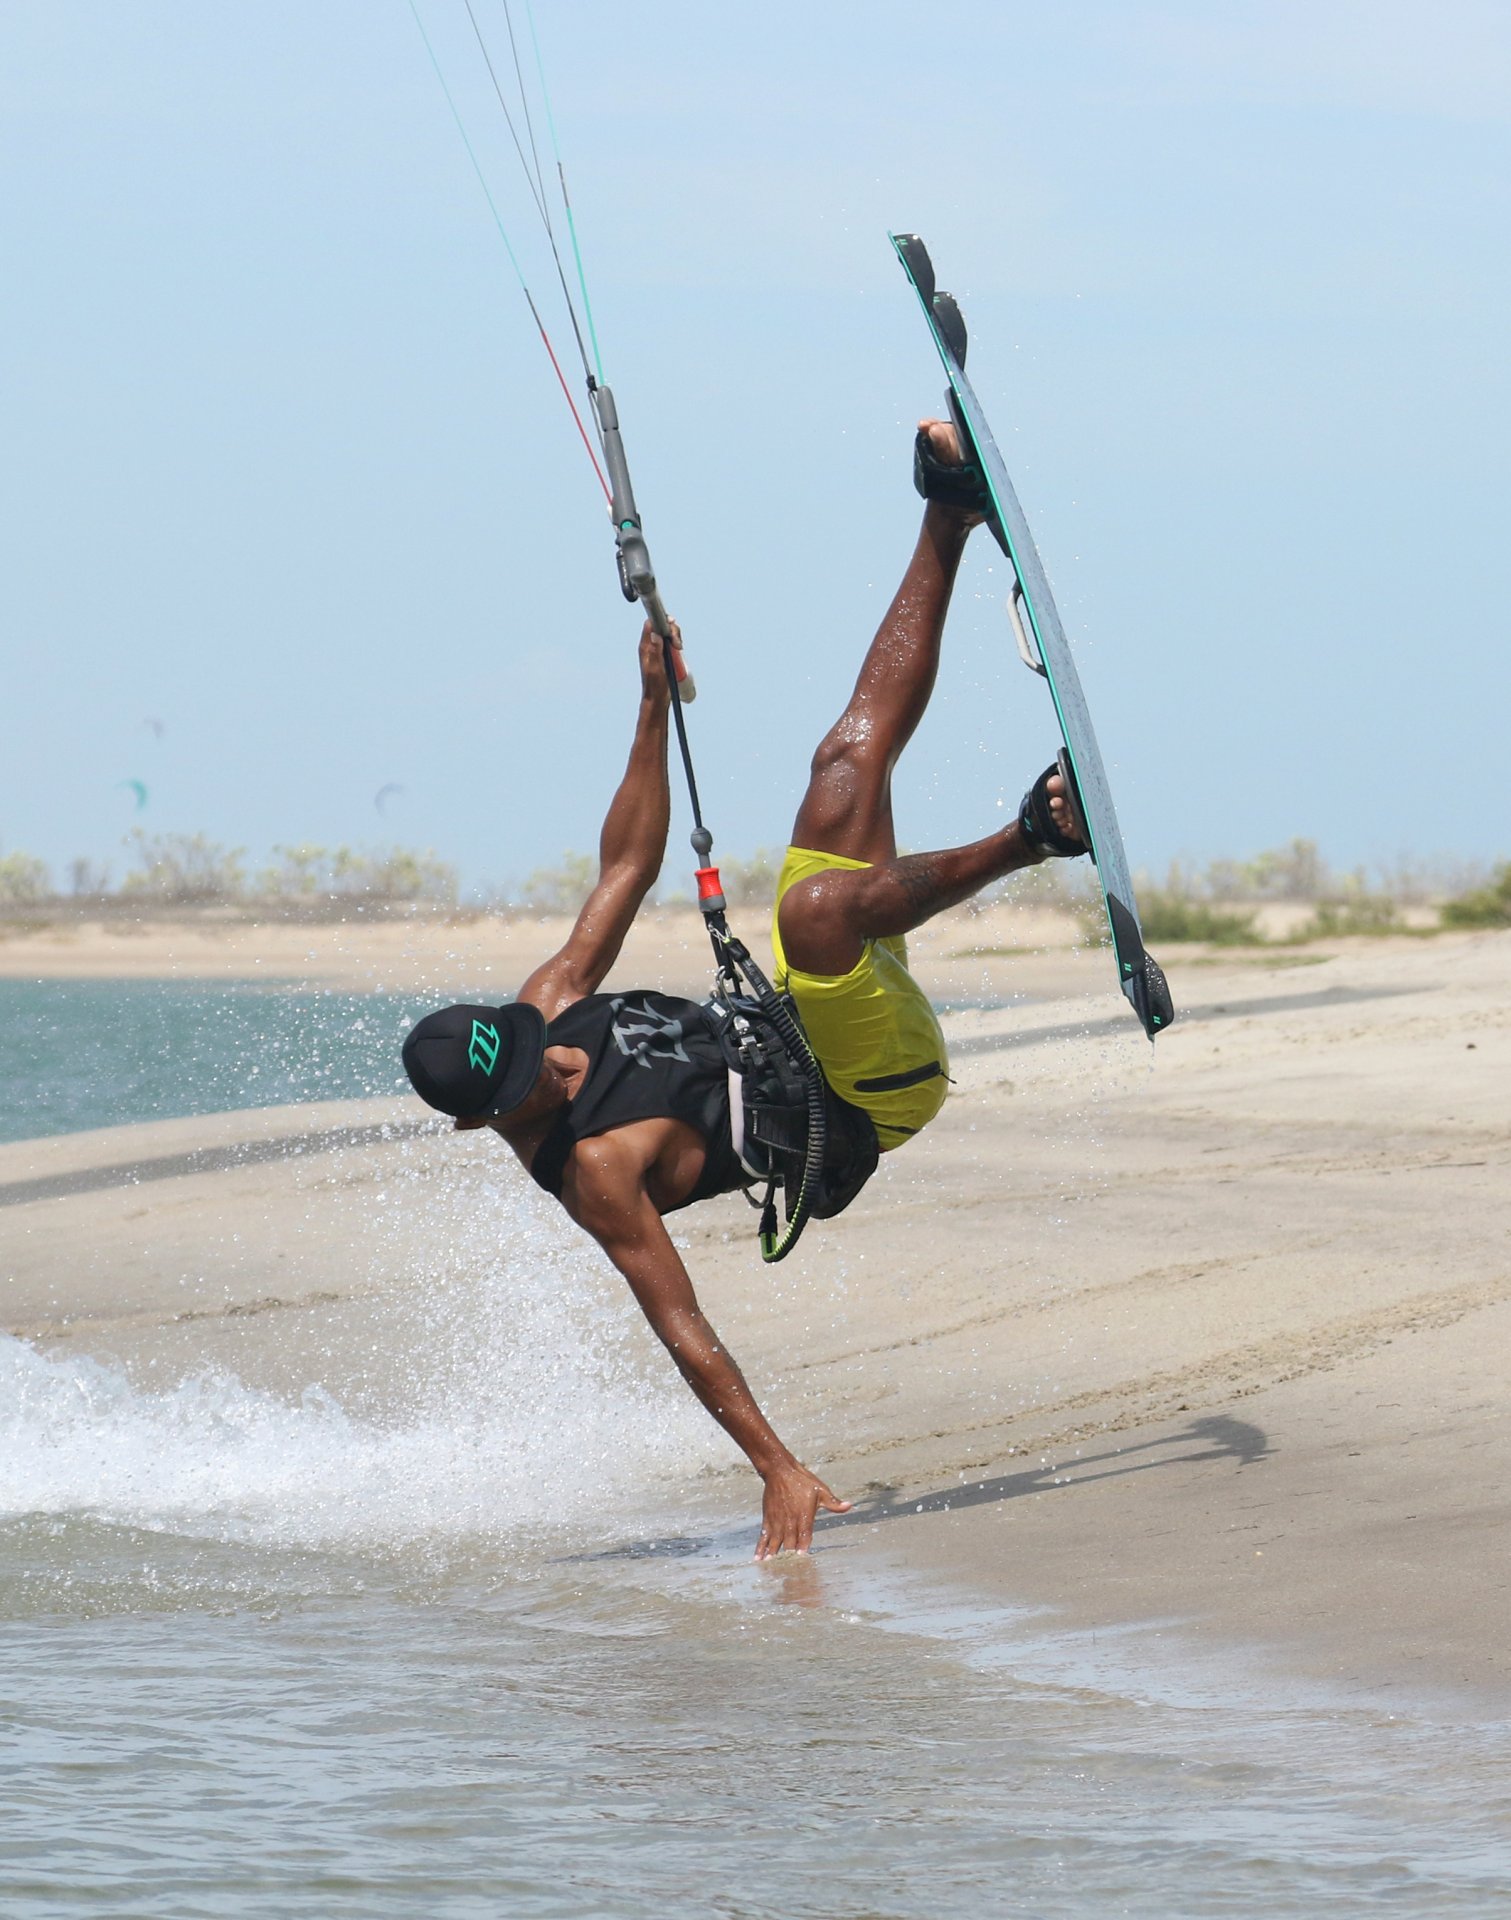
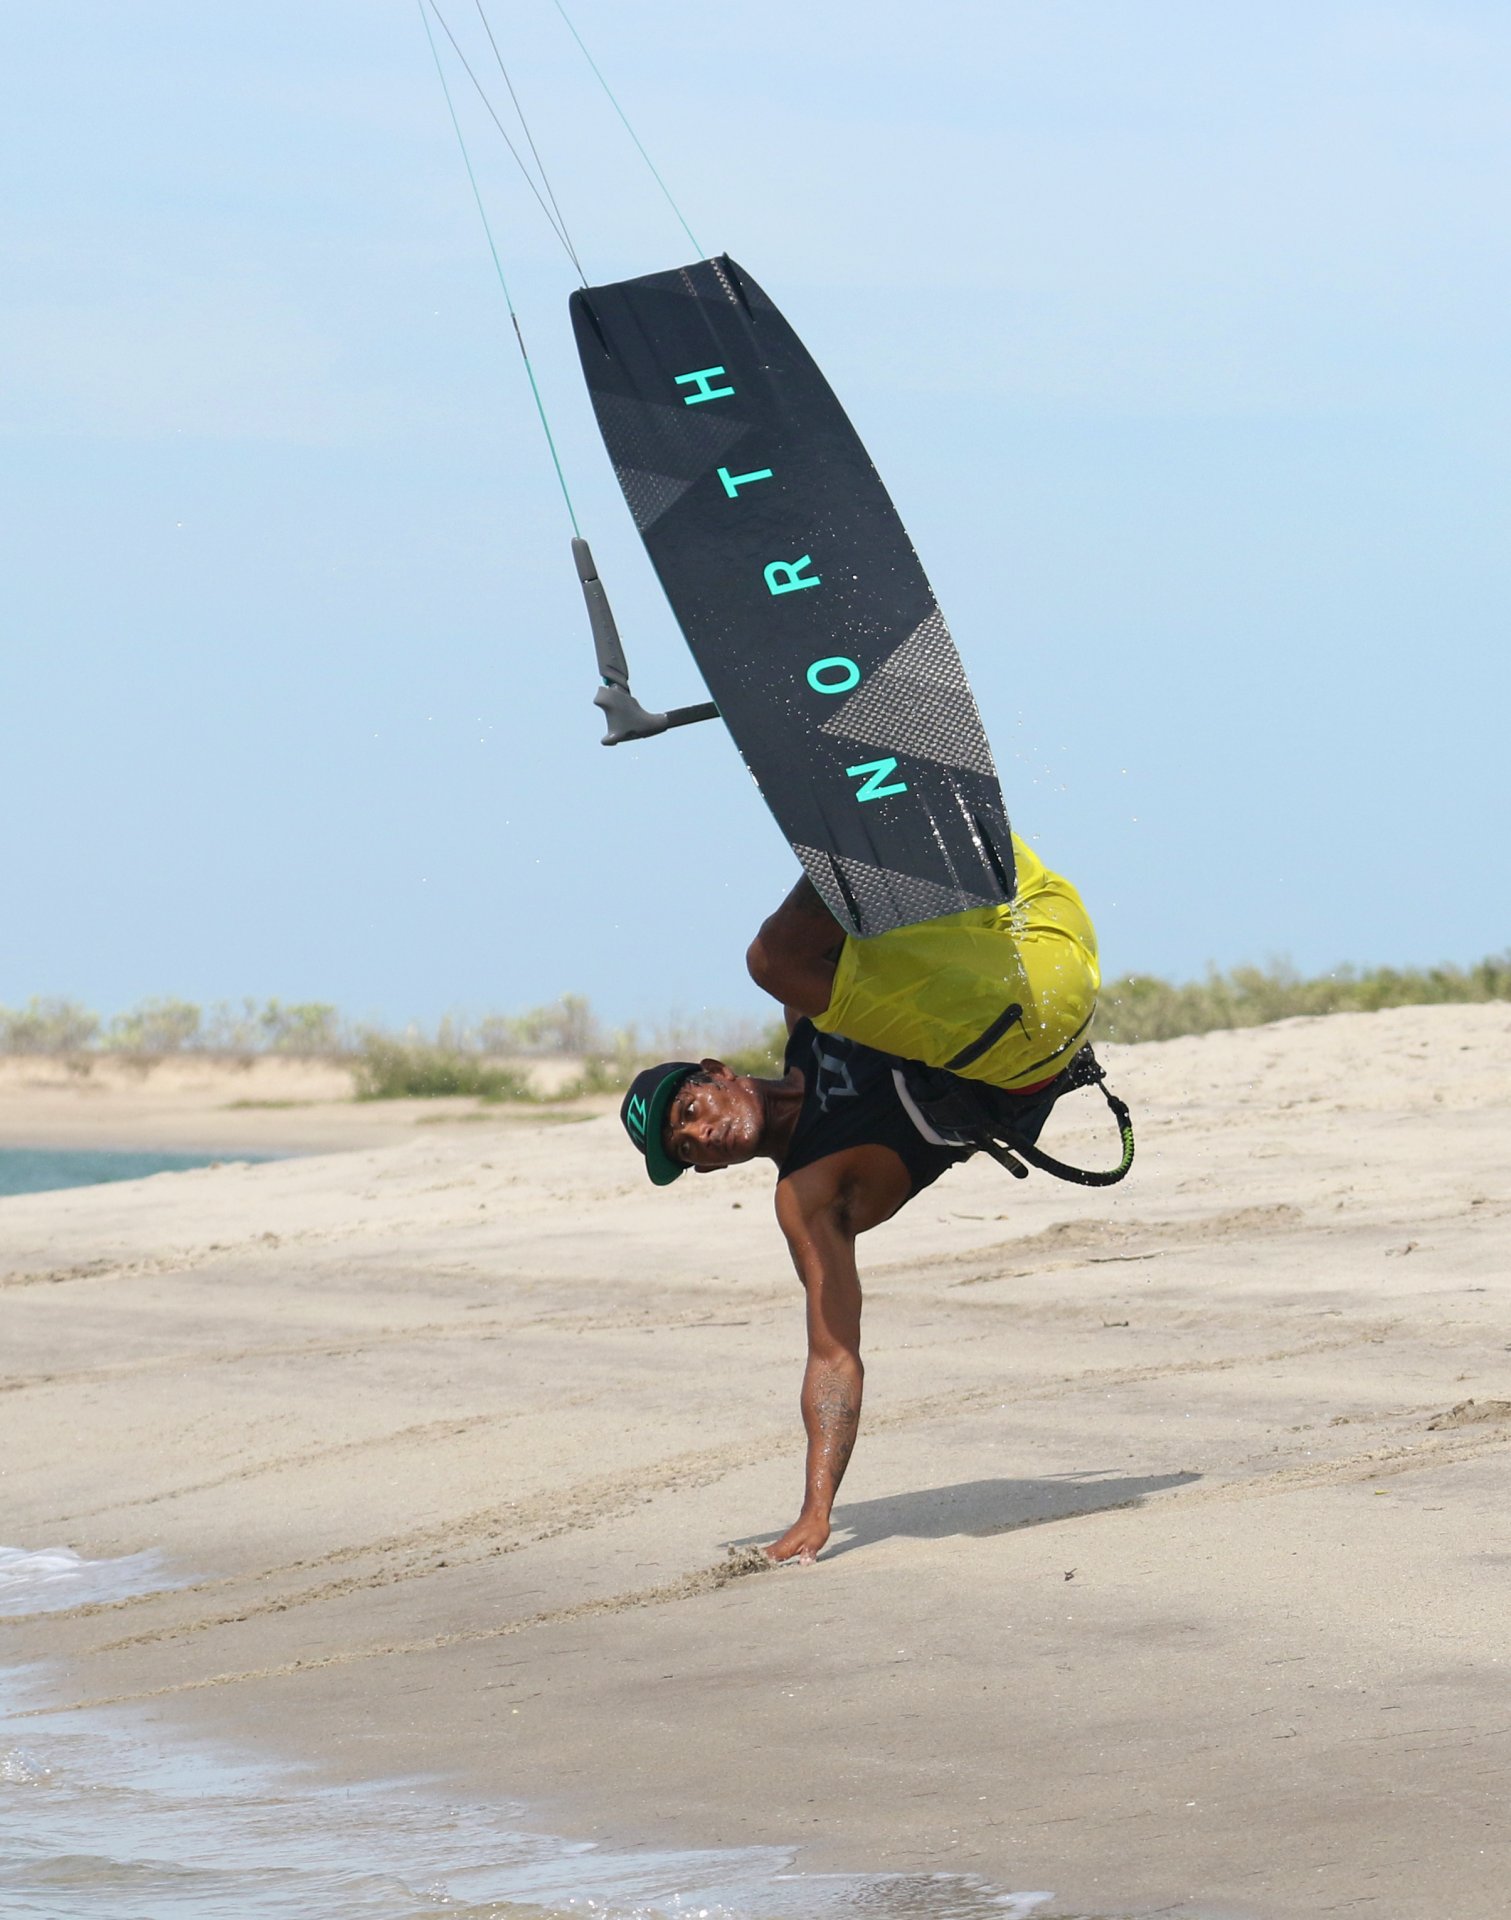
Hand Down Pic D.
Now it’s a matter of patience and control. You should hardly be moving, and if you are you can slow yourself by easing the bar in further. With the kite just behind you, it’ll act as a brake. Extend your free arm down to make contact with the beach. Once you touch the sand you have your feeler out, so you can either pull in on the bar if you’re too low, or feather it out if your barely reaching it. If you’re planning on stylig it out this is the time to start boning the board. Keep your front knee in whilst extending your back leg, foot up to the sky. Looking at the pic, Heliarde still has the bar level, on the sweet spot, he’s boning the board up and is rotating around his hand.


Money Shot Pic E.
As Europeans born considerably the wrong side of the Millenium it’s not a word we use frequently, but it does rather fit the moment, pure steeze! And utter concentration. Belly free t-shirts, white knee pads with rainbow straps, cut of jeans and you’ve got the picture of how it once was. This is the moment when you can press the pause button, a short stall, get the product placement in and then off you go. It’s all about support here, not actually holding yourself up on your arm, and your kite position will mean the world. Too far back and it’ll pull you away, a couple of degrees past 12 and your in float town. What you can’t see is that Heliarde now has his bar pulled in further. He’s also got his eyes on his escape route. Yet again it’s no drama, if you’re too greedy with the pause you’ll just loose lift and flutter down.
Lift Off Pic F.
This is the confidence phase, as once you pull the trigger to get back out there, you’re asking for power and pull. The secret at the beginning is to make sure that you plant at the waters edge. This way, if it goes Pete Tong you’ll merely get wet. Yet again this is about kite position and tension. You need to get your kite moving away from the beach to pull you back onto the water, and you also want some lift to give yourself time to get your board back down. Heliarde pulls hard on his back hand to steer the kite, and pulls the bar in further to ask for a bit more lift. As the kite pulls, as long as you look where you want to go, you will keep rotating around the back roll.
Done & Dusted Pic G.
Your landing should be bread and butter. Keep the kite diving for acceleration and pull. Drop your undercarriage, get the board down and keep the bar in to both help you finish the rotation and keep the power on. Heliarde has ticked all the boxes.
Top Tips
Couple of things to dial in pre your first attempts. Try a few Hand Wash BLTs without the kite loop, to get a feel for the power in your kite, the support it’s offering and your spatial awareness going. Then try a couple of approaches to test speed and distance. Aiming to stop on the beach, rather than plough up it. Once you’re happy get these two married up and it’s all systems go.
It’s also worth pondering that as with all support moves, the bigger the kite, the easier it’ll be. You’ll get more lift from a slower approach, have more static lift to support your plant, and your kite will move across and through 12 o’clock more slowly. There’s three positives.

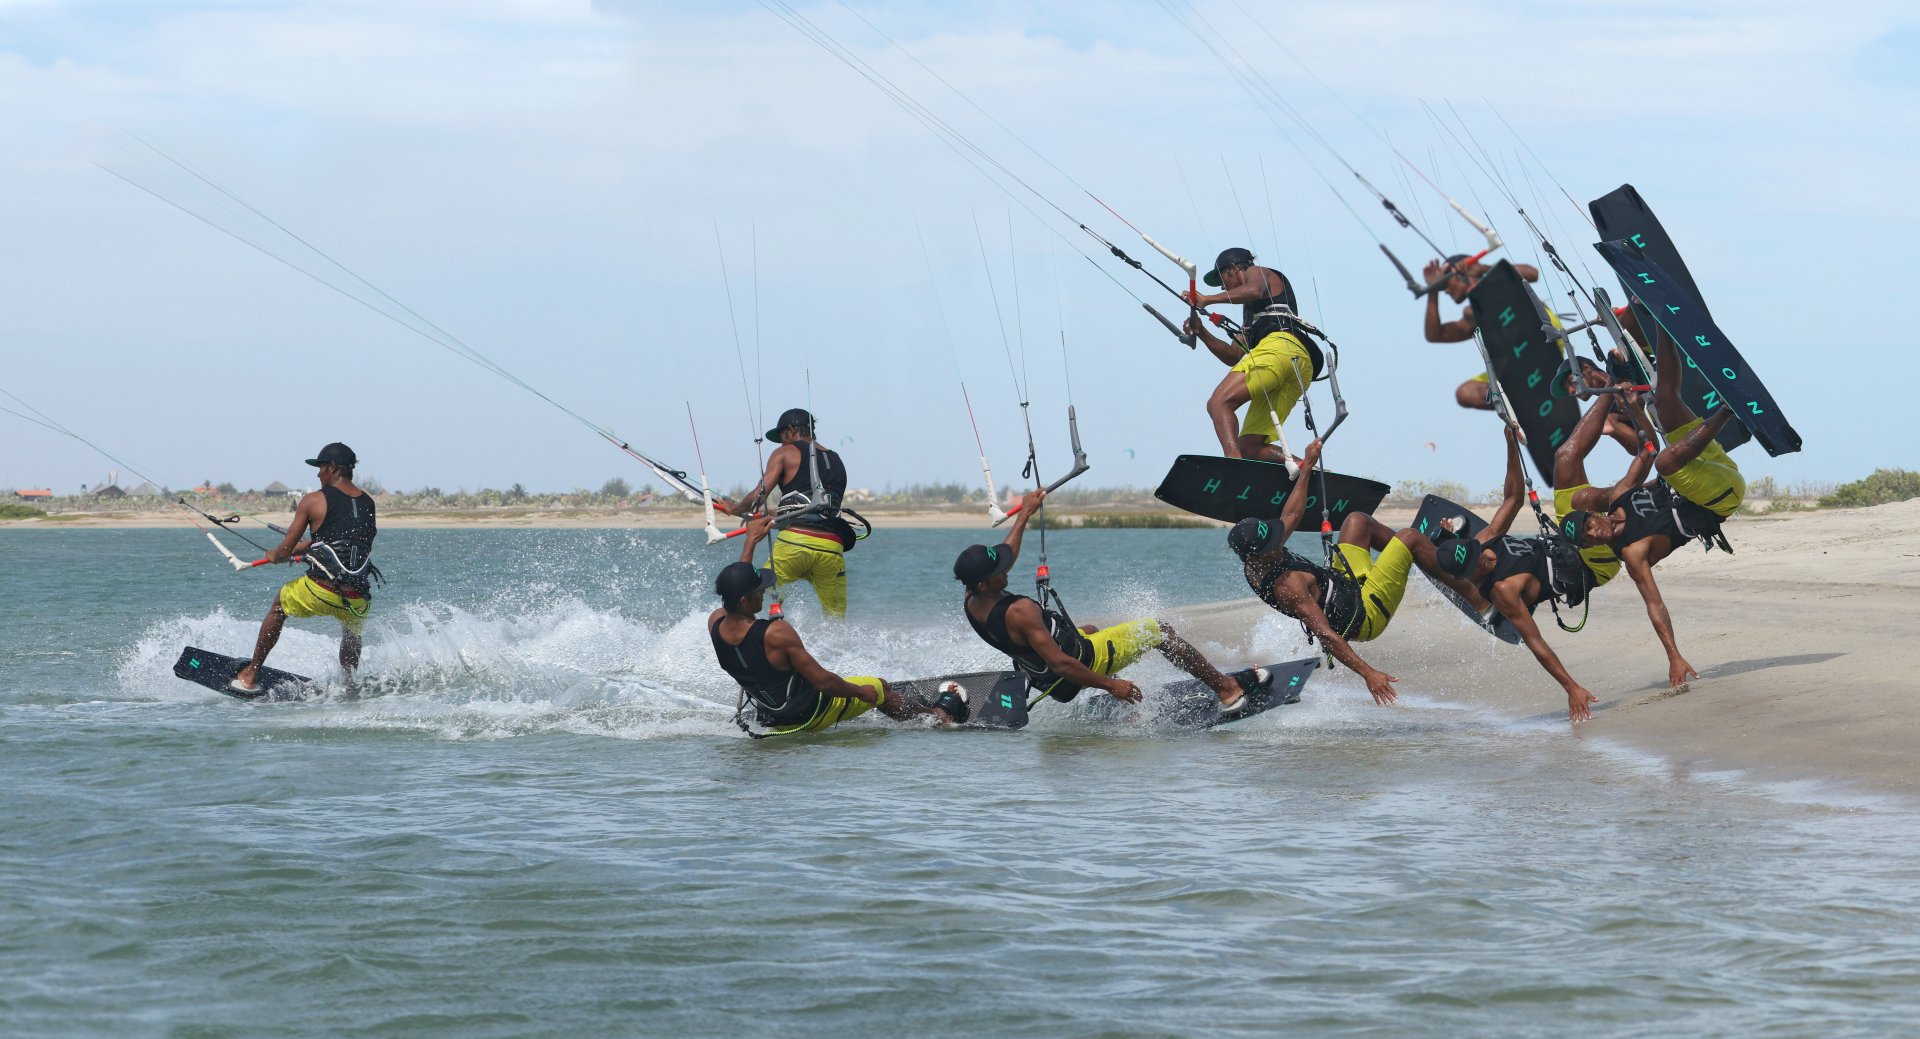
Have a look at the sequence and the videos to see the move in full.
Common Problems
Speed control. It’s too easy to come in slowly, but without an edge and therefore still end up flying up the beach. If you’re travelling too much, be more aggressive with your carve, stamp the board upwind so that you’re pushing on the pedal.
If you end up sitting down or on your back, without enough height. Chances are that you’ve let the kite drift too far back before lifting off. Make sure you stop it at 12, which you can only do if you pull the bar back in.
Not getting any lift post plant. Yet again make sure the kite is high. If you don’t have much power, there is the danger that you’ll stall the kite as you pull the bar in, so use more send and less stall.
Keystones
- Medium speed, maximum tension
- Drift with bar out, hand off
- Lean back & carve hard upwind
- Bar in, lift legs, feel the beach
- Turn head, bar in, dive kite.

This technique article was in Issue 81 of IKSURFMAG.
Related


By Christian and Karine
Christian and Karine have been working together as a coaching team, running improver to advanced kitesurfing clinics since 2003.
