
Chicken Gybe Part 2
Technique / Intermediate

Introduction
Continuing on from the last issue in which we covered part one, here is the toe to heel version of the Chicken Gybe. The idea is much the same as before, you’re aiming to pivot the board from toe to heel without it carving downwind, effectively sinking the upwind rail first, and then using the kite and your feet to scissor you and the board around. Not only is this movement yet another handy get-out-of-jail card when playing in the waves, but it’ll also help you develop a basefor your top turns when wave riding front side. So let’s have a look at the key points.
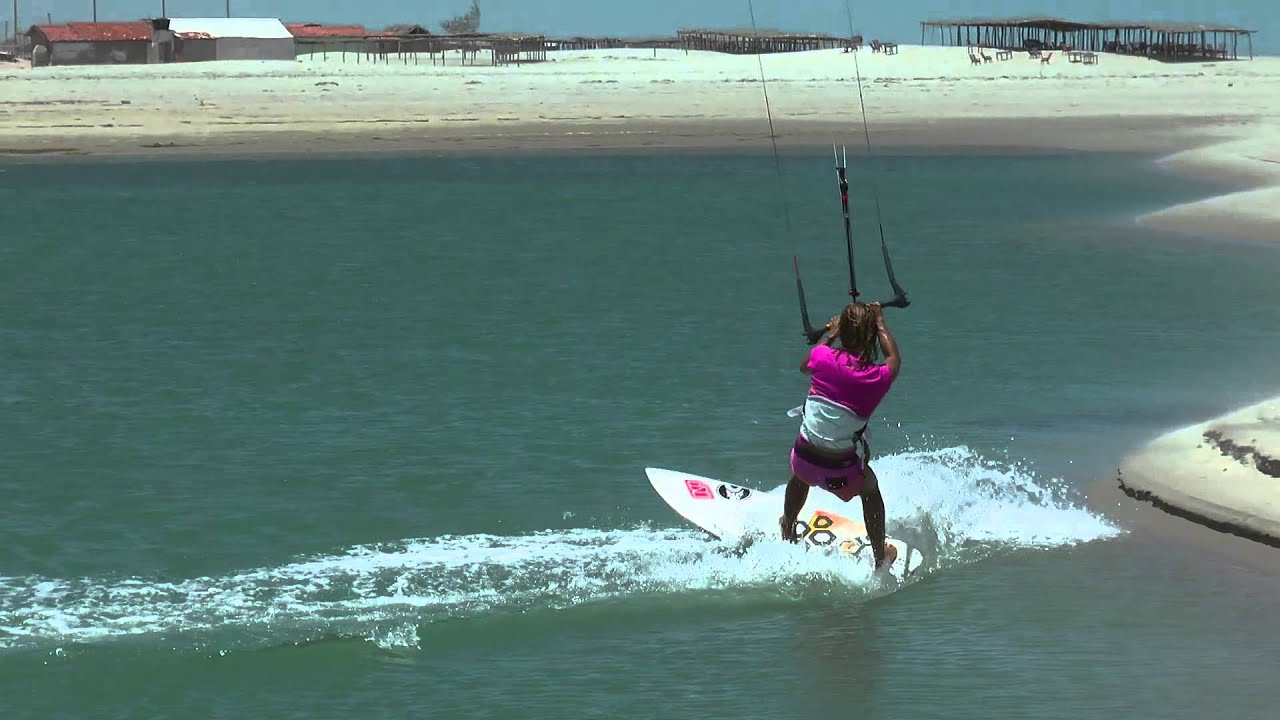
The Approach
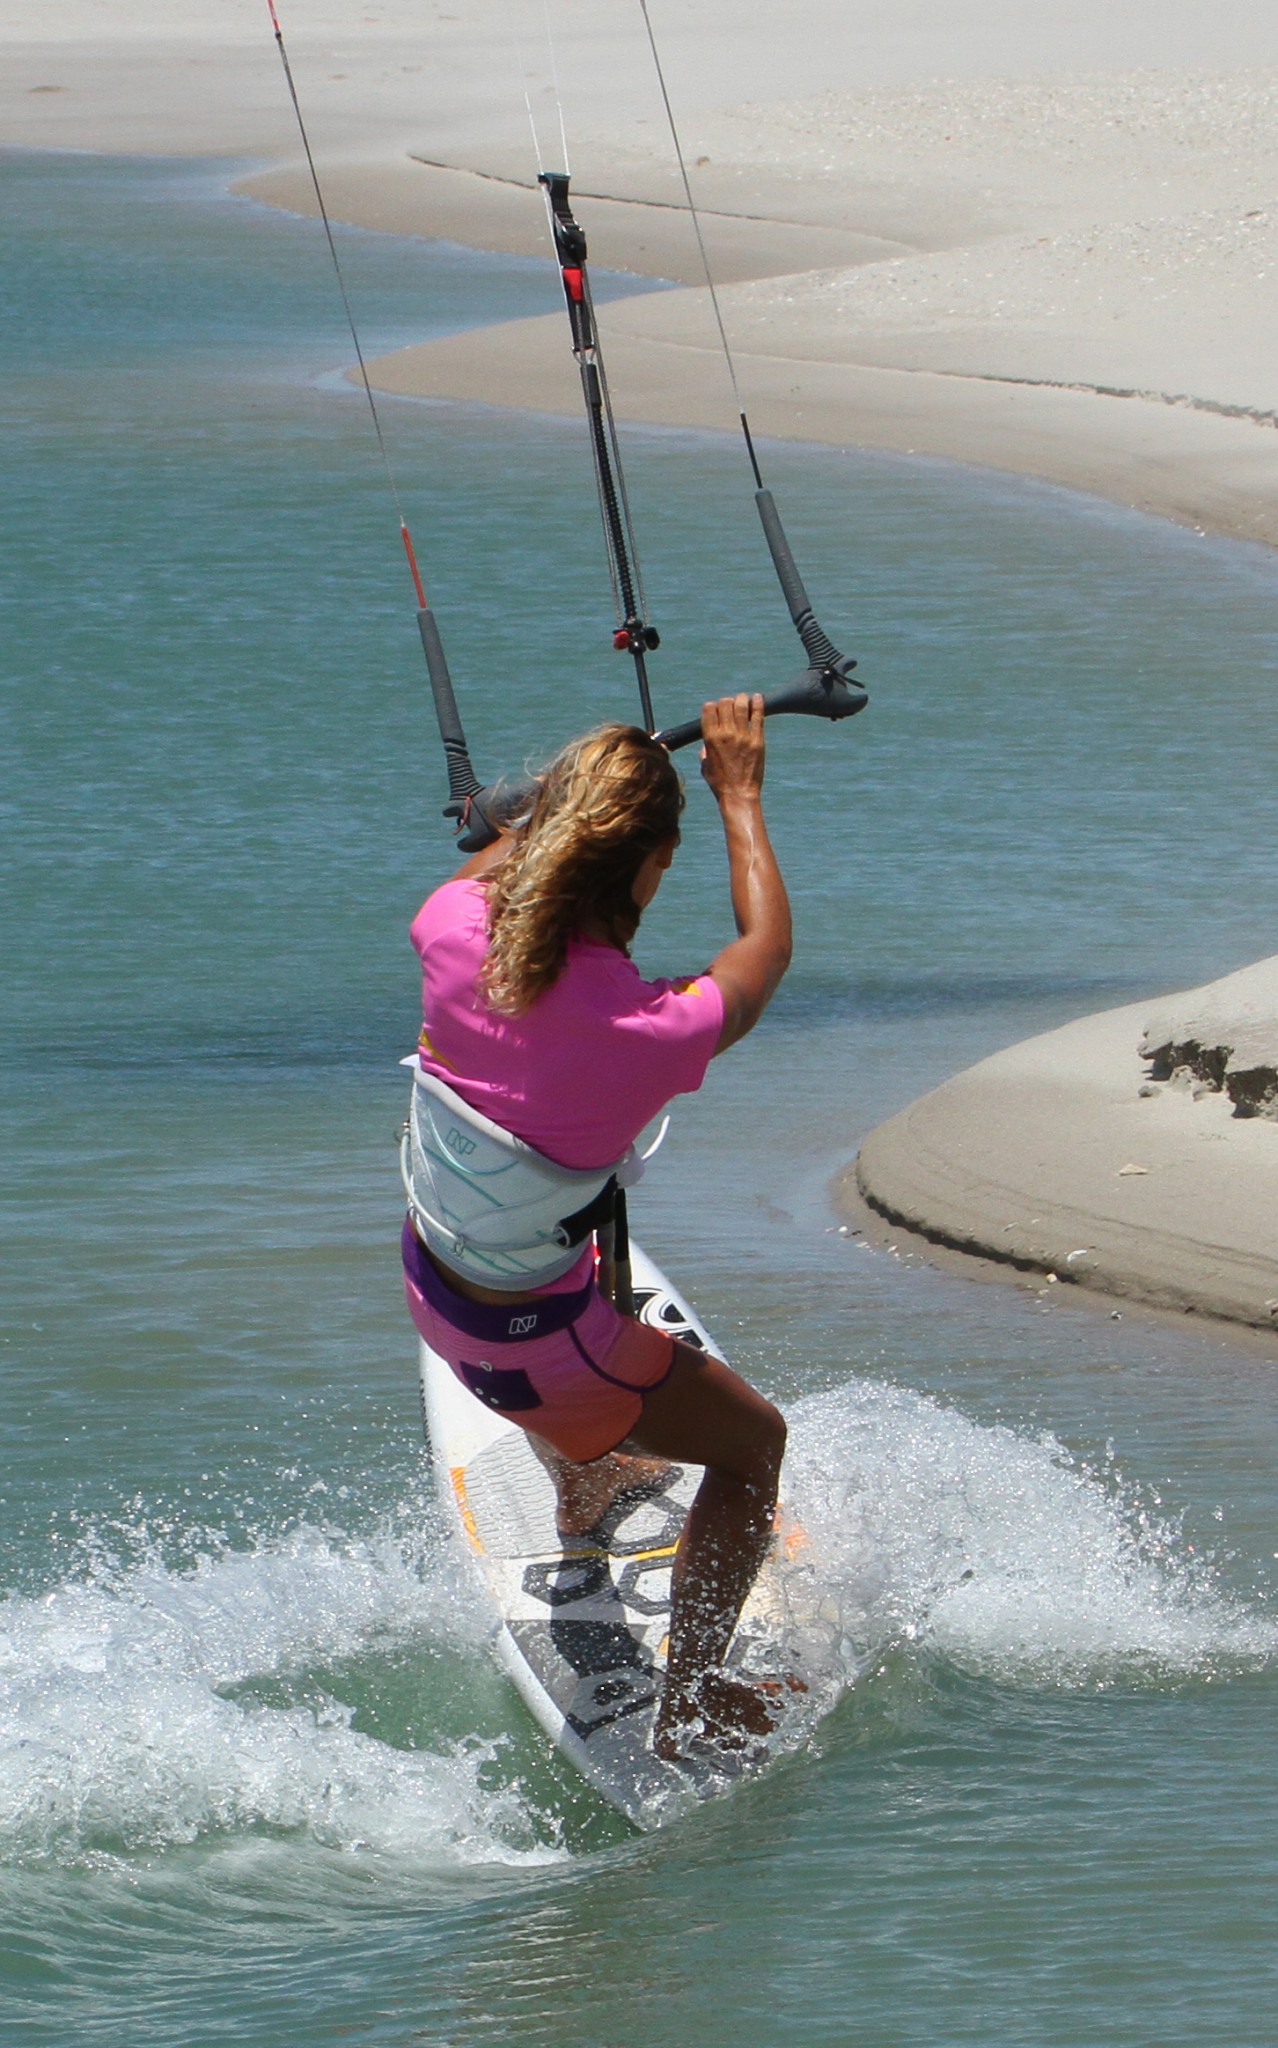
Realistically you’ll be coming into this as if you were riding toe side on the way out, so you’ll have plenty of weight forward and chances are that, like Karine in the picture you’ll have your back foot forward to keep the board trimmed and speed up, and slightly over towards the windward rail to keep the rail in. This means that you’re not in the ideal position to suddenly change direction. You’ll also have your kite below 1 or 11 o’clock to pull you forward, and as a result you’ll be motoring. None of this is a problem; you just need to be aware that before you can turn and run from that oncoming monster you’ll need a moment to prepare.


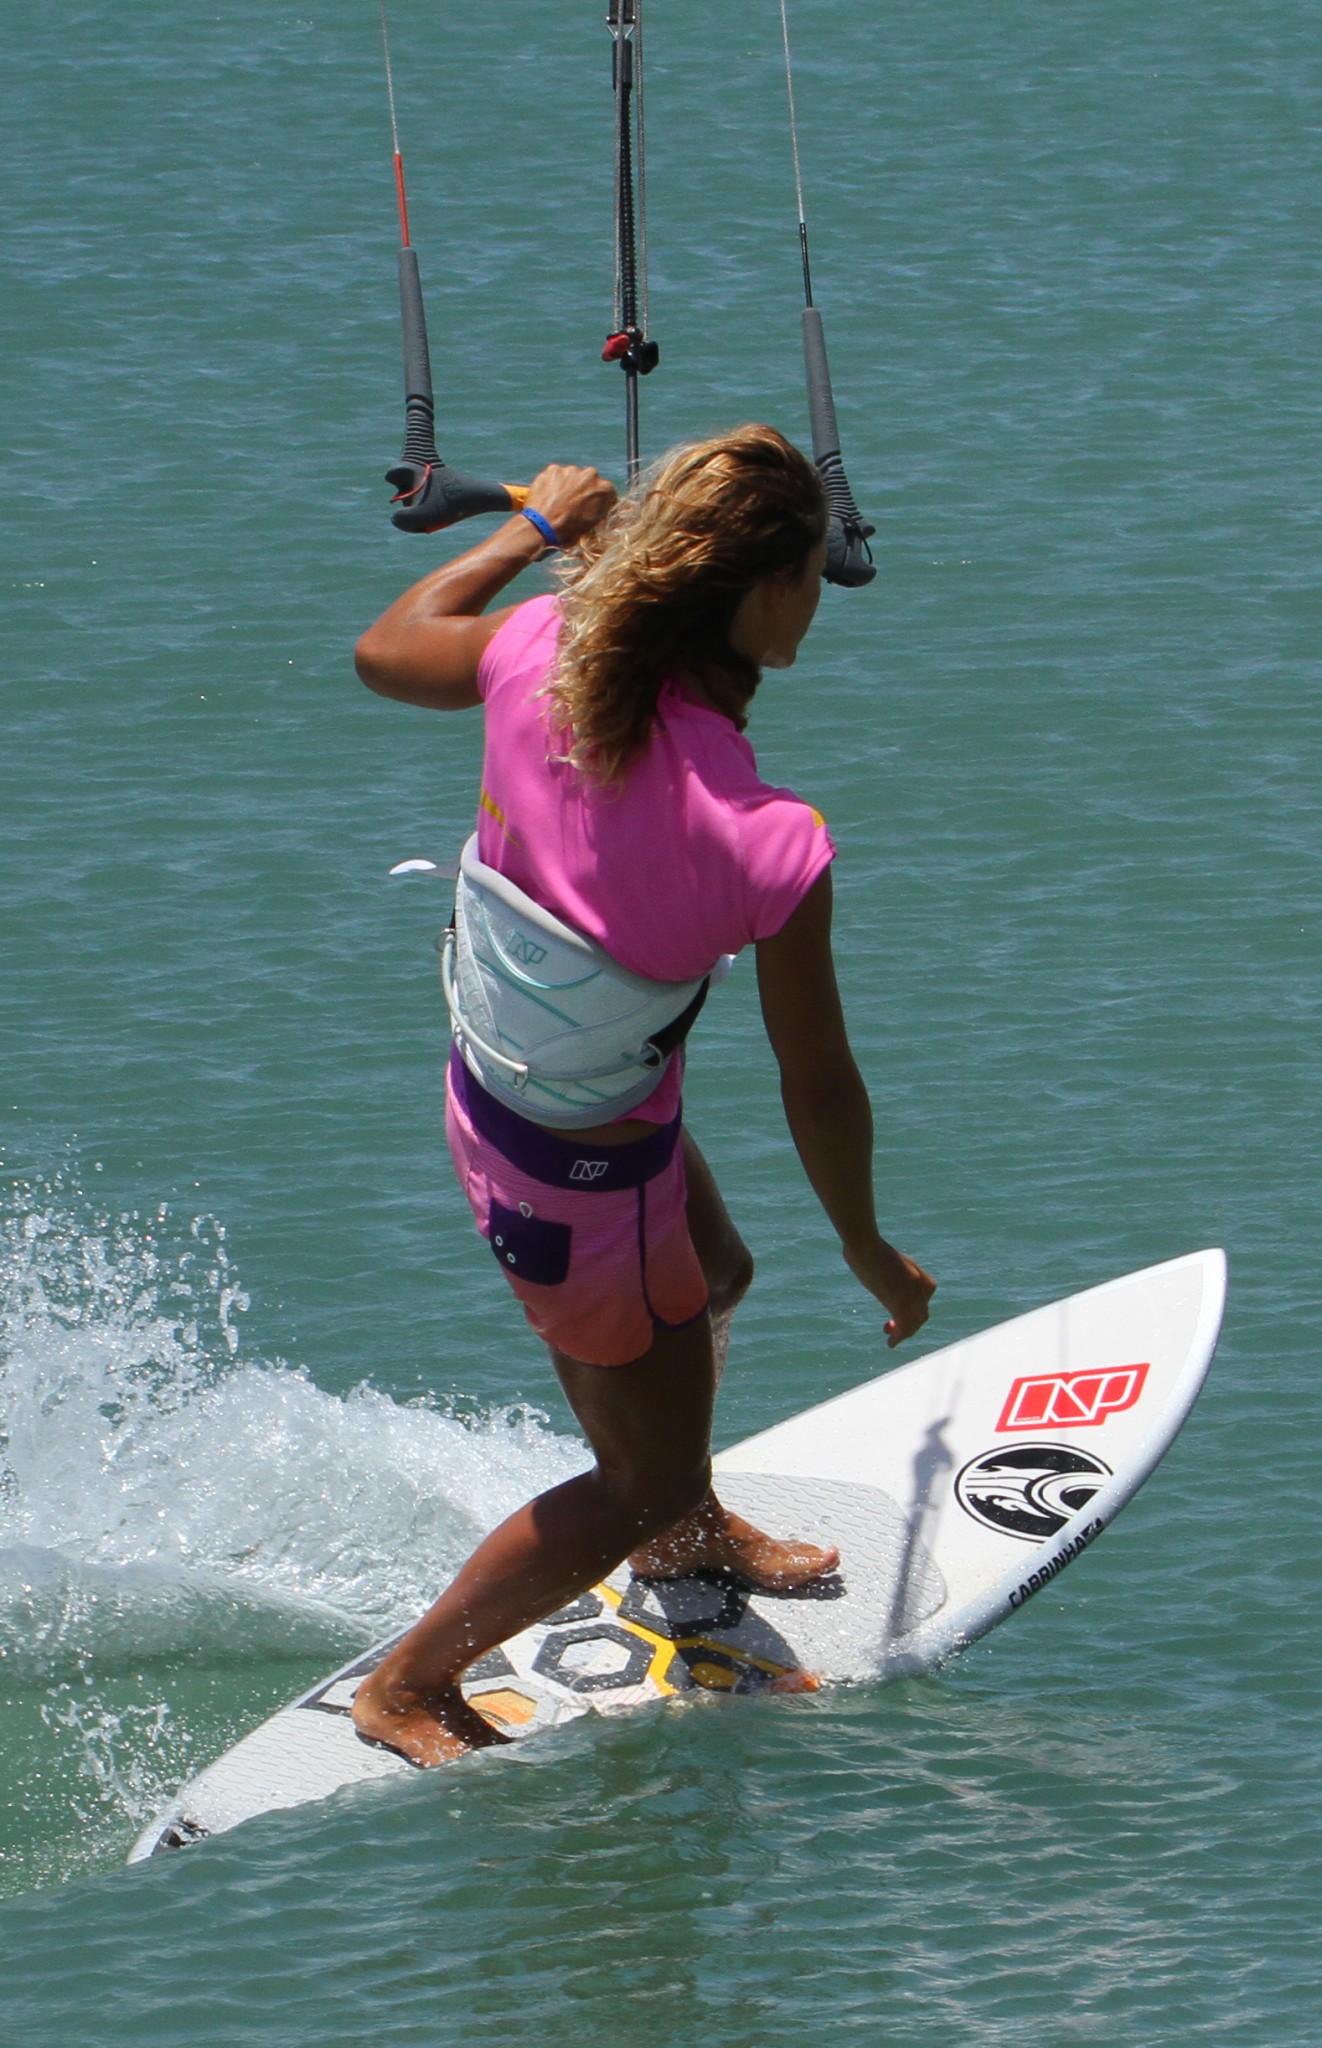
The Prep
Knowing that she wants to turn soon, Karine needs to get herself and the kite into position. First thing is to move her back foot down the board so that it’s firmly on the tail pad, straddling the centreline of the board. However Karine keeps her weight on her toes – you don’t want the board to flatten and start drifting off the wind towards your kite. By doing this you can see that Karine now has her feet further apart and she is in a more dynamic position to control the board. Think about dropping your weight low and bending your knees so that you’re closer to the deck. Next Karine rocks her weight back on the board to sink the tail and slow the board down. Finally, Karinesteers her kite uptowards 1 o’clock with herback hand. Now she’s ready for the gybe.

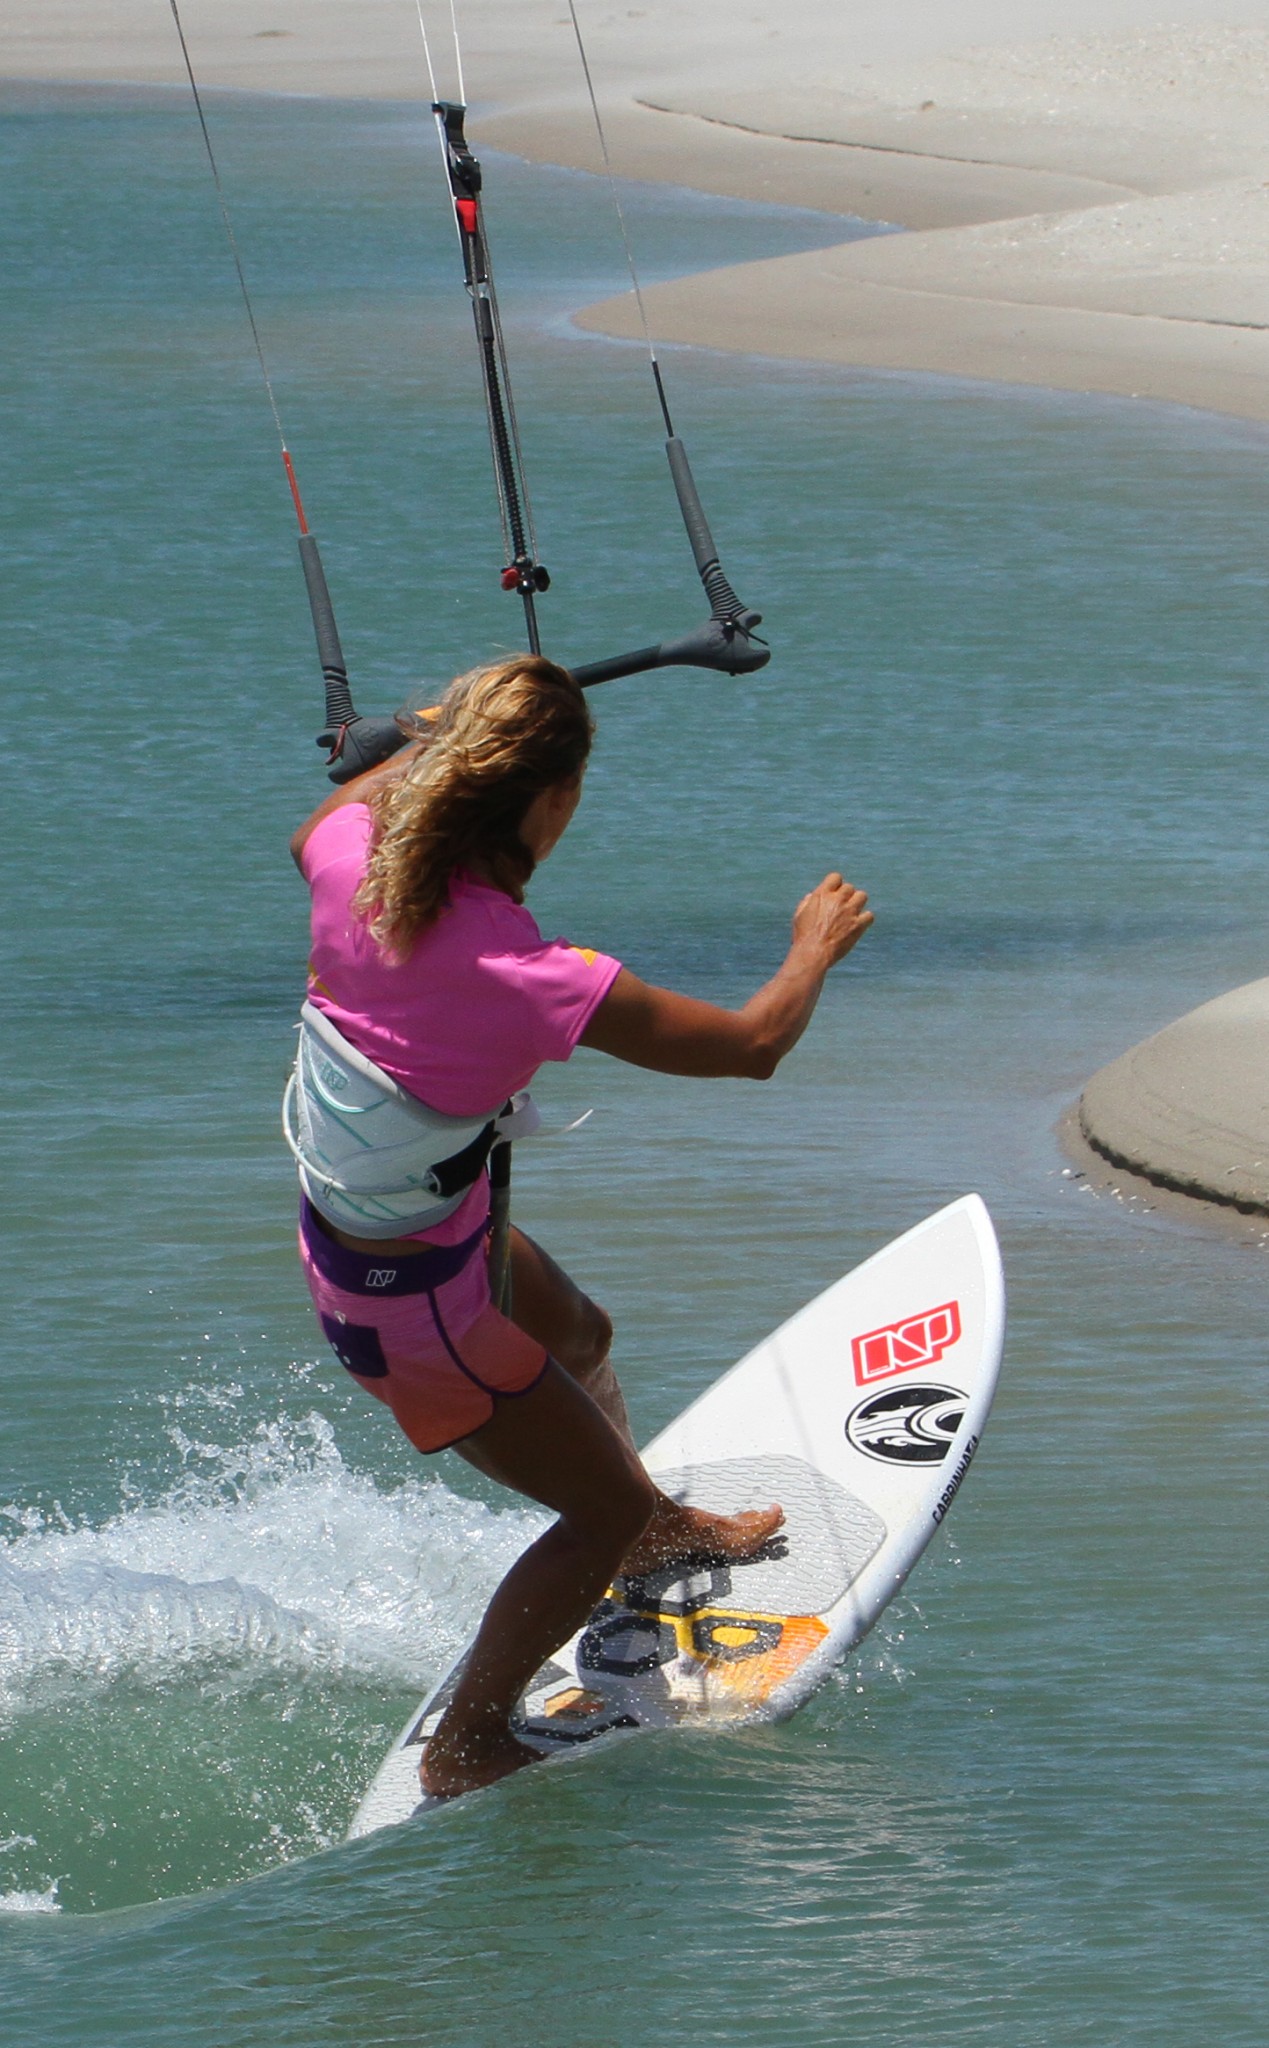
Initiate the Turn
Just like the toe to heel in part one, to start the turn Karine must move all her weight back over her back foot by rocking her hips back, while keeping pressure on her toes to stop the board flattening off. With the board almost wheeling nose up, Karine moves the kite across the window. Make sure that you don’t lean back with your shoulders, otherwise the kite will pull you off the back of the board. Rather push down through your back foot, keeping your body over the board and your back knee flexed upwind.
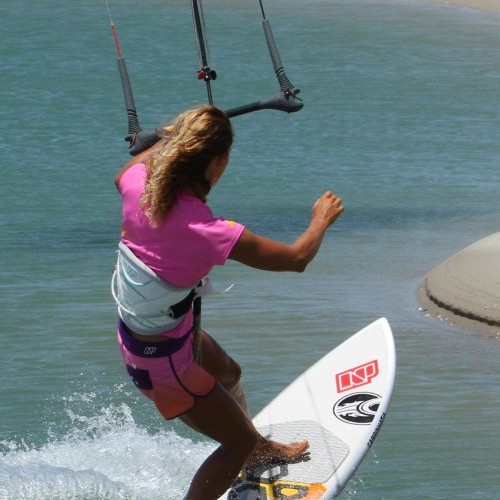
The Scissor
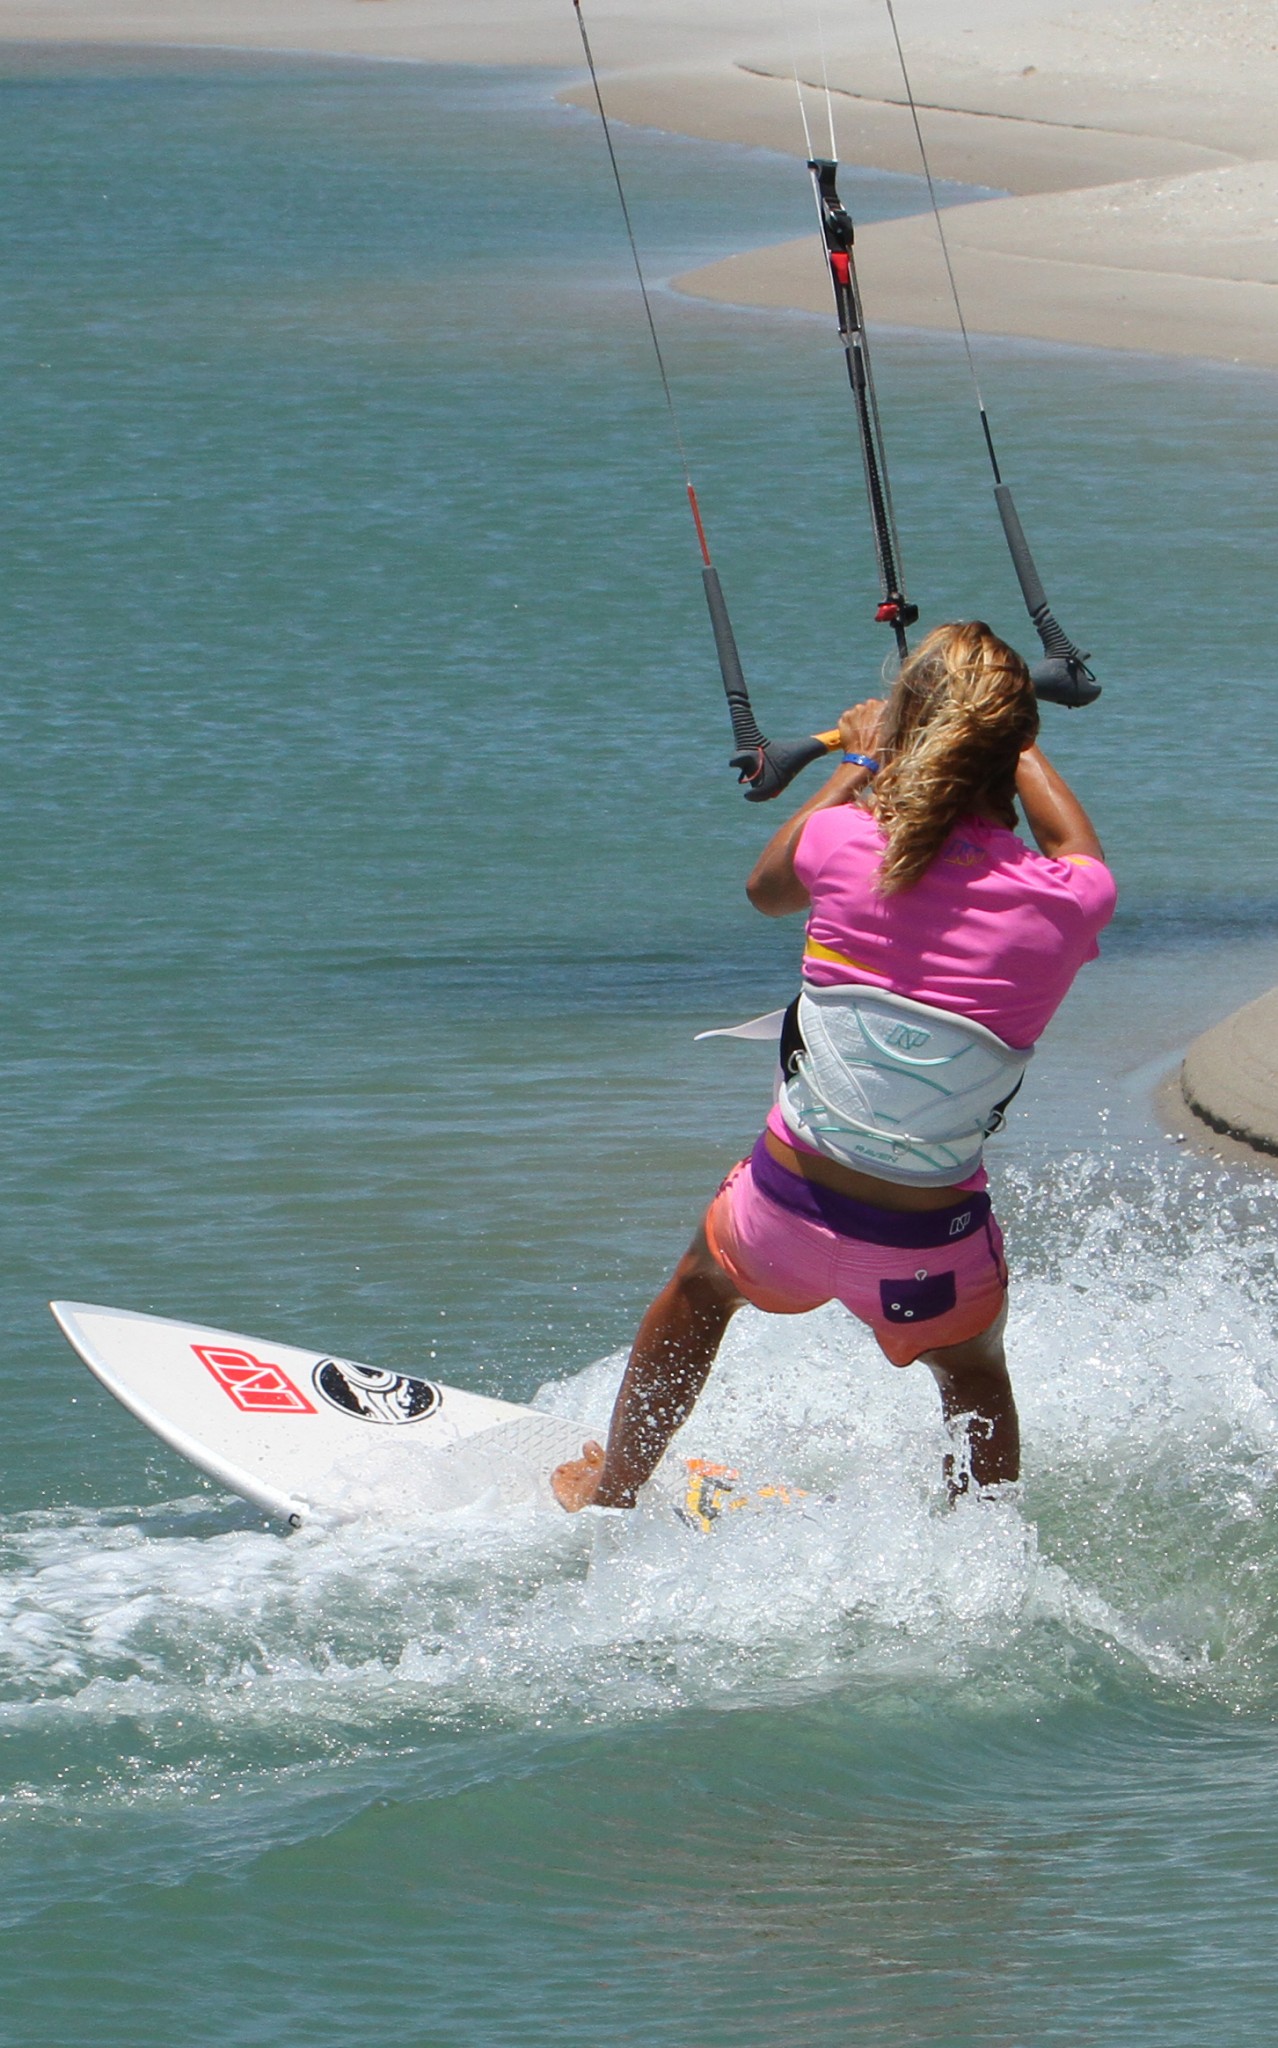
As soon as you feel the kite pull, you must turn your head and upper body to follow it. As long as you keep your weight upwind of the board and over the tail you’ll be able to soften your back leg and almost lift your front leg, pulling the board with it. You can see in the picture that Karine’s weight is still upwind of the board as it turns, but she breaks at the waist to keep her centre of balance moving with both the board and kite. Allow the kite to do the work, so that it pulls you around and you then force the board around. If you let the bar out the kite will fly to the edge of the window without taking you with it, so keep that bar in. If the kite pulls too hard, by all means let off some power, but don’t dump it all.
Heel Side
To finish off her turn, quite literally on a dime, Karine looks back the other way and reaches for the bar with her back hand. This brings her shoulders fully around, and with her weight still on the back of the board the fins will bite as she leans her weight onto her heels. You’ll soon notice if your weight is still on your toes as the board will slide sideways, or you’ll catch the toe side rail!Kite movement is also important here, Karine still has the bar on the sweet spot so that the kite is supporting her, and as she comes around to this position she can now dive it down to pull her forward and back the other way, whilst she moves her hips forwards to put weight back on her front foot, trimming the board flat so that she can accelerate.
Top Tips
Same again as part one! On your first attempts try and do everything slow and controlled. Come in nice and slow, move the kite slowly across the window and you’ll get a feel for the board, and it’ll be simpler to keep your hips and weight upwind of the board. As soon as you come in fast you’ll want to carve and send the kite too quickly. Once you’re comfortable you can start to move the kite more quickly and be more dynamic with your body weight and board pivot.


Now have a look at the videos and sequence to see the Chicken Gybe from toe to heel in full.
Common Problems
Your most likely surprise will be the dunking which results from the kite pulling you off the back of your board which isn’t turning. This is the result of your muscle memory trying to carve the board around. If you lean your weight back and onto your heel, you’ve placed yourself into an unbalanced position from which the kite will pull you off. If you keep your toes weighted and knees flexed, you can resist the kite a bit with the toe side rail, and therefore use it to help turn you and the board. If you’ve windsurfed think flare or slam gybe.

If the kite ends up with no power whatsoever, it means that you have let the bar out during the turn, which will let the kite flutter to the edge of the window. Keep the bar in so that the kite pulls you around. If the kite pulls too much, try moving it more gently.
Keystones
- Slow down
- Weight back and low, keep the edge
- Slowly steer kite on sweet spot
- Turn head and sink tail whilst keeping weight upwind
- Finish turn, dive kite and move weight forwards to trim board
This technique article was in Issue 49 of IKSURFMAG.
Related


By Christian and Karine
Christian and Karine have been working together as a coaching team, running improver to advanced kitesurfing clinics since 2003.
