
Blind Underturn Transition
Technique / Intermediate


Introduction
Often it’s welcome to have something (potentially) low impact, low altitude, but still high on satisfaction and fun, and in this case practicality as it’s a transition. It’s been a while since we covered anything hooked in blind, so now’s the time to right the wrong. Ladies and gents the moment has come to reverse into the blind underturn (read non-aerial down loop) transition. Time and again we’ll advise you on the base, so we will suggest that you can happily ride blind for a fair few metres, as it’ll certainly make the learning curve steeper. So, what is involved and what do you need to concentrate on to make this a reality?
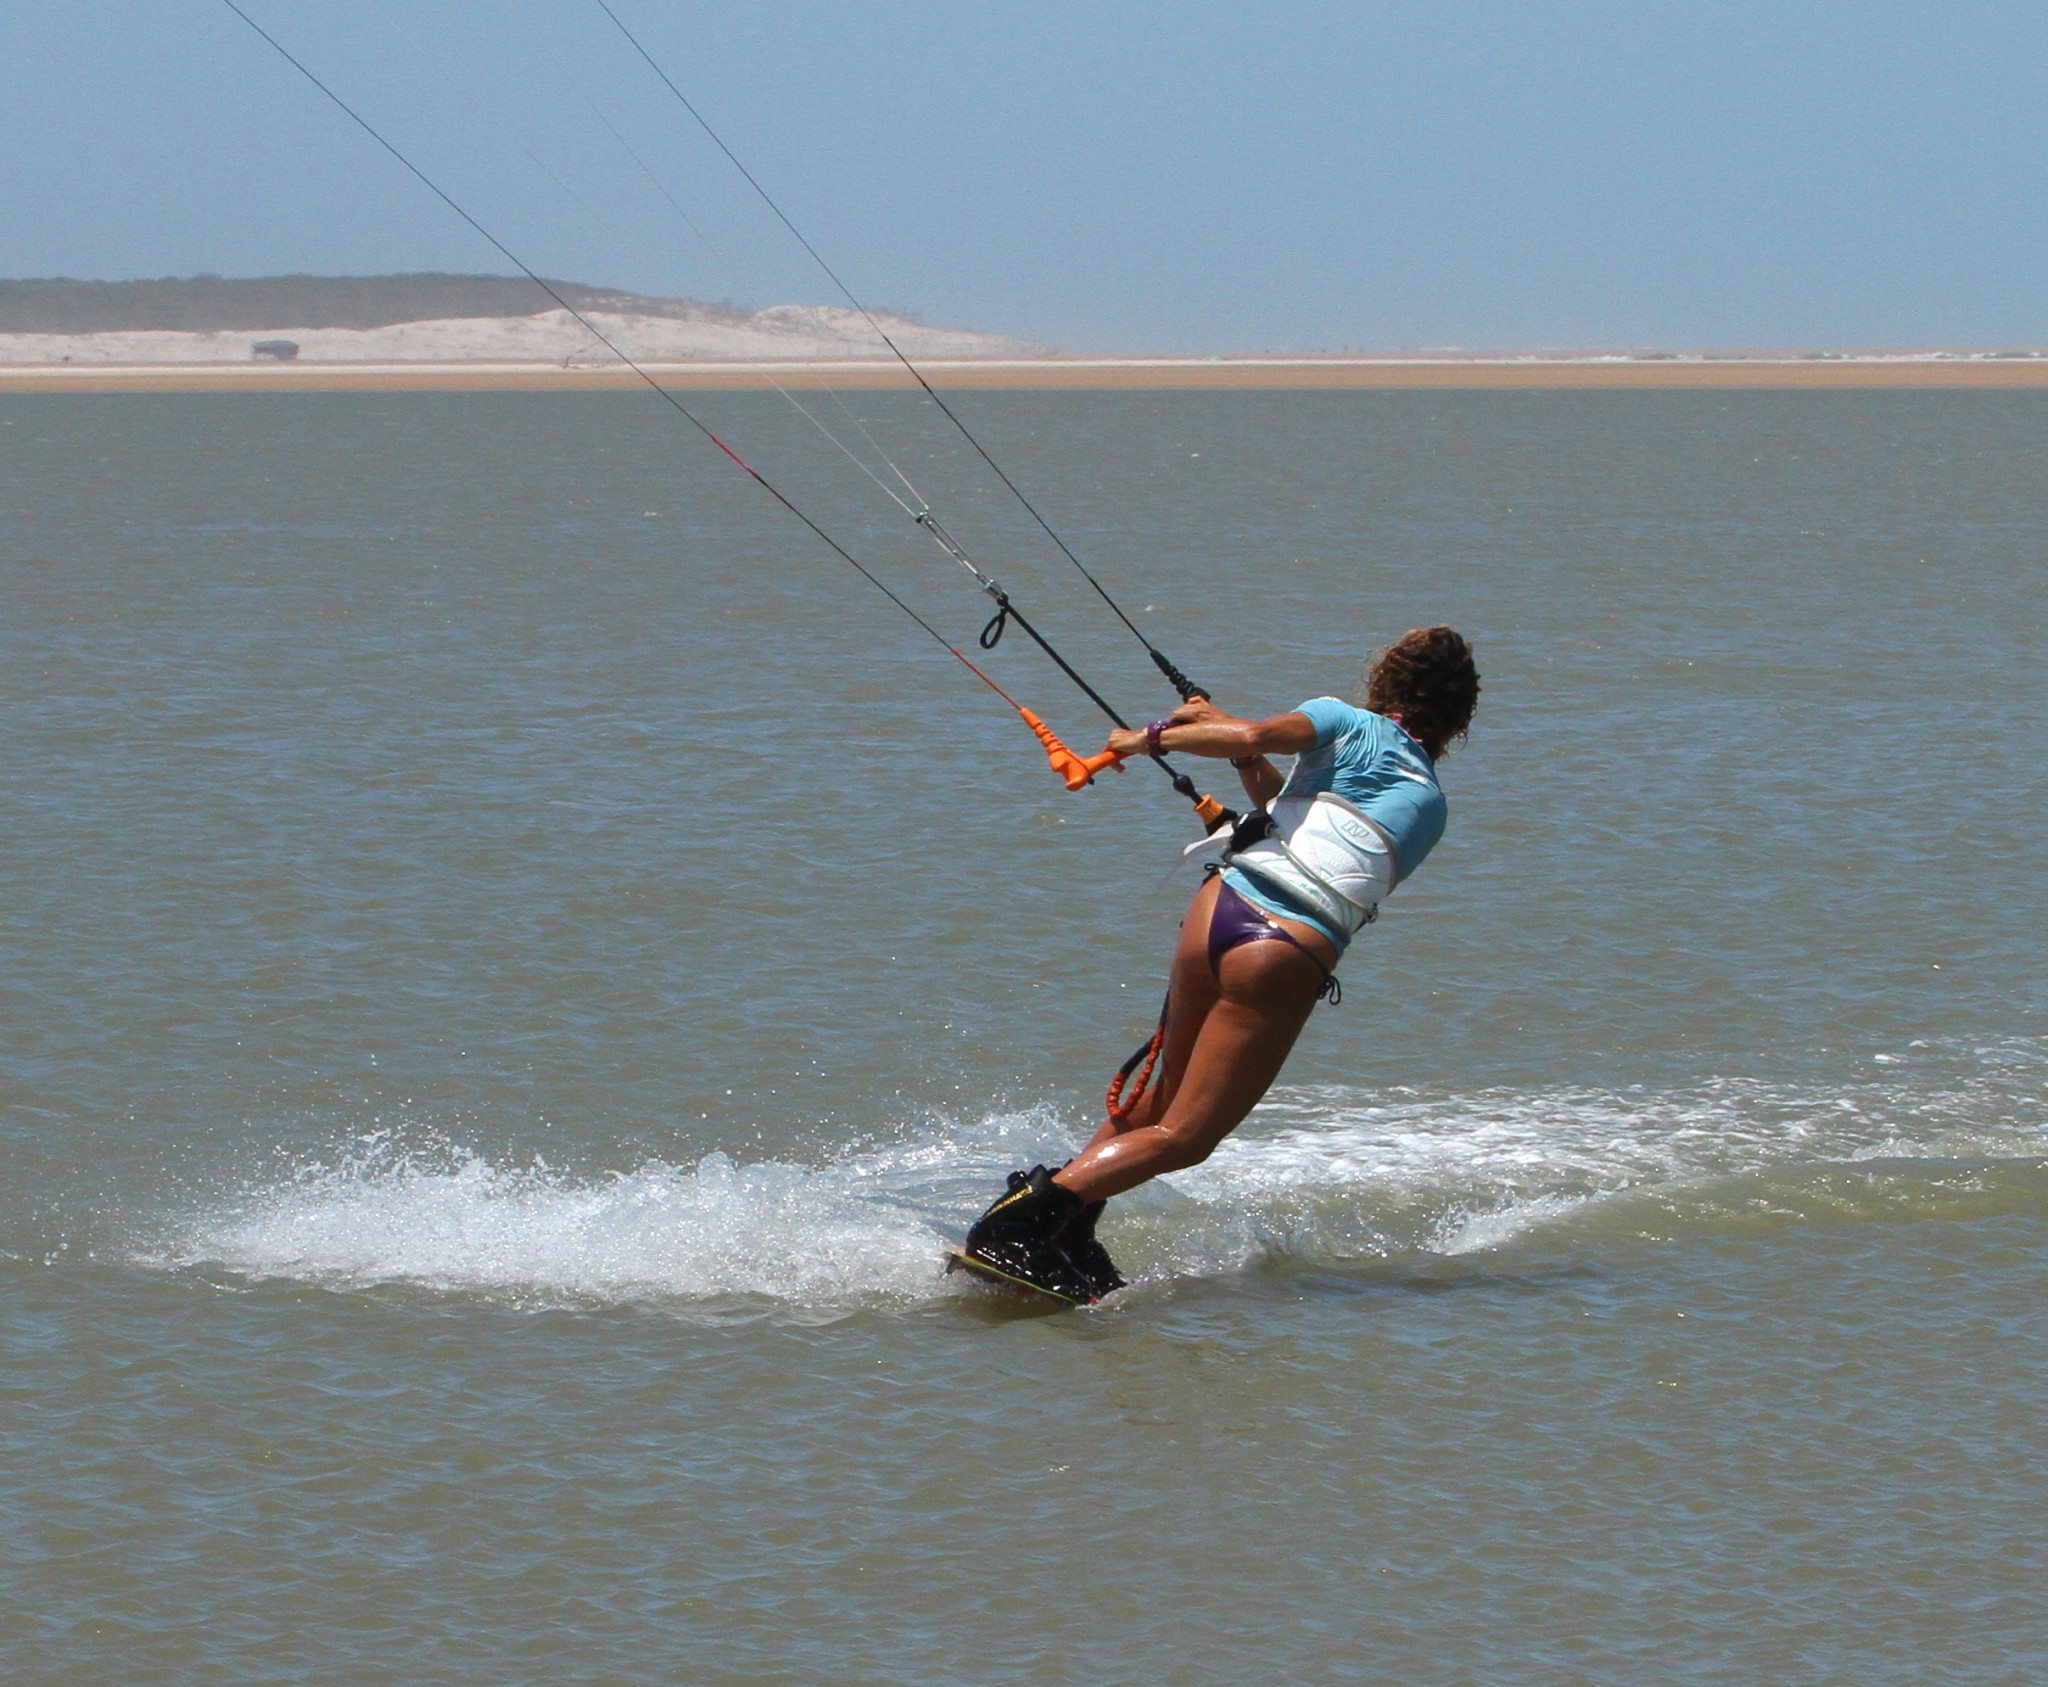
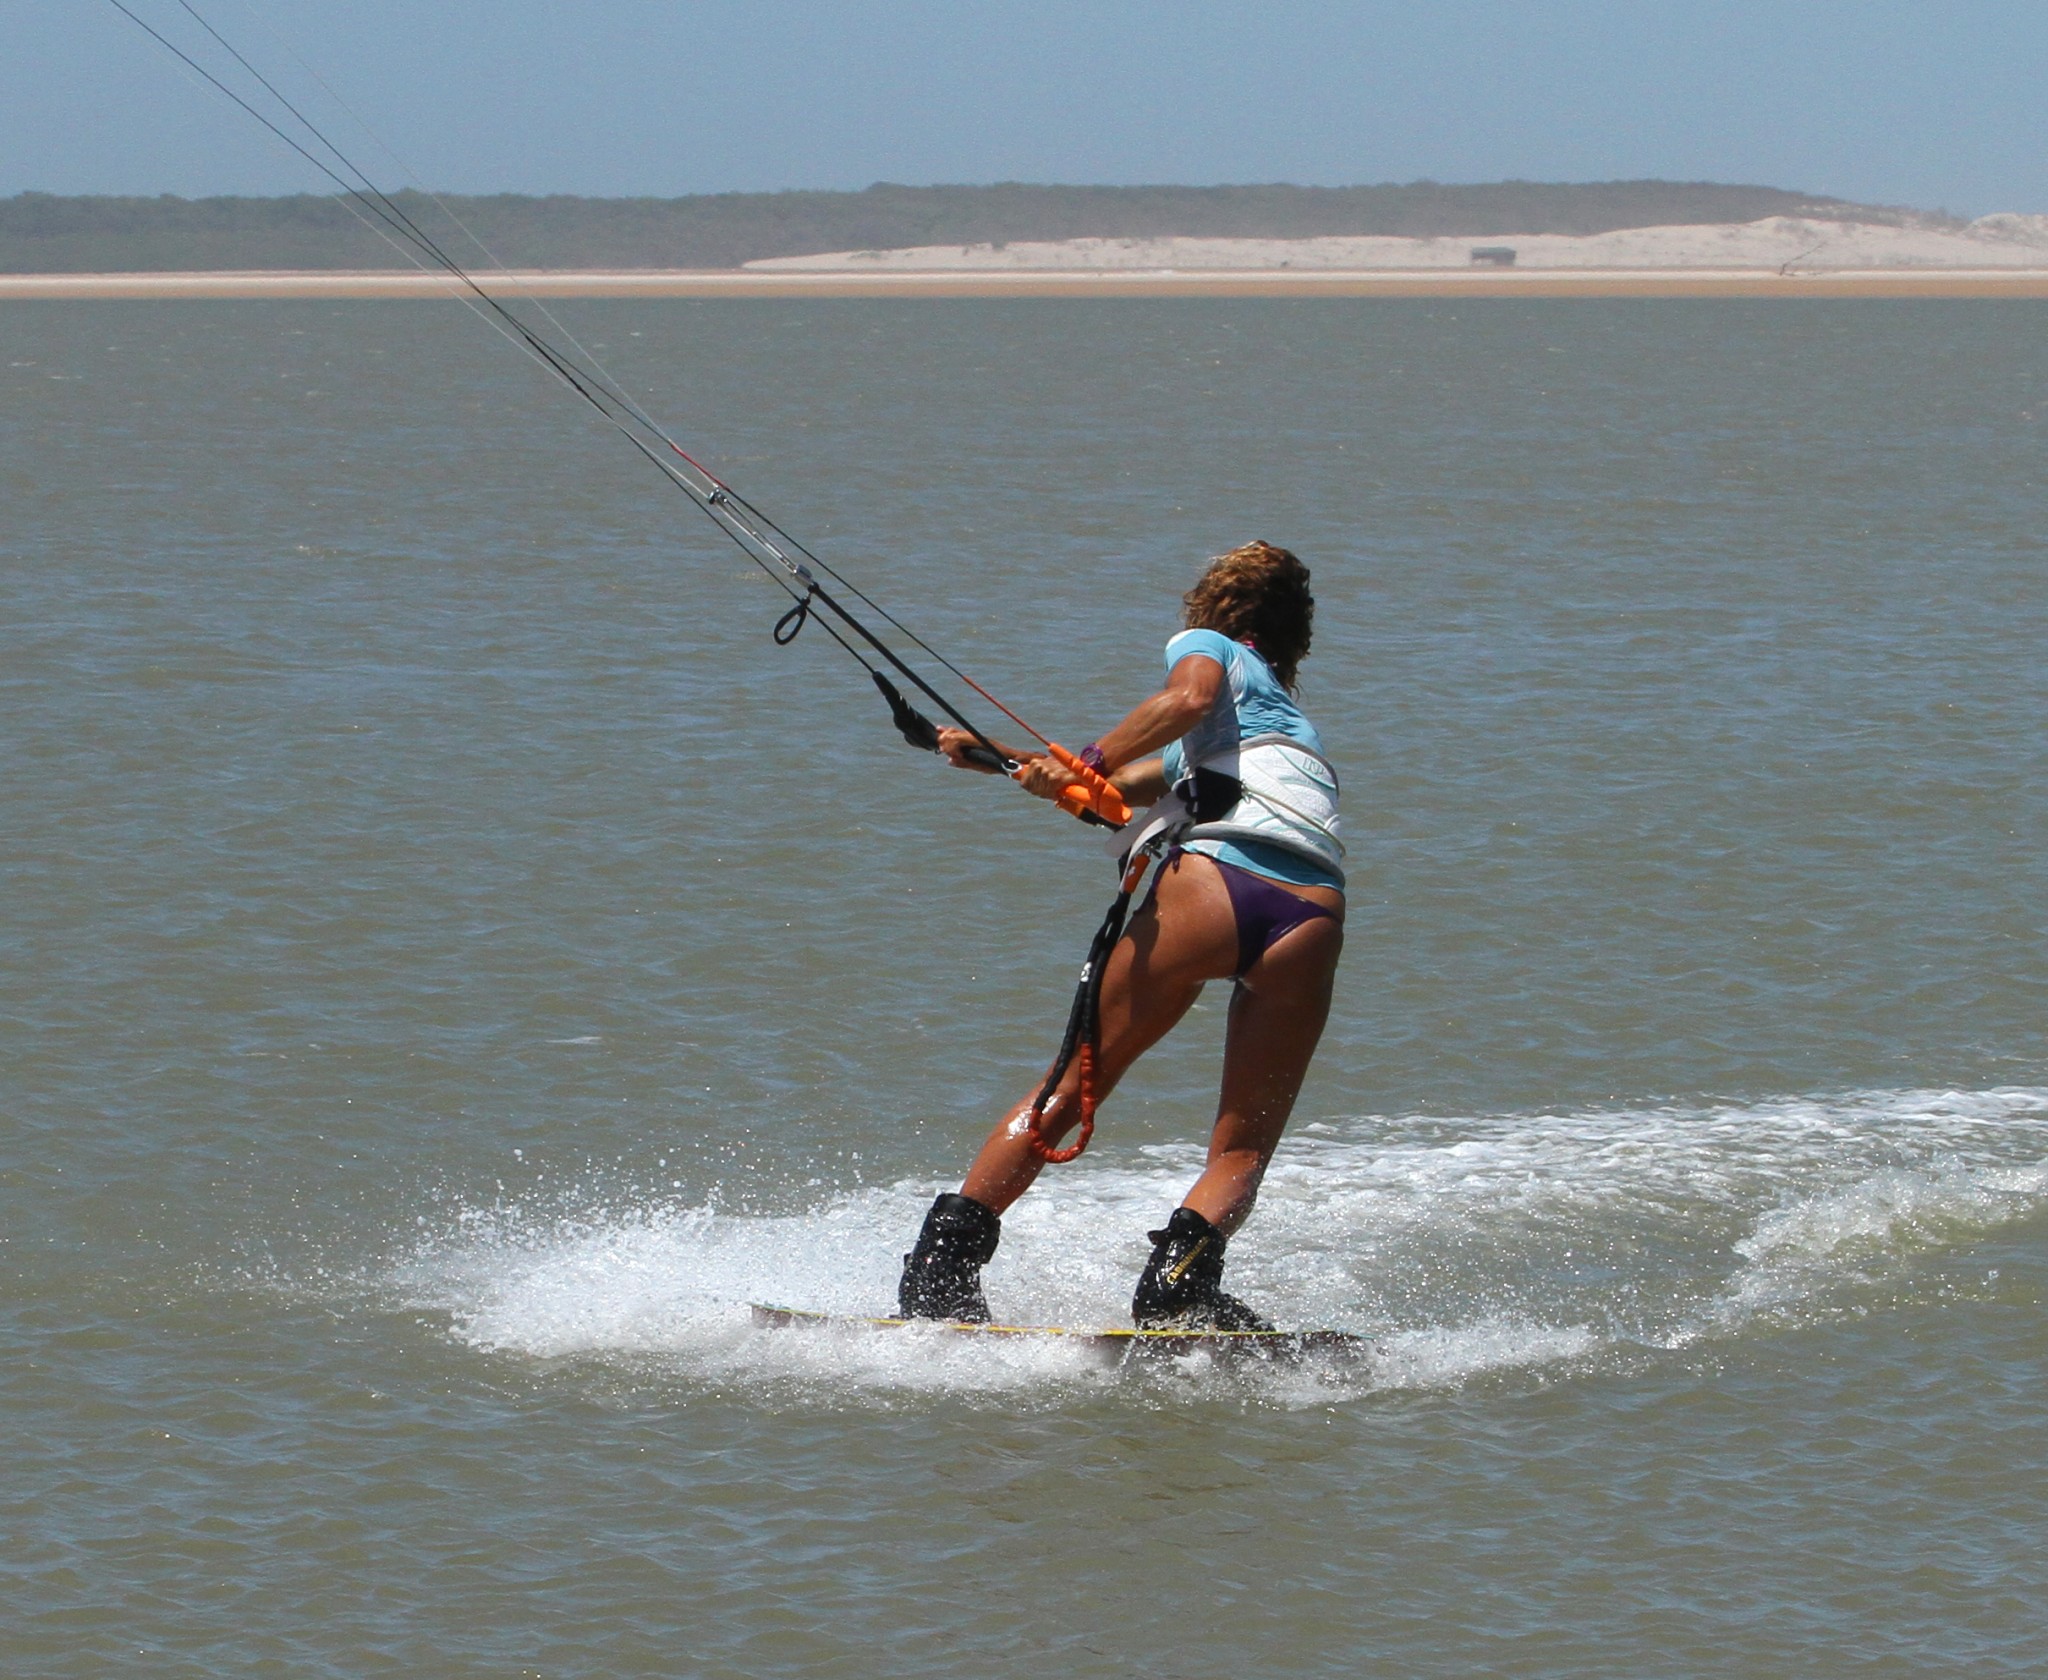
Pic A. Your Blind Approach & Set Up
This will be the long paragraph! We’re assuming that you can already ride blind, but even so, there are a few things that you need to make sure of if you want to continue into an underturn transition. First off you need to be edging, so that you have tension in the lines and control of the kite. Make sure that you have both knees pointing back; your weight is on the balls of your feet, and your head is up – this way you’ll be edging but with lots of the board in the water. Ideally, you’ll park the kite about 11:30 or 12:30 so it’s ready for both riding and the underturn. The next bit is very important, if you intend to steer your kite, let alone underturn it, you’ll need both your hands on the bar, which in itself can be tricky if you’ve never tried it before. To make this possible, you need to trim your sweet spot close to you, so that you can reach the bar! That said you will still pop to blind with your back hand off – just replace it once you’ve landed. Also if your accustomed to popping with your front hand on the wrong side of the bar, it’s time to iron that one out too, it needs to be where it belongs, left on left or right on right! Again with the bar trimmed in it will be easier. Finally assuming you’ve got the position and both hands on the bar, try not to pull on the bar. If you pull, the kite will stall and pull you up and over, off your edge. If you feel you don’t have enough power, use your edge to put tension on the lines rather than yanking on the bar. If you get this set up right, you’ll find you can kite along further while maintaining an upright position, which will be good for numerous other tricks from blind.


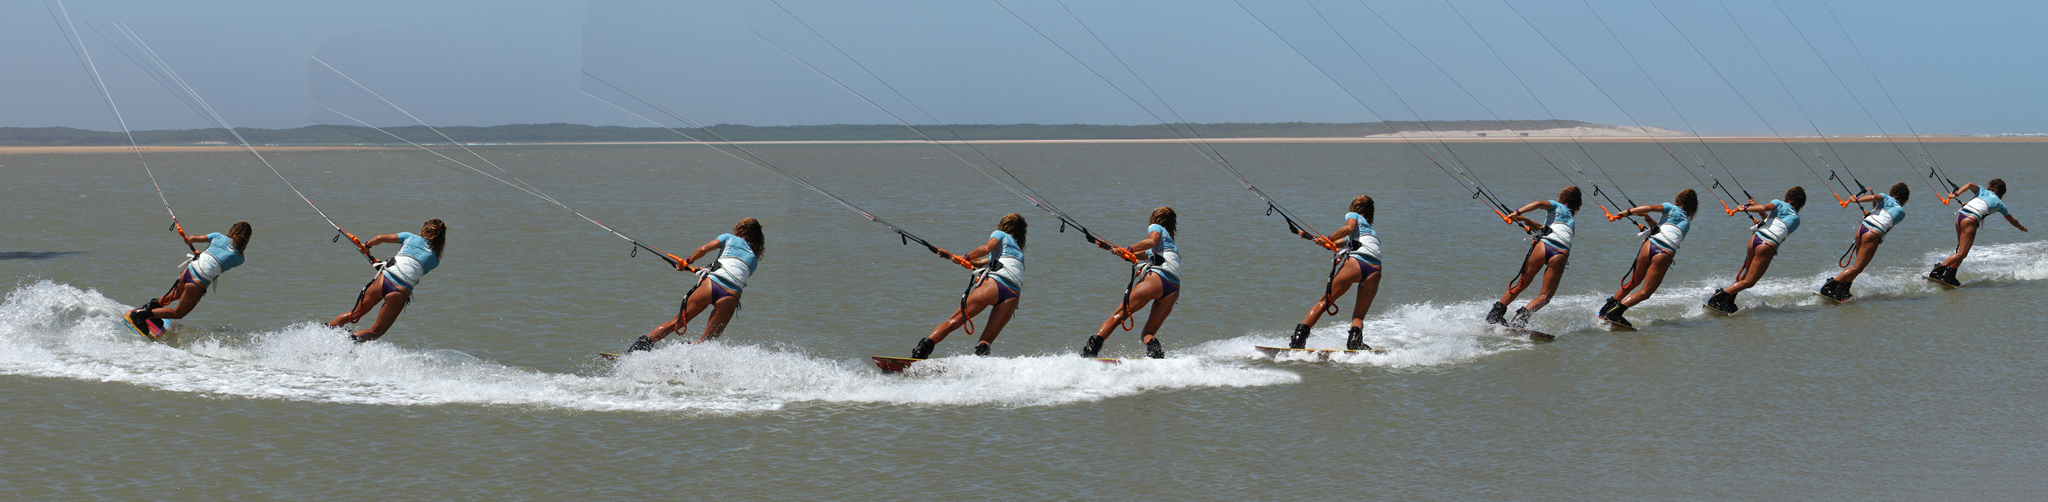
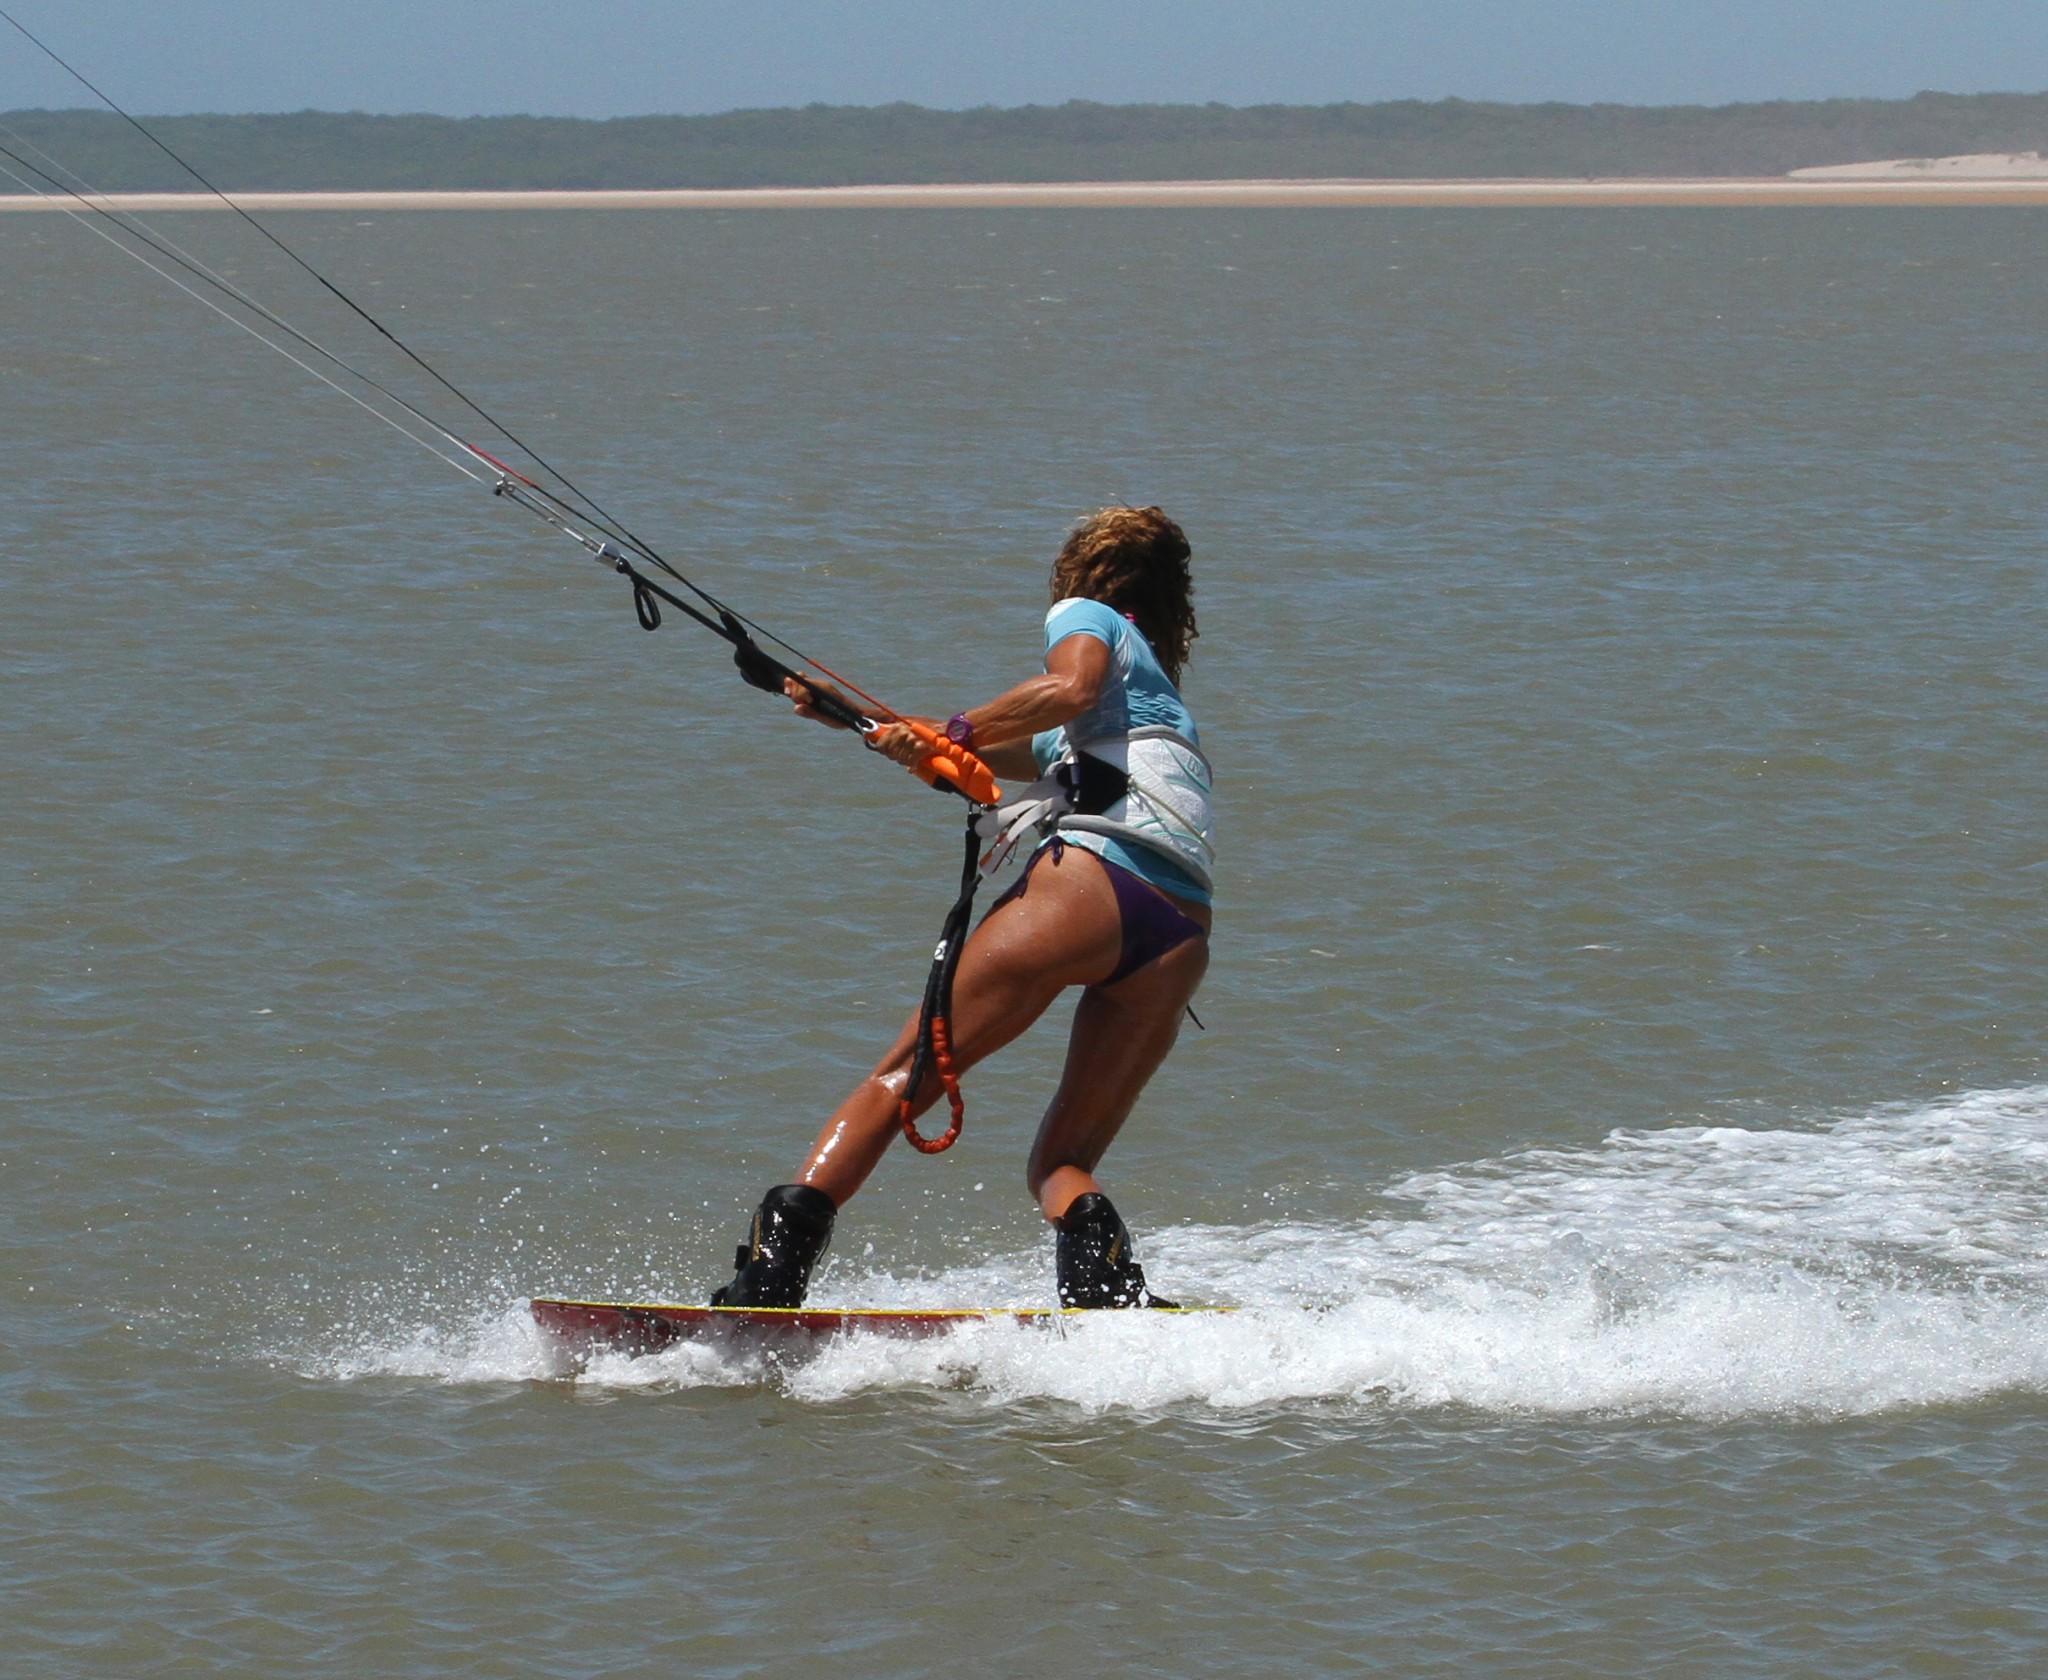
Pic B. Mirroring what you would do heel side…..
Before pondering this blind, think what you did when learning this heel side with a slide turn. The first thing you do is slow down. How? By edging upwind a bit more, not by lifting the kite. Here it is exactly the same and to make things easier, you’ll aim to keep the kite where it is. Once again make sure you don’t pull on the bar, if anything you can let it out just a touch, as this will allow you to edge further upwind. To get a bit more angle you can drop your weight further back and use the tail of the board to turn you up. If you’ve pulled the kite down during your blind, now would be a good time to give it a little yank on your back hand to get it up a tad in preparation for the underturn. You can see Karine is edging up, which both slows her down and puts the board in a better position for the next step.
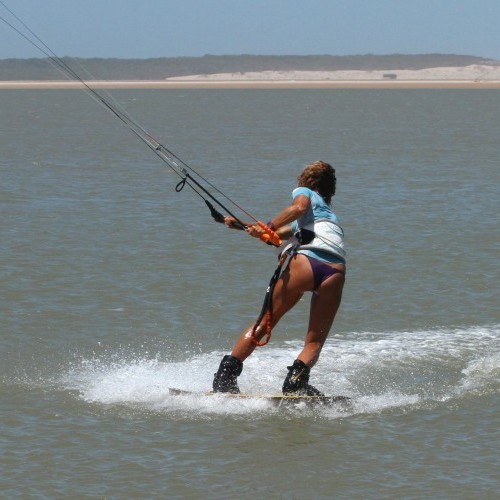
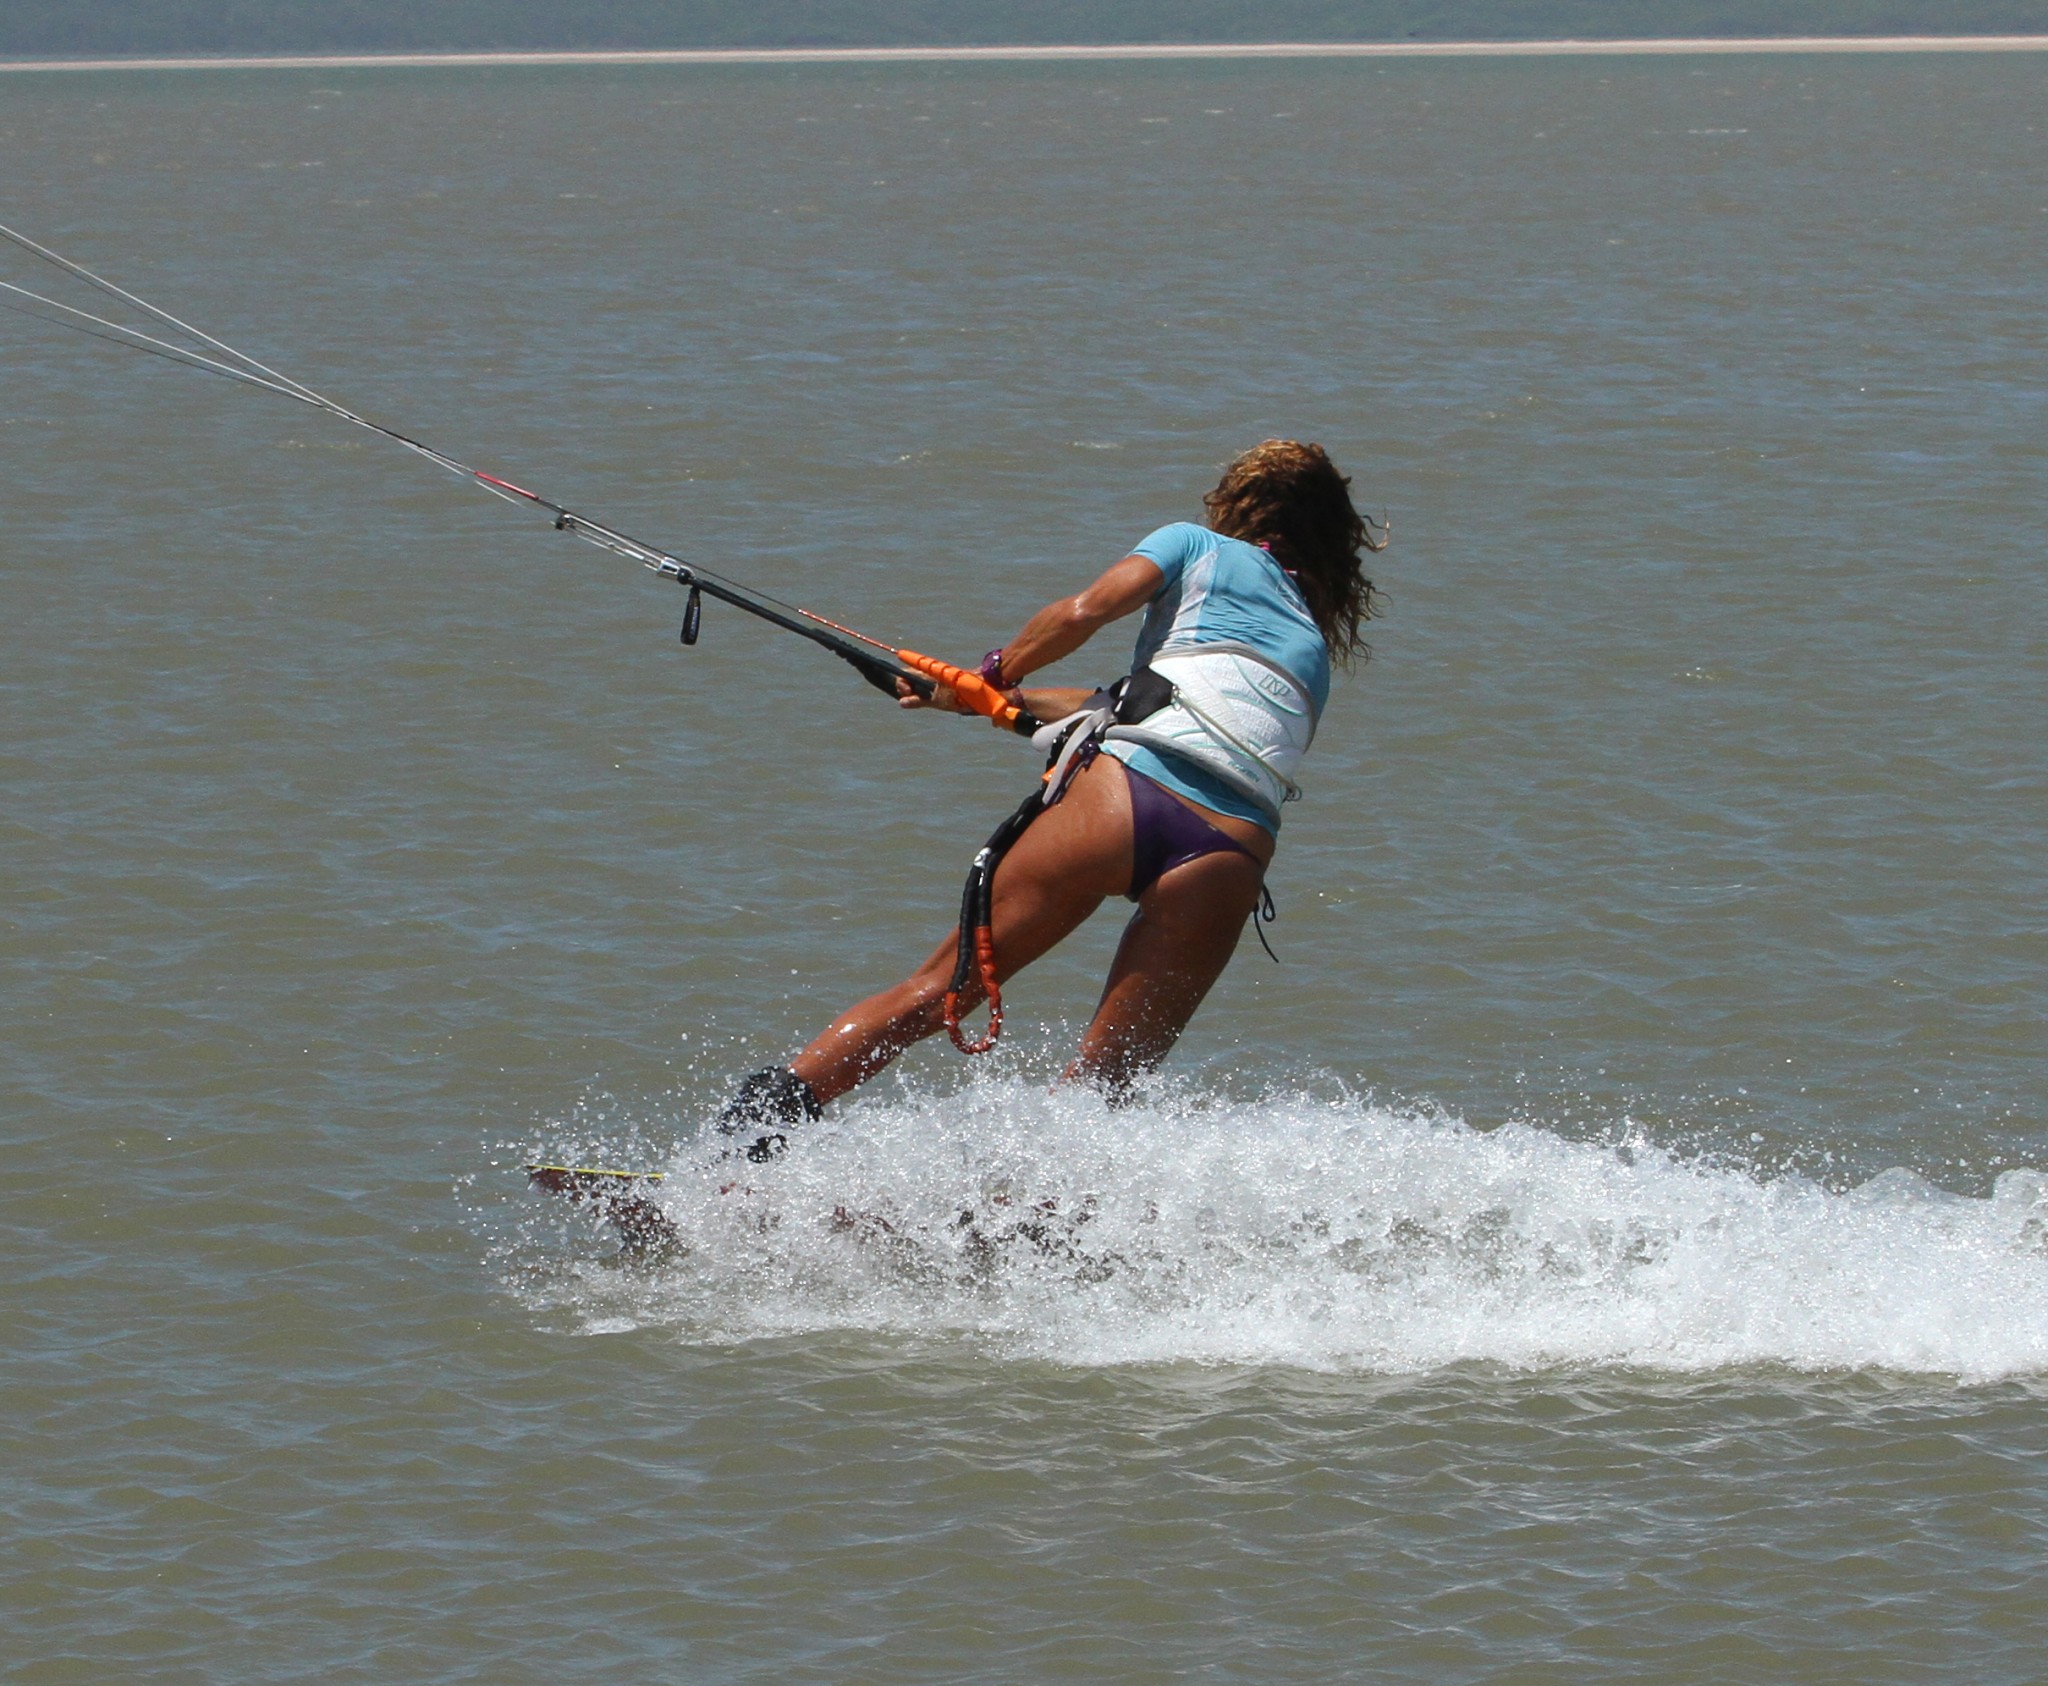
Pic C. Hammer Time
The two parts of this are yet again identical to what you will have done for a heel side slide turn with underturn. First off you need to slide the board so that there is no edging resistance when you underturn the kite. To slide the board, you can see that Karine has moved her weight over her front blind foot, in this case, her right foot, by moving her hips over this foot. With her weight now on her front foot she can slide the board so that it points further downwind. This part is actually very easy when blind as the board always wants to slide out. However, you need to keep your weight on your toes so that you don’t catch your heel edge! Once the board is sliding, it’s time to drop the hammer and start the kites movement around the underturn. You can see that Karine's hands are not centred on the bar, but slightly further apart. This will give her more leverage and allow her to turn the kite quicker. Her kite is relatively high, so she has room and if she turns it aggressively will get less power. She’s using both hands to get a fast turn, pulling in on her front (left) hand while pushing away on her right hand. This is only possible because she has the bar trimmed in close to her.
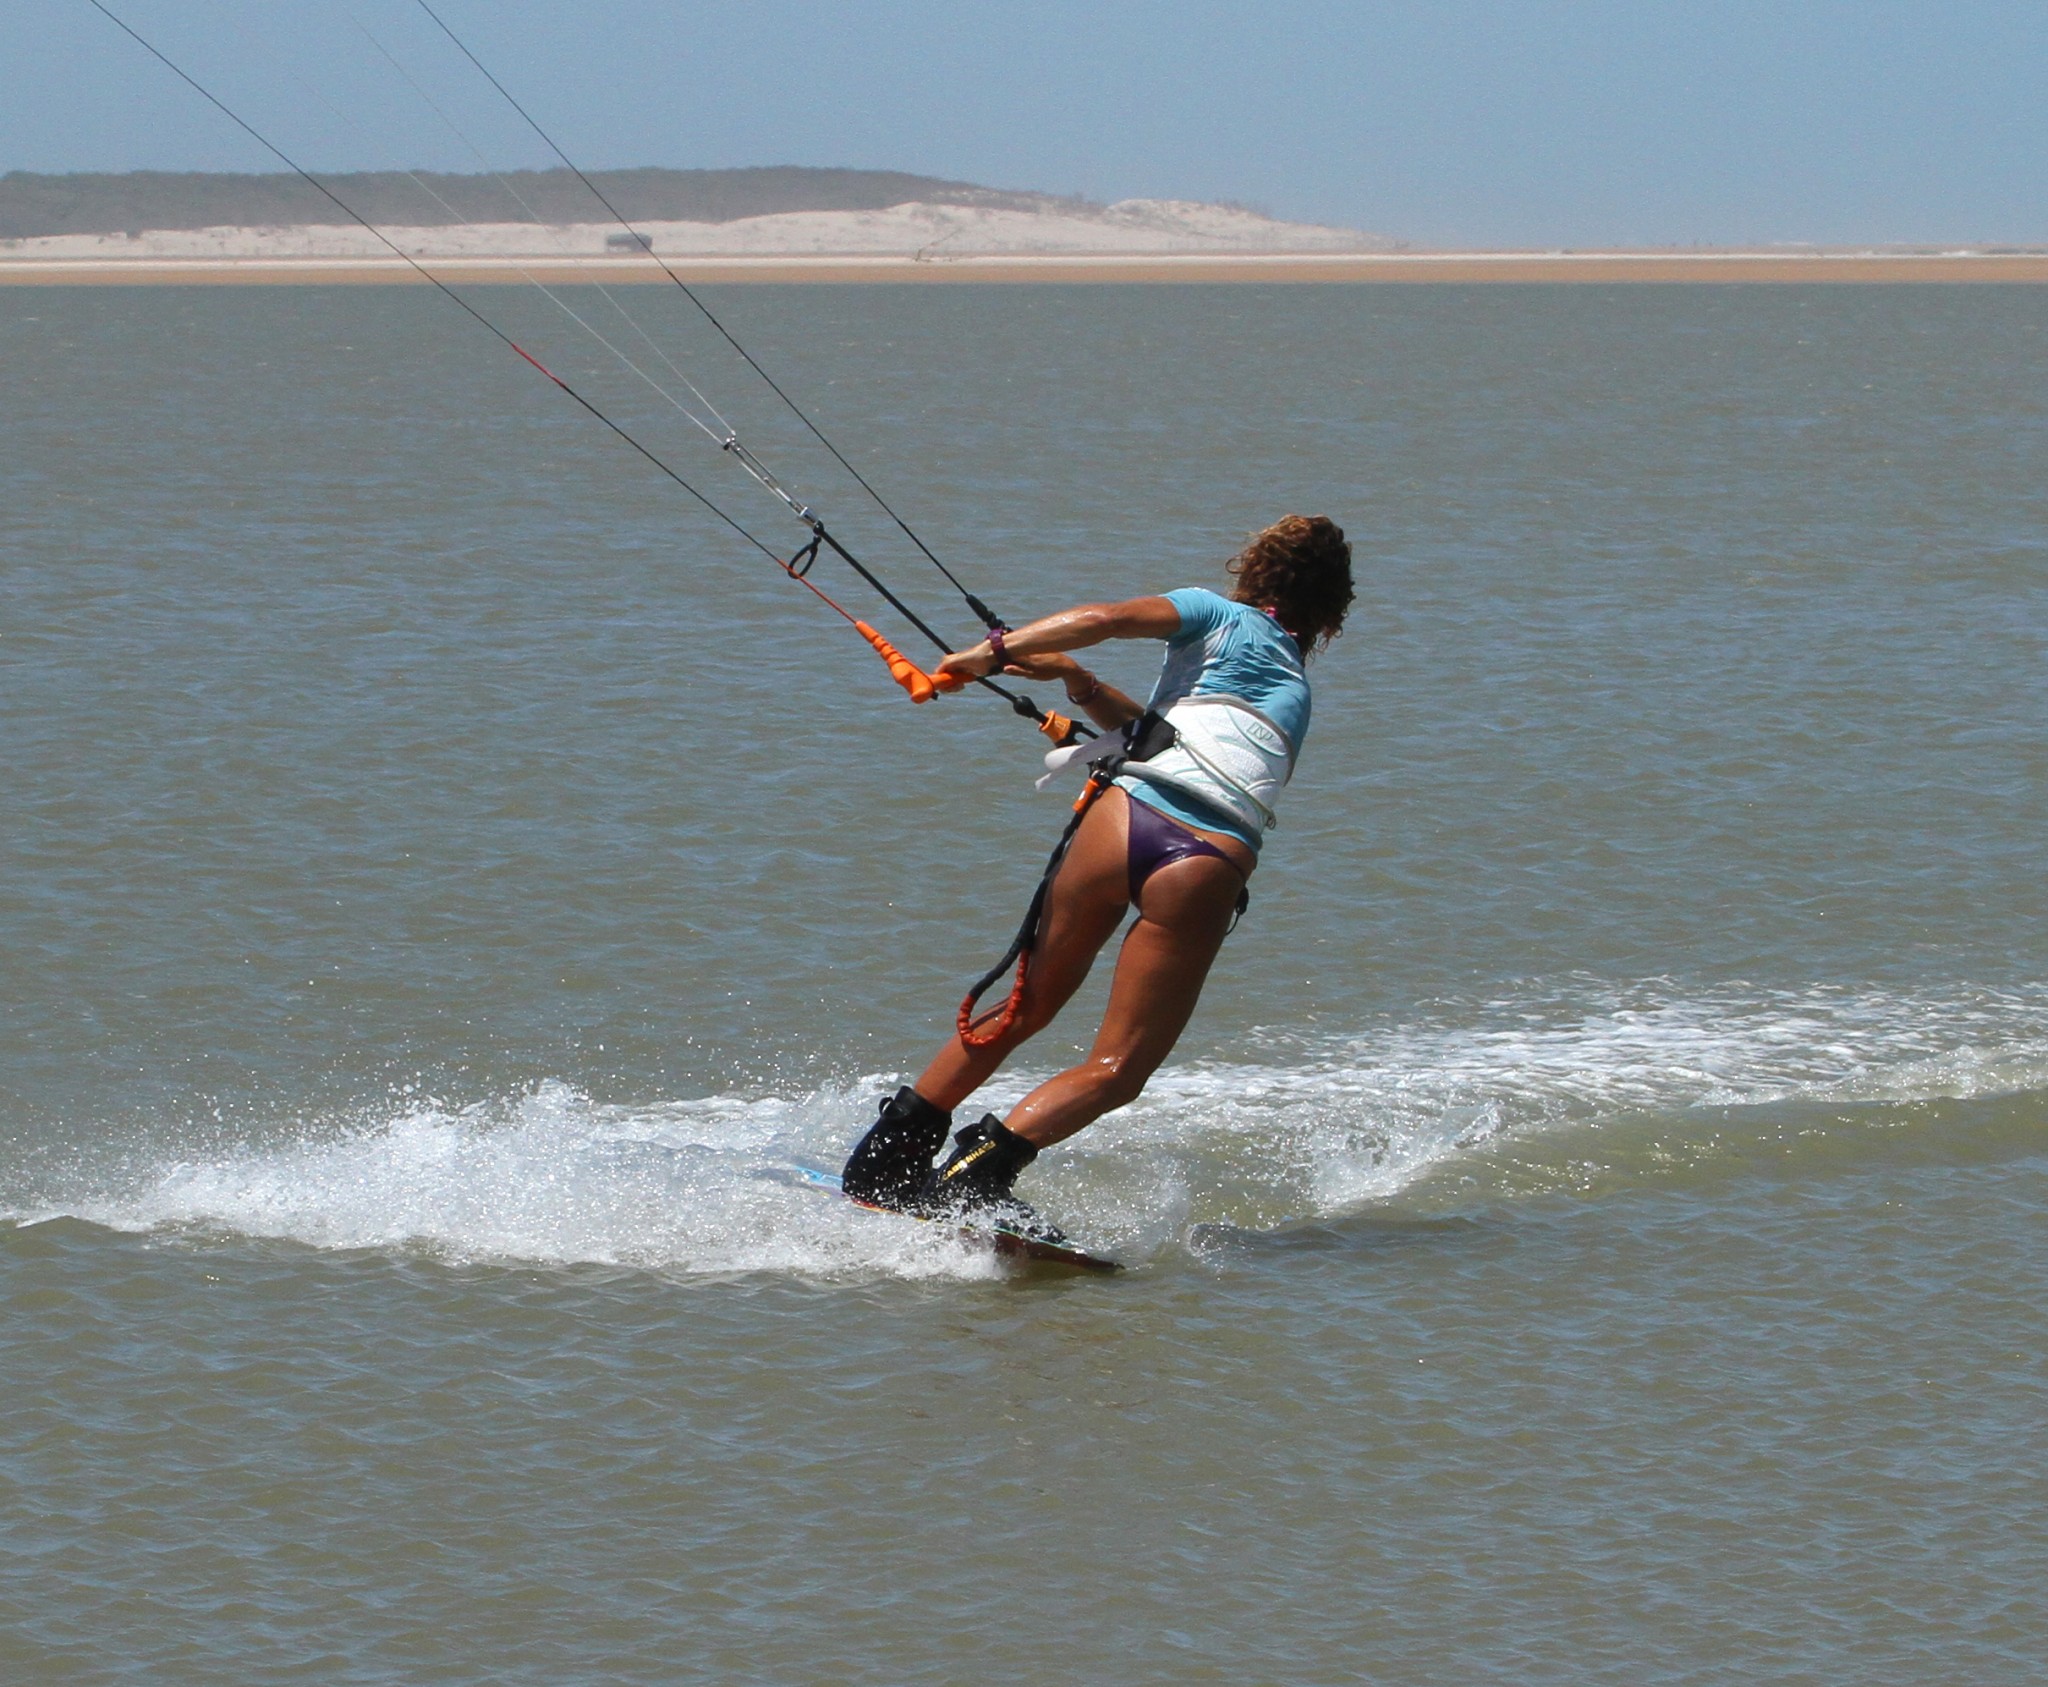
Pic D. Commit to the Pull
The hang on moment! That said there is a bit more to it than just closing your eyes and praying. You have set the wheels in motion by sending the kite into an underturn, but you need to be both ready for and anticipate the pull. To do this Karine drops her derriere even further back over her right foot, extending what will be her new front leg in the process. This way she’s ready for the pull and can go with it, without being pulled over the front of the board when the power comes on. You can also see how Karine has continued to pull and push the bar with her hands, and as such has, even more, leverage on the bar. This really is the key to all under turns, down loops and kite loops, as when the kite starts to power it is too easy to let the bar out with the pull, which then stops the kite turning and actually increases the power. So commit fully to the underturn, and if/when you do, it will only be a relatively gentle pull. Finally note how Karine has her right knee dropped over on the toe side edge of her board, ready to go with the power back the other way as the kite comes under and through the window.
Pic E. Carve Out
If you’ve done all the aforementioned, this will be your reward. Your body will be ready to carve, with your hips back and your knees driving to the inside of the turn. The kite has come under low and is pulling Karine nicely back from whence she came and as such, she’ll motor off on her toes. Note though how she still has the bar in on the sweet spot and she’s still pull pushing the bar. Don’t be tempted to finish the underturn too early. Rather let the kite rise and dive it back down, than have it skimming the water and crashing. Now all that is left is to get comfortable on your toe side and then untwist the bar, but yet again there is no rush.
Top Tips
Controlling the kite while riding blind with two hands will take some practice. Most of us are used to keeping it still with one hand somewhere on the bar, but not really proficient at moving the kite deliberately. Therefore, before diving headlong into this try riding blind with your two hands on the bar, with a more upright stance and your shoulders twisted so that you can reach it.


Once you’re happy with this, try changing direction a tad more upwind to slow down. This will give you an idea of the timing – when to slide and pull.
Have a scan of the sequence and watch the videos to see the move in all its glory.
Common Problems
If you’re struggling to ride upwind or at least on an edge blind with your two hands on the bar, the chances are that your bar is too far away from you. Trim the bar in closer and use your momentum to carry you blind while you acclimatise to this new position.
If you get pulled backwards as you start the under turn, it’s a sure sign that you didn’t turn upwind and slide the board before pulling the trigger. Turn your head to look at the kite; this will help you slide, and as long as you have slowed down, it will enable you to commit fully to the bar and get the kite turning. As a side note make sure you drop your weight onto your blind front foot!
If the kite’s crashing or you find there is too much power. Firstly make sure the kite is high enough before starting the underturn, 11:30 or 12:30 is perfect, higher is OK, but lower makes it trickier. Secondly keep the kite turning with your hands and keep the bar on the sweet spot. If you let off either, the kite will take a longer path round, with more power and less room.

Keystones
- Trim your bar in
- Two hands on the bar once you landed blind
- Edge up, then move weight forward to slide back of board
- Underturn with full commitment, lean weight away from kite
- Keep the kite turning and follow it out carving onto your toes
This technique article was in Issue 58 of IKSURFMAG.
Related


By Christian and Karine
Christian and Karine have been working together as a coaching team, running improver to advanced kitesurfing clinics since 2003.
