
Toeside Front Loop Down Loop Transition
Technique / Intermediate

Introduction
Here is a trick that feels so smooth and is just about combining some skills that you may already have. Apart from the hopefully obvious need to have a solid toeside so that you can resist and pop, the other basic necessity for this is without doubt a front loop from toeside, whether it be a transition or not. If you haven’t tried that yet, best start now, as this is a progression on from that That said, please read on, as this will still point you in the right direction. AND being comfortable with downloops or at the very least under turns is a must.
Lets have a quick look at four parts of this move that have to work well.


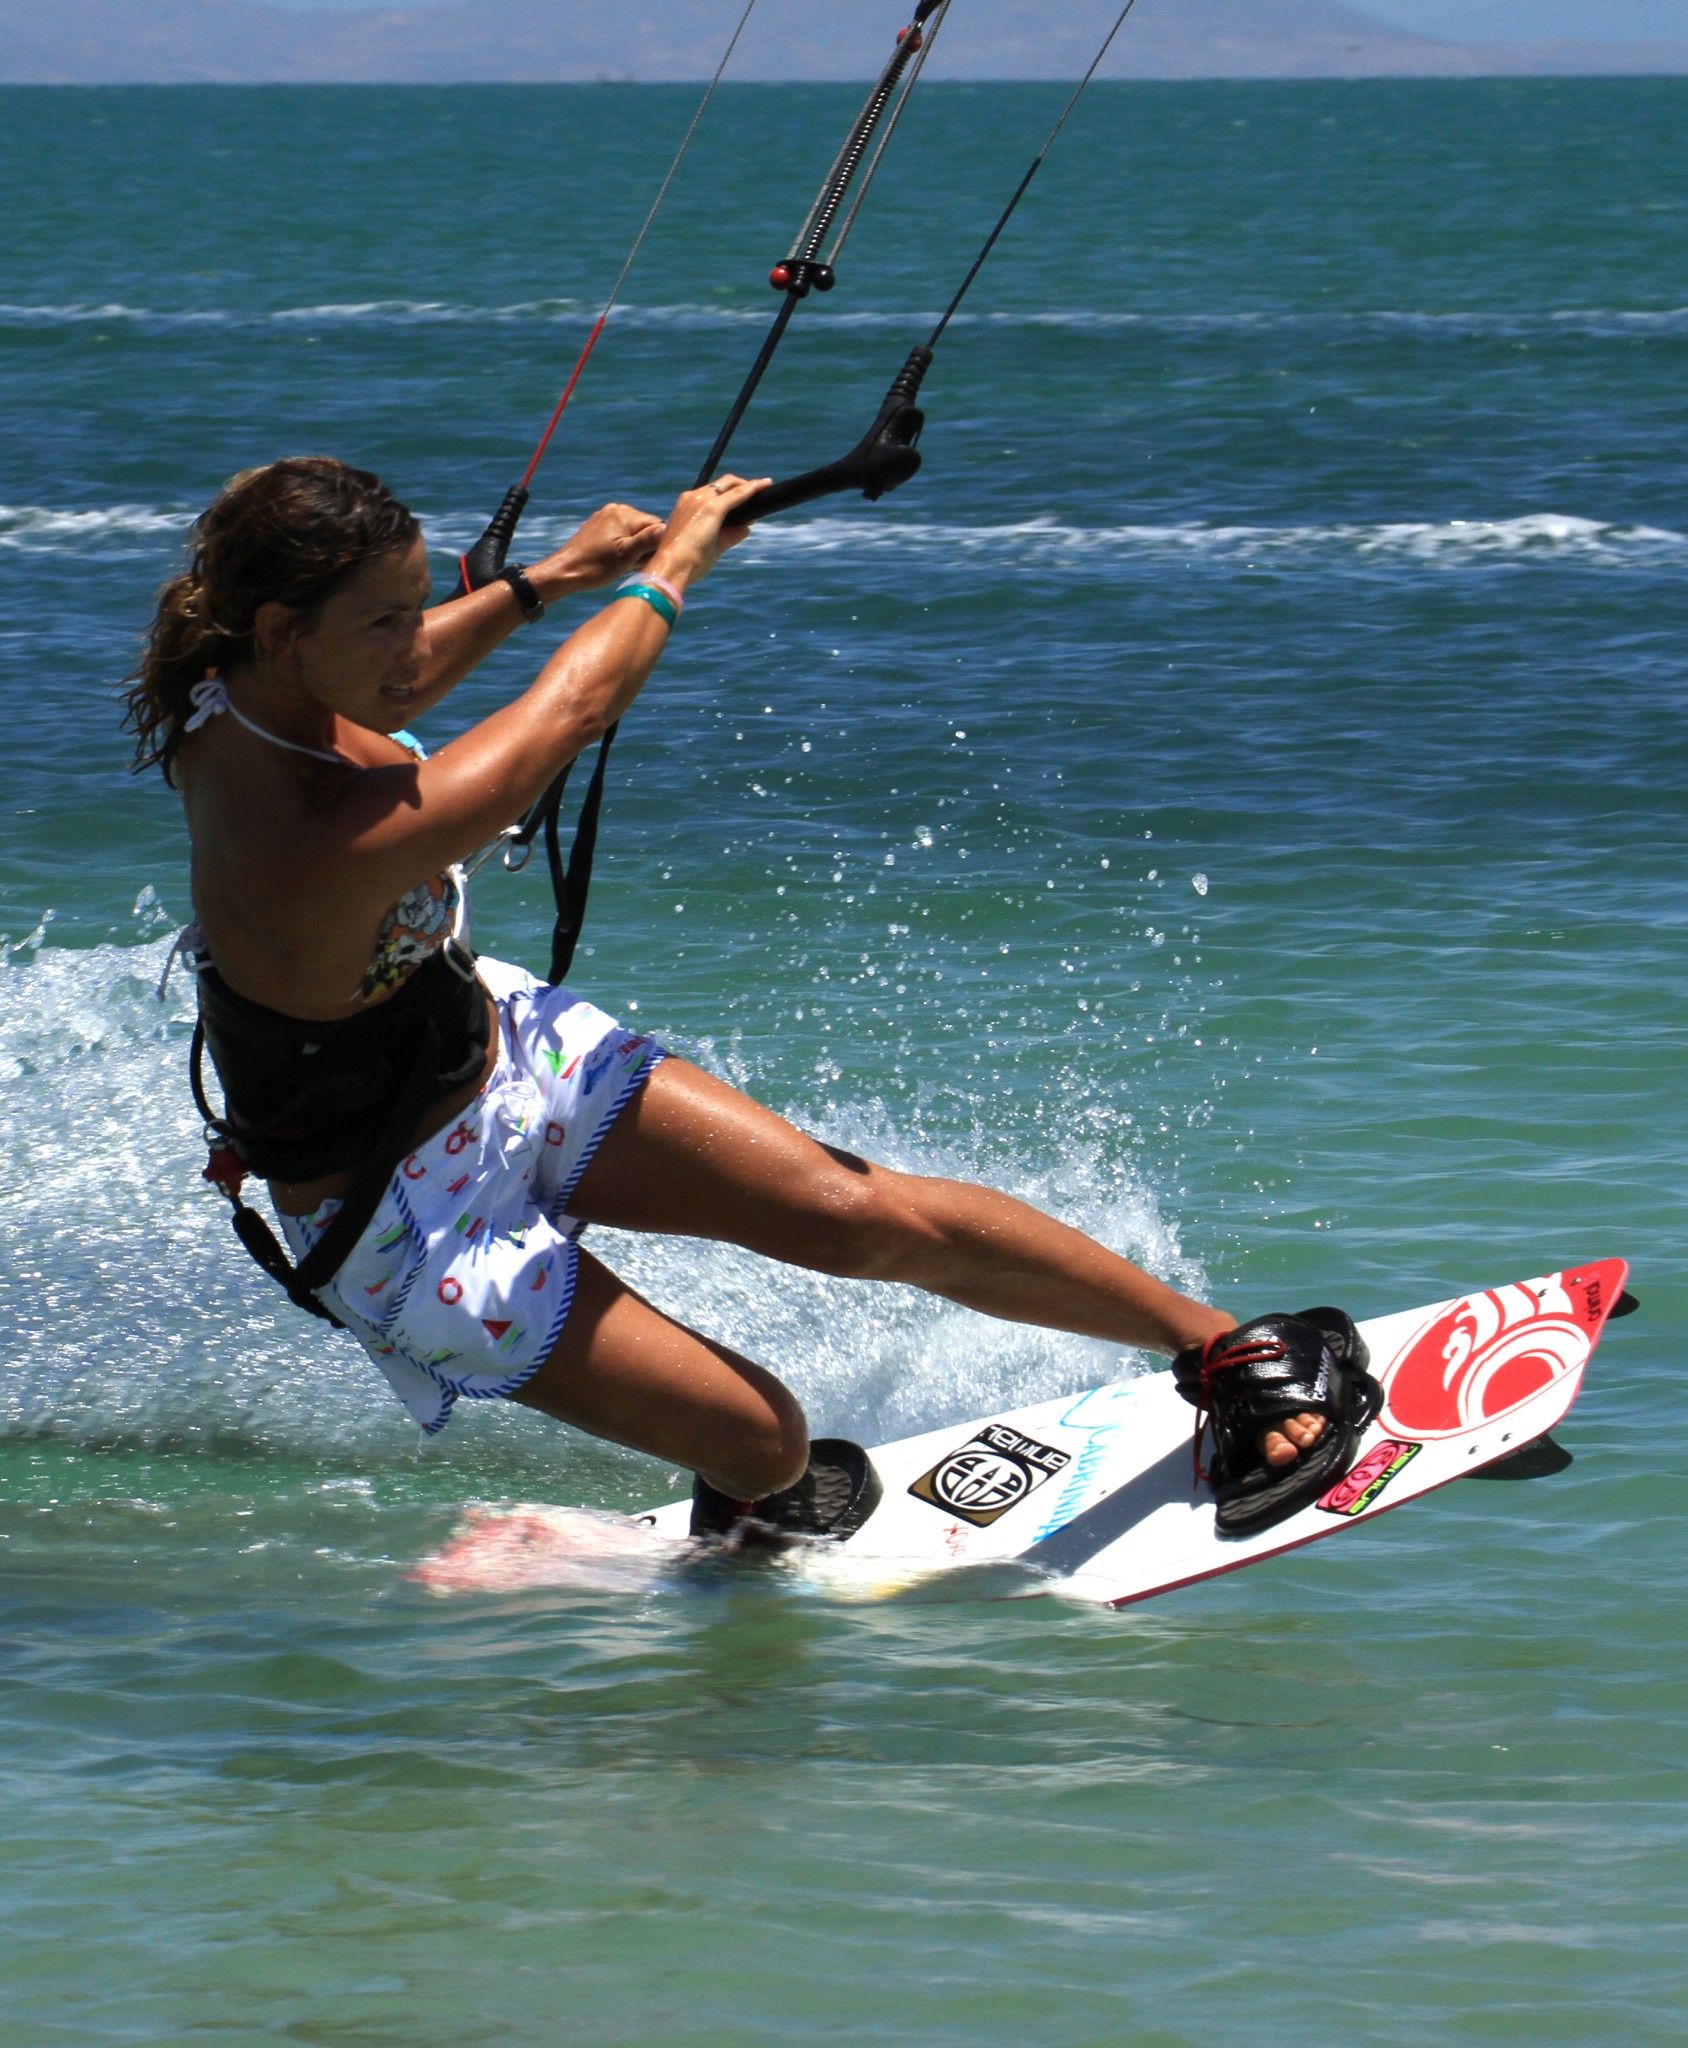
The Approach
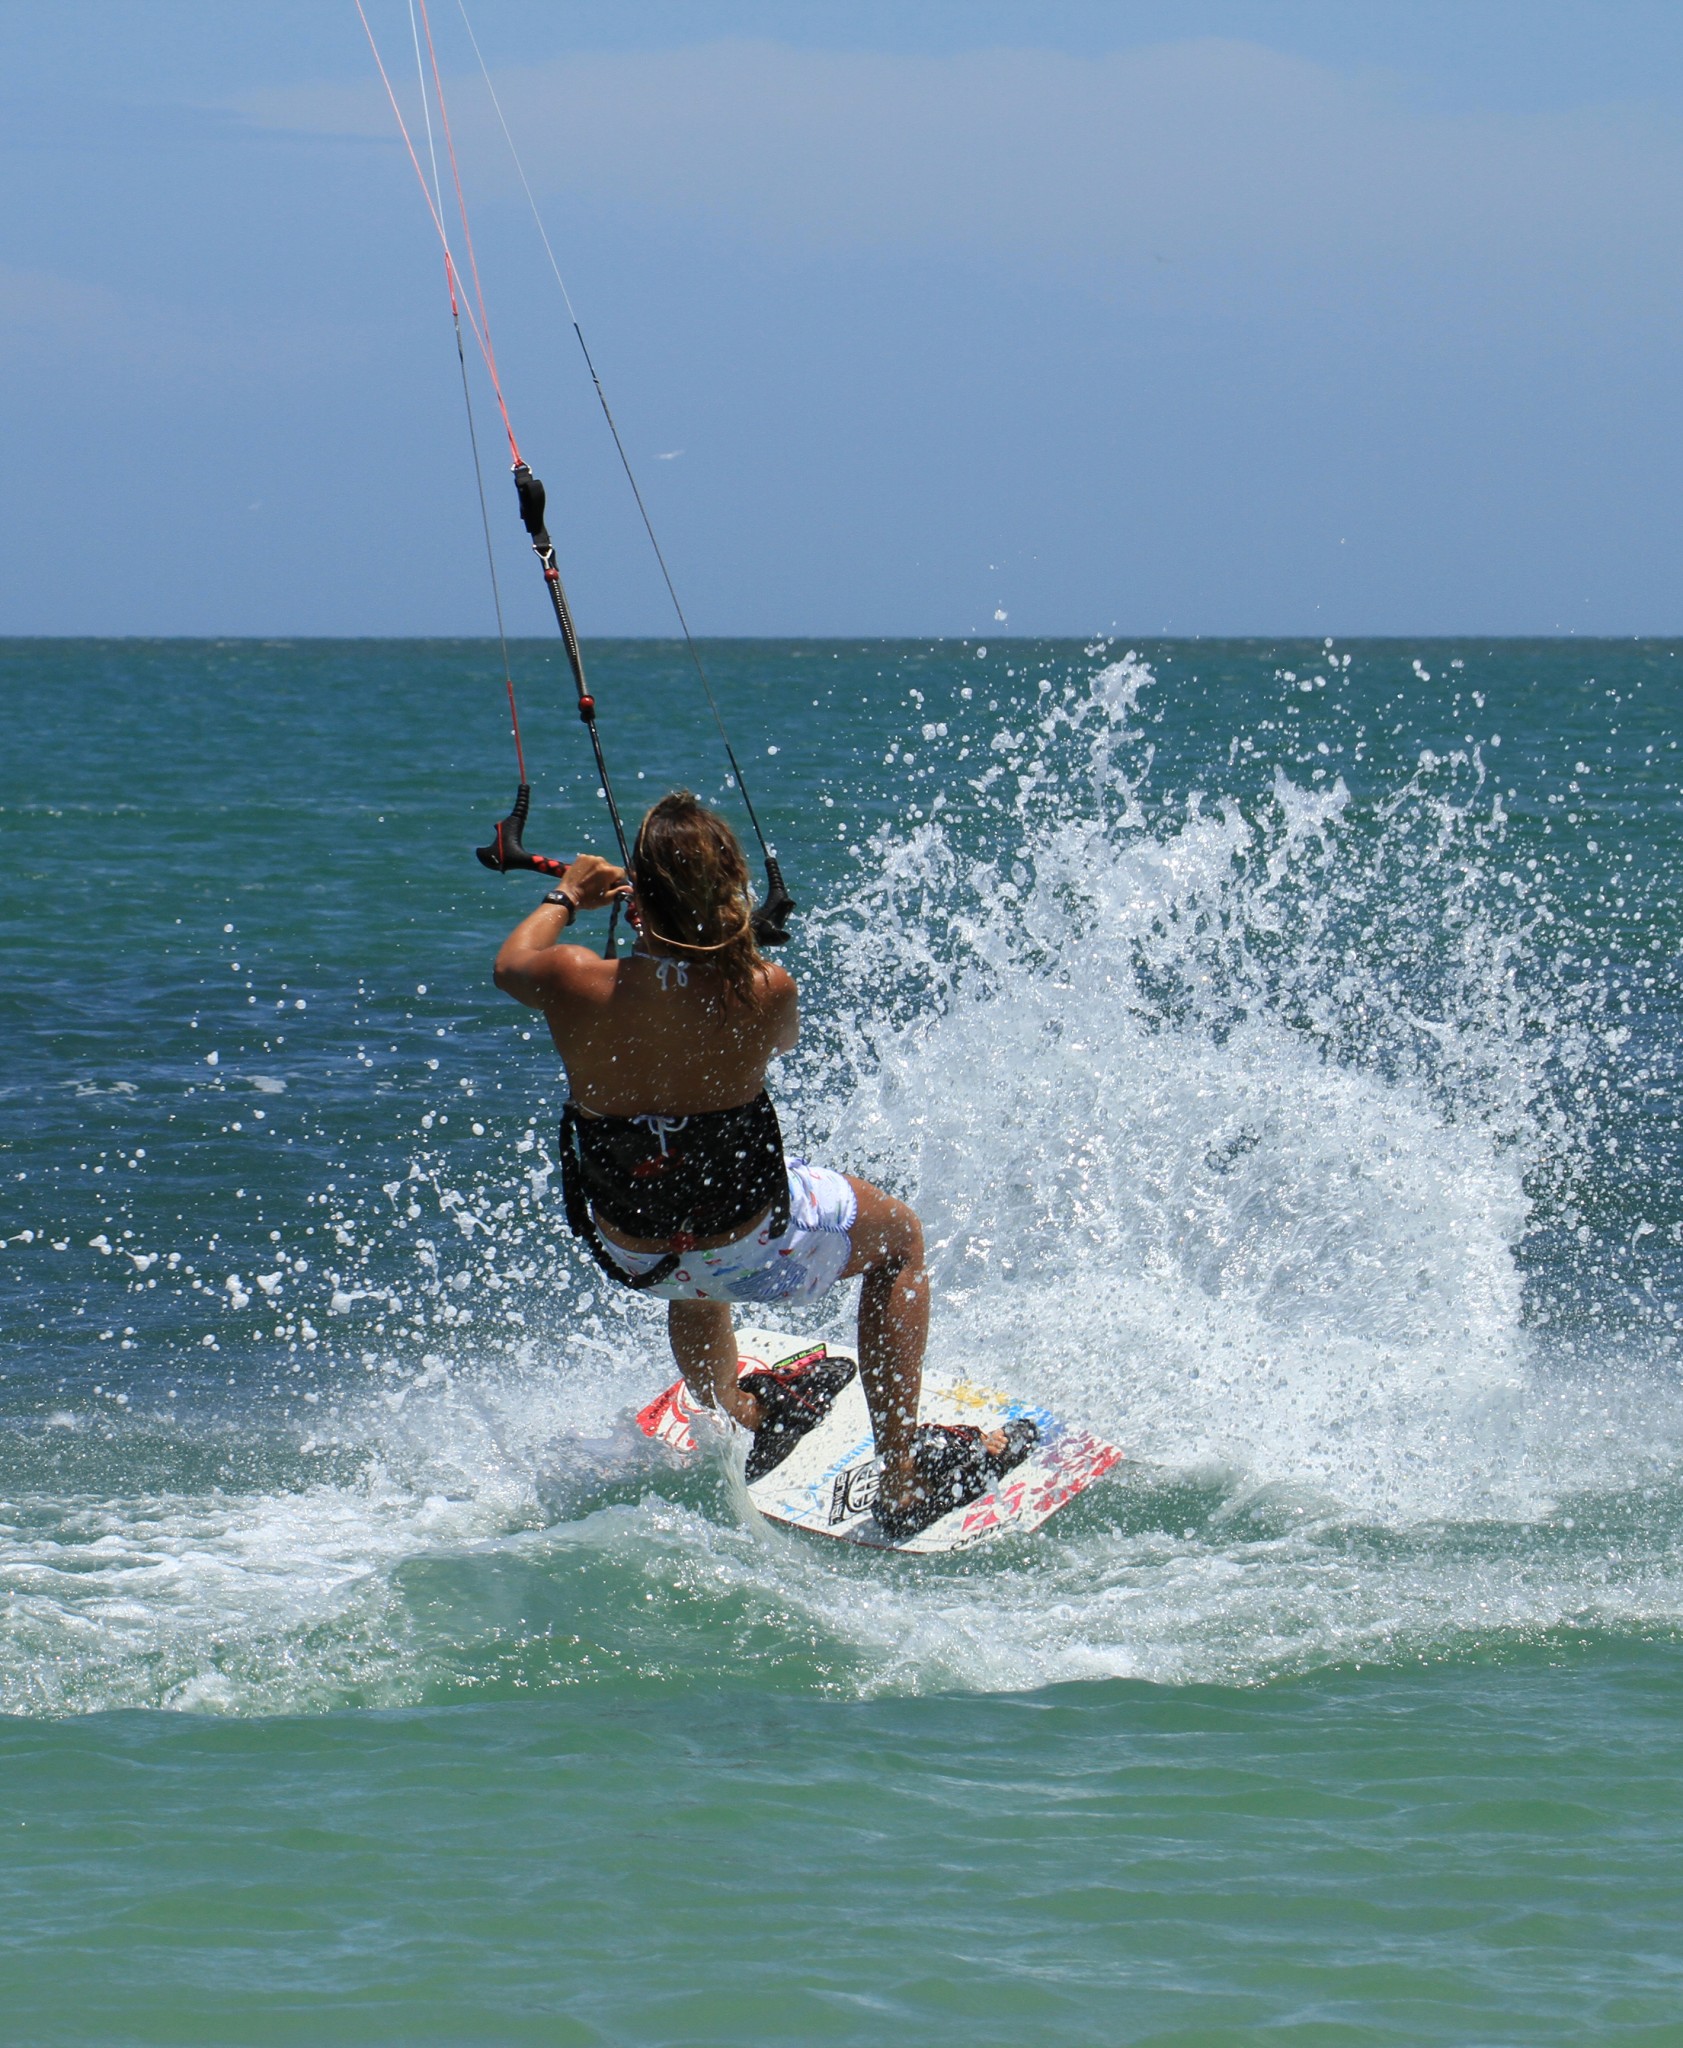
To be able to jump from toeside and resist a moving kite you will need speed and a hefty edge. You’ll not be aiming for the moon, but in order to have the kite ready for the rest of the move you do need to carve hard against the kite when you send it back so that you don’t loose you edge and end up with the kite too far behind you, and so that you will scrub off enough speed so that you can go back in the other direction.
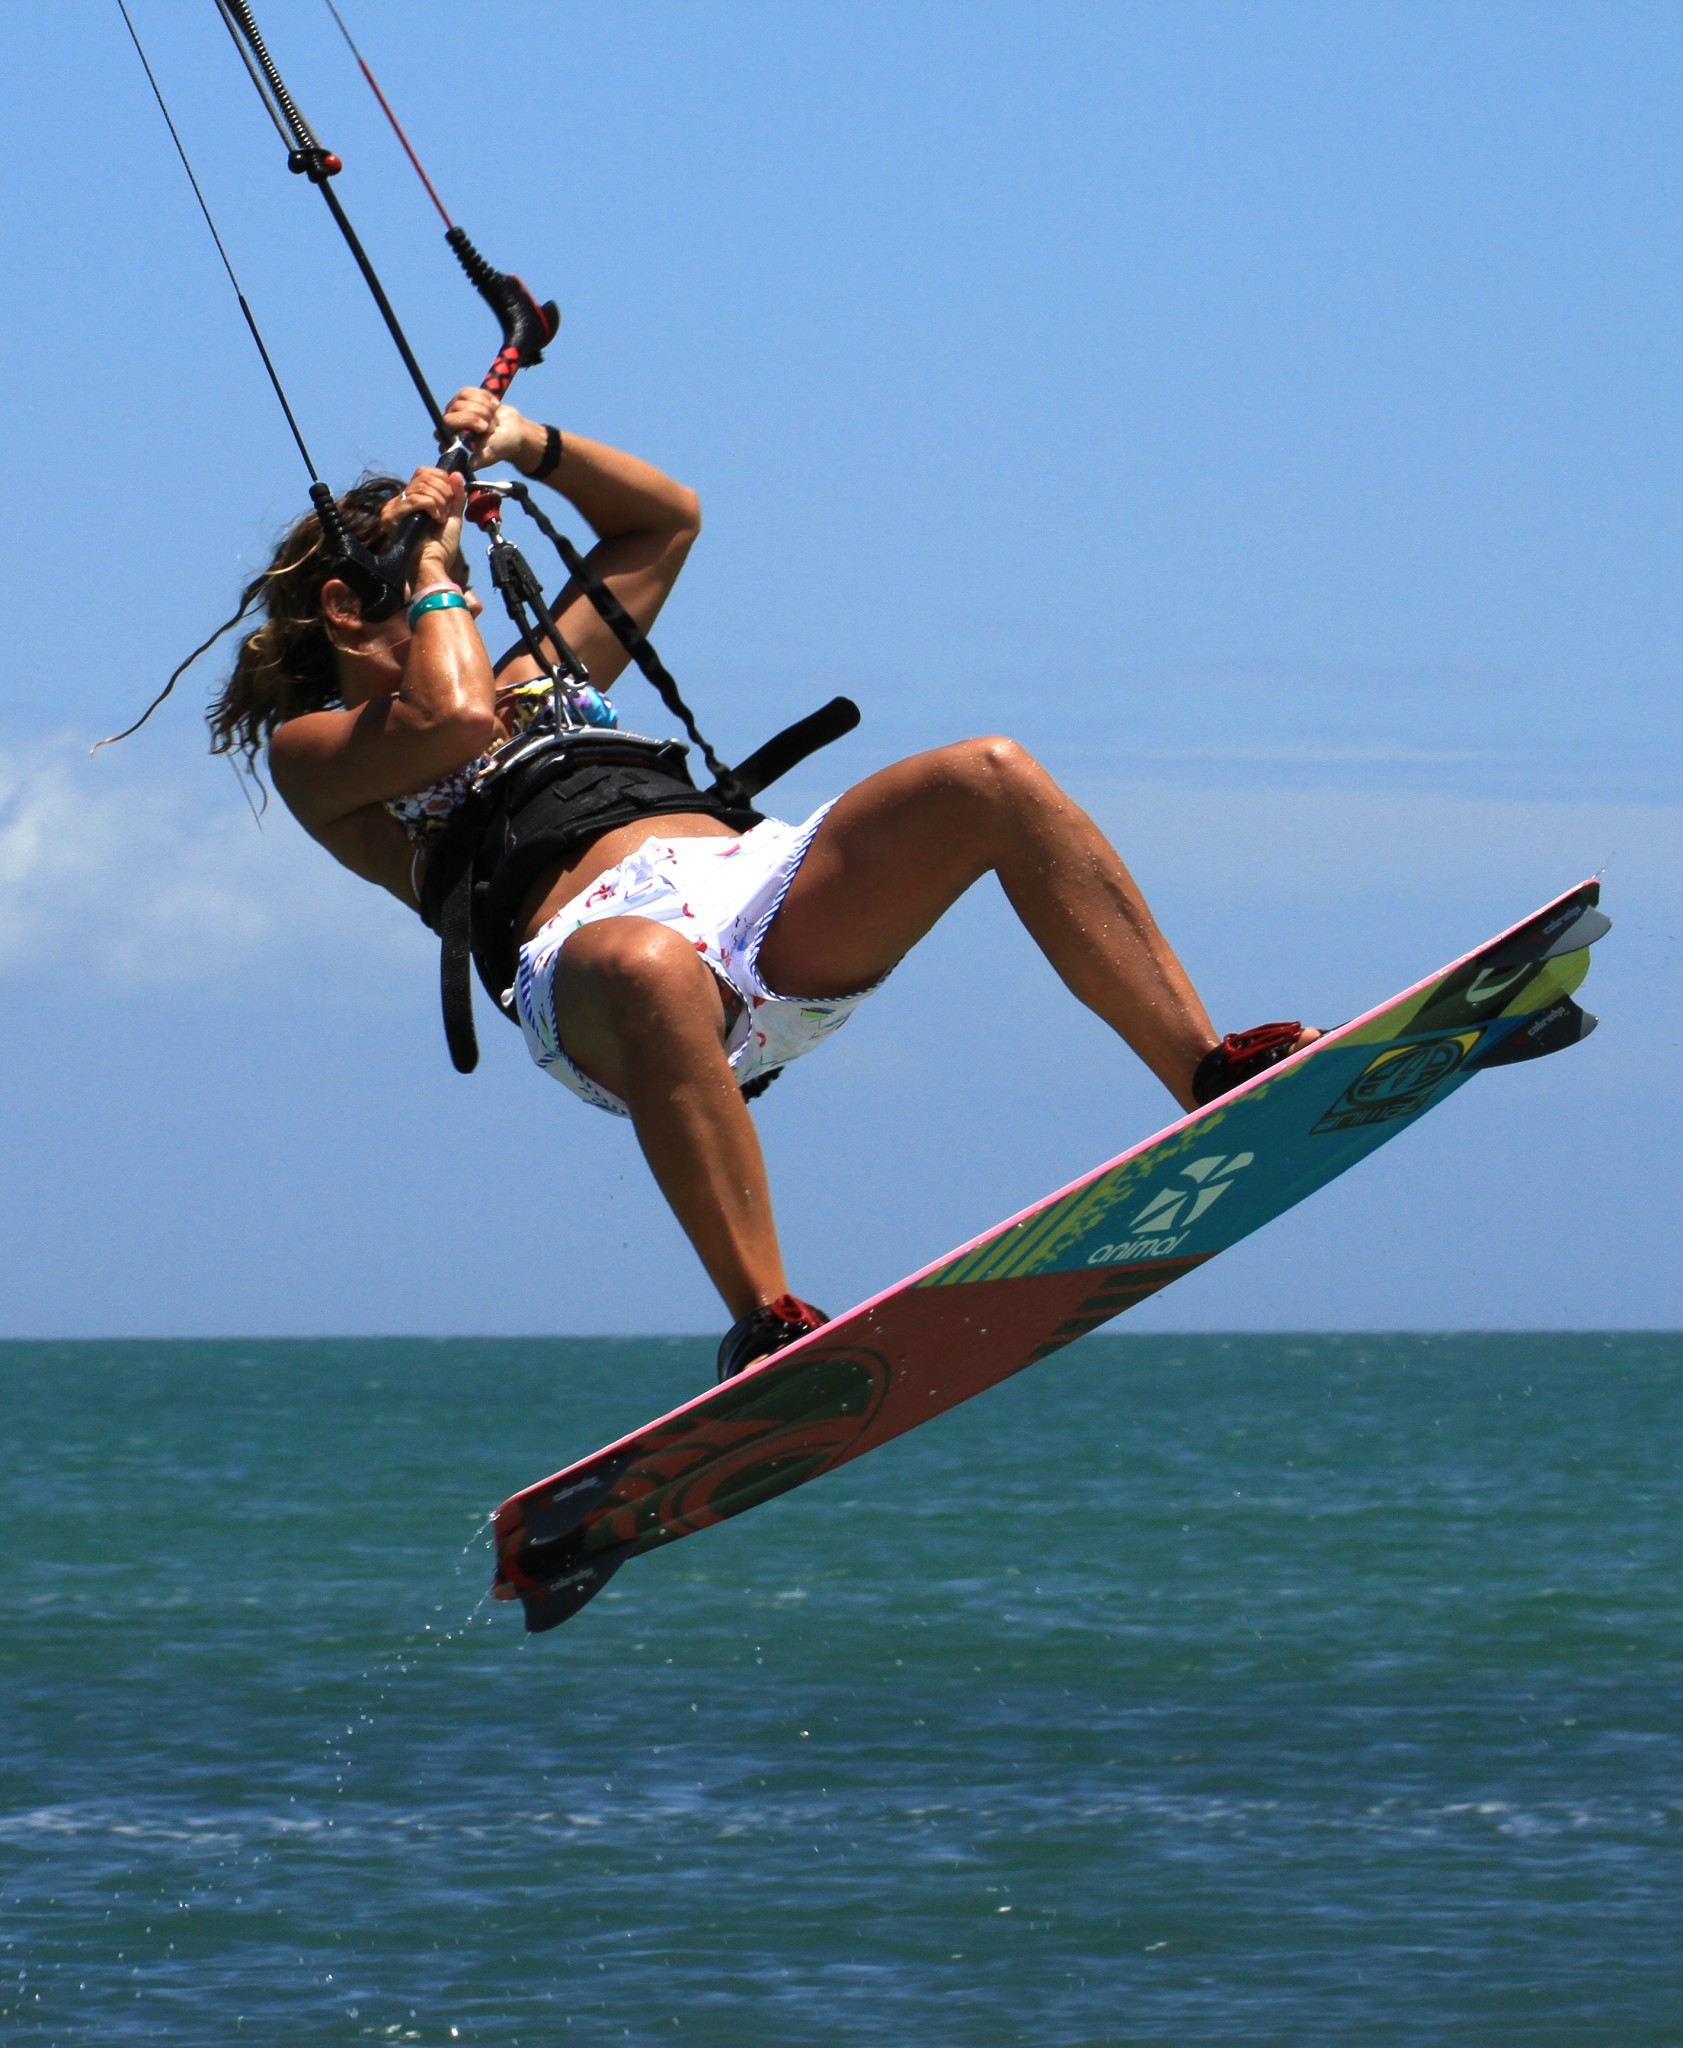
Pic A shows Karine during a real kite face moment. Firstly she has the speed. Best bet to learn is to approach heelside and then quickly pop to toeside so that you keep your momentum up. To send the kite hard enough to get some air, Karine has her bar trimmed in so that she can still edge and reach the bar with two hands. In all honesty it does help that her harness is not tightened to the max. To carve against the kite Karine has dropped her hips back over the tail of the board so that she can push away with her back foot whilst the front leg is extended to keep the edge. Finally Karine is looking forward, not at the kite, to resist the pull that little bit more.
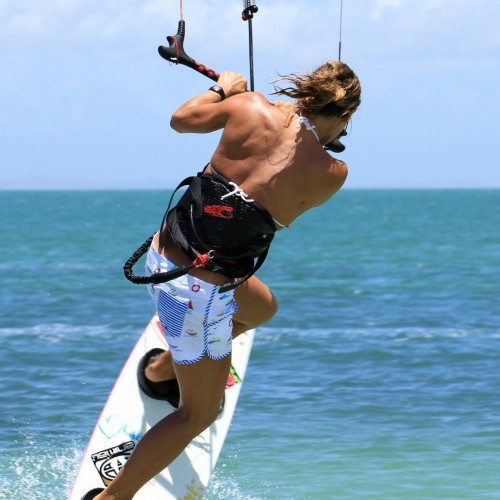
The Take Off
The aim of your take off is to get the kite moving forwards again and to initiate your front rotation. You need to get the kite moving forward so that as you go through the move it is leading you. If you do this, when you down loop it will pull you forward and down wind for a chipper landing. If you leave it behind you or above you, the kite will pull you back from where you came and you won’t land smoothly if at all! All you have to do is start your rotation, if you do this, the rest will happen automatically because you are coiled up in toeside and the pull on your harness will unspin you all the way!
Pic B. As Karine feels the kite pull her up she actually pops up off her back leg by suddenly kicking her foot down into the water and extending her back leg. This upward motion will also push Karine forward, so as long as she throws her head down and under the bar she will start to rotate. You can see that as soon as she comes up she is already pulling on her front hand to get the kite moving forward above her. This is the way in which you are throwing yourself for the rotation, so lean on your front hand as you throw your head down.
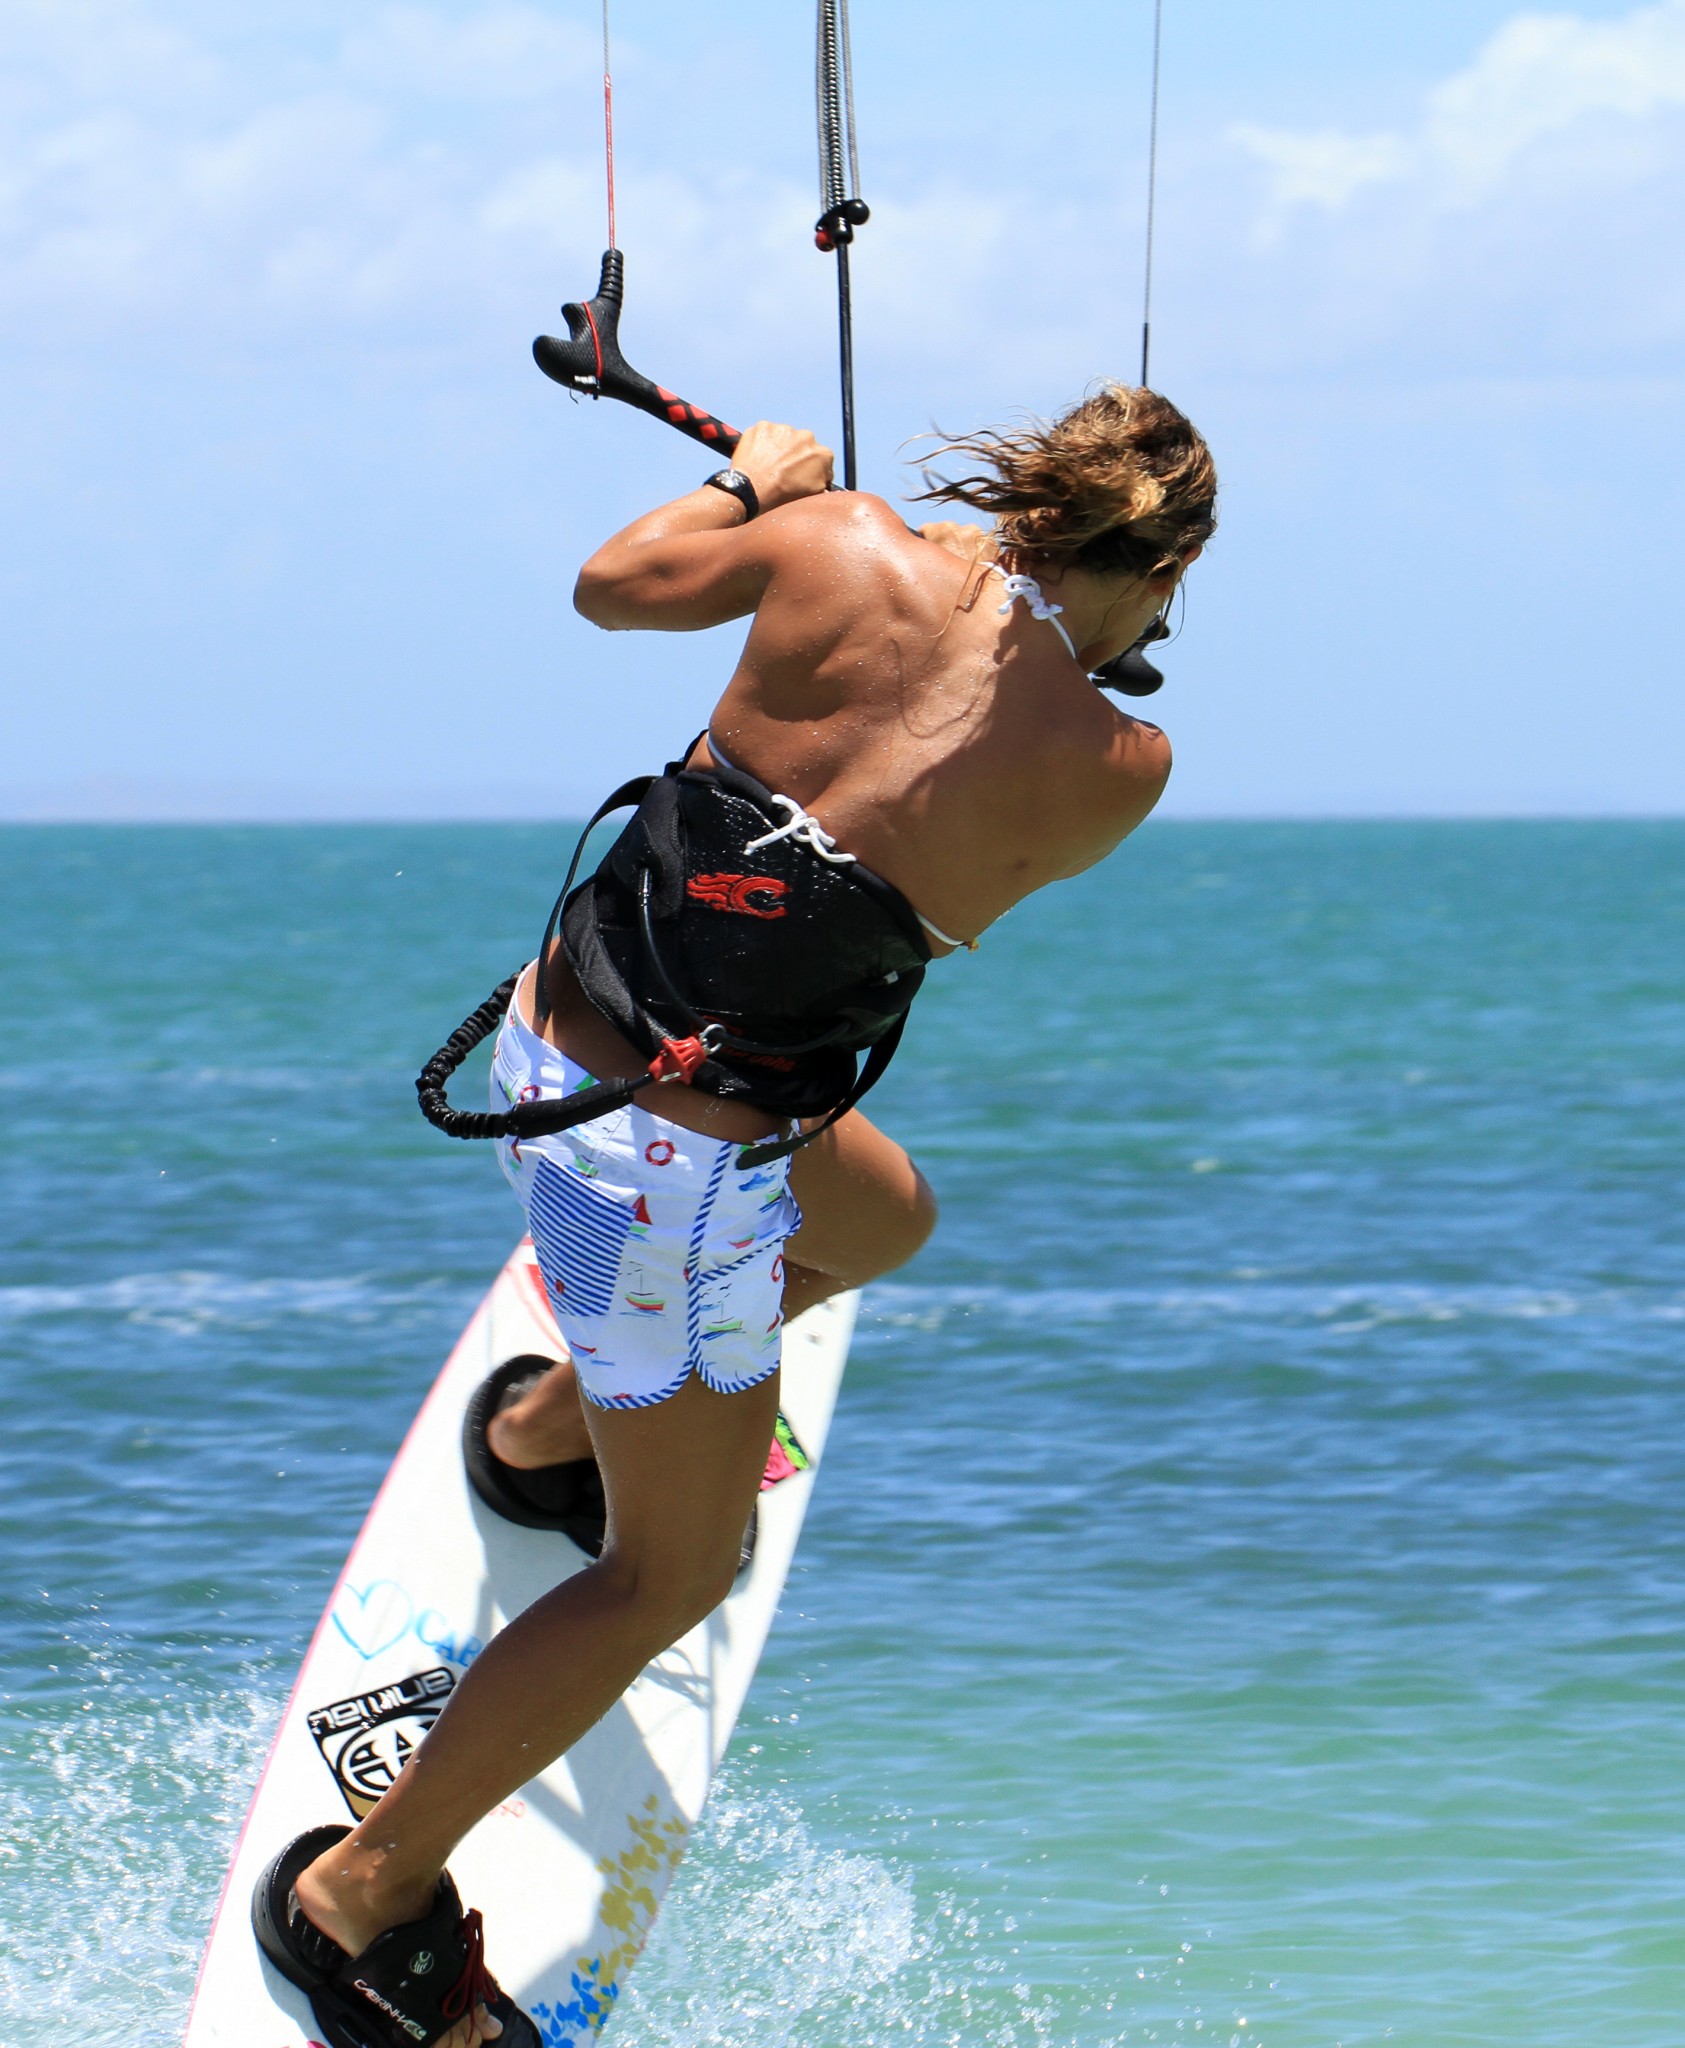
The Down Loop
The idea of the downloop is to pull you out of the trick for a fast, smooth and comfortable landing. Assuming that you have got the kite forward and have kept your balance in the air with a good knees up body position your aim is to do a progressive loop that starts quite early so that the kite scoops some power and pulls you forward. You don’t want to wait until you have finished your rotation and then pull really hard, as the kite will loop quickly above you and drop you down on your bum. However on your first attempts rather pull too hard than not hard enough.

In Pic C Karine is facing upwind having already rotated around from her take off. She cannot yet see where she’ll land but has already started to pull harder on her front hand to get the kite looping. As the kite starts to pull it will help her to rotate around, and as soon as she can see the water behind her she will pull harder to make sure that the kite completes its loop.
The Landing
Your objective from this transition is to land with the board pointing down wind and you weight back and on your heels so that you can carve around whilst following the kite. As we mentioned you don’t want your kite to be back up at the top of the window, but you do want it to be climbing back up. Only practice will give you a feeling for where your kite is.
Pic D shows Karine landing. She’s landed tail first and already has her weight committed to her heels so that she can follow the path of the kite and exit the transition with good speed. She’s continues to pull on the bar until the kite has risen sufficiently and she will then fly it forward.
Top Tips
Keeping the kite forward should be your priority, so send the kite aggressively so that it moves quickly and you don’t have to edge for long, but only send it for a split second so that it doesn’t go too far back.
The other must for keeping control of the kite is to keep tension on the back lines, and the only way to do this is to keep the bar in throughout your rotation, remember hands to hips.

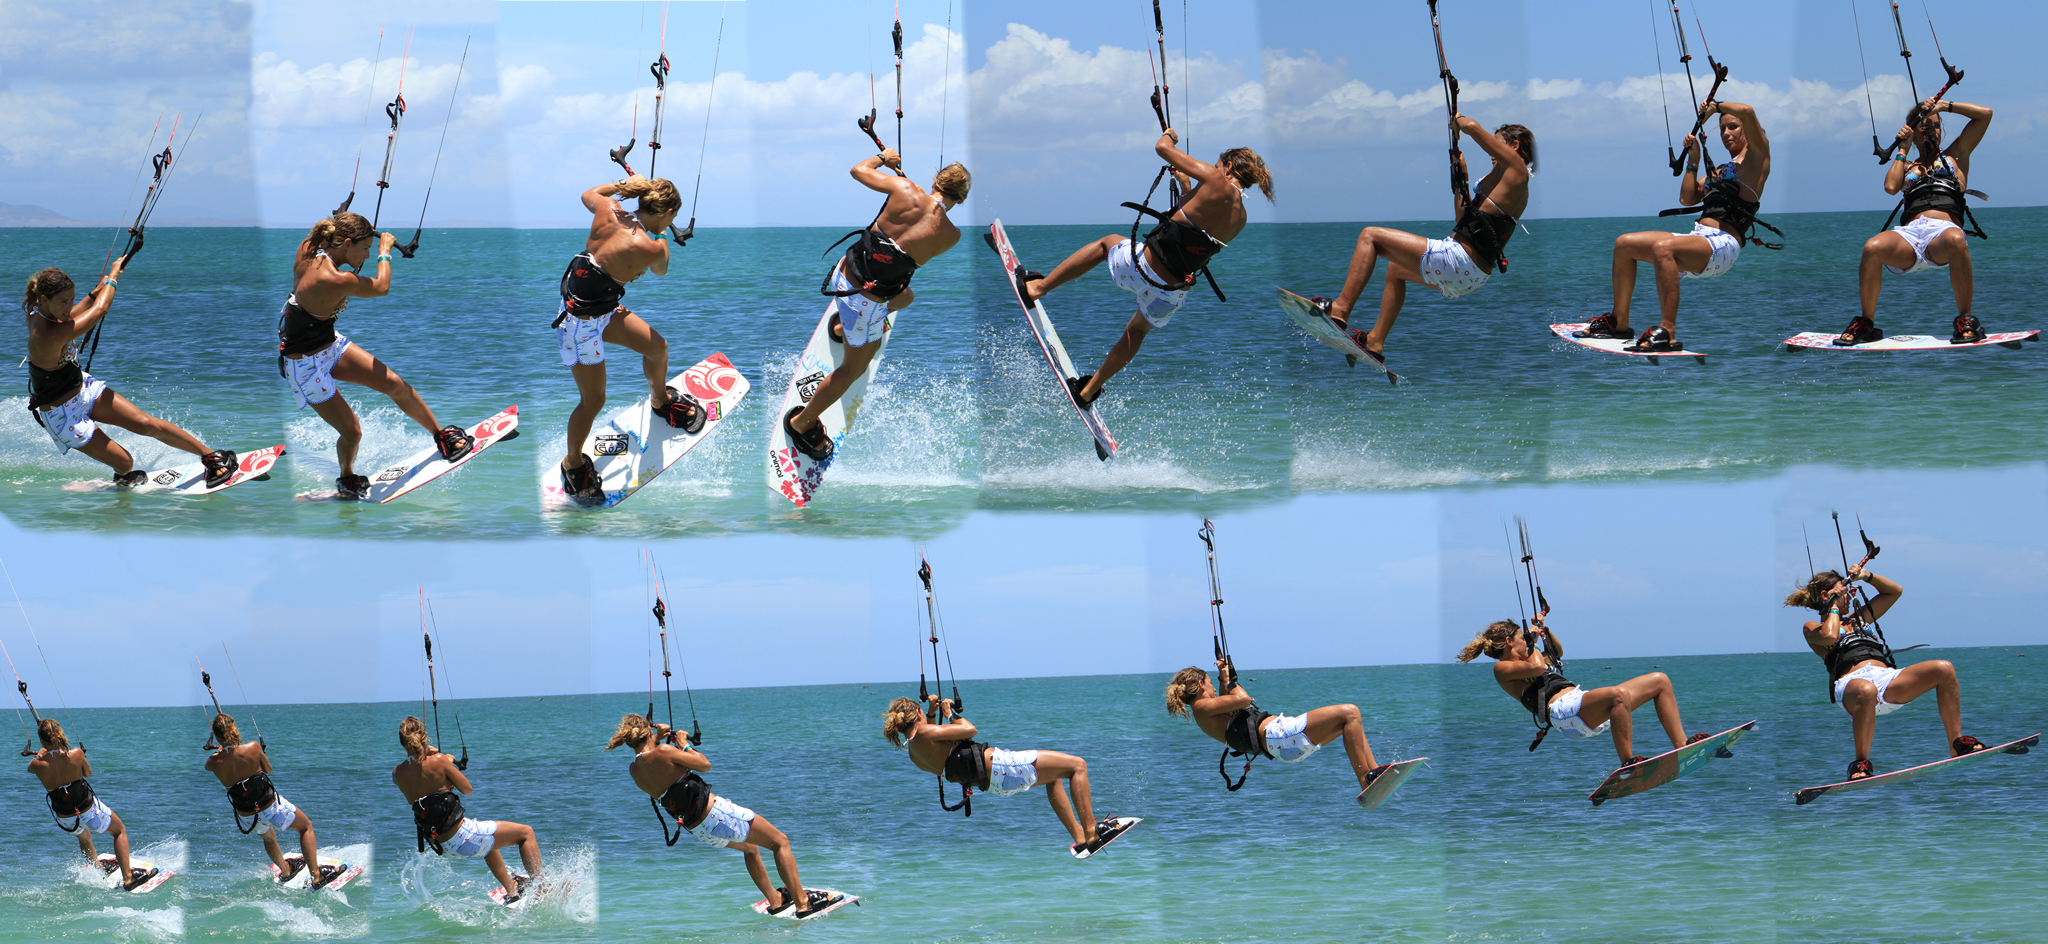
Following Sequence 1
- Pic 1. Karine approaches with good toeside speed and her kite at 1 o’clock. She then sends her kite back with both hands on the bar and edges hard upwind.
- Pic 2. As the kite starts to lift Karine kicks up off her back foot.
- Pic 3. And throws her head forward and down under the bar to initiate her rotation.
- Pic 4. At the same time she pulls on her front hand to steer the kite forward.
- Pic 5. As she starts to rotate Karine keeps the bar in – hands to hips.
- Pic 6. She pulls her knees up for balance and to help with the rotation.
- Pic 7. Karine keeps looking around over her back shoulder to keep her momentum going.
- Pic 8. As Karine rotates around so that she is facing upwind she pulls harder on her front hand to initiate the down loop.
- Pics 9 & 10. As the kite starts to loop Karine twists around to look at the water and where she might land!
- Pic 11. Once she knows where she will land Karine can either pull harder or ease off depending on the pull from the kite.
- Pic 12. As she drops down Karine lowers her legs so that her board will be underneath her and ready for the landing.
- Pic 13. With the kite leading Karine lands over the board but with her weight back and on her heels. Her bar is still in.
- Pic 14. Karine absorbs the landing with her legs.
- Pics 15 & 16. Karine carves out of her transition and steers her kite forwards.
Common Problems
If you find that you’re landing on your bum and the kite is just not pulling you when it downloops! This is the classic of leaving the kite behind you. If the kite starts to loop whilst behind you or even right above you it will turn quickly without giving you the necessary power. To combat this, pull harder on the front hand when you take off and try to make this a progressive pull that leads into a downloop, rather than a sudden yank on the bar.
If you are landing with the board across the wind on an edge, and therefore stopping! Two possible causes here.
The first being that your kite is too far behind you, but most likely because you pulled too hard to start the downloop. So once again be more progressive with the bar.
The second is that you are over rotating your front loop. So try and be gentler with your head and shoulders when you throw your rotation. Or if you fancy being really flash try and turn your body a tad more before landing and claim a toe side front loop down loop transition to toeside – just don’t try and say it after one too many sherbets.
Keystones
- Trim Bar
- Send and carve
- Pop and throw
- Kite forward
- Progressive pull
This technique article was in Issue 27 of IKSURFMAG.
Related


By Christian and Karine
Christian and Karine have been working together as a coaching team, running improver to advanced kitesurfing clinics since 2003.
