
Strapless Heel to Toe Side Duck Tack
Technique / Intermediate


Introduction
We’ve covered this on a twinny, now it’s time for the surfboard challenge and at a later date the foiling version will be explained. Regardless of craft this is a fun move, which looks brilliant, feels brilliant and let’s be honest, is brilliant. Perfecting this strapless is admittedly a fraction more tricky than on a twin tip with straps, but the good news is that your favoured surfboard will carve up through the wind better, so that should even out the score somewhat. As an added bonus, if you are foiling, getting this dialled on the surfboard first will certainly demystify some of the movements.
We’d say that the only real prerequisite for this is the Tack. Reason being that your carve is essential, so without a decent thrust up through the wind you’ll be struggling before you even get there. Time for a look at what will make this achievable....


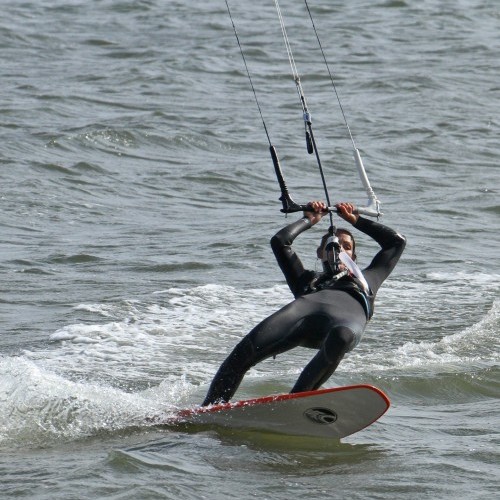
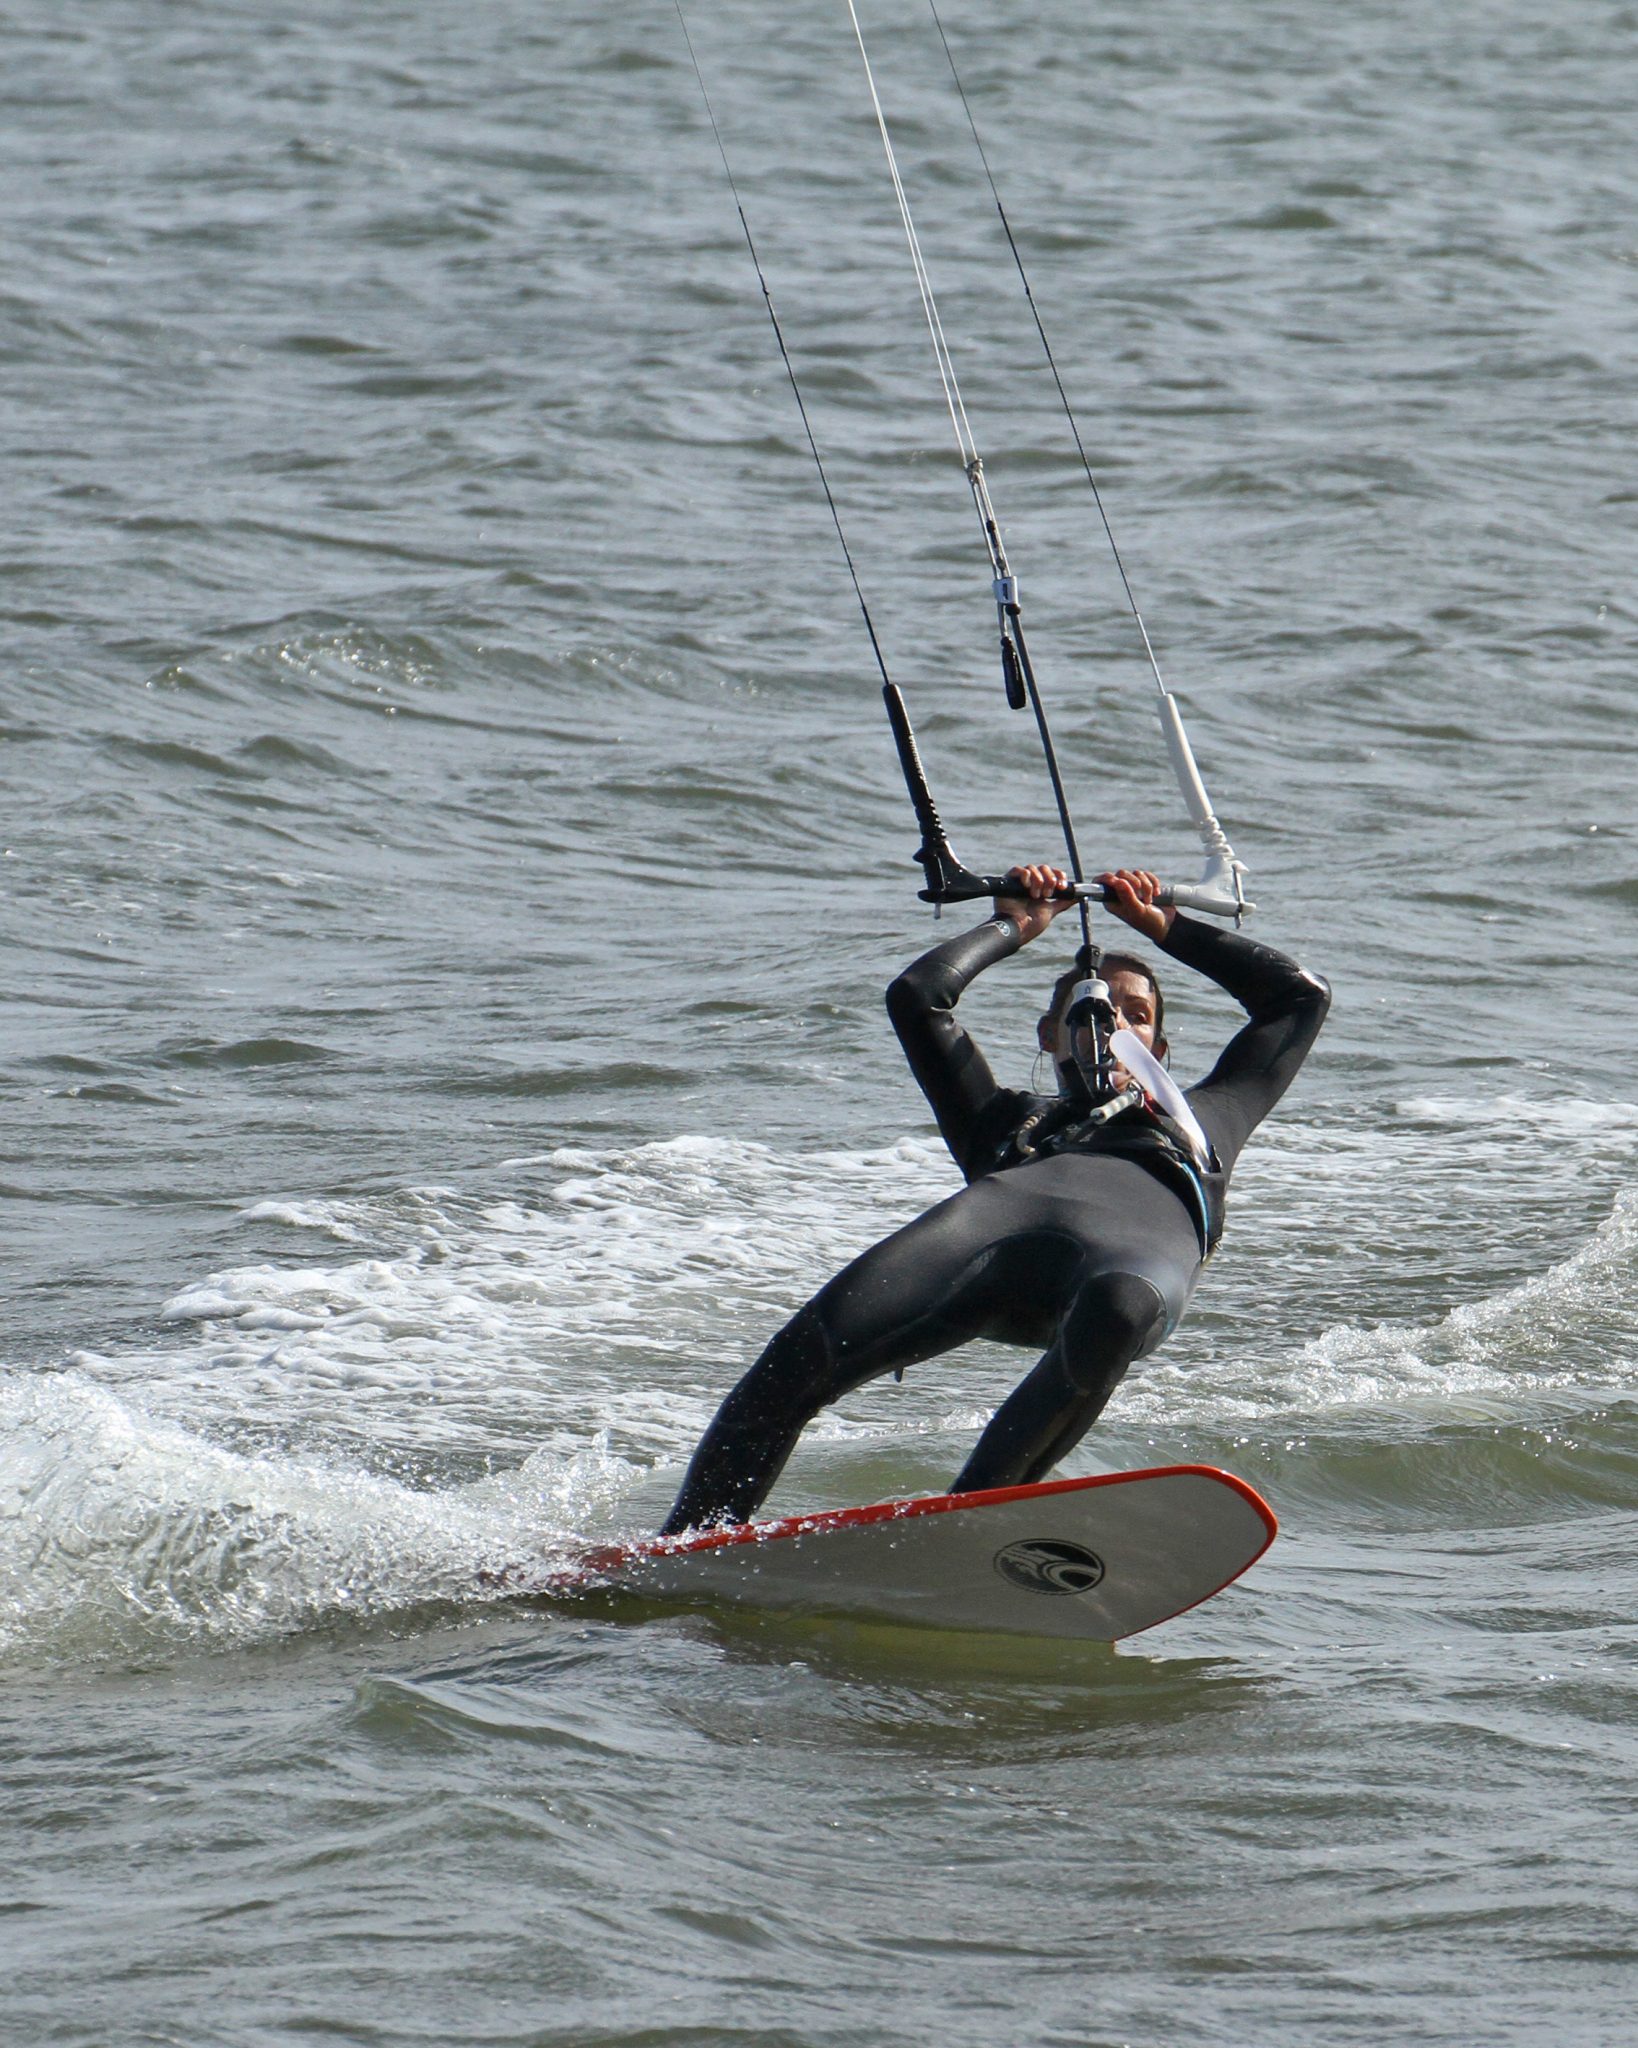
Approach Pic A.
If you’re a tacker you should have this part in the bag. However, a little refresher never goes amiss. You’ll need some momentum so that you can carve up, and as such you should be coming in on a good edge, on an upwind course, so that you have some speed but also lots of control. Your heels should be biased towards the heelside of the board, so that you can sit on them to engage the rail when you carve, and your back foot doesn’t want to be too far back, otherwise you may struggle to move you weight forwards when necessary. Your hands centred so that you won’t move the kite too aggressively. From this position you need to drift the kite very slowly up to 12 o’clock whilst releasing the bar so that you are able to carve up wind and are not pulled up onto the board. You can see that Karine is approaching, on an edge and not too fast, her feet are close to the upwind rail of the board and from this position she steers the kite up, lets out the bar and initiates her carve.
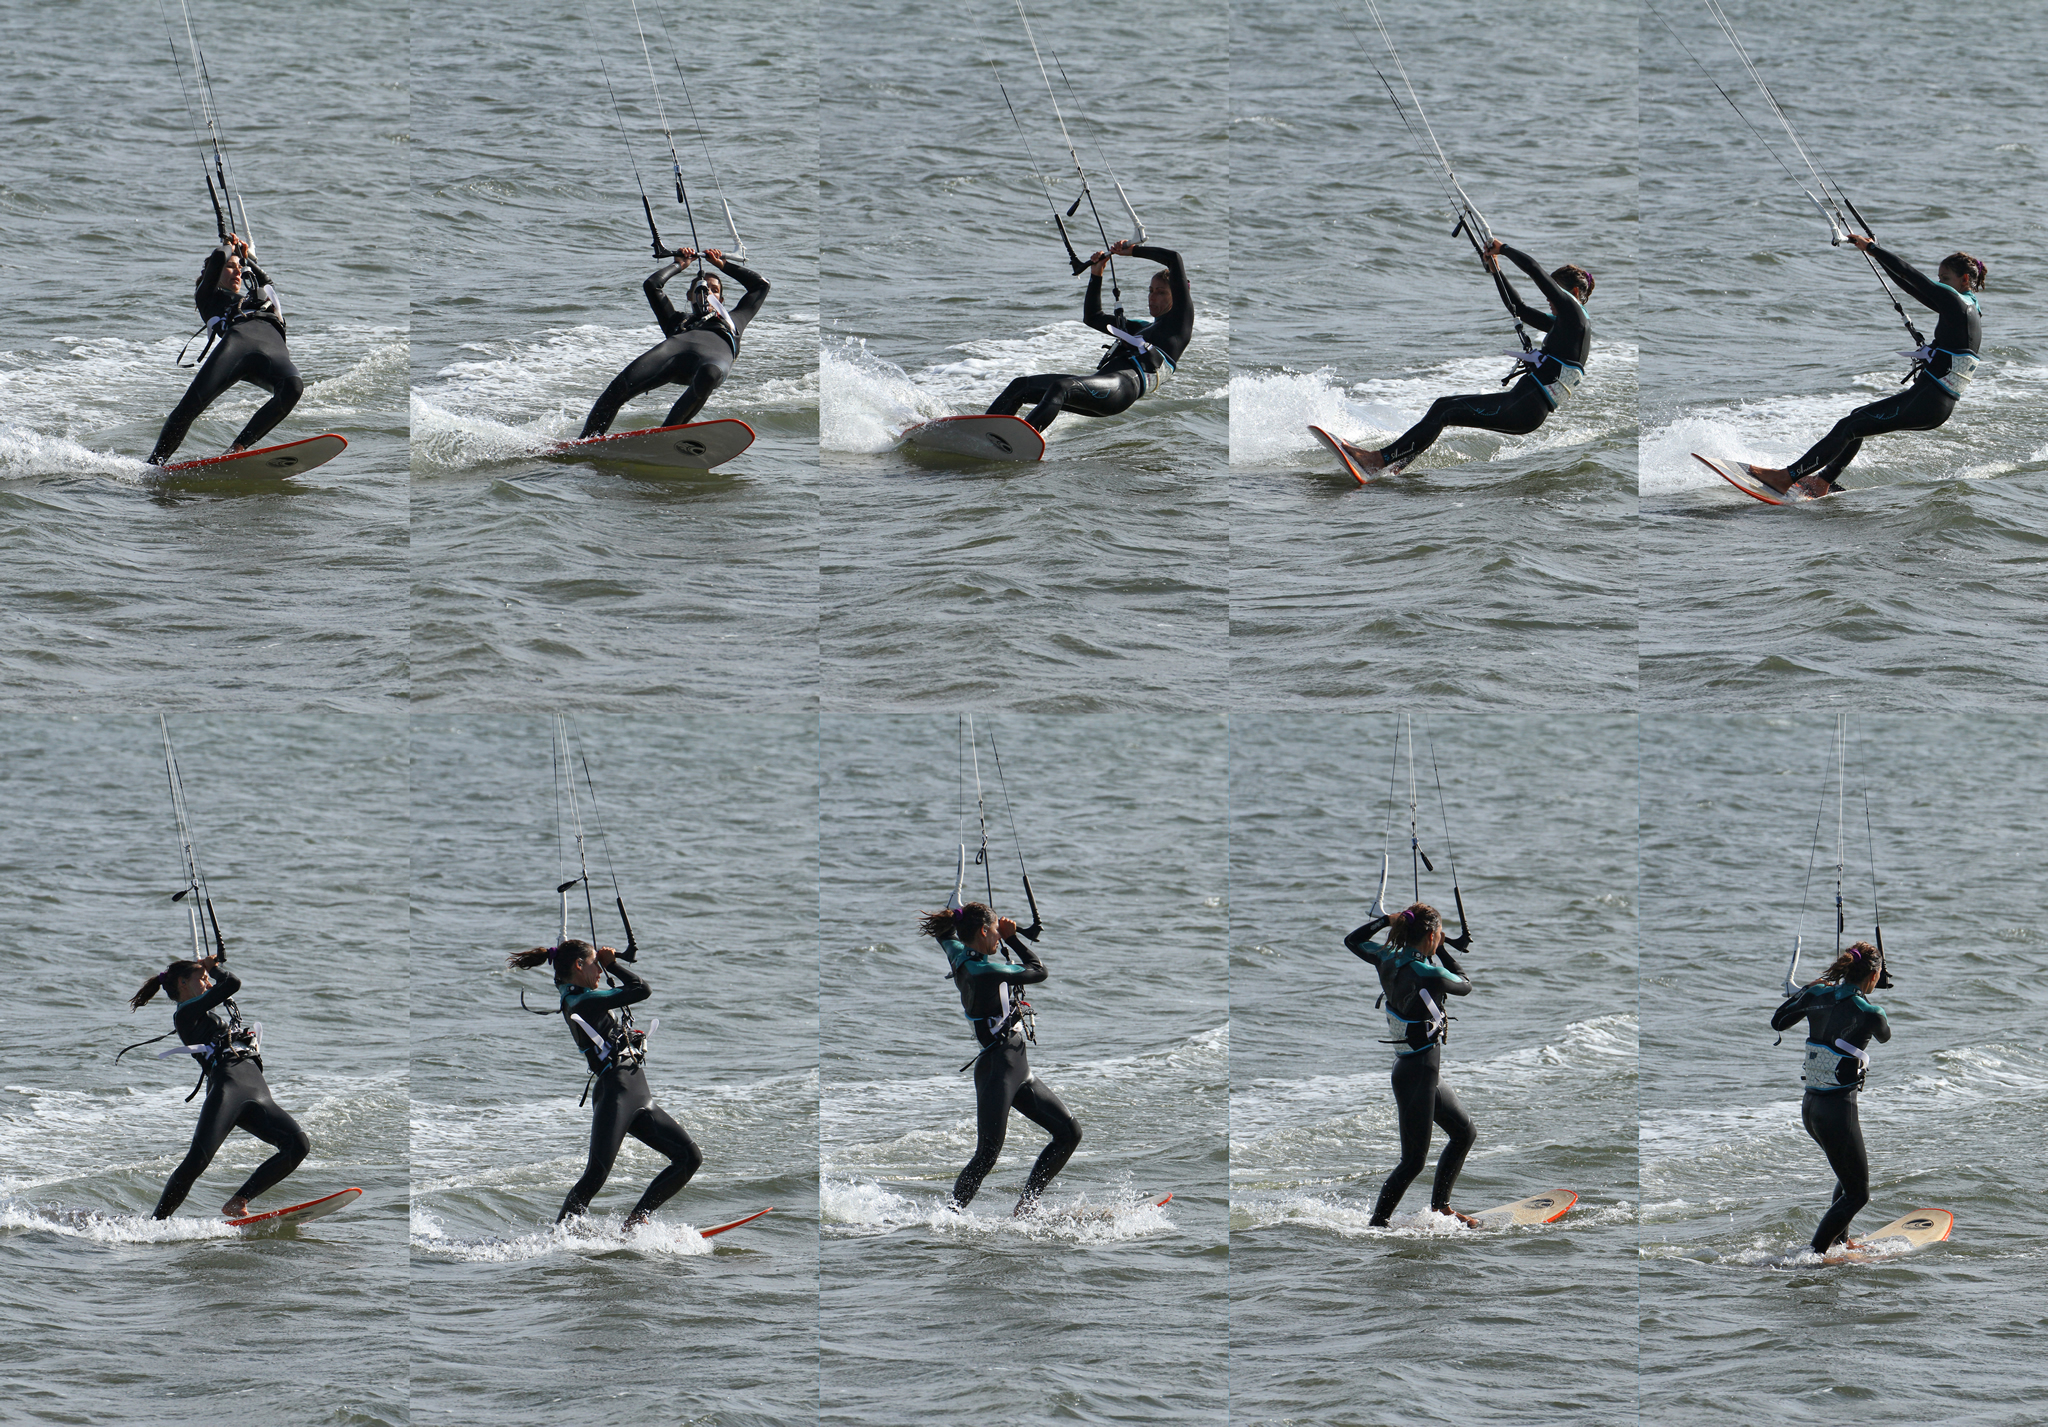
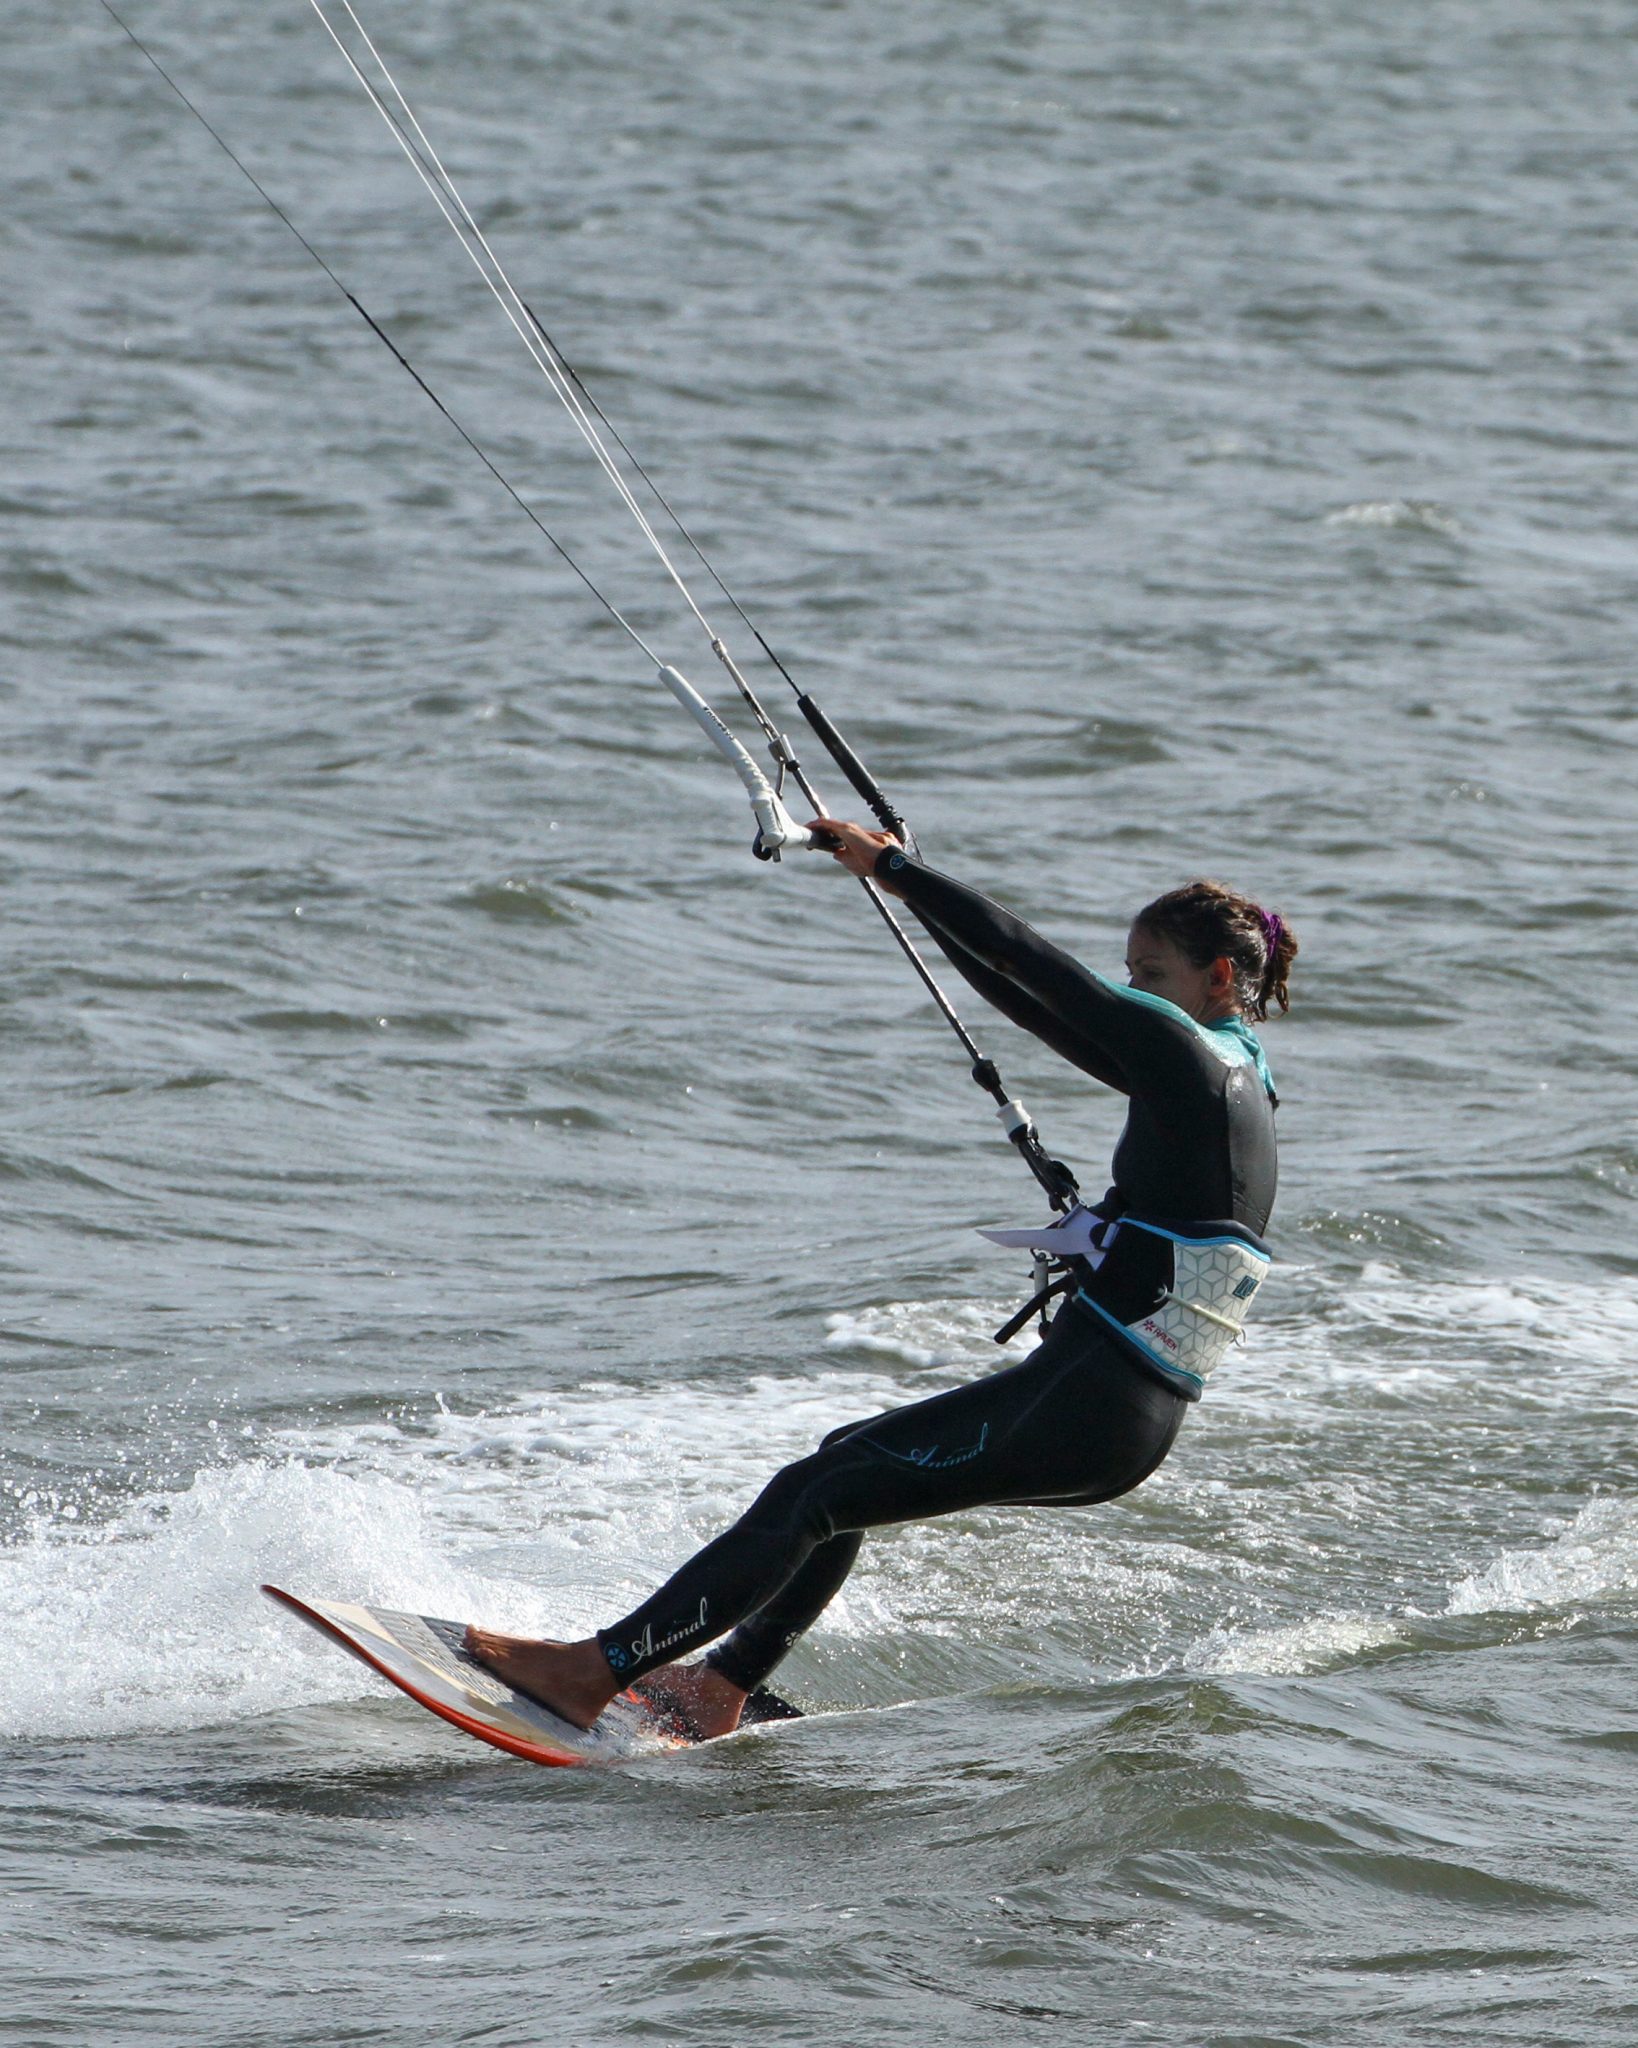
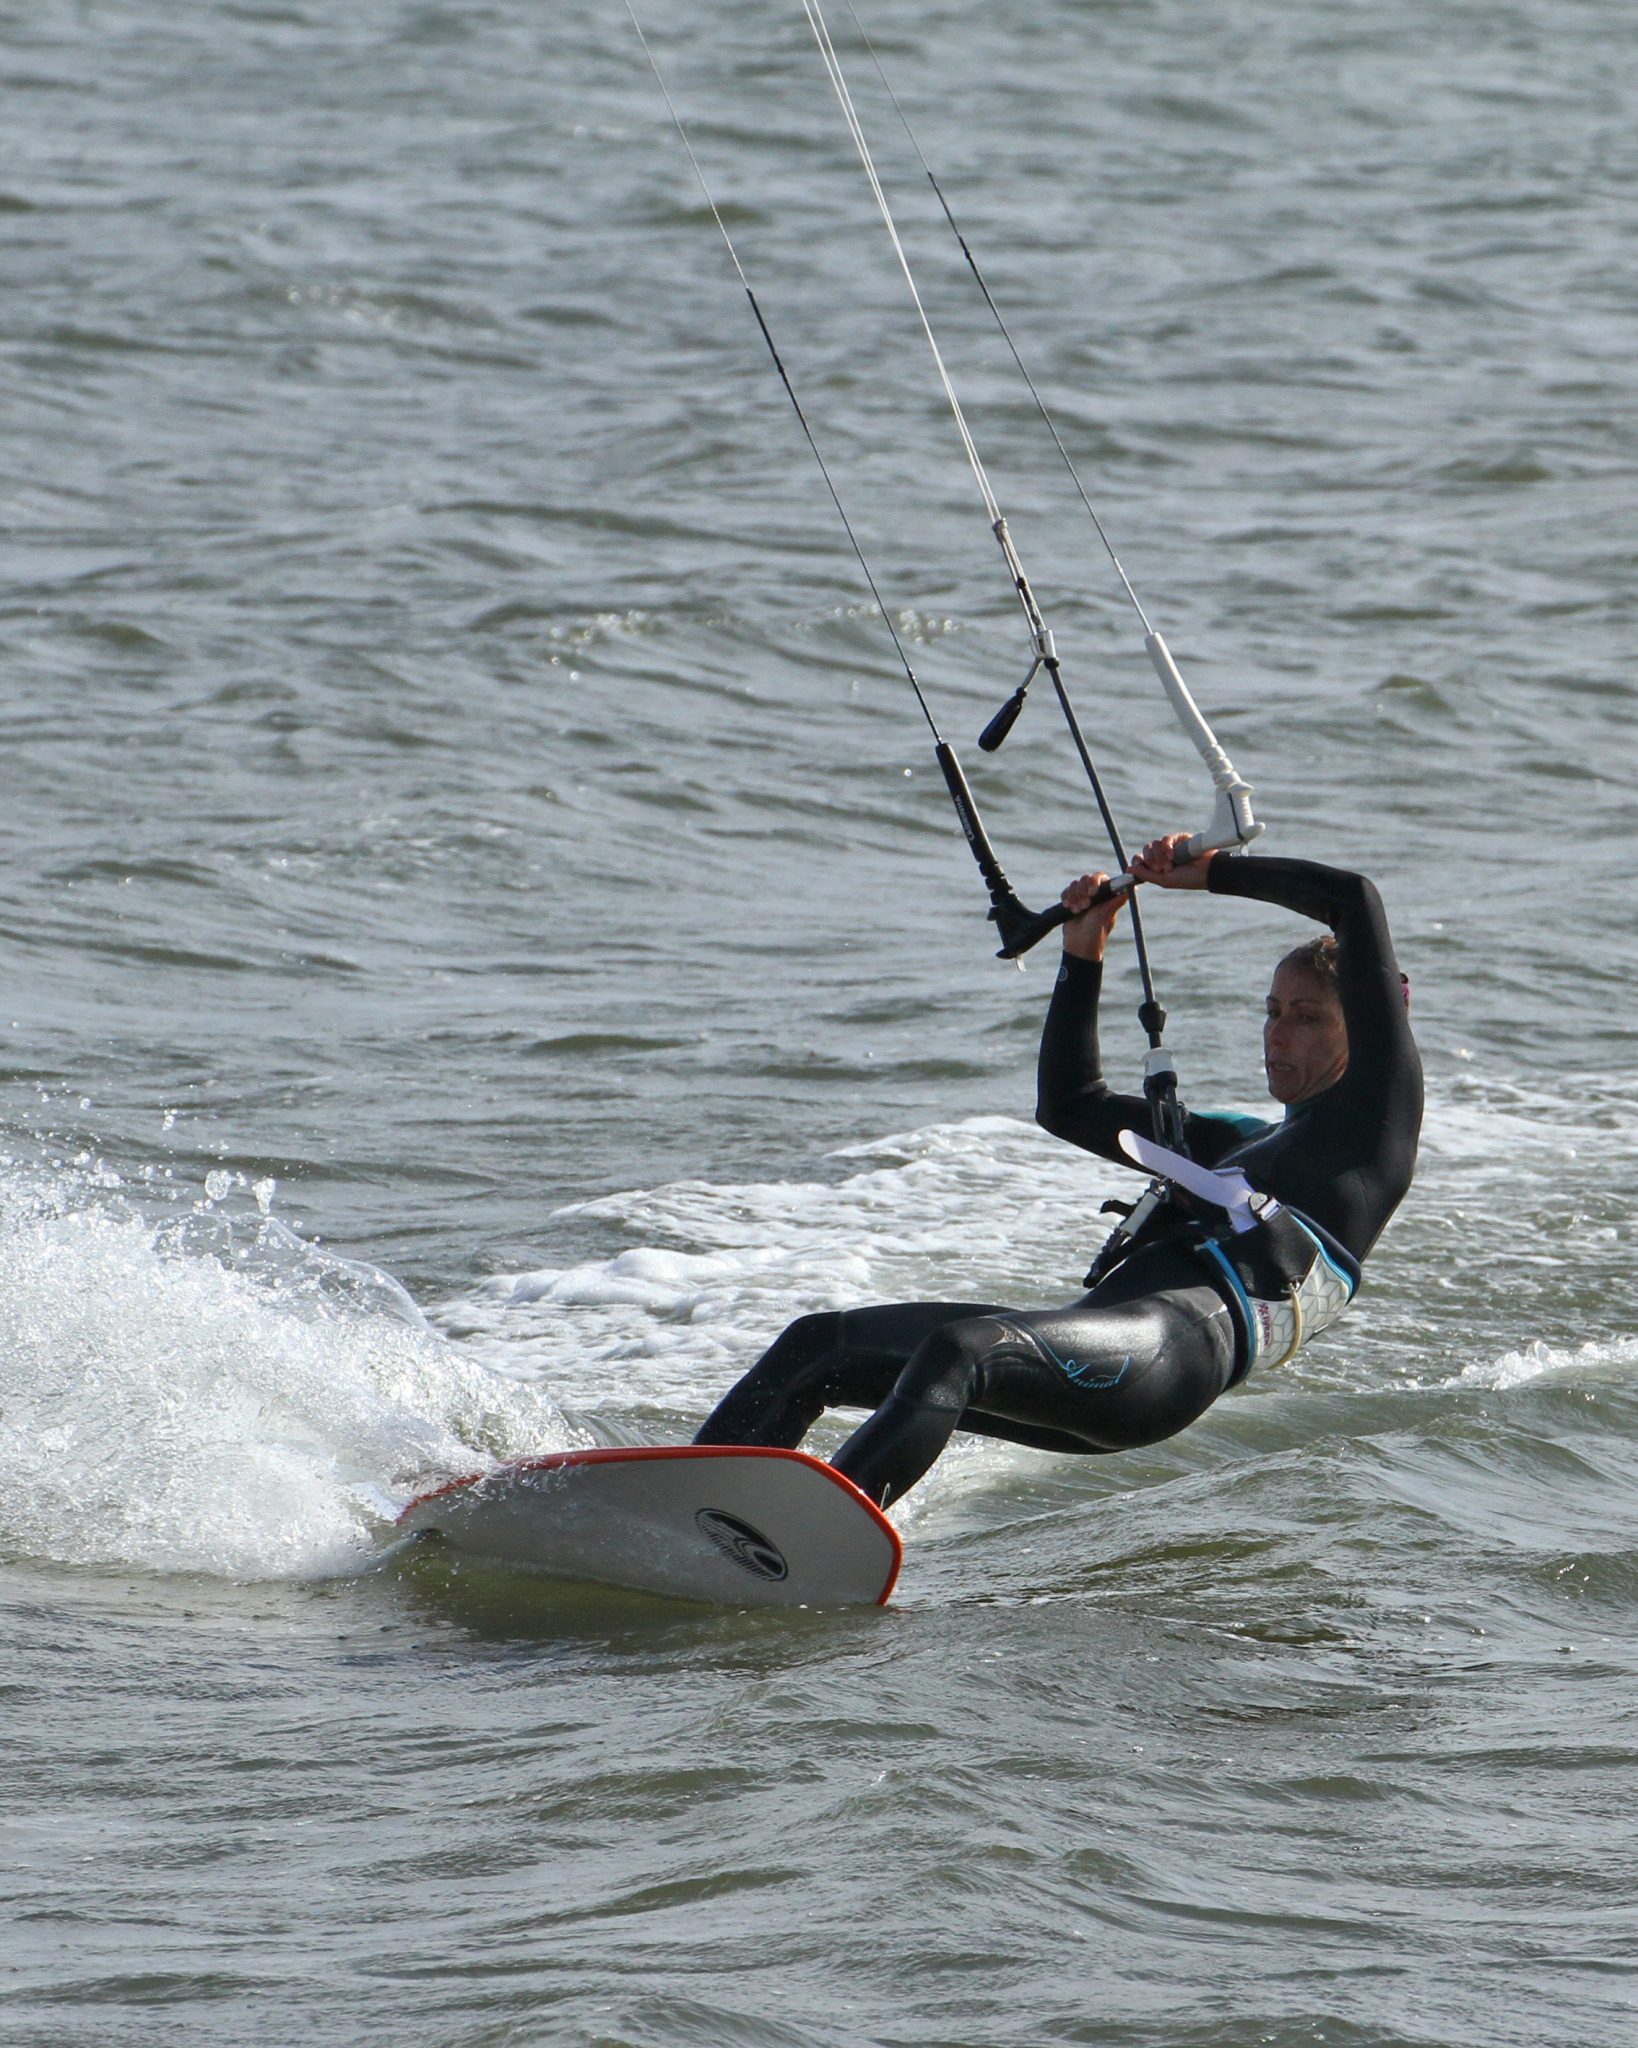
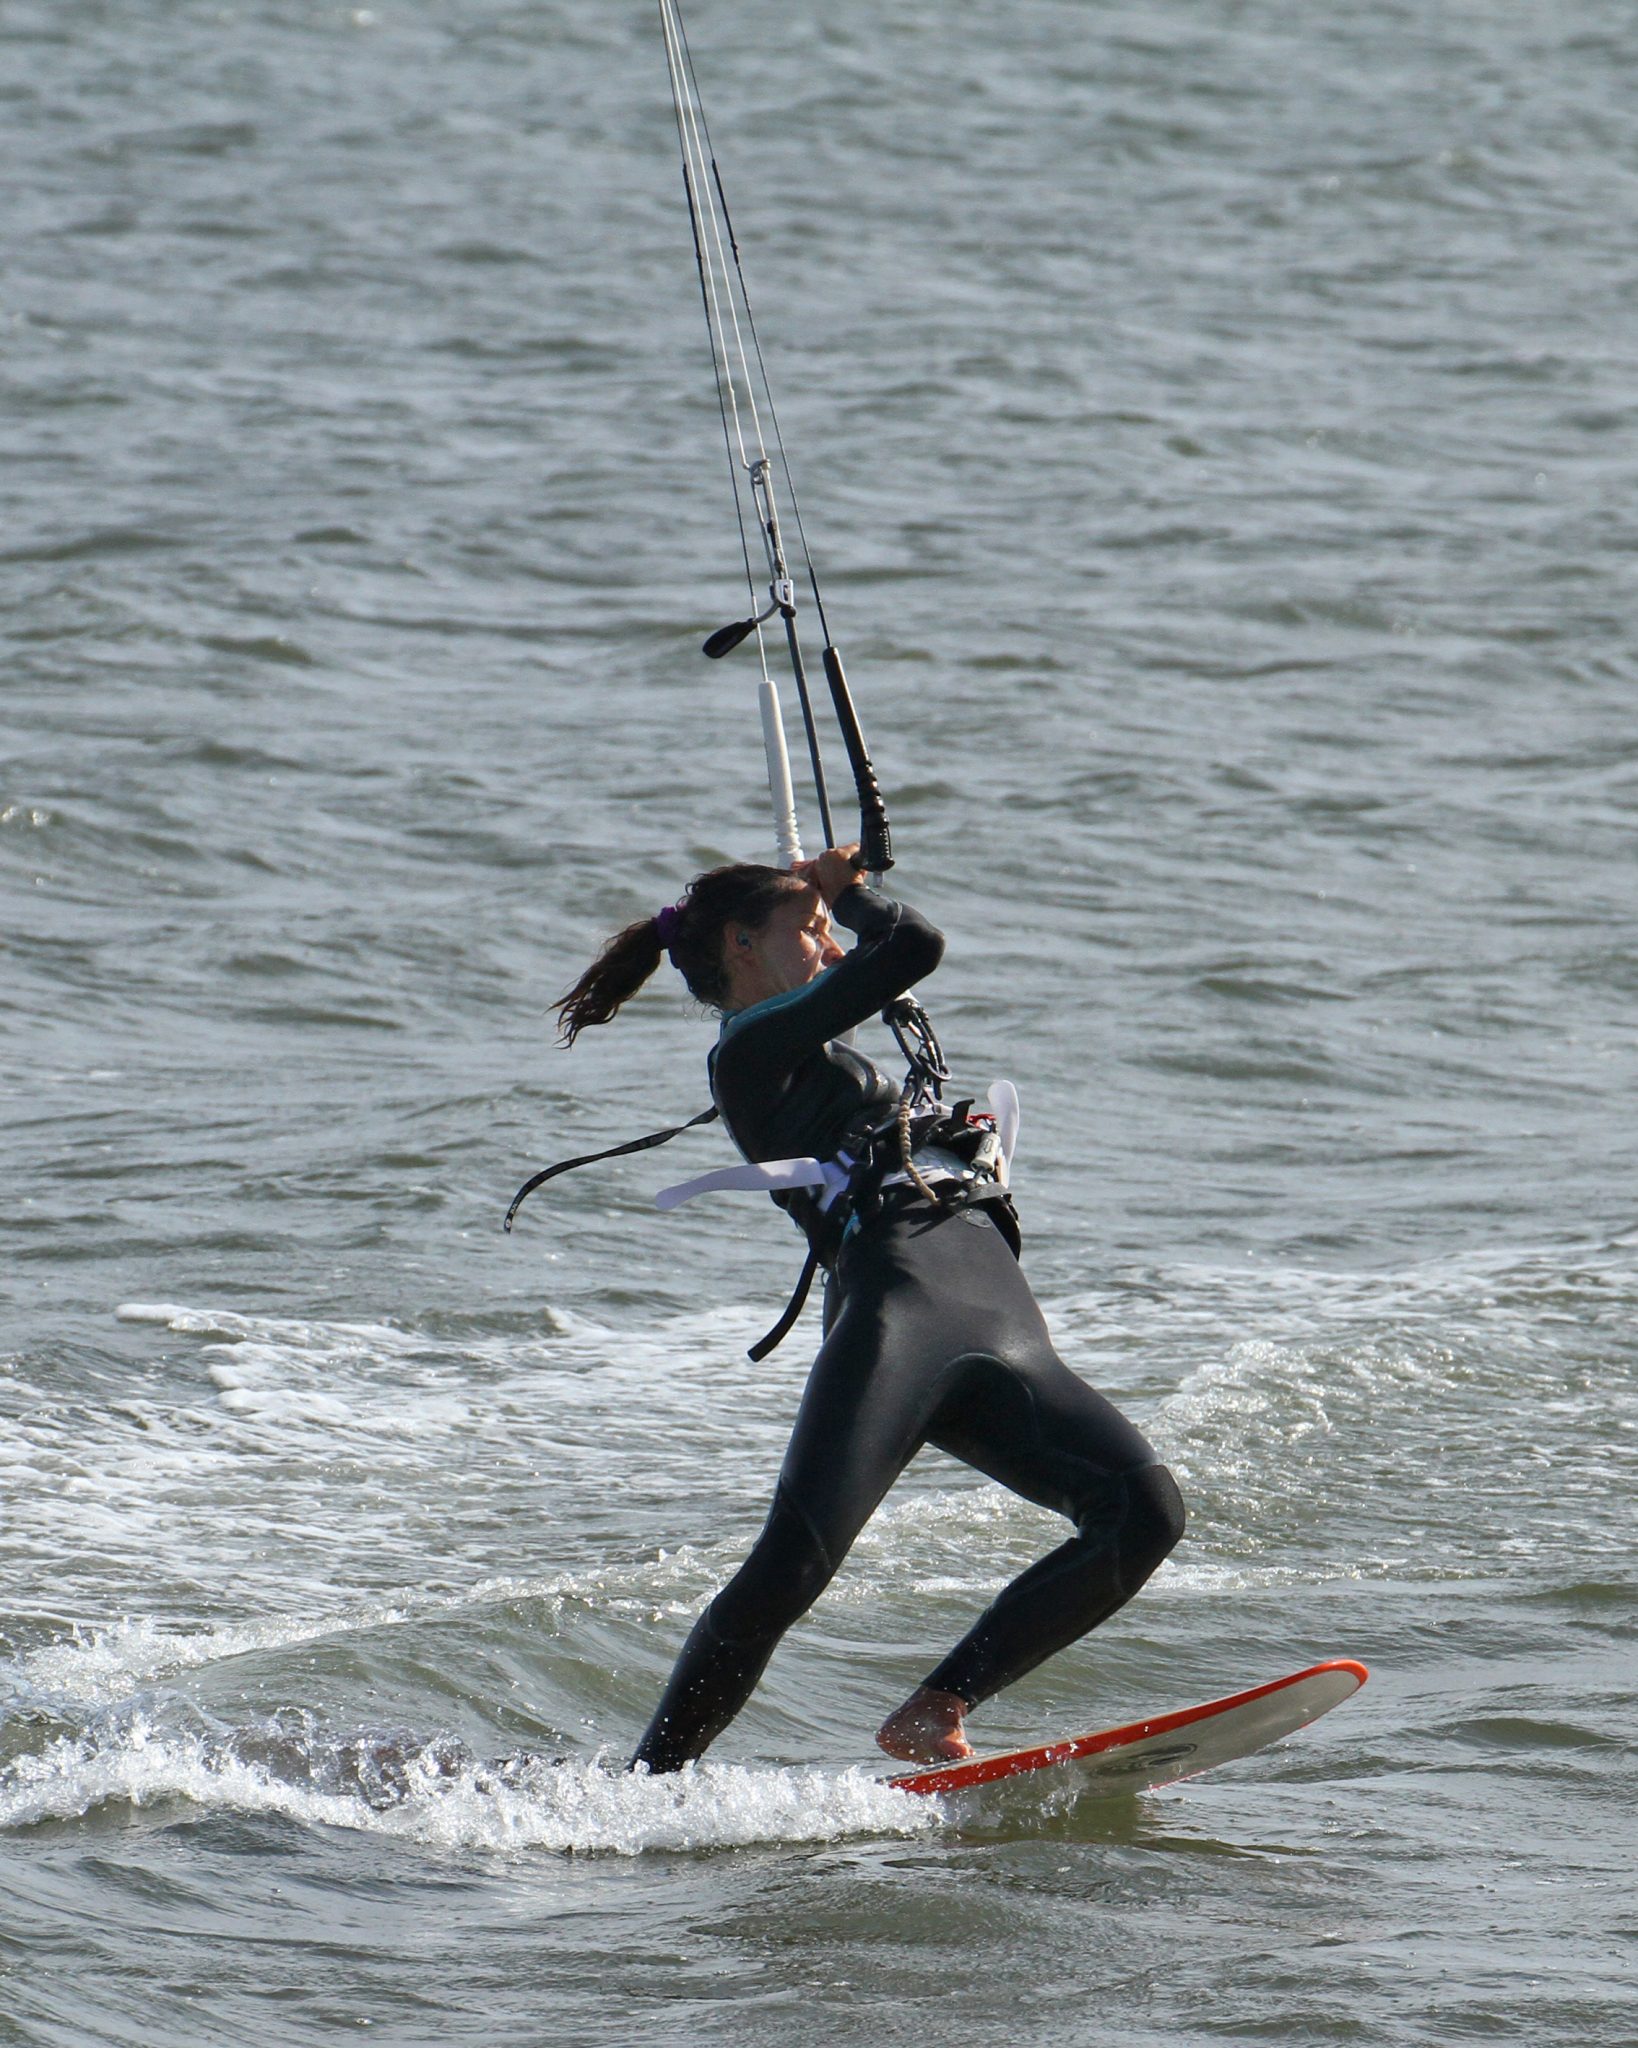
Carve Pic B.
Once again, the carve should be similar to that of a Tack. The only difference is that you want to get the board further round, through the eye of the wind. This means sitting your weight onto your heels and driving the board up into the wind, breaking at the waist to keep weight on the board and leaving the bar out, with the kite stationary at around 12 o’clock. What happens next is the new bit. If we look at Karine we can see what you need to add. As the nose of her board approaches the eye of the wind, she will start to lose support from the kite and her upper body is “falling” towards the water. To stop this and enable her to keep carving (which you’ll see clearly in the slow motion video) she pulls in on the bar for support which enables her to carve the board a bit further. One last movement to note is that Karine is looking at the board, towards her front foot. Do this to prevent yourself from twisting your upper body, which would then stop you carving with your legs.
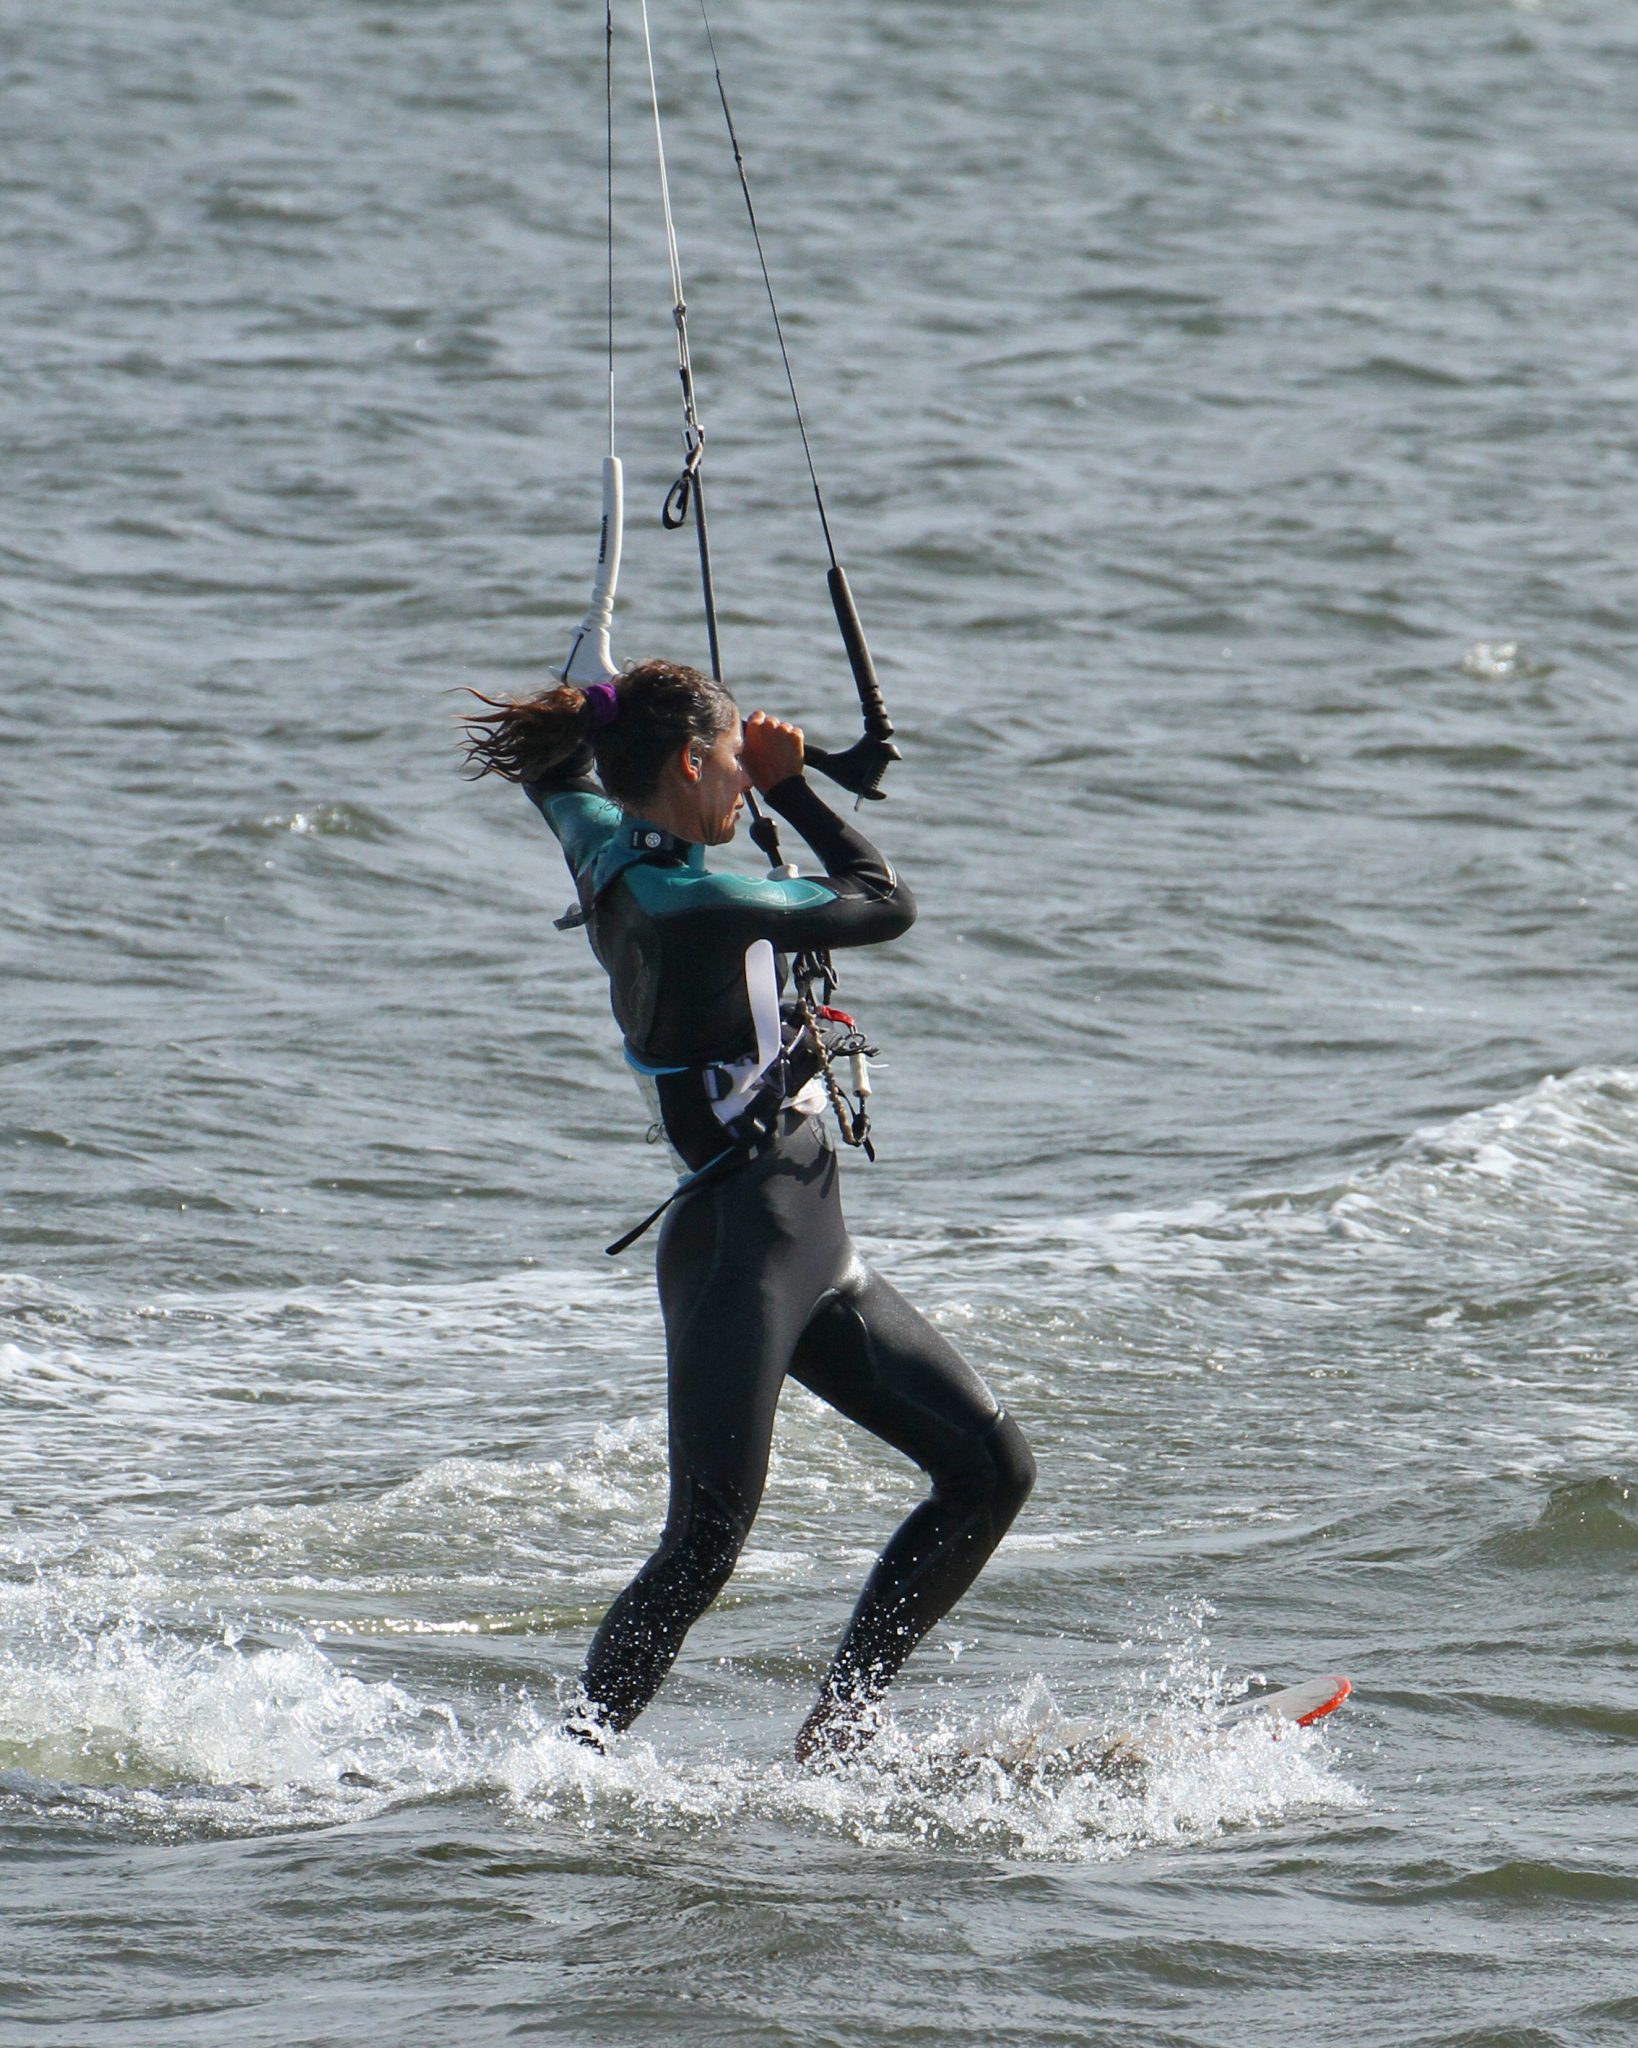
Cirque de Soleil Pic C.
OK, this is the bit where it looks like you need to have been some form of gymnast or acrobat, with bendy ligaments and supple joints who always won the holiday limbo competition on animation night. Despair ye not. This may appear contortionistic, but it’s not. Once again, the video highlights this movement well. With the nose of the board through the wind, you’ll find yourself hanging from your bar, which if level will support you, but not for long. What you need to do is get your weight and centre of gravity over the board and onto your feet. Up until now you’ve been pushing against the board, now it’s time to relax. Stop pushing and let you knees go soft so that your hips can roll over and above the board. With your hips over the board, you can actually put weight back down onto your feet. In the photo Karine has the bar pulled all the way in, whilst keeping it level. She stopped pushing, collapsed her knees and allowed her hips to swing over the board. This will give you a few more nanoseconds.
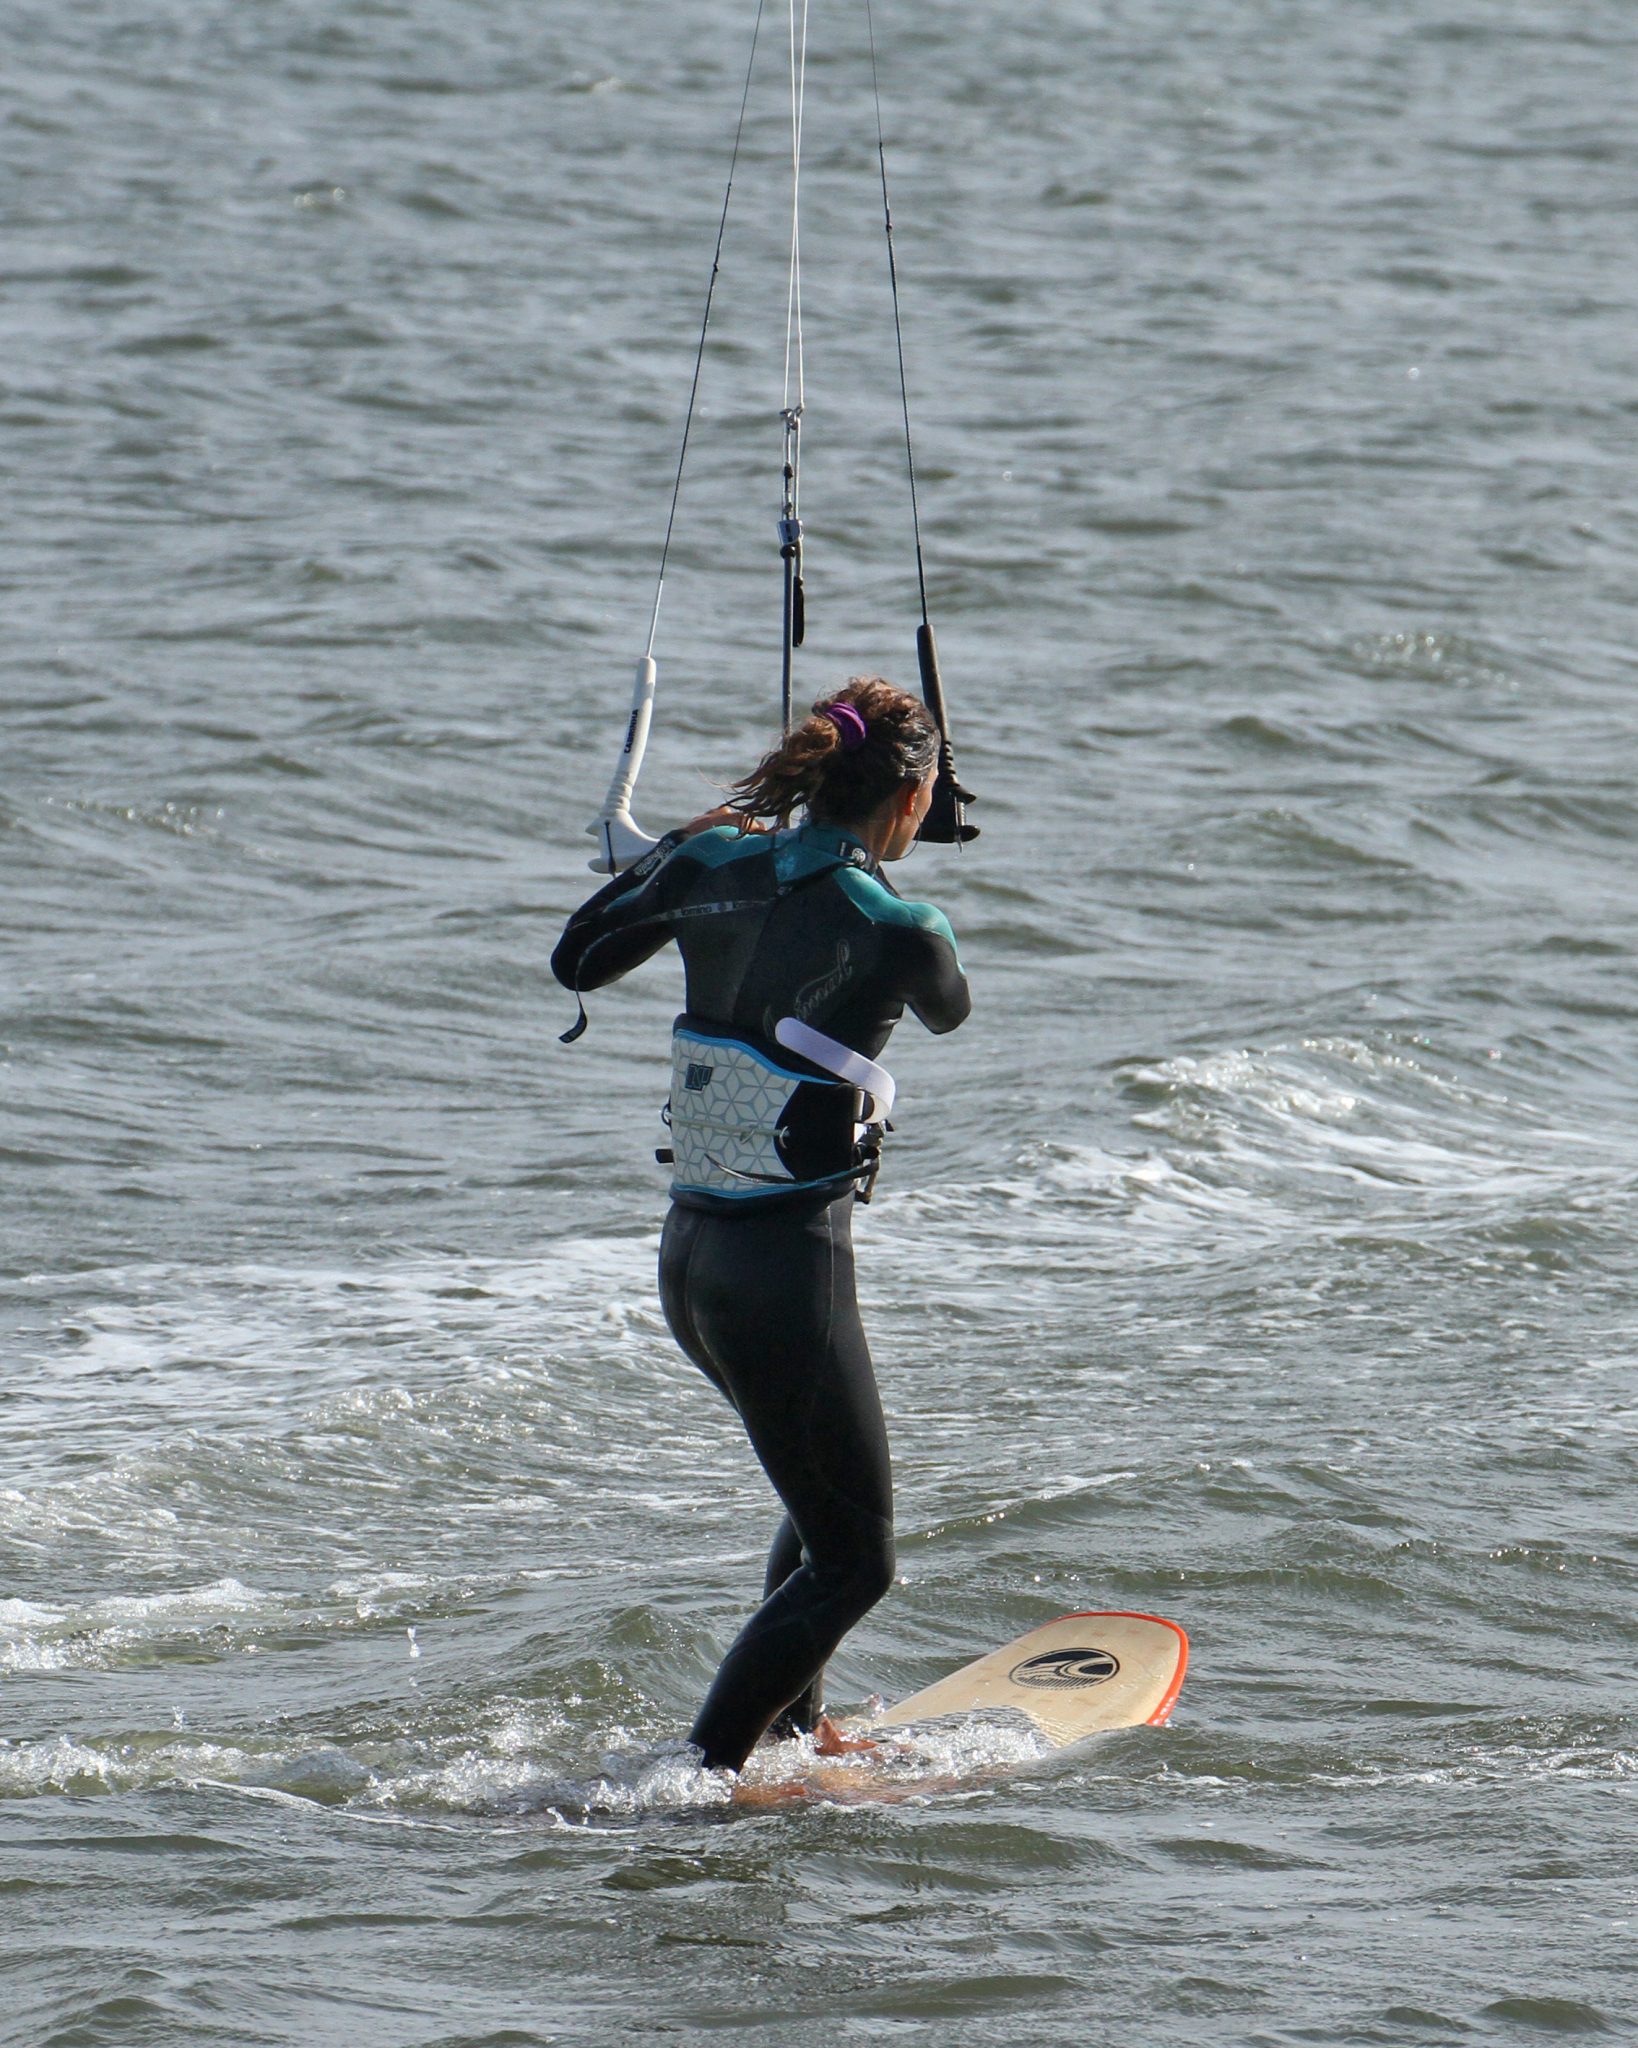
The Twist Pic D.
As soon as you’ve got weight onto your feet it’s time to move your weight forwards towards the nose of the board, as this will help get your body back where it belongs. The movement here is twisting your shoulders round towards the new direction. Imagine that you want to roll around so that you can lean onto the bar. Whilst twisting your shoulders you can push your hips forwards off the back foot. Karine has the bar in, she’s twisting her shoulders aggressively around to try and face in the new direction, leading with her hands and bar, and she’s pushing her hips forwards off her back foot and over her front foot. Note that her feet have not moved!
Power Up Pic E.
With a push and twist you should end up balancing over the board. This is not a pose to keep, you need to complete the tack and return to a normal riding position! The requirement now is to get the kite moving, so dive it with meaning. You’ll also need to anticipate the pull, so make sure that you flex your ankles, bend your knees and get your weight upwind of the board, onto your toes. Here Karine is diving the kite, and just as importantly her weight is on the balls of here feet.


Claim It Pic F.
As the power comes on, the fins should do their job and pivot the nose of the board off the wind and towards the kite, so that you’ll be moving again and ready to ride off into the sunset feeling rather pleased with yourself. The only precaution, as you can witness in the photo, is that your feet, just as Karine’s, will not be in the optimum place for a strong toeside edge. They’ll still be on what was the upwind rail, so you’ll need to shuffle them across slightly for a better toe side;)
Top Tips
To make things easier, you’ll want to be comfortable. If you’re underpowered you will struggle to carve and search in vain for support. If you’re stacked, you’ll be pulled all over the shop, also struggle to carve and fight to get your weight forwards with the twist at the end. And it goes without saying that the choppier it is the harder this will be as your board will slow quicker.
One final thought before playing through the videos and looking at the sequence. This should be a flowing series of movements. We have broken them down, but each segment should smoothly lead to the next. Any staccato and you’ll be in.
Common Problems
Assuming that you get the carve, there is one problem that often rears its head. Getting pulled off the board as you look for support. Nine times out of ten this will be because the kite drifted too far back into the other side of the wind window as you carved. Which means that when you pull on the bar, rather than the kite holding you up, it pulls you towards it, which is off the back of the board. So, make sure that you get the kite positioned early, just before you carve.
Keystones
- Come in on an edge
- Kite up and bar out
- Carve through the wind
- Roll back over board
- Twist, push forwards and dive
This technique article was in Issue 75 of IKSURFMAG.
Related


By Christian and Karine
Christian and Karine have been working together as a coaching team, running improver to advanced kitesurfing clinics since 2003.
