One Foot Air Gybe
Technique / Intermediate
Introduction
Time to spice up one of the fundamental moves in kiting. We all like showing off and sometimes the simplest of things feel and look good. It’s also a godsend to have something, which you can learn without having to take a beating.
Realistically and somewhat obviously we do recommend that you have the air gybe in the bag. It’s a bonus but not a must to have the jumped one-foot as well. The advantage is that assuming you already do a one footed jump you will already have all the movements necessary to get your foot out, back in and land whilst maintaining control of the kite.
Before we go through the key parts of this move lets make sure we understand what it is. Coming into an air gybe you will take off as per usual, then release you’re front hand, grab the heelside edge of the board in front of your front foot (wherever you find it comfortable), slip your foot out of the strap, before then turning to face the other way, replacing your foot and diving the kite and sailing off in the opposite direction.
Approach and Take Off
This part of an air gybe differs from that of a normal jump because you don’t want to be flying through the air at high speed. If you do, your momentum will be carrying you forward, you’ll pendulum under the kite and therefore it’ll be jolly hard to land travelling in the opposite direction.
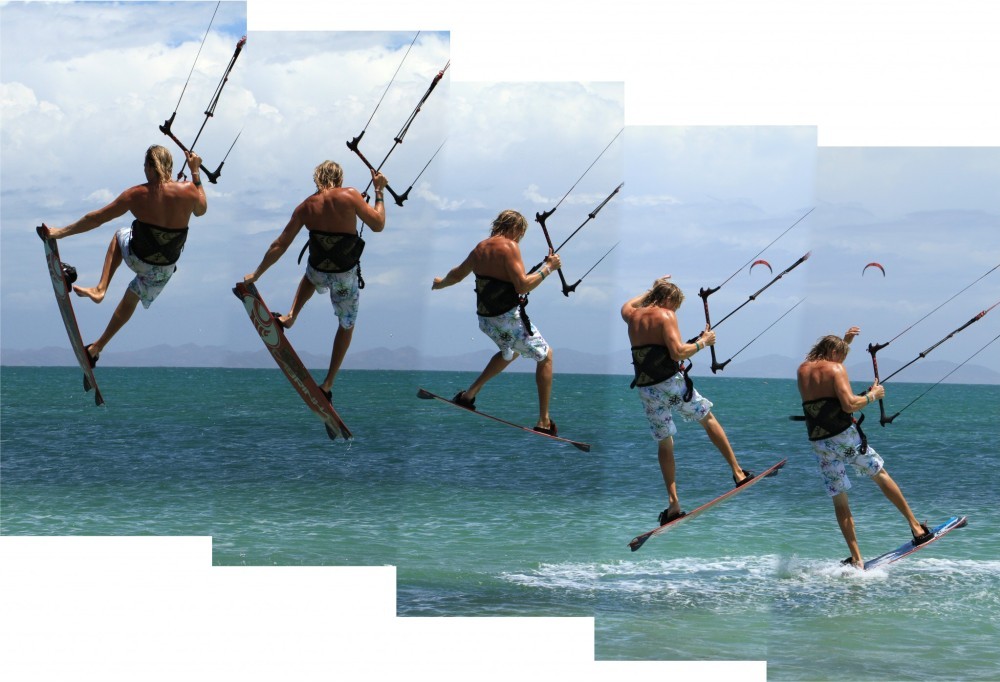
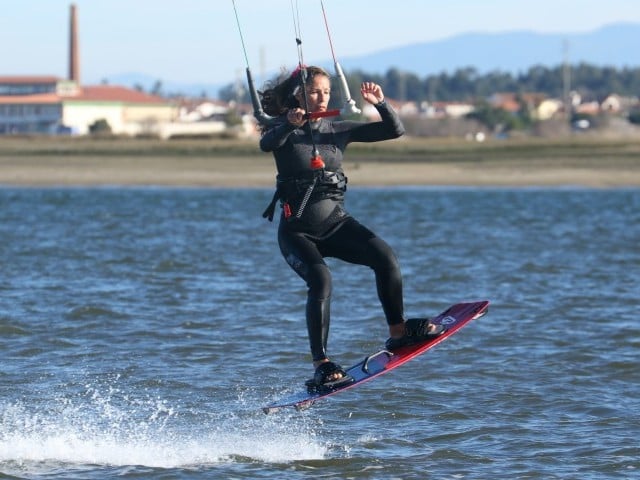
In Pic A. you can see Christian carving up in preparation for his take off, similar to a jump. The difference however is that before sending the kite, Christian already carved hard into wind. This way he scrubbed off any unwanted speed so that when he takes off he will only go up and not forward. Also Christian has his back leg quite bent so that he is ready to “go early” and up as the kite starts to lift. Finally Christian has his hands butted up against the chicken loop so that he will be able to control the kite with one hand.
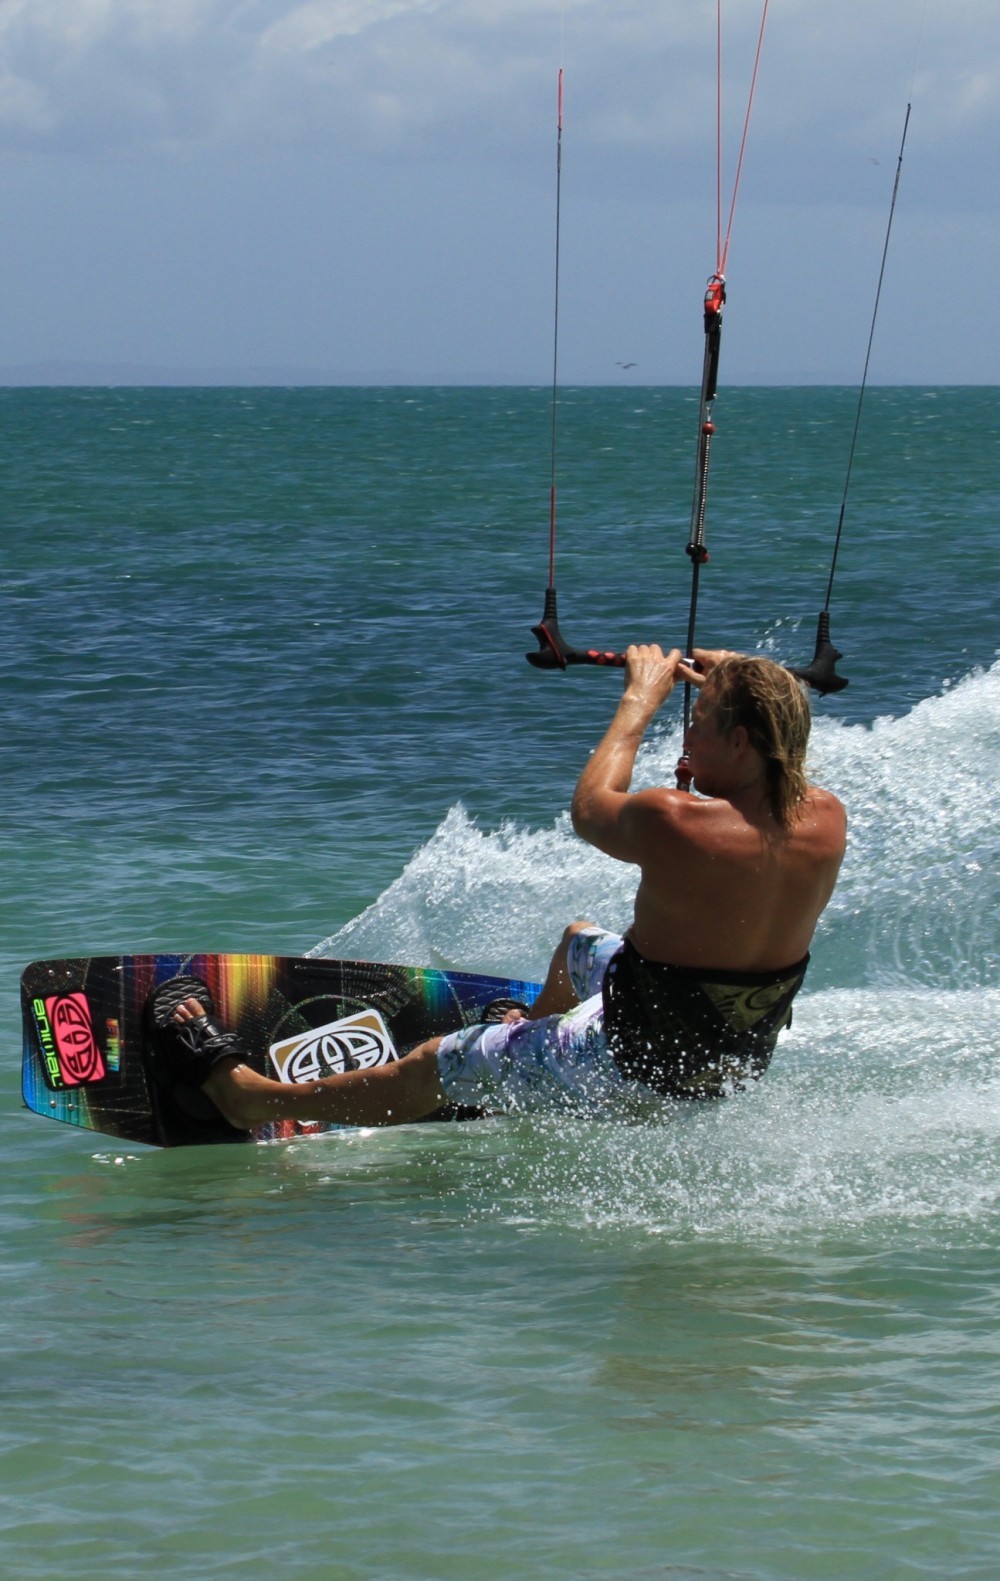
You should still approach the air gybe on an edge and with some speed, as you need power in the kite. The kite should be positioned at around 11 or 1 o’clock. Then carve hard into wind by looking over your front shoulder, twisting your hips upwind and pushing down on your back foot.
Even though you send the kite hard you need to pre-empt the take off rather than wait to be lifted up off the water. So once you have sent the kite, as soon as you feel it start to lift, rather than resist more, jump up off you back foot to get into the air. As you do this you can then bring your hands to your hips, which not only gives you some extra lift but also brings the bar parallel with the water, which stops the kite flying too far past 12 o’clock.
Grab and Fly
In order to be able to reach the board with your front hand you need to bring your front knee and foot up as soon as you take off. At the same time you need to maintain the float from the kite by keeping it above you, with tension in the back lines. This would be the same as getting into the big chill position of a normal air gybe, where you bring the knees up, pull the hands down and keep looking forward in the way that you were going.
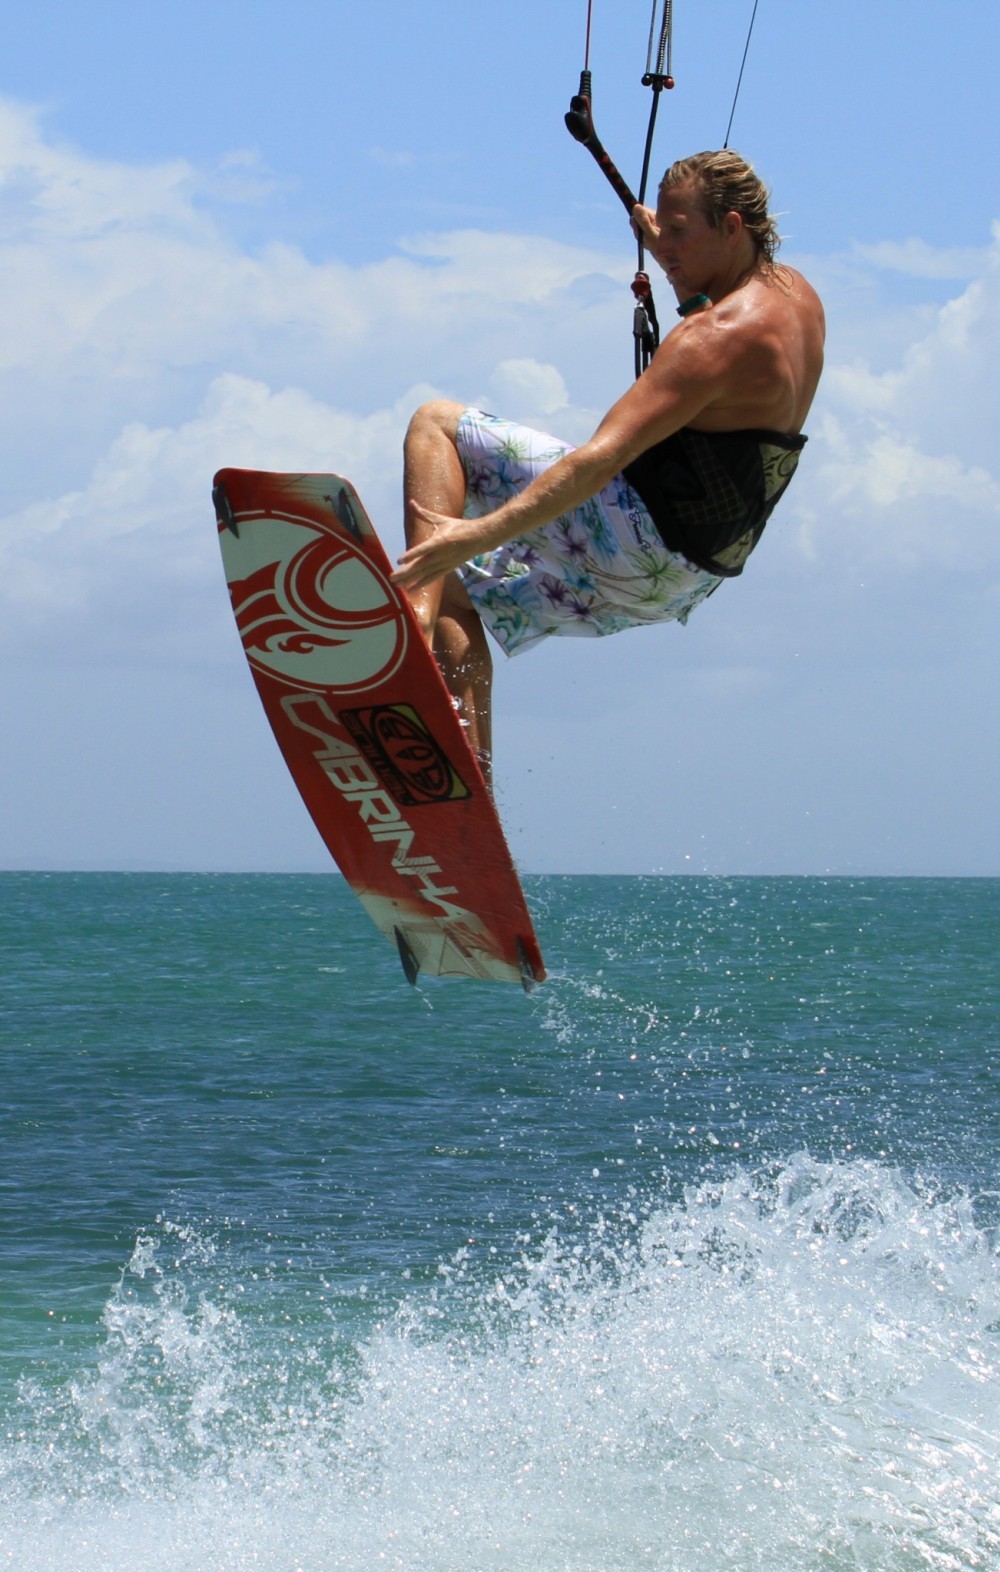
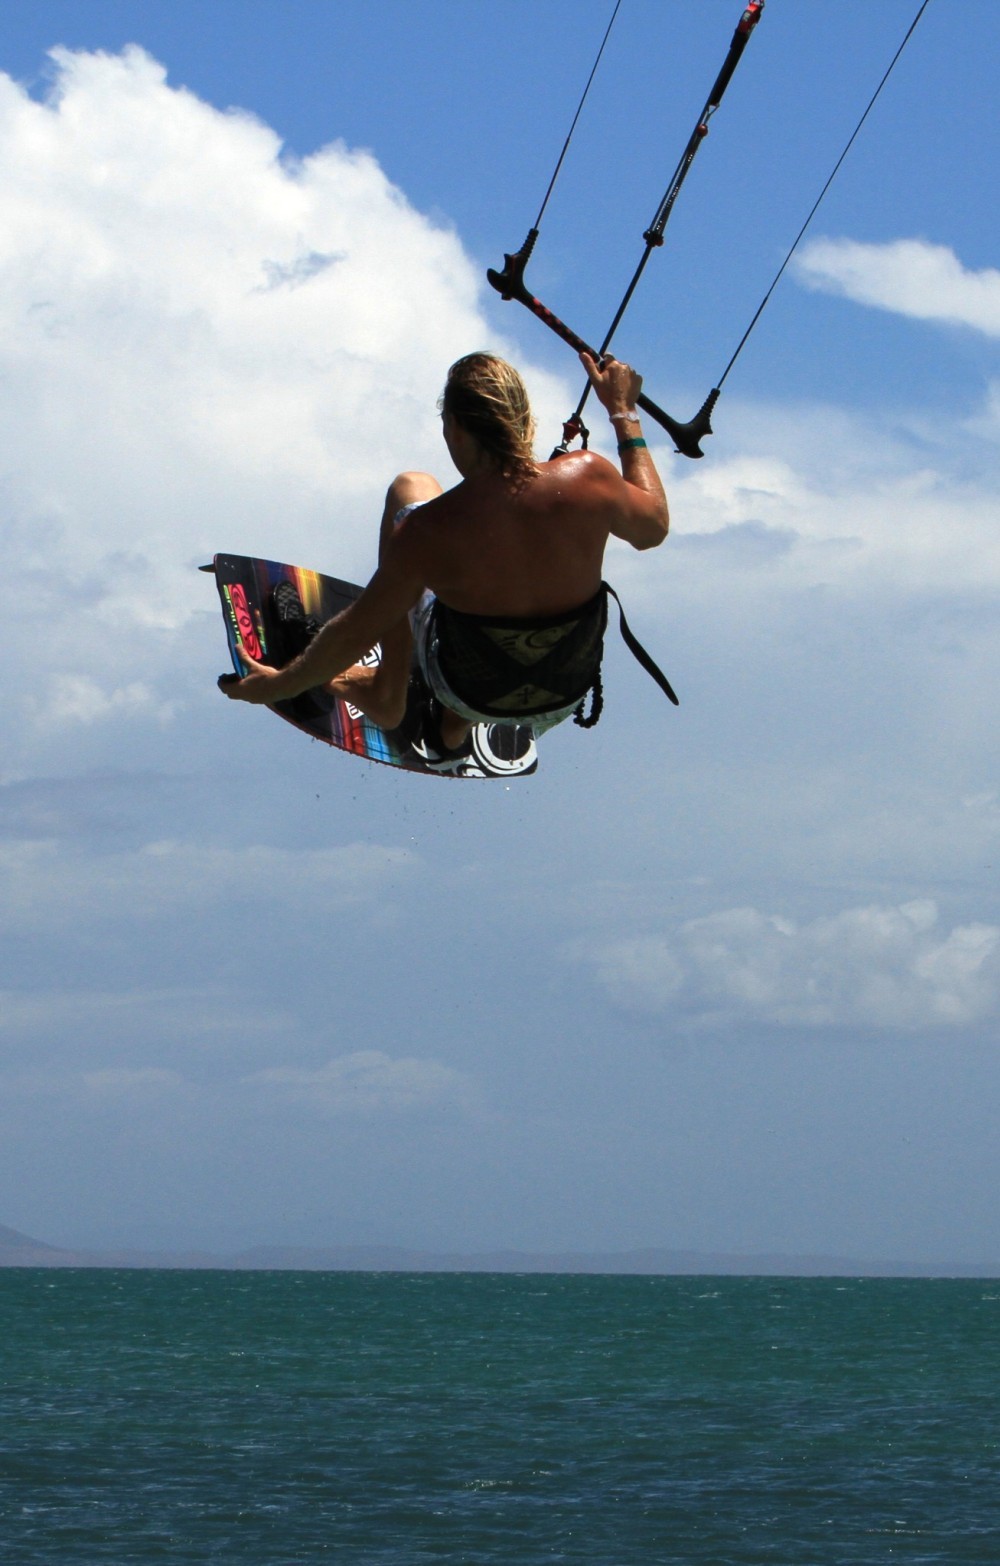
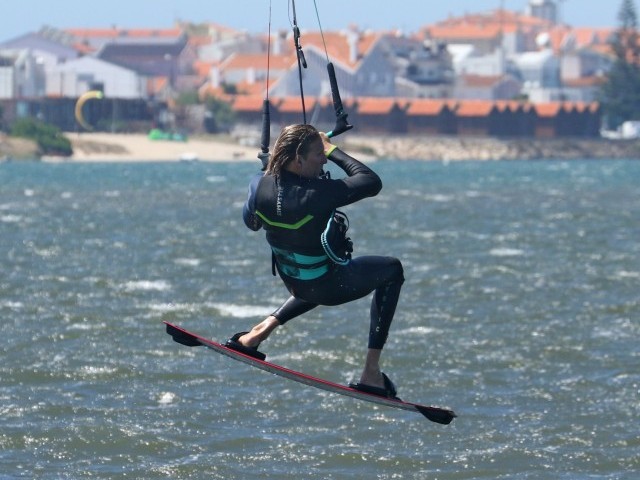
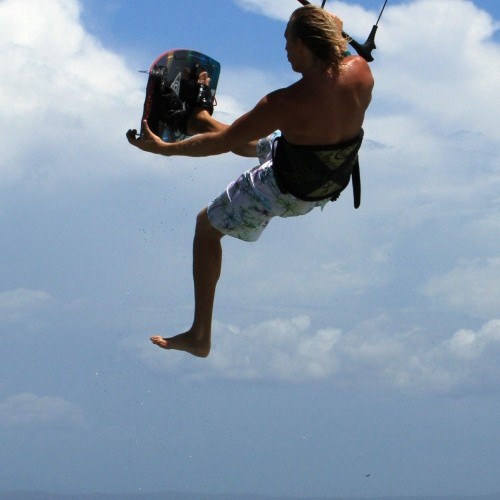
In Pic B. Christian has brought his front knee up so that the board is within easy reach. You can also notice that he hasn’t brought up his back leg as much, this way the board is angled up towards him, making it easier to grab. Christian also looks at the point of the board where he intends to grab Christian, which will make the process quicker. You can also see that he has his back hand right up close to the chicken loop. In this position Christian can pull down on his hand to keep the kite above him in the big chill position. The final thing to take notice off is the fact that Christian has kept himself upright and has not rolled back to get his feet up.
If you roll back it’ll be hard to keep the bar in and hard to get your foot out, meaning that you’ll drop quicker and struggle to have the time for any fancy footwork.
Slipping Out
The simplest way to get your foot out from the strap is to push the board away from you, so that your arm is doing most the work. The benefit of watching your foot also enables you to keep looking forward, which is one of the most crucial ingredients for a good air gybe.
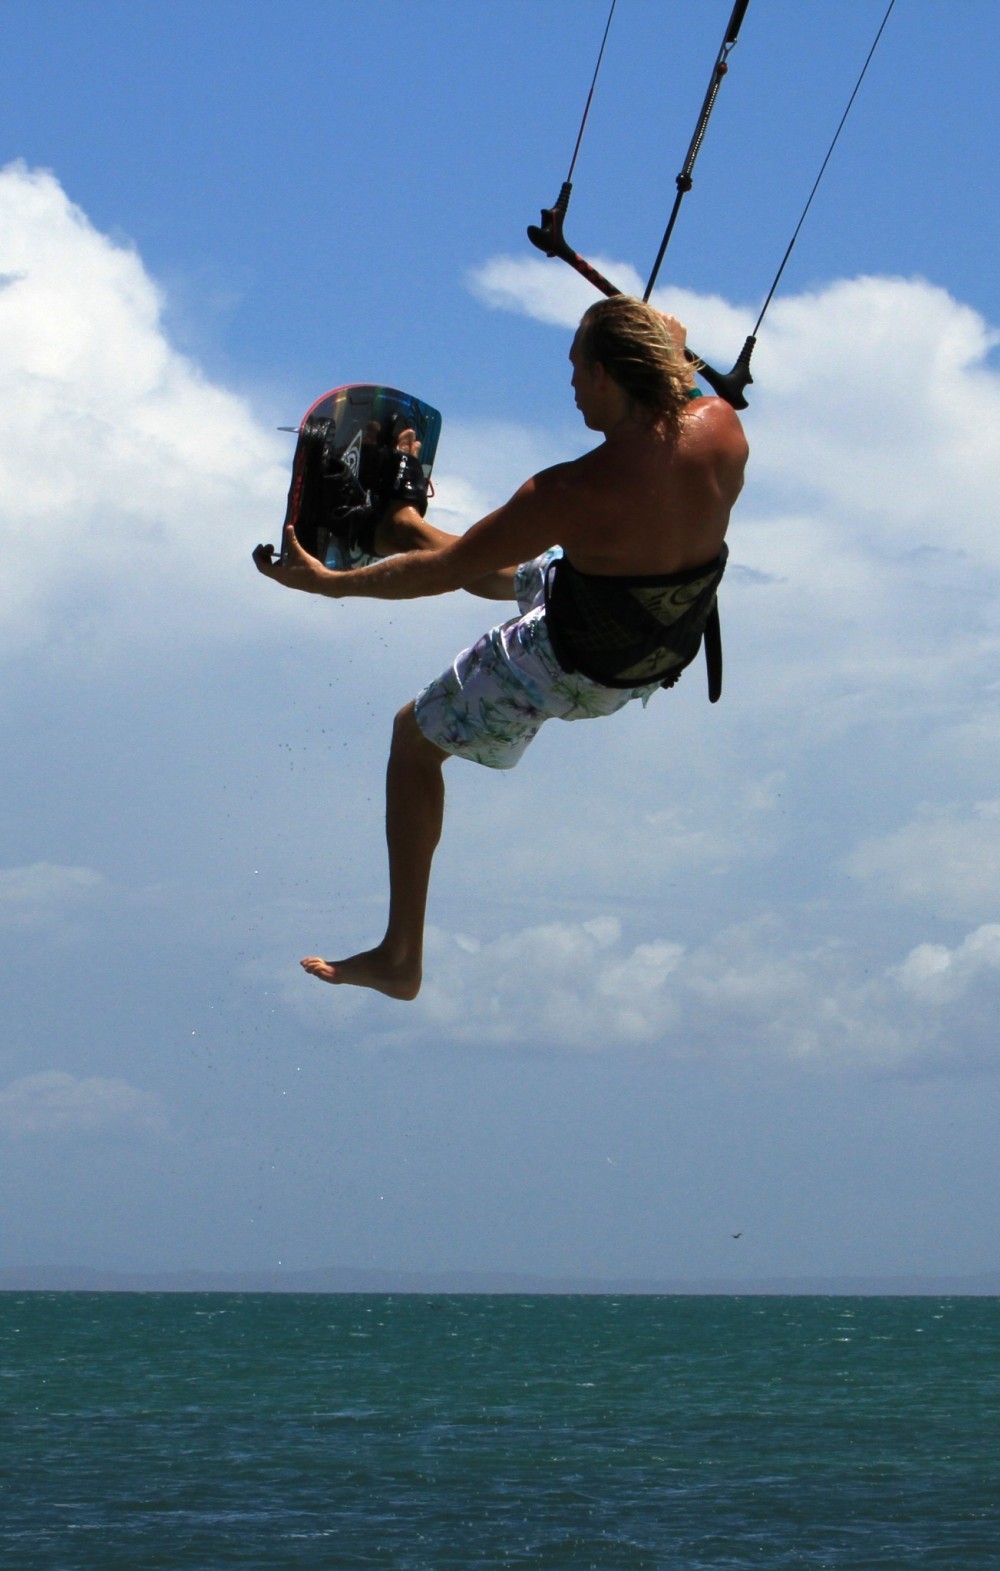
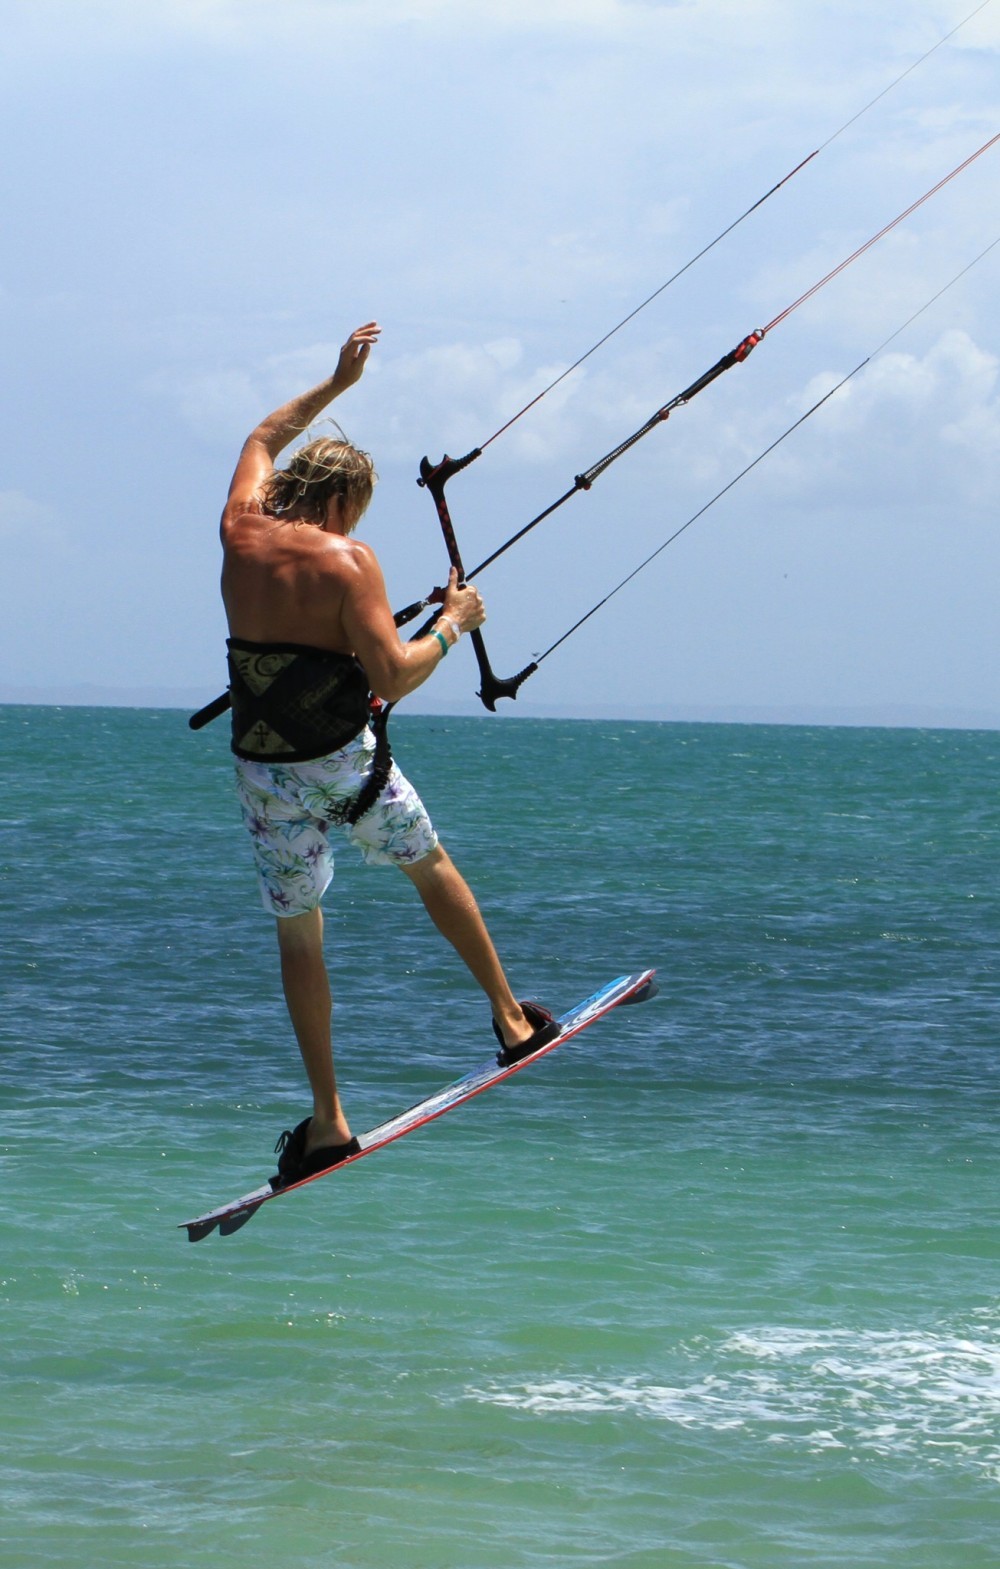
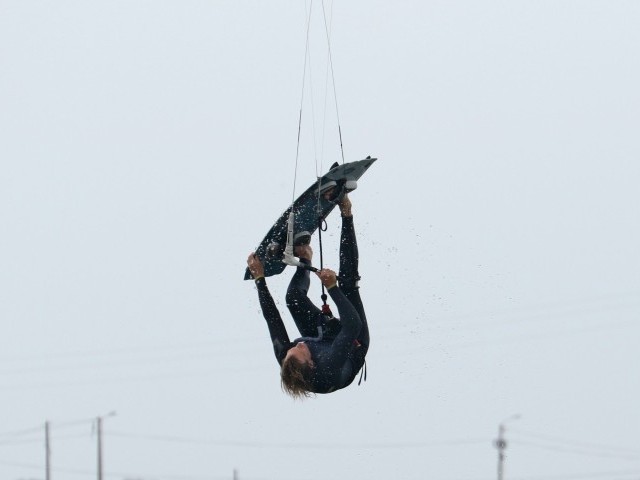
In Pic C. Christian has pushed the board away from his foot by extending his arm. At the same time he pulls his foot back towards his bum and bingo, out slips his foot. At first this is all you should aim for, a quick out and in. If you look at Christian’s bar you can see that the bar is still pulled in, so the kite is still supporting Christian even though it has drifted slightly past 12 o’clock.
Hang Time
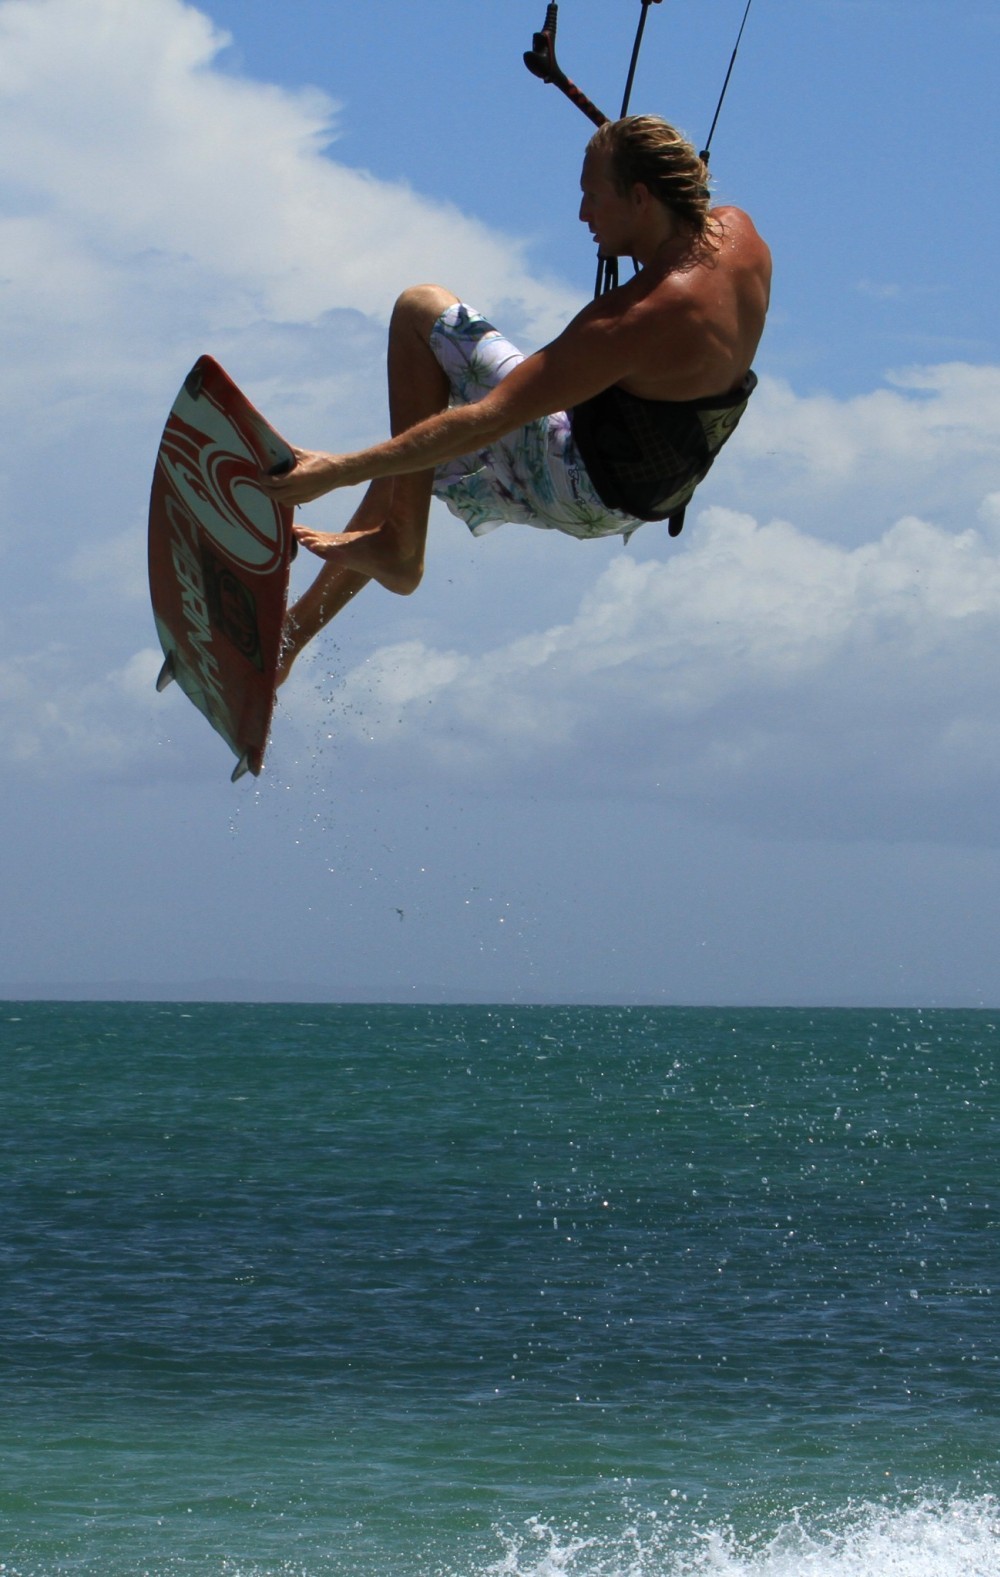
Once you have confidence you can go for a bit more extension, just to make sure that everyone and anyone can see that you’ve ditched the foot. As long as you have the bar in and the kite is still relatively above you, you’ll be supported and have time for such showmanship. Keep your board arm extended as this will make getting your foot back in easier.
To increase awareness of his move you can see in Pic D. that Christian has straightened his leg. Much like a 1 footed jump if you try and push your leg down towards the water it will straighten easily.
Putting your Foot in it
Throughout this move, unless you’ve been trying to stare into a camera lens or catch the eye of someone special, you’ve most likely been staring at your hand and the footstrap. By looking this way it will help to stop you drifting the kite too much behind you and it will make sticking your foot back in a synch. Use you hand and arm to pull the board back onto your foot.
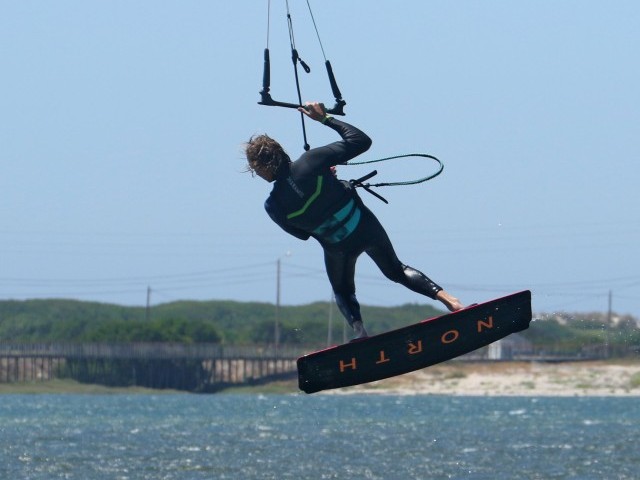
That said if you look at Pic E. you can see that Christian’s kite is certainly starting to drop the other way. However because he has kept the bar in the kite will pull rather than flutter down the edge of the window. When you feel the kite start to pull from the other side it is a warning that you need to get your foot back in and you need to dive the kite hard to pull you out of the trick.
As soon as you feel that you back foot is going into the strap, start to pull on your bar hand hard to dive the kite.
Touch Down
Now just like landing anything your aim is to get power in the kite so that it’ll pull you down wind, enabling you to land on a flat board, off the wind and with some speed.
In Pic E. Christian has dived the kite super hard to set himself up for landing. He hasn’t waited to get his left hand on the bar but will need to get it back on in time to take the kite back up once he’s landed. If you don’t manage to get you hand back on you could loop the kite on landing but it won’t look as controlled.
Top Tips
As always best remind yourself of the basics before cranking into the move. So ideally start with a few good air gybes with the emphasis being on height. Them move on to some grabbed air gybes in preparation for the one foot. It’s often a good idea to wiggle your front foot a little to loosen it in the strap before taking off.
If there were only 2 things to remember they would be, send the kite back aggressively but for a short amount of time, and go early by popping up off your back leg as soon as you feel the kite lift you….
Following Sequence 1 For the Way Up
- Pic 1. Christian started with his kite just above 11 o’clock, then carved hard to loose forward momentum. He sent the kite aggressively to 12 and has his hips back over his back foot ready to pop.
- Pic 2. As the kite starts to lift Christian explodes up off his back leg and pulls both hands down towards him to stop the kite going any further back.
- Pic 3. He immediately lifts his front knee up and reaches forward with his front hand to grab the board.
- Pic 4. Keeping the bar in Christian pushes the board away from him and pulls his heel back to release his foot.
- Pic 5. Christian then pushes his leg down towards the water to extend it, whilst holding the board away from him.
- Pic 6. Whilst holding the grab with the bar in and the back lines tight, Christian feels the kite pulling from behind. This is his signal to get everything back in order ready for the decent.
Sequence 2 For the Decent
- Pic 1. With the kite pulling him back Christian concentrates on the empty strap, lifts his leg and aims his foot.
- Pic 2. Once the foot is going in Christian pulls his board towards him to wedge his foot back in.
- Pic 3. With his foot safely in Christian dives the kite hard and prepares for touchdown.
- Pic 4. Christian turns his board to point down wind and extends his back leg as he drops.
- Pic 5. Which all leads to a perfect tail first reception. With his forward momentum from diving the kite and pointing the board downwind, Christian now needs to get his new back hand on the bar and pull the kite up and out of its dive.
Common Problems
Without doubt the most common error is to end up dropping from the sky with the kite behind you at the edge of the window with no power to pull you out of the move. There are two possible causes for this.
If you go into this move with too much forward speed but still pop early you will pendulum forward under the kite and leave it behind you. If this is the case, edge harder to ditch more speed before sending the kite.
By taking your front hand off, the kite will want to drift back. If you keep the bar pulled in you can use your wrist to level the bar to slow this drift down, as you would body dragging. You won’t be able to stop the kite wandering but you will be able to give yourself enough time.
If you’re not getting enough height, try sending the kite more aggressively, so that it moves more quickly and therefore gives you more lift. You can send the kite very hard, but just for a very short time depending on the kite size. A 12m may need some patience but on a 9m it may be just 1 count back before levelling and popping.
Keystones
- Edge then Send
- Pop early
- Hands in then Grab
- Push board away and watch footstrap
- Replace foot and dive simultaneously
This technique article was in Issue 27 of IKSURFMAG.
Related
By Christian and Karine
Christian and Karine have been working together as a coaching team, running improver to advanced kitesurfing clinics since 2003.


