
Beach Bounce Transition
Technique / Intermediate

This is a beautifully fun move in its own right, and the first step to a stylish press. You’ve likely seen a picture or a clip of someone doing this, either on soft sand or far less sensibly on a solid object! It’s a great one to add to your armoury and if you choose the right time and spot to try, the worst that can happen is you risk looking a tad silly sticking to the sand and not making it back into nature’s finest.
In its basic form the beach bounce is an air gybe, a jump transition, so there’s your starting point - if you have them nailed then it’s all systems go. First and foremost, if you’d like to change direction you don’t want too much forward momentum. Secondly when you’re in the air and chilling you need the kite round about above you at 12 o’clock so that it supports you and is ready when you need it. And finally, you’ll need a good old-fashioned hefty dive to pull you back the other way for a crisp landing. Oh yes, and having some power and the sweet spot trimmed slightly away from you will certainly help. The “only” difference is that to start with you’ll not be wanting much height, as you’ll be deliberately stopping on your board before lifting off again to go the other way.


Before haring off down to the beach to give this a go its wise to recognise that some spots lend themselves to this whilst others don’t. Wind direction will make or break this trick, as will what you’re landing on - so please wait for another day if the wind is onshore or cross onshore to your chosen sand bar, and the only obstacle is a barnacle encrusted rusty groin in 5cm of water! Basically, find some sand, preferably next to deep water and the Holy Grail will be cross off so that you’ll naturally be blown away from Terra Firma.
Today we’re going though how to learn your first beach bounce so that you can get yourself back into the drink. Here we go…
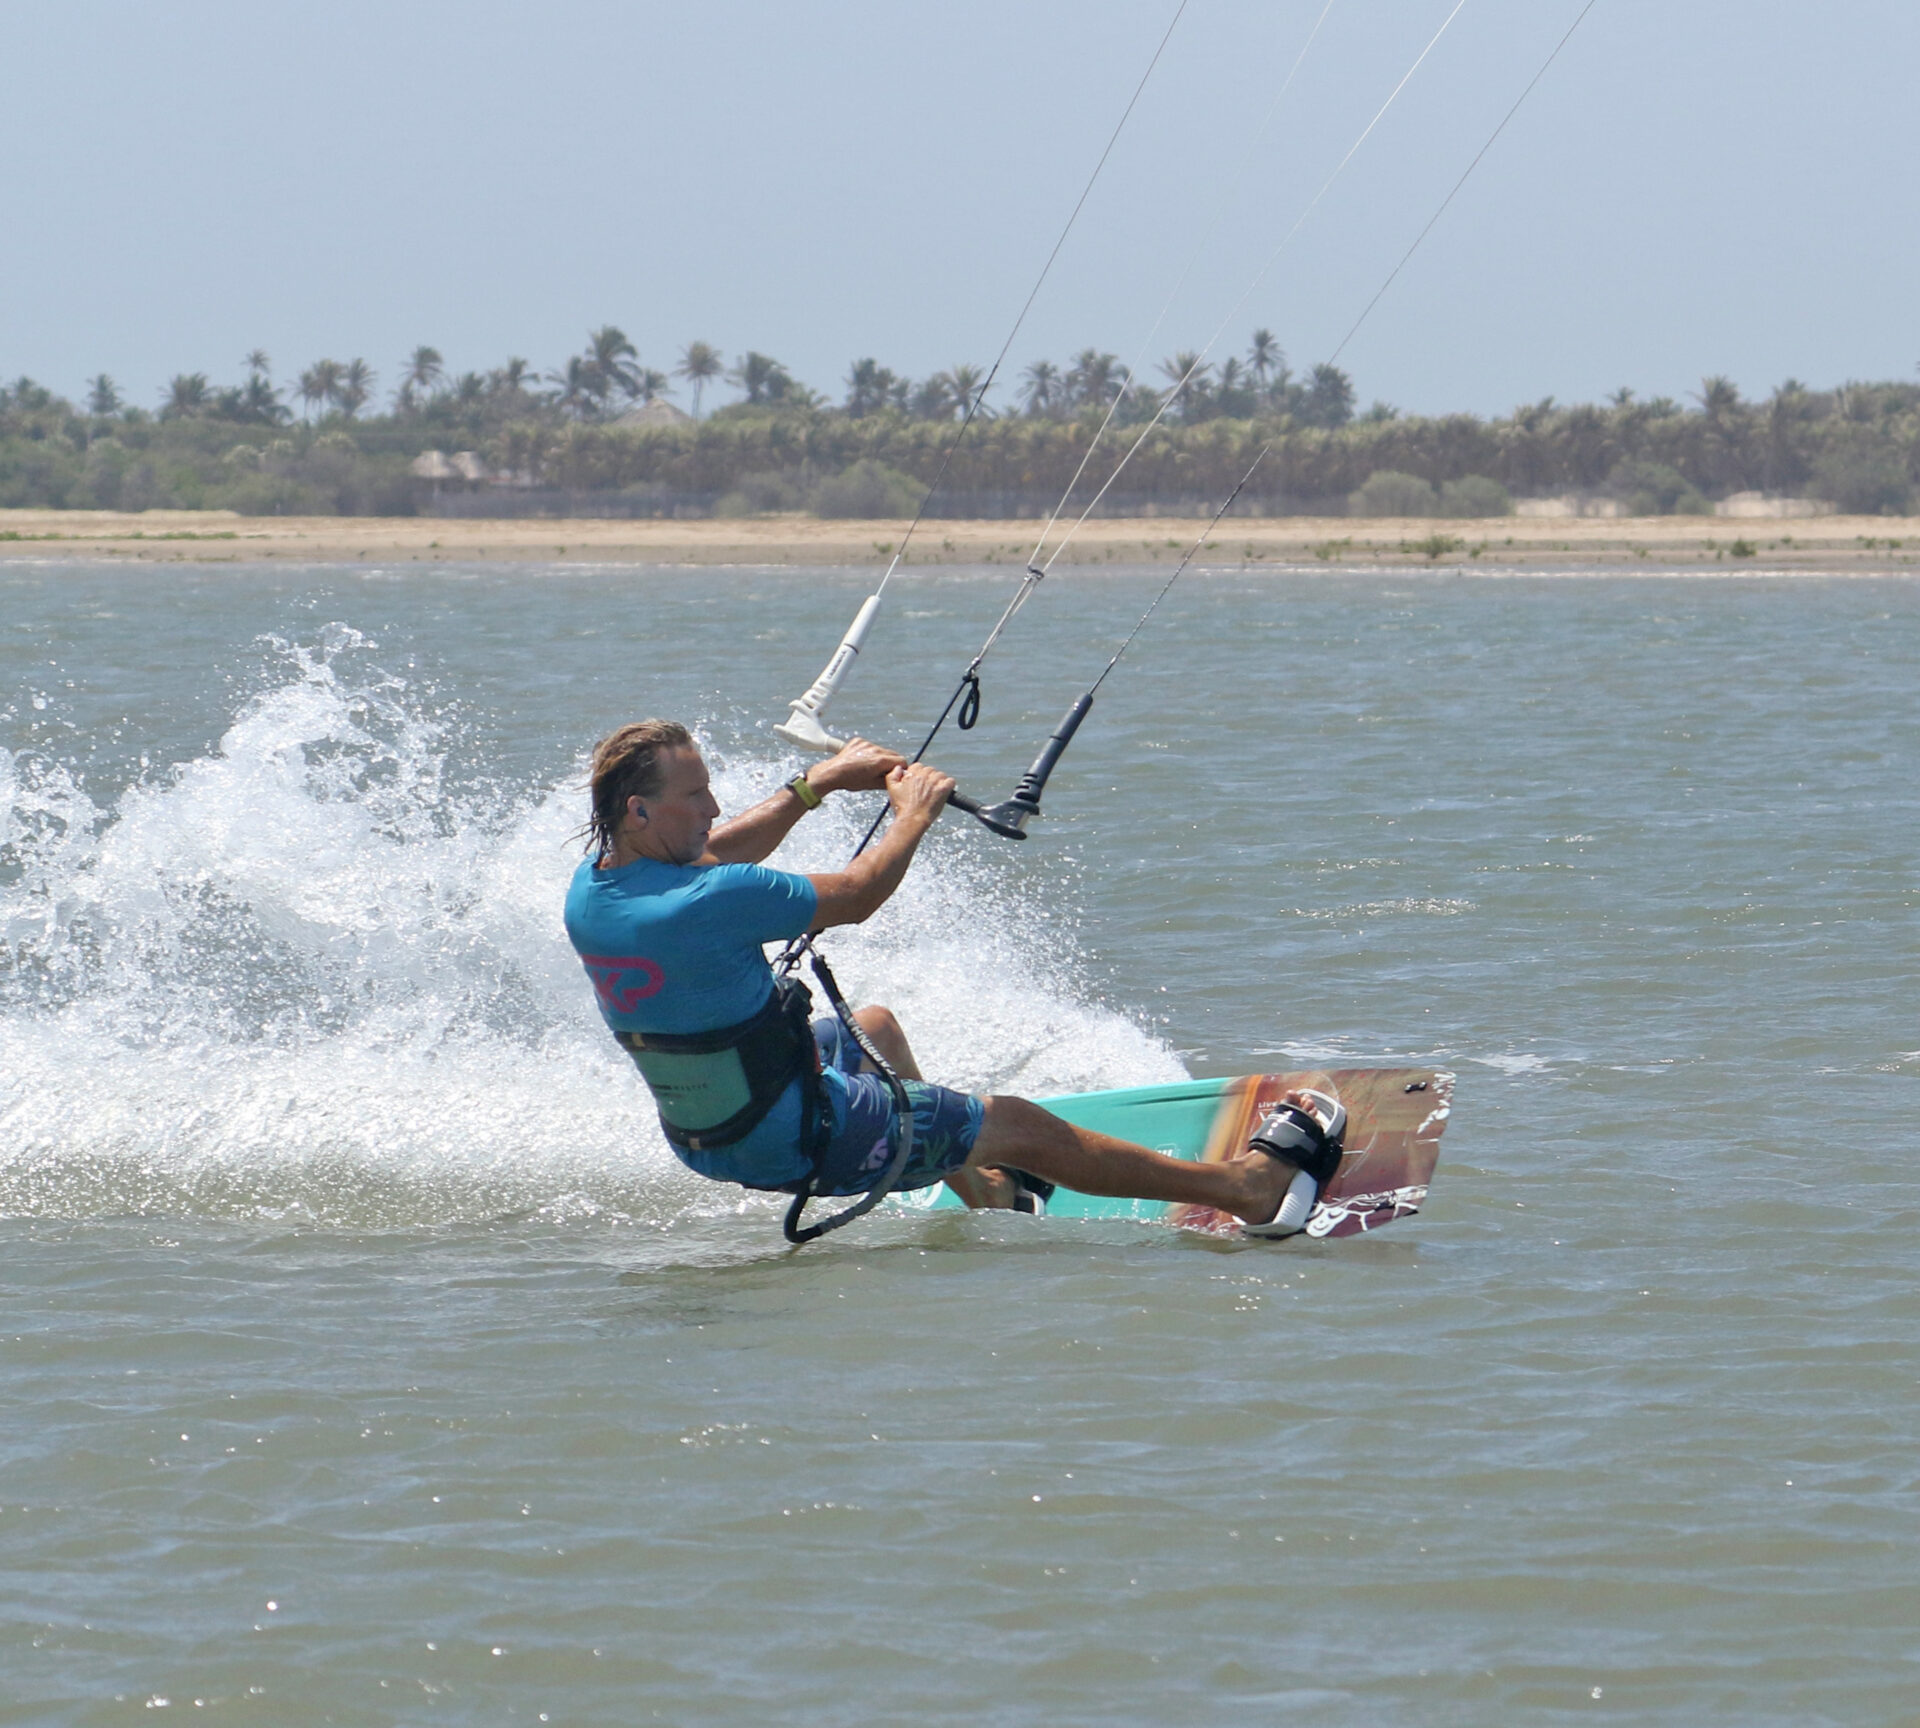
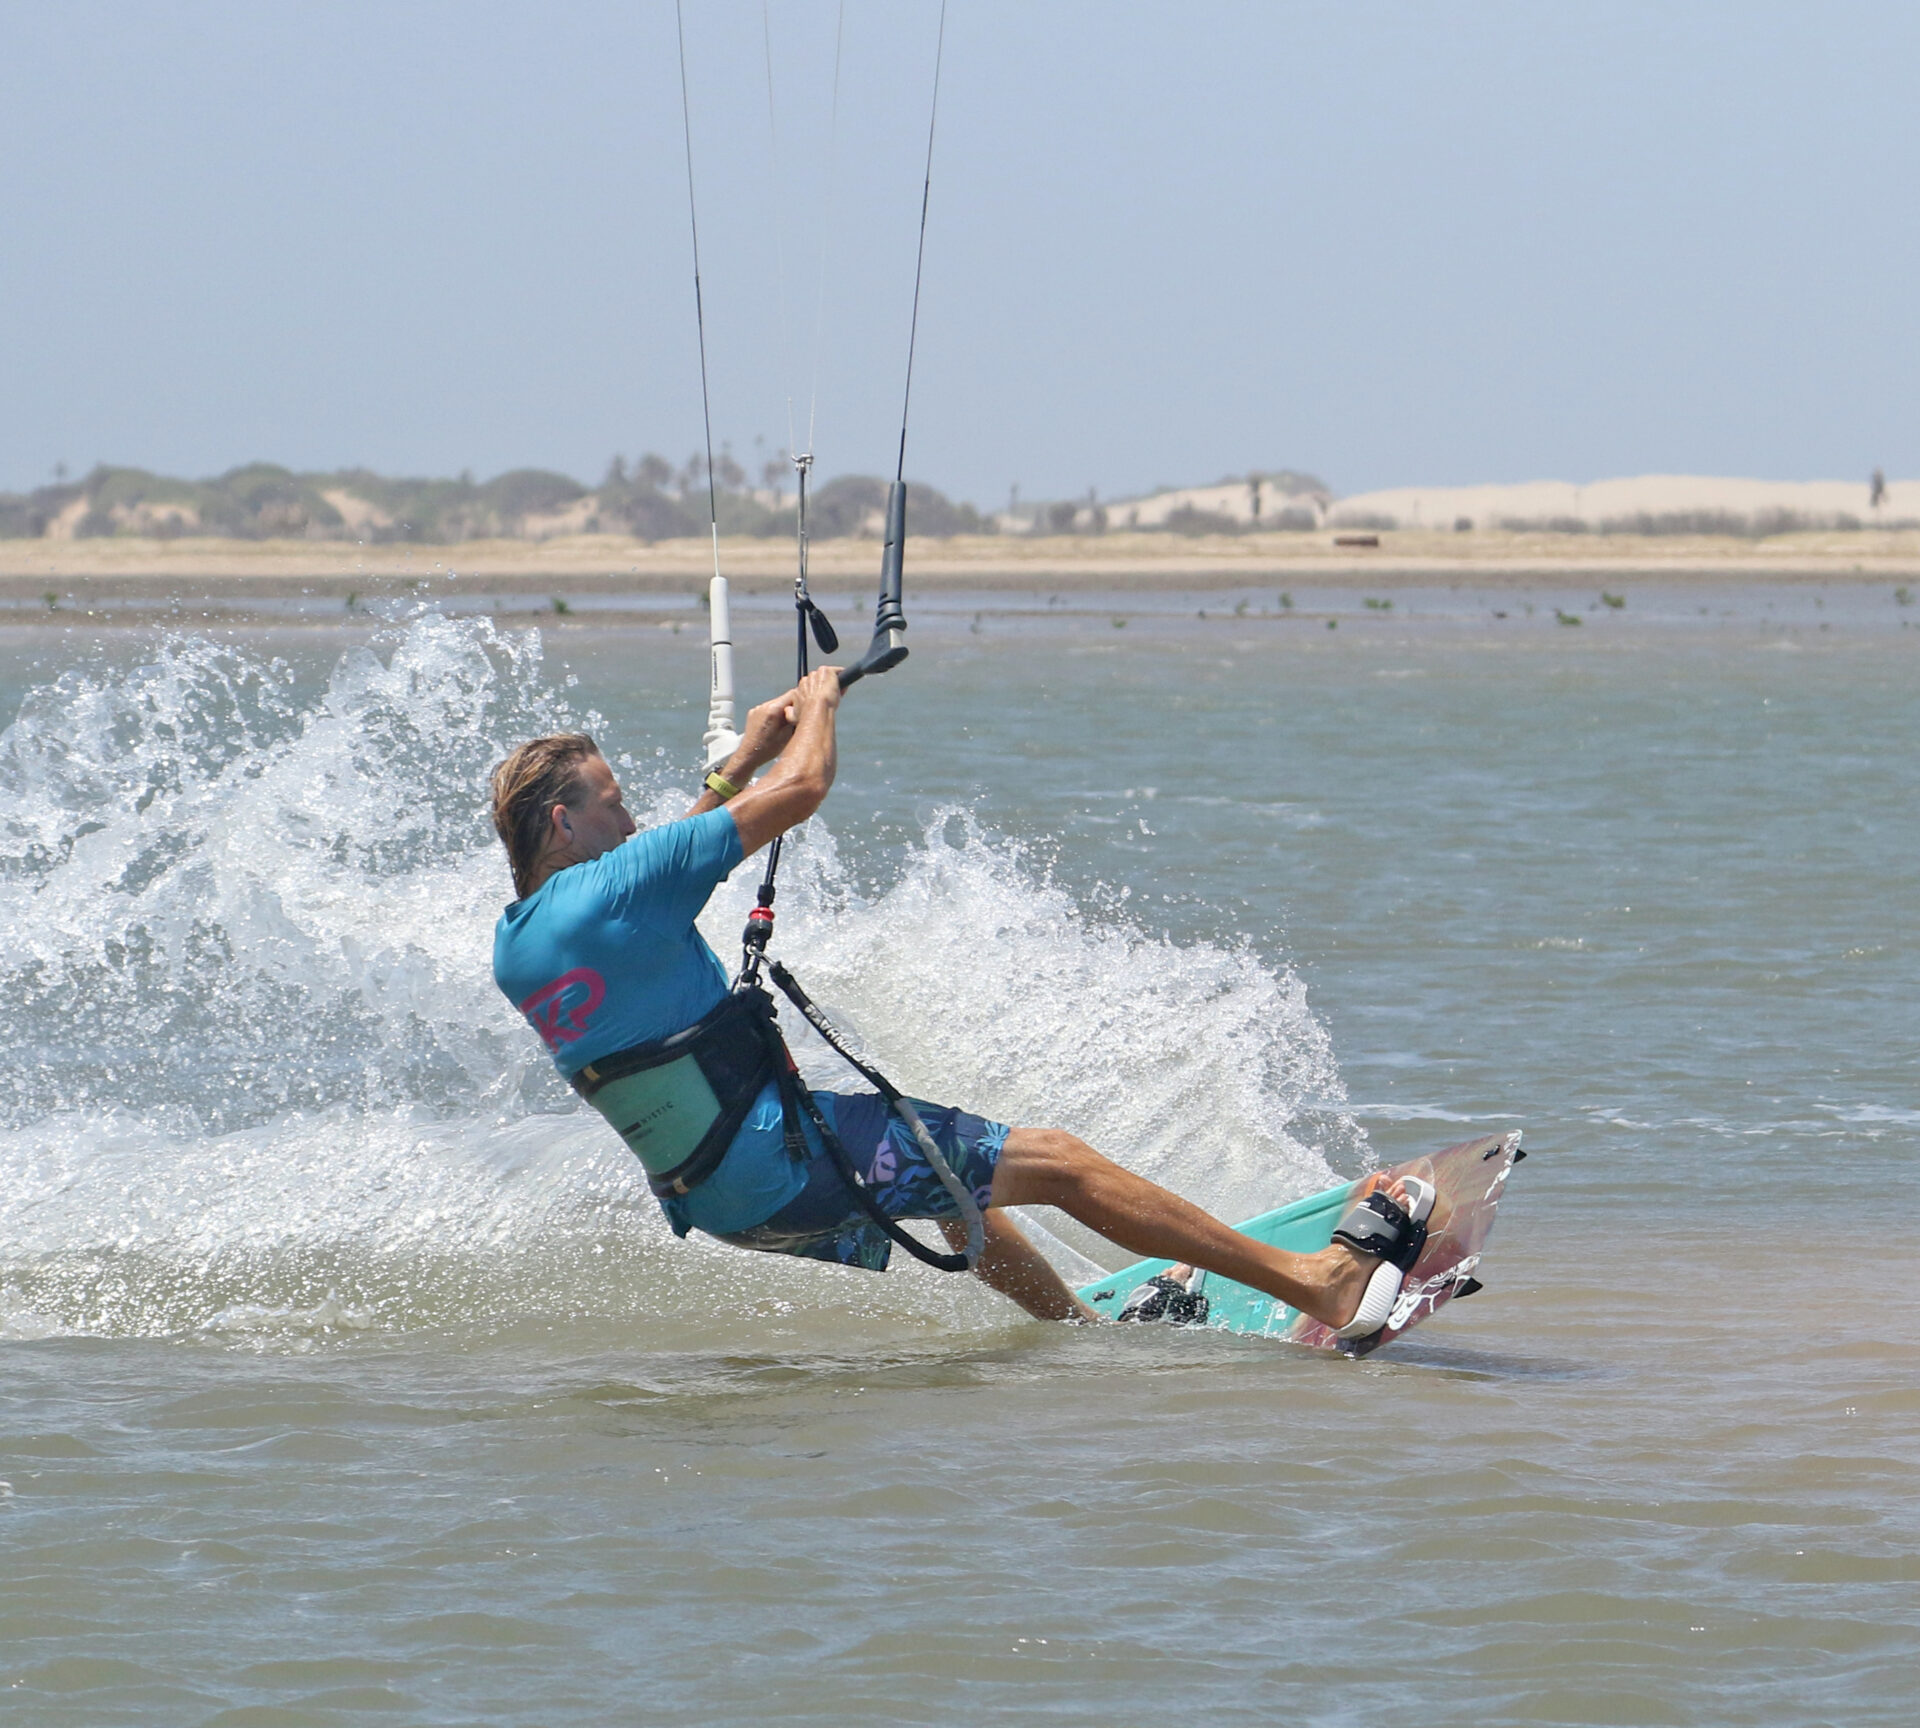
Approach Pic A.
Having chosen your lump of sand, give yourself plenty of run up so that you can approach as for an air gybe. This means on a good edge, weight low in anticipation of your send, sweet spot positioned away from you and of course having checked that the coast is clear. It’s OK to have speed so that you can get comfortable and feel the tension in your lines, as long as you have space to slow down before take-off. Here Christian is all business in his approach, bit of speed, good edge, eyes on the sand ahead.
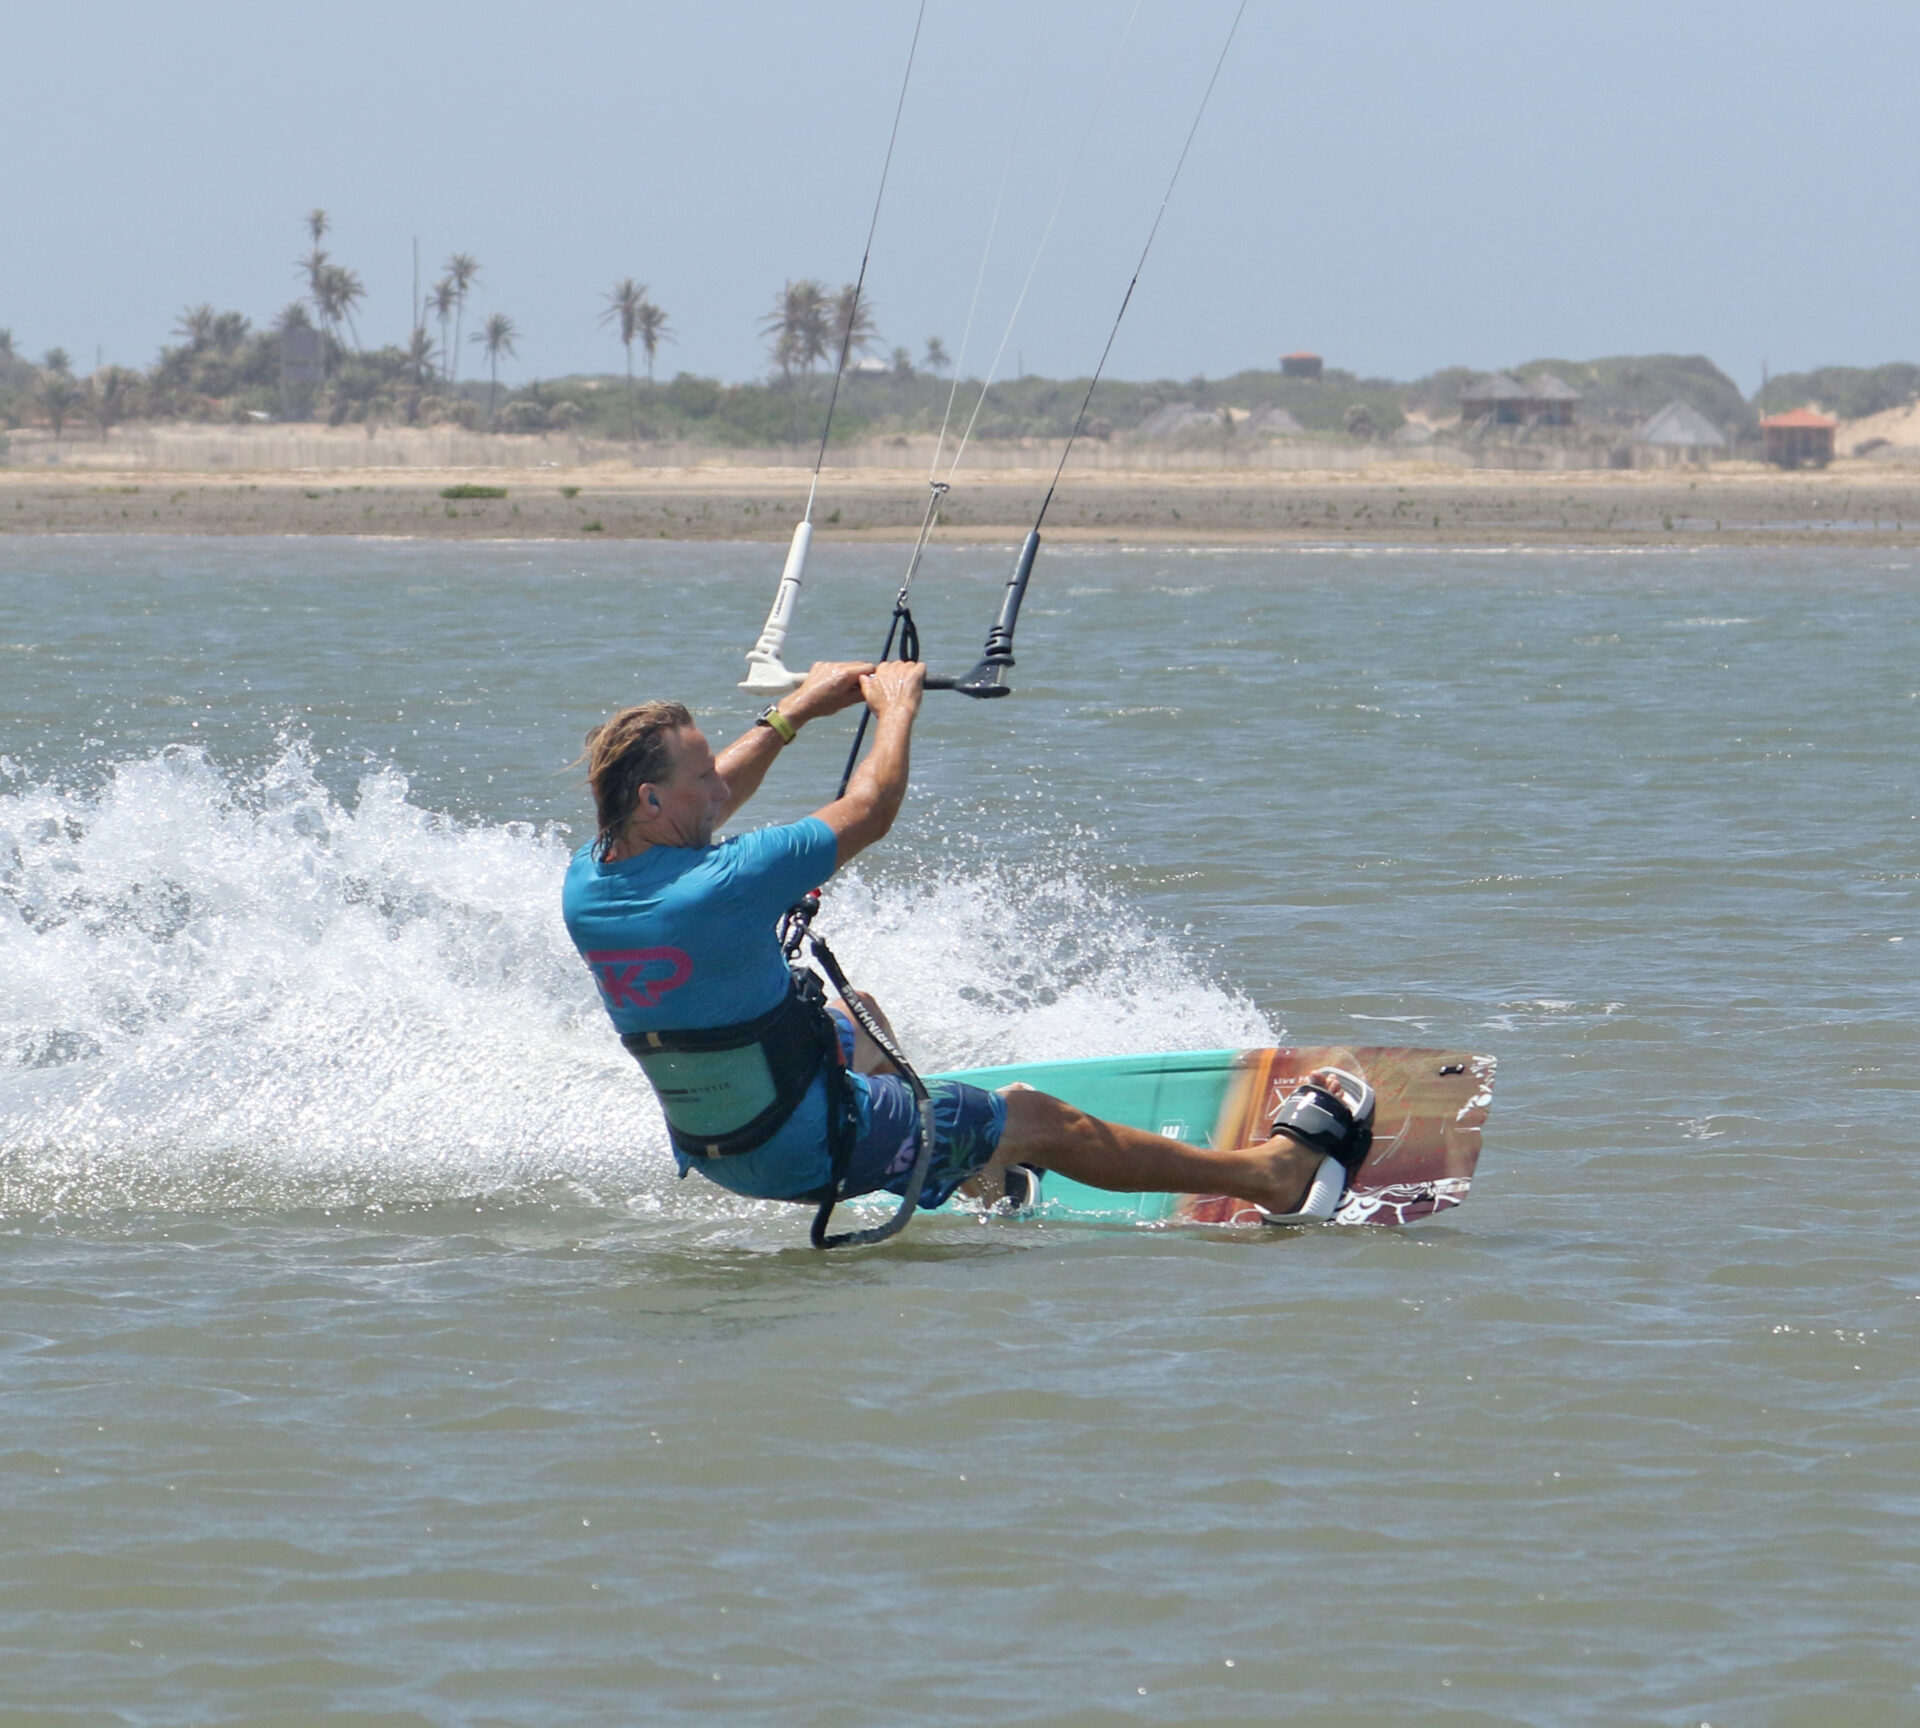
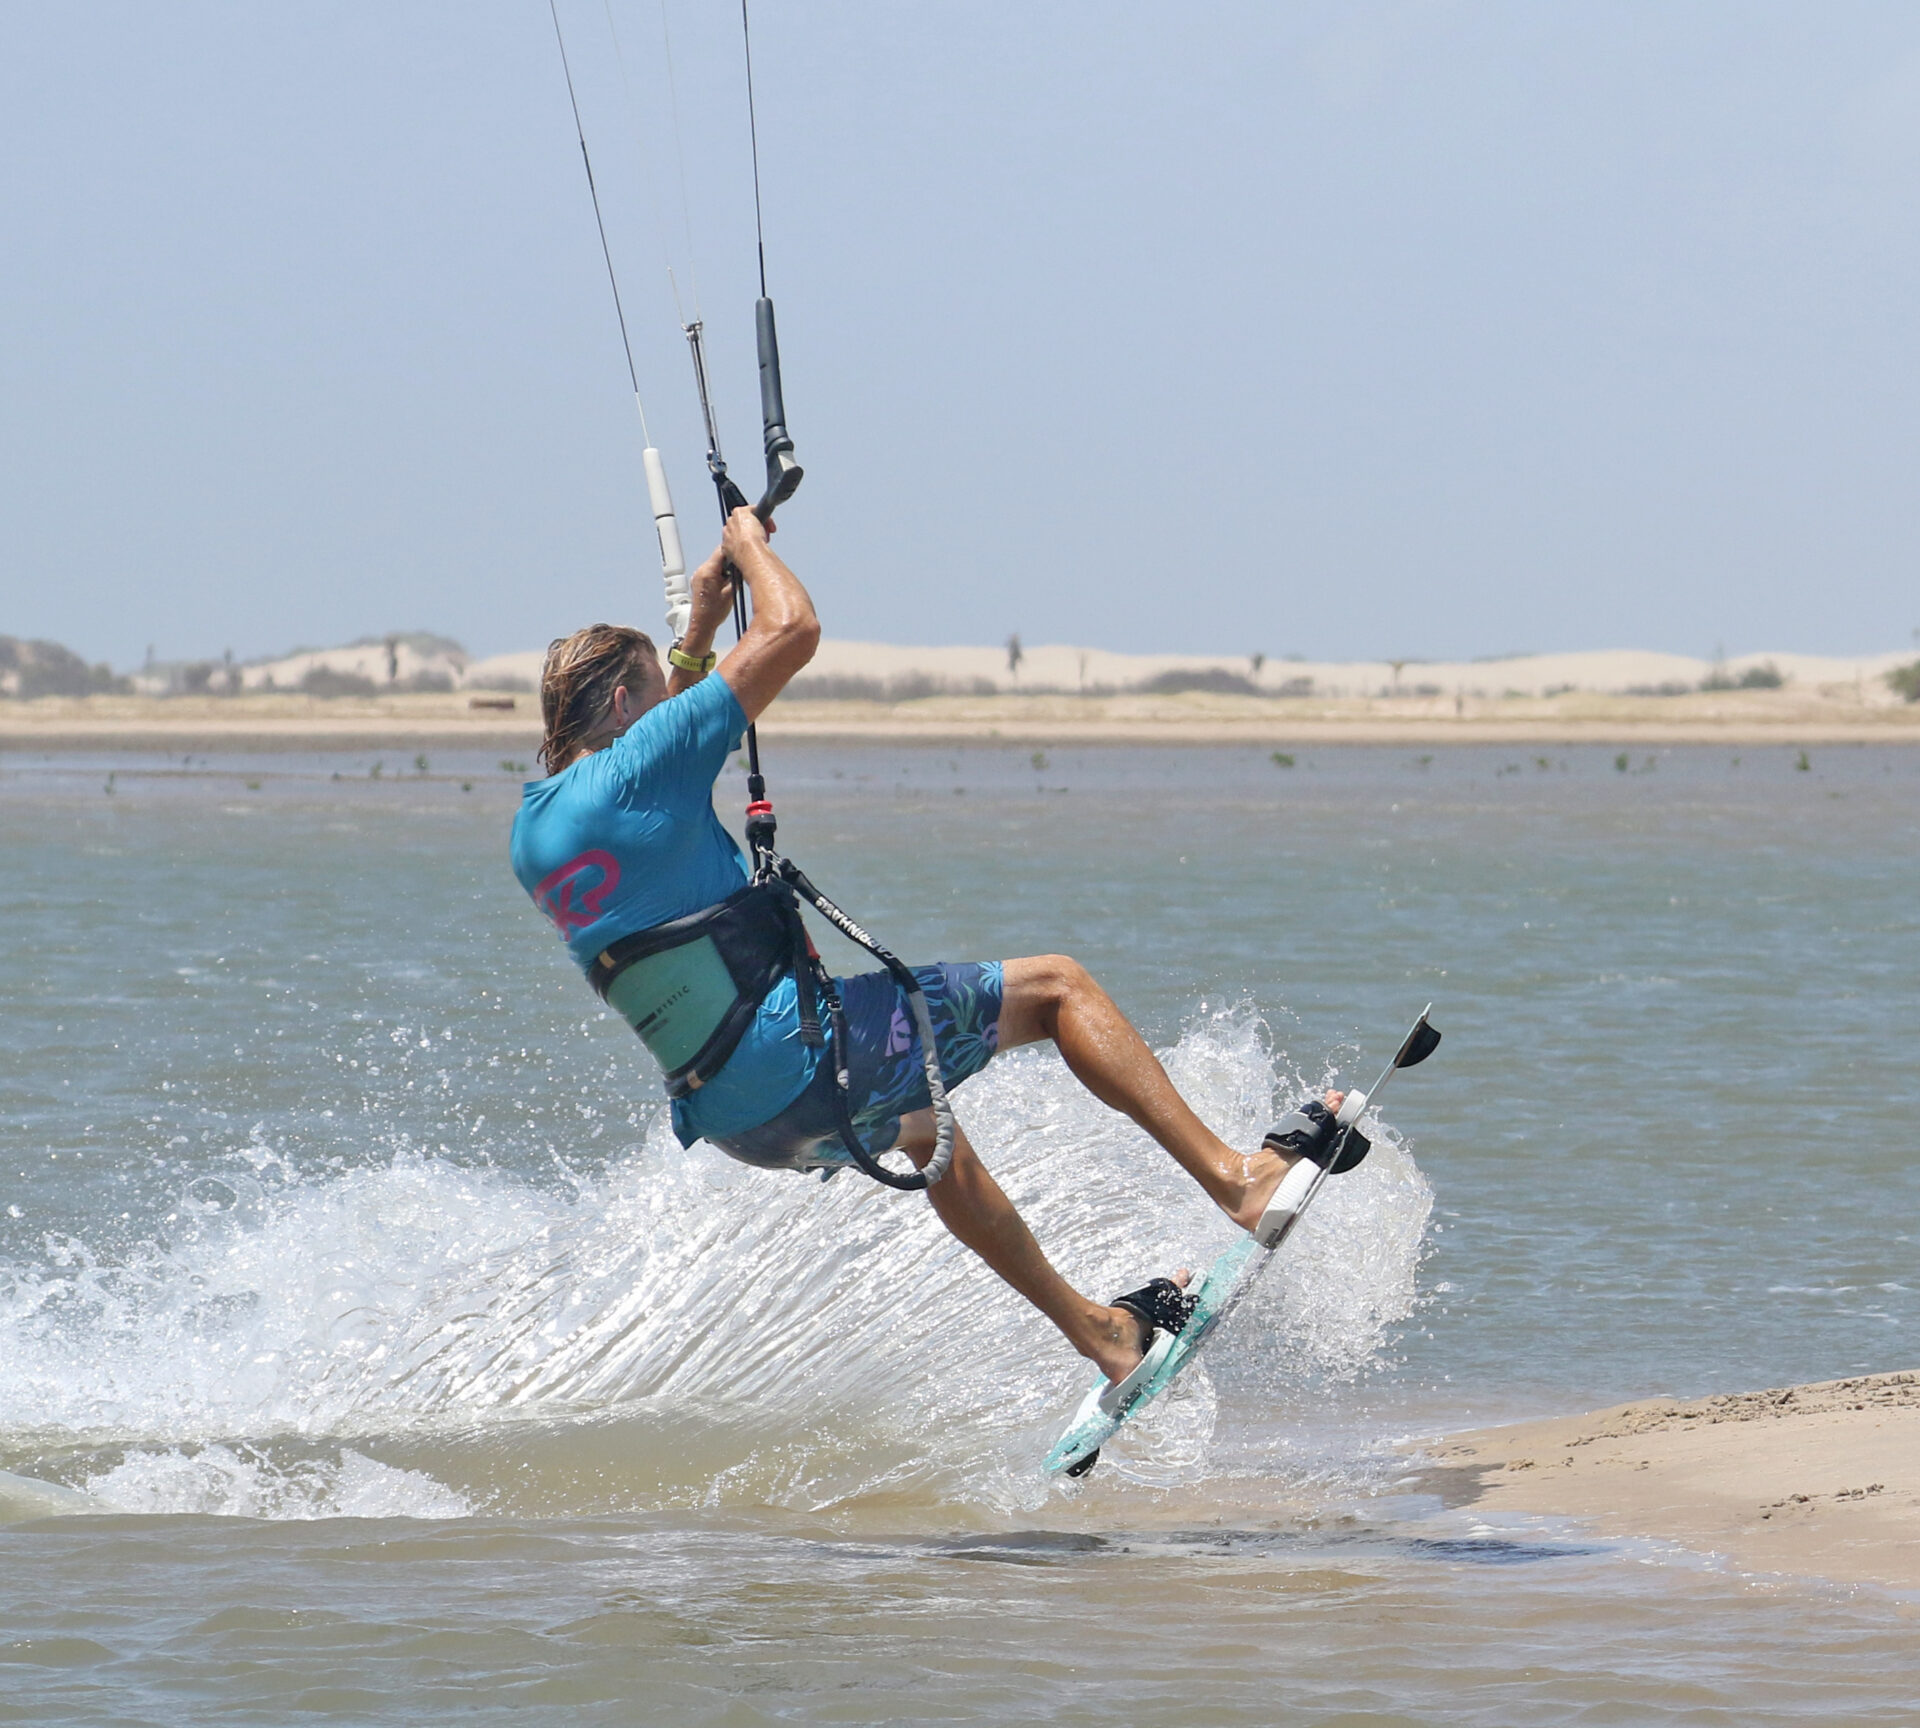
Take Off Pic B
To preface the take-off, it’s worth pondering that to get a feel for distance, it’s better to start further away and take off too early, not quite making it to your chosen sandbar, in preference to screaming in, over-shooting and cartwheeling up the beach! As you approach your chosen grains, slow down by easing the bar out a bit. This will also turn you upwind a tad more. Send the kite gently, from either 11 or 1 o’clock, you don’t want huge! The good news is that your bar is your break. By holding your edge and keeping your weight low you can instantly wipe off speed by simply letting the bar out more. You can see Christian is still on a solid edge, he’s steering his kite up and has feathered the bar out to slow down.
Take Off Pic C.
The take off is ‘a la jump transition’, you will help the kite by kicking up off your edge with your back leg, rather than waiting for the kite to lift you. That said, in a jump transition, you’ll level your bar pre kick to stop it right above you. Here you can keep the gentle send so that the kite does move a bit further back. By doing this you’ve thrown the parachute out the back. Stamp against your edge to kick yourself up, using your rear leg. Now a very important piece of the puzzle. As you kick off, pull the bar. Nothing special to see here? Well, with the kite in the rear half of the window, pulling in the bar puts tension in your parachute and slows you down. You can see how Christian has let his kite drift a bit further back whilst he kicks off and then pulls the bar in.


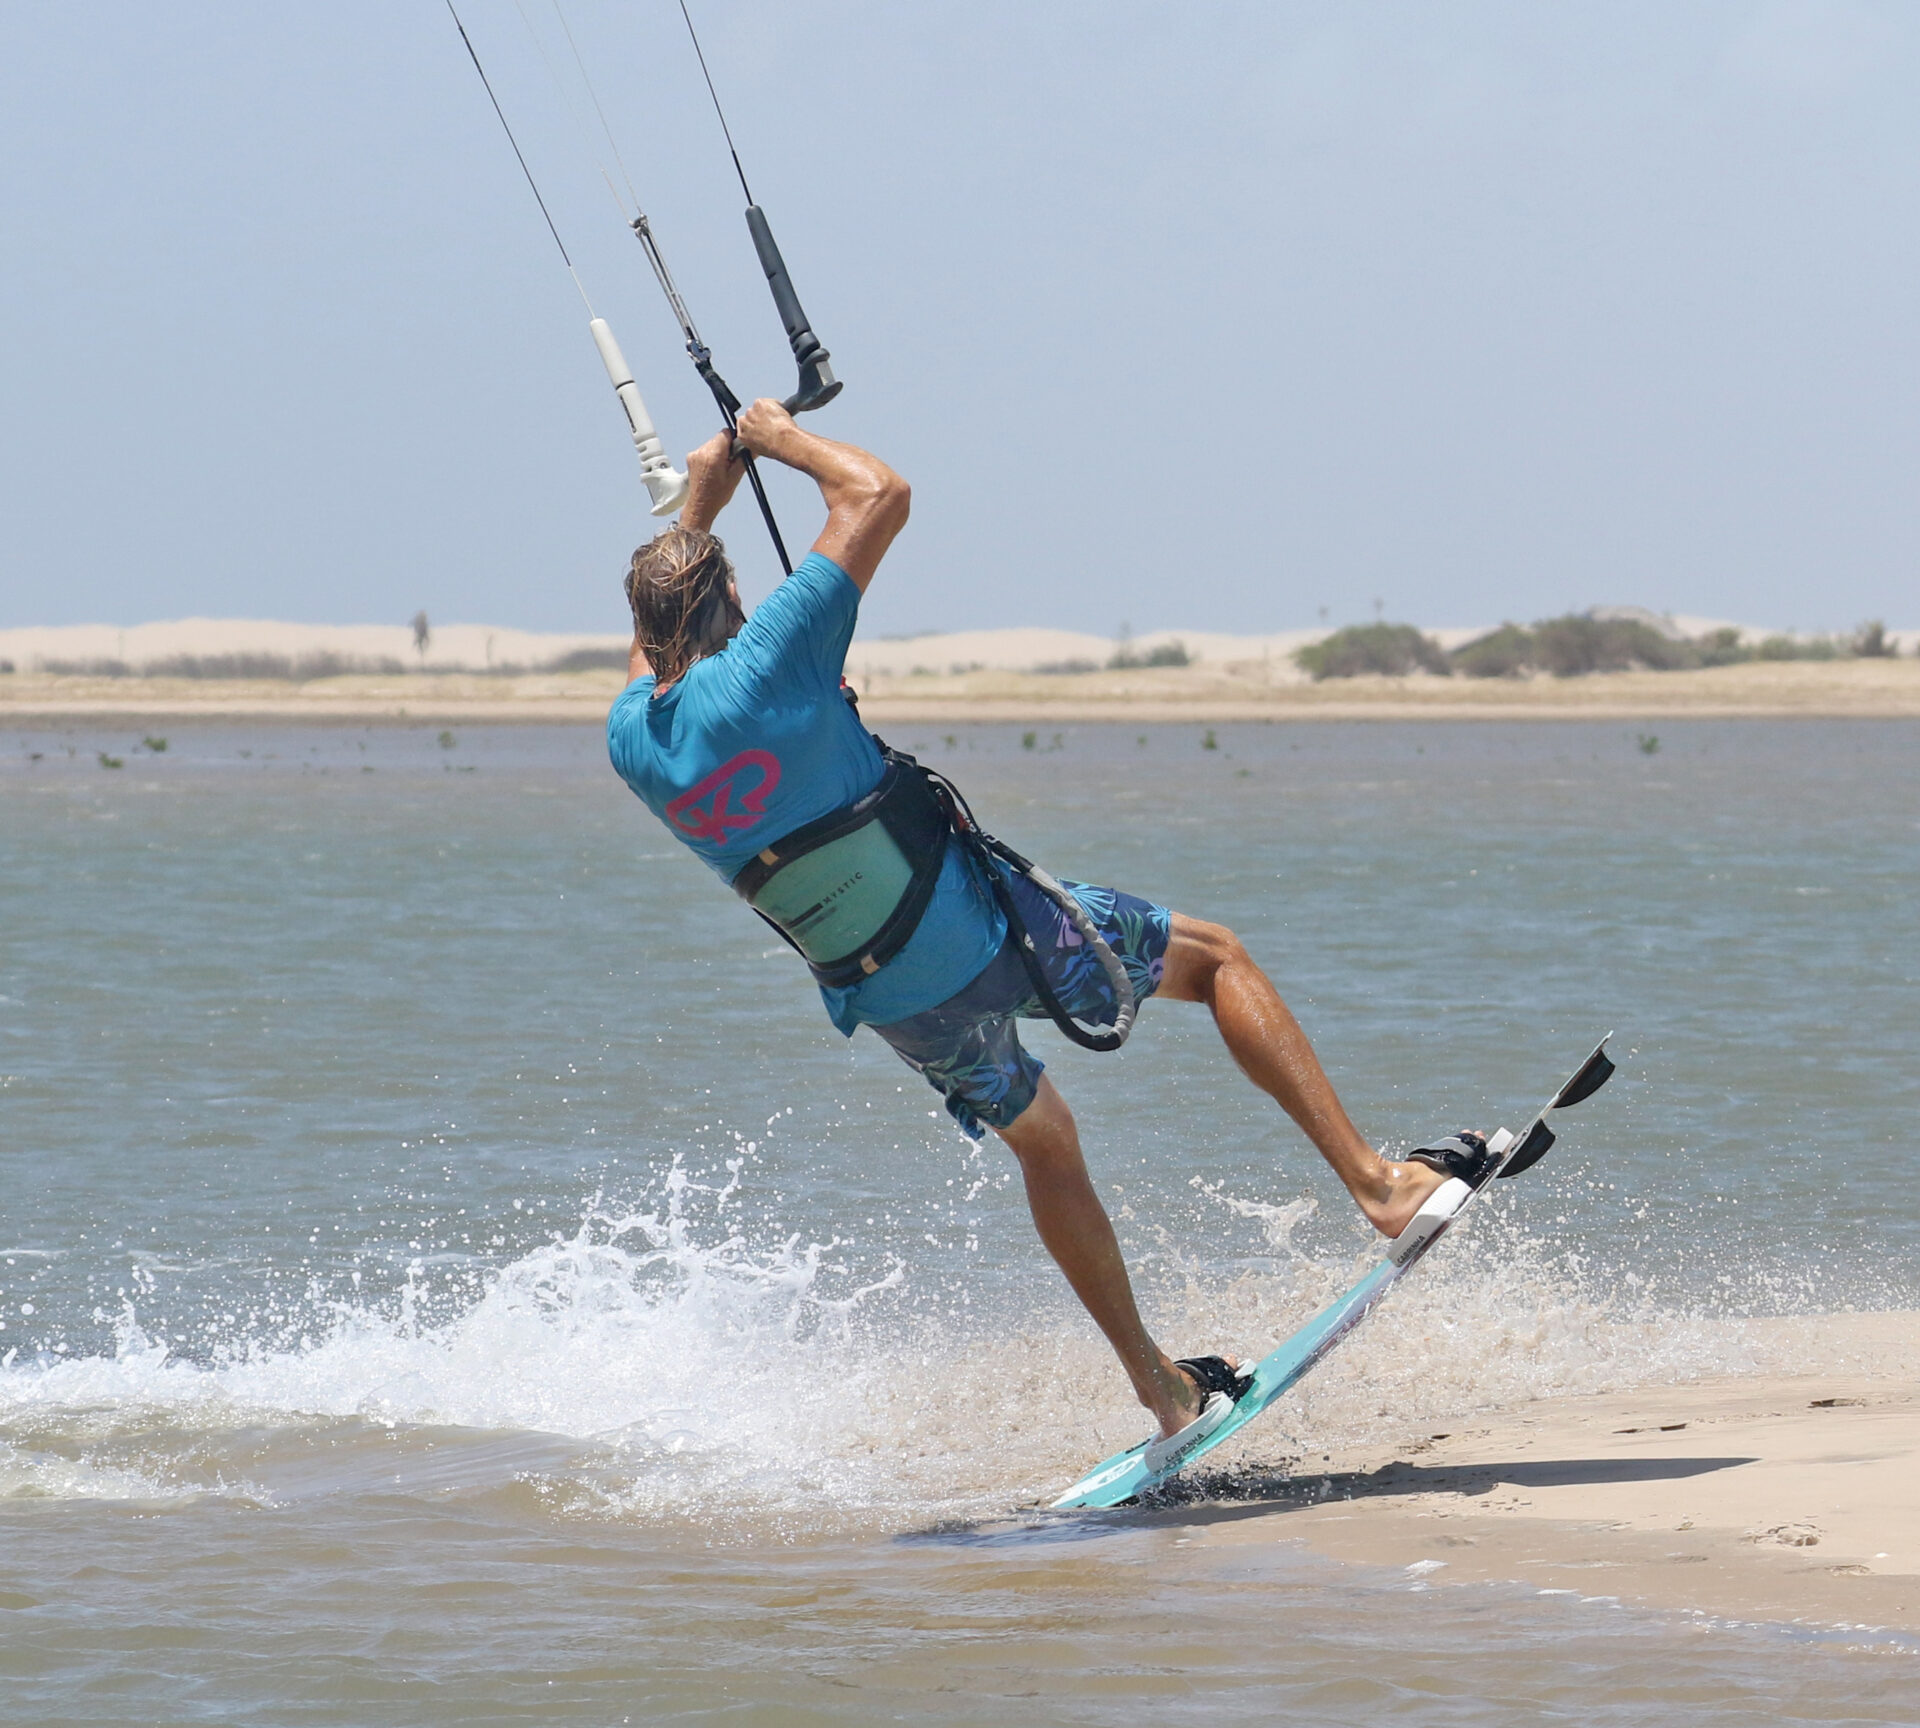
Nose Up Pic D.
As you take off you need to consider what’s coming. When you “stop” it should be on the tail of your board, not the nose, not the edge and definitely not the whole thing. From the tail you can bounce back. Any other part of the board will either dig in or stick to the sand! Whilst getting airborne lean back slightly and keep your front foot up. In this position you can use your bar to control height. Keep it in to keep moving forward, let it out to lower yourself down. As Christian kicks off, he leans slightly back, lifting his front leg and leading with his board as he approaches the sand.
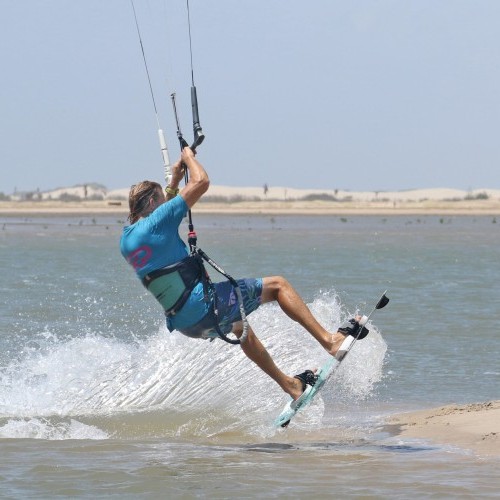
Stop! Pic E.
You’re aiming to land on the tail of your board and momentarily stop. This is the plant. As long as you get the tail down first, you’ll be good. You can clearly see that Christian has his front knee raised, is still leaning back and is pushing his back leg and the tail of the board down onto the sand. To help with this planting action Christian has also pushed the bar away so that his weight drops onto the tail and he’s looking down so he can aim the board. Ideally you’ll be landing with your kite just behind 12 o’clock, so back over the water on the side you want to go back to.
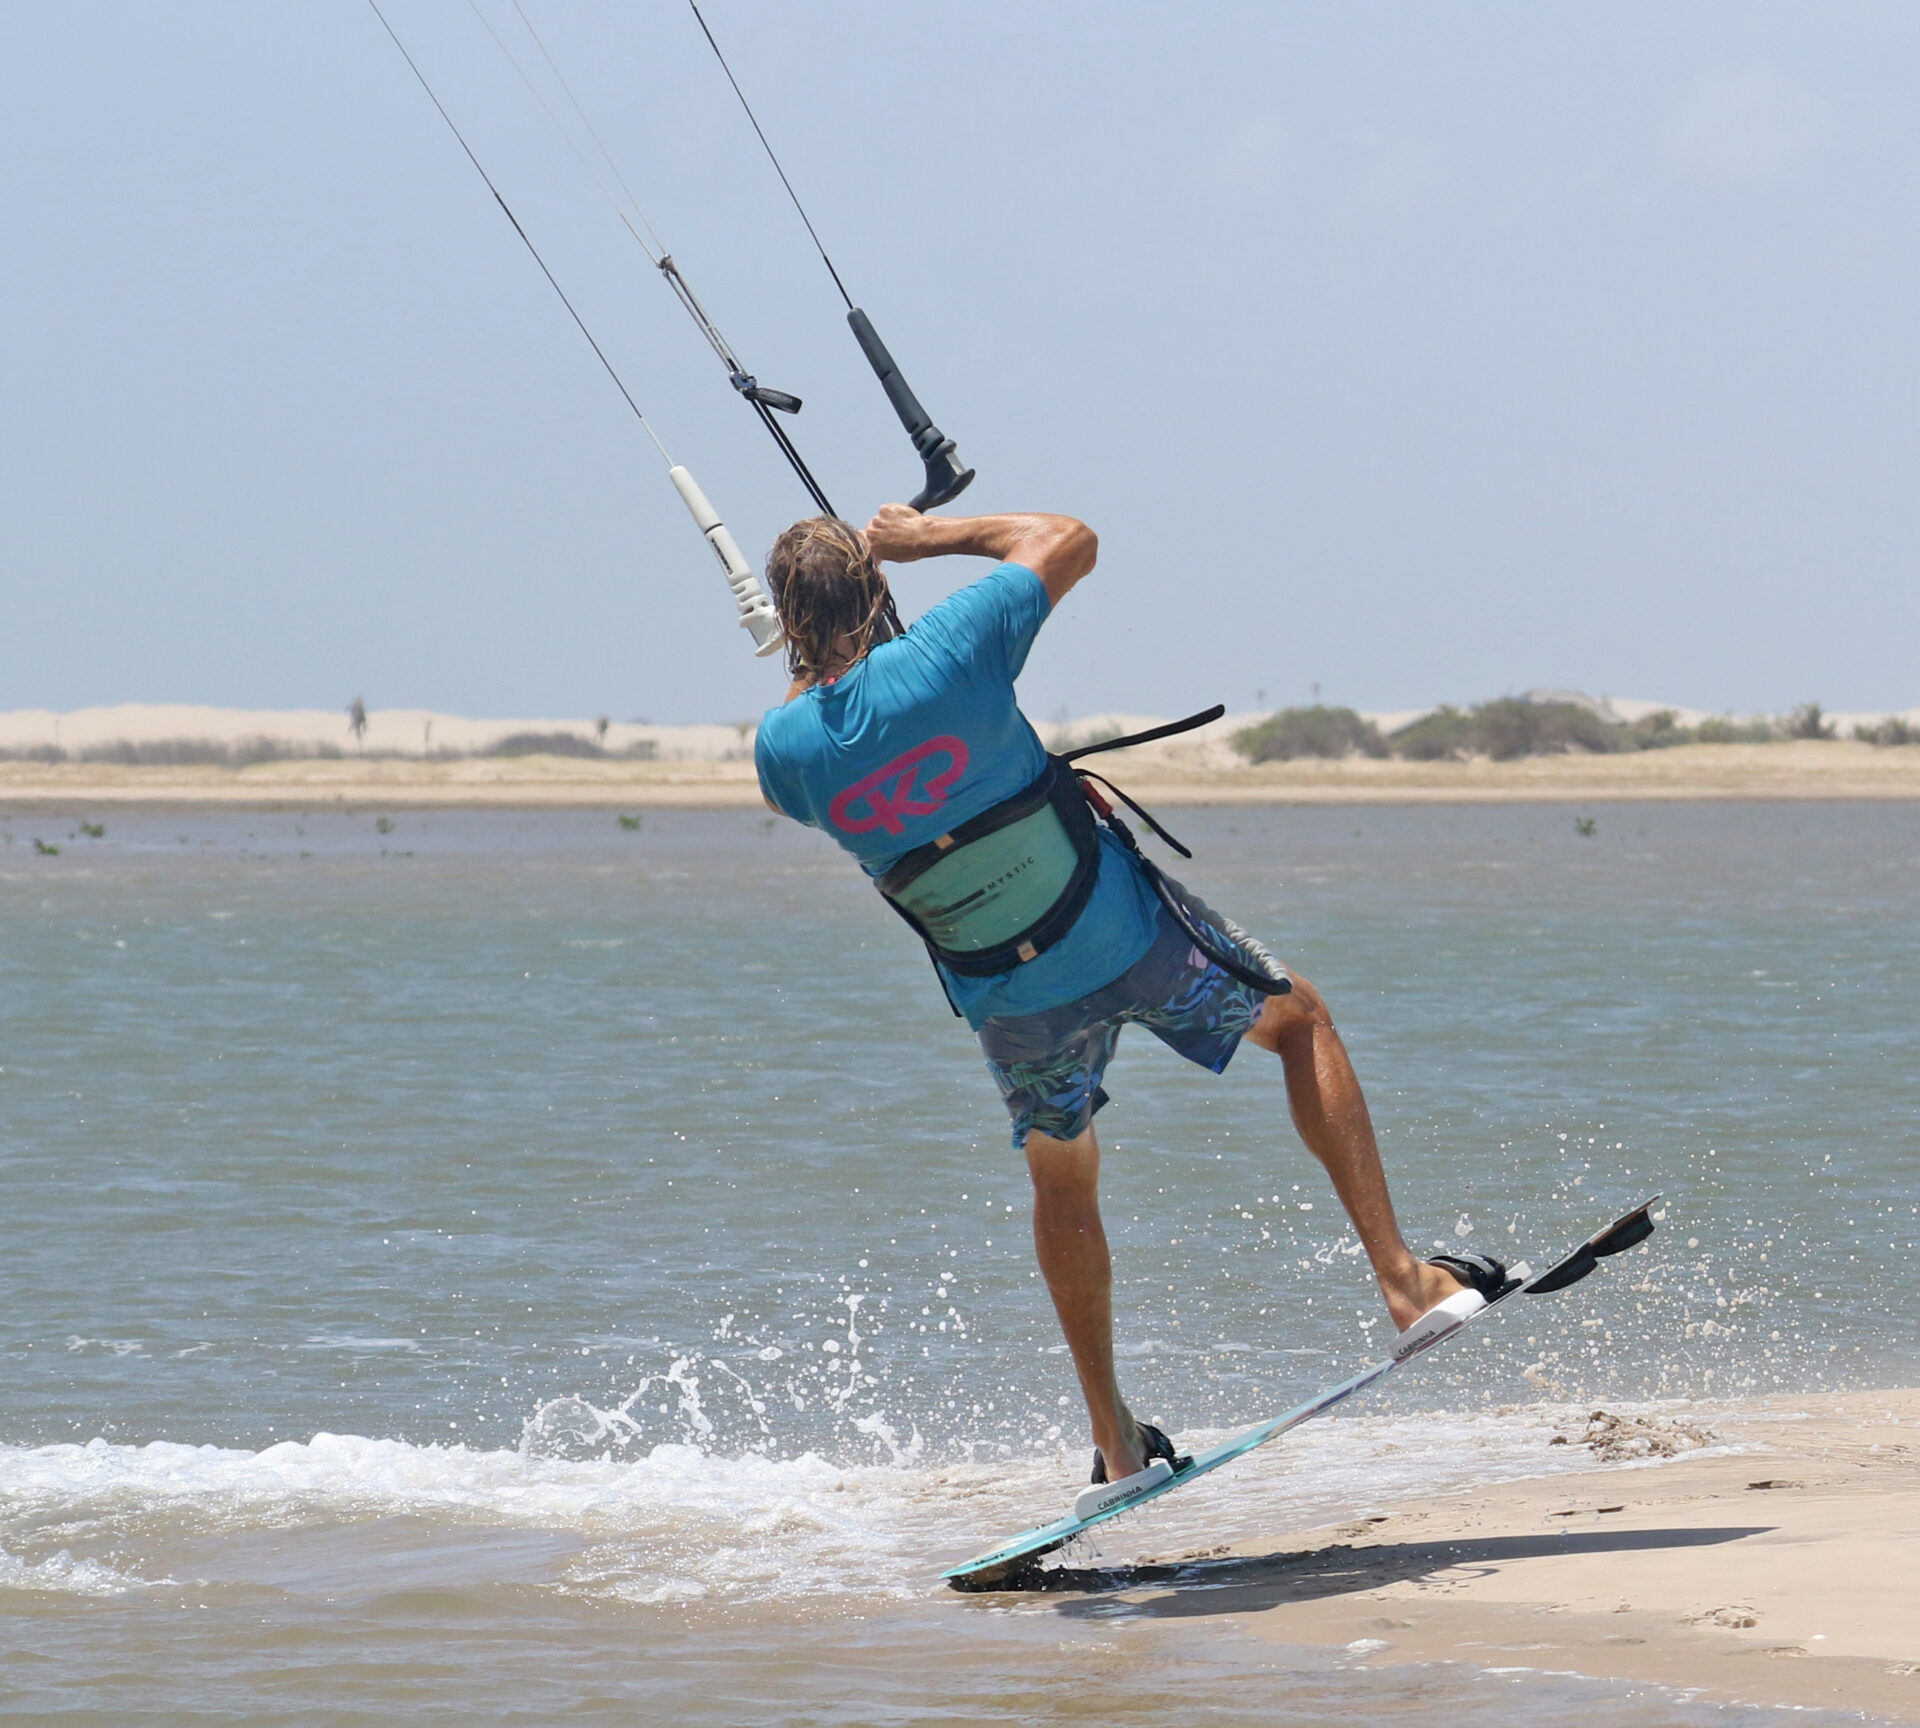
Bounce Pic F.
During the learning process you should aim to bounce off as soon as you land. Once you have the move mastered you can stall the plant all you want, but for now get a move on before gravity or a loss of balance undermines your effort. You will bounce the board to help lift you off the beach, this is another reason why you must land on the tail, as thus you can use the board’s flex to your advantage. Your other goal is to get the kite to pull you up and away from the beach, so give it an almighty dive. Looking at Christian in the pic, he has turned his head to look where he wants to go, he is pulling in on the bar, and steering the kite away from the beach. He’s also extended his rear leg to launch himself up and spring back into the water.
Claim It Pic G.
With your kite diving from here on in you know the score. Look down wind, twist your hips and board, aiming to land tail first off the wind, and be ready to take your kite back up. This will all only work if your bar is on the sweet spot, so let your kite breath. Christian aims himself and his board slightly off the wind, watching his kite, dropping his new rear leg to touch down tail first, with his bar out on the sweet spot. You can see that he’s already steering his kite back up as it closes in on the water!
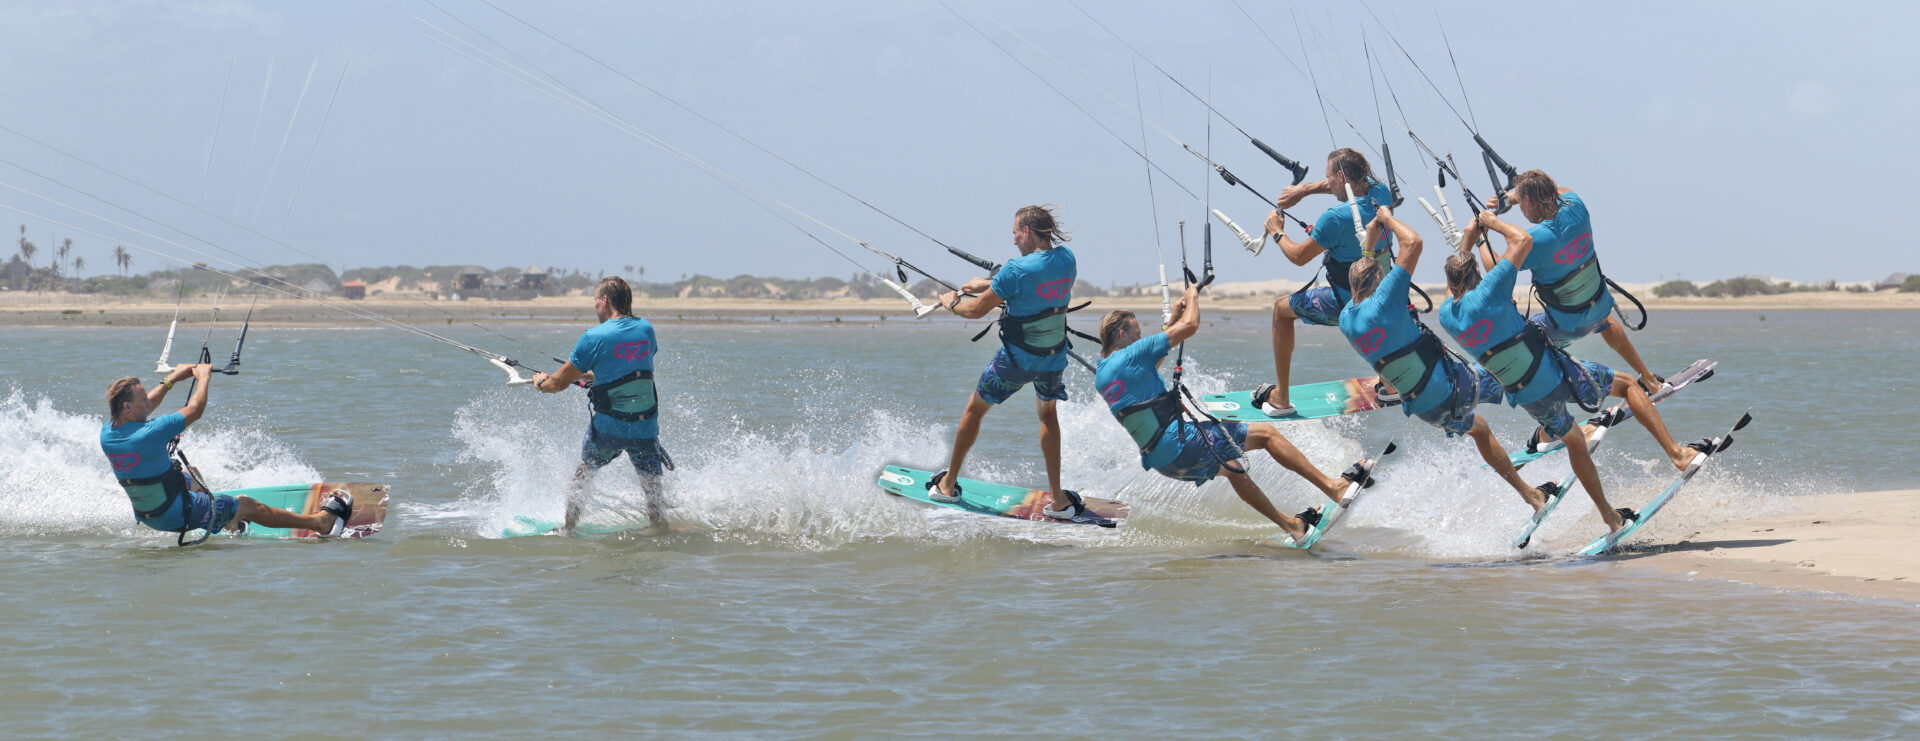
Brilliant, have a look at the sequence for a step by step visual and check out the video!

Common Problems
It’s quite common to land on the sand with too much forward momentum, even if you try and scrub speed off before the move. The main reason that you’ll still have too much speed is because you are not sending the kite far enough. If you only send it for a short time it won’t reach 12, let alone get behind you before you kick off. This means it’s still pulling you forward. Make sure you start early enough, so that your kite has time to fly up and past 12.
Landing flat on the board. If you do this, the board will stick, and the chances are you’ll either stay on the beach or come out of the straps. Keeping the front leg up alone is not enough, so make sure that you lean back as you take off, so that you’re almost kicking the board away in front of you as you float towards the beach.
Keystones
- Good run up
- Gentle send and slow down by letting bar out
- Kick off, pull in and lean back with front knee up
- Land on tail
- Push down to bounce off tail, turn head and dive super hard
This technique article was in Issue 115 of IKSURFMAG.
Related


By Christian and Karine
Christian and Karine have been working together as a coaching team, running improver to advanced kitesurfing clinics since 2003.
