
Jump Transition to Toeside
Technique / Beginner

Variations and add-ons lie at the very heart of kite moves. Combining moves you have stuffed firmly in your box of tricks is a brilliant way to keep moving forward and stoke your mojo. Landing a jump transition to toeside is a perfect example of this kiting chop shop and a cracking progression from last issue’s jump transition.
The principles are very much the same. You’re looking to tame your momentum, get off the water early, and make the most of your big chill before a hearty dive, landing off the wind to keep moving, carving back onto your edge, and claiming it. However, you’ll be landing toeside this time, albeit with your nose pointing off the wind.


Having gone through the jump transition in detail last issue, we’ll recap the first half before adding on the timing, movement and essentials for the modified landing. We should also add that you’ll be better off landing on your strong toeside. The bonus here is that if you’ve been struggling to land off the wind on your weaker heelside, you’ll now have the chance to land with your favourite foot forward!
Let’s dive into it, starting with a short but sweet recap.
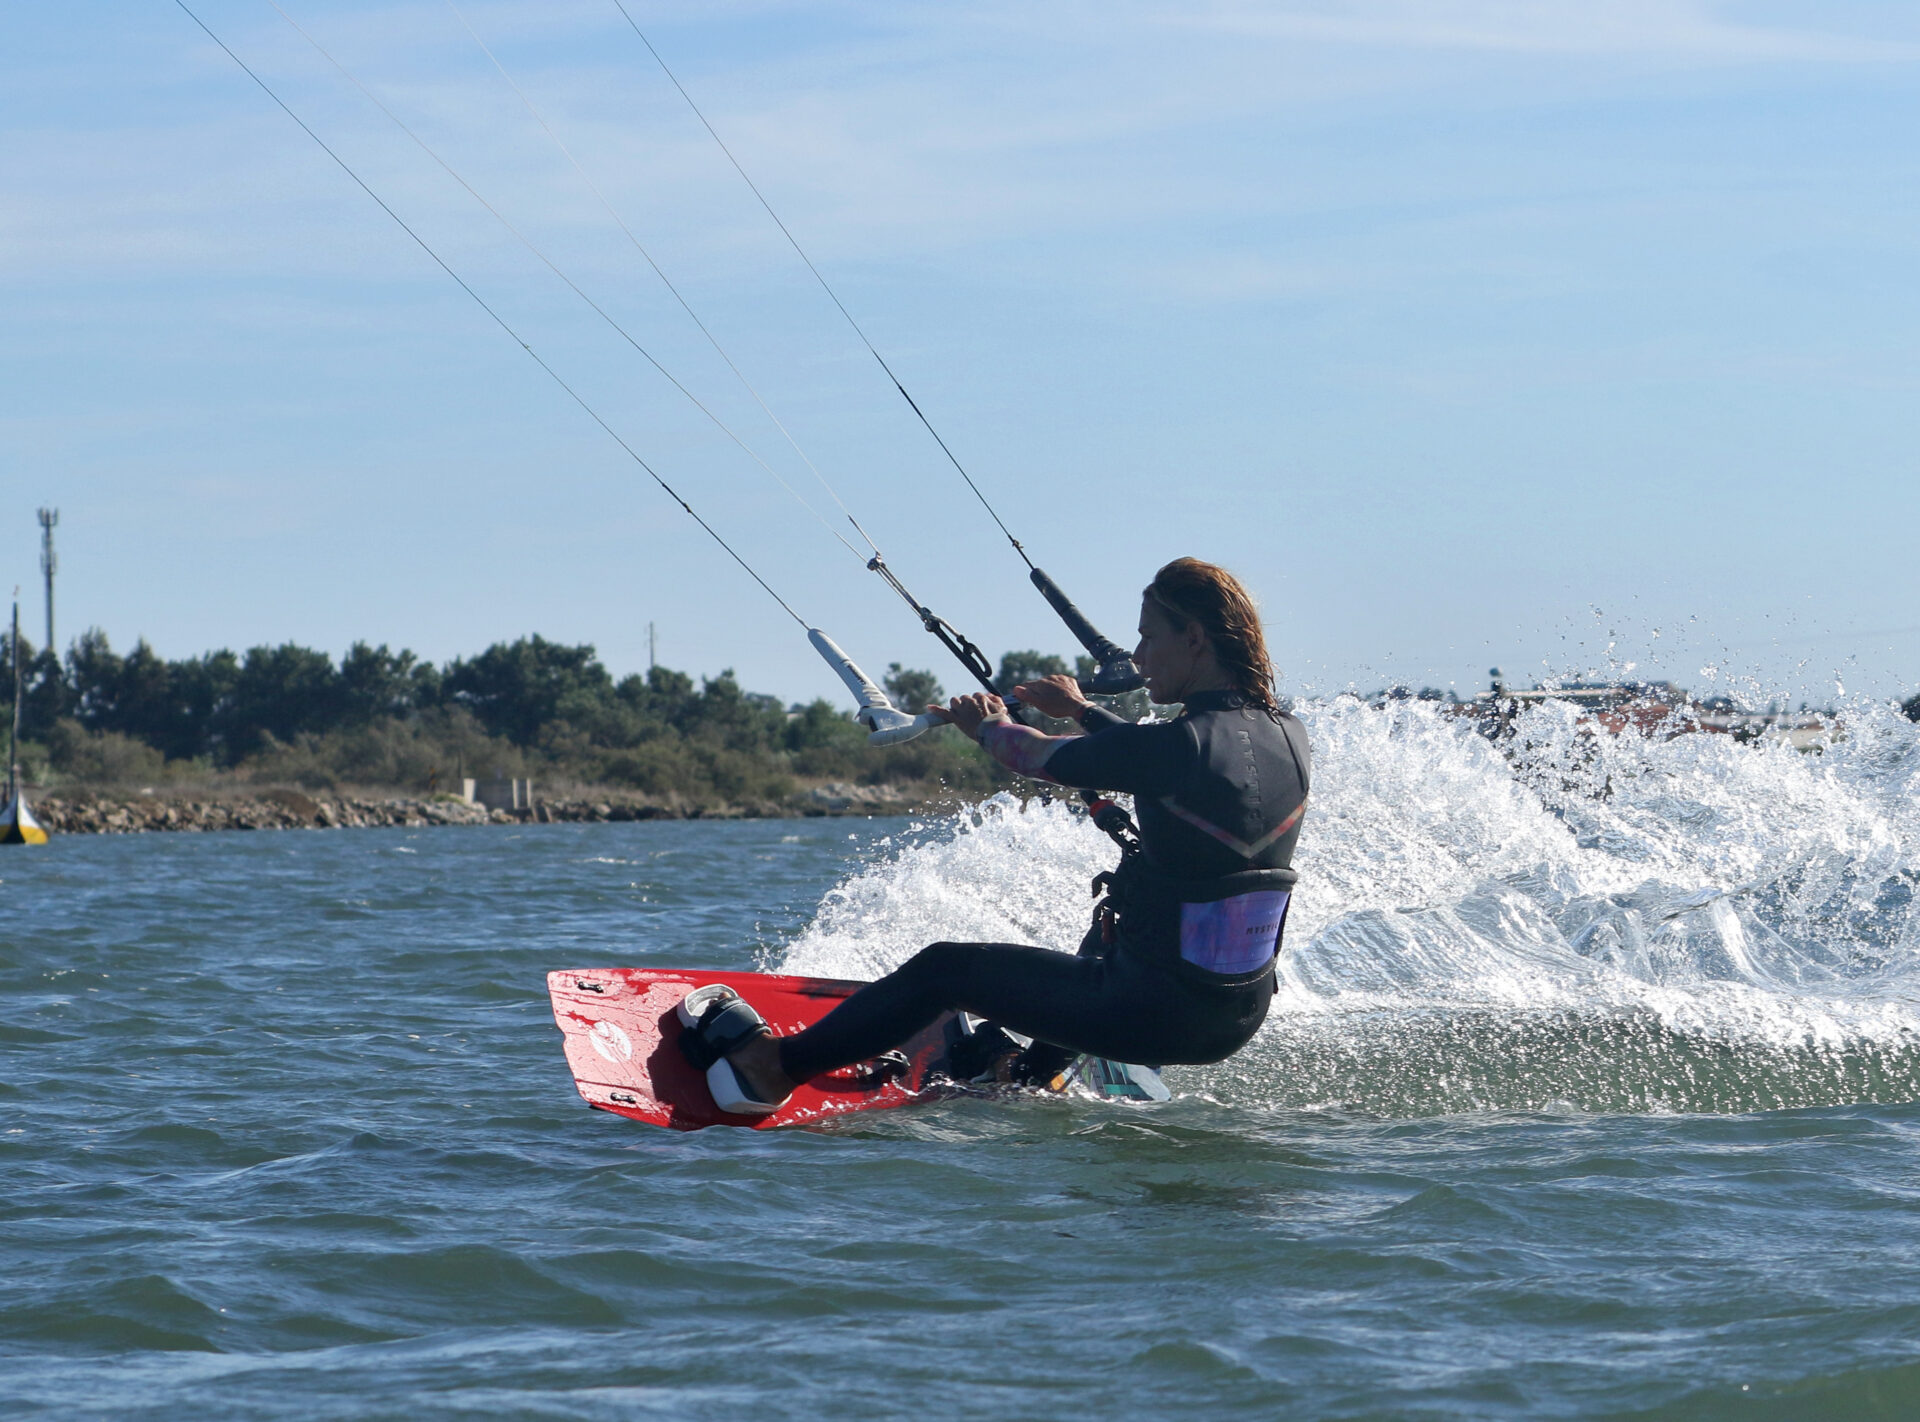
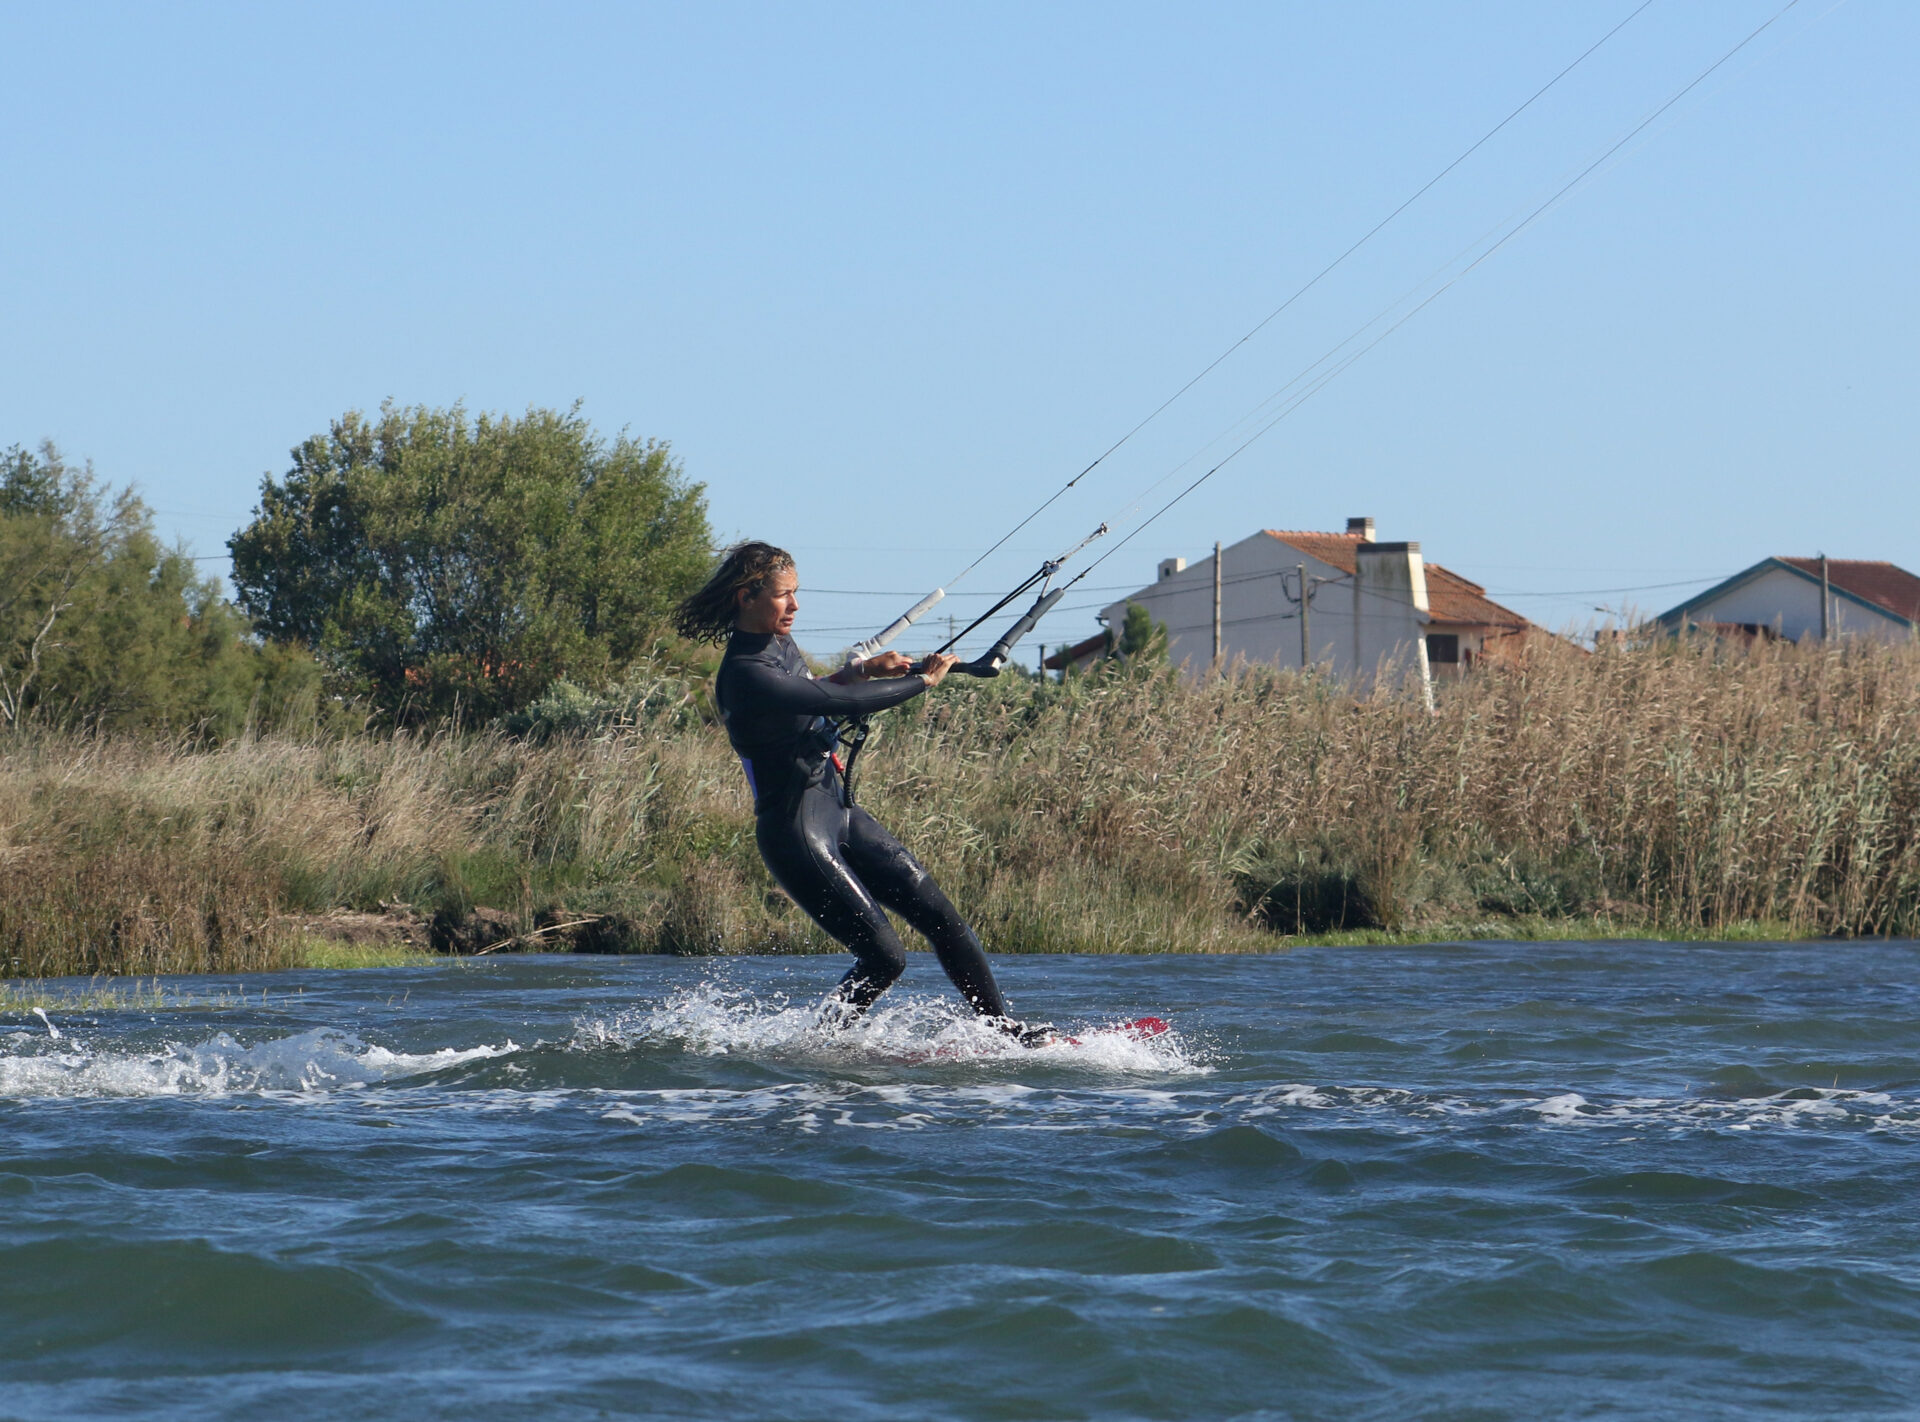
Approach Pic A.
With your kite around 11 o'clock or 1 o’clock, approach on a good edge to tense your lines. Position your hips parallel to the board's centre line so you get plenty of edge in the water. Have a look to ensure you’ve got space to change direction and dive your kite. Ease your bar out to slow down a touch. You can see that Karine has a centred stance with her bum low. Her kite is at 11 o’clock, bar eased slightly to slow down, and she’s already checked to ensure the coast is clear. She’s ready.
Send Pic B.
To get yourself off the water, you need to be positive with your bar action and hold your edge. The secret lies in not sending the kite for as long, so it doesn’t go too far back. You'll generate enough oomph if you have enough power in the kite and tension in your lines, and you'll give the bar a decent input. Karine is powerful here, so she’s been quite aggressive with the bar to generate lift. This means she must be aware of not sending the kite too far. She keeps looking where she’s going and resists with her edge. As the kite lifts, she will feather the bar out a touch to stay on her edge.
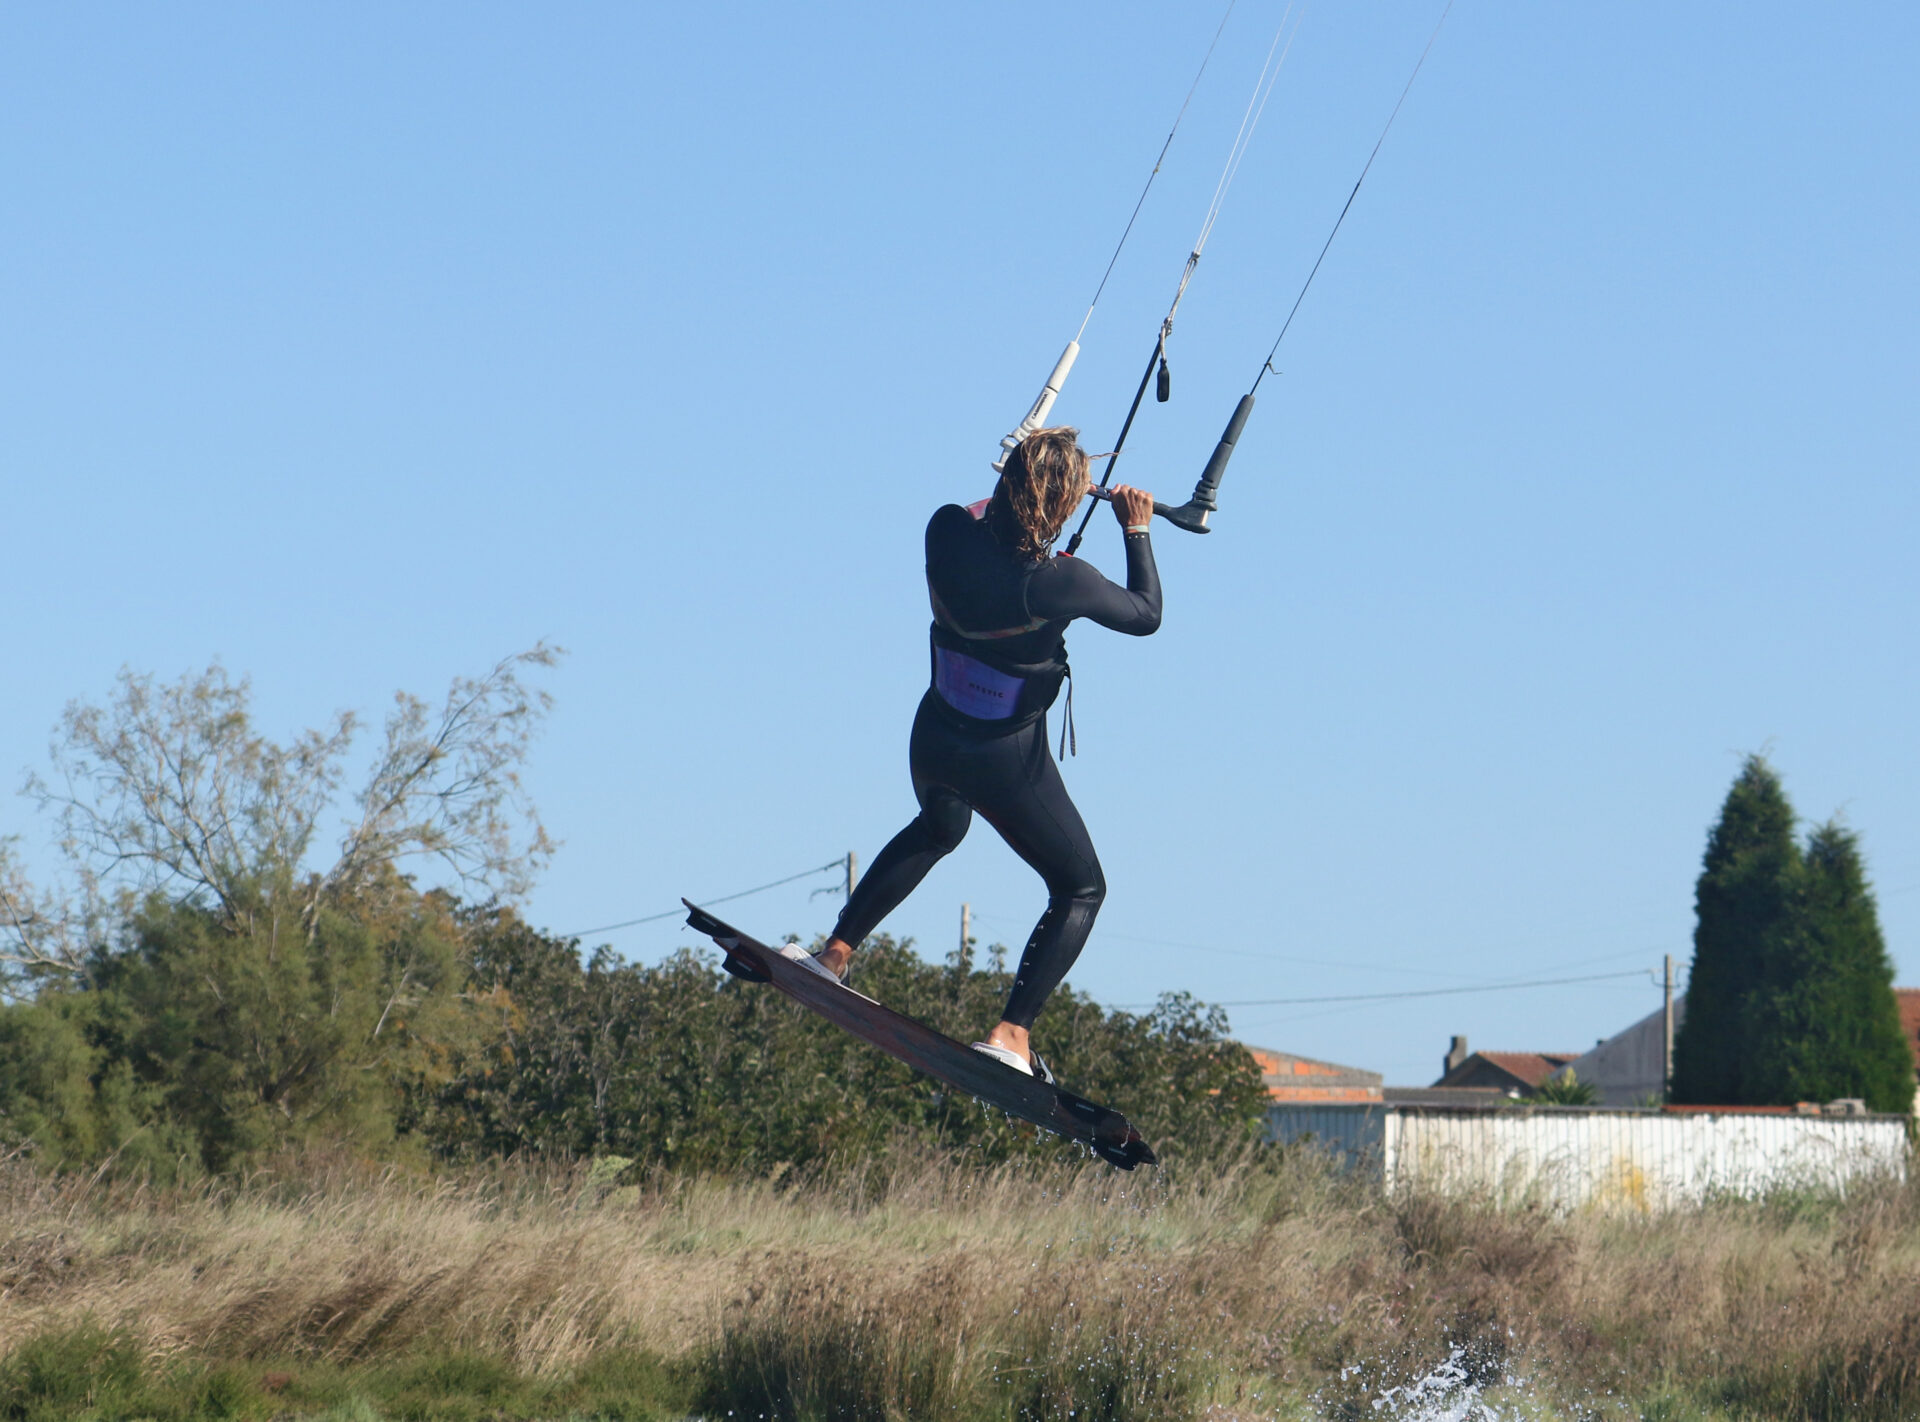
Kick Off Pic C.
Your take-off is crucial and really is a make-or-break moment. You must be ready to stamp, anticipating the moment to kick off and level the bar. If you wait until the kite snaps you off the water, you will end up with the kite too far behind you (unless you’re going high). When you feel your kite is above your level, kick hard against your edge, extend yourself up, and pull the bar in for some extras. That’s your order of play! You can clearly see that Karine has kicked off hard with her back leg, extending up. Her bar is level, and she’s pulled on it. As such, she’s on her way up, and equally importantly, her kite has stopped moving back and is parked around 12.


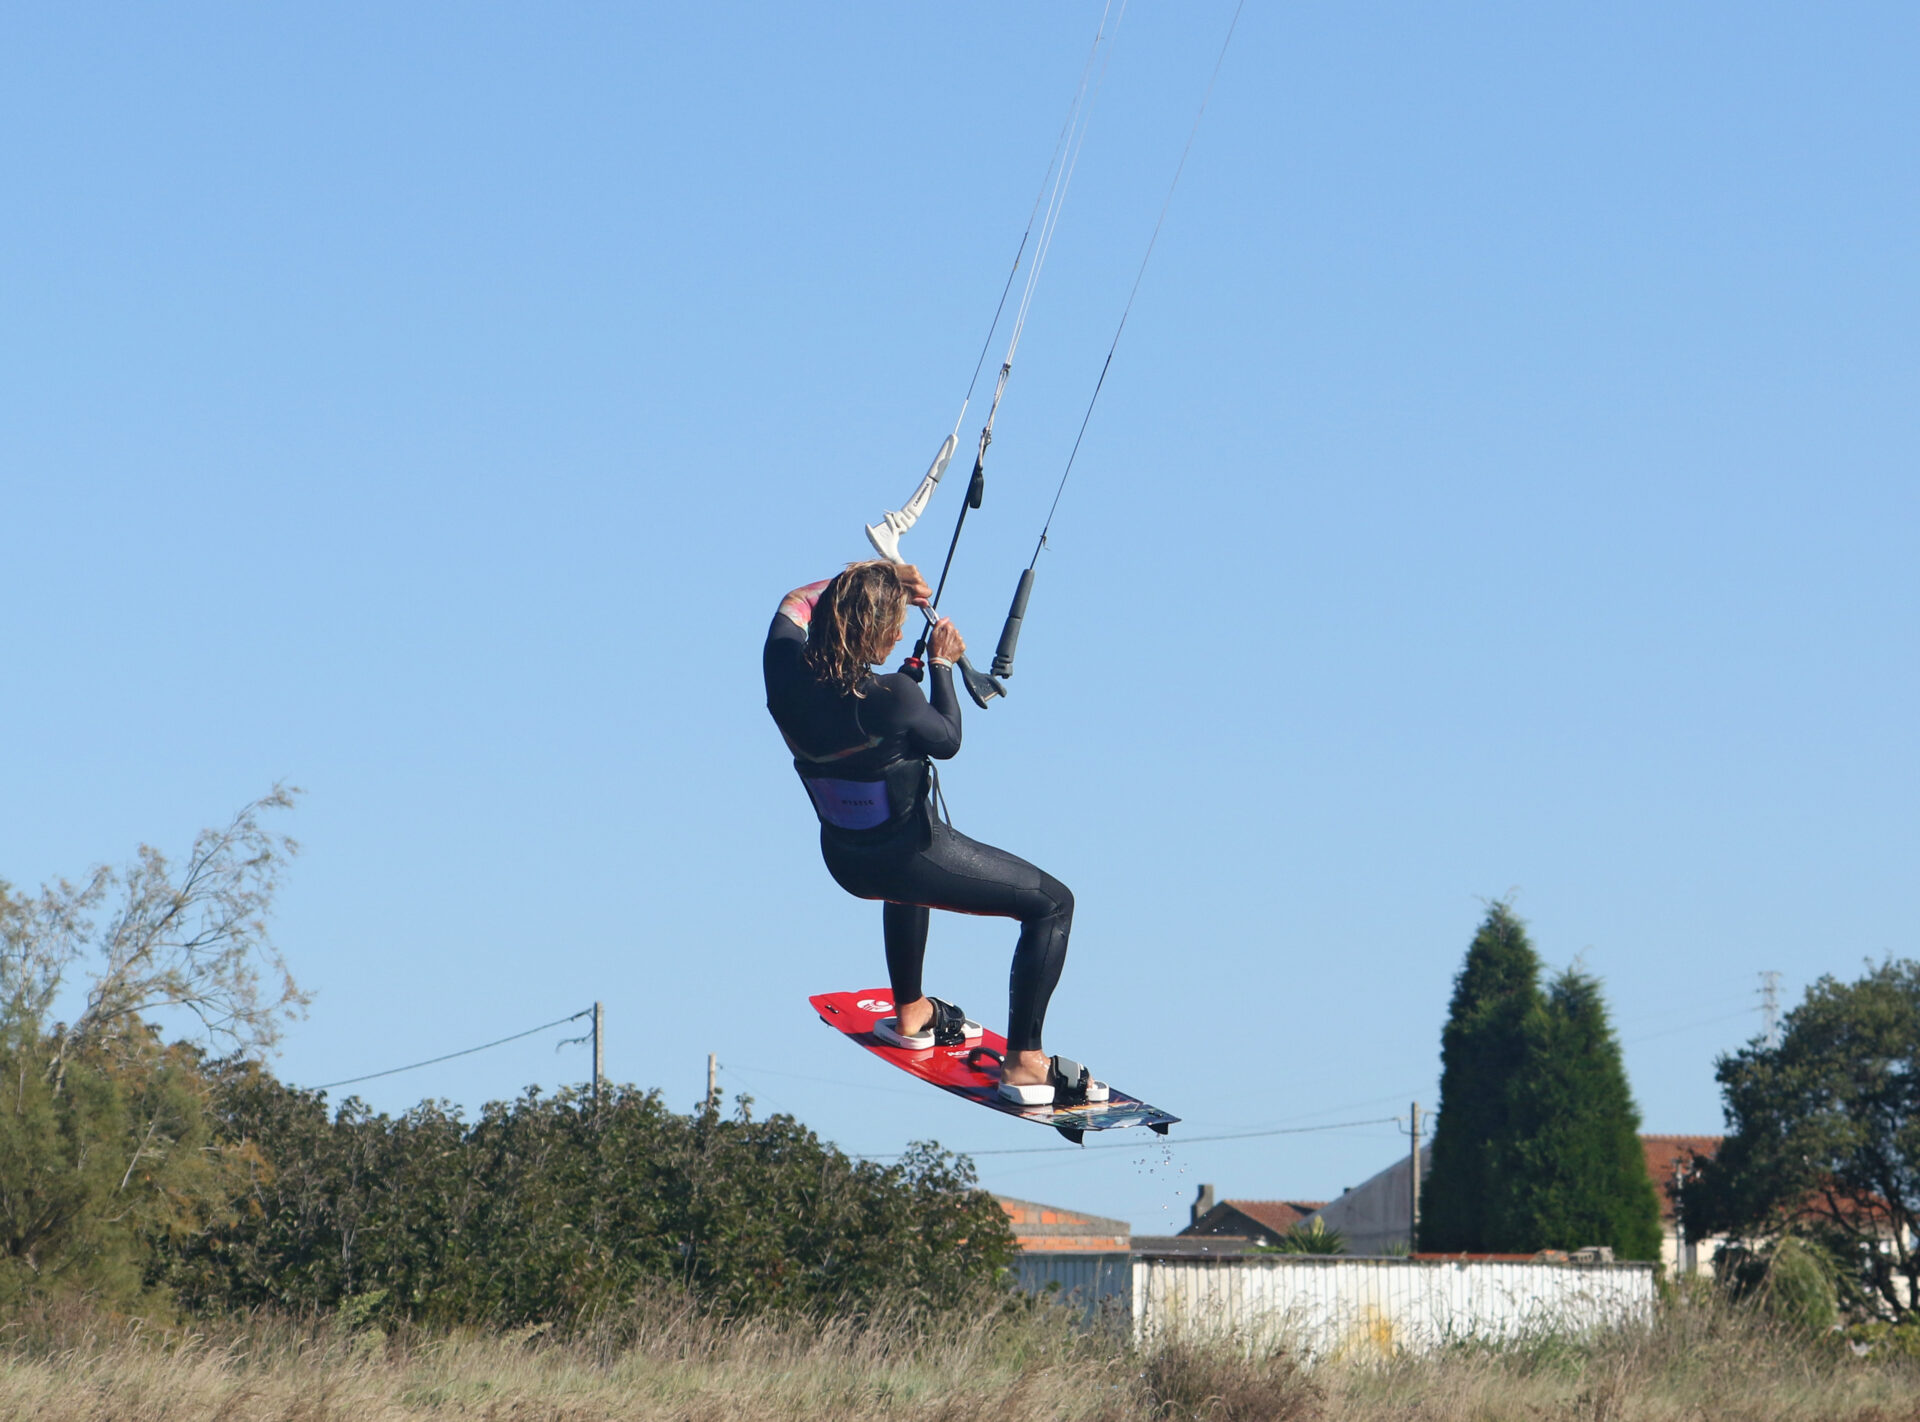
The Big Chill Pic D.
How long you have in the air will depend on the height you get. The higher you go, the more patient you have to be. The crux here is that while you’re going up, or just hanging around, you keep looking forward, keep the bar level and resist the temptation to turn your head and look back from whence you came. Lift your knees so that you’re balanced and sitting in your chair of air, and aim to ease your bar out a fraction to the sweet spot if you have time. You’ll still be moving slowly forward. The picture shows that Karine’s bar is level and she’s still looking forward.
Drop, Turn & Dive Pic E.
As soon as you feel you’re on the way down, it’s time to turn your head and look downwind towards where you’ll land. Dive the kite hard to accelerate you downwind for a smooth landing. Once again, resist the temptation to turn your head and look back the other way. Here Karine has started her descent, and she’s focused downwind on where she’ll land. You can see that she’s given it the beans on her bar and is diving the kite hard so that it pulls her downwind rather than sneaks around the edge of the window.
Perfect. Up to this point, it should all sound very familiar. Now it’s time for the embellishment, adding the toeside landing!
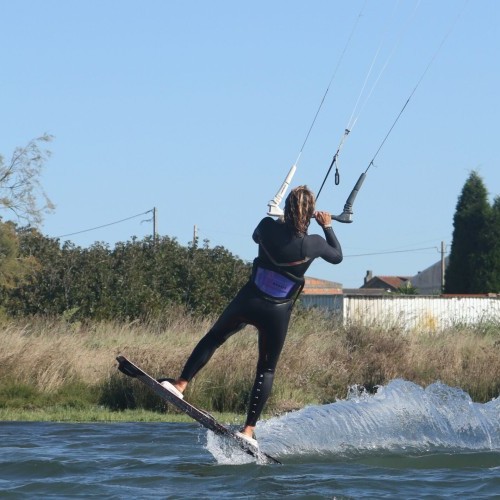
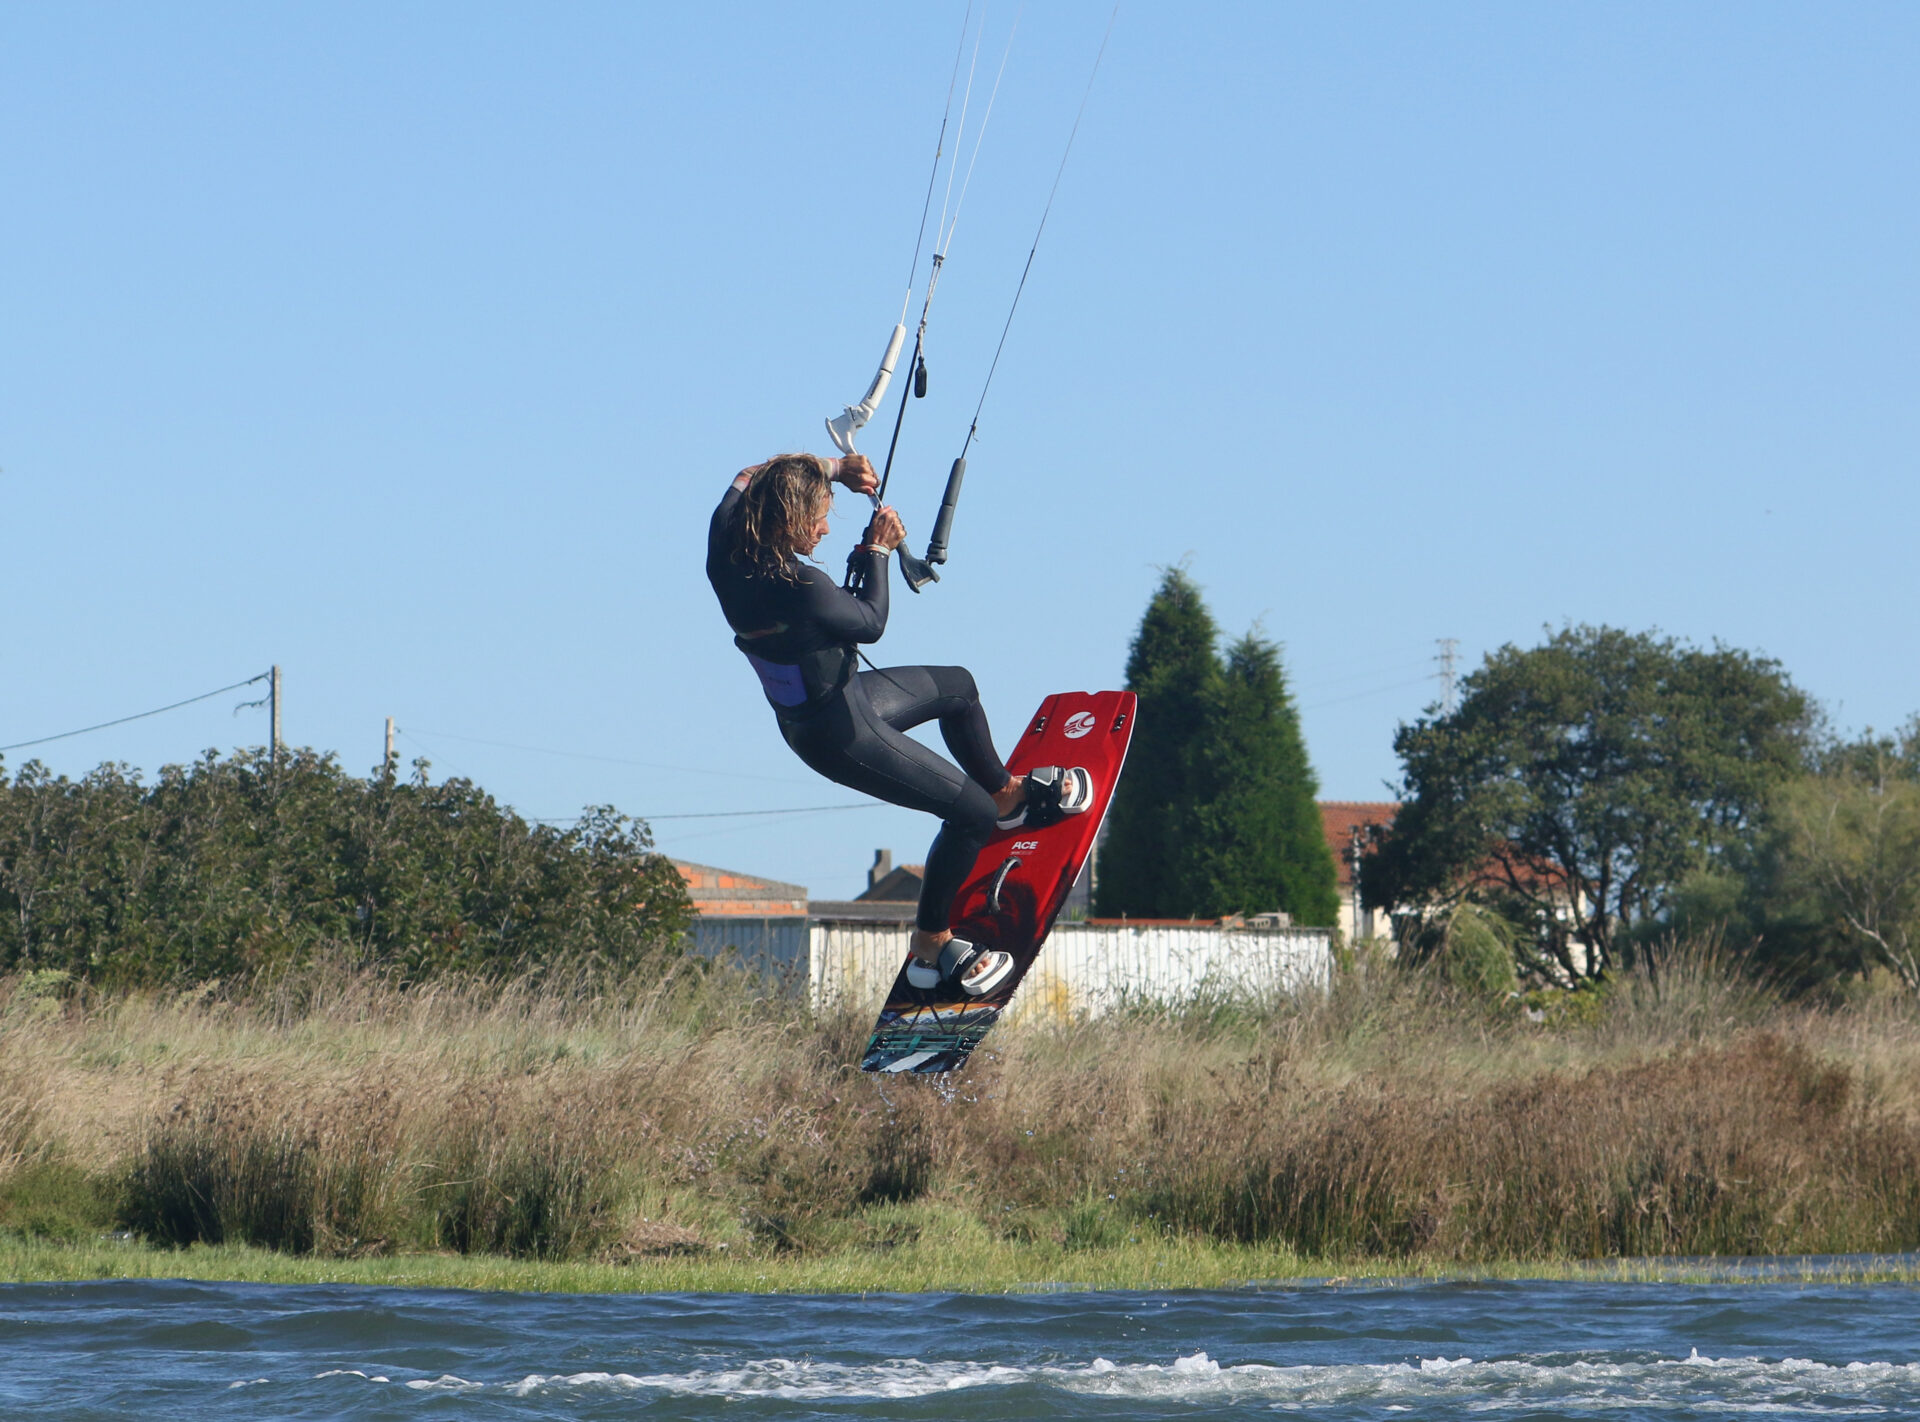
Lift Through Pic F.
As soon as you dive, it’s time to bring what your front foot was through. To do this, focus on where you are going to land. Look down and drop what your front shoulder will be. This is quite a natural movement during a jump transition, but make sure you don’t bust the bar as you do this; you need to keep the push-pull on. As your shoulder drops, you can twist your hips, turning them from facing forward to facing downwind in the new direction. With your trunk twisting, lift your knee and bring your foot and board through. This will be more intuitive with pull from the kite as the kite will lead, and you can follow. Karine is still giving her bar the beans; she’s looking down at where she’ll land and has dropped her shoulder. Her hips are twisting, so she can lift her back knee up and over, bringing the board to toeside.
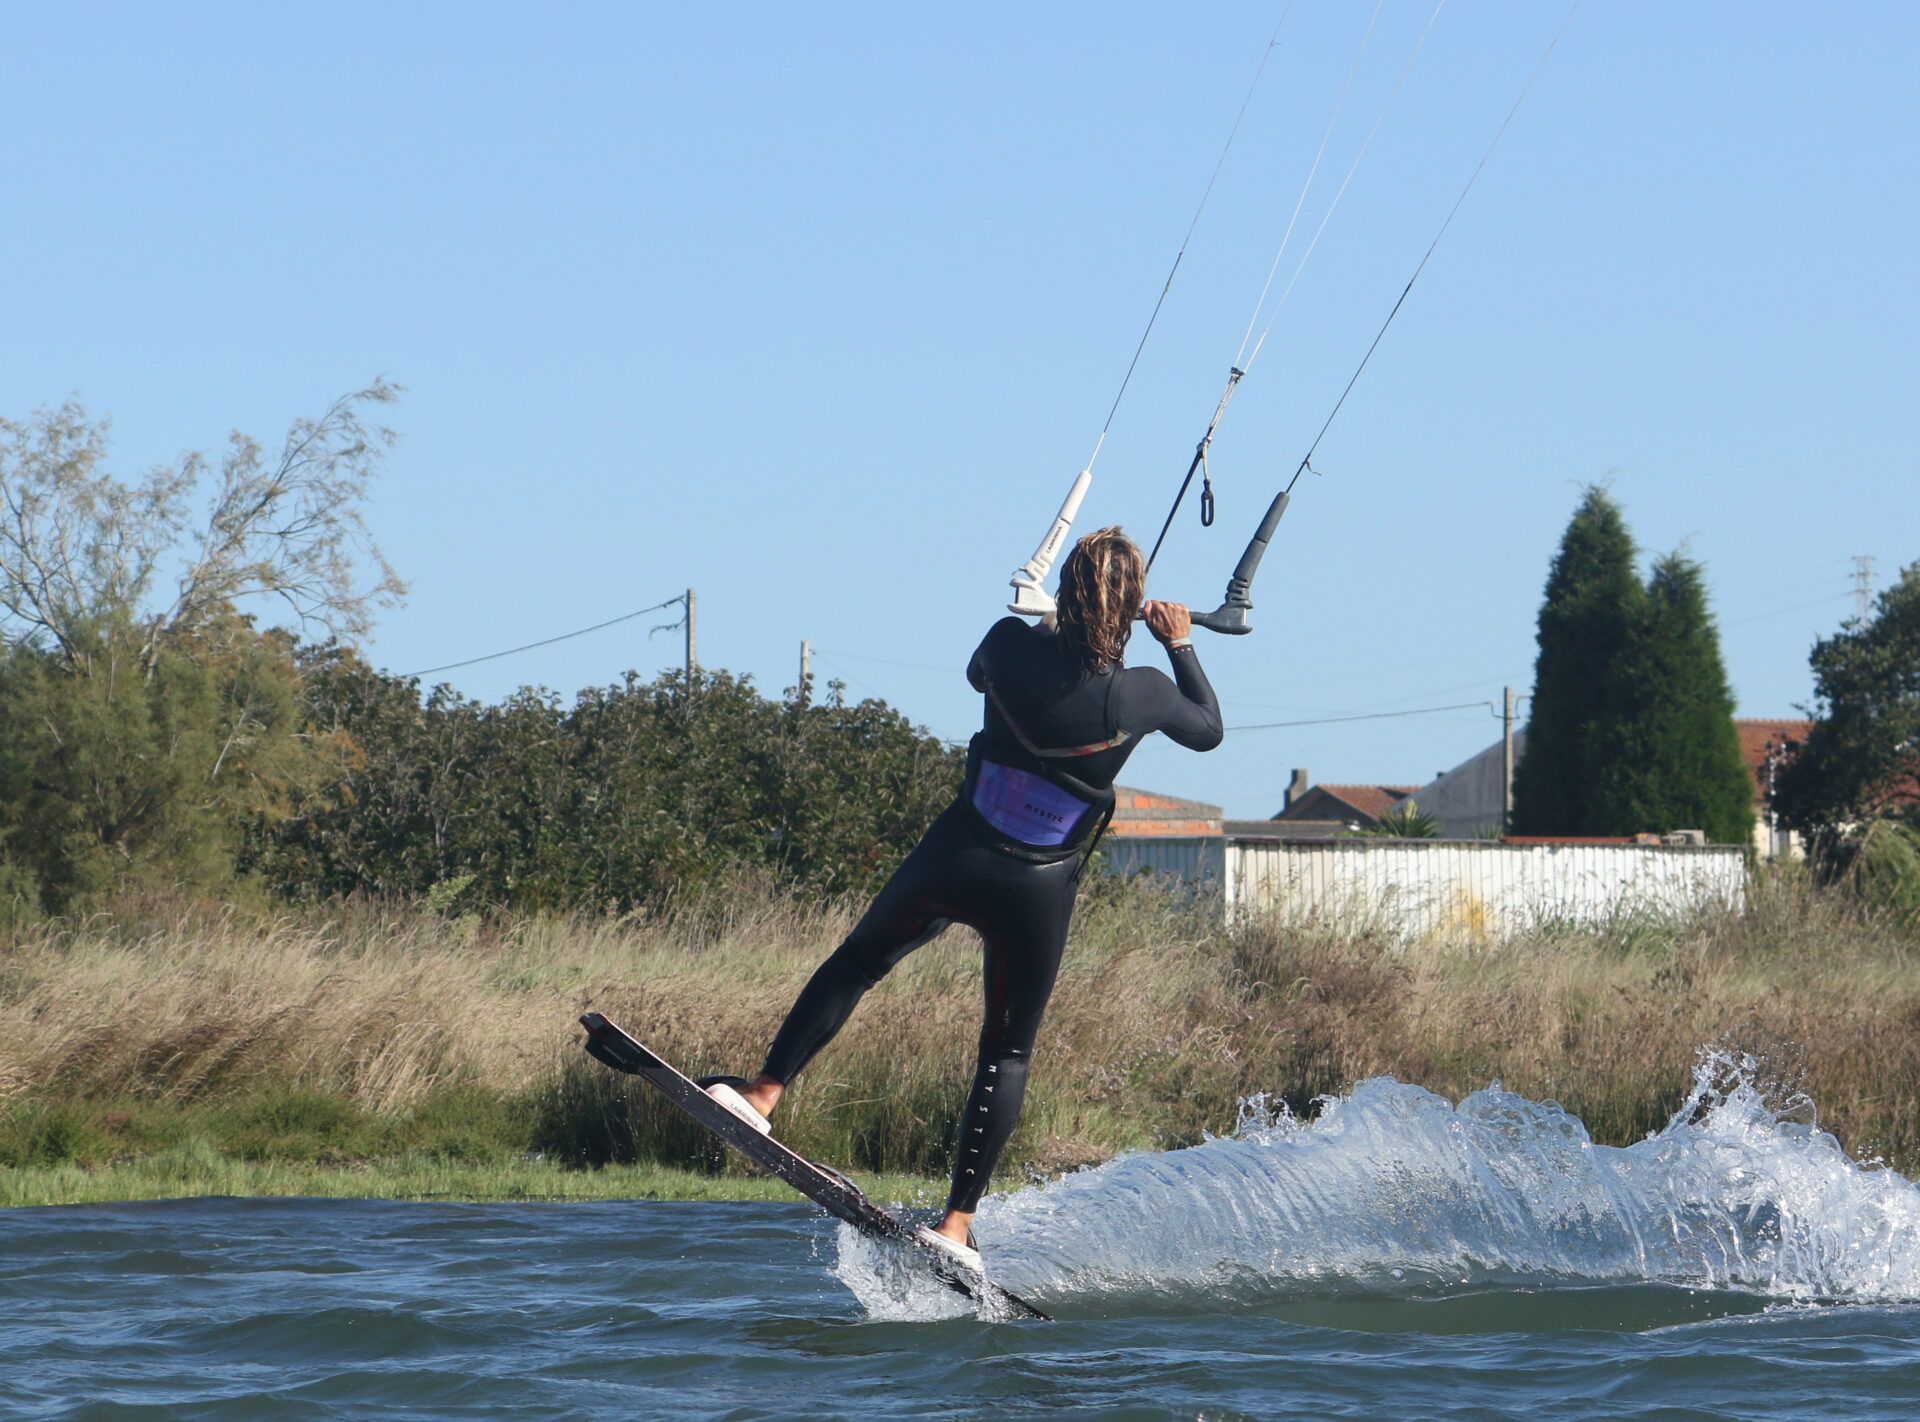
Tail First Pic G.
As your kite pulls, keep your bar on the sweet spot or thereabouts, as this will give you the momentum you need to continue moving. You aim to land pointing slightly downwind, but it’ll be hard to land over the board due to dropping your shoulder to twist yourself around. Drop your rear leg so that the tail touches first. This will help direct the board into the wind. Here, Karine is still diving her kite as she touches down tail-first. Her board will pivot off the tail and stay pointing downwind as she does.


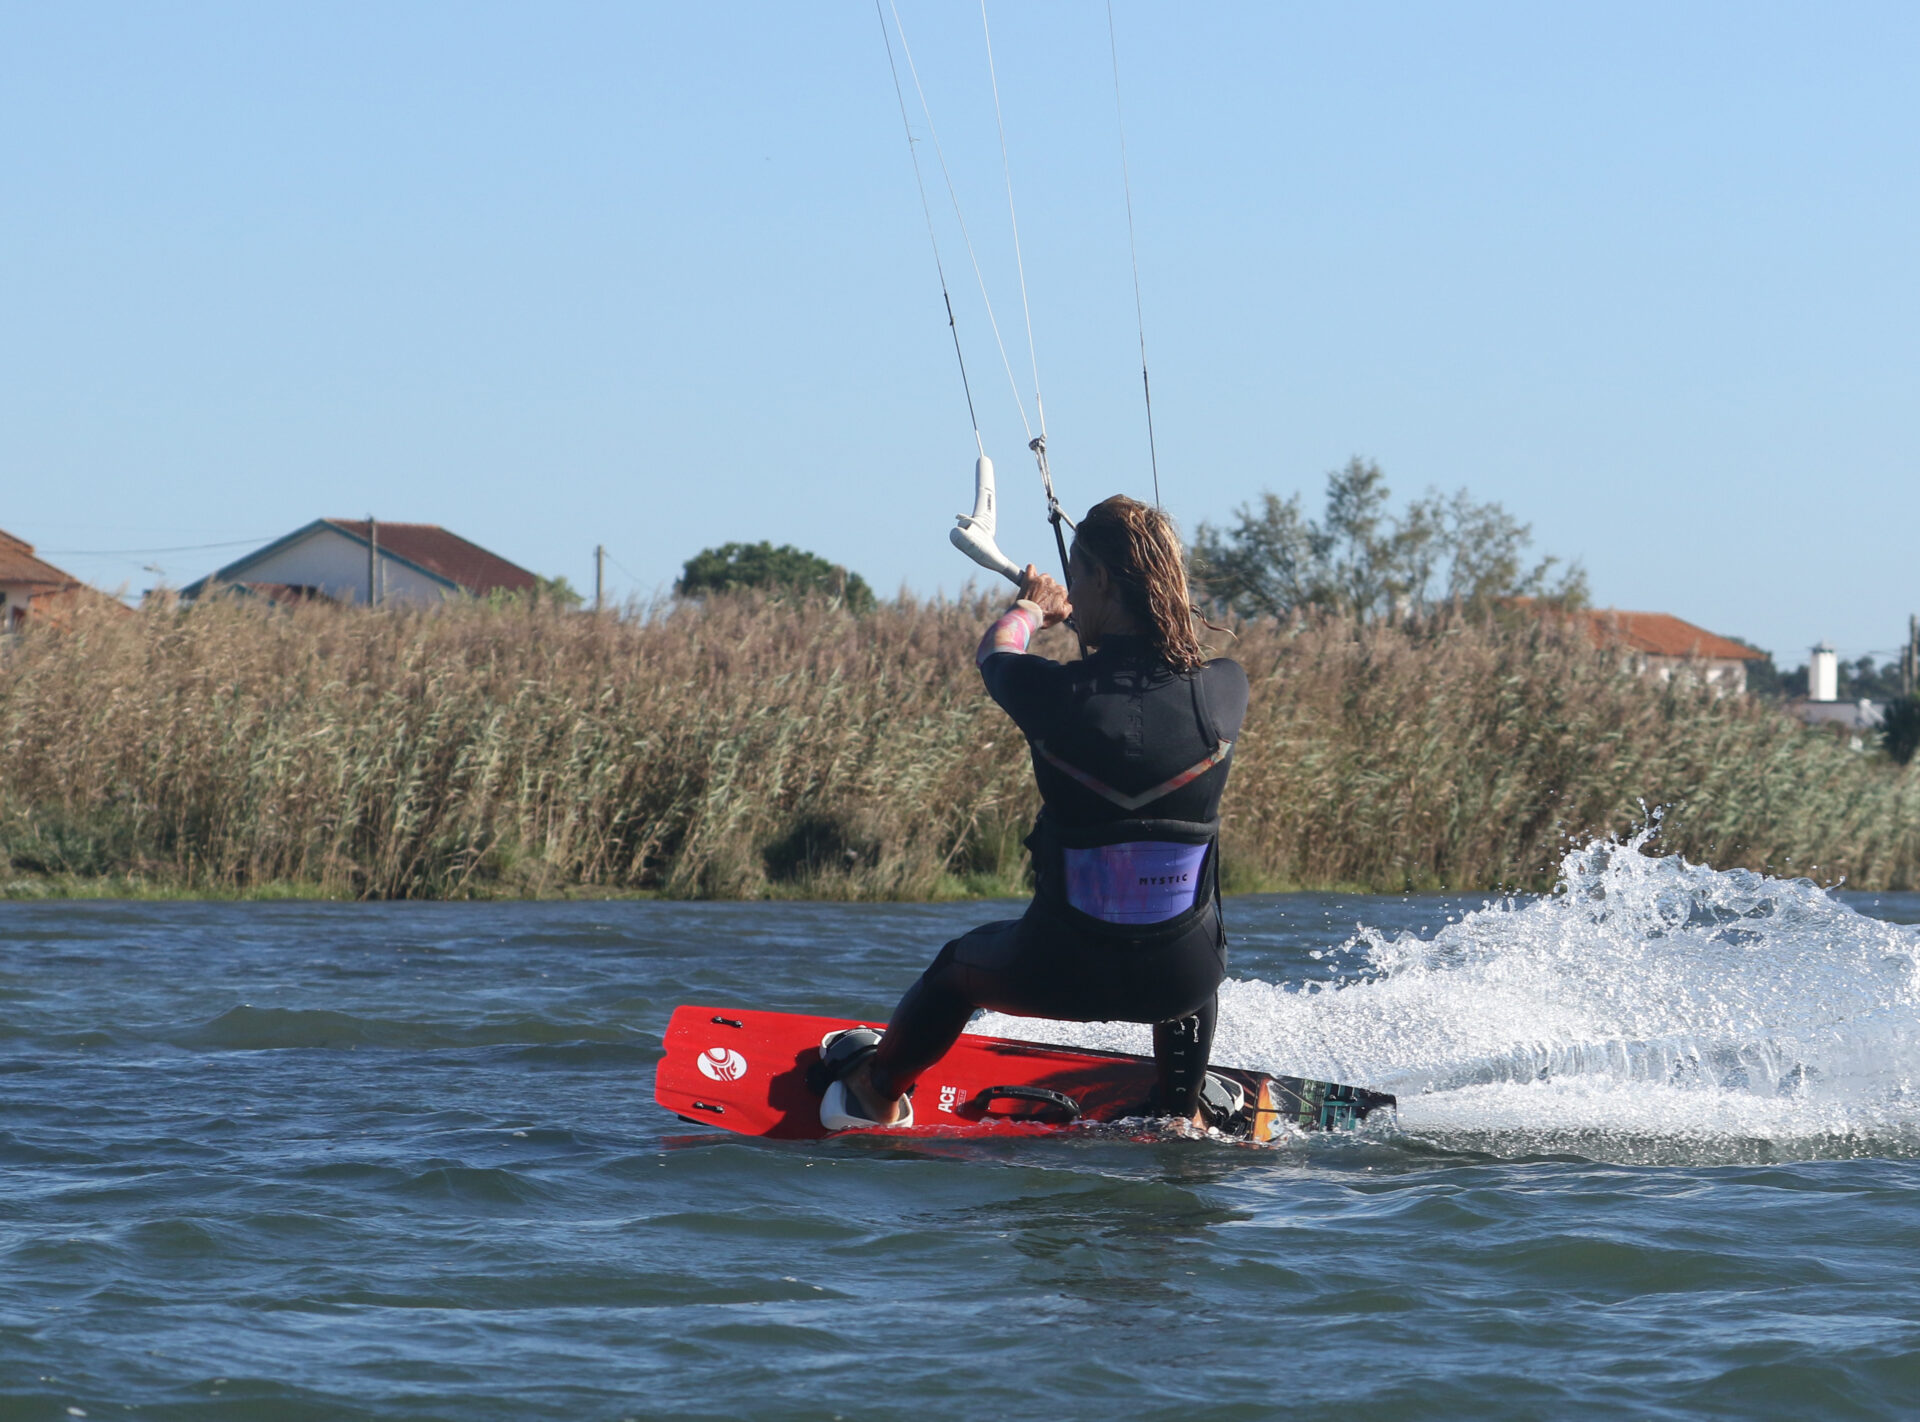
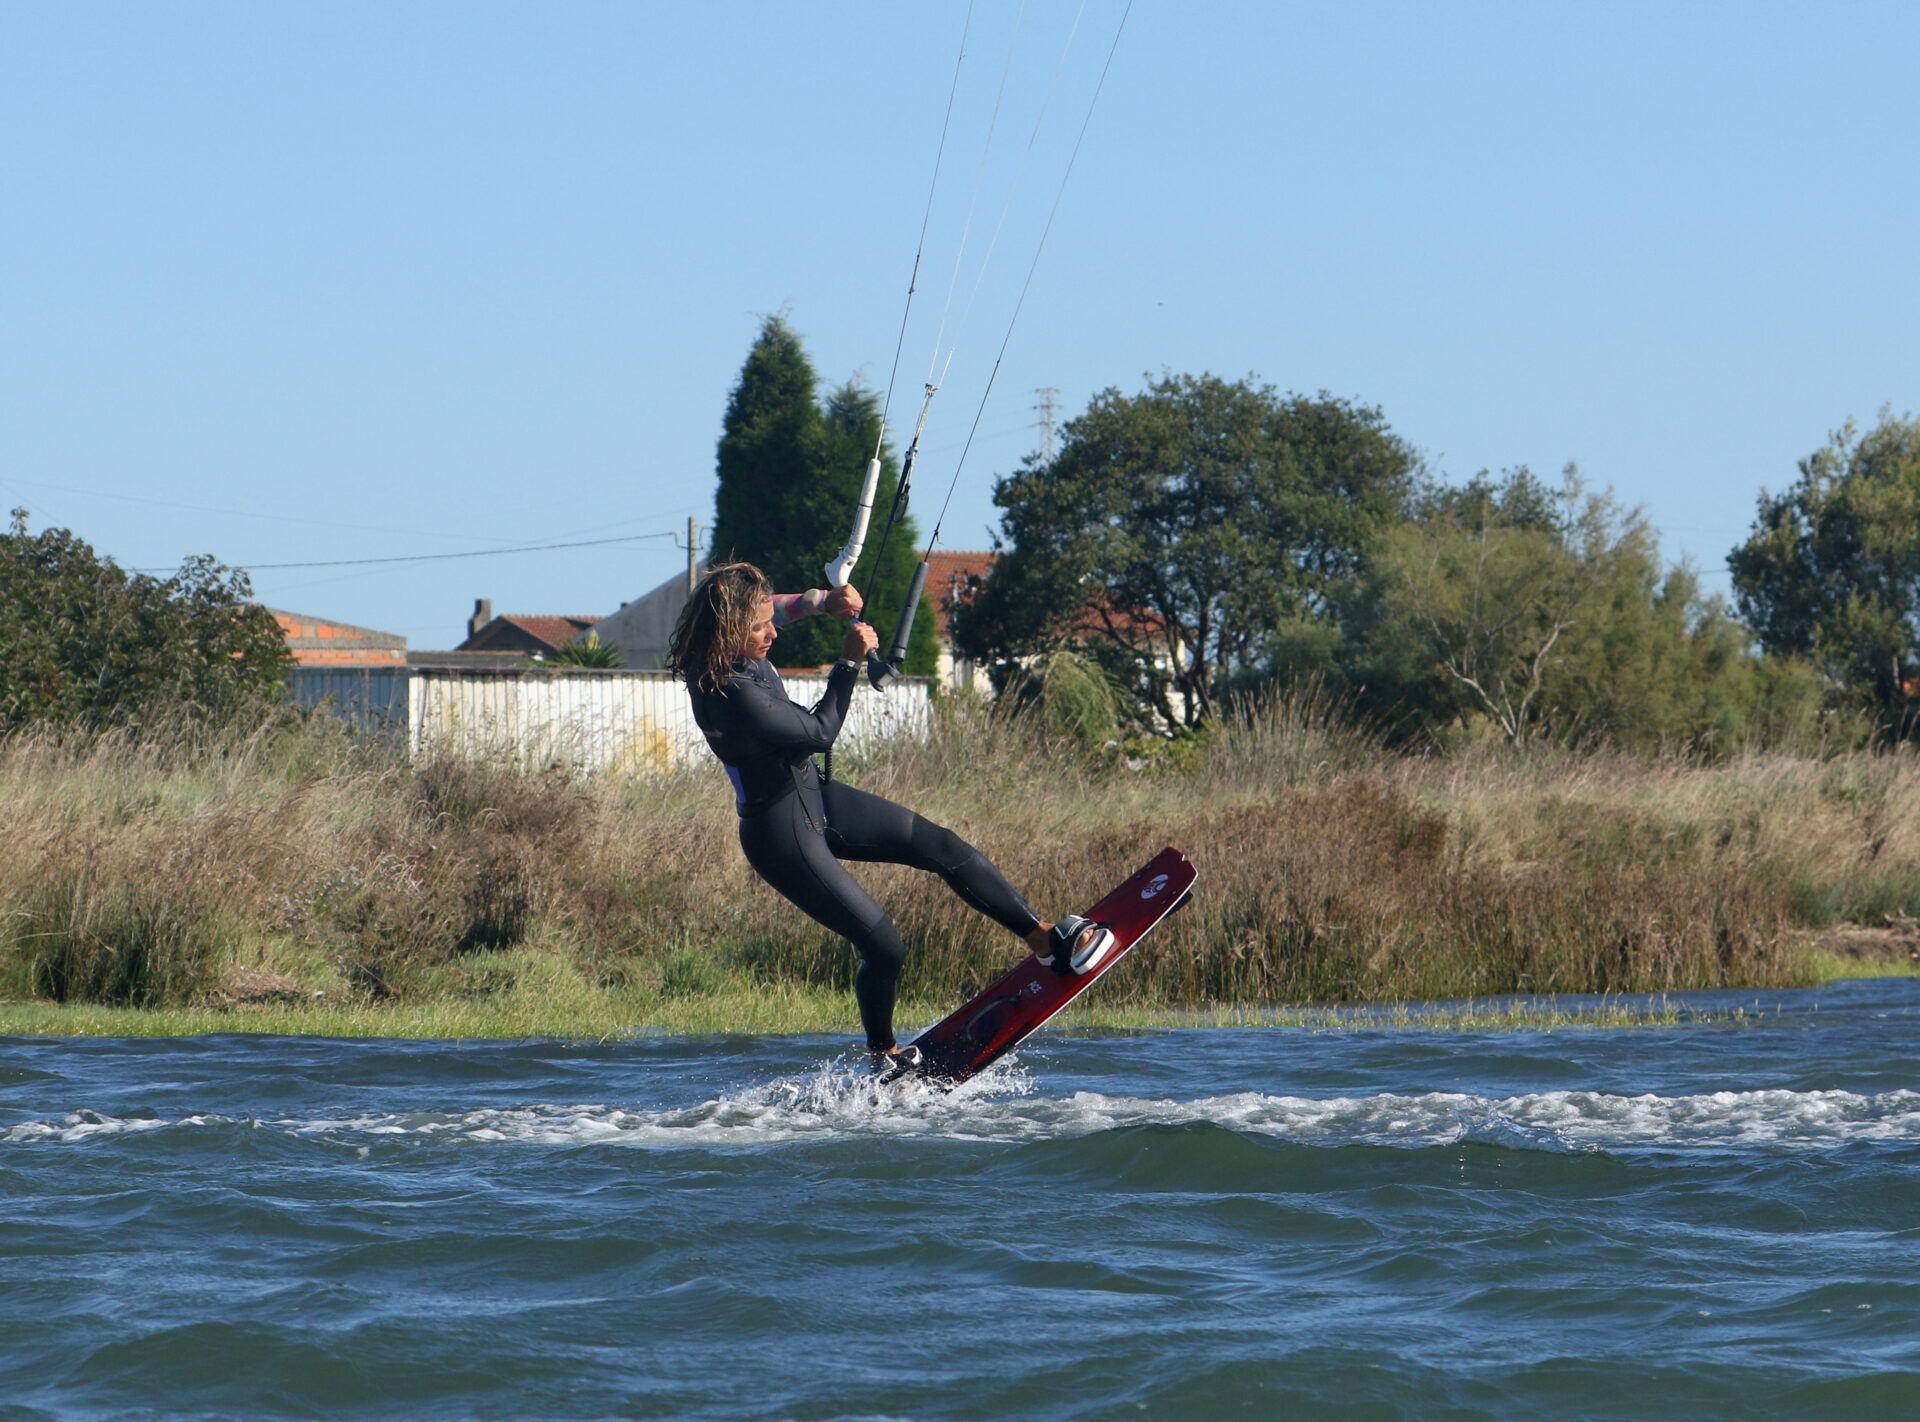
Tension & Toeside Pic H.
Your final task post-reception is to get tension on your lines. As soon as you land, steer your kite up. This way, you won’t dump it, and as it climbs, it will continue to pull and keep you moving. Be wary of holding onto the bar for support, as this will stall your kite and you’ll sink to an untimely stop! With the kite pulling you, you can then centre your hips to put your weight on both feet and force yourself into your well-rehearsed toeside position. Once you are, you can lean into your harness and point your board more upwind, biting in with your toeside edge. You can see that Karine has her board flat, she’s steering her kite up and has centred her weight. Any second now, she’ll carve back up onto her toeside edge. Job done!
Top Tips
- Small but perfectly formed. There’s no need to go massive at first. Concentrate on the mechanics; even if you stop on landing, you can work up from there.
- As already alluded to, make sure you’re jumping and transitioning to land on your favoured toeside. This will give you less to think about and allow you to adjust and adapt to your landing.
- Look at the sequence and the video to see how it all adds to one smooth transition.
Common problems
Suppose you’re landing on an edge and sinking. You’ll only be able to turn the board that far if your kite drifts across to the other side of the window. Your kite can only do that if you a, don’t level the bar and/or b, turn your head too soon and look back upwind. Keep looking forward and only dive hard and late.
Keystones
- Edge and send kite from 1 or 11 to just past 12
- Level, Stamp, Pull, then Big Chill - Look Forward
- Turn to look Downwind, Dive Hard
- Drop shoulder, twist trunk and lift back leg through
- land tail first before lifting the kite and centring the weight to point upwind
This technique article was in Issue 113 of IKSURFMAG.
Related


By Christian and Karine
Christian and Karine have been working together as a coaching team, running improver to advanced kitesurfing clinics since 2003.
