
Toeside Water start a Strapless Surfboard
Technique / Beginner

The toeside waterstart is a great weapon to have in your surfboard armoury. If you’re up and riding and can carve around to toeside but haven’t yet mastered the art of the foot change, this one is definitely for you. If you already have a toeside but can’t yet carve, this is also for you. Whether you’re riding strapless or enjoying the intimacy of straps, this is a wonderful get out of jail card that can really save your bacon, or at the very least reduce time spent in the drink. If your feet are still in contact with the board and you’re in the water, you will choose which way you can go.
In essence, the toeside waterstart is the simple marriage of your waterstart to your well-honed toeside. Even though you haven’t yet done this, your body and mind already know the moves. All we’ve got to do is connect them!


Before we start, we should note that Karine rides a regular surfboard, so she favours her left foot forward. This means that her board will be pointing to her left, but she’ll start and twizzle around so that she’s riding toeside, left foot forward to the right.
If you’re also regular, you’ll do the same. If you’re Goofy and prefer your right foot leading, you’ll do the opposite, a mirror image of what’s to follow.
Part 1 – Prep & Set Up
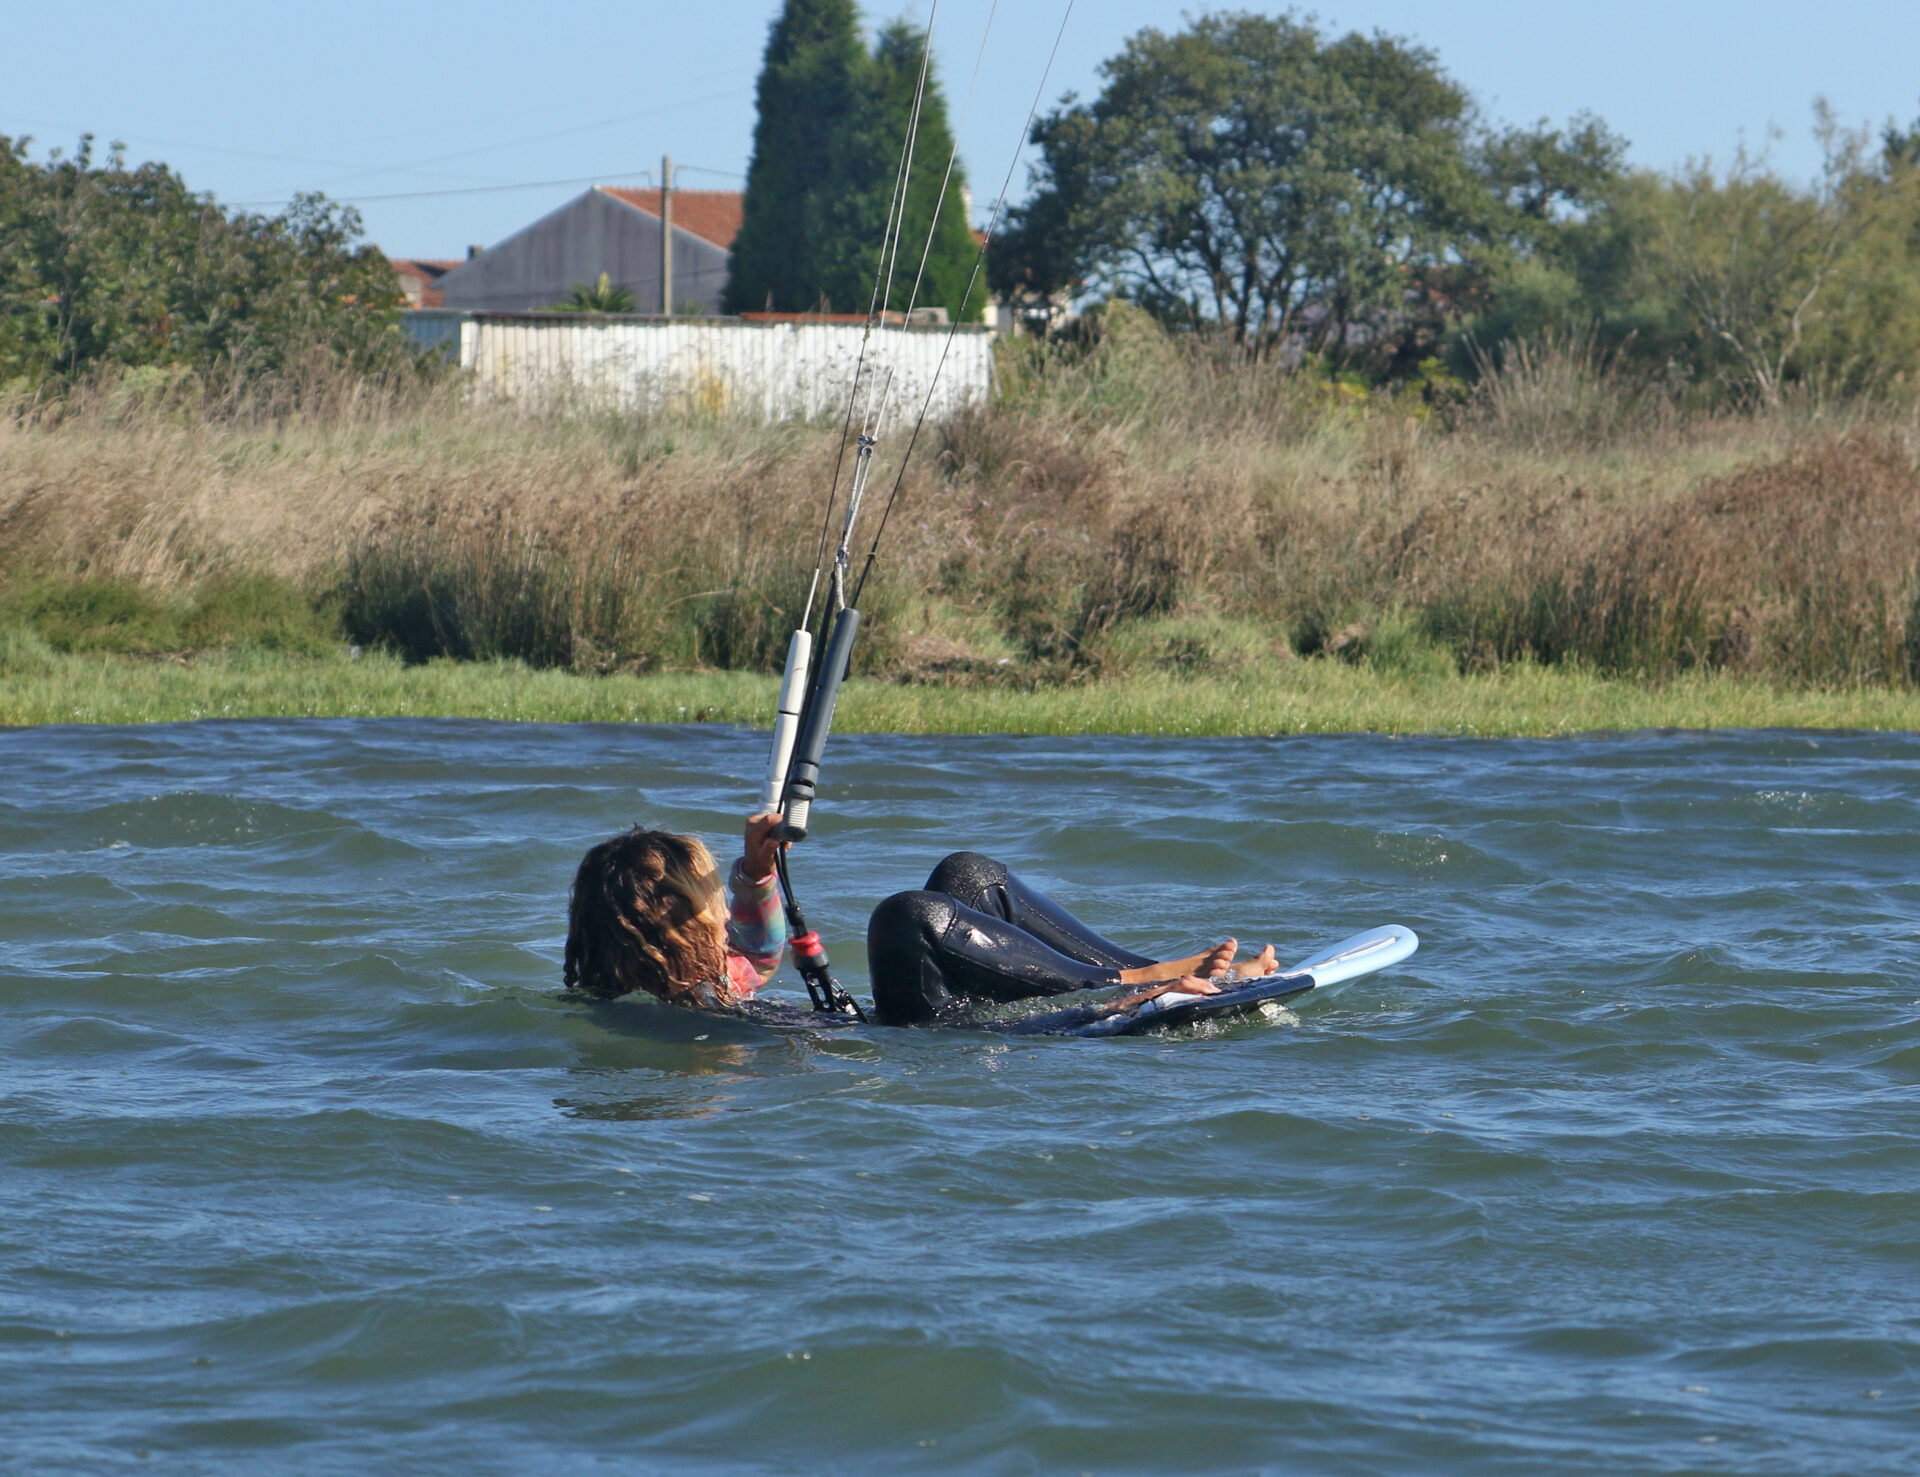
Feet On Pic A.
Although you’ll be getting up back to front, preparing for this water start is much the same as your regular waterstart. Karine is ‘putting her board on’ as if she were going to kite to her left. She holds the tail with her rear (right) hand while controlling the kite with her front (left) hand. With her kite around 12:15, she sits back, lifts her legs and plants her feet onto the board, across the wind. You need to make sure that you get your back foot far enough onto the board so that you will be able to apply pressure to the ball of the foot when needed.
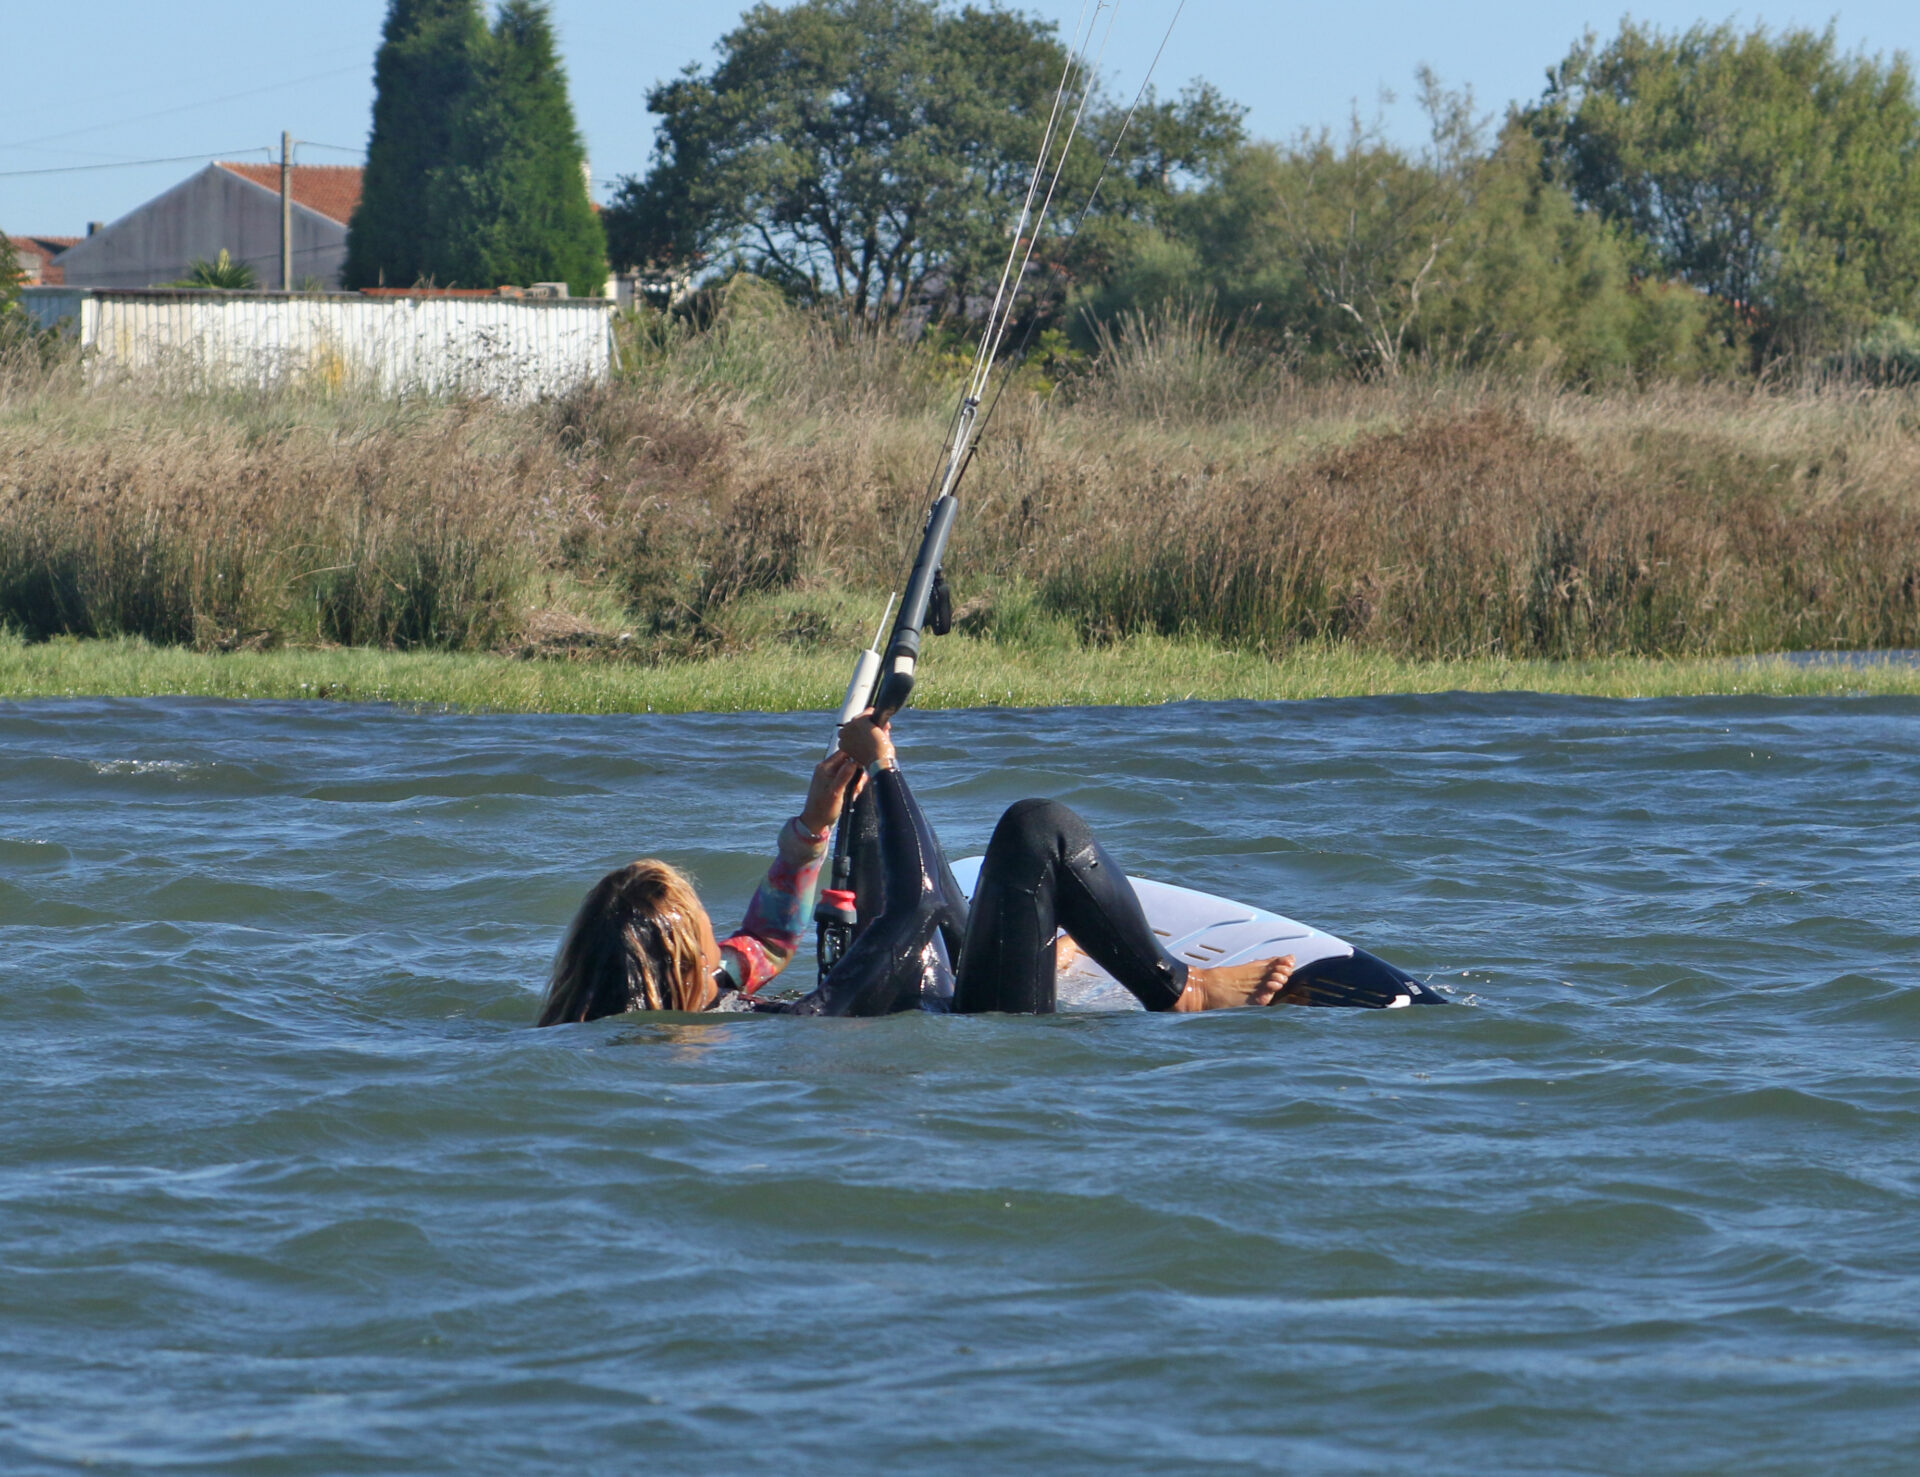
Kite Back Pic B.
Next up is getting your kite into position. You need to move it back a tad, in this case between 11 and 11:30, so you can dive it across the window, through 12, rather than straight down at the water. Put pressure on your heels to create some resistance and move your kite back gently, as you don’t want it to pull or lift you. Bend your knees so that your bum is close to your board. Karine watches her kite as she moves it slowly back in the opposite direction from which she’ll start.
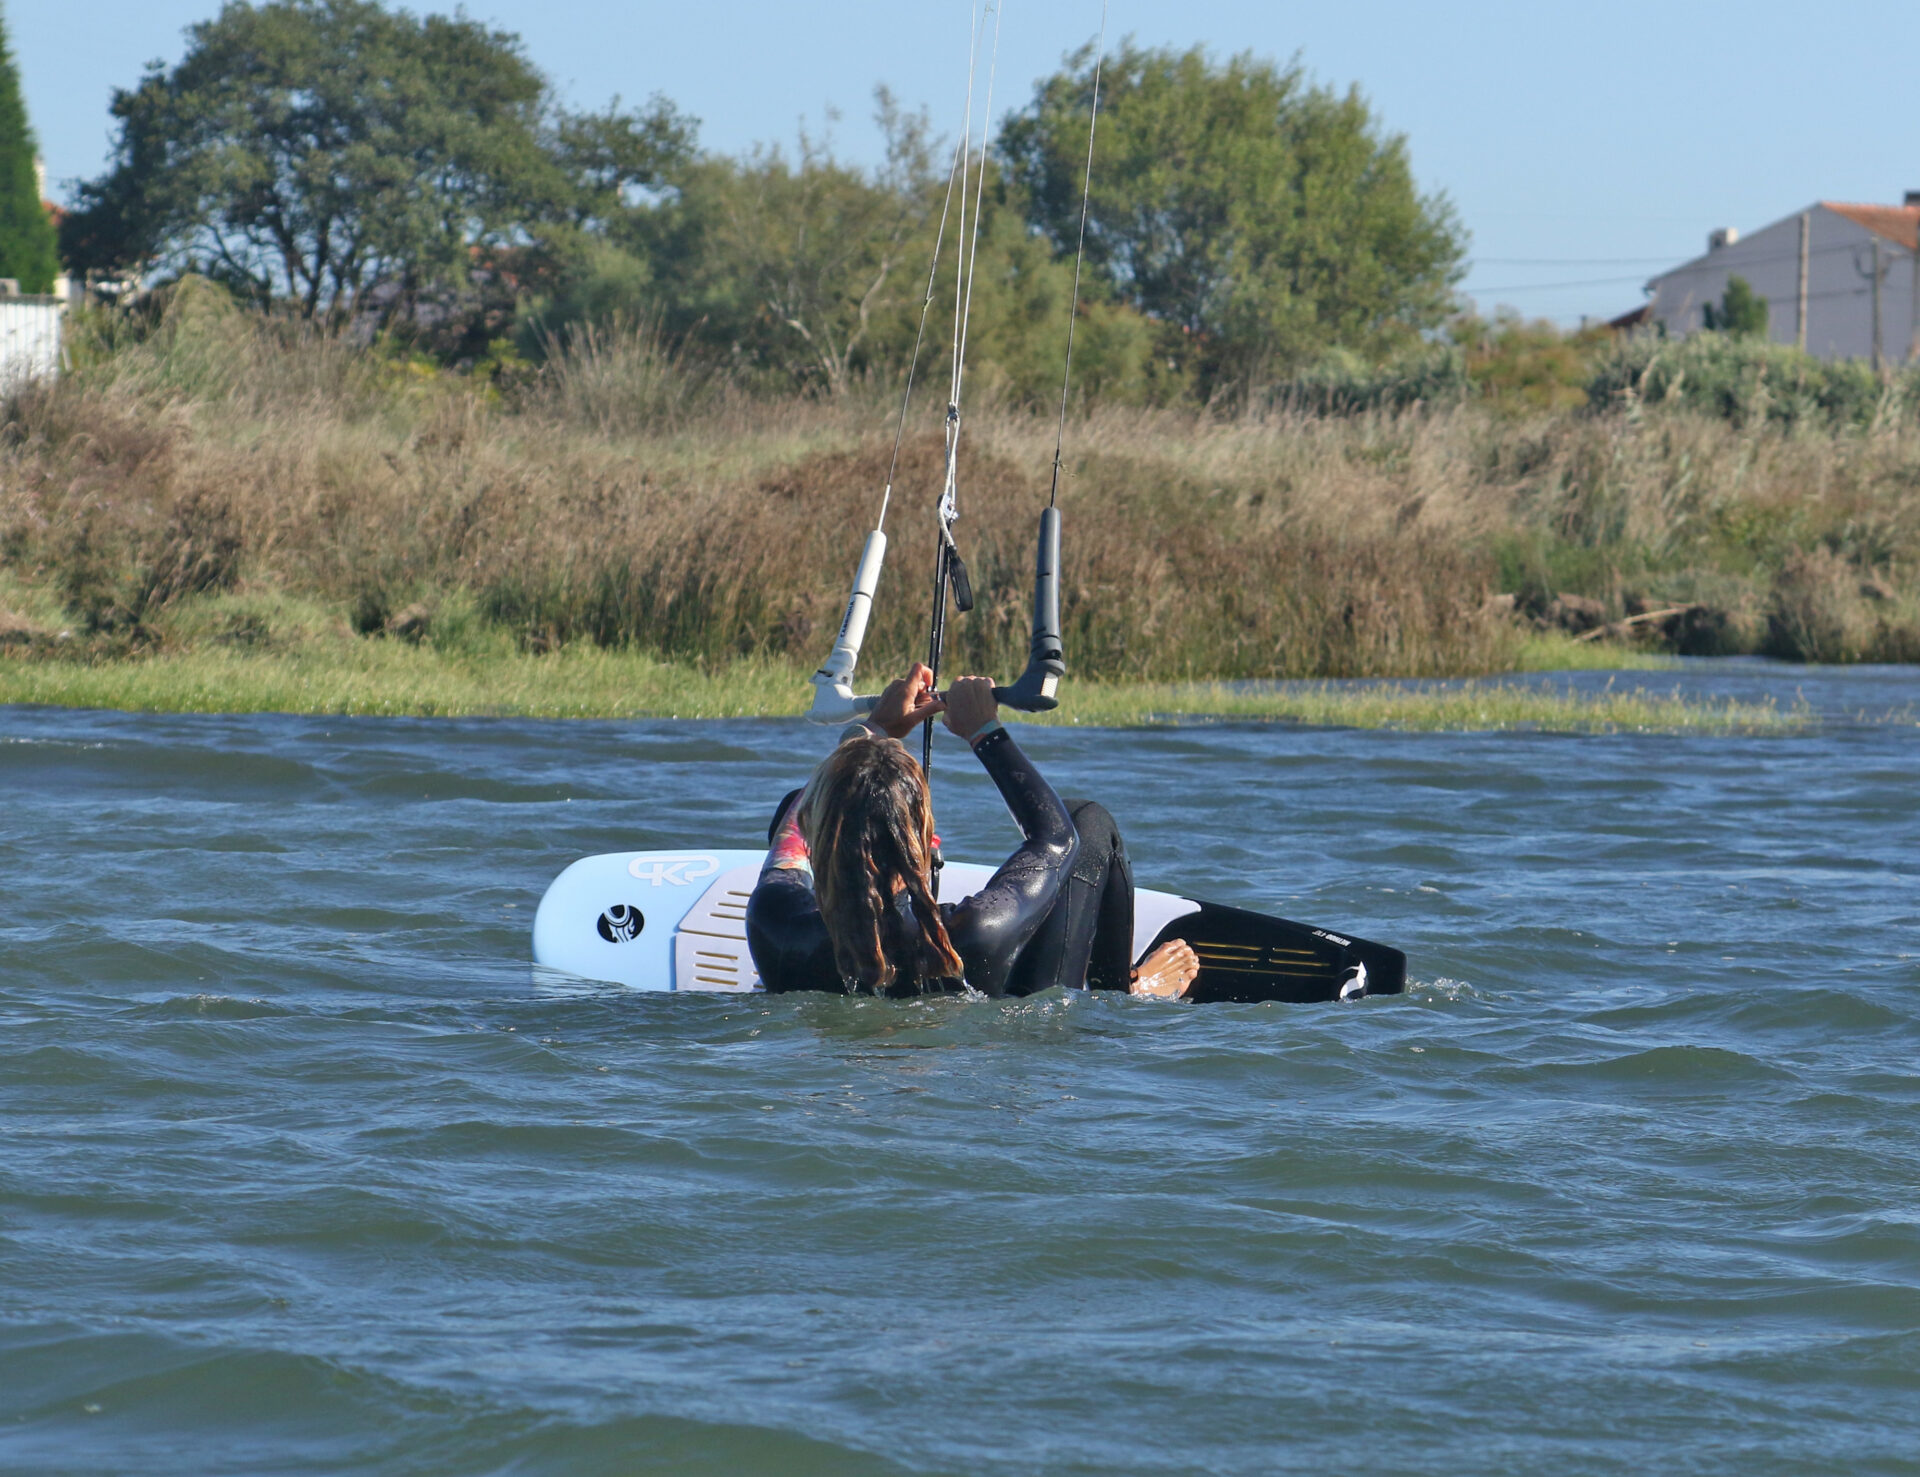
Primed Pic C.
Once your kite is in position, level the bar off to stop it moving any further and feather the bar out to the sweet spot so it doesn’t drag you. How far back you position it will depend on how much power you have. If you’re powered move it to 11:30, if you’re a bit low on juice aim for 11. Now you’re ready!

Part 2 – Waterstart
Dive Pic D.
You’re aiming to dive your kite to about 1:30 and no lower than 2, or 10:30 and no lower than 10 for you Goofies. You want your kite to turn and pass high in the window on its way across. This way your kite will generate lift to get you up, before it dives lower and gives you some forward drive. You need to start with a solid input to turn the kite so it doesn’t drift up to 12. Keep your bar on the sweet spot and watch your kite as you steer it to ensure it doesn’t stall, especially if you’re not powered. You can see that Karine has been positive in her steering. Her bar is on the sweet spot, and she’s watching her kite, ensuring it turns and doesn’t drop into the window.
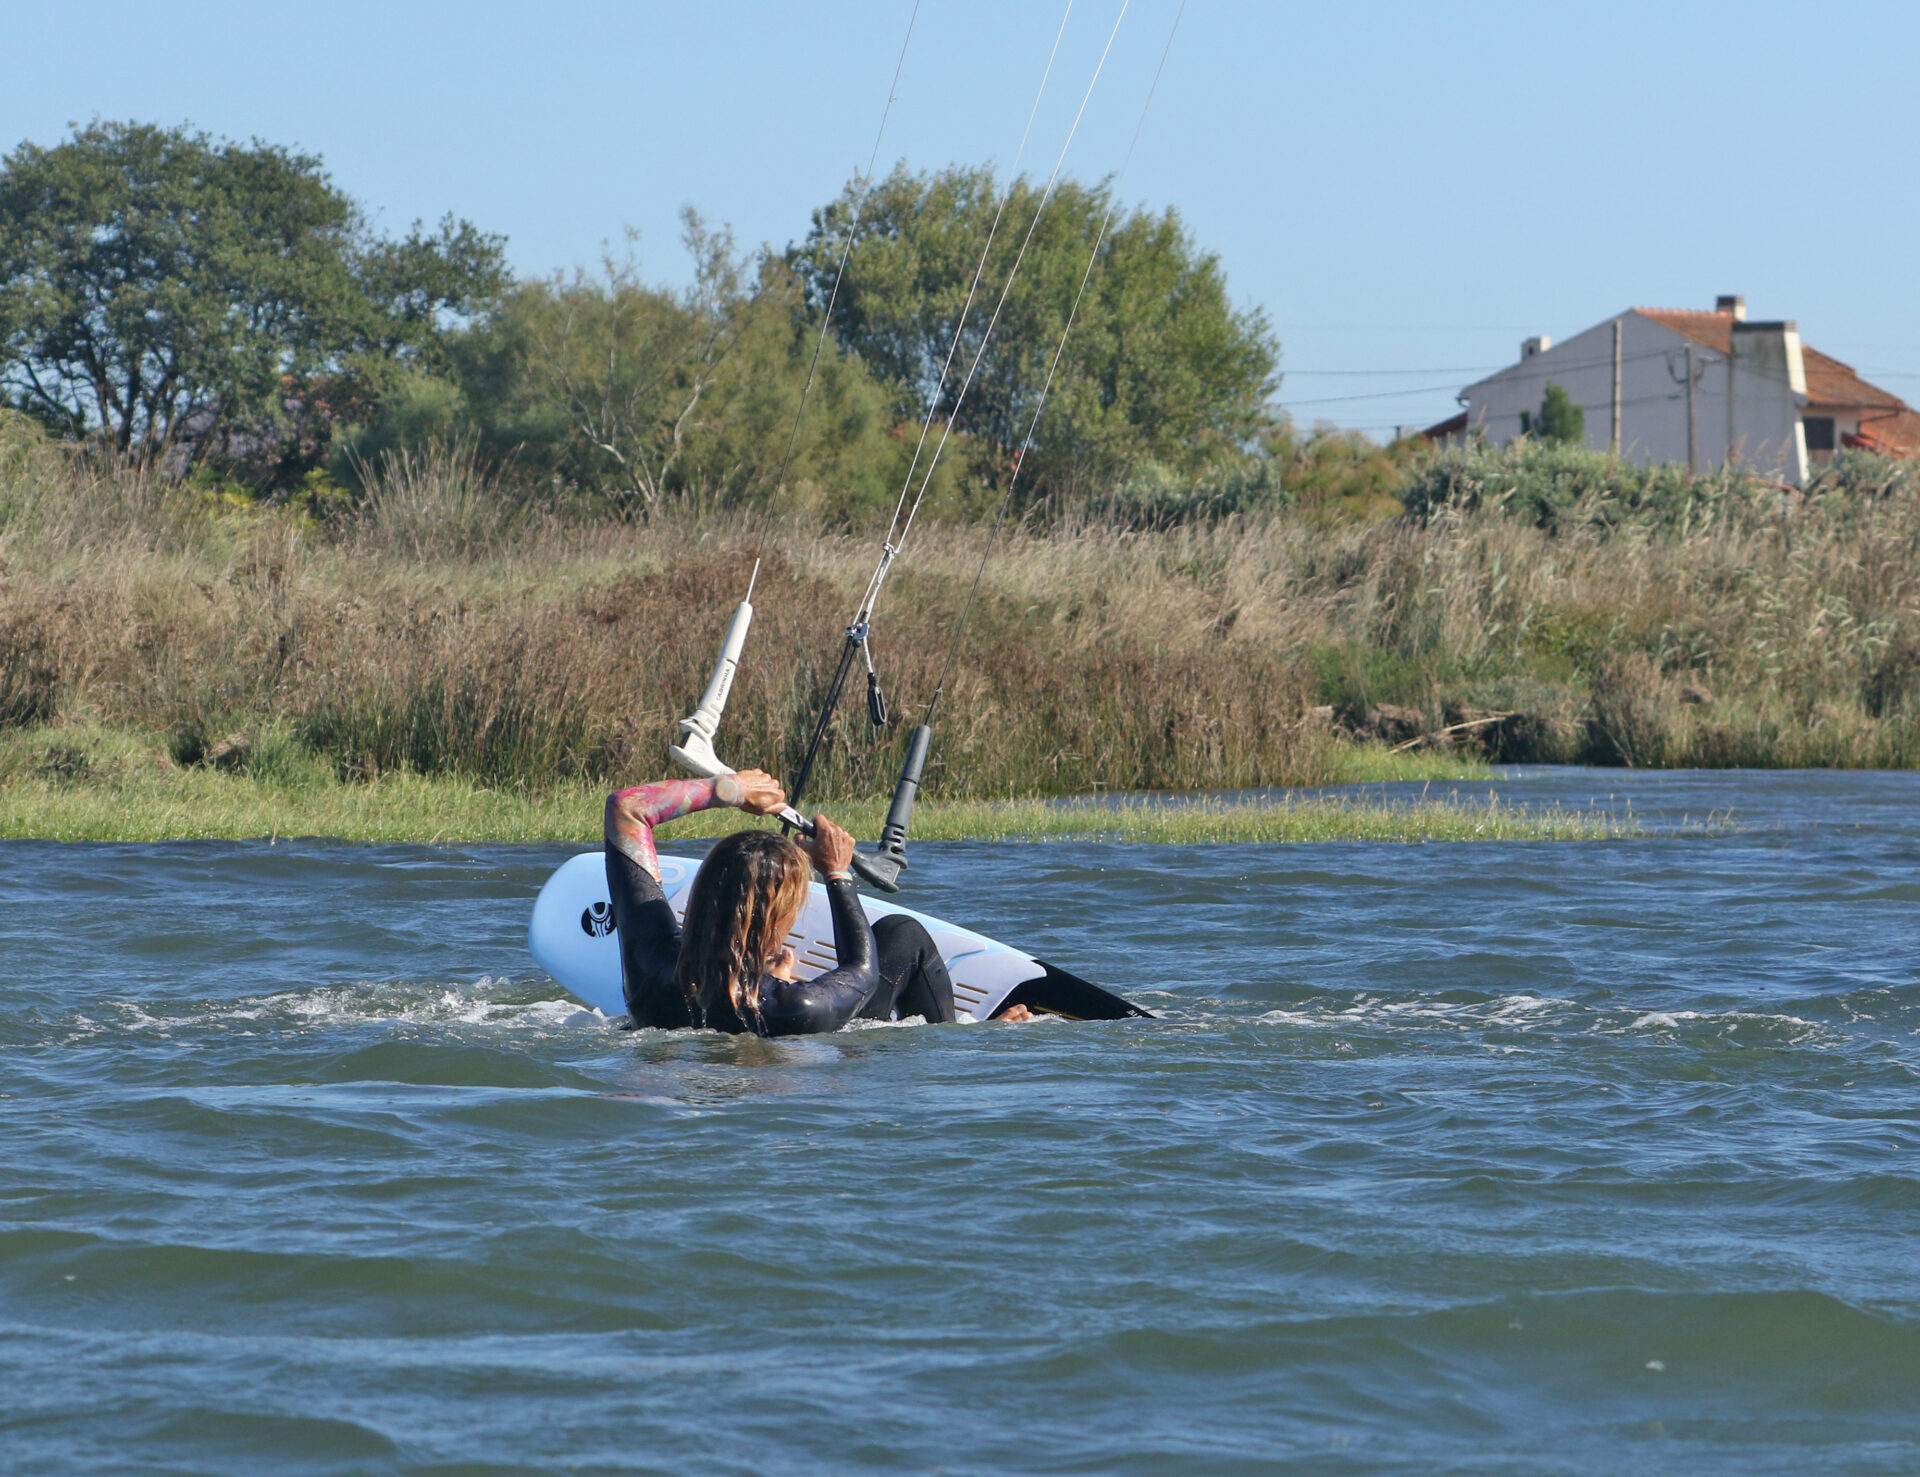
Wrong Leg Pic E.
Now that your kite is moving, turn to look in the direction you want to go. This is where the difference starts. Even though you’re looking forward, you have a tail with three or maybe four fins where your board’s nose should be! This is helpful, as those bad boys won’t take too kindly to being ridden backwards. Unfortunately, they won’t do all the work without your guidance. As you look, move your head and shoulders towards the tail of the board and your front knee. This will move your weight over that foot. In the photo, Karine has turned her head and shifted her weight towards her front knee. The result is that the tail sinks ever so slightly.
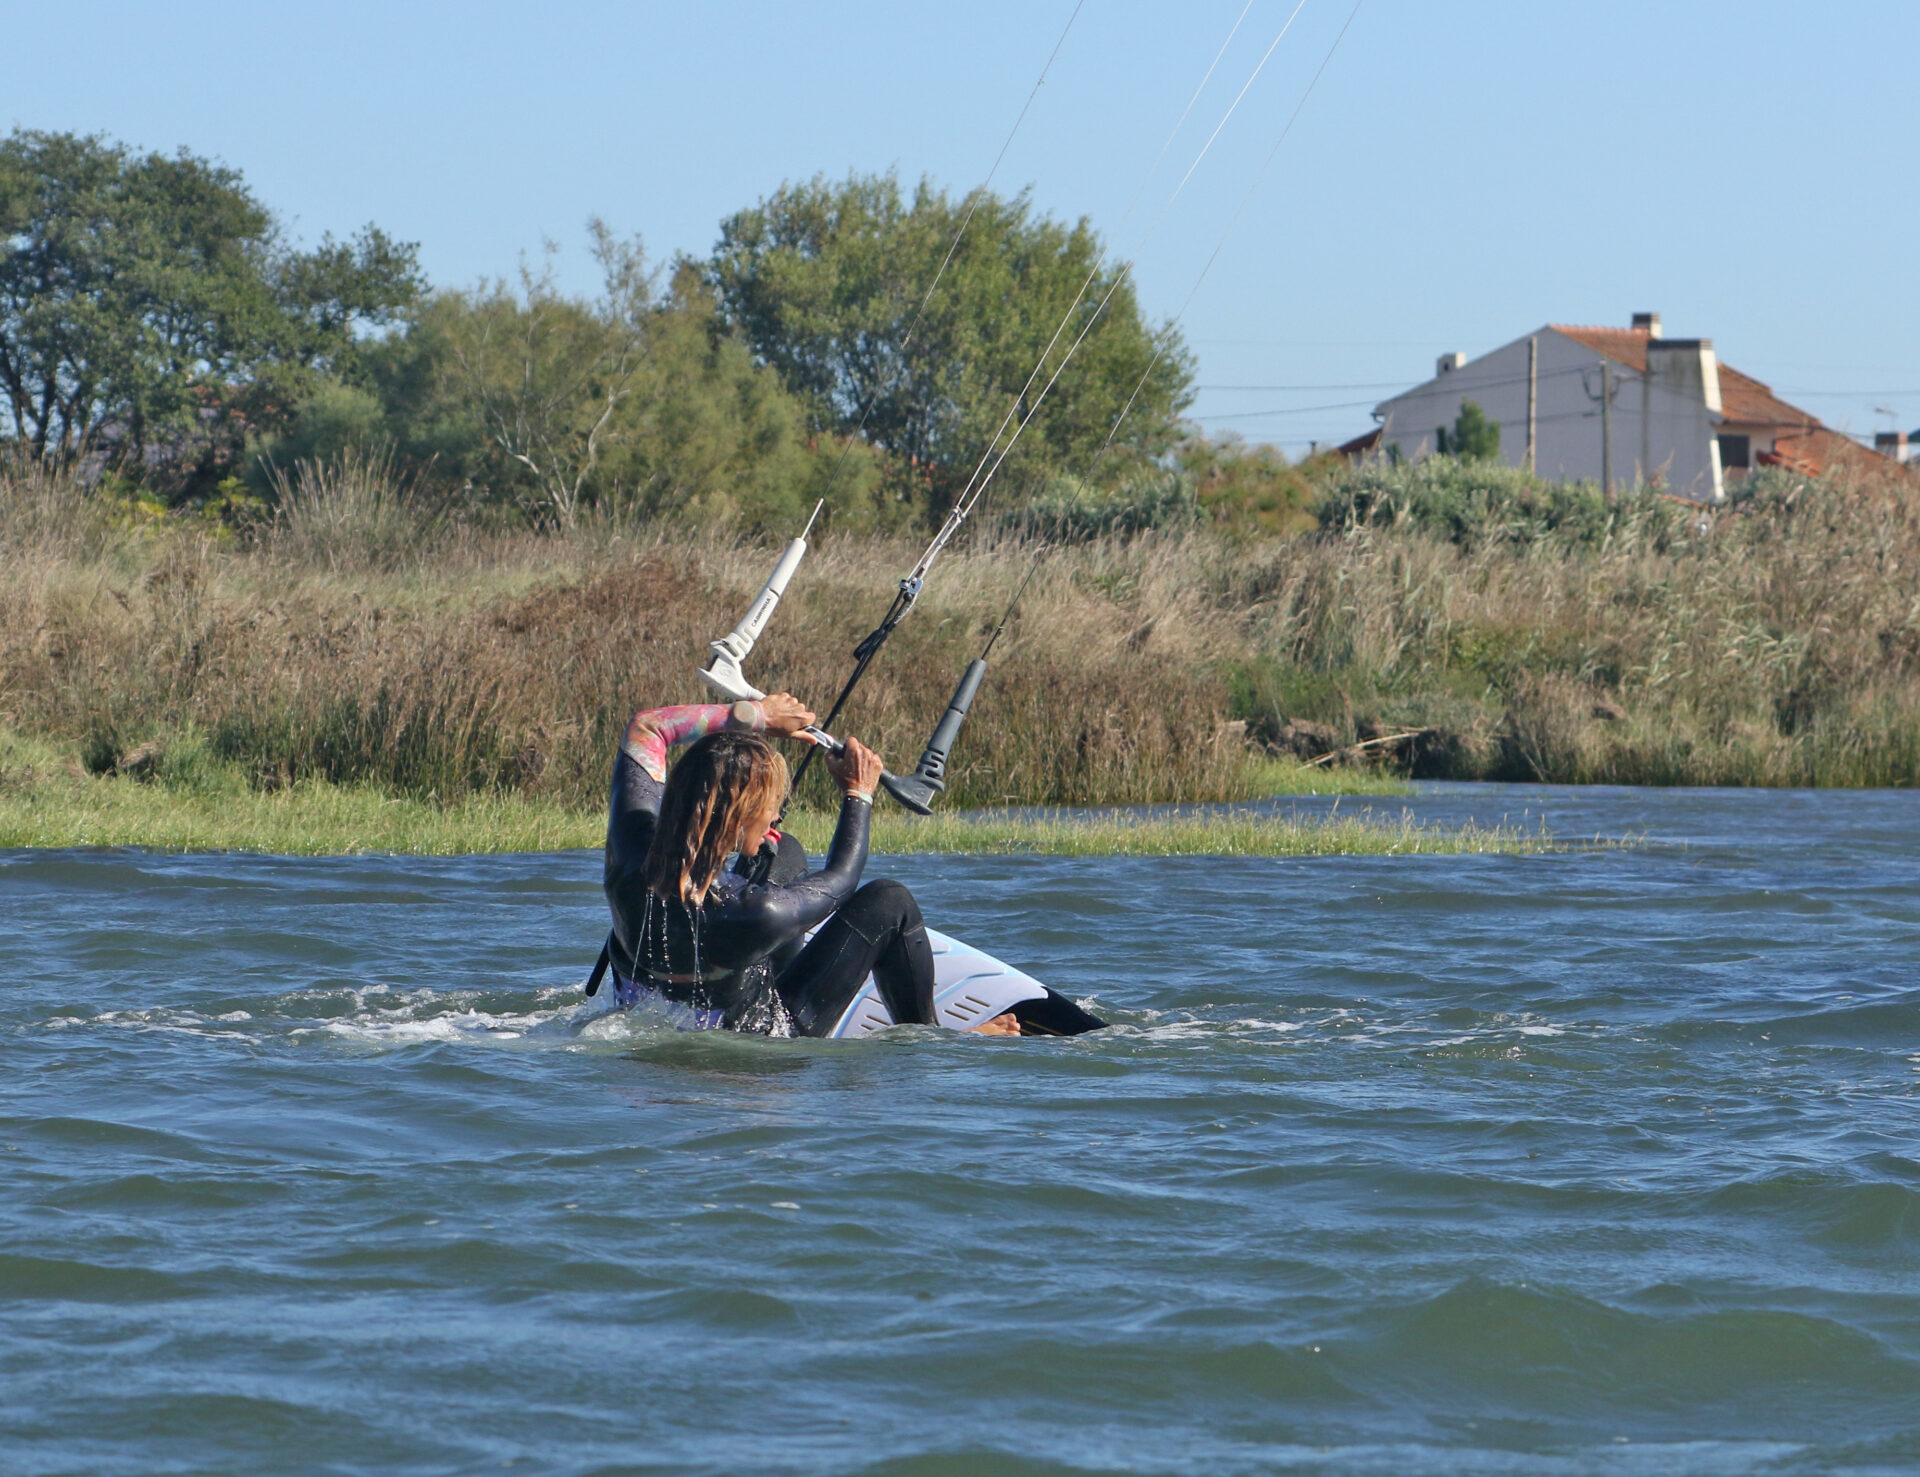
Roll Up Pic F.
As the kite starts to power and you resist against the board through your heels, you’ll feel yourself being lifted, just as you would in a regular waterstart. Keep your weight on your heels and roll over your front knee, allowing the knee to work. Looking at the picture, you can see that as Karine rolls up over her front leg, the tail sinks further. As the board is pulled towards the kite, the fins will bite.
Stand Pic G.
As the fins bite, effectively stopping the tail from moving, the board will start to pivot, and the nose will swing off downwind. Keep weight on your heels so that the downwind rail of the board doesn’t catch, and slowly stand up, keeping yourself upwind of the board. Once up, you can level your bar to stop the kite from flying down any further. Karine keeps her heels weighted and the downwind edge of the board up so that the nose can slide around. Her weight is still over her front (right) foot, which keeps the tail dug in and fins biting. She has levelled her bar to stop the kite diving.
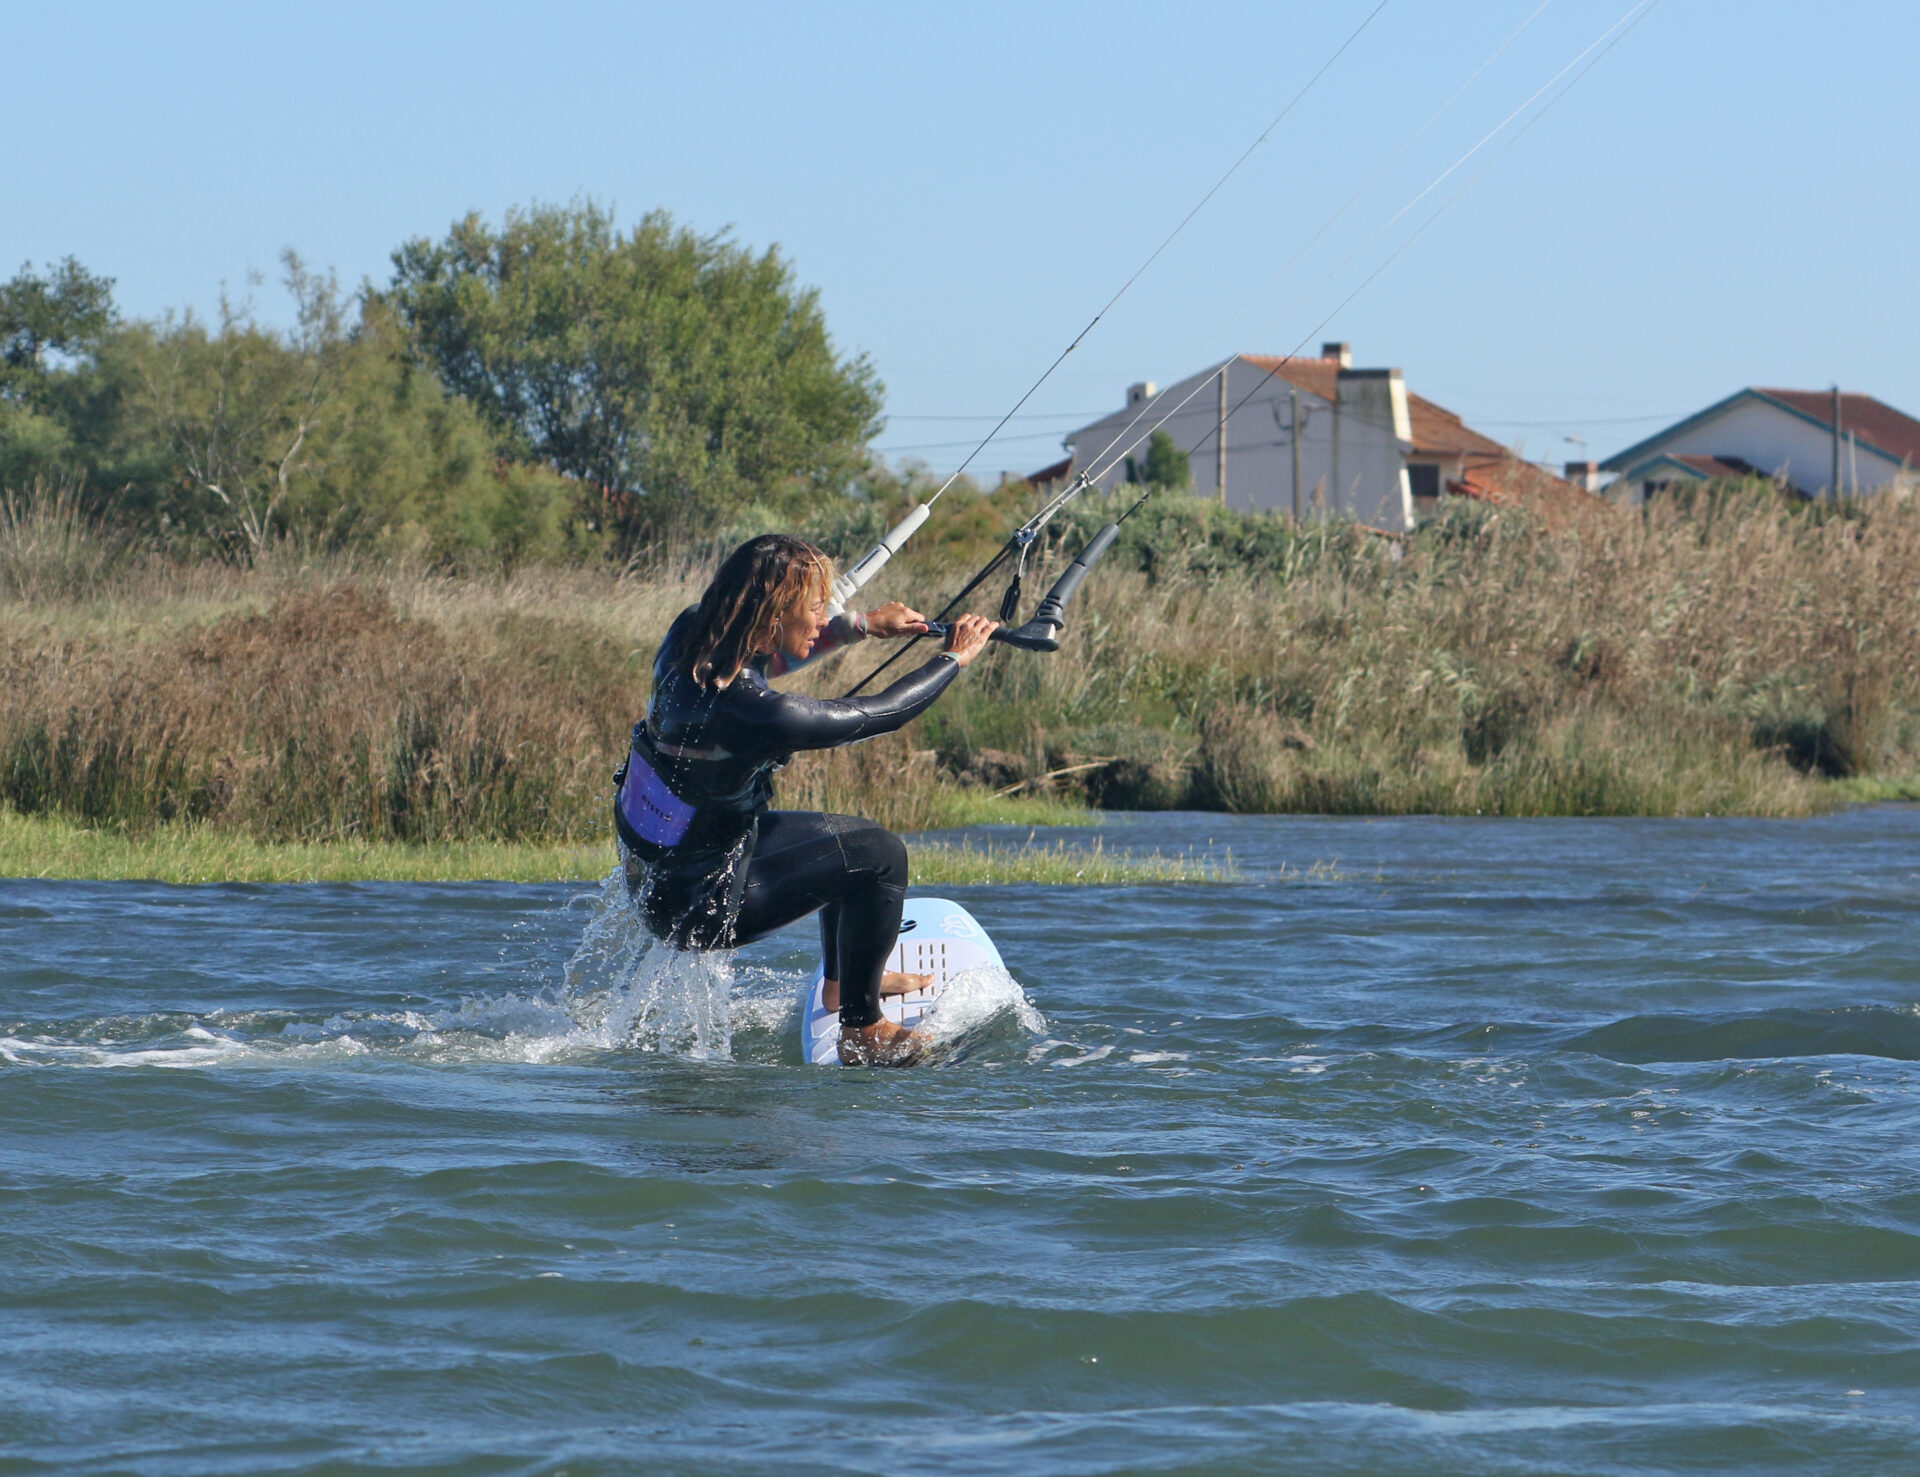
Switch Pic H.
With your weight over your back foot and the board pointing downwind, you need to get your board the rest of the way around to toeside. The action is one that you’ve hopefully practised hundreds of times. Keeping your hips back, twist them to face forward in the direction of travel. As you do this, you can push your front foot and the nose of the board through and around. You can see that Karine still has her weight back, and the tail of her board is under. She turns her hips forward and pushes her back leg and nose toward the toeside.


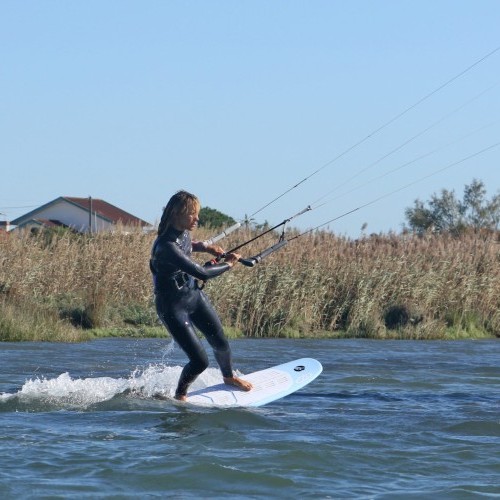
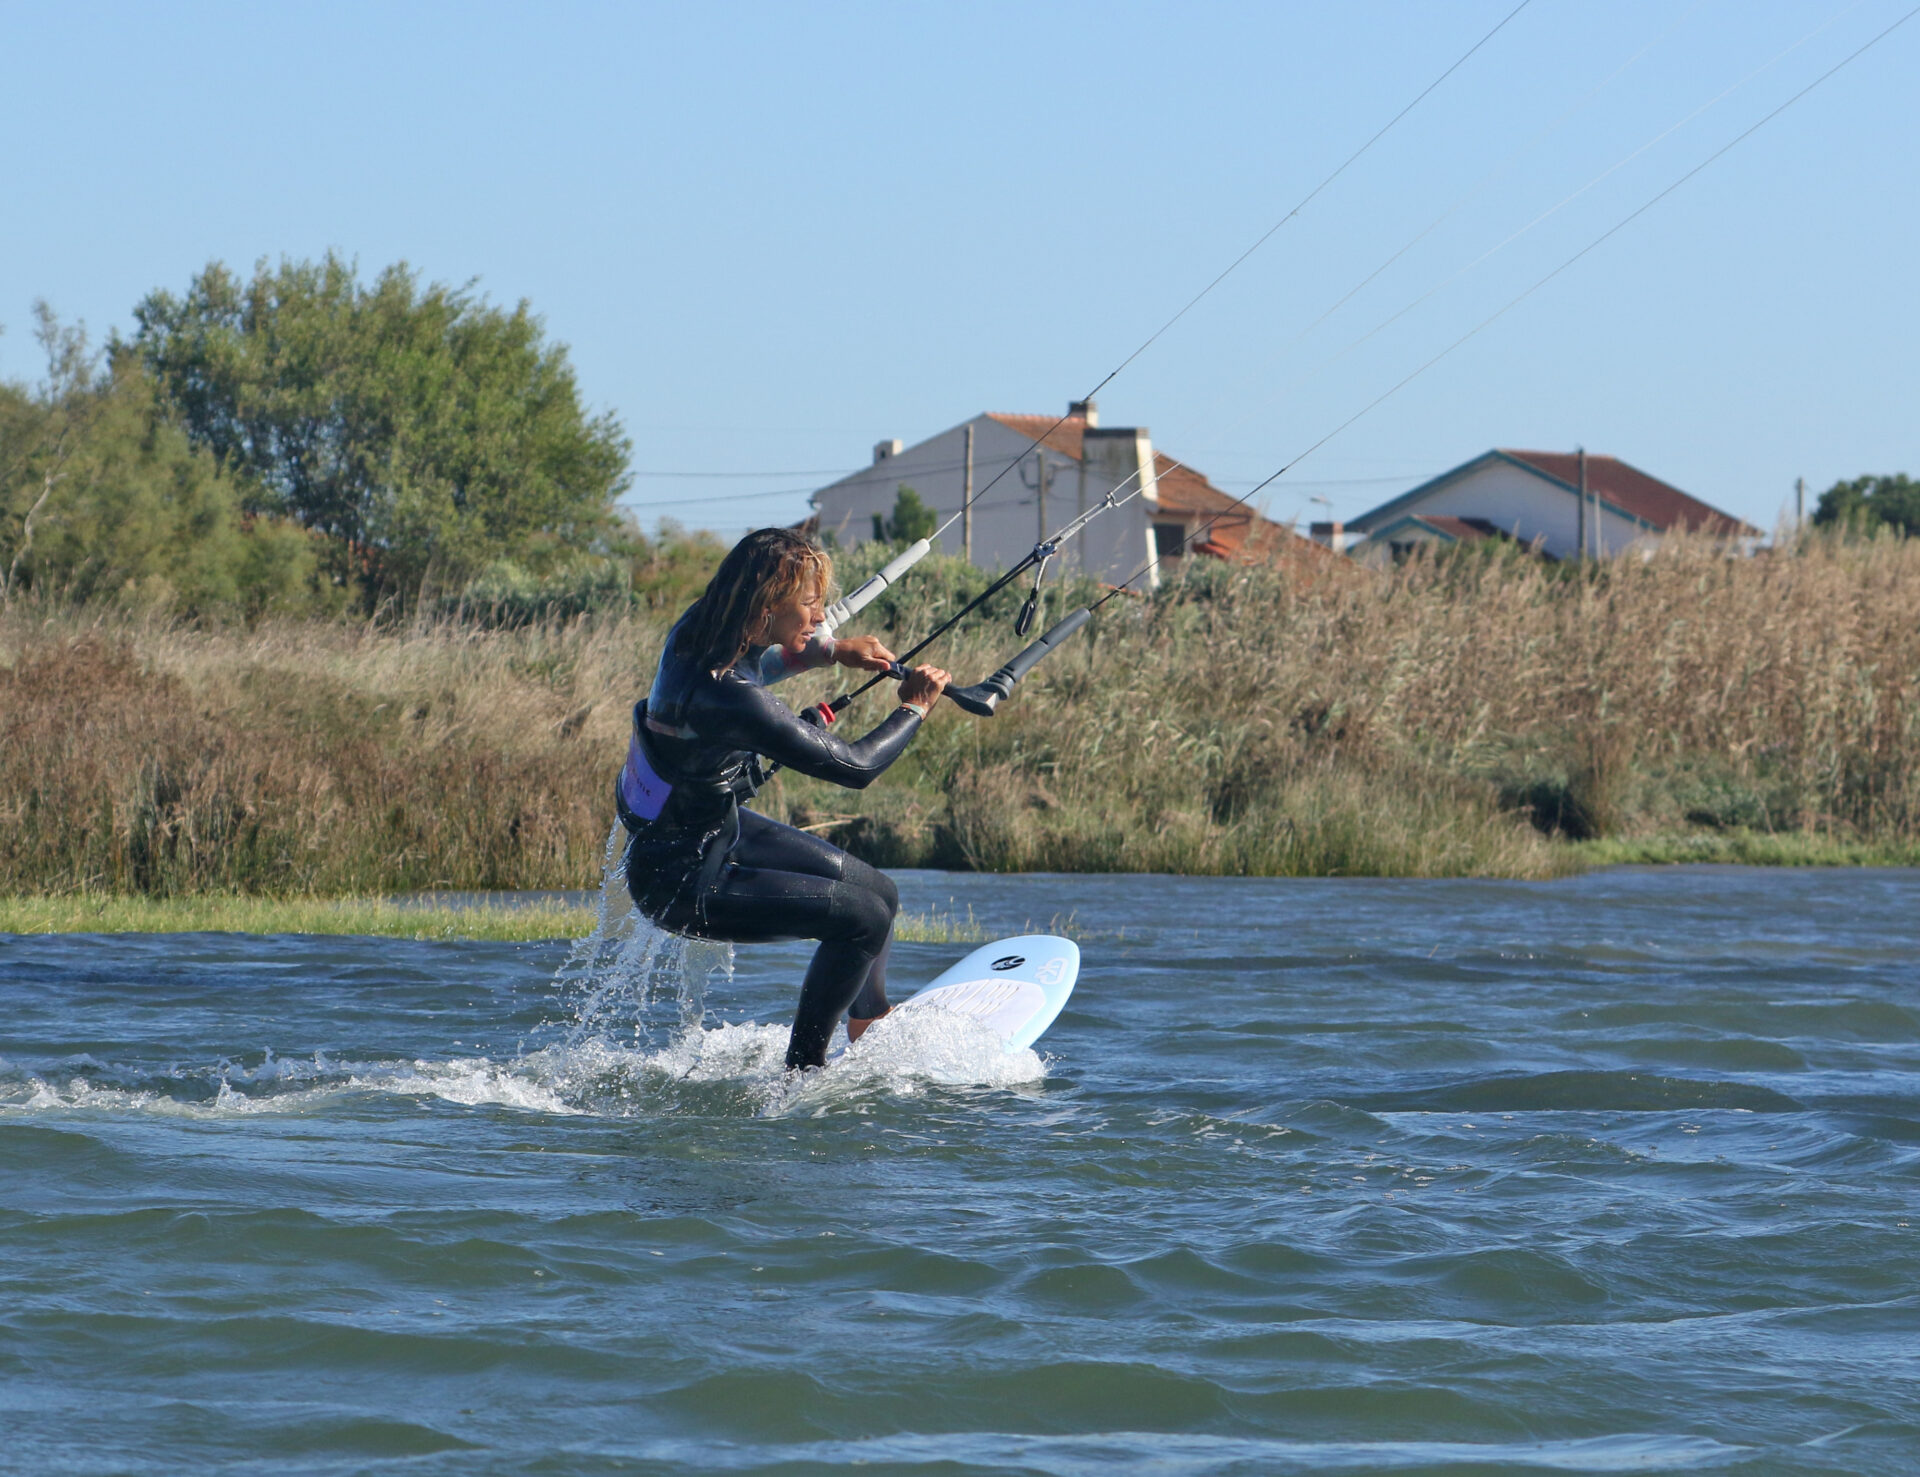
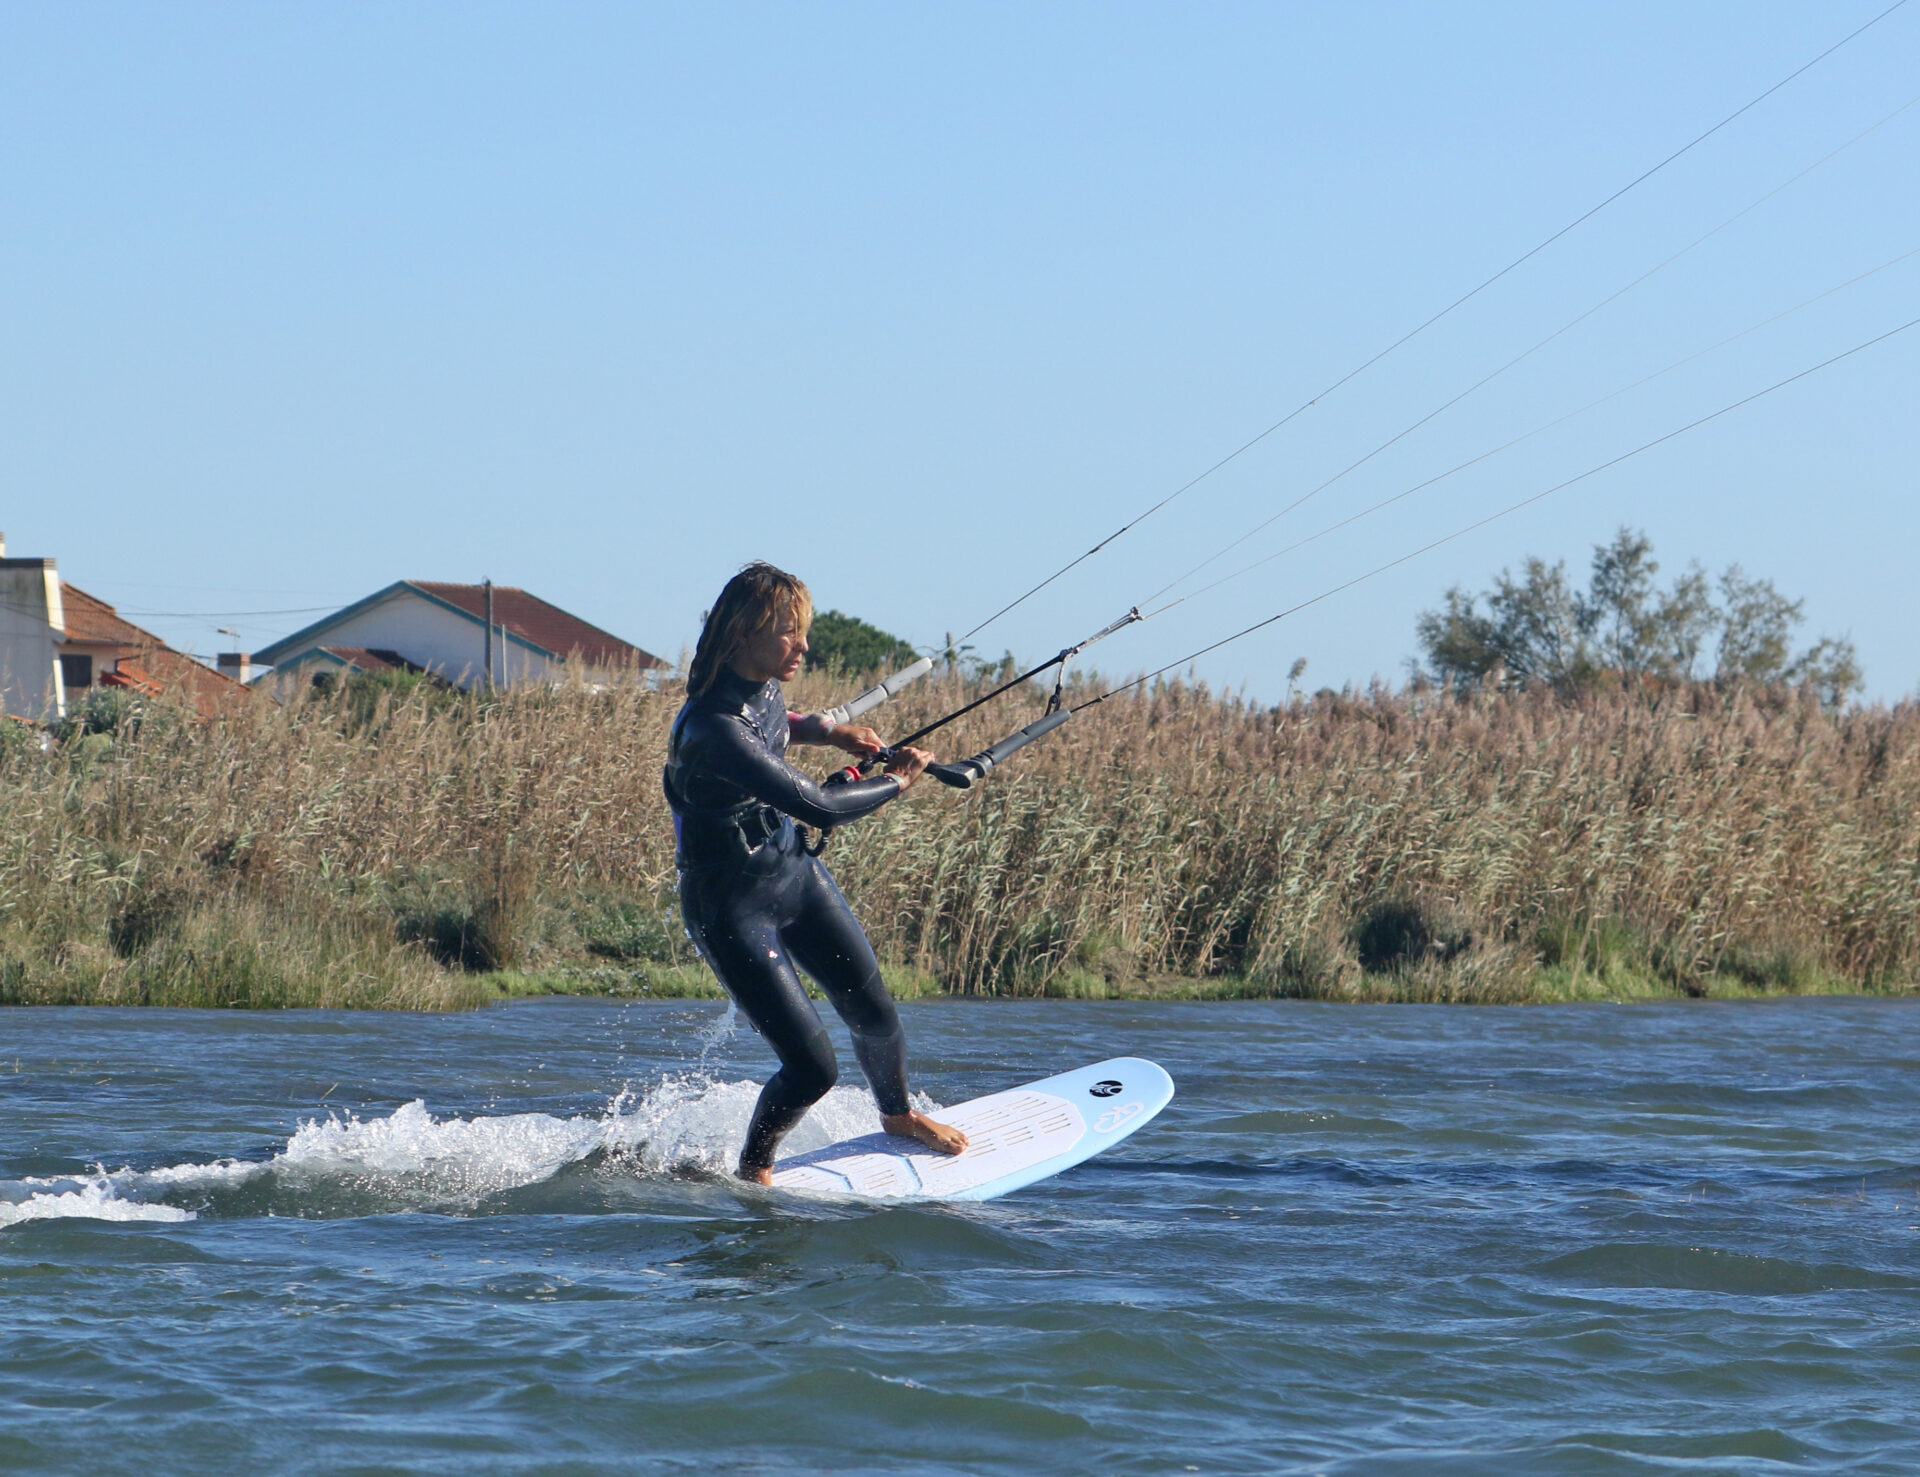
Toeside Pic I.
To finish the job, you need to move your weight onto the balls of your feet to lean the board over and transition onto your toeside rail. Stand up and push your hips across the board and upwind, leaning into your harness. As you do this, move your weight forward to centre it over both feet, bringing the nose down. To get entirely comfortable and into your default toeside position, you should wiggle your feet into their usual positions. Here Karine is standing up. She puts her hips upwind and moves her weight forward to get onto her rail. You can also see that her front foot is a bit too downwind, so she will wiggle it over the centre line a touch more to make things more comfortable and efficient. Once she is, she can turn the board a bit further up and make some ground upwind.
Top Tips
Make it easy on yourself. Your first attempts will be significantly bolstered if you keep it simple. You can try this on your trusty twin tip first, and then on your favoured toe side. This way, you’ll be keeping the odds in your favour.
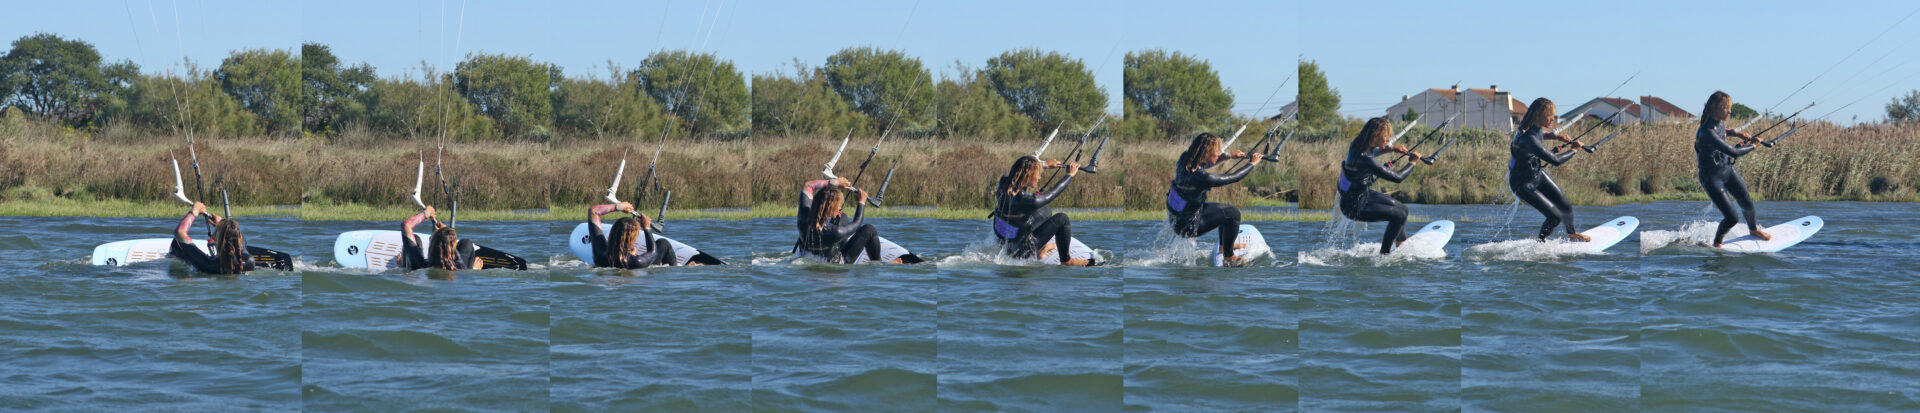
Check out the sequence and watch the video for the complete run-through…
Common Problems
The unintuitive part of this move lies in the fact that you must roll up onto the board while resisting. It’s easy to overdo the getting up and flying over the handlebars. This is why having a good kite movement from one side to the other is so important, rather than an aggressive dive down to the water.
Keystones
- Feet on as usual
- Kite back to either 1 or 11.
- Dive kite across the window
- Move the weight over the fins and roll up
- Stand and push your nose through before centring your weight.
This technique article was in Issue 113 of IKSURFMAG.
Related


By Christian and Karine
Christian and Karine have been working together as a coaching team, running improver to advanced kitesurfing clinics since 2003.
