
Inverted Back Roll
Technique / Intermediate

Introduction
Getting intentionally upside down during a manoeuvre adds a unique element, both visually and sensory. In this inverted sent back roll, the visual goodness is twofold. To those looking on from the outside, the invert adds a point of difference. Whilst to you, the pilot, no matter how many times you’ve rotated before, your world will look and feel completely different, gifting your senses a newfound treat. At first, it may feel more like driving a car full speed in reverse down a narrow alley. Unusual would be an understatement, confusing fairly apt, whilst undeniably exciting.
As a precursor, we’d strongly recommend that your sent (using the kite to jump) back rolls are in the bag. If you can already Stiffy, it’s a bonus but certainly not a must. The essence of the move is to try and get your board up to the lines, with your head and shoulders tilting back and down whilst you lay down the most carefree of back rolls. For the sake of learning, there’s no need to go huge, control is everything. Let’s starts with a look at the pivotal moments...


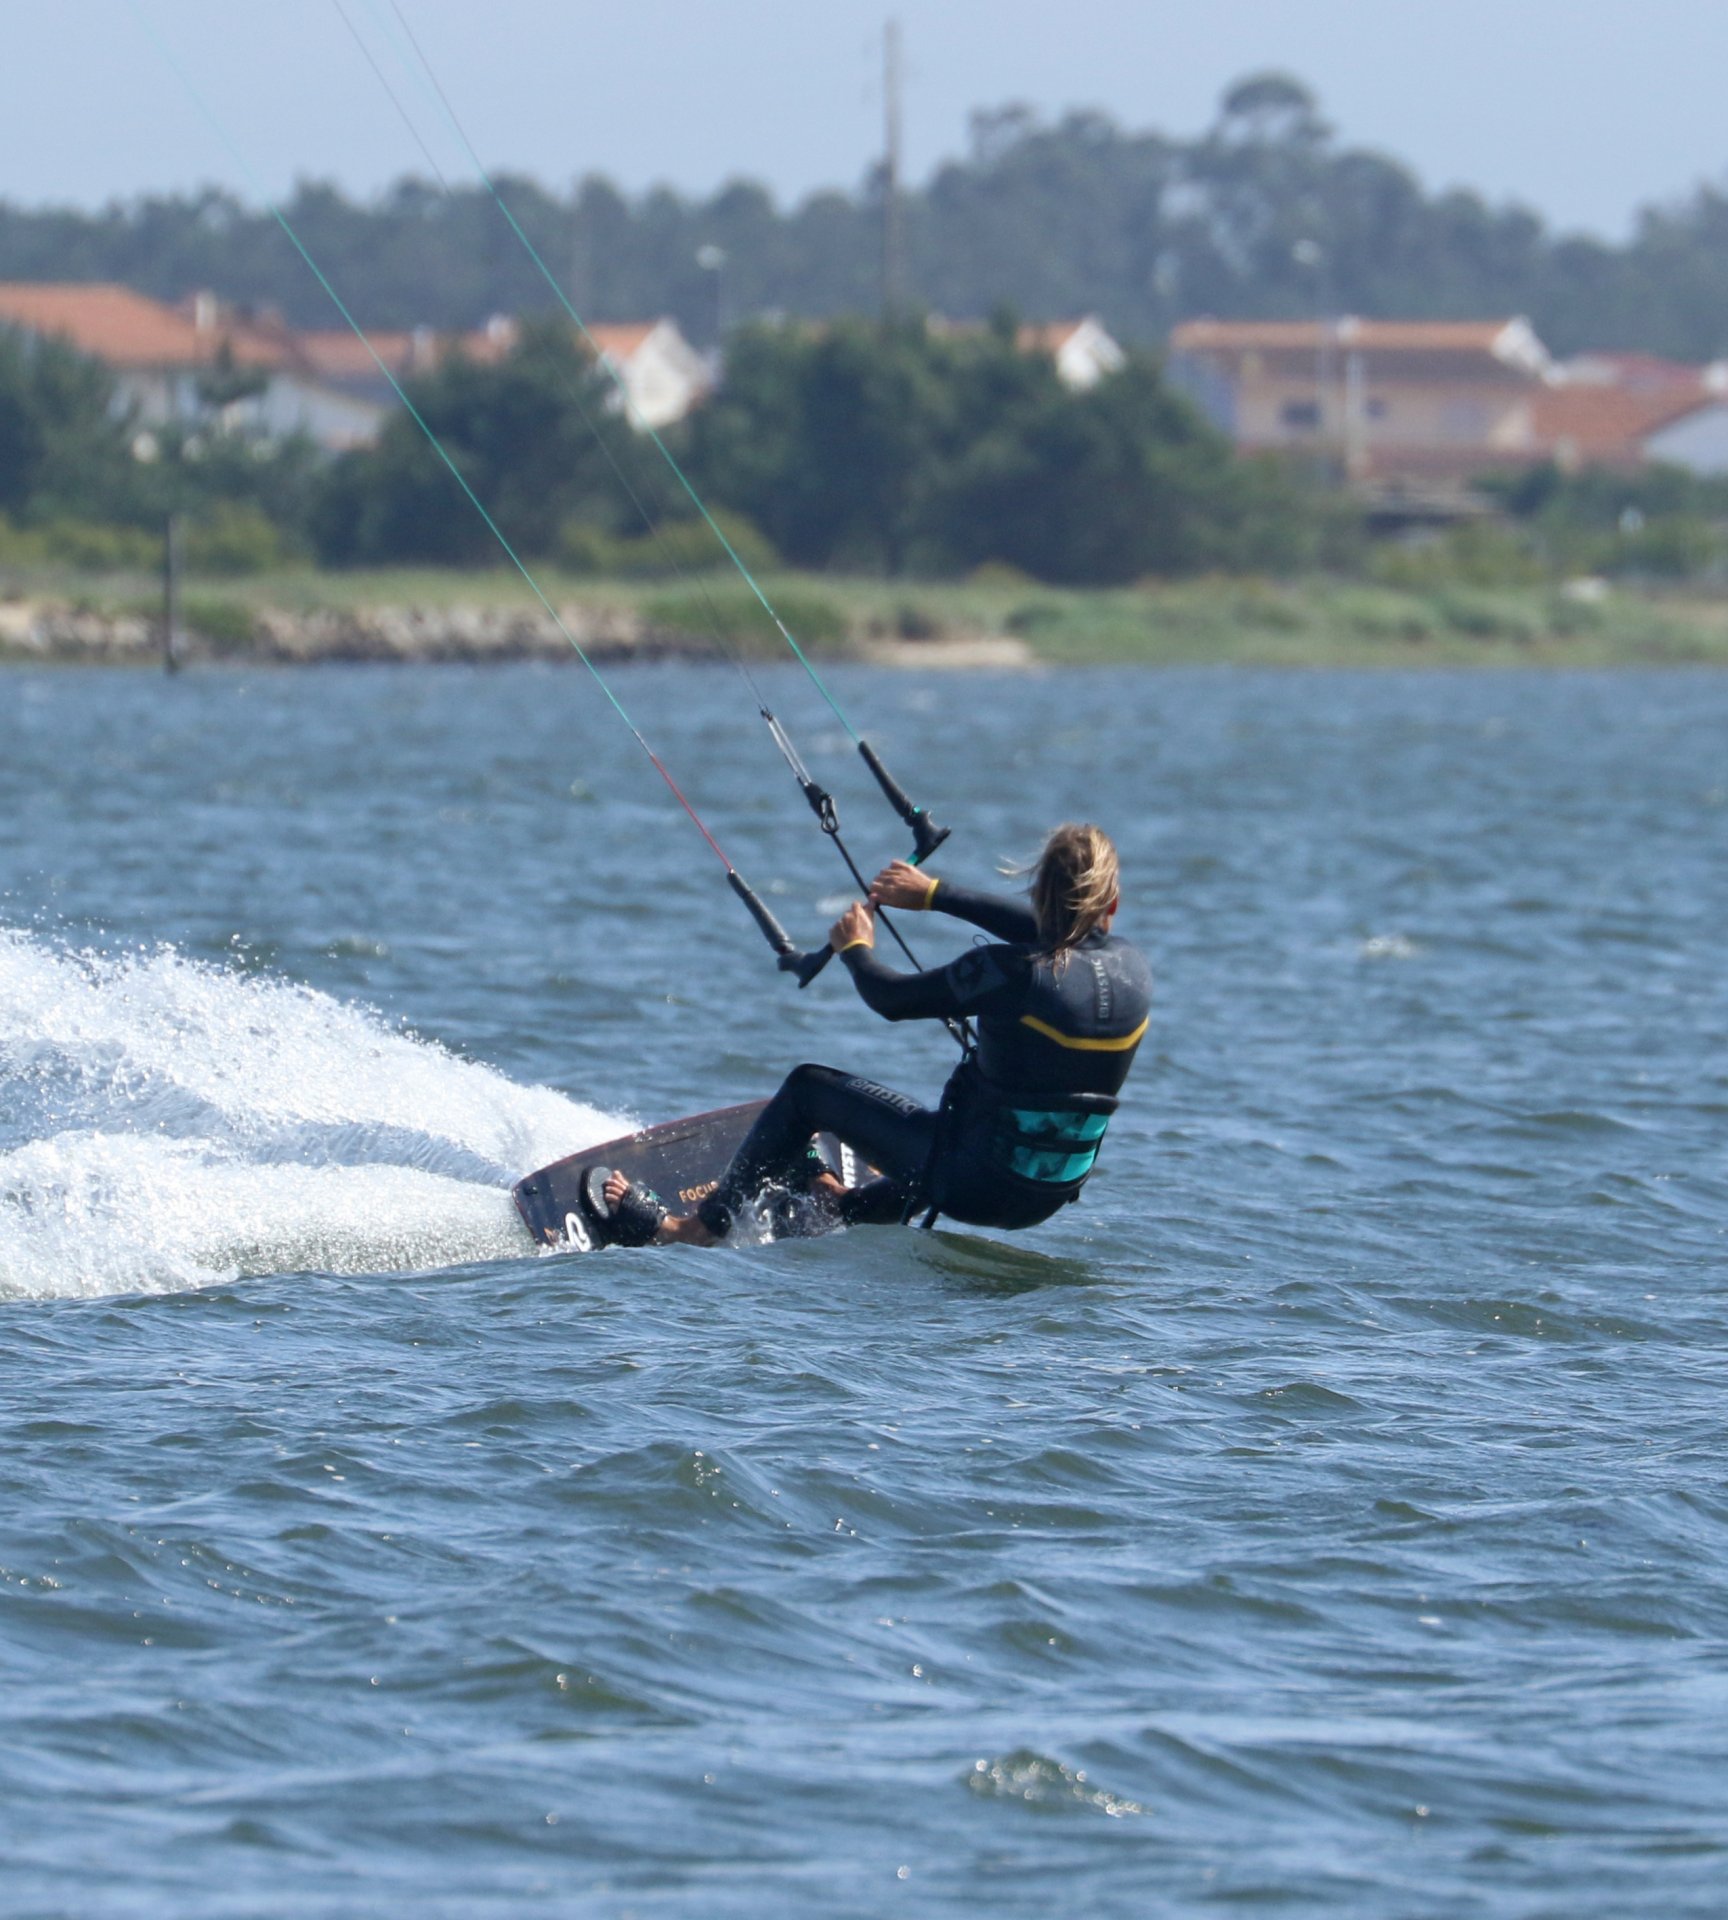
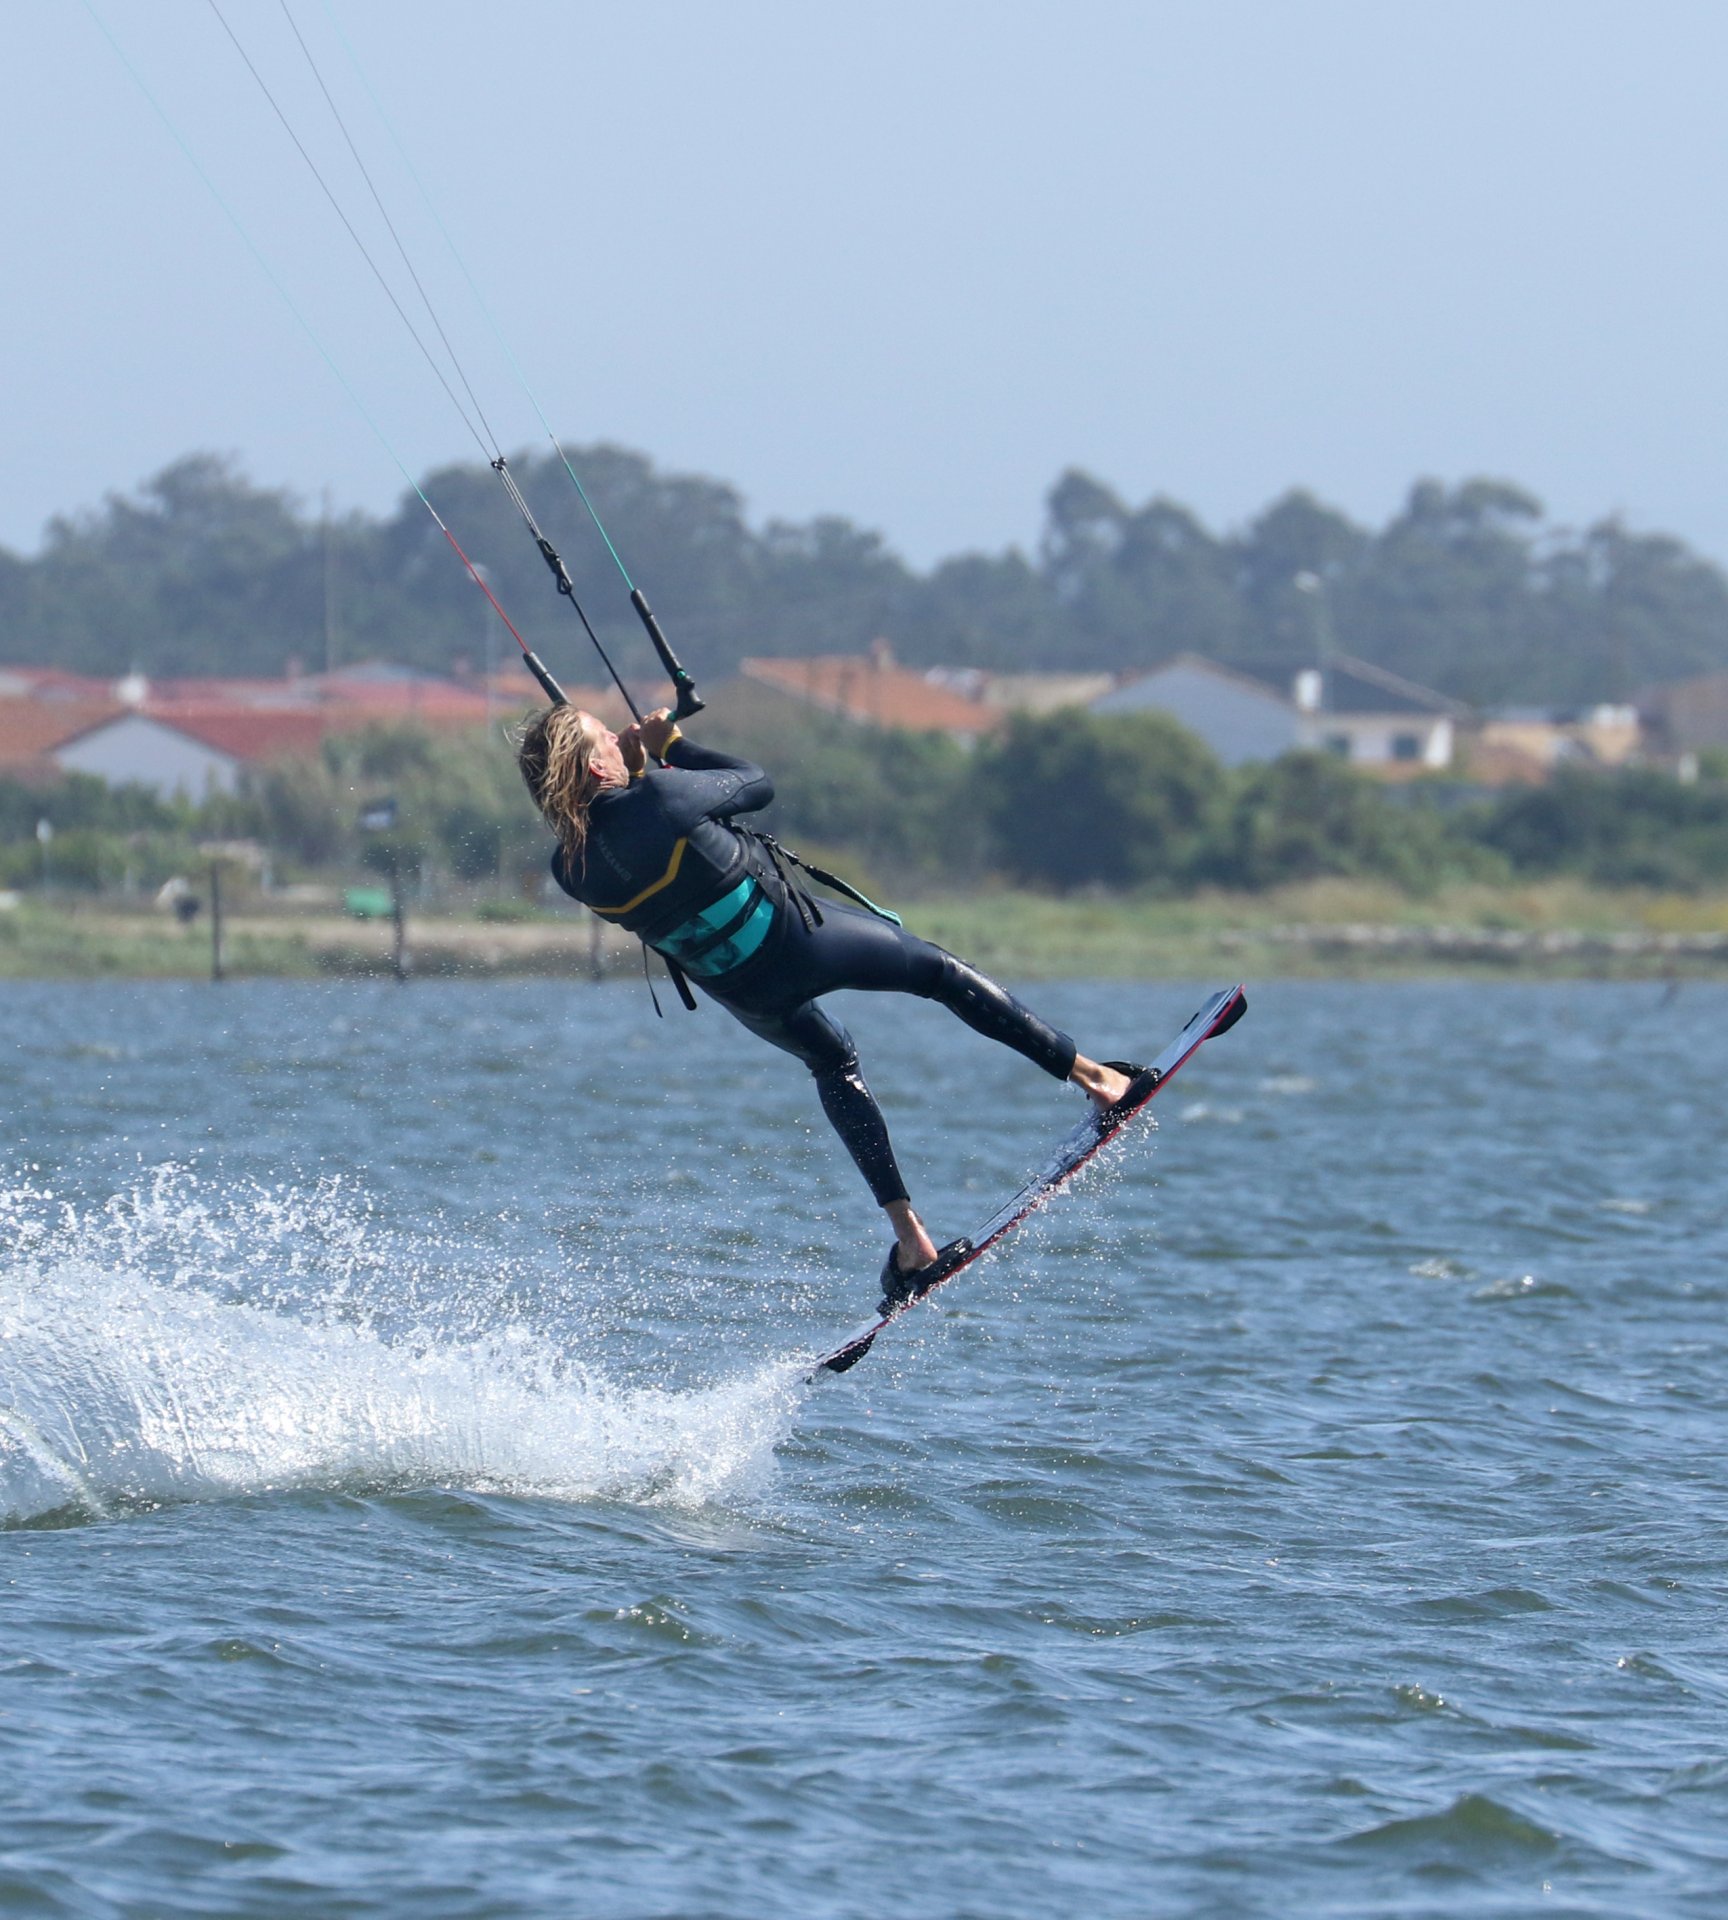
Approach Pic A.
You’re going to approach this as for any sent jump and rotation, on a decent upwind edge. This way you’ll feel what power you have, you’ll be guaranteed some speed, and you’ll have plenty of tension on your lines. In short, your kite will be primed and ready at the edge of the window, preferably at about 11 or 1 o’clock. The result is that you can then give it a meaningful send, using both hands to move it quickly up and past 12. There’s no need for a kamikaze wang, but if you only drift the kite slowly up, the lift will come late, the kite will travel way past 12, and you’ll find it tough at the top to recalibrate once you’re upside down and your spatial awareness is challenged! Christian has his bum low, is resisting against the edge with conviction and has given the bar a solid command to get the kite moving.

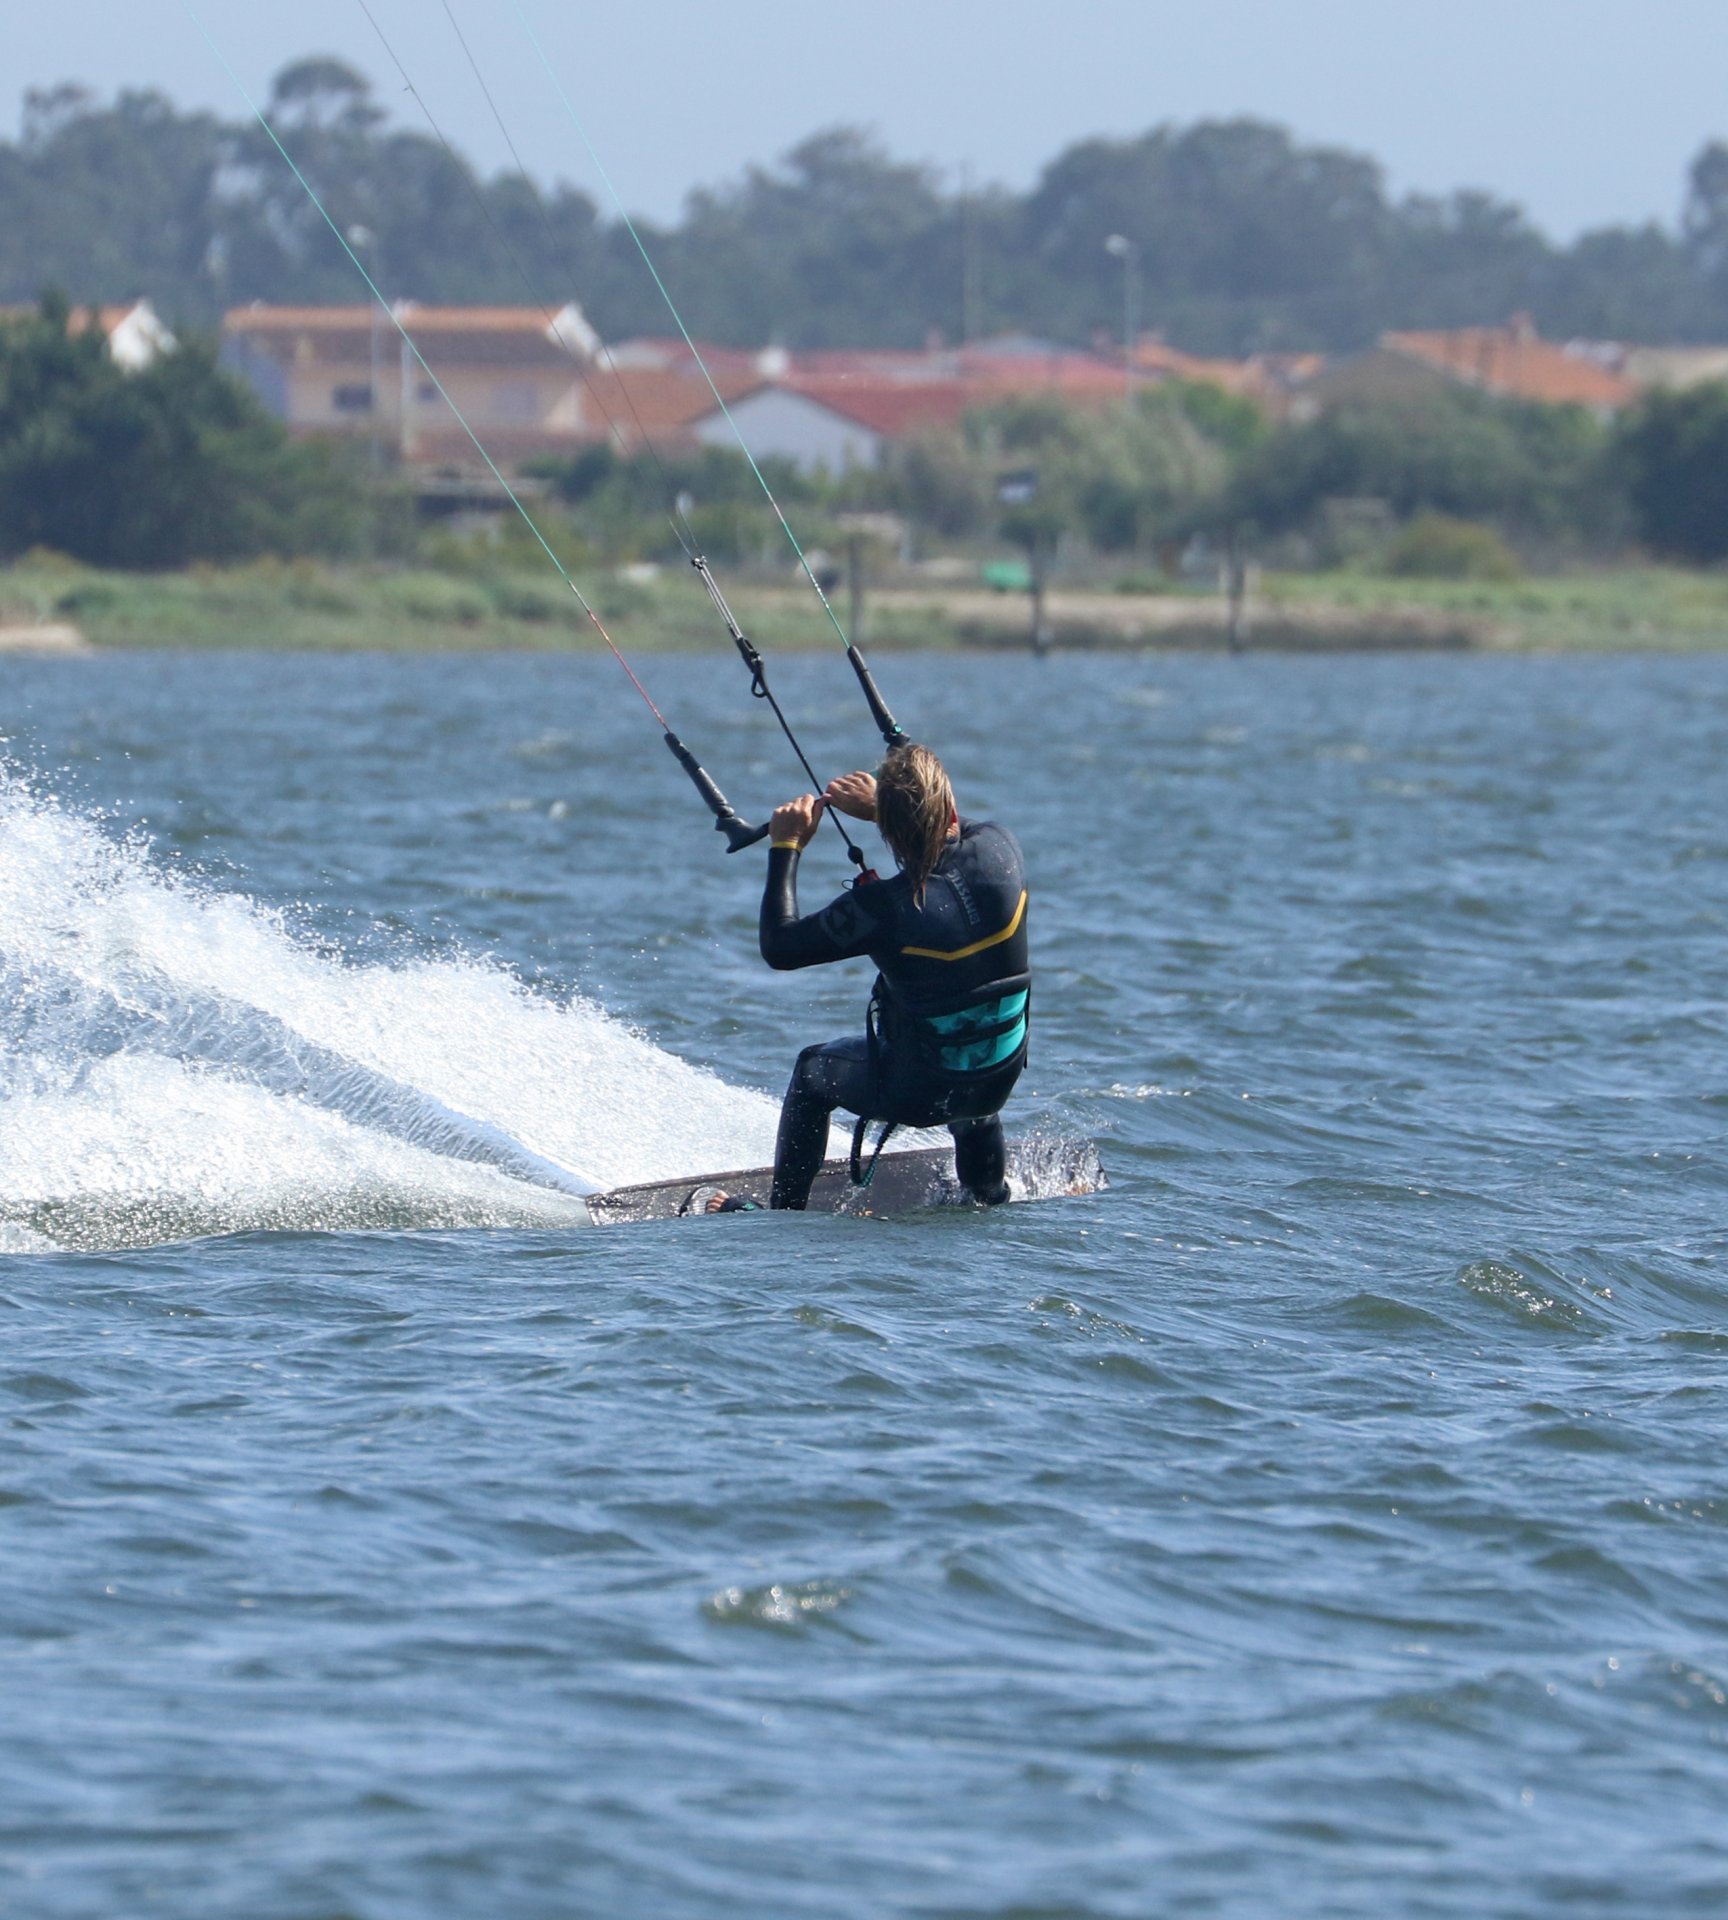
Initiating the Back Roll Pic B.
If we were to set one goal for this moment, it’s undeniably the need for a slow controlled back roll. So often repeated, so stunningly important and yet so unnatural. However, once nailed it’s with you for eternity - worth every ounce of effort and drop of sweat. To achieve a slow rotation, you need to use all your board to carve up towards the wind during take-off, overcoming the urge to lean back and pivot through the wind off the tail. This means keeping some weight on your front foot whilst holding the back leg solid, continually resisting against the edge and fighting the temptation to soften the back leg and roll back into the rotation. You can see that at the moment of lift off Christian is still on his edge, pushing the board away with his back leg, looking forwards whilst carving up. Notice how his shoulders and hips are parallel with the board. They’re not open and twisting into the wind. This is key to the slow rotation. Other than that, he’s pulling the bar in a tad and has stopped sending the kite.
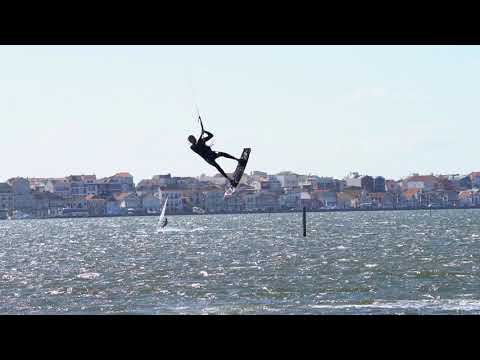
Take Off Pic C.
On take-off, you’ve got two jobs. Number one is to stop the kite flying any further back. This is important regardless of move, but even more so here. By the very nature of a back roll, it’s unfortunately way too easy to get your back hand weighted and we’re sure that much like ourselves, you are all well acquainted with the consequences! This means levelling the bar on take-off as you pull it in. Number two is to get yourself up off the water. Stamping hard against your edge with the back foot, really extending your back leg. Not only will this help you go up, but it also projects you on a forwards, up and around path. This stops you hanging off your back hand and prevents you from leaning back, which in turn discourages the kite from drifting further back. In the pic, Christian has kicked hard off his edge and is levelling the bar as he lifts off.
Rock Back Pic D.
Now you can! Having projected yourself up, you’re now well within your rights, in fact, we positively encourage you to rock back and lean into your back rotation. The result is that your feet will rise as your body rocks back in the harness. Absolutely perfect for inverting (whilst terrible for taking off). Use your knees to lift the board whilst tipping your head back. Your harness hook becomes your fulcrum. You can also push yourself away from the bar, extending your triceps (straightening your arms) which will push your shoulders further away from the bar, enabling them to drop. The only negative in all of this is that as your head tilts back you’ll catch sight of your kite. Try best to ignore it. If you focus on it, you’ve stamped on the accelerator of that reversing car. Viewing your kite from this new upside-down vista will possibly confuse you, and much like steering a car using a mirror, the concept of which hand does what goes flying straight out of the proverbial window. Rather trust your learned instincts. If you already start to steer the kite slowly forwards to redirect it before you can see the kite, you’ll know which is your front hand and can stay gently on it. Here Christian is rocking back in his harness, knees and board rising, head and shoulders tipping back and down. Note how he’s already redirecting the kite with his front hand to bring it back up towards 12 o’clock.
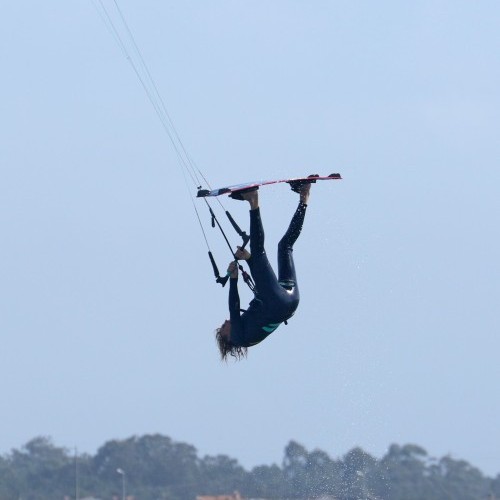
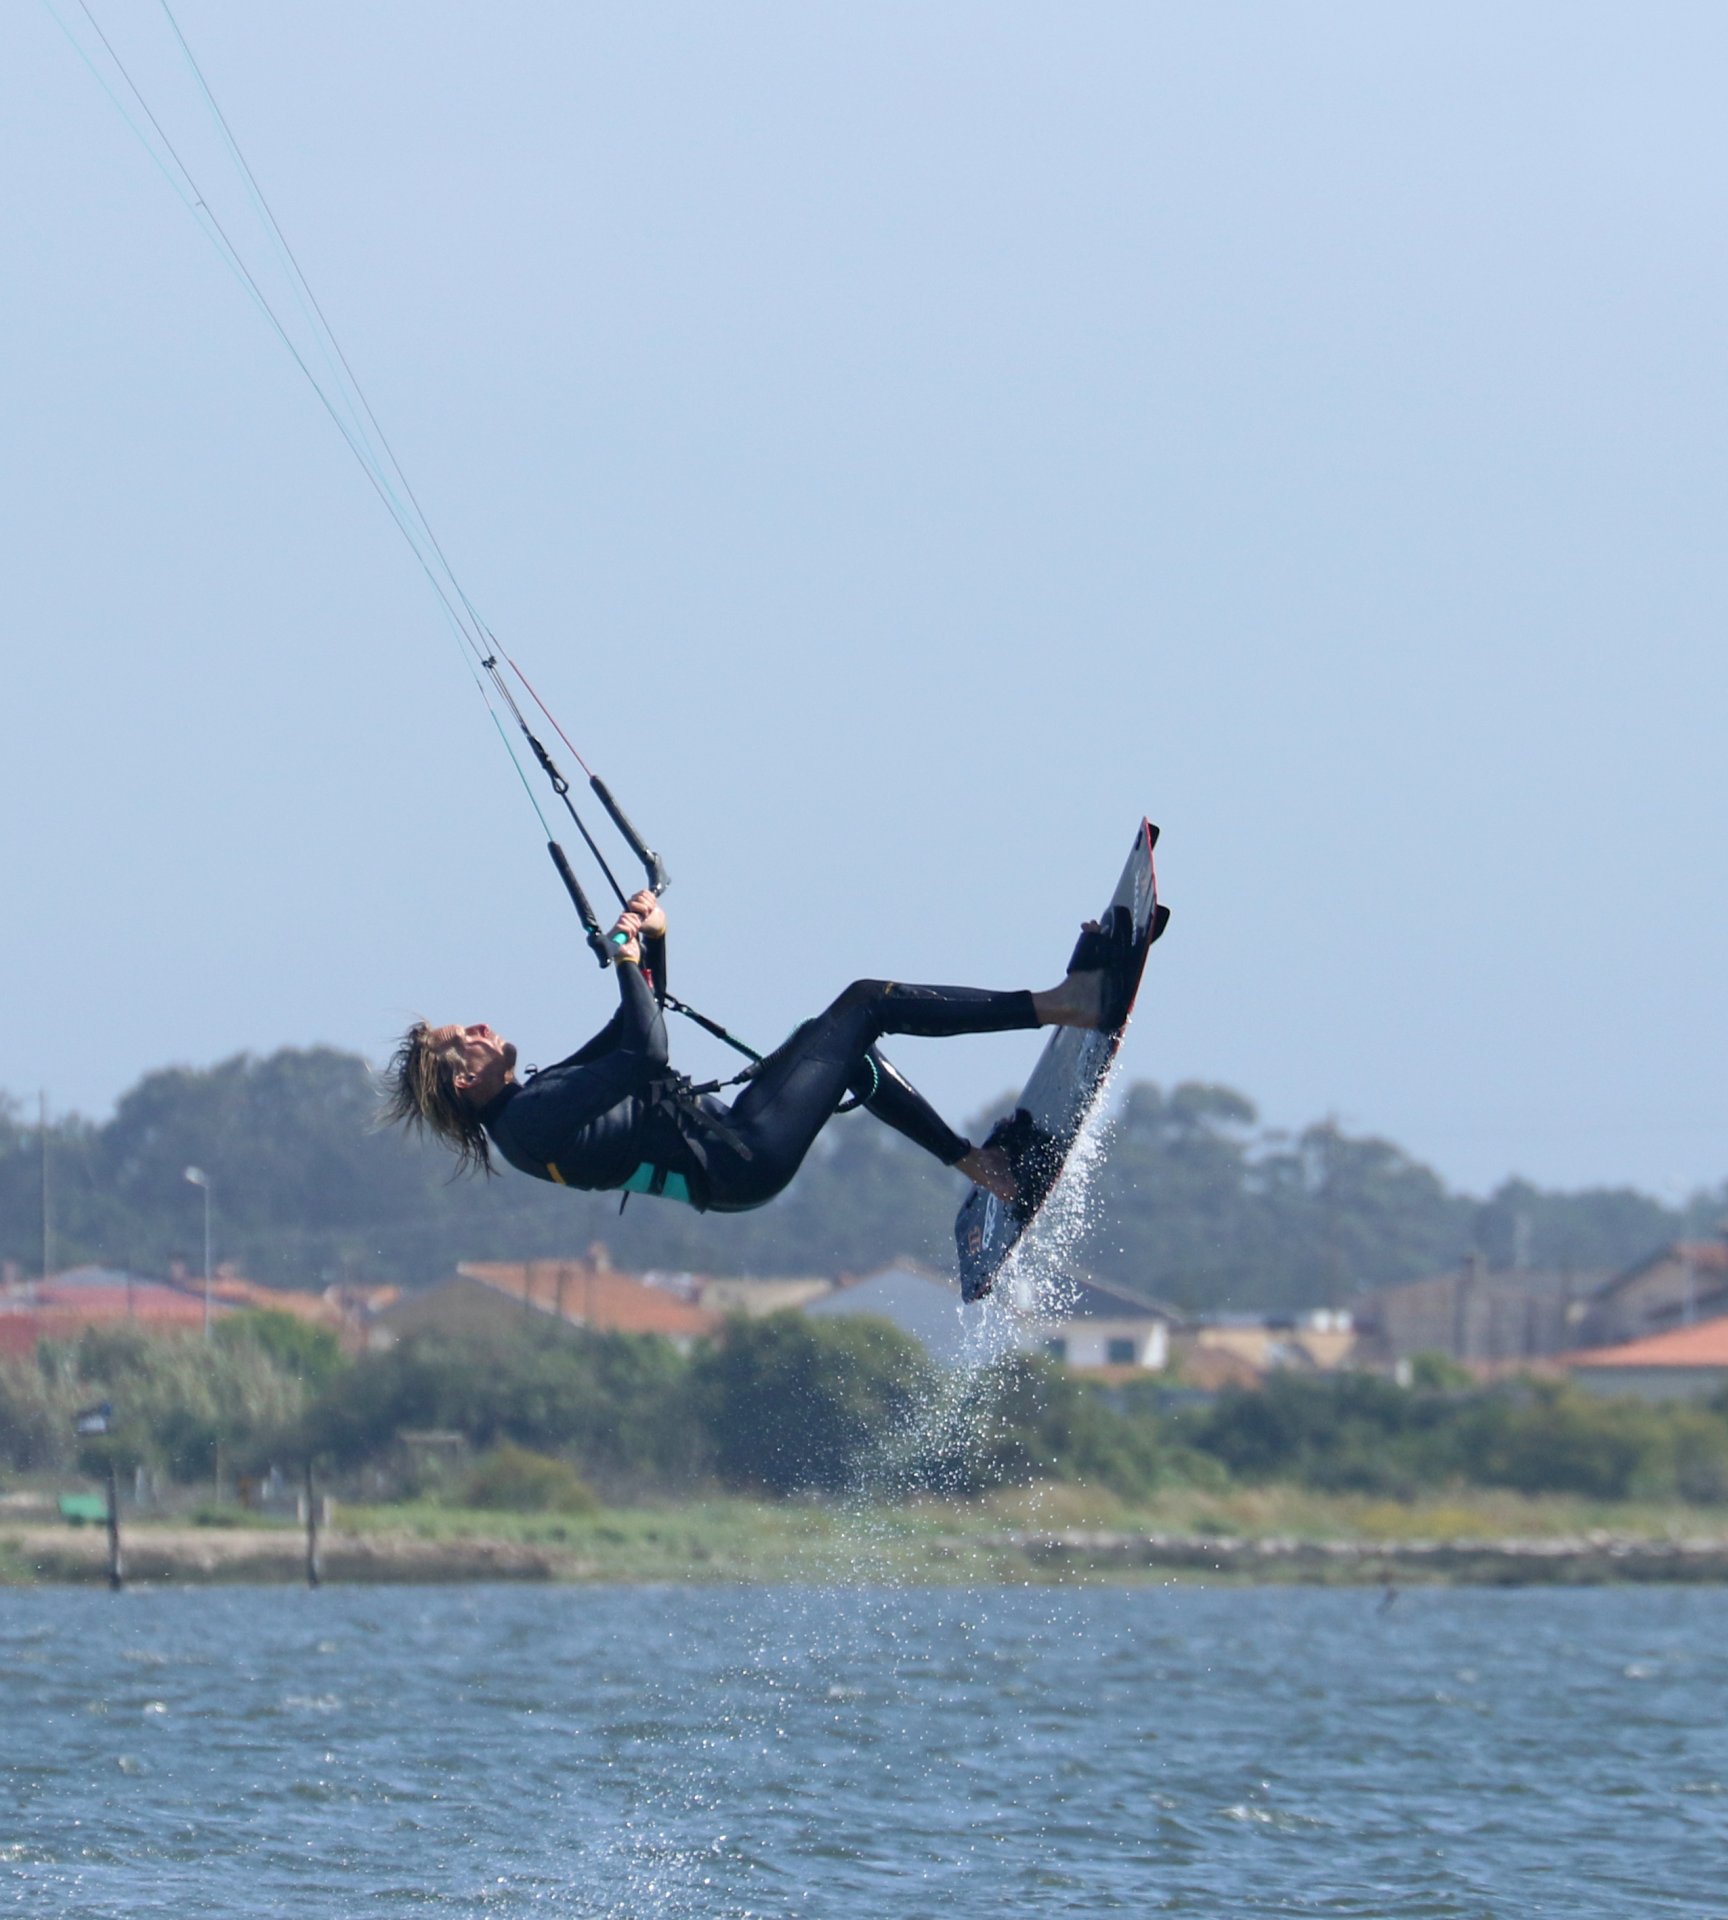
Oops Upside Your Head Pic E.
Once you feel the fulcrum is in full swing, that the kite is still floating you, and therefore in the right place, somewhere near 12, you can go the full nine yards and empty the change from your pockets. This will most likely be about halfway around when you would normally be looking upwind. To get the maximum inversion, kick your legs up towards your kite, presenting the bottom of your board to the spirit in the sky. If you do this aggressively you might well feel the board bump your lines. Throw your head back to get your upper body pointing down. Looking at Christian, he’s kicked the board up, his legs are extending, whilst his head is tilting back further. To get full marks, he could have bent his neck back and looked at the water which would have straightened everything into a perfect inversion. 🙂

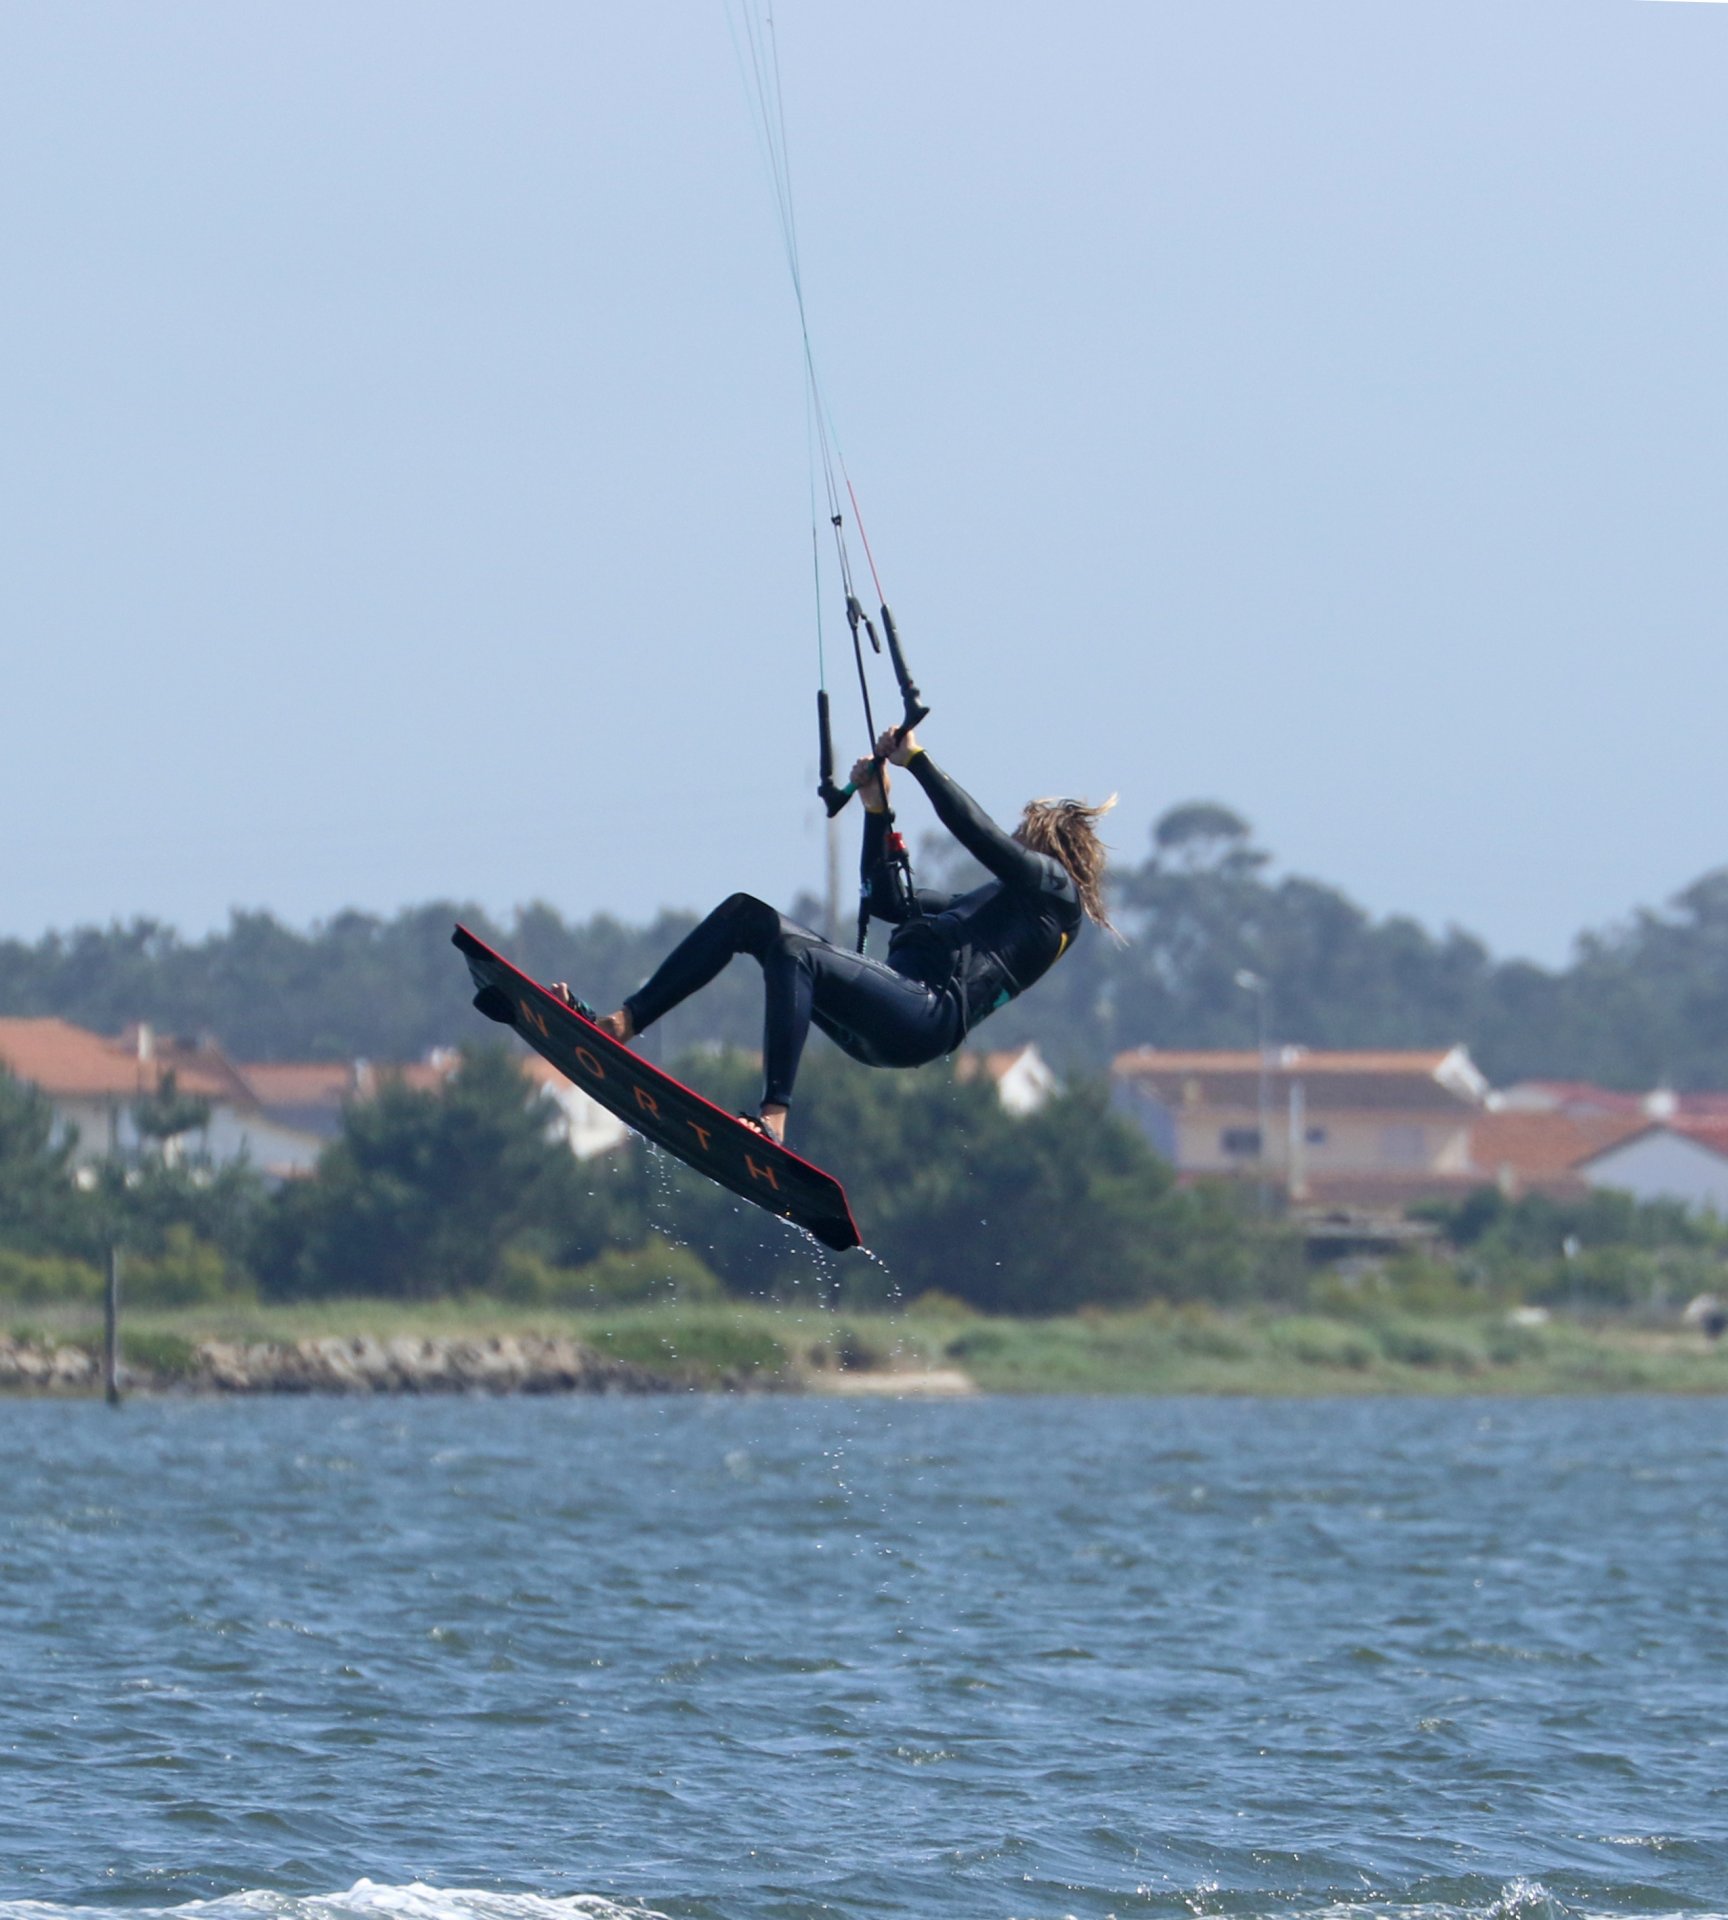
Incoming Pic F.
Once you feel yourself dropping, that’s your cue to prepare for landing. All the usual rules apply, but first off bring your head up to look at the bar and let your feet drop. From here on in it should be business as usual. Look where you expect to land, drop your undercarriage, dive your kite and aim for a soft downwind landing. Your height and rotation will determine the exact timing. If you’re high and rotating slowly you’ll need to keep your knees tucked up longer so that you can bring them around before diving the kite. If you’ve rotated quickly and/or didn’t have much float you may need to drop the legs down and extend them sooner in order to slow the rotation and stop yourself tripping over your toeside edge on landing. In the image, Christian looks as if he’s coming around a slowly rotated non inverted back roll. Knees are up, he’s focused on landing and is ready to dive the kite once he comes around and down.
Top Tips
We’re going to keep to the tried and tested game plan here. Nothing beats banging out a handful of back rolls so that you can concentrate on the send, the take-off and the kite movement, before then working on getting the legs up and eventually the head back. Baby steps! As mentioned at the beginning, you don’t need to go huge, some float and enough time to get around a jumped back roll is plenty. And remember that in a back roll your kite is generally further back than you think, so be prepared to steer it forwards with conviction when the time comes. Have a ponder through the sequence and vids to see it all playing out visually.
Common Problems
If you’re finding that your kite is dropping you because it ends up way too far back, it’s time for more input. Rather than levelling the bar on take-off, try and steer the kite forwards just before you stamp.
You can’t invert. There are potential issues with timing, but if you feel like you’re lifting the board and dropping the head but sweet football association is happing, it can be as simple as your harness being too loose, and in the case of a waist harness, too high. If your hook is wiggling about like a wet fish, it’s not going to give you a solid point to fulcrum about. And if your harness is too high, you can’t see-saw your legs up because there’s not enough upper body above it to lever down.
When you lose orientation and therefore control of the kite once upside down and it becomes a 50/50 guessing game of which way to steer. Try gently steering the kite forwards with your front hand just as you’re about to invert. This way you have pressure on the front hand, and you’ll know that it’s this one that will be required in the not too distant future.

When there’s no time to invert, it’s a sure sign that you’re spinning quickly rather than rotating slowly. Take a step back and work on your takeoff.
Keystones
- Good solid edge and kite at 11 or 1.
- Positive send.
- Level bar and then stamp up.
- Lift legs, drop head and shoulders back.
- Front hand to redirect and landing as per usual.

This technique article was in Issue 87 of IKSURFMAG.
Related


By Christian and Karine
Christian and Karine have been working together as a coaching team, running improver to advanced kitesurfing clinics since 2003.
