
Twin Tip Heel to Toe Carve with Downloop
Technique / Beginner


Introduction
There is nothing sweeter than exiting a carve with some oomph, whether it be full back burners boosting to the max or a more mellow constant pull to drive against. There are so many factors that inhibit the perfect turn, but there is one addition that can pretty much guarantee an excellent score – adding a downloop. If the mere mention of the L word strikes fear into your very soul, lets rephrase that as the addition of an underturn. There you go, nothing to worry about, but so much to gain.
Those of you well versed in our technique will be used to our use of the underturn name. If you’re not, rest assured they are one in the same. We just happen to use the term underturn for anything when you’re still on the water and downloop for when you’ve already left it. The bar and kite movement, and the way your attack it however are equal.


Normally we would certainly recommend that you can already underturn your kite during a slide turn, or at the very least whilst body dragging, and it goes without saying that you should be able to carve from heel to toeside, even if it ends slowly, as what we are trying to do is add two movements together here and work out the timing.

Before attempting this you should consider what you’re trying to achieve. Your aim is to take the kite up high enough so that you have plenty of space to downloop it, and you’ll then be carving a 180 degree turn. How sharp you turn and how high you loop the kite are all interchangeable elements depending on how much power you want and how windy it is, but for the moment as this is the first time, we’ll be looking at more of a pivoting carve with your weight back whilst looping the kite quite high pulling on your front hand to make sure that we don’t generate too much power – we can always add more later.
Here we go then, lets have a look at how this works...
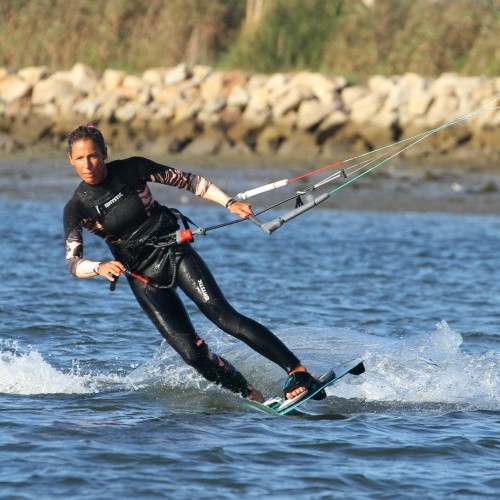
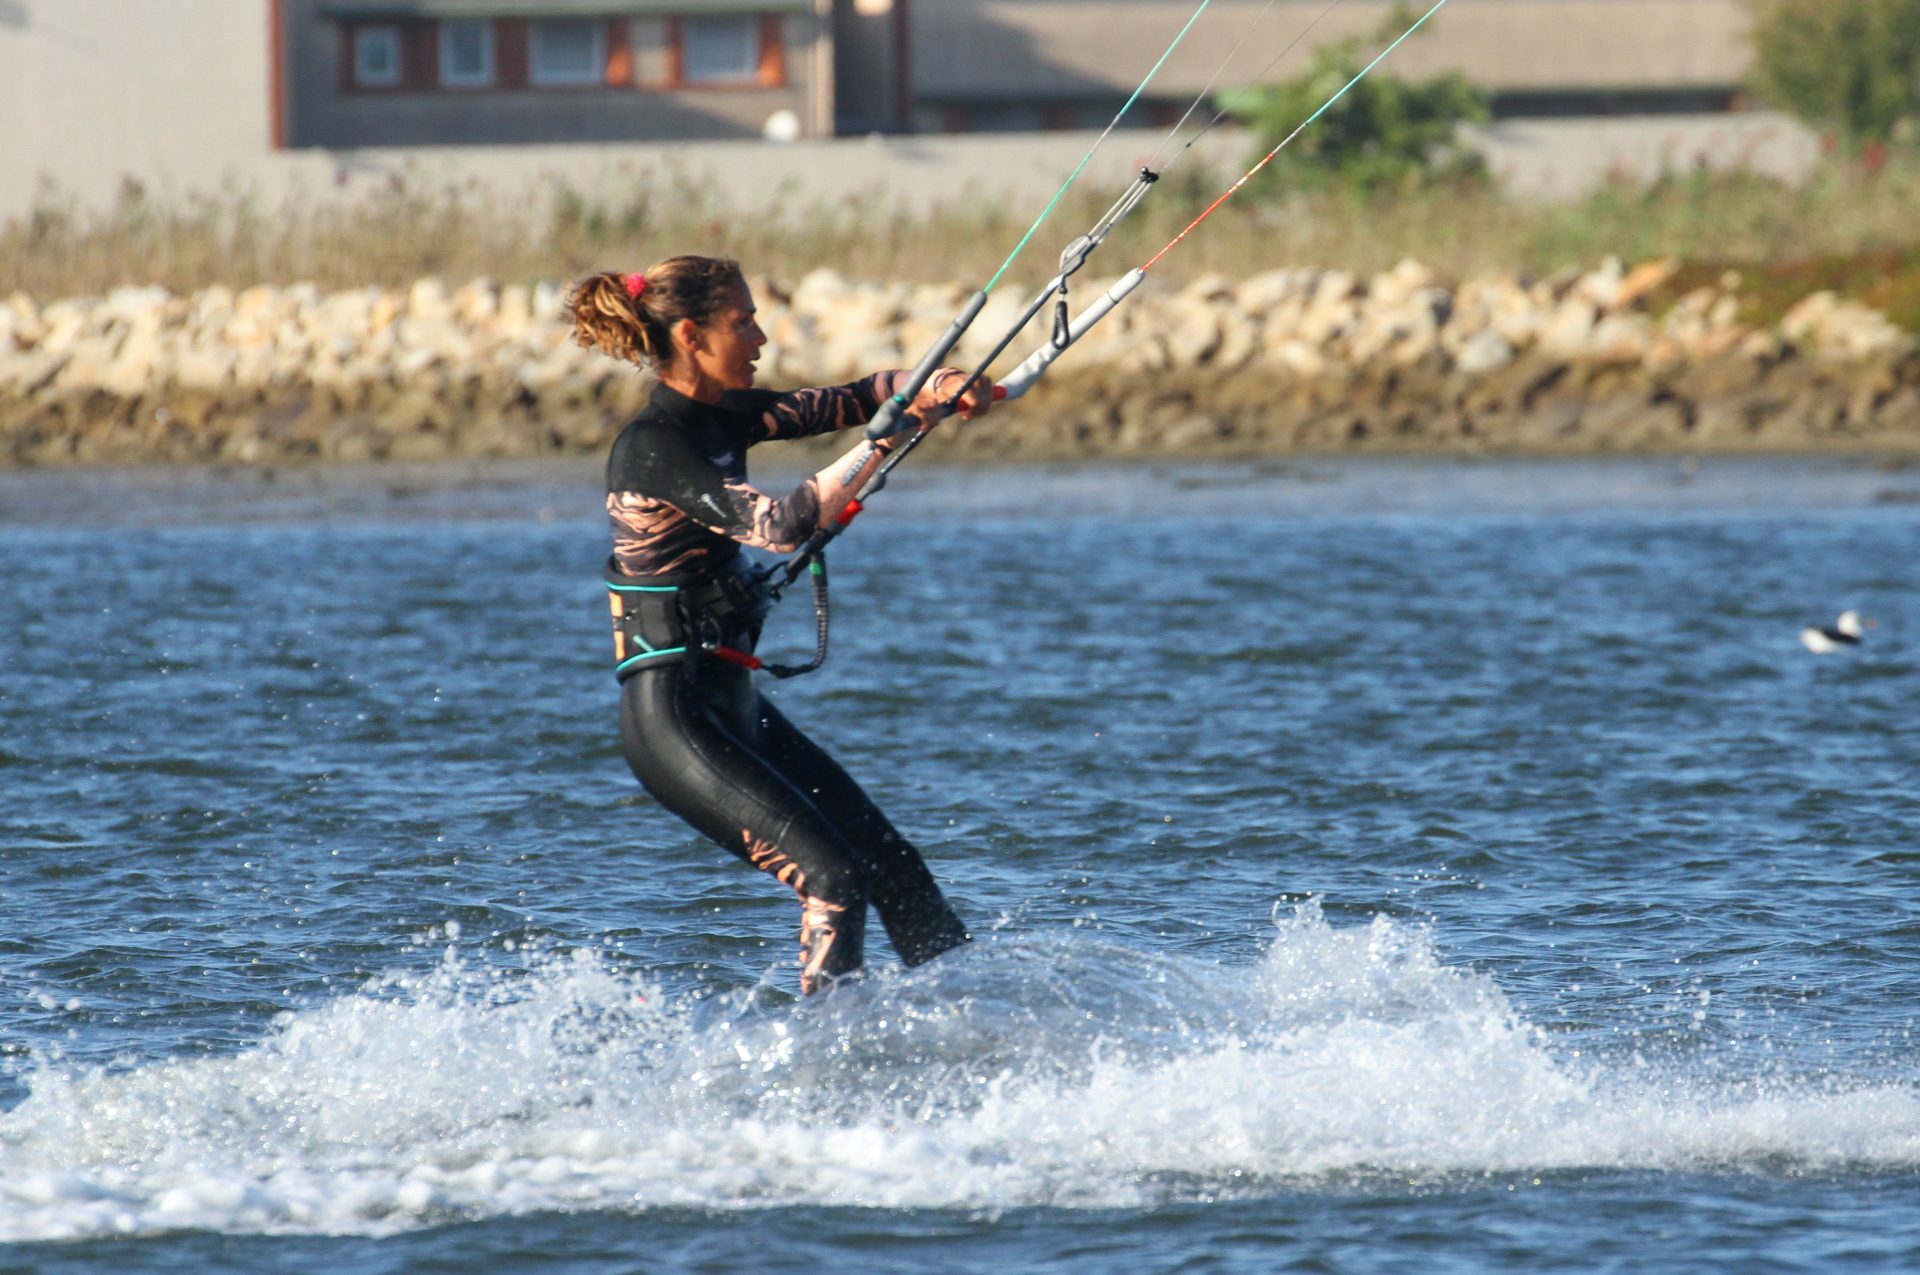
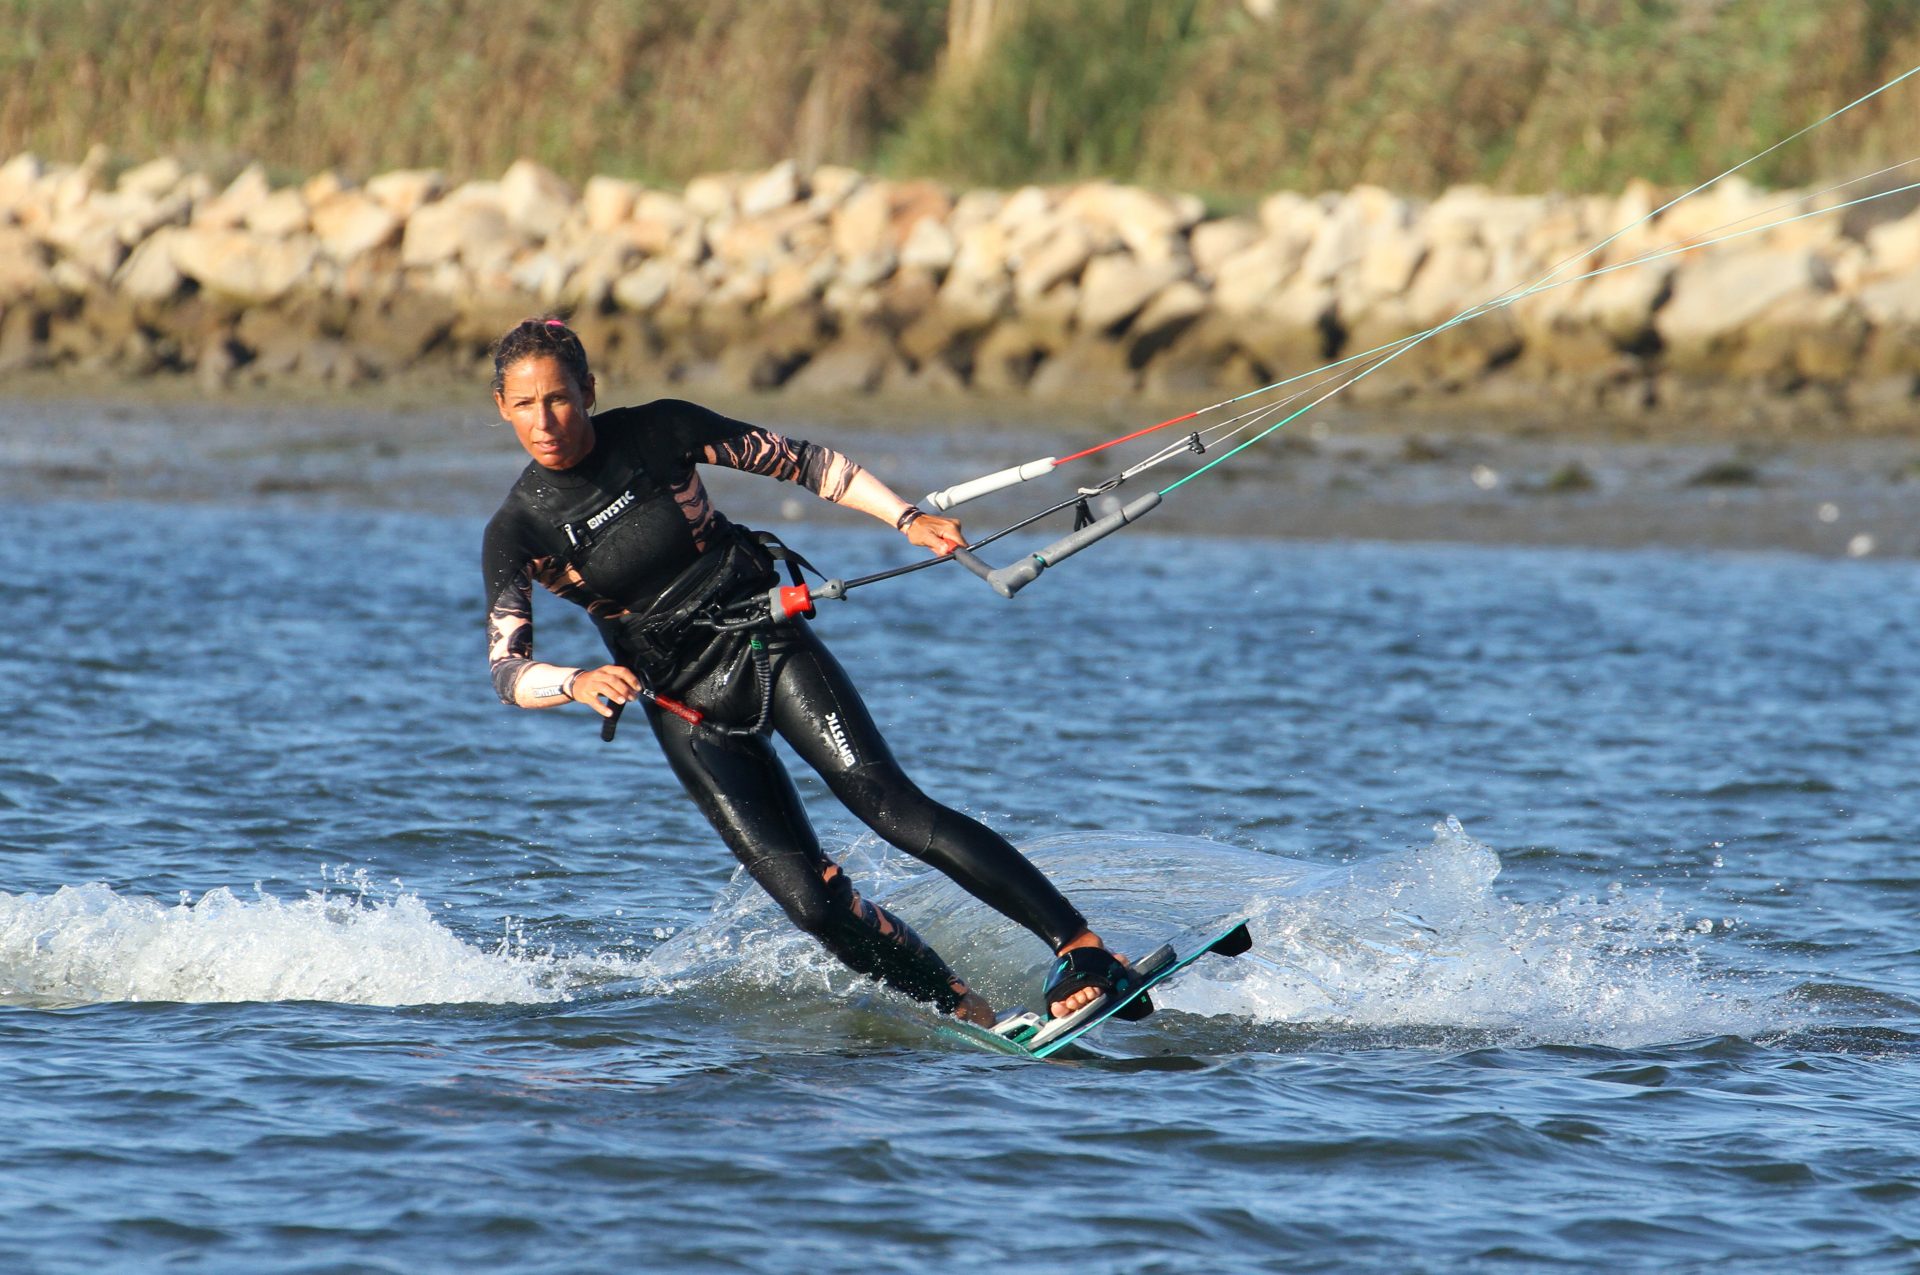
Approach Pic A.
Your approach is important as it sets the move up and will dictate how everything goes from hereon in. Whilst learning this you really don’t want too much power, rather slightly less, even verging on only having just enough. If you can just about park the kite and ride upwind it’s perfect. If this is the case, you’ll want to approach on an edge with the kite at either 11 or 1 o’clock. This means that you’ll have tension in the lines and control of the kite and sufficient speed to be happily planing. Make sure that your sweet spot isn’t trimmed too far out as you’ll need to be able to ride toe side at the end. In the pic Karine is comfortably edging upwind, usual stance, looking where she’s going and hunting for some space so that she will have room to both carve, and potentially room to drop her kite should she not make it. Karine also has her hands out on the bar. They don’t need to be at the ends, but you’ll struggle to get decent leverage if your hands are centred.
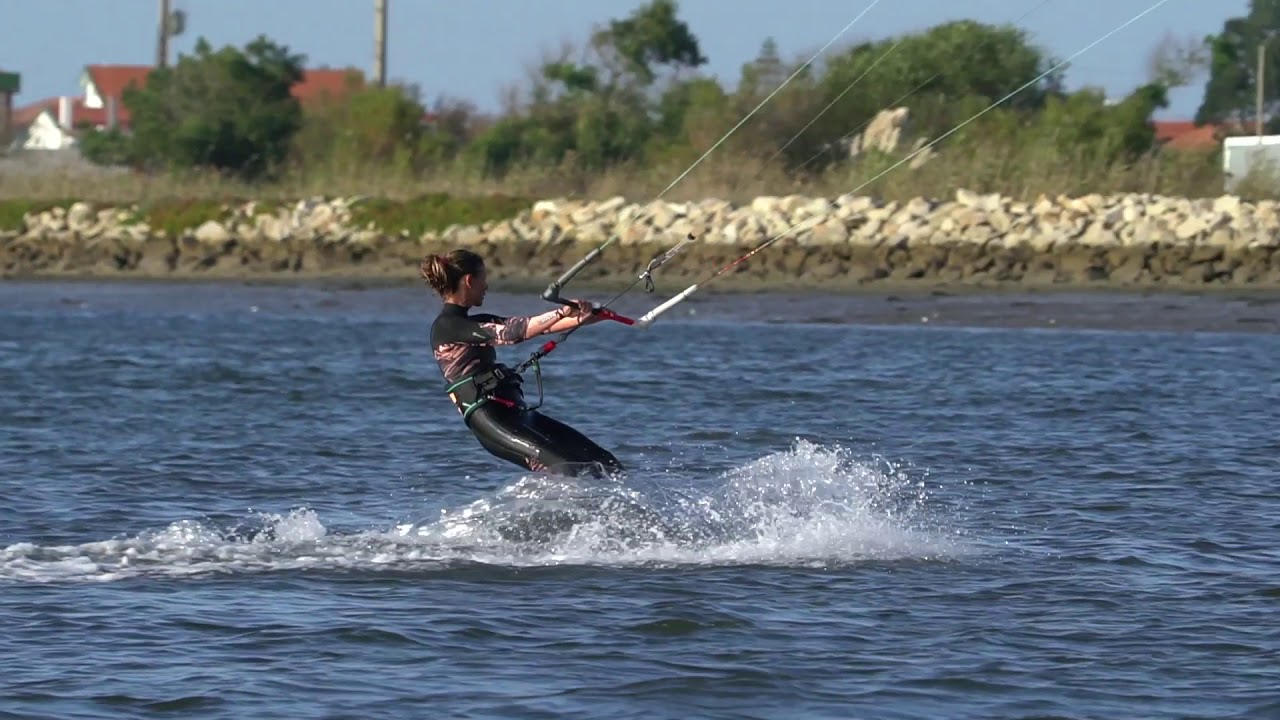
Kite Pic B.
Next task is to move the kite up. If you think back to learning the underturn, the trick was to get the kite high. Once it’s up you have more room to manouver it, and if you loop it high it will generate less power. That’s two good reasons to move it up. You want to drift it up towards 11:45 or 12:15, really quite high, by steering the bar slowly. Here Karine keeps her weight low and edging, and moves the kite slowly up towards 12. She’s still heading upwind.

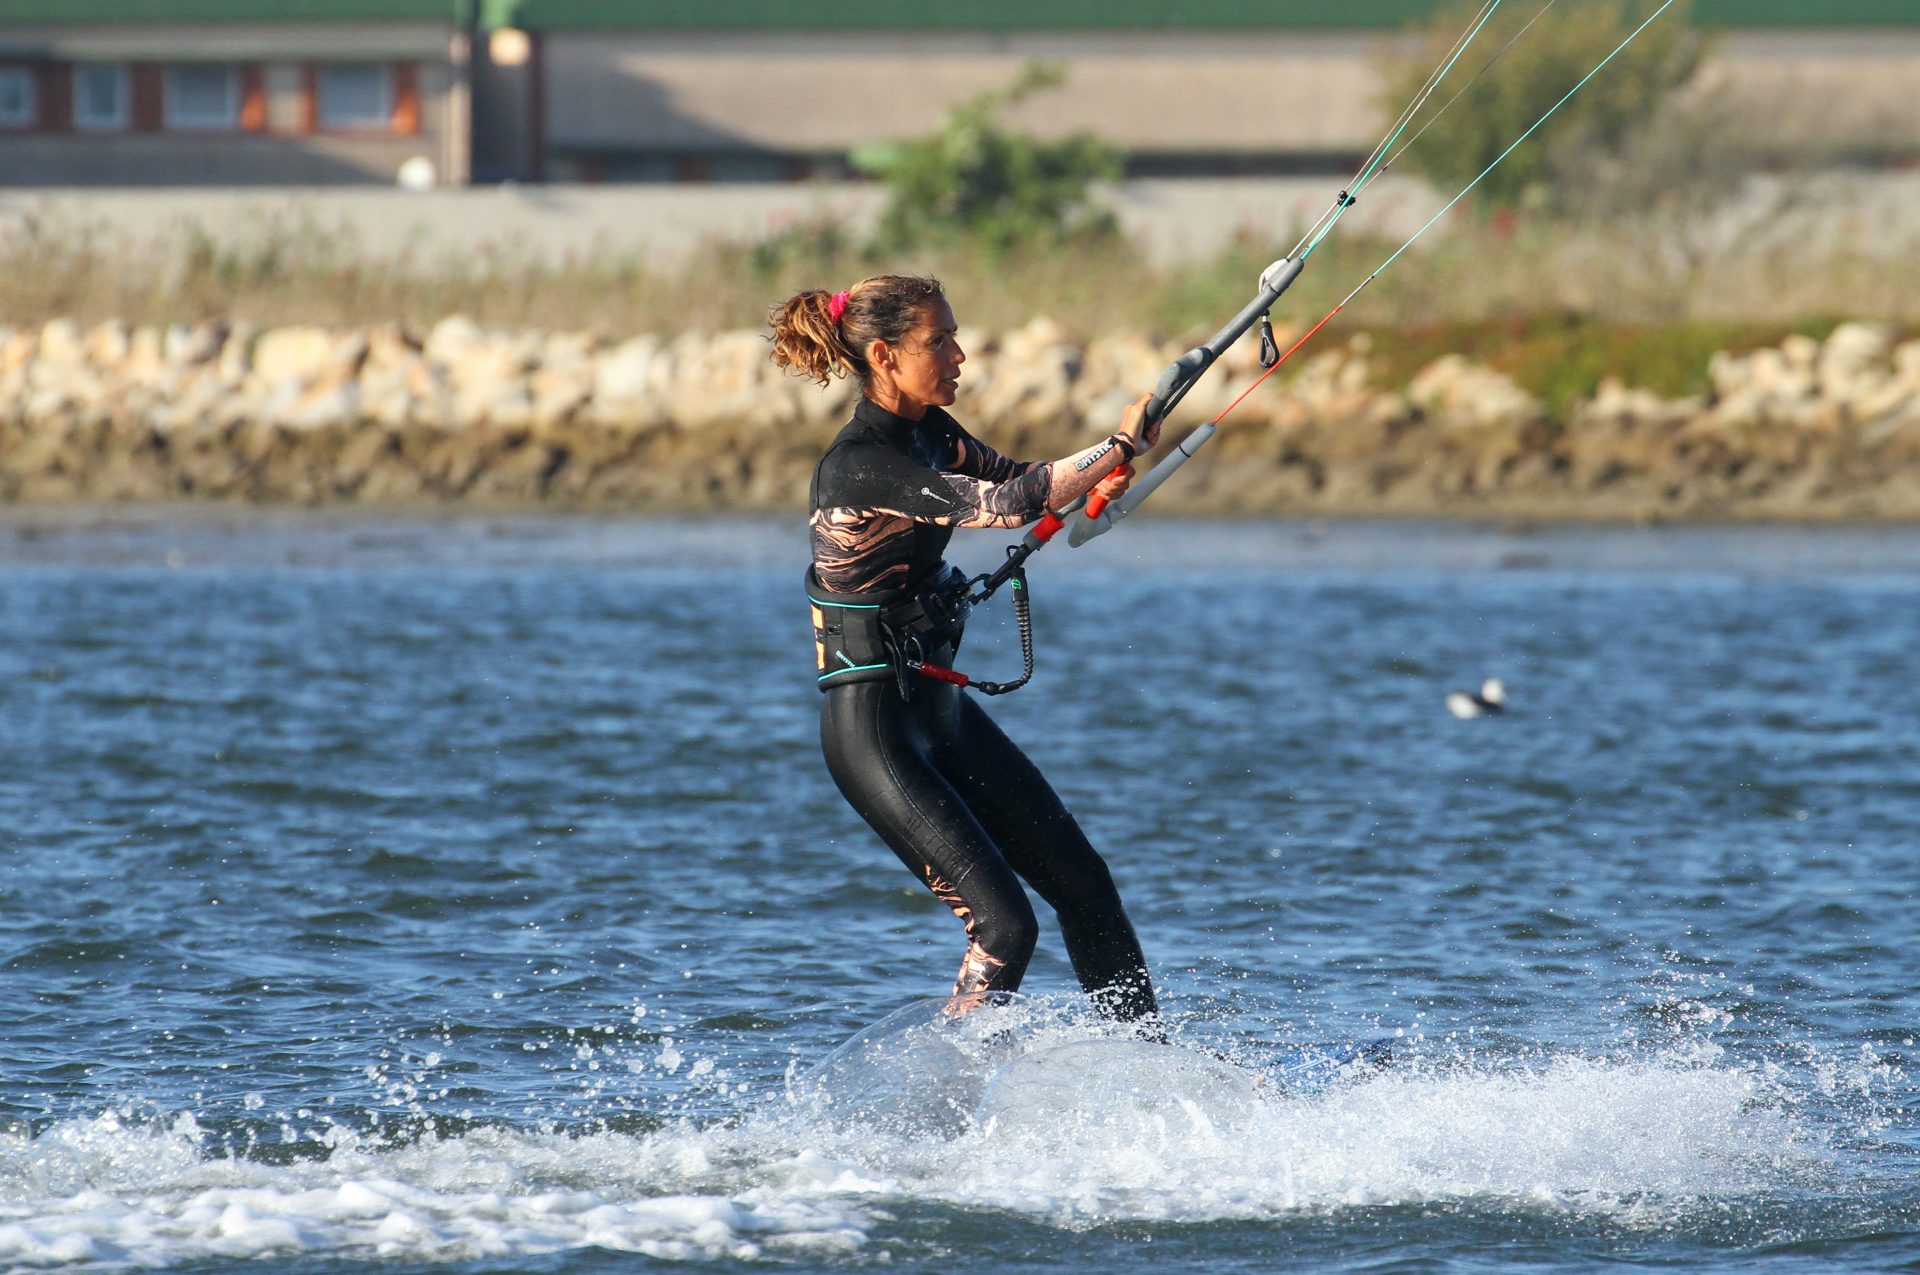
Ironing Board Pic C.
Once the kite is up it’s time to start the carve. On a twin tip the first thing to do is flatten your board. Do this by softening you knees so that you release the edge, and then as the board flattens move your weight up and onto the board. However as you do this make sure to keep your hips back towards the tail of the board, by ensuring that your rear leg remains bent whilst the front leg is only flexed a little bit. With the kite high, it will be easier to stand up onto the board. You can see Karine’s kite is high, she’s come off her edge and is standing up on the board. However her weight is back over the tail. Just enough to stay over the turning tail rocker of the board.
Go Pic D.
Once the board is flat and you’re over it, it’s time to pull the trigger and start the loop. By flattening the board you will have started to steer it off the wind. As such you’ll slowly be loosing tension in the lines and speed, so you can’t wait too long. This bit is all about commitment. The more determined you are, the easier it will be and the kite will produce less power. To get the kite moving in the smallest possible arc you must use both hands, pulling down on your front hand whilst pushing away on your back hand. This will bring the kite down and then through the window in a C shape to the left. Or if you’re doing this to the right it’ll be more of a Ɔ. The joy of using two hands is that you can keep the kite on the sweet spot, the result being that it will turn fast and you won’t stall it. Don’t stare at the kite as you need continue your own arc. Karine gives her bar a hefty pull/push, touching the knuckles on her back hand against the centreline. She’s looking forwards, downwind which is where she intends to go next.
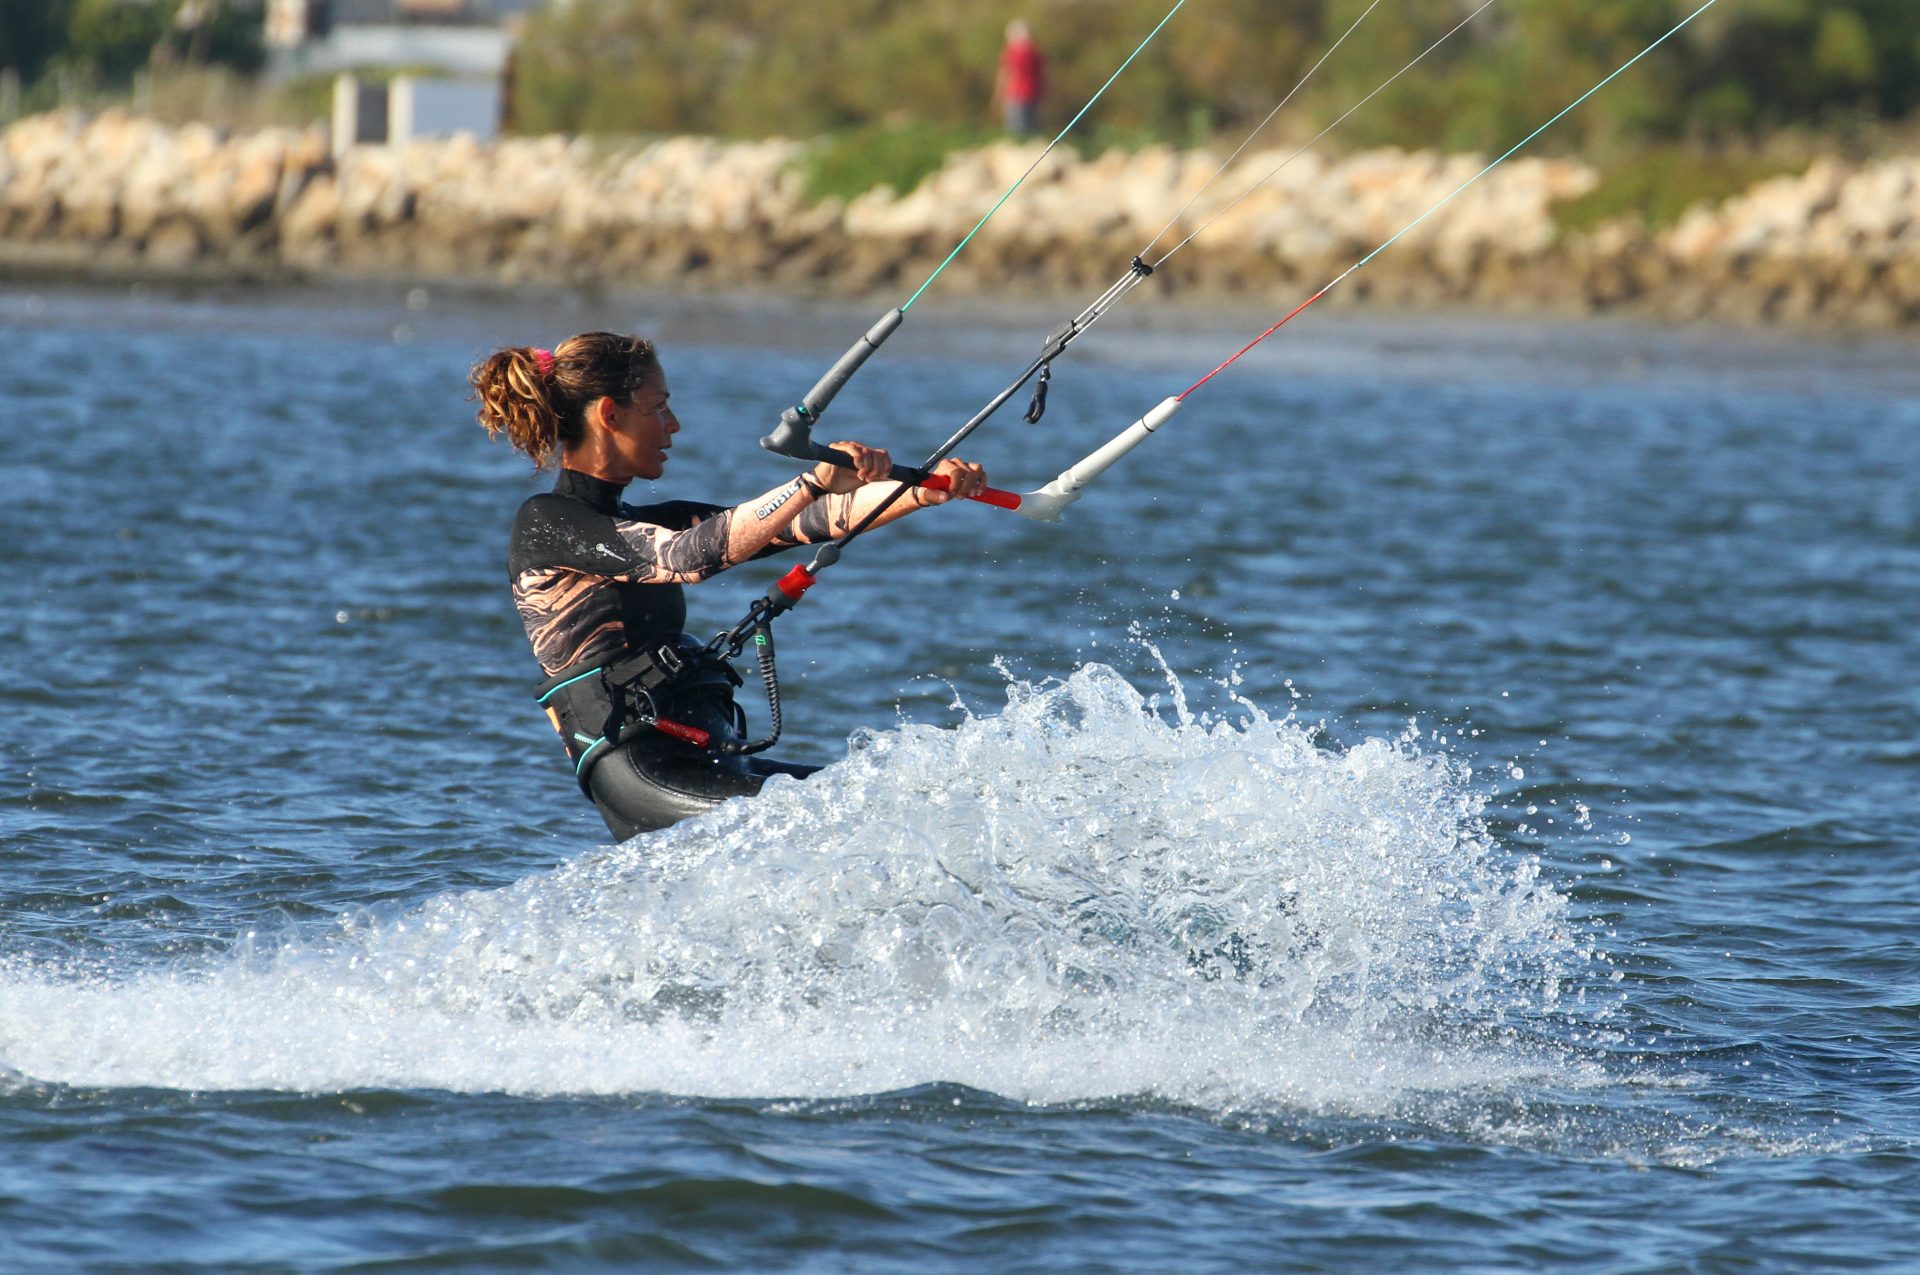
Get Your Carve On Pic E.
Now that the kite is on its merry way you can keep it turning and focus on your carve. As we said at first we’re happy to pivot a bit more off the back foot. As long as your weight is back and the board is carving the kite will then pull you through the turn:) To get your carve on, flex your ankles, pushing your back knee across the board and look back to where you would like to go. In the picture Karine has her back knee pushed across the board, her weight is still back over the tail, her hands are still push/pulling the bar as much as possible, she’s on the sweet spot and she’s now looking back the other way. In this position you are set to complete your carve as soon as the kite starts to pull. In this image Karine’s kite is turning down, it hasn’t yet started to move though the window, but it’s only a matter of milli seconds!
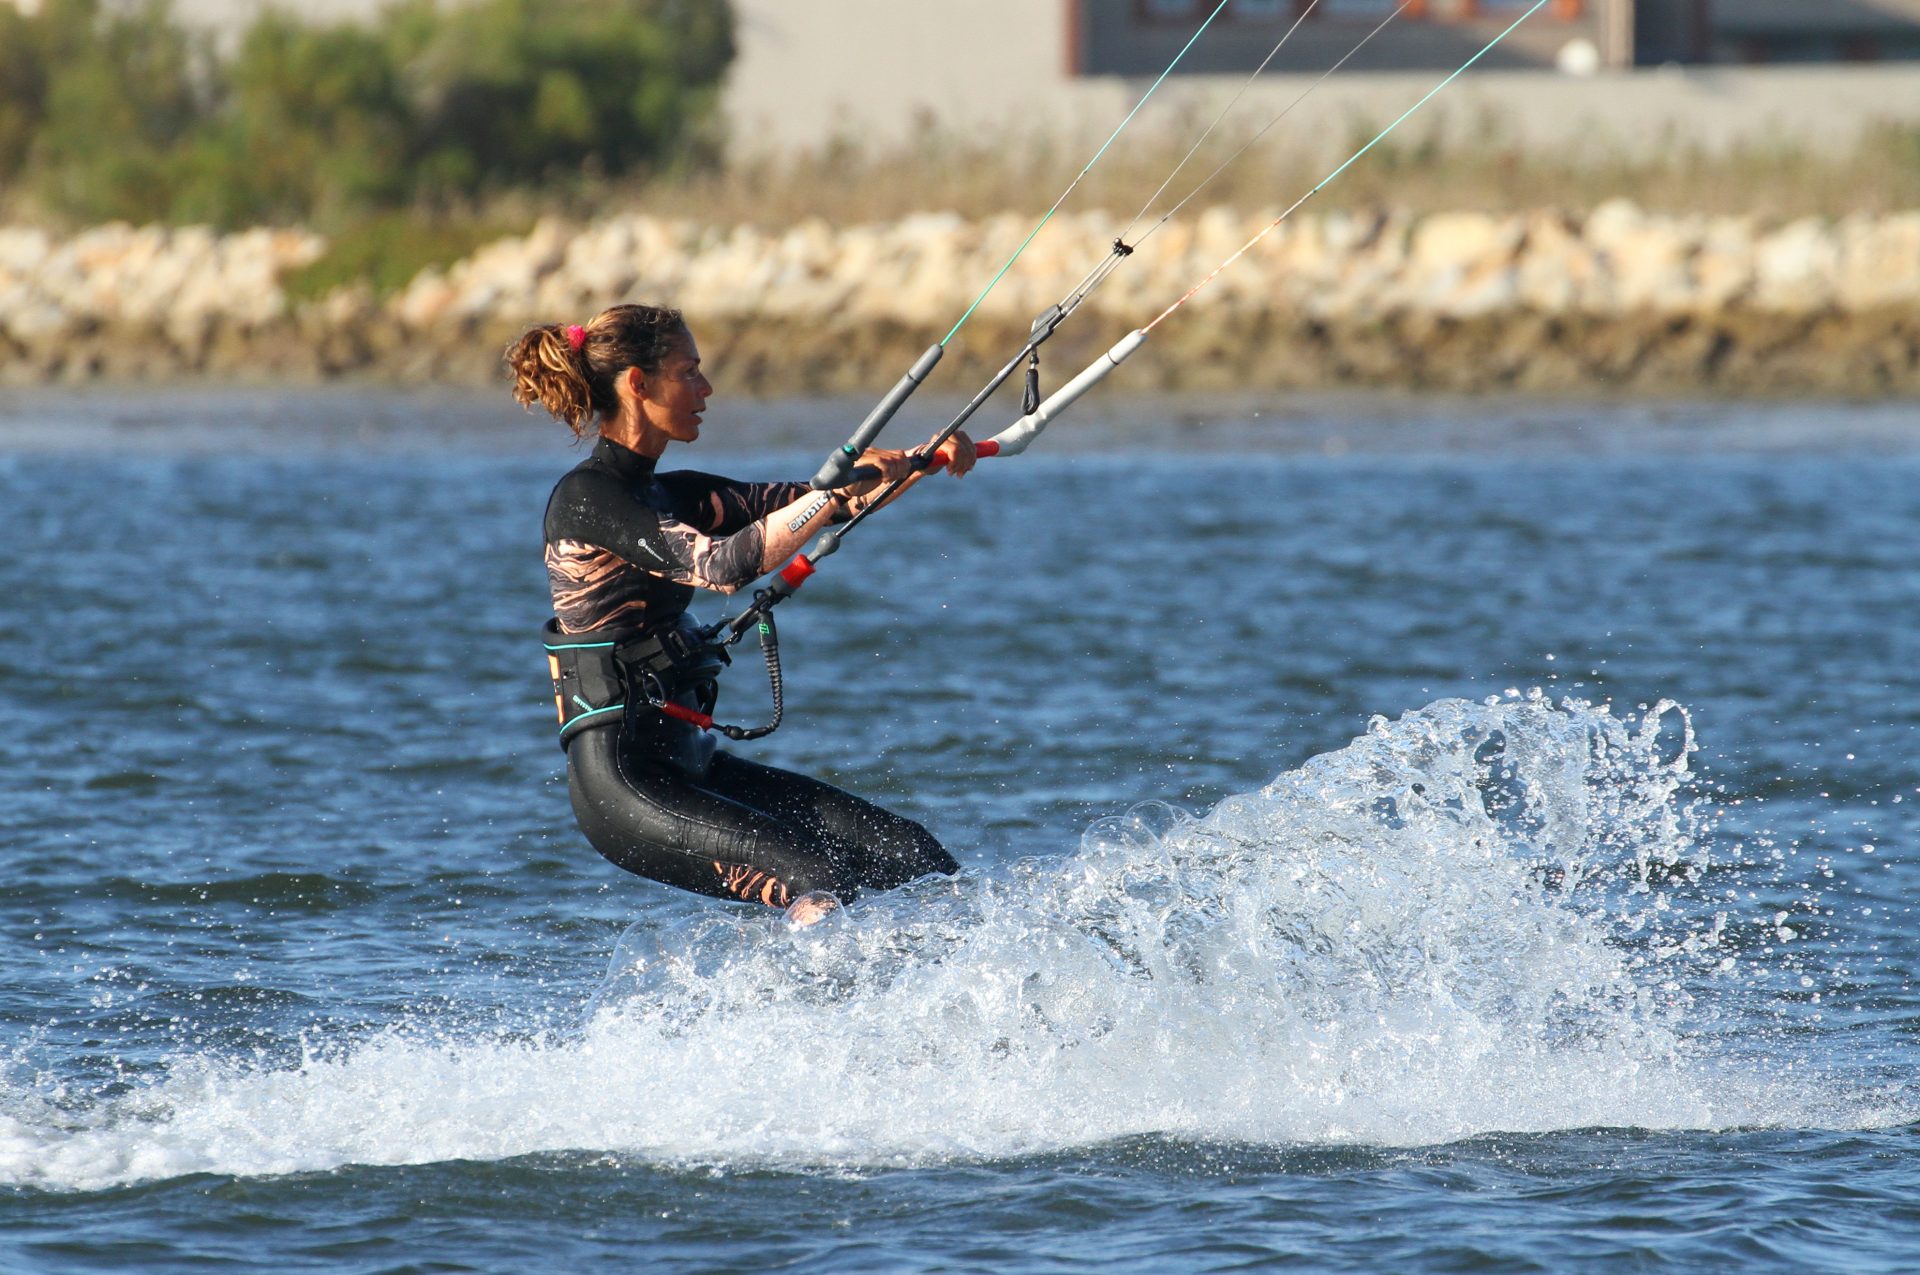
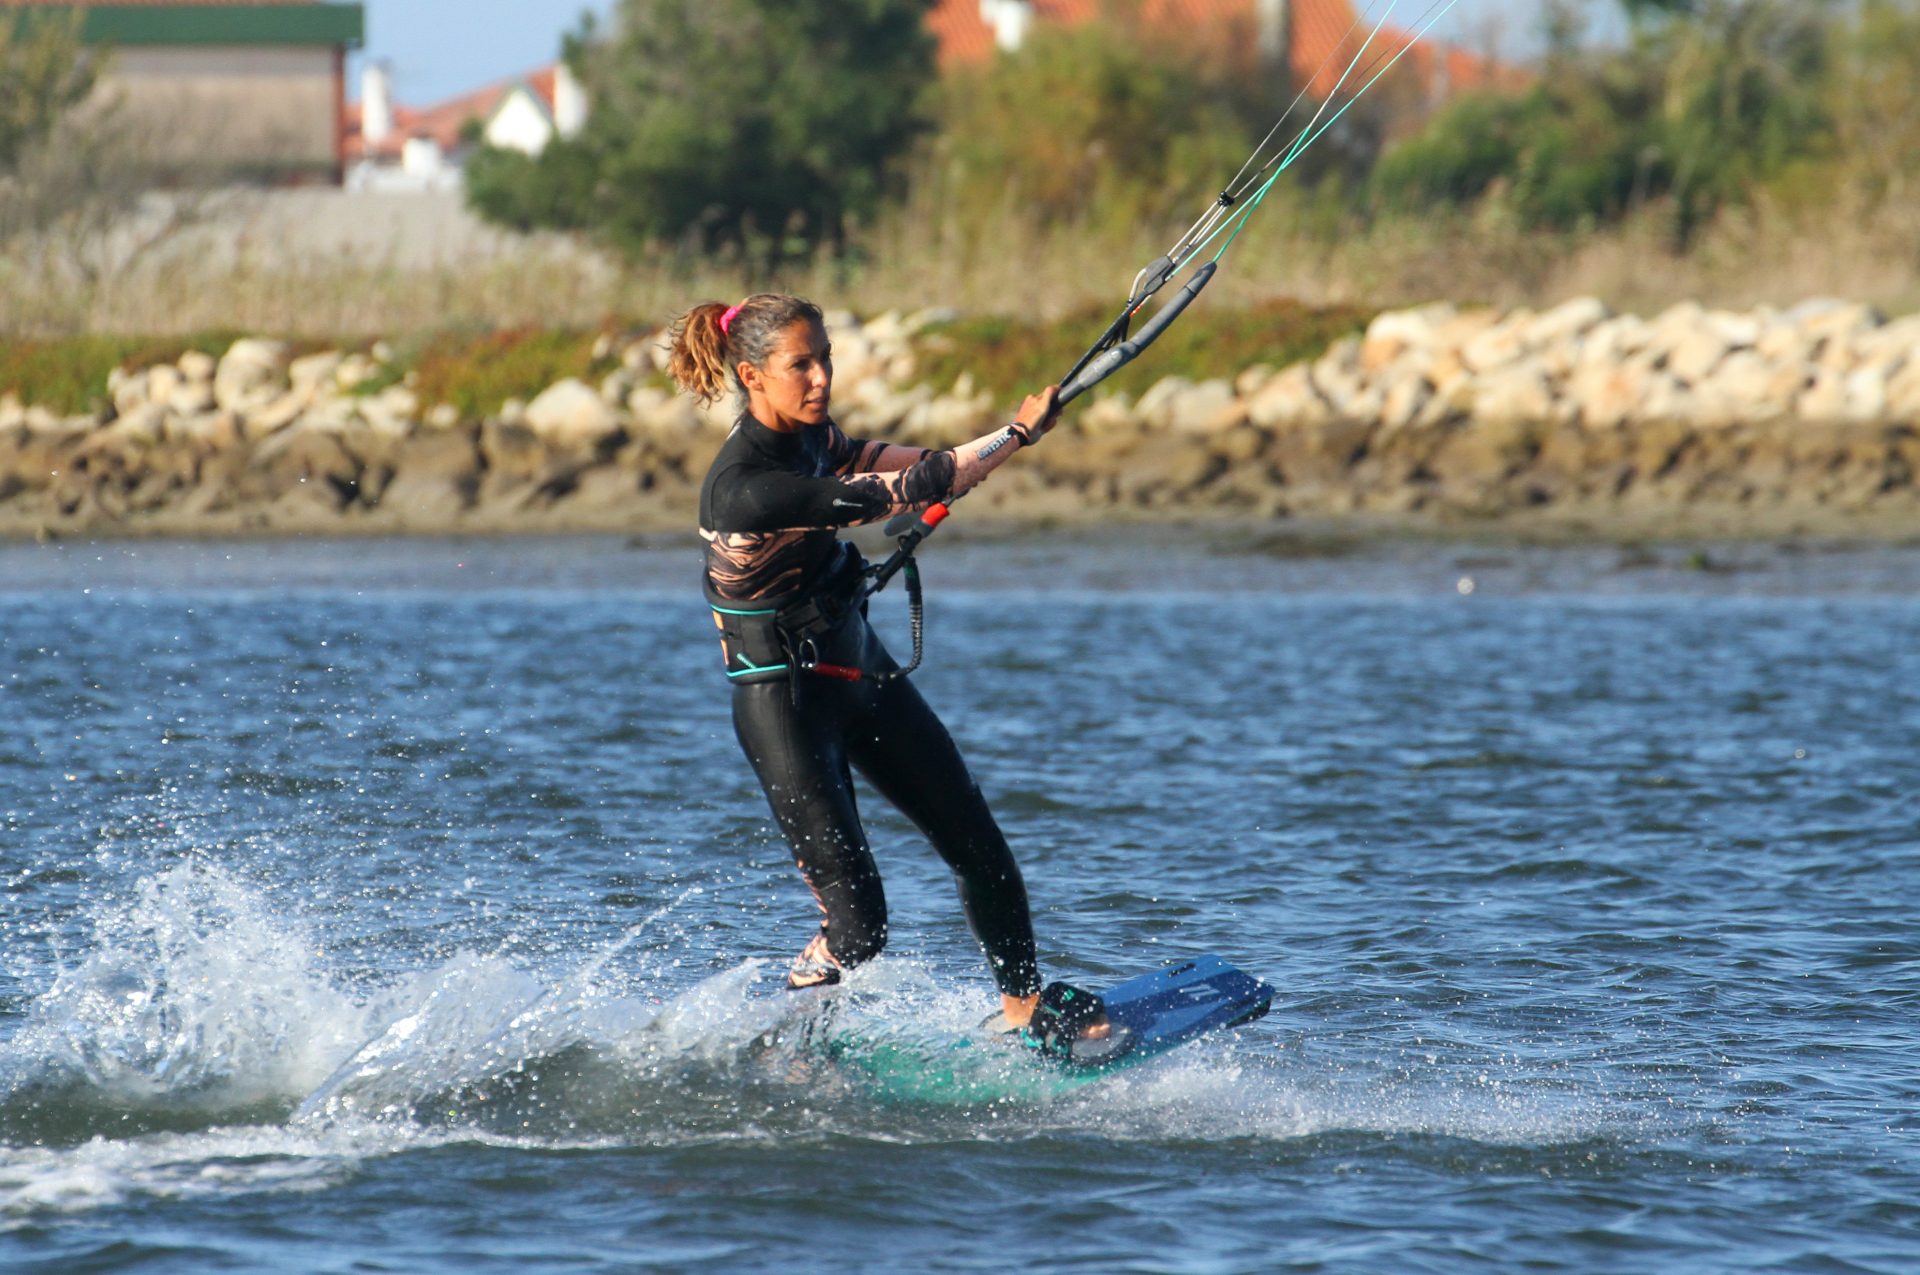
The Pull Pic F.
This is the moment you’ve been waiting for. As the kite starts to fly across the window, even momentarily in a little loop it will start to pull. What’s beautiful is that the pull starts one side and moves across the window, actually helping you around your turn as it moves across. However as there will be some power you must direct that energy down into the board to drive yourself further around and resist the temptation to follow the kite and therefore lose tension, power and speed. It’s also possible that the kite will start to climb again, and if this is the case you need to stop push/pulling, level the bar and steer the kite so that it flies forwards in the new intended direction. Karine has dropped her weight more against the power in the kite, she’s levelled her bar and is focusing on finishing her turn so that she ends up toe side going back from whence she came. If you feel overpowered during the carve you can ease the bar out a bit.
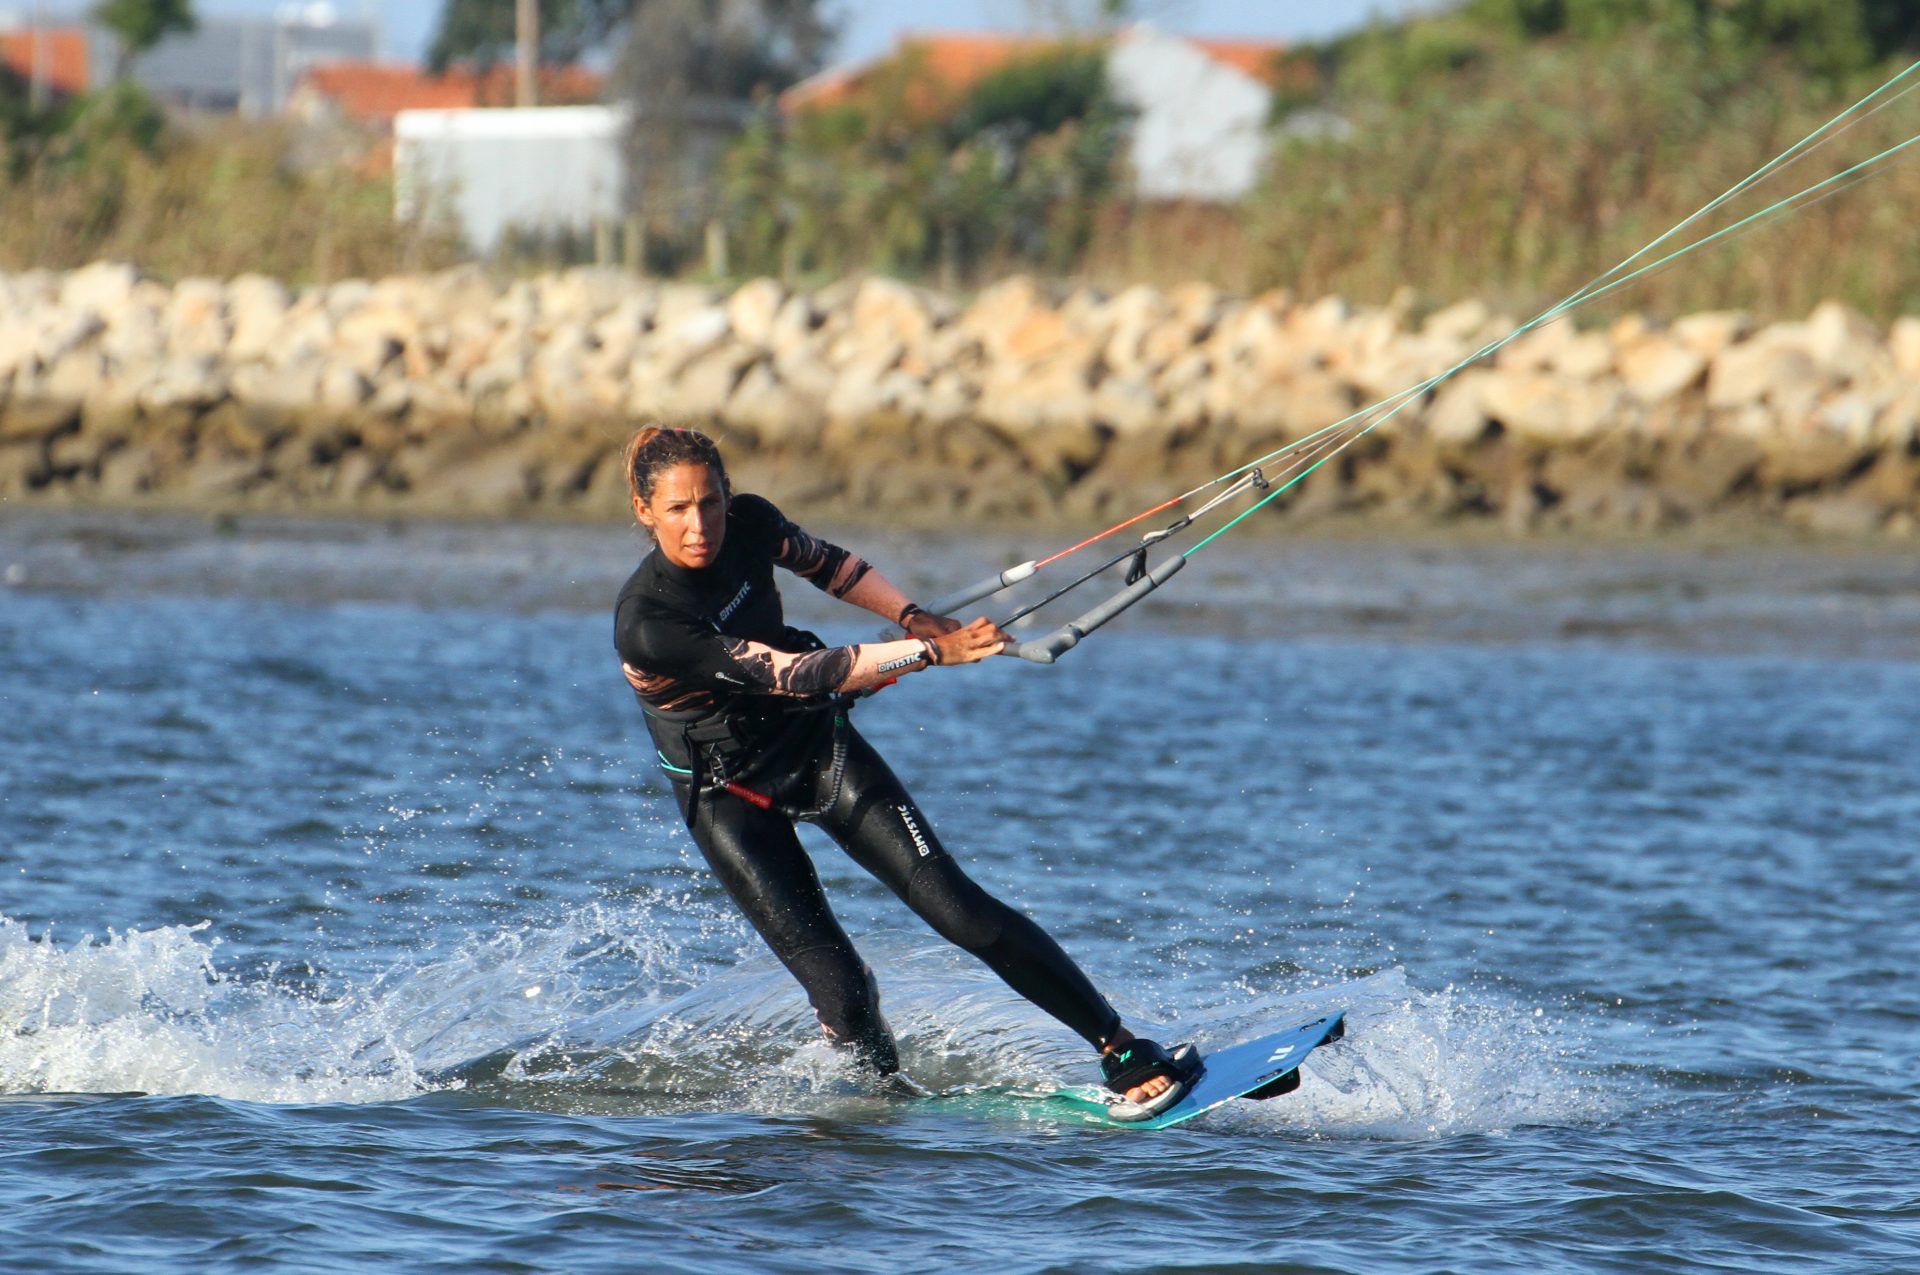
Breath Upwind Pic E.
The final ingredient, onto your toes. We mentioned above about finishing your turn. The finish line is when you are on your toe side edge riding back up wind. There are a couple of things you’ll need to do to get there. First off is to let the kite breath. Chances are that with your two hands steering the bar around the downloop onto your toeside you may have pulled it in slightly. So even if the kite is not fulling stalling, you are probably strangling it a bit. Let the bar our gently so that the kite can breath. Now it will fly to the edge of the window and can pull you upwind. Secondly you need to get onto an edge. Letting the kite breath will help, but you’ll also need to get your weight forwards to get more board in the water. Do this by keeping your chest open, flexing your front ankle and knee more and moving your hips forwards towards your front foot. You can see that Karine is moving her weight forwards, and yet again she is looking where she would like to go, which is upwind.
Top Tips
If you’re intending to marry two skills, it never hurts to practice both separately. Before adding the downloop try a few heel to toe carves with the normal kite movement, and then build your confidence by trying a few downloops with a slide turn, or in the water without the board. Then stick them together.
Do picture your kite movement. Another reason it’s more of an underturn than a loop is because the kite will not complete a full loop. It starts high, turns under 12, rather than over 12, but then settles in the direction you will be travelling. However in your first attempts, it’s better that it turn too much than not enough.
It's advisable to start with your kite too high if you’re not sure exactly where. As long as you’re moving on an edge you can even take the kite right up to 12 o’clock.
Have a look at the sequence and videos of what you’ll be aiming for, and take note of how the kite should be flying in the kite movement video.
Common Problems
Getting hauled. If you find that you’re getting pulled violently as the kite starts to pull, chances are that you haven’t flattened the board. If you’re off your edge you won’t have much resistance and therefore the kite won’t be too nasty. If you edge against it and push/pull you will be in for a surprise.


Crashing the kite. This is usually a result of your steering technique. Your aim is to make one line longer and the other shorter. With the kite high the movement is more intuitive, however as the kite turns it is easy to twist your arms, try and follow the kite with the bar and lose yourself. Try to lock yourself in the initial push/pull position until you feel the power in the kite subside.
Rolling the kite. If you’re carving and getting the kite turning but then dump it on the water and it rolls, it’s a sign that you’re not finishing your turn. Don’t watch the kite as this means that you’ll be looking downwind and will inevitably travel that way. As soon as you move towards the kite you’ll lose tension and the kite will have no option but to fall. To add insult to injury, as you are moving towards it once it touches down you’ll have even more slack and the kite will roll and invert. So make sure you concentrate on finishing your turn by getting back on a toe side edge.
Keystones
- Edge in
- Kite high and flatten board
- Stand over board, two handed push/pull
- Flex ankles and knees and look where you want to go
- Let the kite breath and finish turn on toeside edge
This technique article was in Issue 77 of IKSURFMAG.
Related


By Christian and Karine
Christian and Karine have been working together as a coaching team, running improver to advanced kitesurfing clinics since 2003.
