
Jump Transition
Technique / Beginner
There are a lot of moves in kiting, but the jump transition, or air gybe as it used to be known, stands out as both an absolute fundamental and a genuine pleasure to perform and observe. Those of you who frequent these pages will know that we love a transition. As kiters, we change direction a lot, so why not make the most of it? This is the first building block to a lorry load of stylish ways to turn around. It also feels so good and looks utterly awesome. If you fancy getting the Dr Smooth tag, not much beats just freezing mid-flight, maybe throwing in a cheeky grab, whilst hanging in the wind before casually changing direction and powering off back out to sea. Once fully mastered, even the biggest air can be a sublime means of turning, and any obstacle a potential plant. The possibilities are endless.
What are the prerequisites for a jump transition? You guessed it, a jump and a slide turn. If you’re happy changing direction and can already get daylight under your board, you’re ready.
We’ll also add that, as you’ll be changing direction and in any transition or jump, it is vital to look around and check that you have room, and don’t risk diving your kite into anyone else!
There are a few points to contemplate and understand about changing direction in the air before we get into the nuts and bolts of the jump transition.
Momentum
To change direction, you need to slow down to eliminate some of your forward momentum. Otherwise, you’ll pendulum under the kite and find it very hard to get any power to go back the other way. This doesn’t mean grinding to a halt, as you still need to be able to get off the water, so it’s a measured fine line. So how should you slow down? The answer is to head more upwind. This will only be possible with a combination of a good edge and easing the bar out. As much as we don’t like to say what not to do, we will here. You don’t drift the kite up to slow down. If you do you can’t edge, you can’t go upwind, and you can’t jump!
Kite Position
To float, hang, and generate power to pull yourself out of your transition, you need to maintain line tension, which is relative to your kite position. If you can keep your kite near 12 o’clock throughout the move, you’ll find it so much easier. This is the trickiest part of the jump transition, and as such, we’ll focus on various points from the approach to the final dive as we go through it. Hopefully, this will make it simpler to have your kite where you want it every time.
OK then, without further ado, let’s get into it…
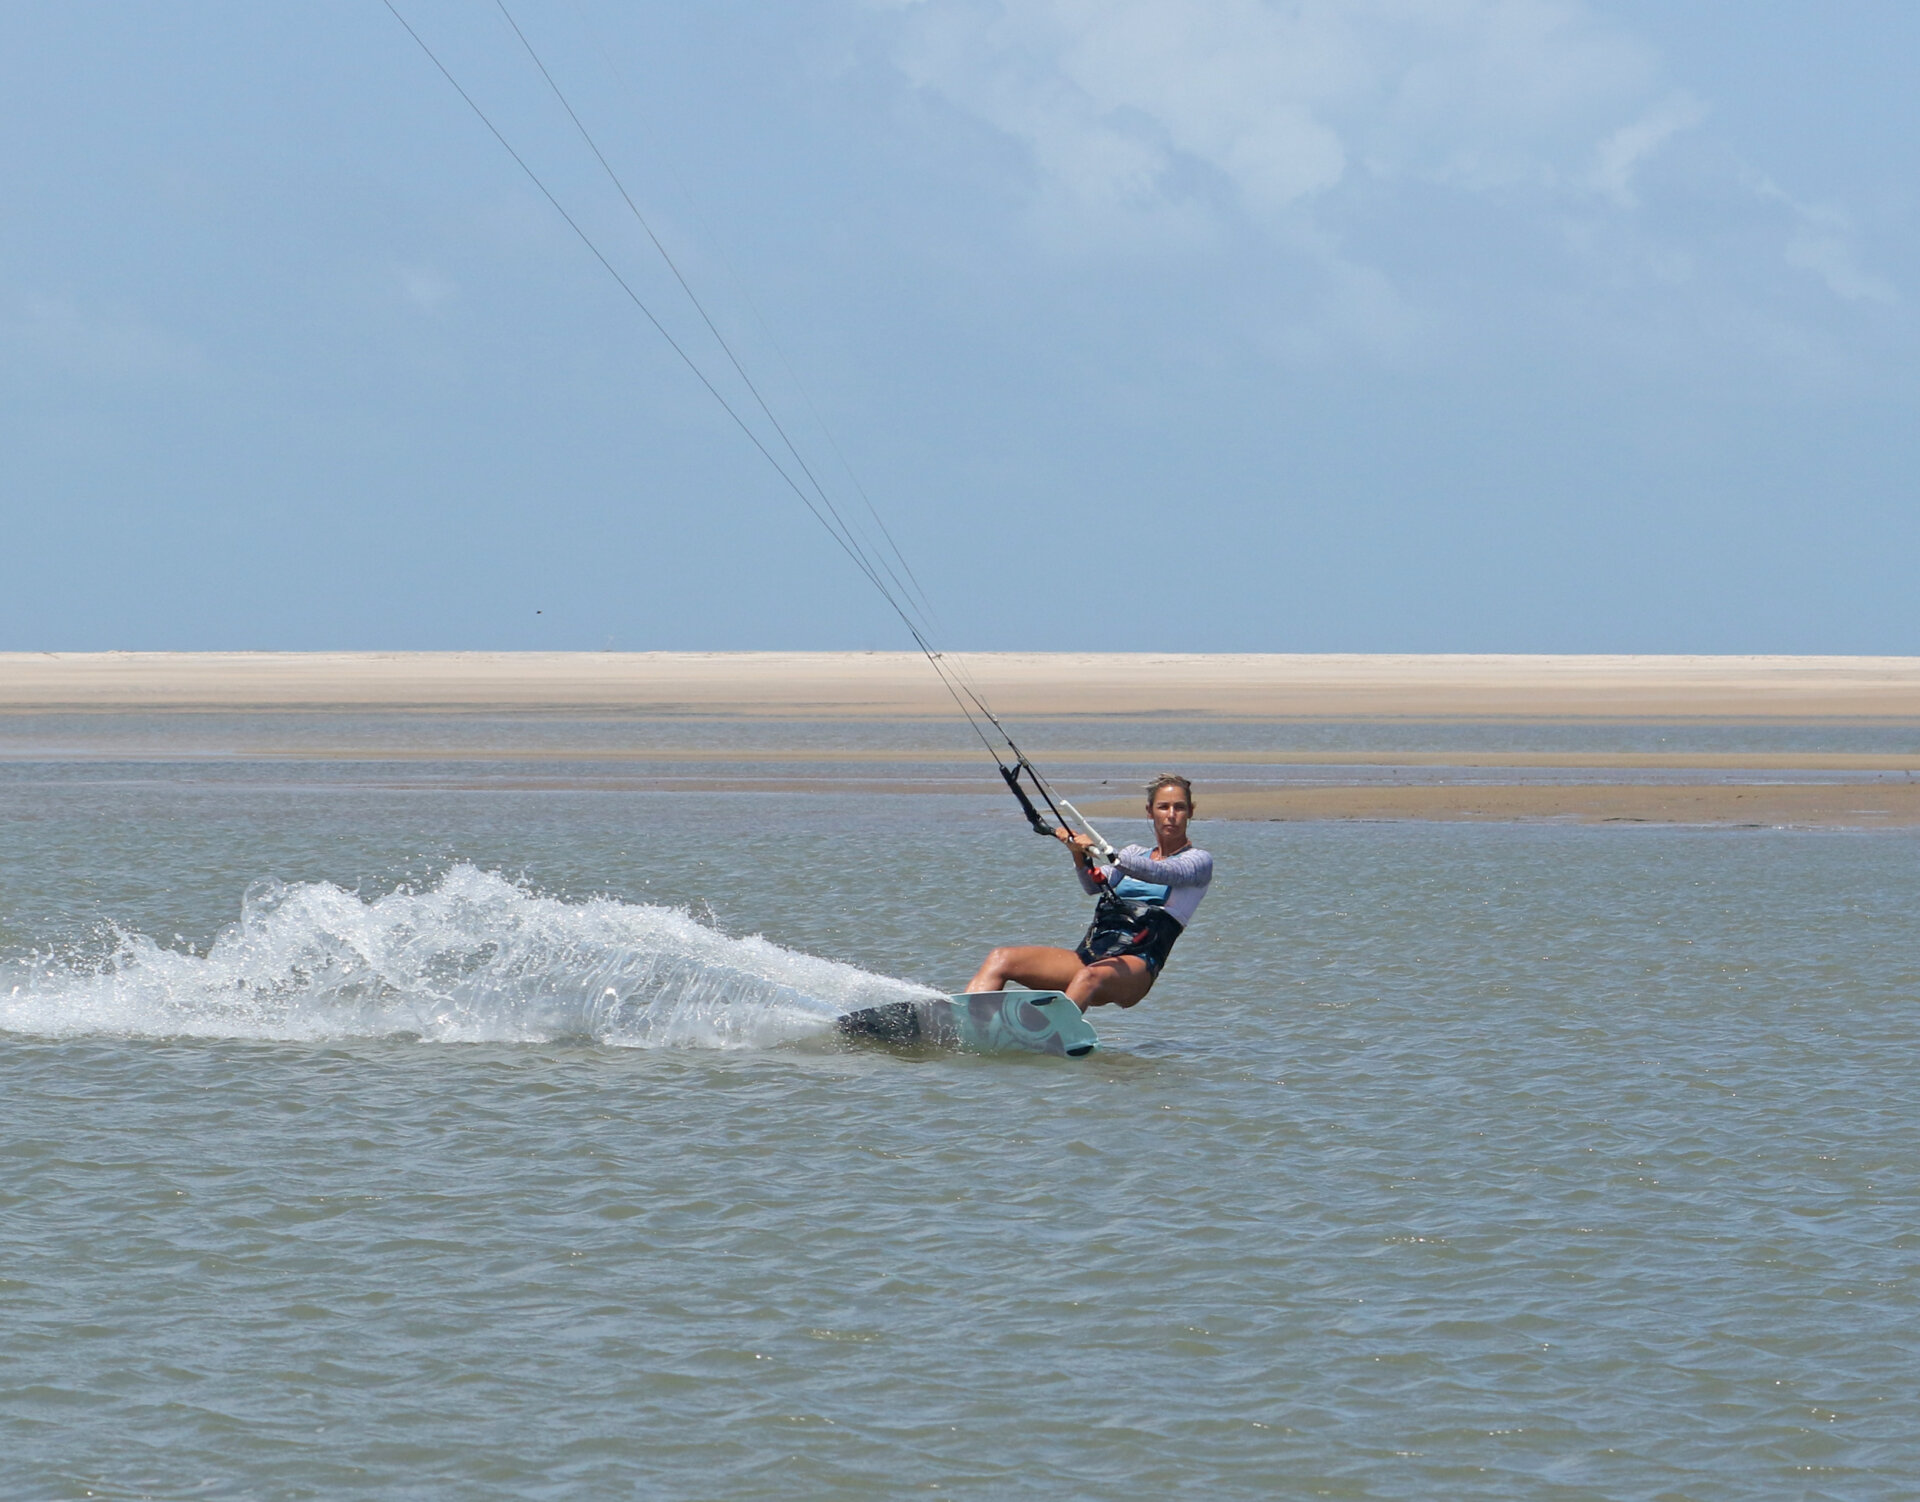
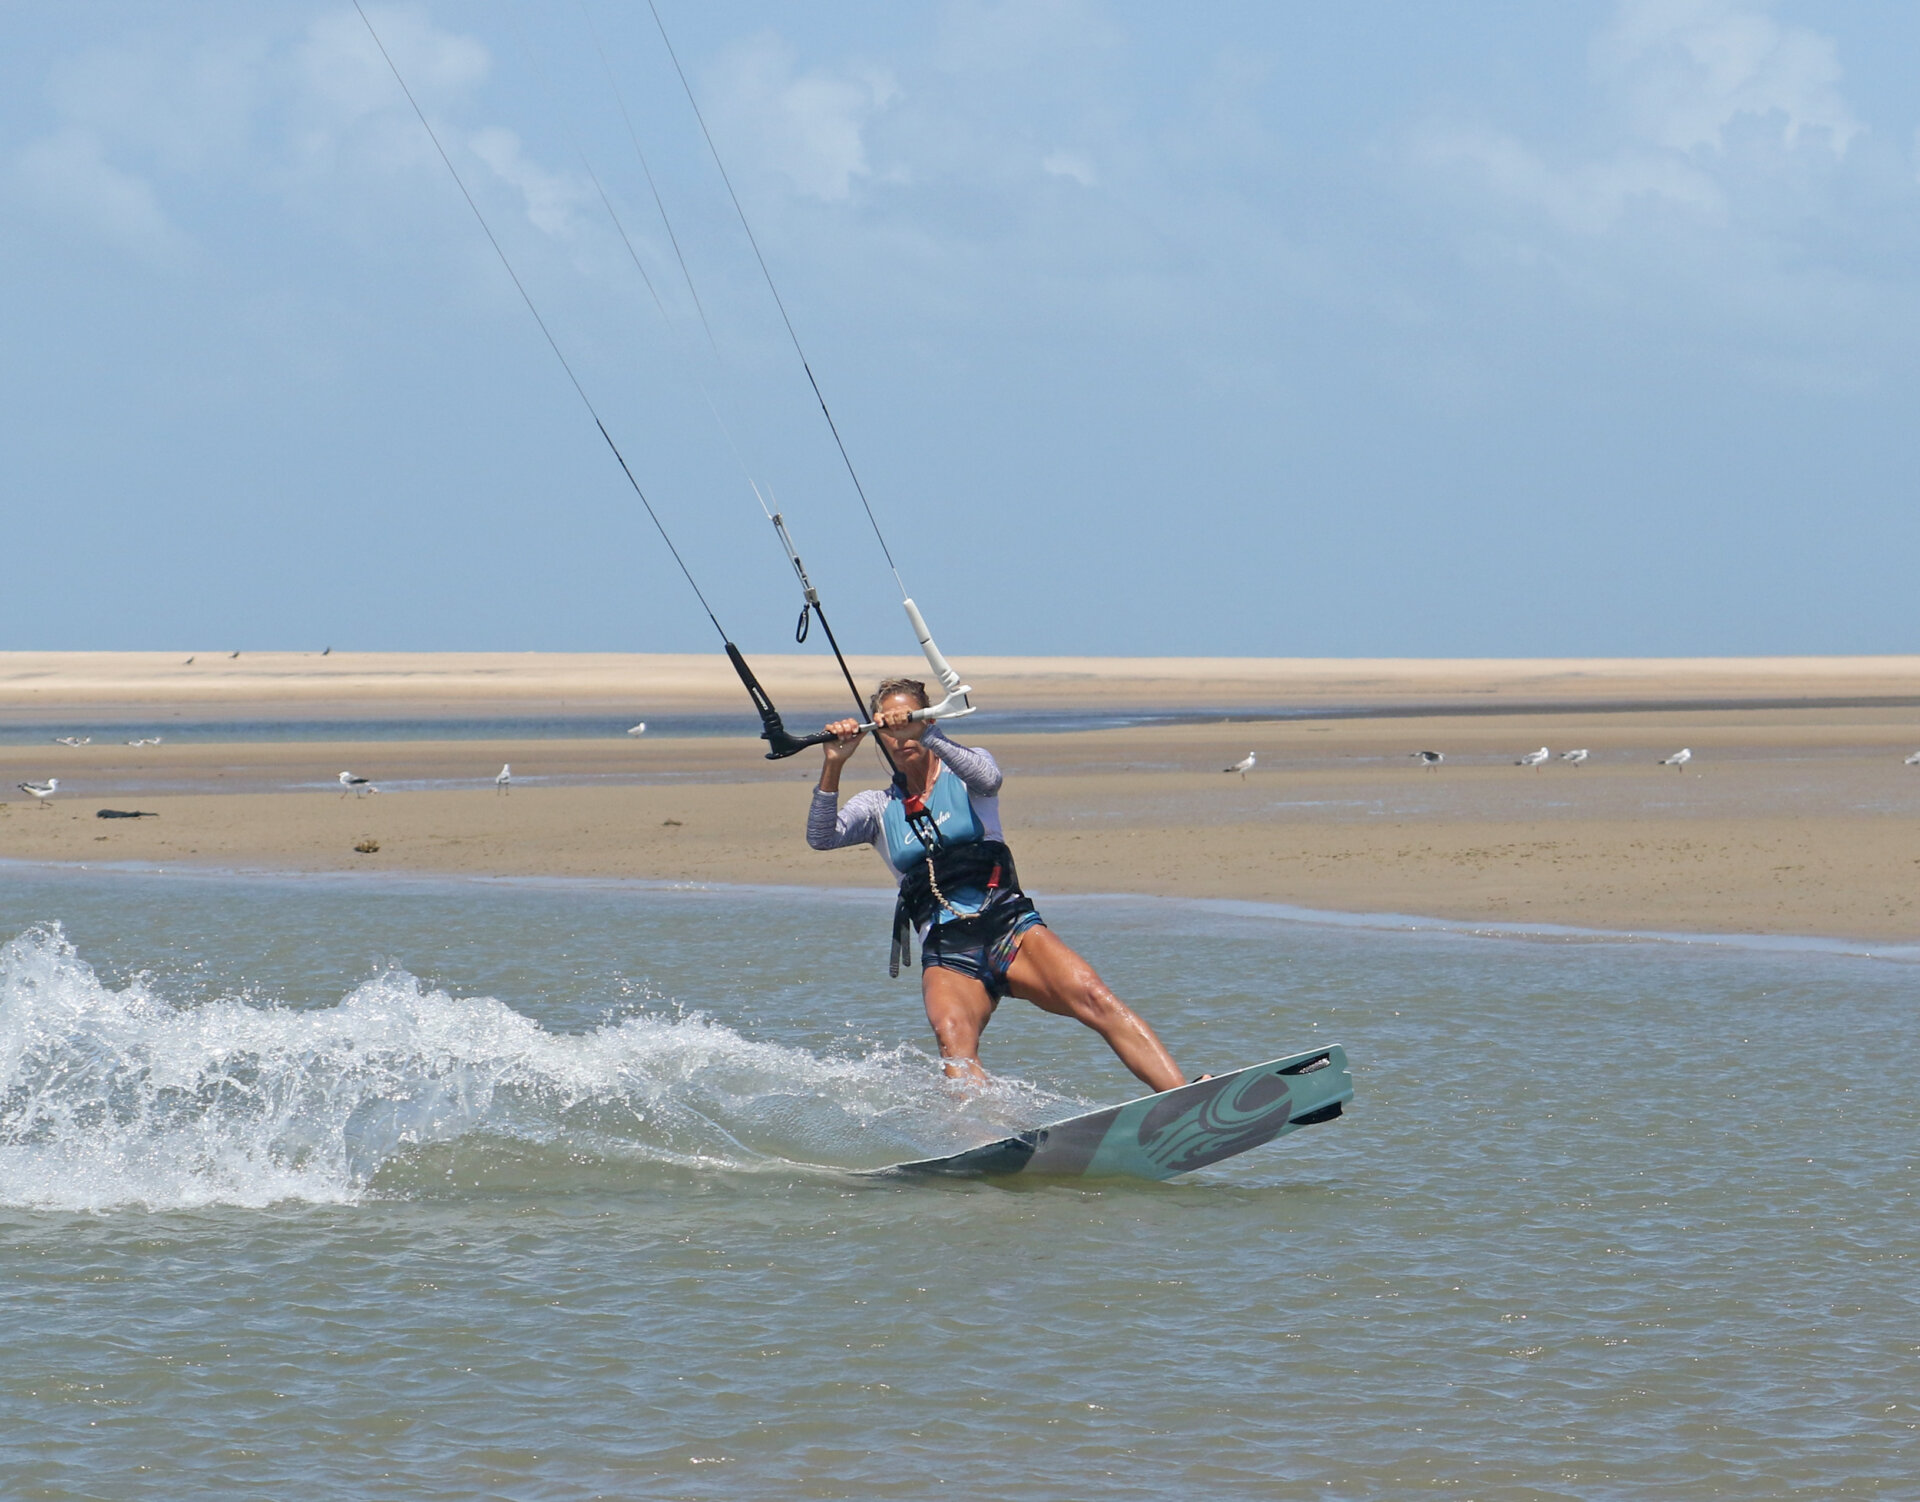
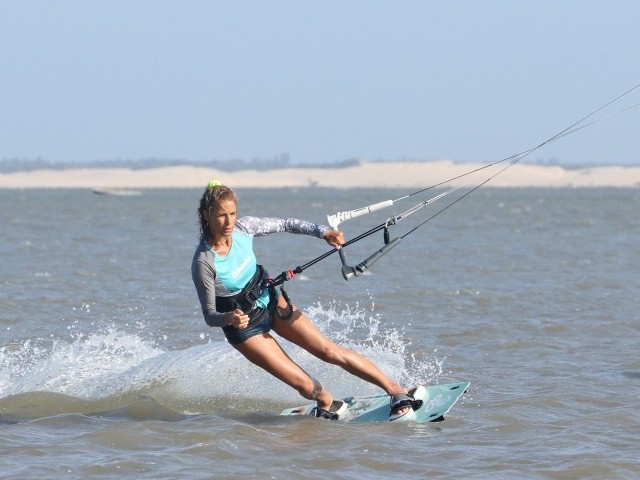
Approach Pic A.
You need line tension to get airborne, and nothing beats a good solid edge heading upwind. This way, you can find your sweet spot, get comfortable, and get ready. Ideally, you should be comfortably powered, as this will make your upcoming take-off easier. It can help to have your hands about midway in on each side of the bar. This way, you’ll still have plenty of leverage for the final dive. Check that the coast is clear in all directions and park your kite at either 1 or 11 o’clock. Look upwind and ease the bar out slightly to reduce some speed. It’s crucial not to raise it any higher, as this will make it difficult to achieve lift without sending the kite behind 12. You can see that Karine is on a good edge upwind, weight centred so that lots of her edge is in the water, her bum is low, and her legs are resisting.
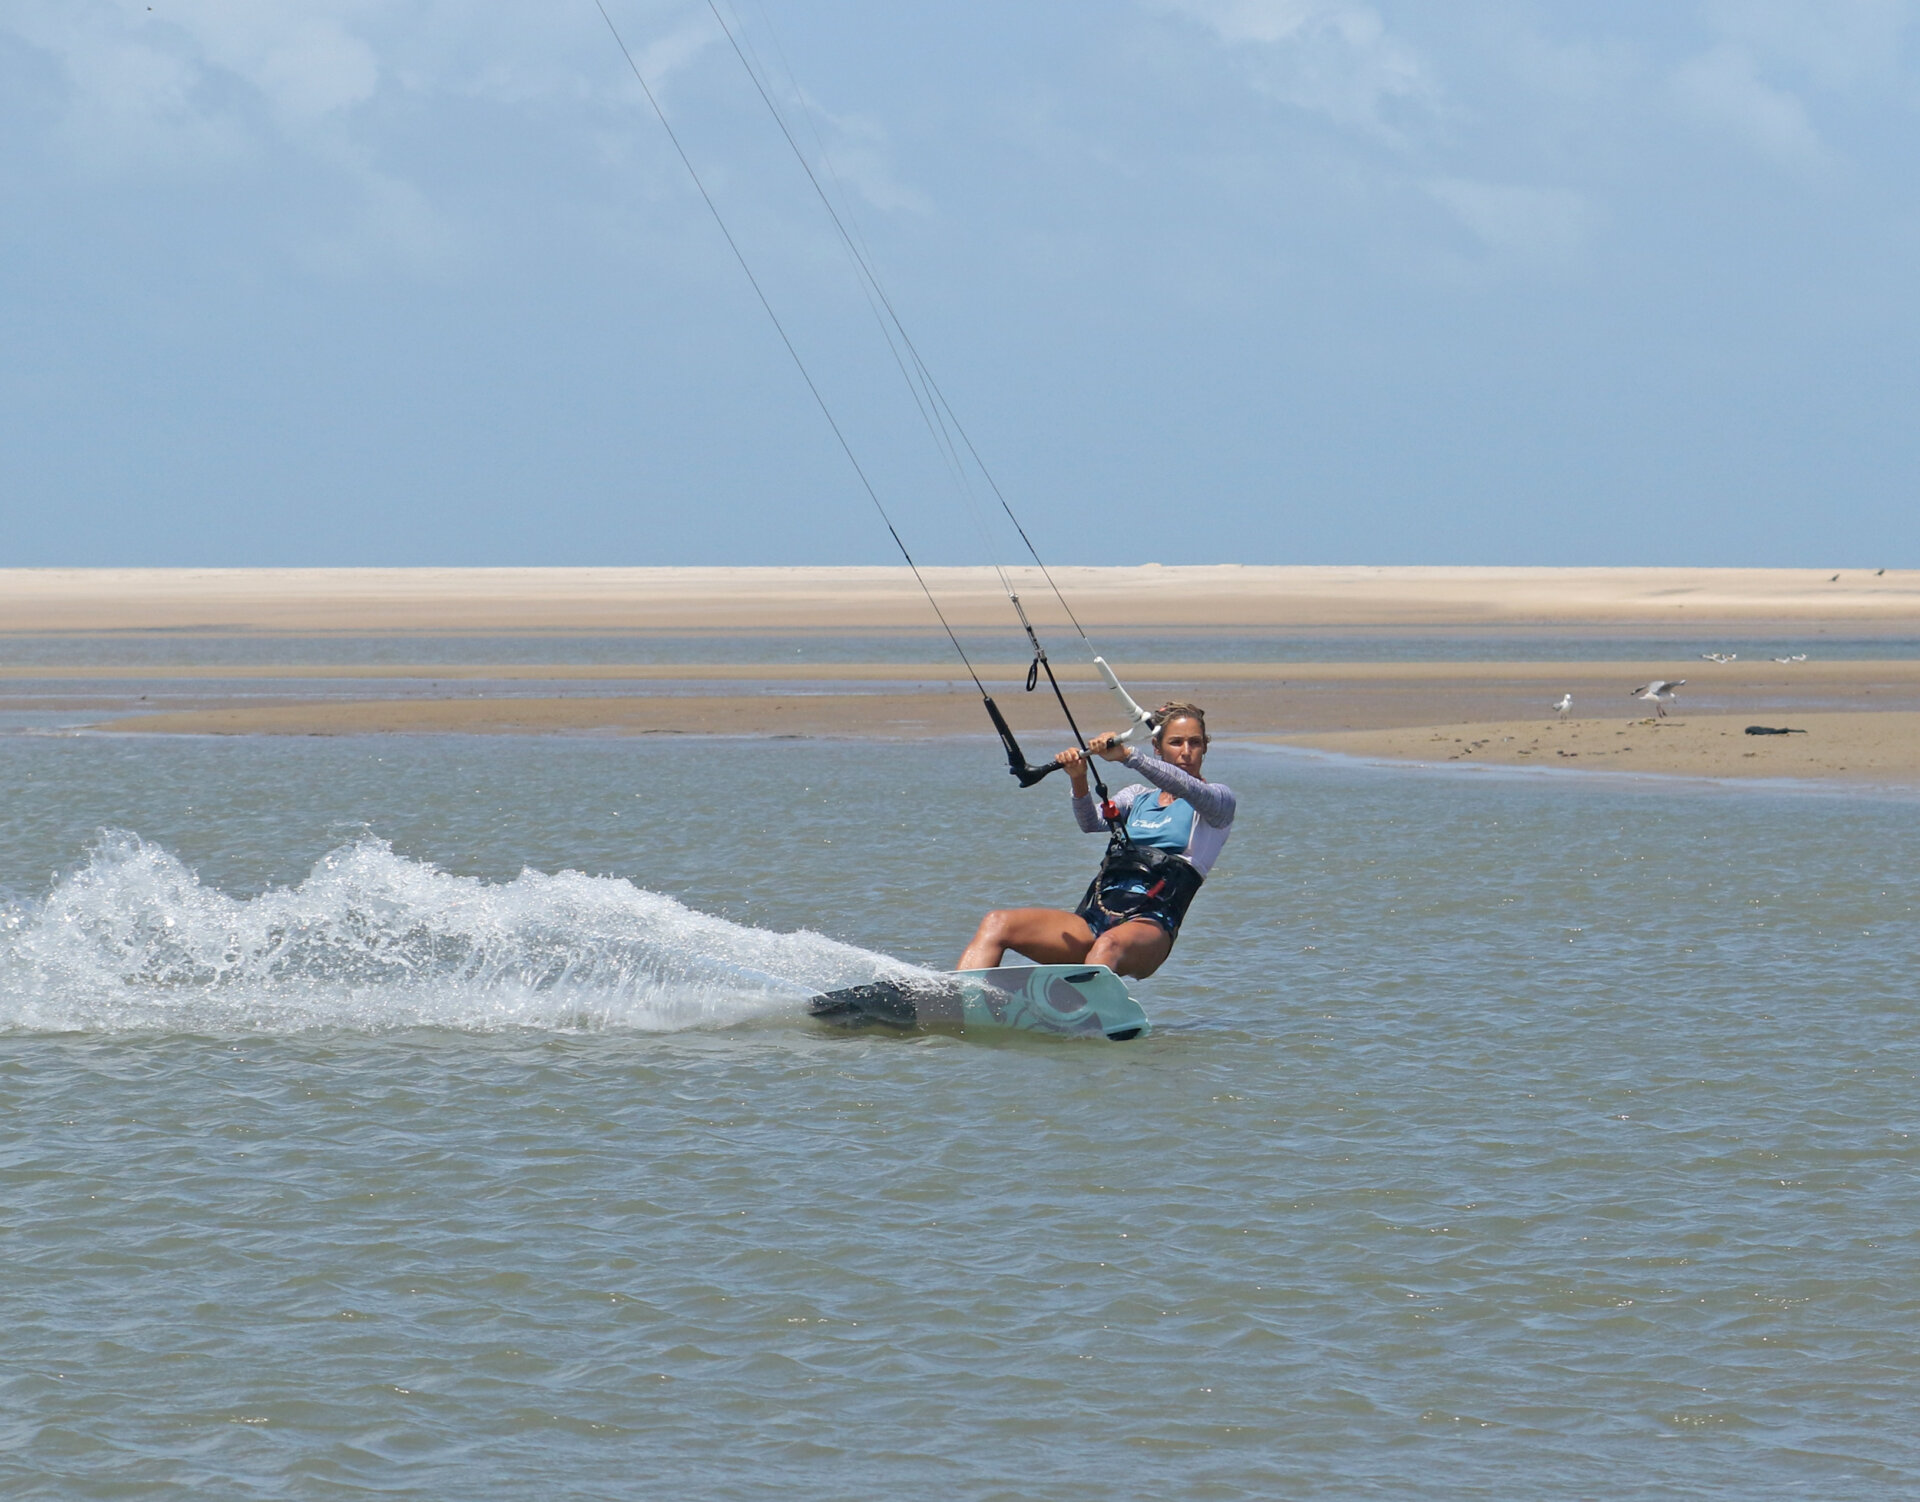
Send Pic B.
You need to jump, so your kite still needs to move enough to generate power and lift. Hence, it has to start at 11 or 1. You want your kite to stop around 12 o’clock. It doesn’t matter if it goes slightly behind, but once it’s on its way to 1, you’ll have a tough time getting a smooth landing. The duration and intensity of your sending will depend on your power. The more you have, the gentler you can be. Here, Karine is just powered, but you can see that her send is not too aggressive, but still enough to get the kite moving. As she sends, she keeps looking forward, and she will feather the bar out a little to stay strong against her edge.
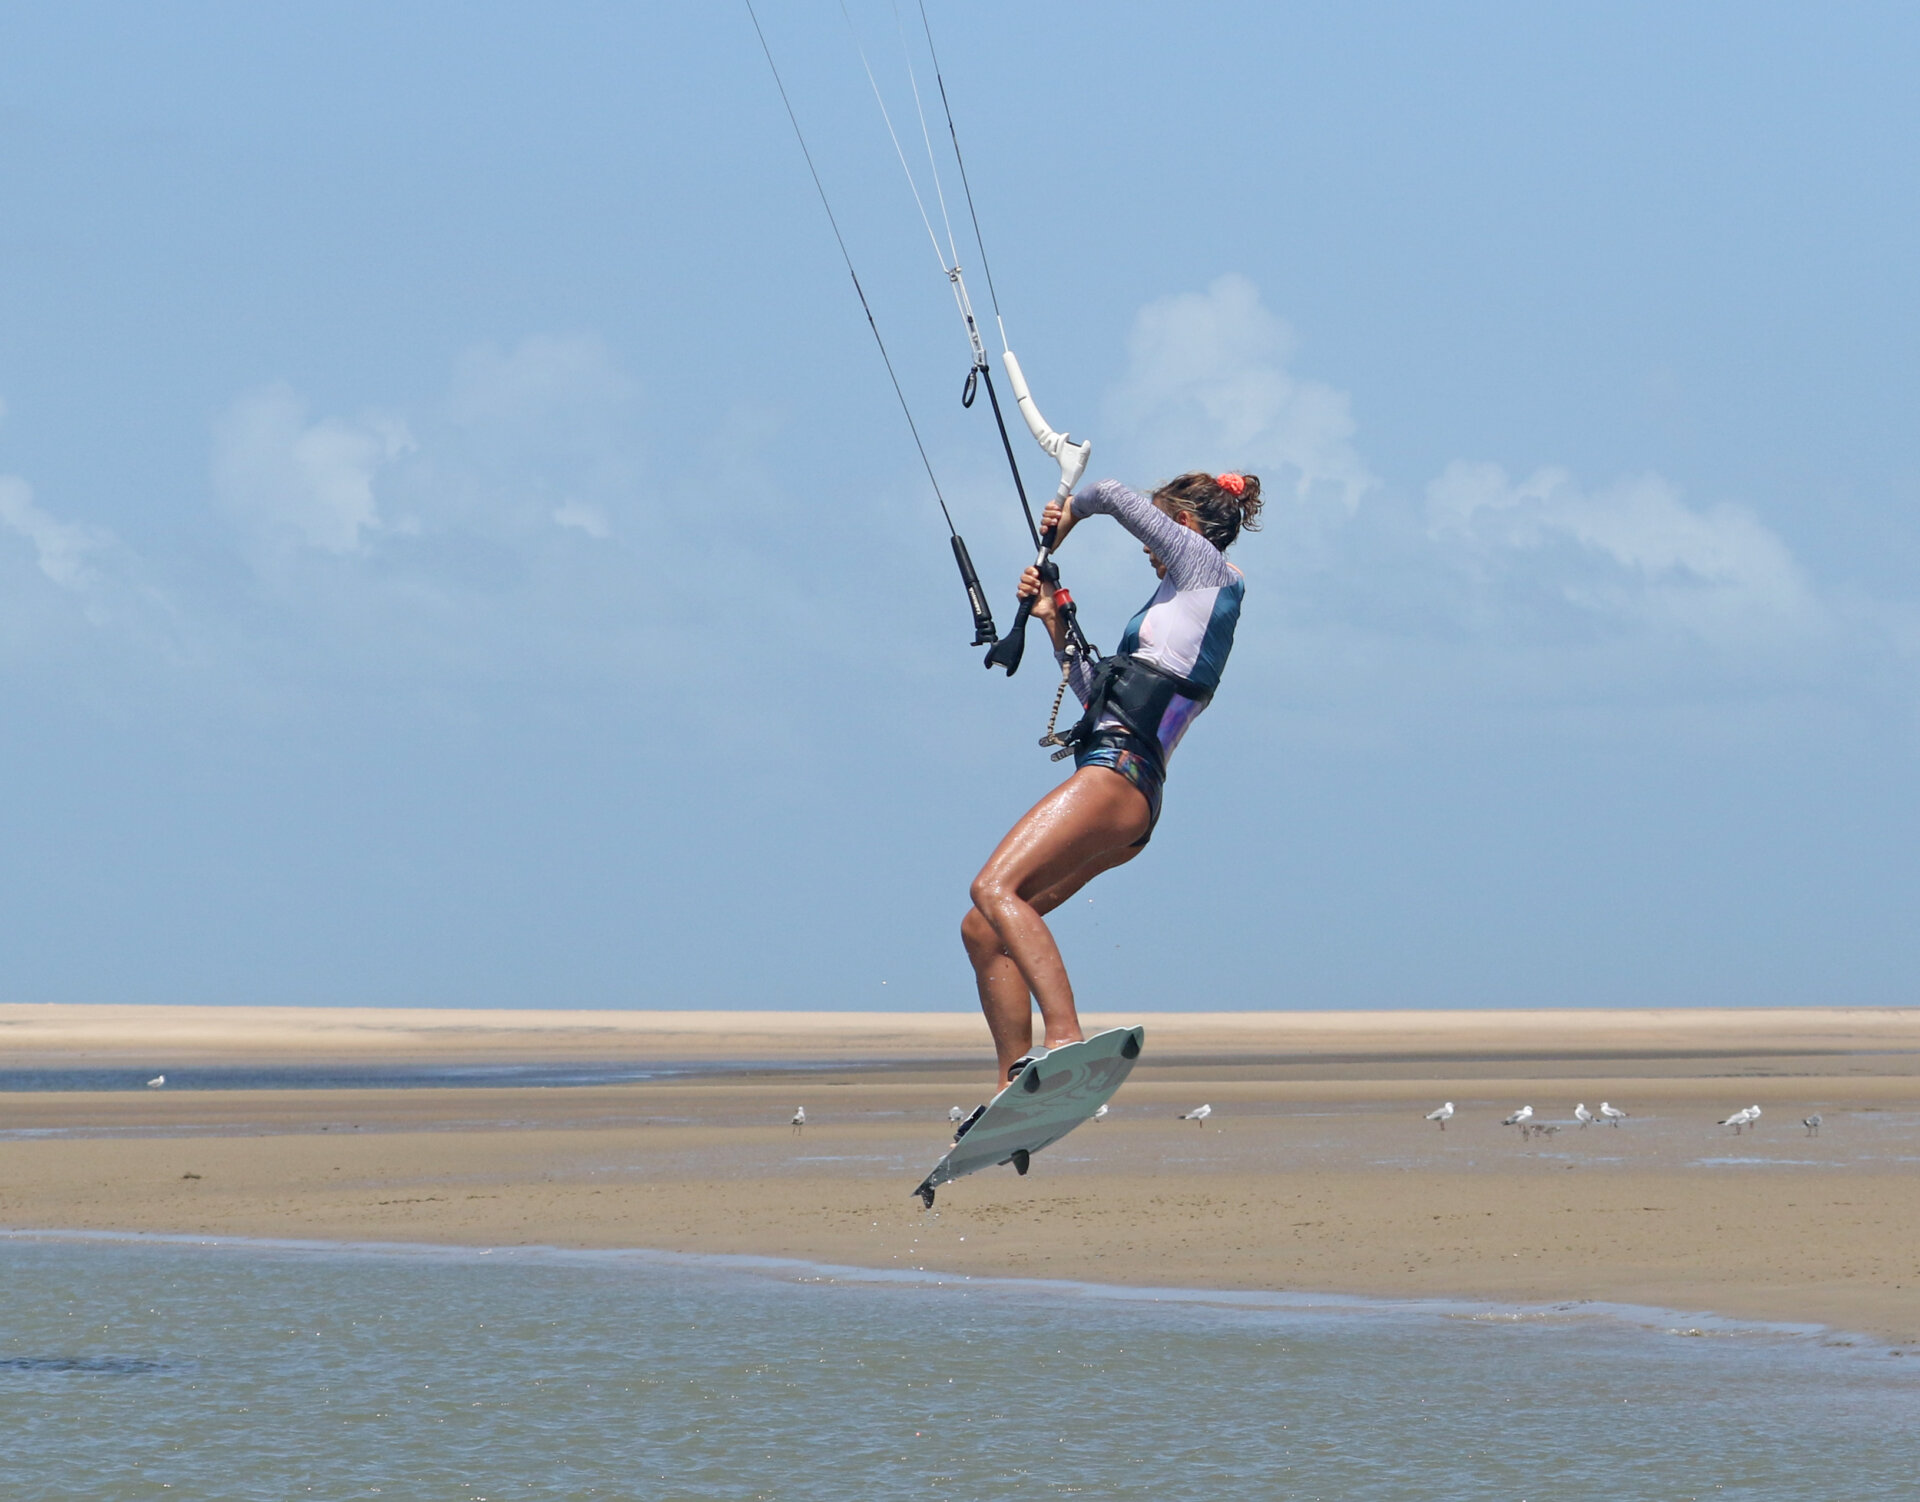
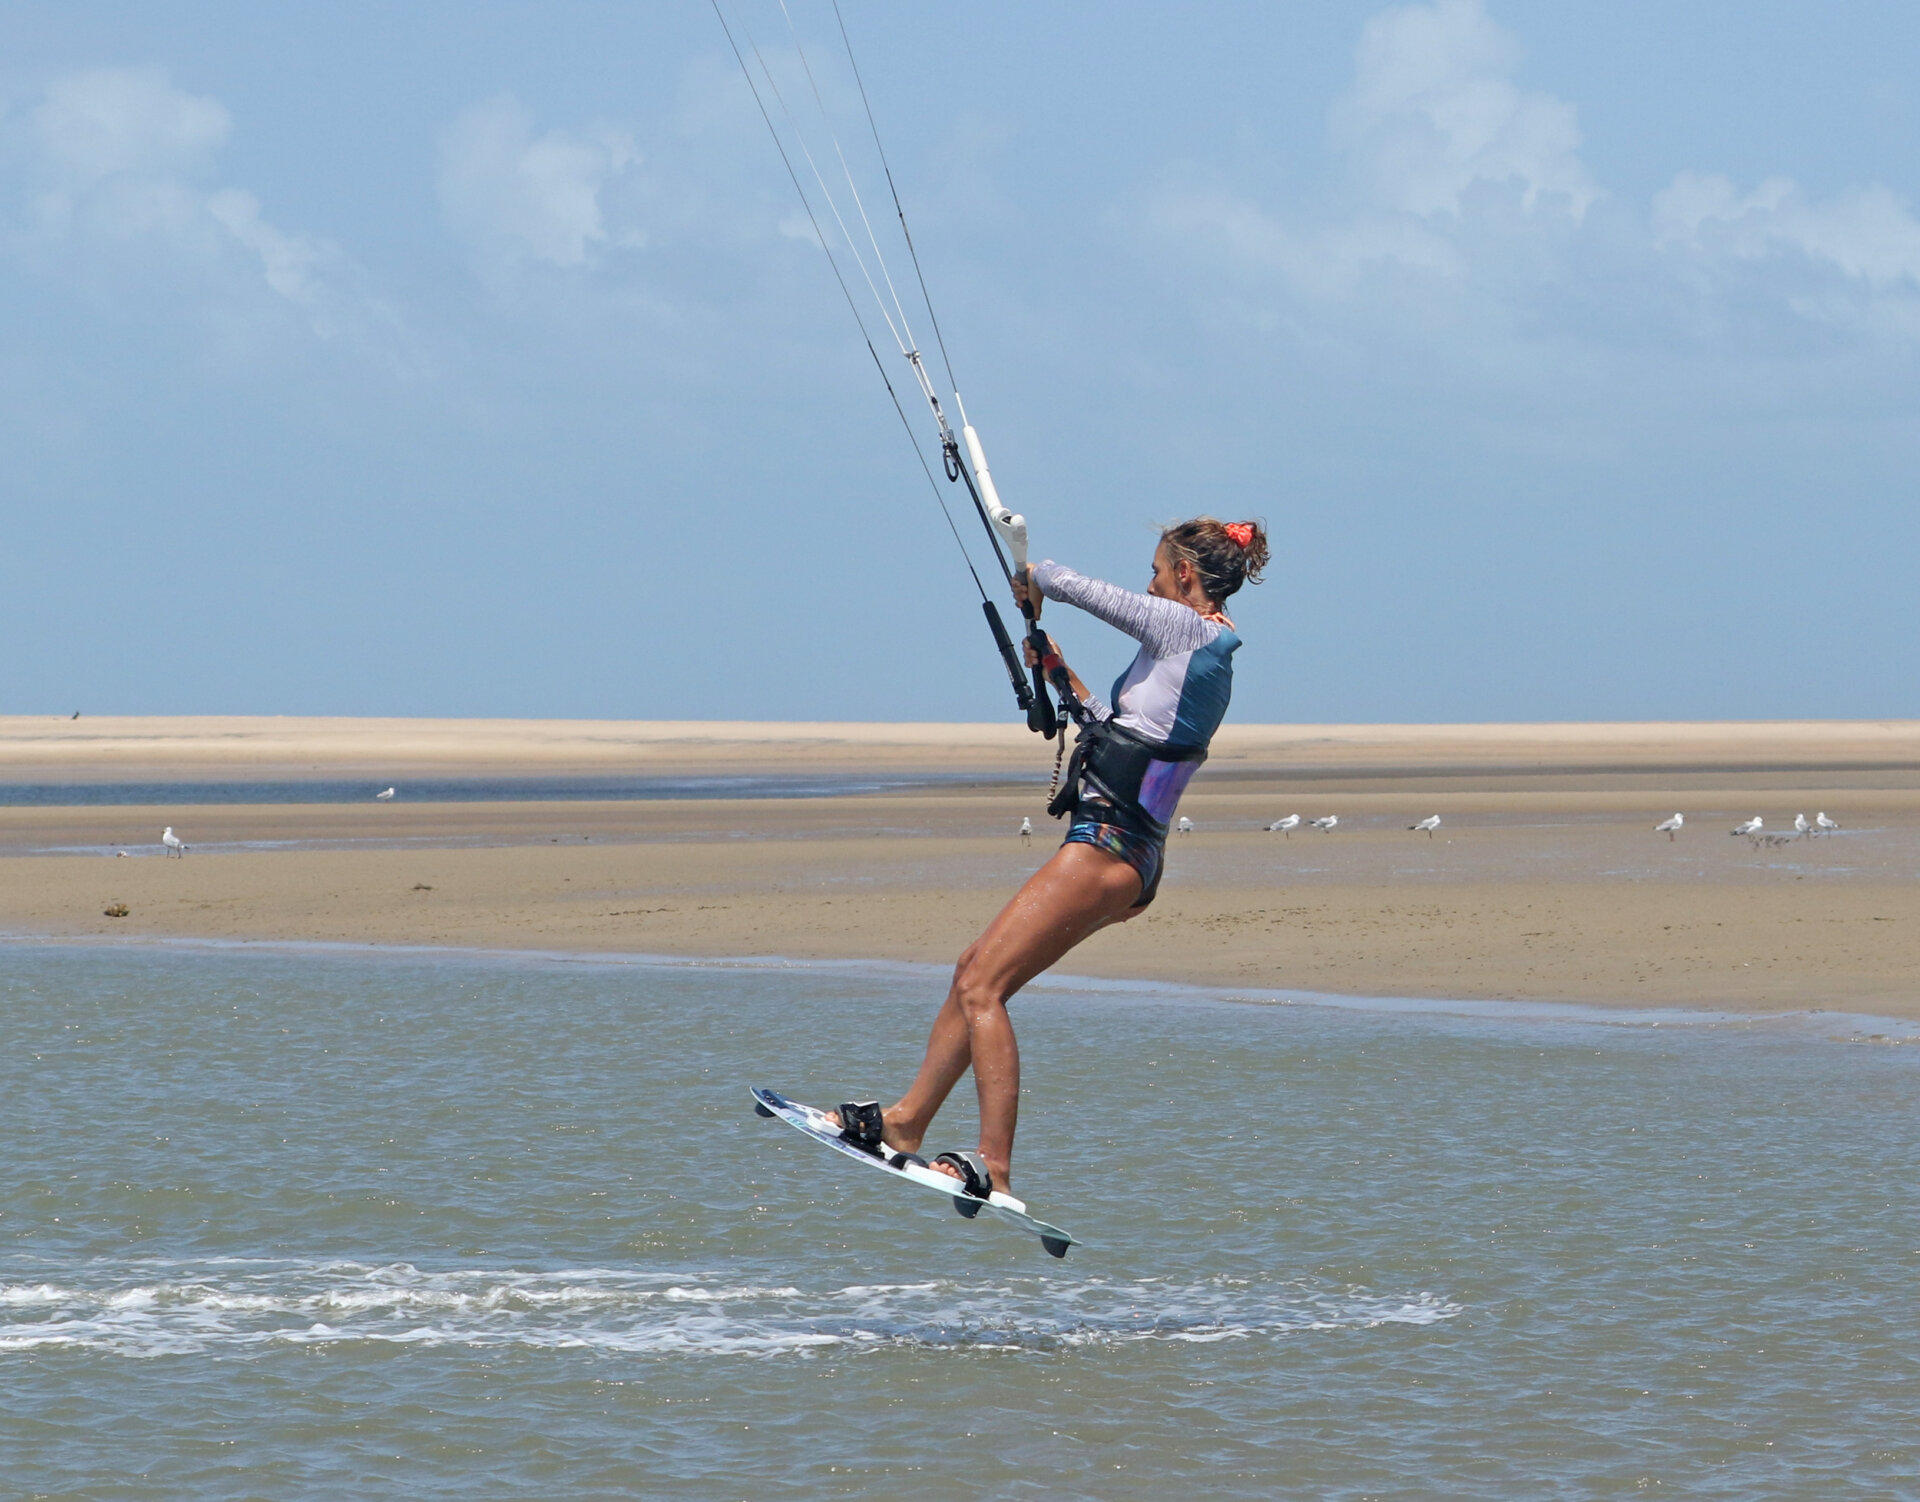
Kick Off Pic C.
Your take-off is a crucial moment in the jump transition. As alluded to, you don’t want your kite to go too far past 12. This means two things. Firstly, you need to level the bar as soon as you think the kite is above you, to stop it moving any further. Secondly, you need to anticipate this moment so that you can stamp yourself up off the water as soon as the kite is above you. If you wait for the pull to lift you, it’ll be a tad too late and the kite will move too far. The kick is all about extending your legs against your edge, and this is only possible if you don’t pull the bar in. Once you’ve extended, then you can pull for some extra lift. Your order of play is - level, stamp, pull. The kick also acts as a break, by suddenly edging even harder, it’ll knock a bit more momentum off. In the picture, you can see that Karine has levelled her bar to stop the kite at 12, and she’s kicking herself up by extending her legs against her edge. She hasn’t yet pulled her bar in. If she pulls, first her take-off will be less vertical, and she might well pendulum under the kite.
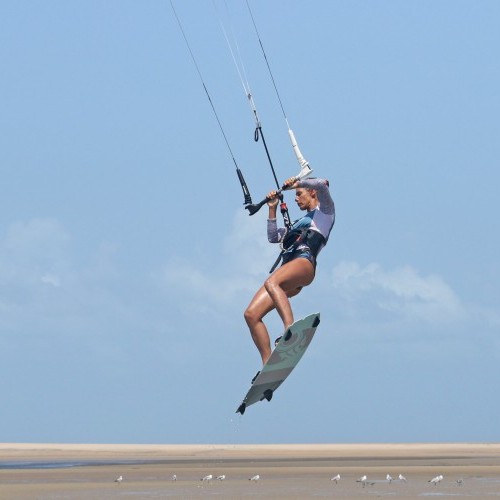
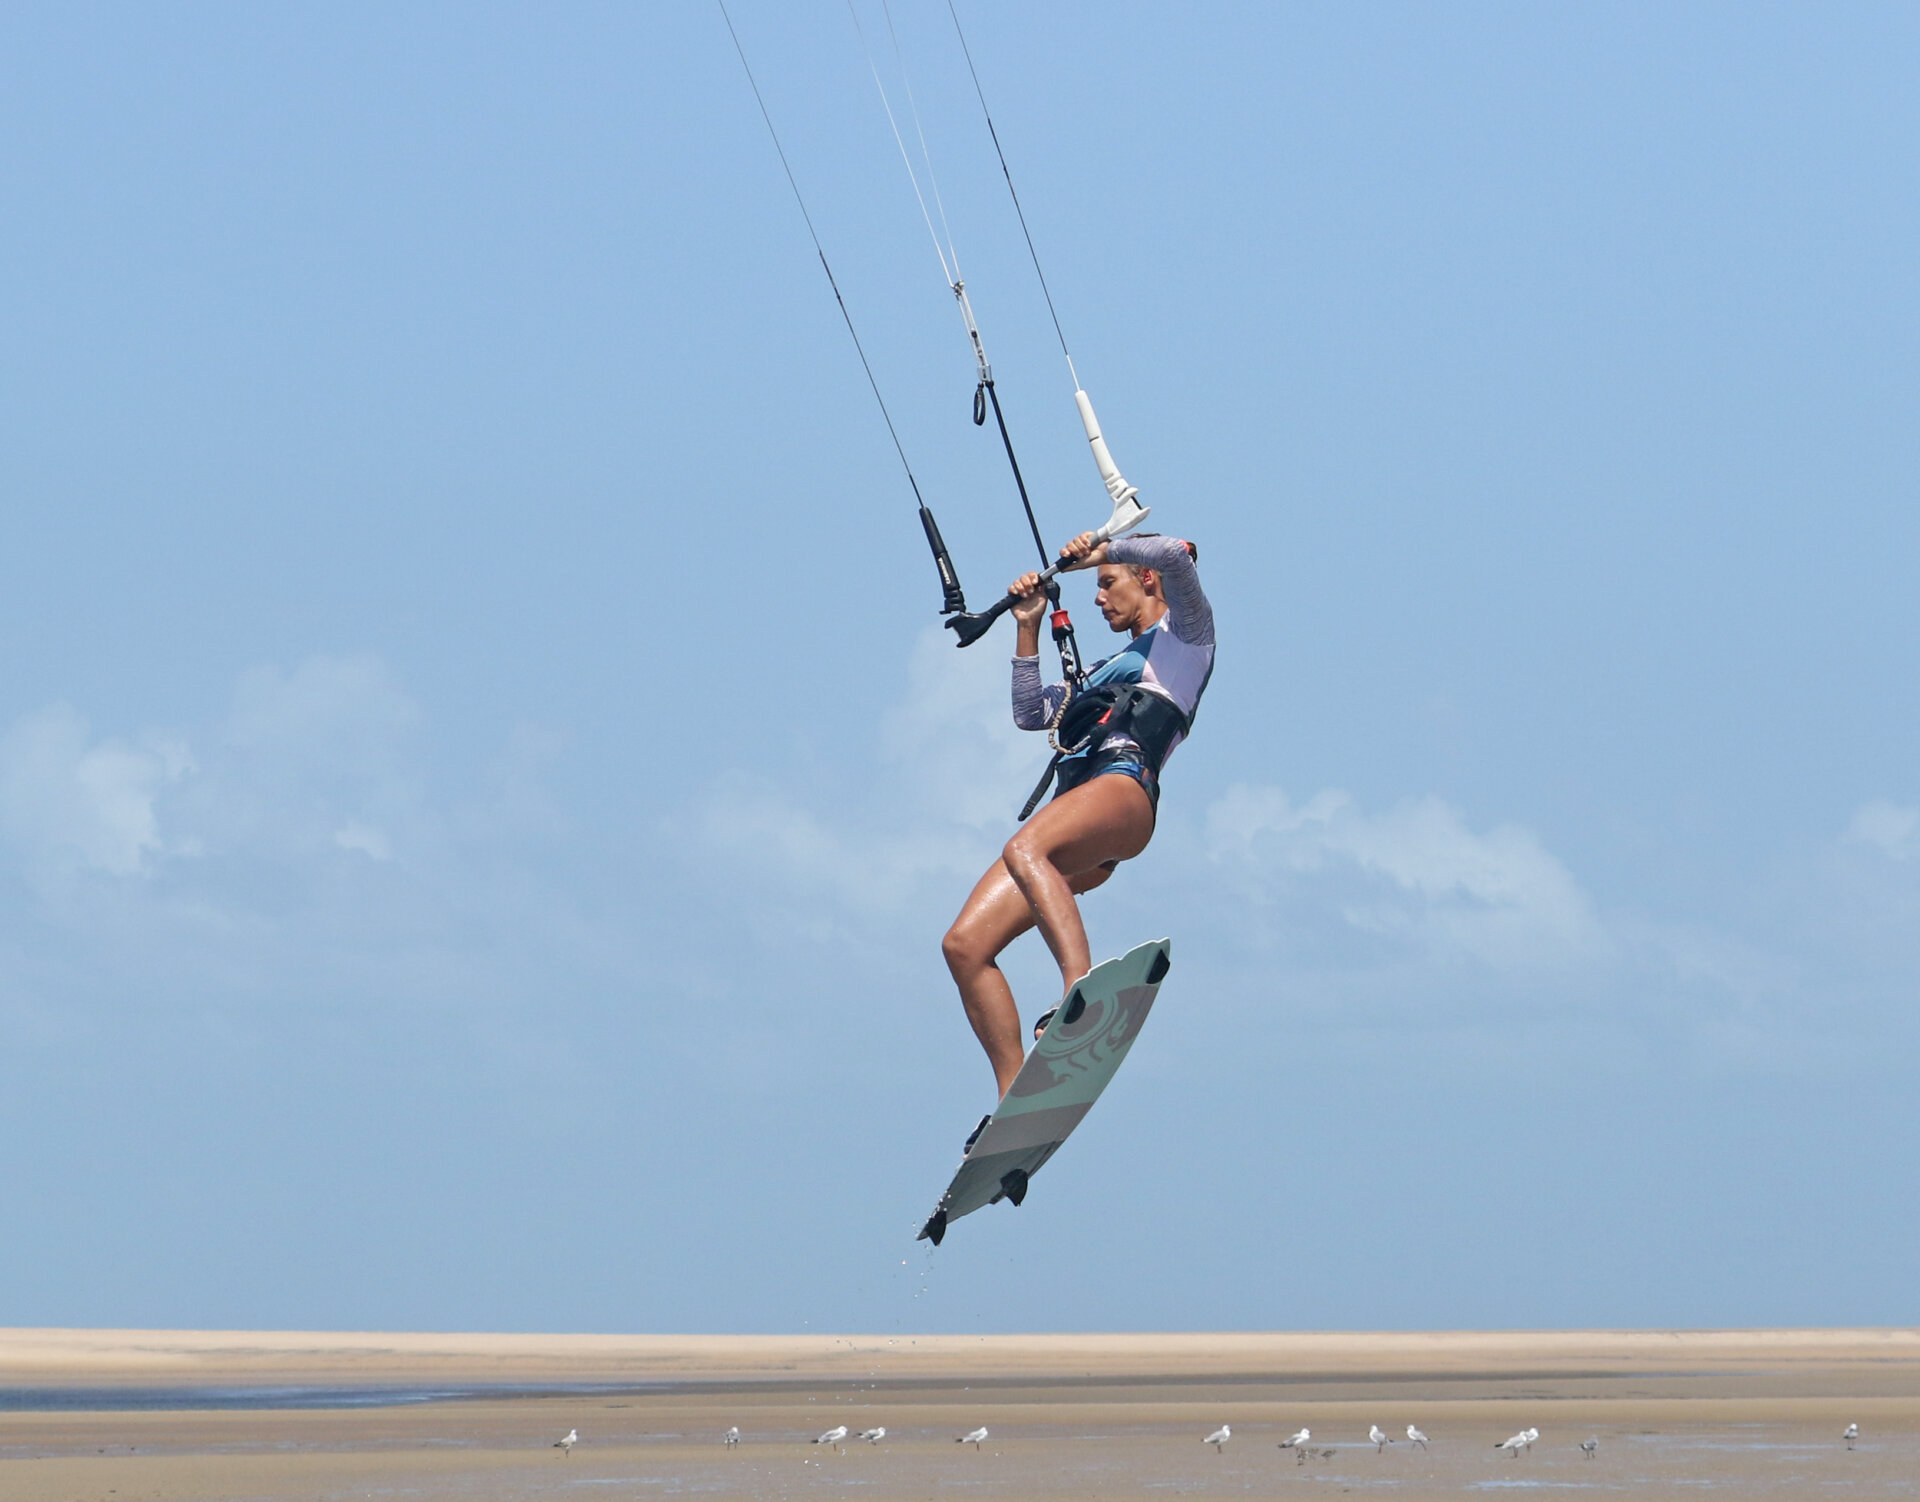
The Big Chill Pic D.
Once you’re on the way up, you can pull the bar in, making sure to keep it level. This way, it will encourage the kite to stay above you. The most crucial point here is to keep looking forward, as if you were jumping. This means resisting every cell in your body, which will be crying out for you to turn and look the other way, how you intend to land. Ignore the noise, just level and look. You won’t have stopped moving that way anyway, so it’ll also help you keep balanced. Bring your knees up and enjoy the moment. You can see that Karine has her bar level, and she is still very much looking forward.
Drop and Turn Pic E.
Your cue to turn your head is when you start to descend. However, before proceeding, we should consider where you will look. You want to be looking downwind, as that’s where you want to go. You aim to land downwind and then carve back up onto your edge. Once again, resist the temptation to turn your head and look back the other way. You should move your head a few degrees from looking forward to spotting your landing. In the photo, Karine has started to drop, and she’s now focused on where she’ll land; she hasn’t turned to look back in the other direction. This means the kite stays above her rather than drift across to the “new” side of the window (in this case towards and past 1).
Dive Captain Pic F.
Now you know where you’ll land, you can give it the beans on the bar. You want to dive your kite hard, as you’ll still have some momentum taking you the wrong way. With your kite high, you can dive it downwind, towards the water to pull you in that direction. If you’re gentle, the kite will drift down the side of the window and you’ll get diddly squat! To dive, concentrate on a decent pull and push, using both hands. Looking downwind should keep your shoulders level and make a decent dive possible. If you look back the other way, you’ll drop your new front shoulder and end up steering the bus, twisting the bar without actually asking the kite to do anything.
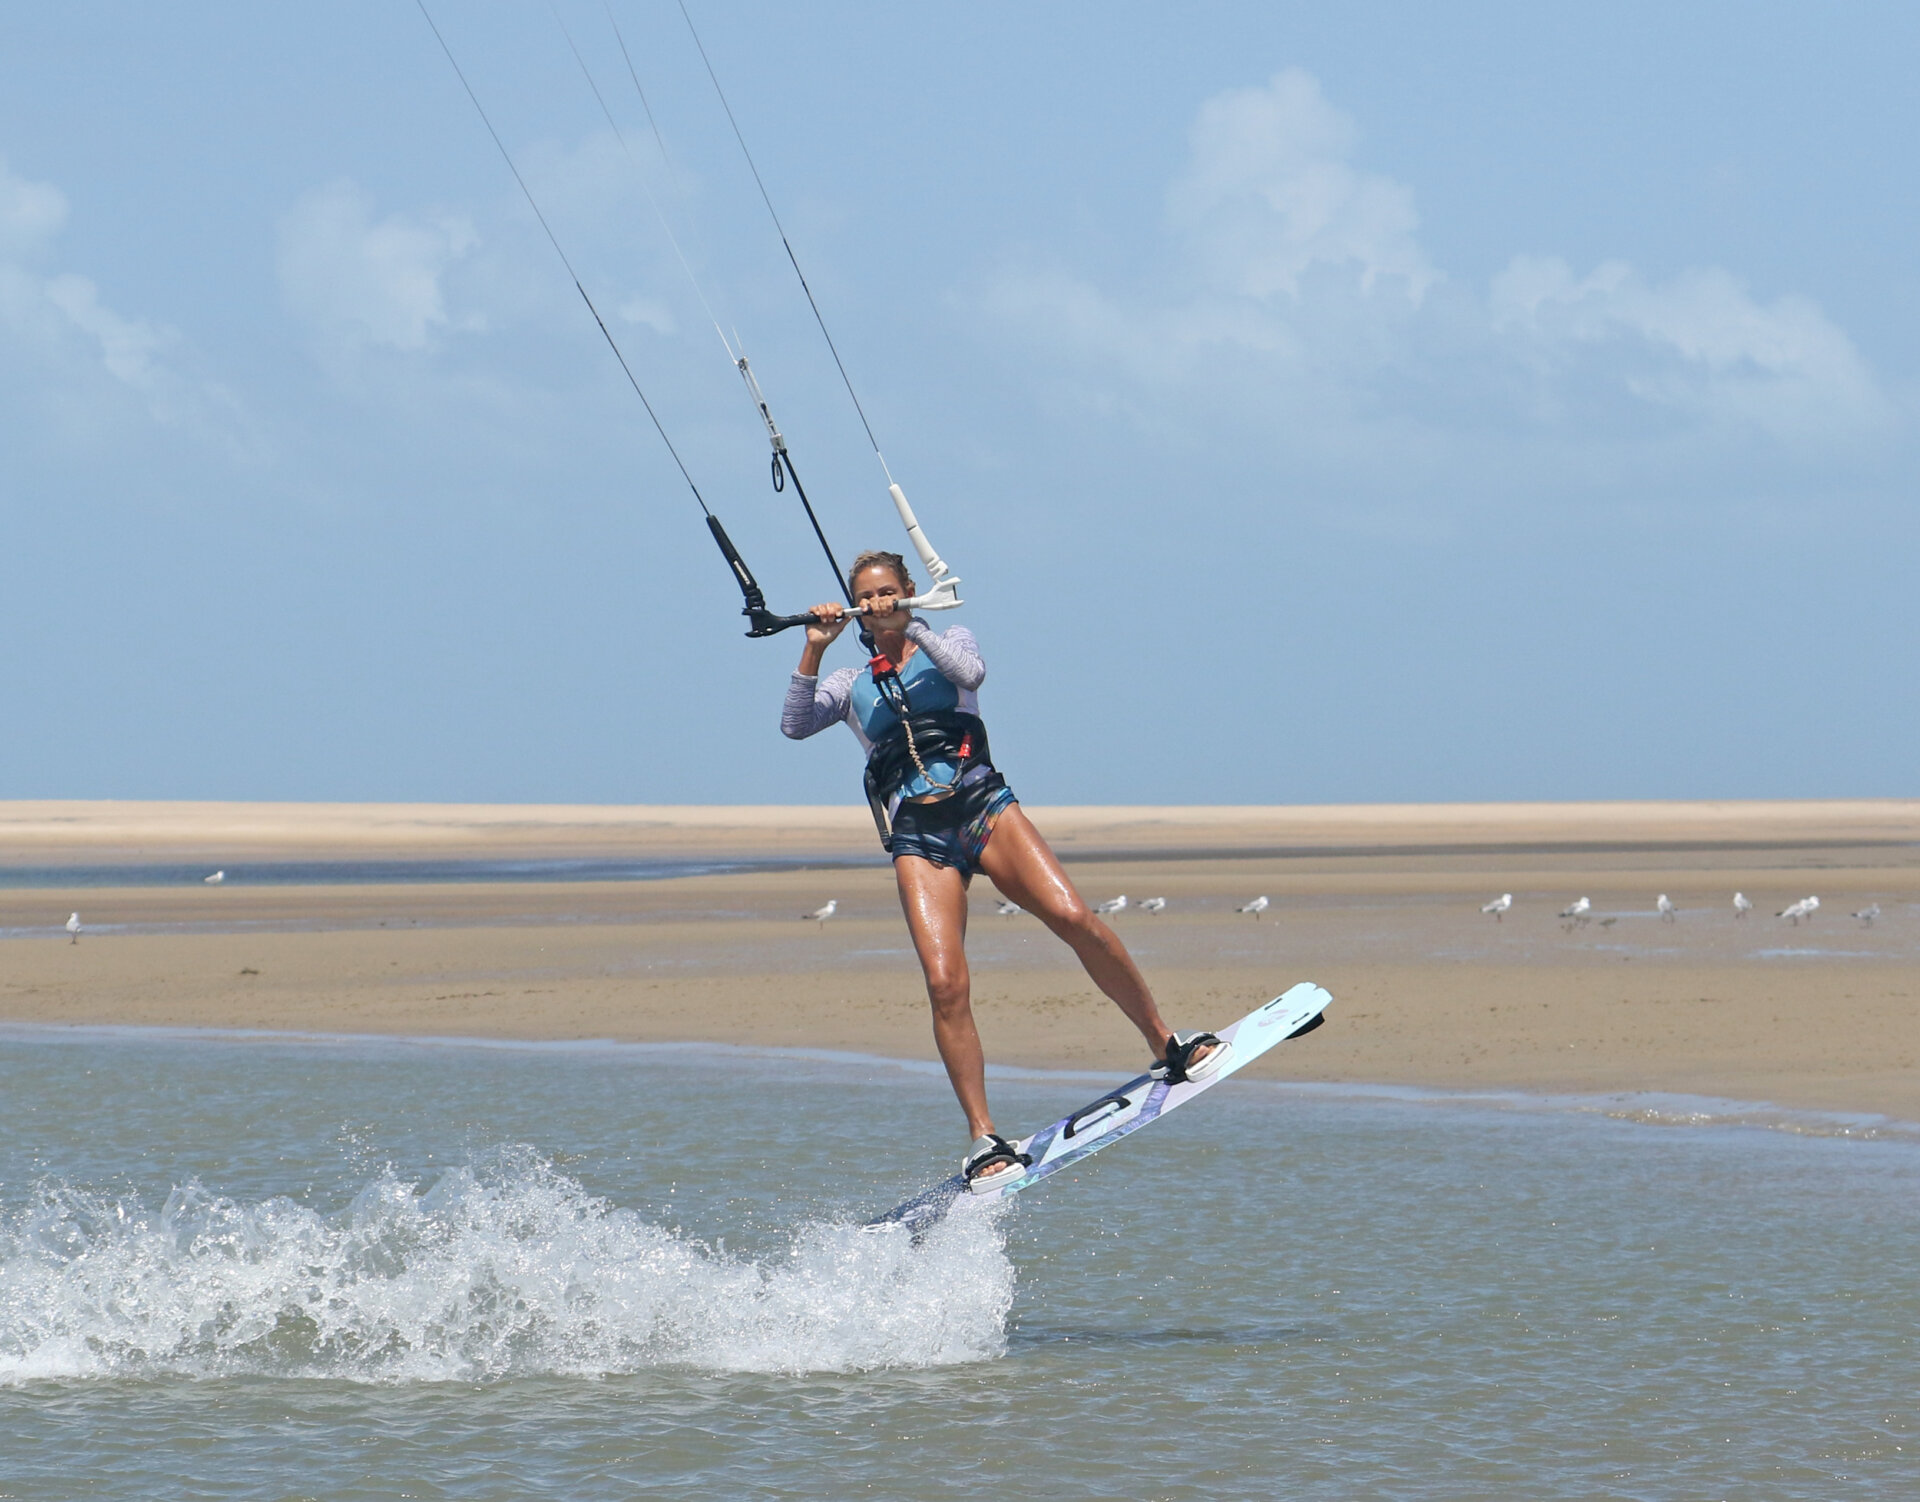
Twist Off Pic G.
The final piece of the jigsaw puzzle, landing with the board pointing slightly off the wind. If you do this, you’ll keep moving even if the kite isn’t quite right. If you don’t, you’ll land on an edge, which will put the brakes on and stop you dead in your tracks. Drop your legs underneath you and twist your hips, pushing your front foot downwind. This way, you can land tail first, over the board and follow the pull of the kite. Once you do, you can then carve back up onto your edge, pull the kite up from its dive and ride off into the sunset with a big smirk on your boat race:) Karine has given her bar a hefty dive, and she’s still looking downwind. She’s dropped her legs and is twisting the board off the wind: the result was a smooth and flowing touchdown.
Top Tips
Visualise the jump transition as a jump that you then decide to land as a transition at the last minute. Avoid approaching it as an aerial slide turn. You need to edge all the way to take off; you don’t want to be carving up and sliding your back foot out.
Start small. This will give you a sense of how much or how little speed you need. If you can at least get a vertical little jump and land on your derriere, you can then work on the landing.
Take a look at the sequence and the video to see how they all come together for a smooth transition.
Common problems
- If you’re pendulum-ing out from under the kite, you’re going too fast; slow down. Don’t forget the stamp acts like a break, too.
- If you’re diving hard for landing but you don’t get any power, the kite has crept behind you.
- If the kite creeps across to the other side of the window, there’s a big chance that you’re turning too early and turning too far.
- If you land on an edge, you’ve turned to look the other way. You should only turn to look downwind.
Keystones
- Edge and ease bar to knock off some speed
- Send kite from 1 or 11 to just past 12
- Level, Stamp, Pull
- Big Chill - Look Forward
- Turn to look Downwind, Dive Hard
This technique article was in Issue 112 of IKSURFMAG.
Related


By Christian and Karine
Christian and Karine have been working together as a coaching team, running improver to advanced kitesurfing clinics since 2003.
