
Beach Start a Strapless Surfboard
Technique / Beginner
It’s been a while since we’ve delved into the world of strapless, and as such, we thought it time to revisit some of the fundamental skills. Once you can ride and water start there, there’s no reason you shouldn’t have a go at the beach start. It looks good, strolling into the water, hopping onto your board without dunking yourself in the drink, and sailing off into the sunset. Style aside, it’s also highly functional. The beach’s purpose starts becoming all the more obvious in the sea. Once you’ve got waves, shore break, other kiters and limited opportunities, nothing beats this quick-fire, sure-footed and time-efficient method of getting up and going before your board disappears again!
As with all things strapless, we highly recommend learning this in flat water if you can. Although it will become your go-to get out of jail card, practising it without ripping, repositioning or stealing your board will be considerably easier. If you can’t, jumping in at the deep end never hurt anyone!


A few things to consider before springing onto your favourite block of fibreglass. First off, water depth. Deeper than knee deep, and it’ll be tricky to learn, just below the knees should give you enough water so you don’t go grinding your fins on the sand or knocking them off on the rocks—secondly, wind direction. Once you’re on your board, you will head downwind slightly before you can head up, so if it’s on shore, you’ll need to head out further. Ideally, shore will give you room for error, and you’re less likely to dump your kite on some unfortunate beach user.
For the beach start, it’s essential to understand how your kite flies and where your board should be pointing. As Karine is in this article, if you imagine you’ll be starting right foot forward, you’ll be taking your kite from around 11 o’clock, and diving it gently towards 1. This way it’ll go up over 12, giving you some lift and enabling you to get out of the water before diving down and powering off. As for your board, it should be pointing slightly upwind, just to the side of you at about arm’s length. A surfboard will naturally turn off downwind because of the fins in the tail. By starting upwind, you have a modicum of time. It also wants to be on the side you’re going and slightly away from you. This way the kite takes you towards it and you have room to get onto it, rather than just barrelling through it! OK with this in mind, let’s see how it works…
Find Your Spot Pic A.
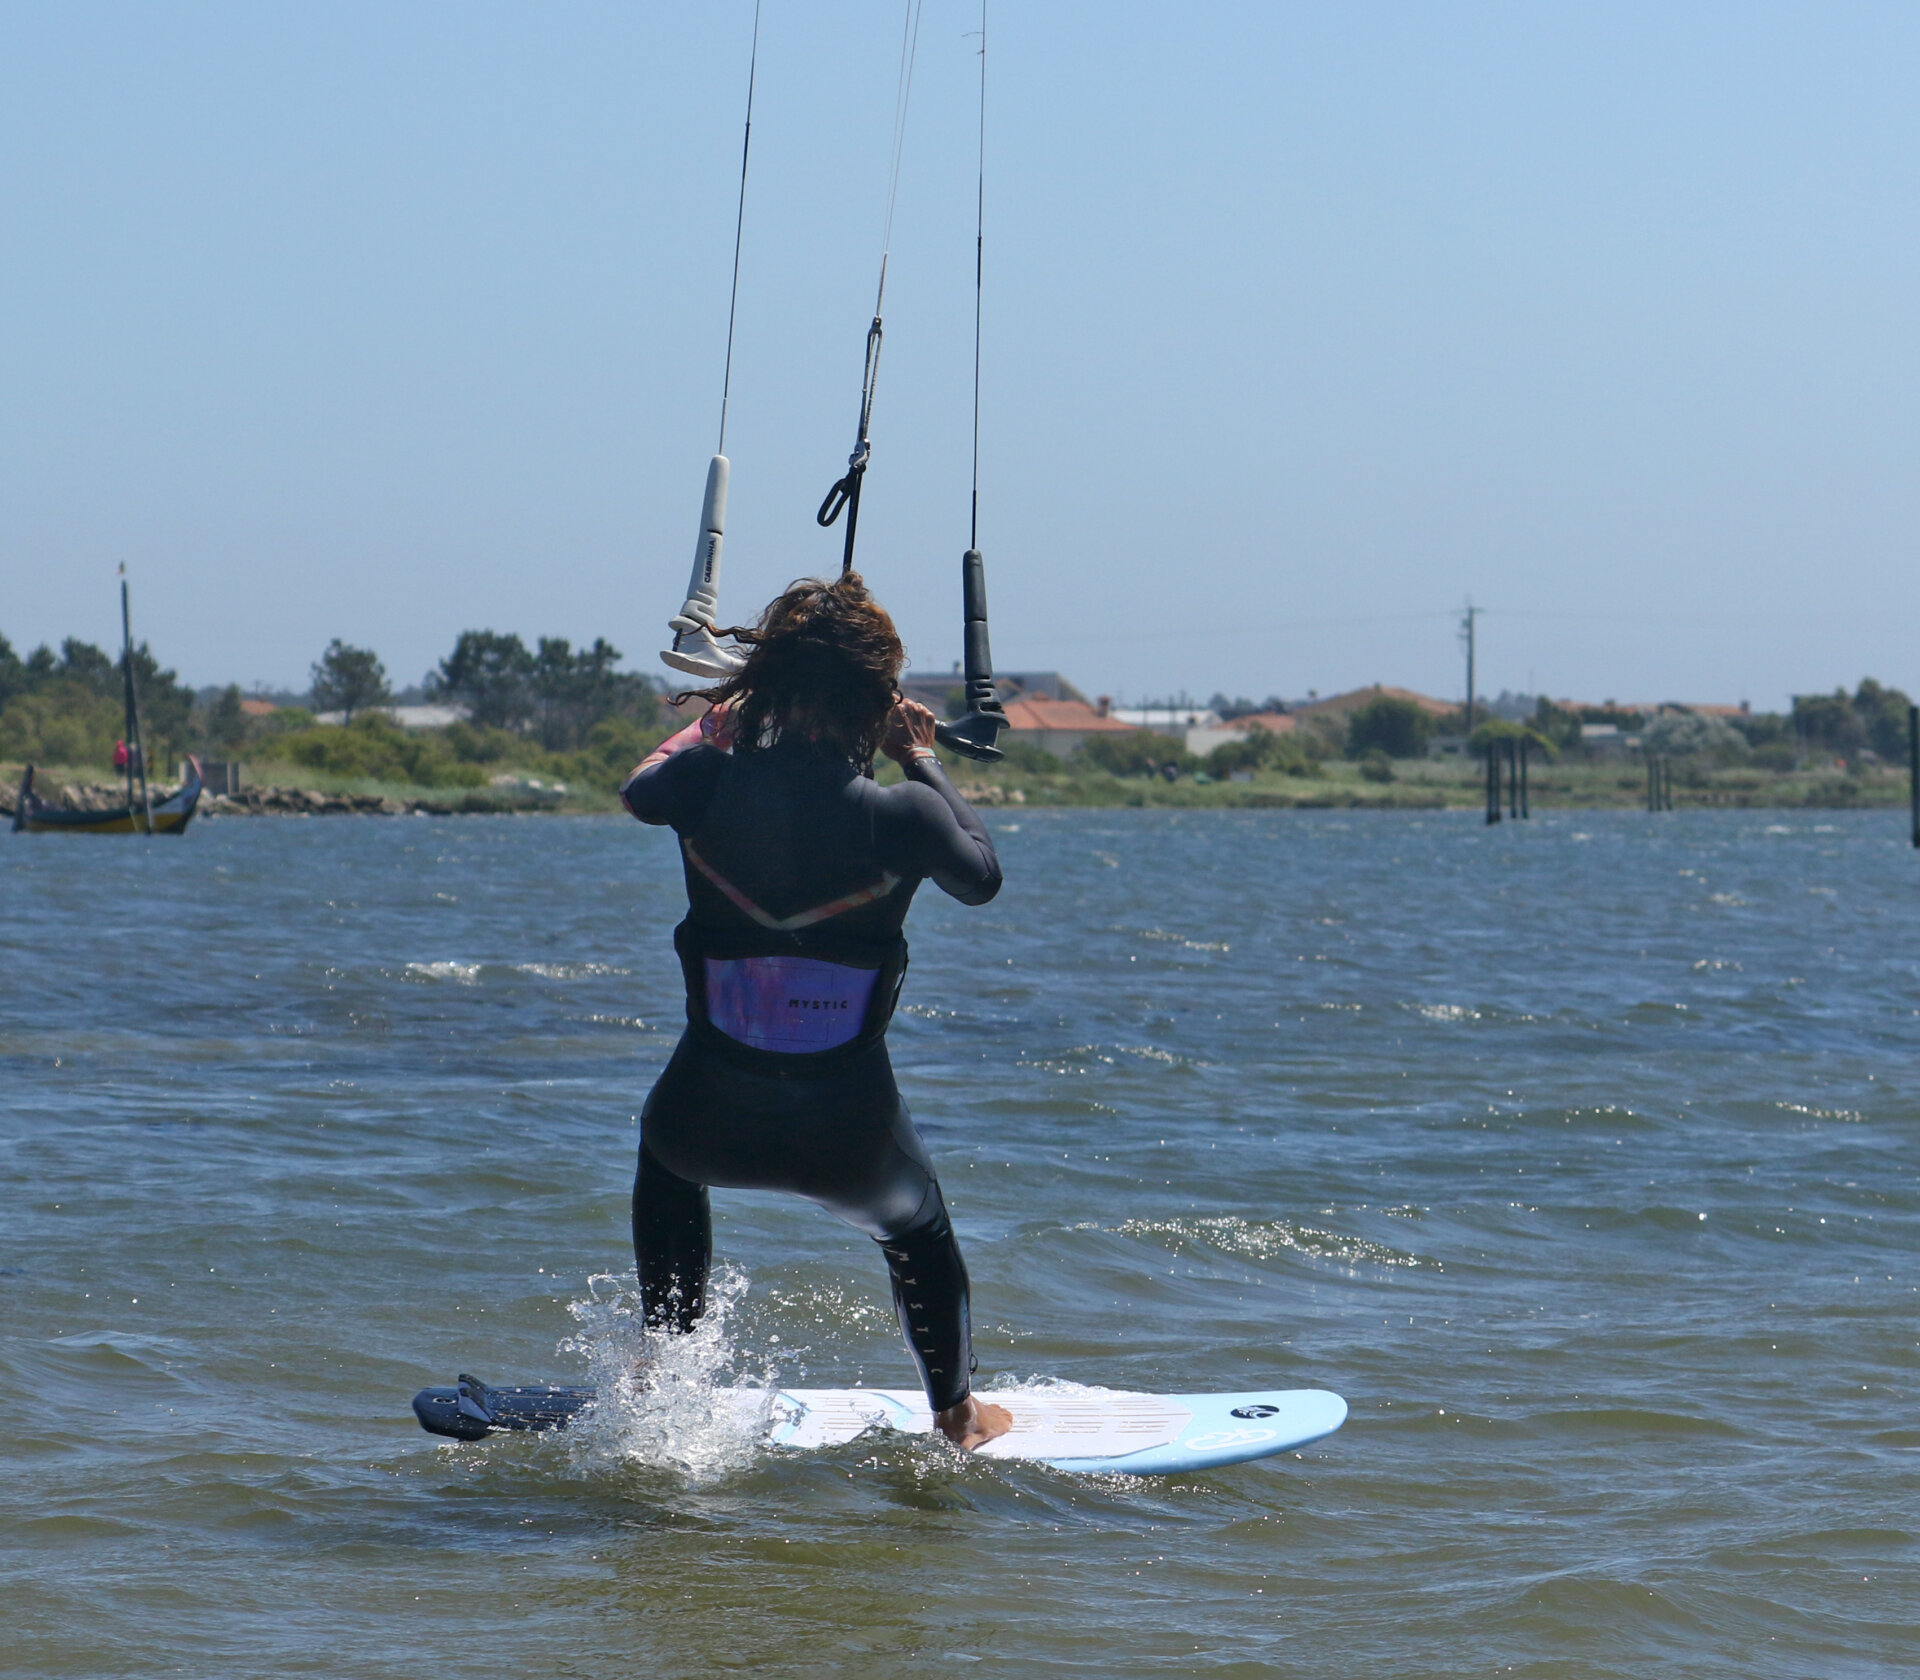
Walk out normally, controlling the kite with your rear hand and carrying your board under your front arm or in your front hand. Get away from obstructions, people and the beach and ensure the water is knee deep or just under. Face downwind so that the wind is blowing onto your back. If you weren’t beach starting, you’d generally go deeper to water start. Karine launched her kite, picked up her board, and wandered out until it was deep enough.
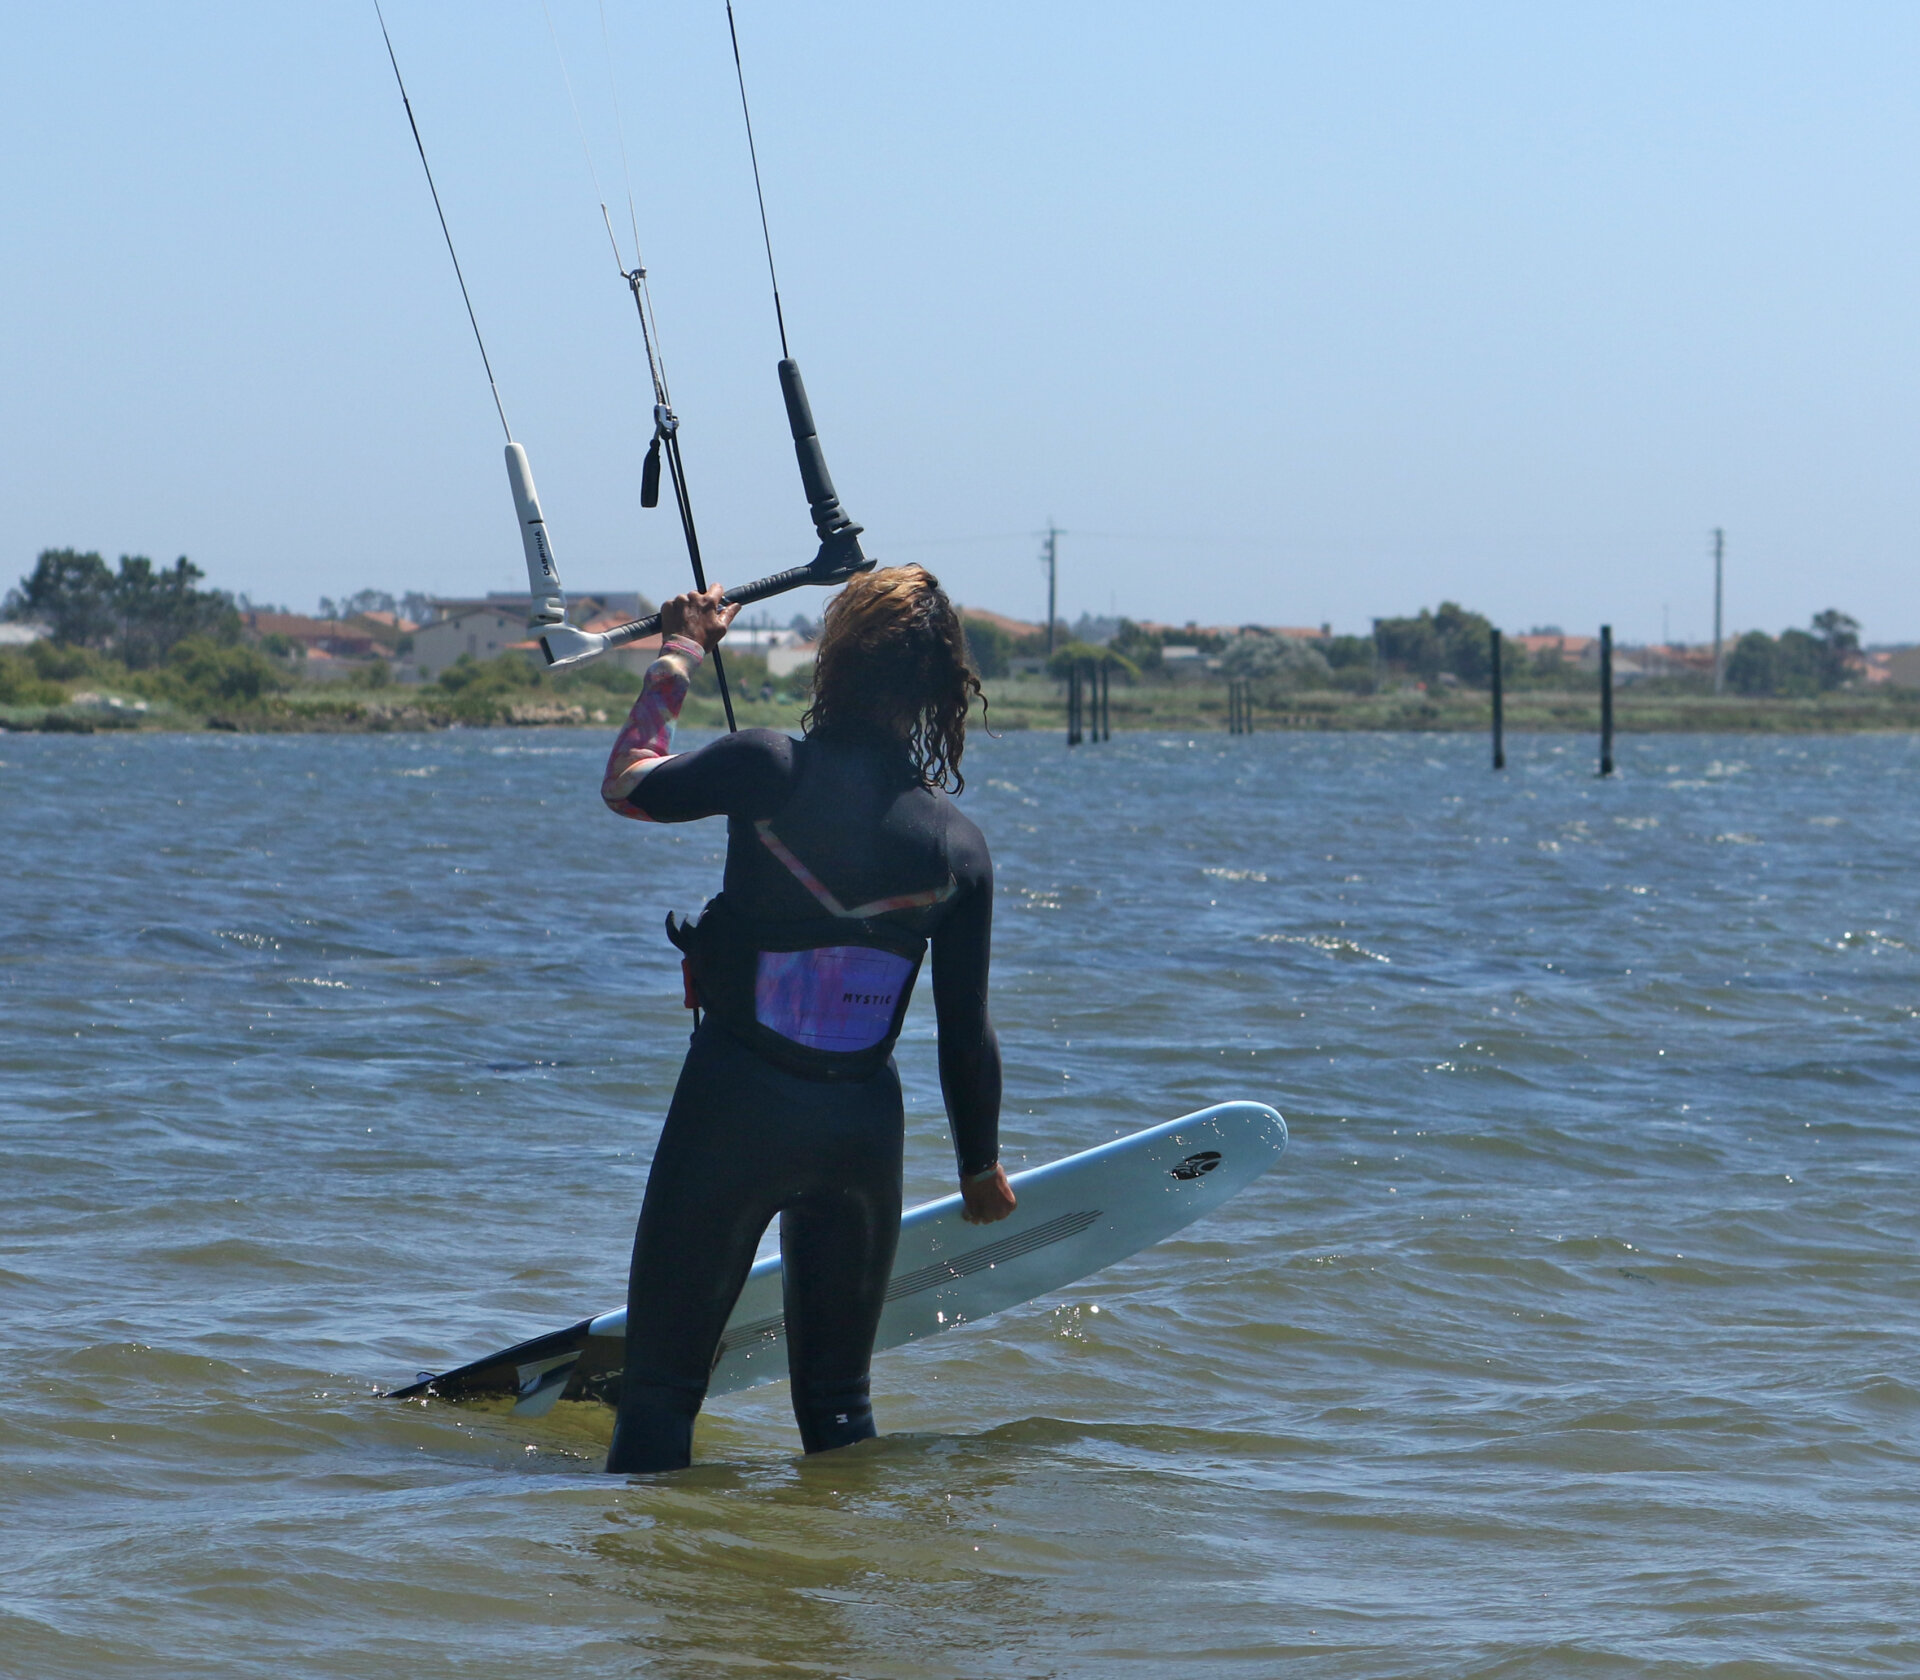
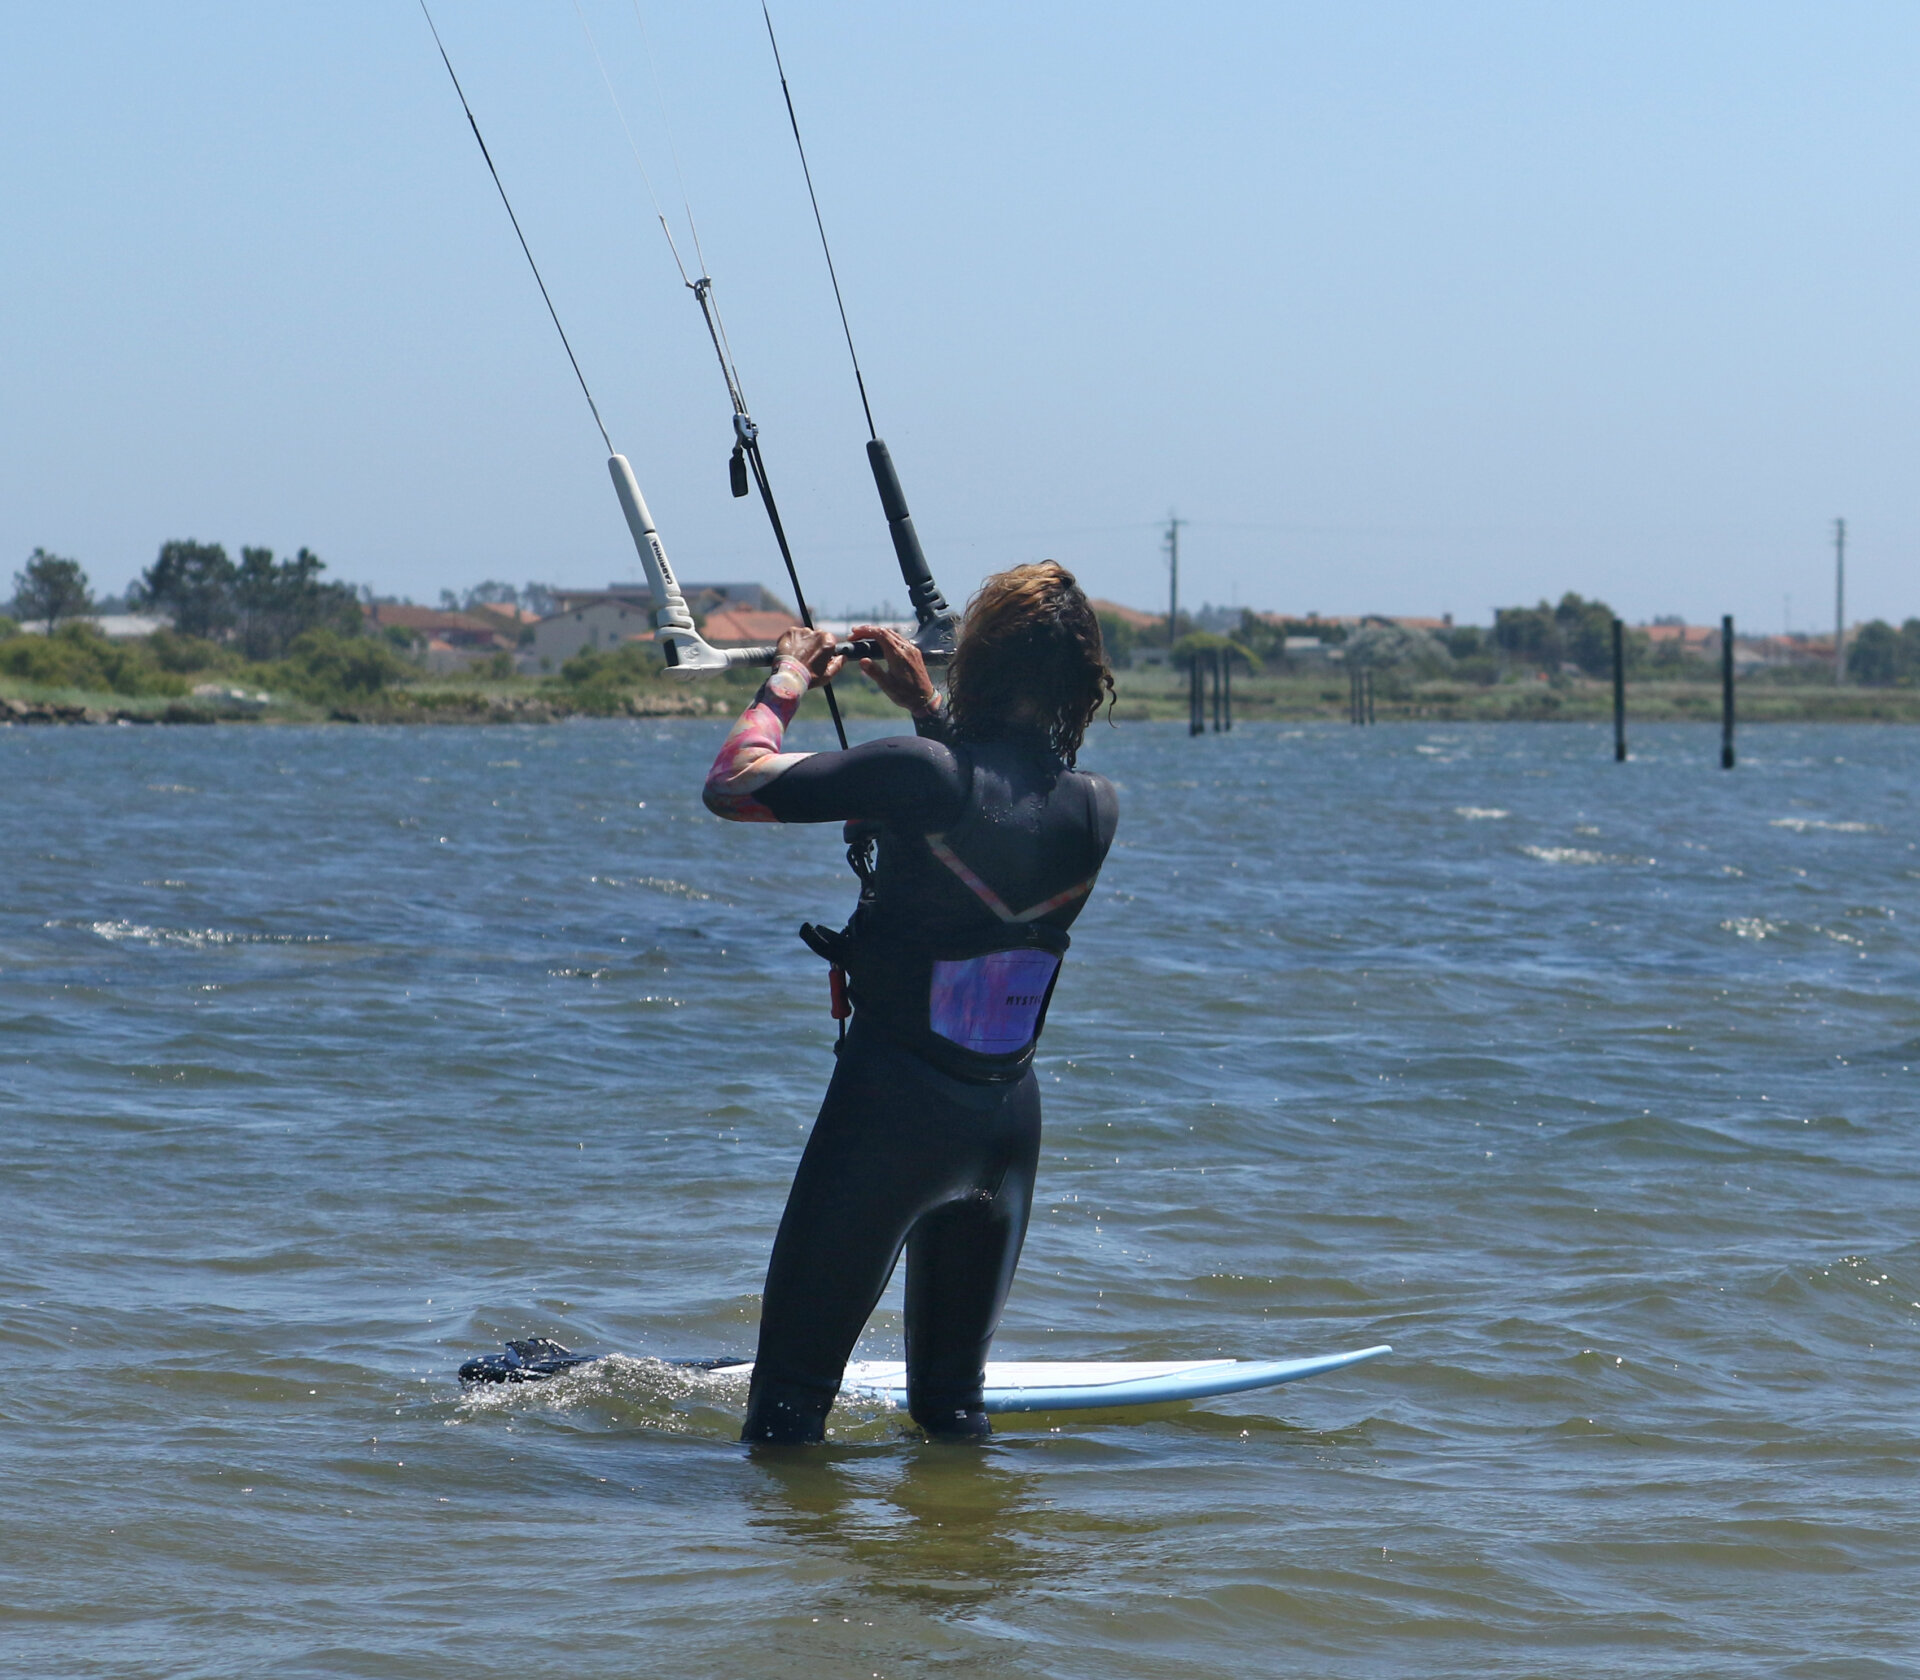
Kite Position Pic B.
OK, once you’ve found your spot, your first job is to position your kite at its starting position. You do this before dropping the board, because the longer you leave it to its own devices, the more likely it’ll move into an unwanted position! Hold the board midway up the nose (in flat water, you can rest the tail in the water) and use your rear hand to steer the kite back slowly. Keep a little tension on the rear lines so that the kite behaves. As Karine will be riding off to her right, she moves the kite back towards 11 o’clock. The potion will vary depending on kite size and wind strength, but it’ll be between 11:30 and 11. The further back, the more lift you’ll generate, so it’s helpful with less wind or deeper water. If the kite starts at 12, it’ll dive into the water, so even if you make it onto the board, you’ll have a load of speed and be fighting to stop the kite from hitting the drink.
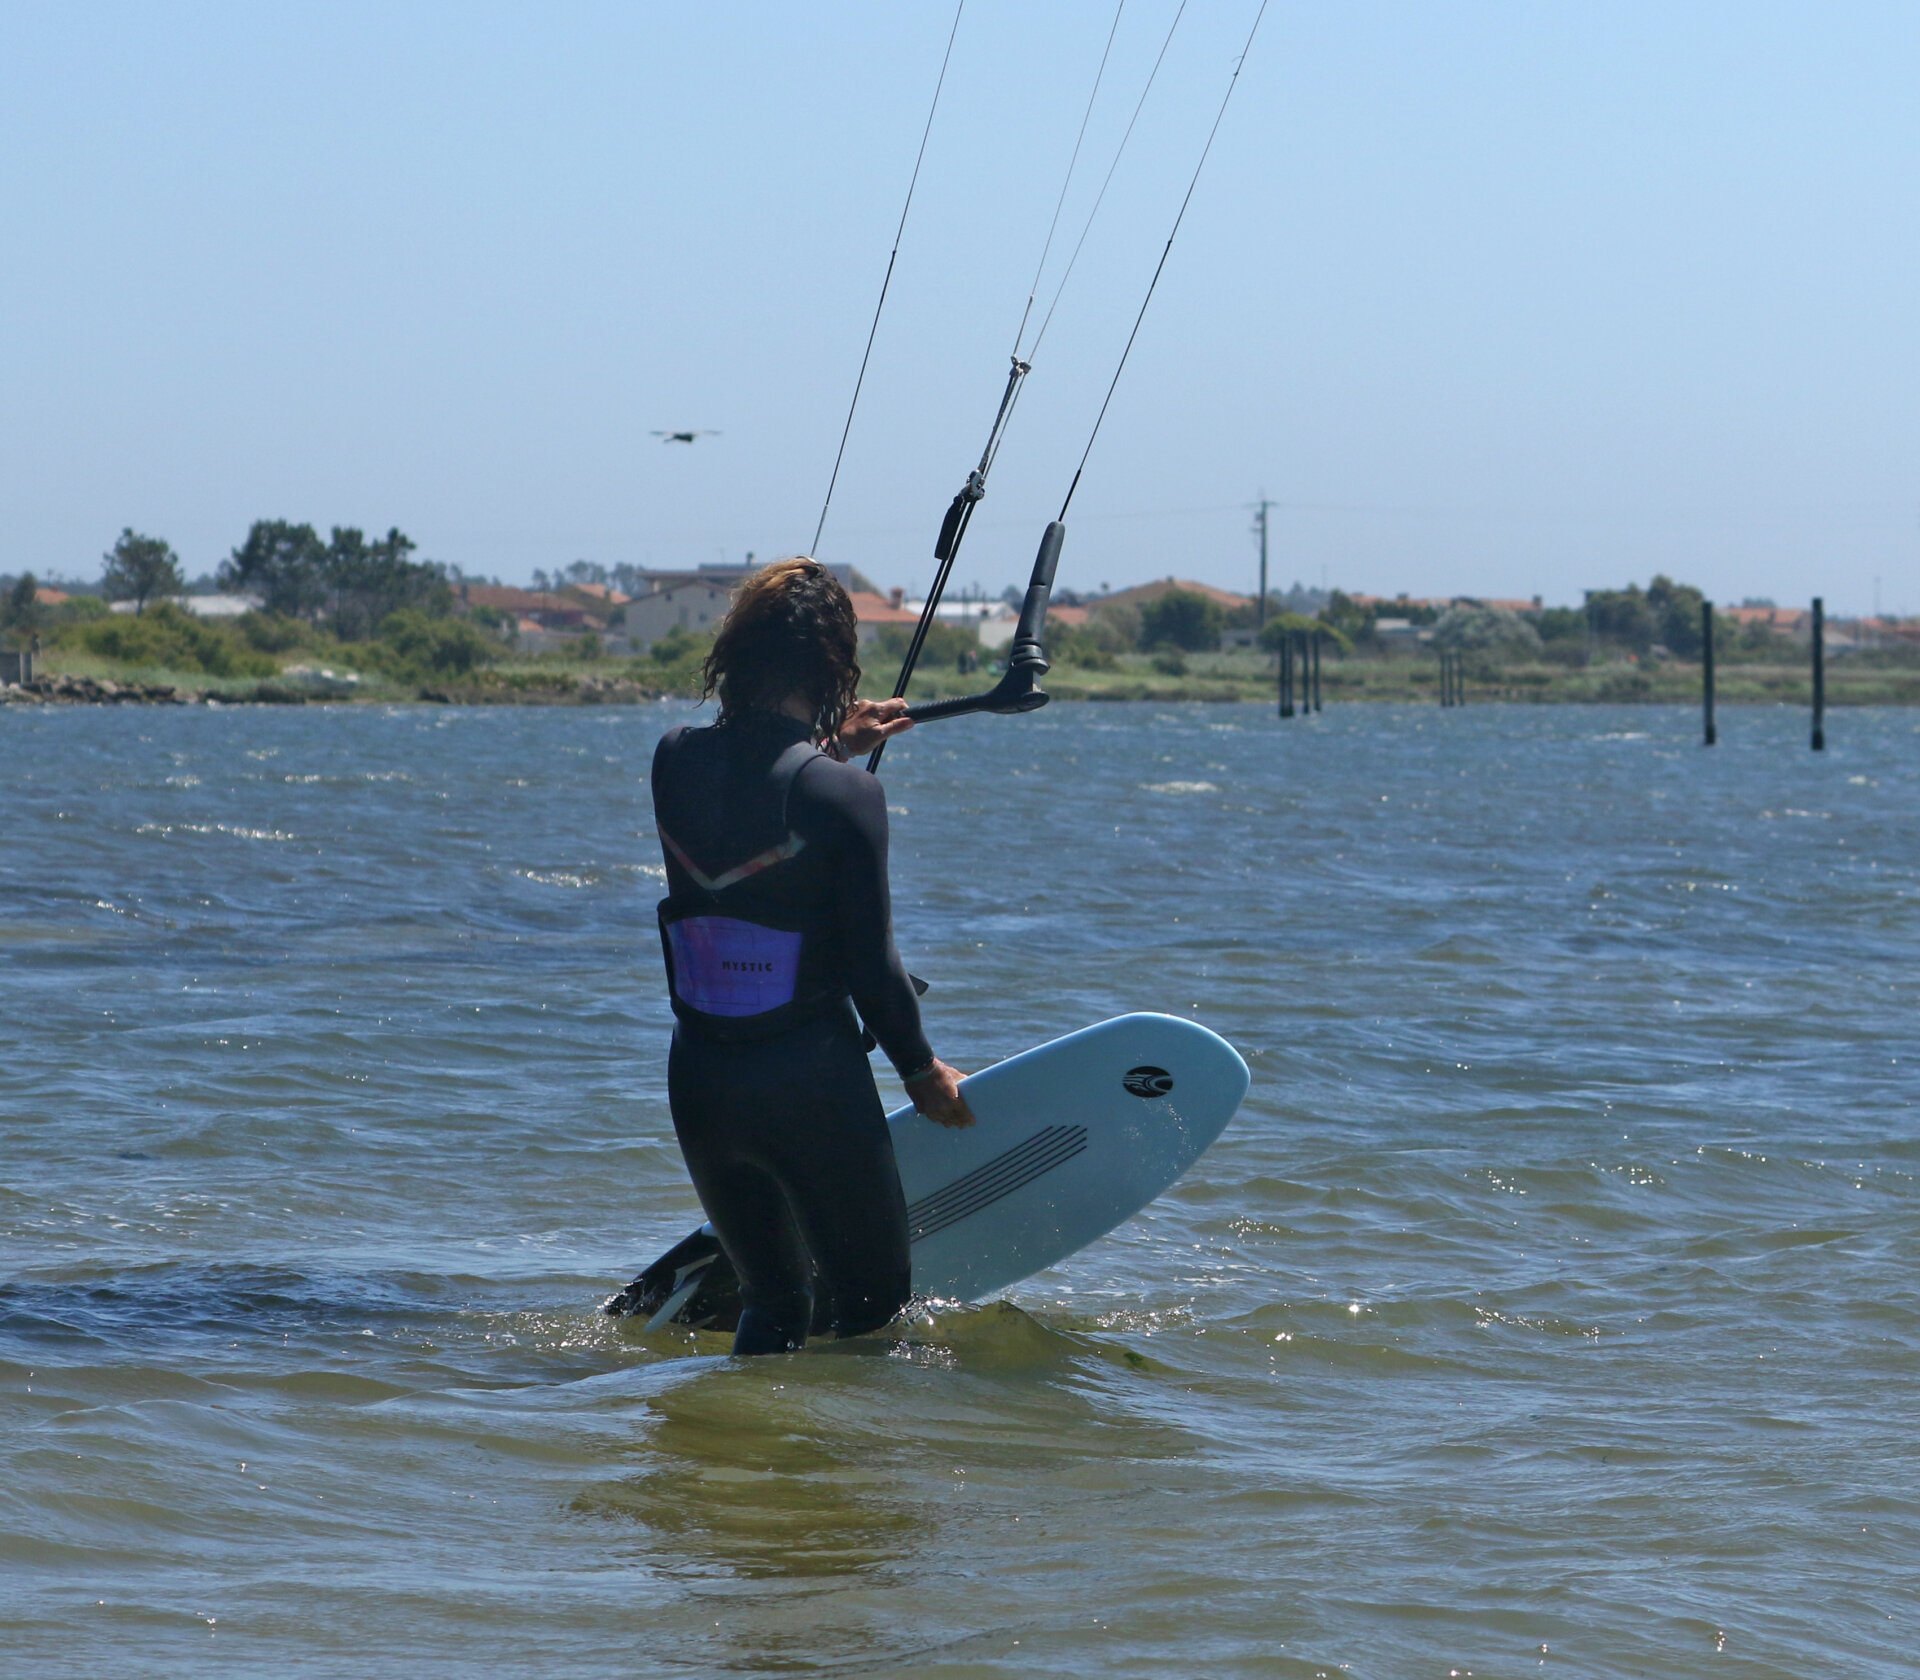
Board Position Pic C.
With your kite in position, it’s time to drop or place the board. You want the board pointing slightly upwind. As alluded to earlier, the wind will blow the nose off the wind, so you’ve bought yourself more time by pointing it slightly up. You can see that Karine has dropped the board so that the same part she was holding is close to her front leg. By doing this, as the board slowly moves, it will drift away from Karine, giving her space to jump onto it. When you’ve dropped the board, replace your front hand onto the bar.

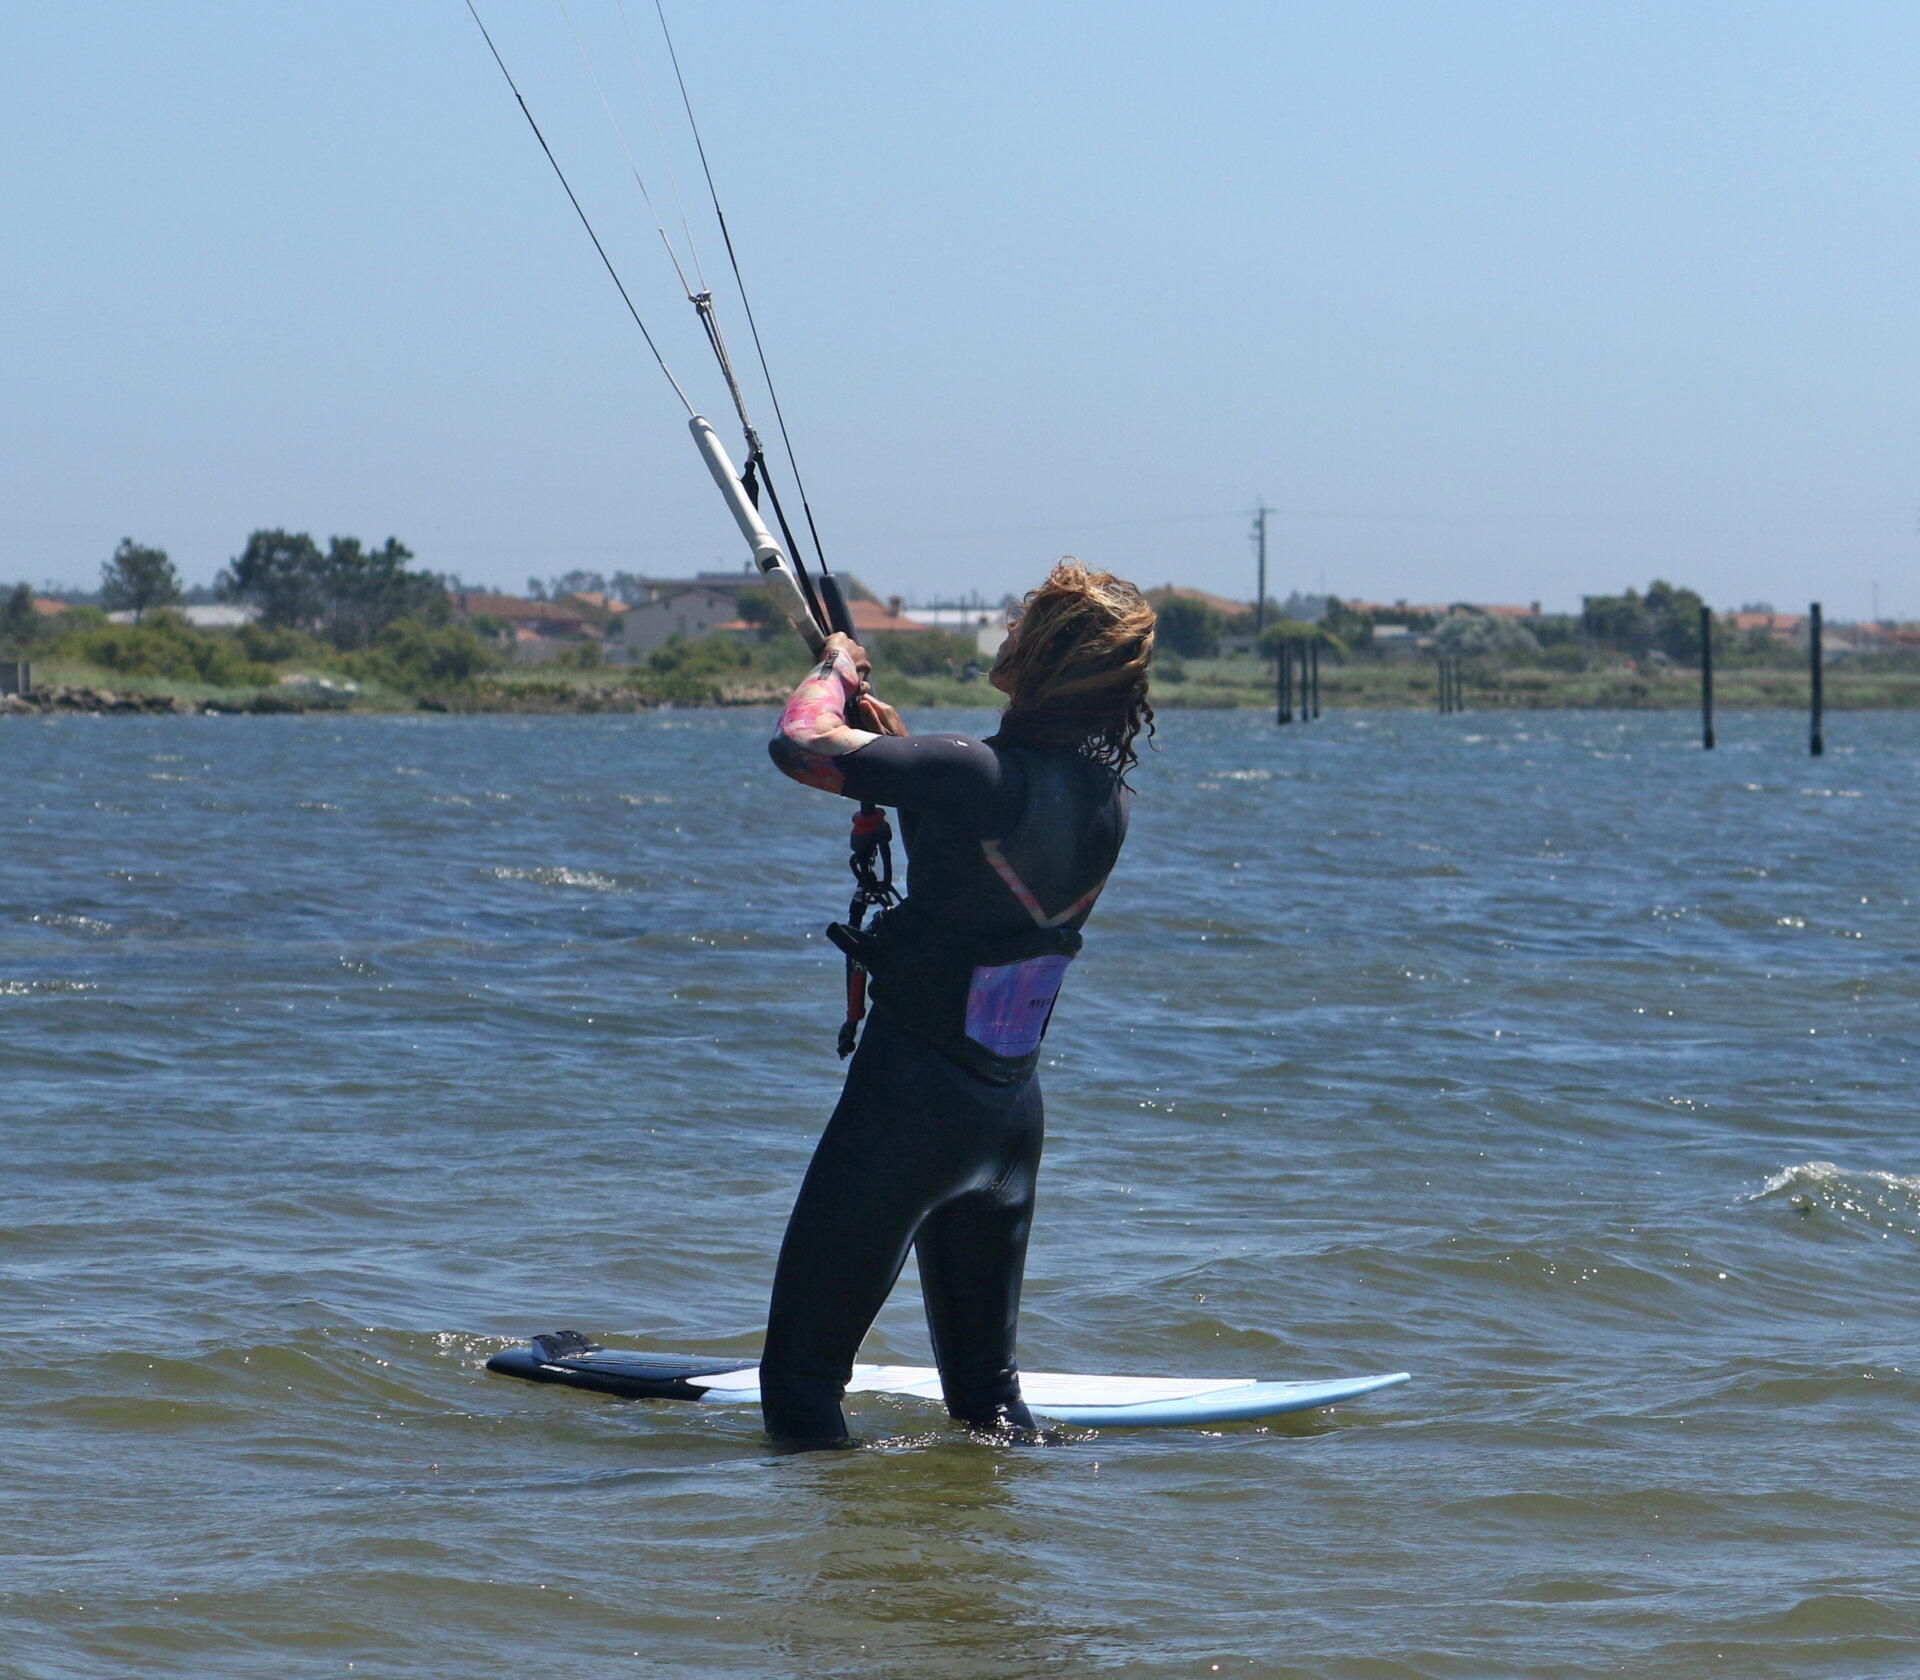
Move the Kite Pic D.
To generate power and lift, you have to move the kite. How much will depend on your power, but you will need the kite to move quickly because you are stationary and have no apparent wind. As such, be positive with your bar movement to get the kite turning. You can see that Karine has given her bar a decent pull-push, keeping it on the sweet spot to get her kite moving quickly. If the wind is light, you’ll have to concentrate more on the sweet spot, as you don’t want the kite stalling and flying through the window.
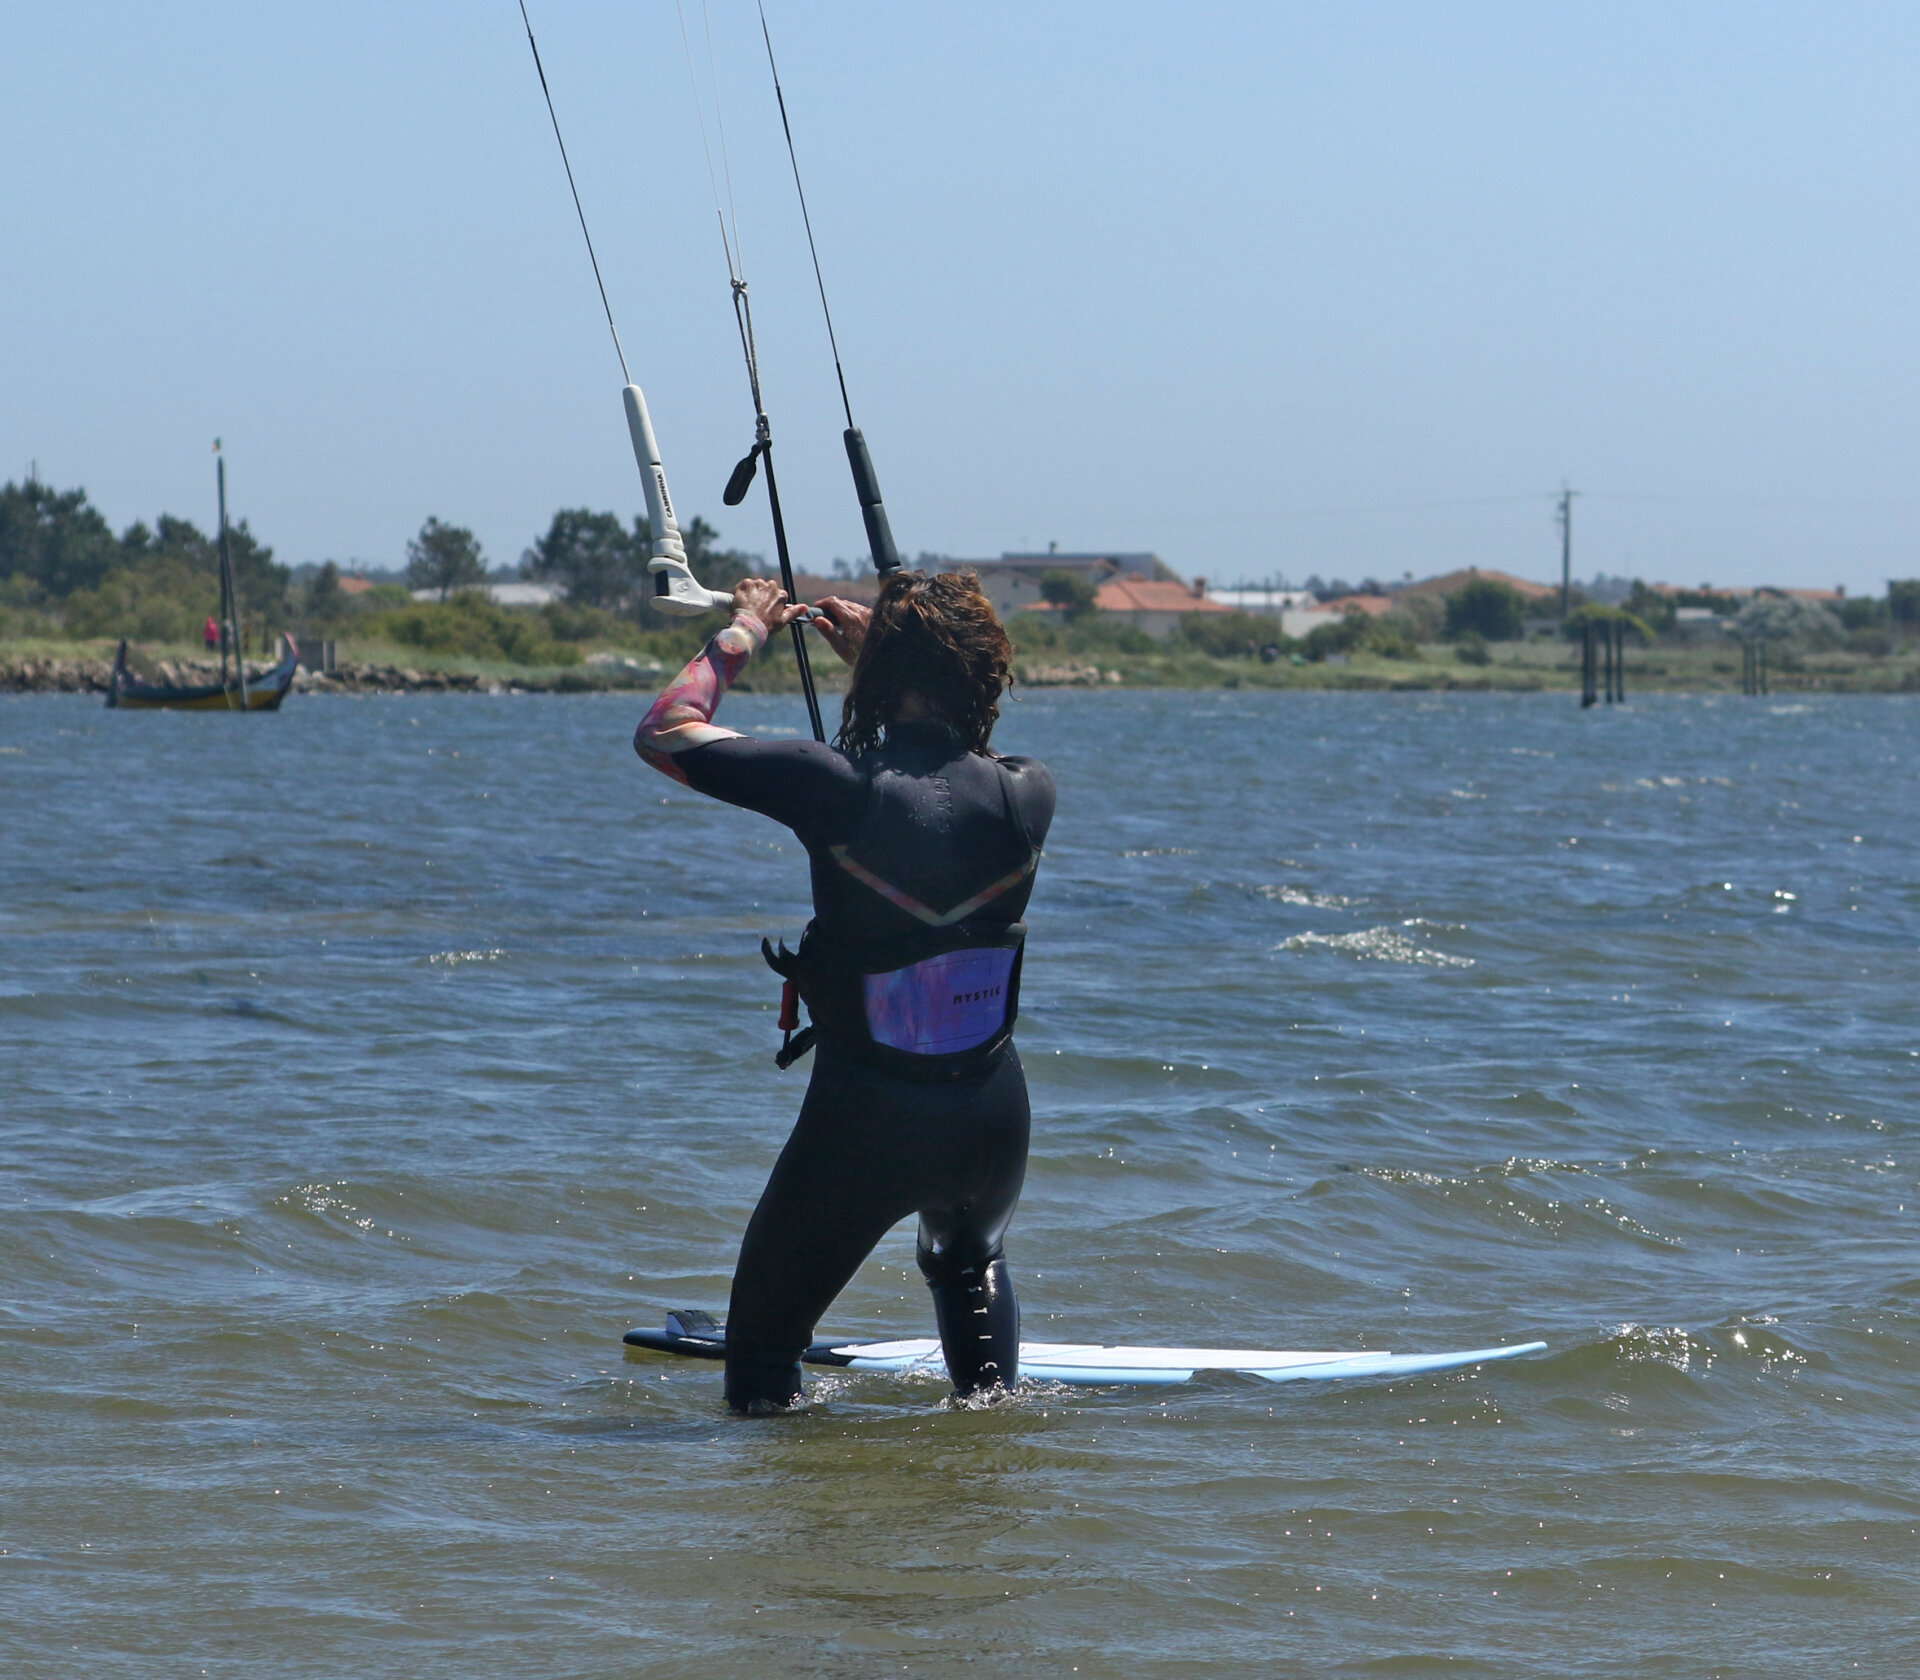
Pause the Kite Pic E.
As the kite turns and starts to accelerate, you’re waiting for it to reach 12 o’clock on its way forward. Once the kite reaches 12 o’clock, level your bar, effectively pausing it. If the kite pulls too much before it reaches 12, you can feather the bar out so it doesn’t. Karine leans gently back to resist the kite as it moves up to 12. She feathers the bar out to resist the pull, levels the bar to slow the kite as it passes over 12 and flexes her knees ready to spring. You can see that the board has started to drift away from Karine’s front leg.
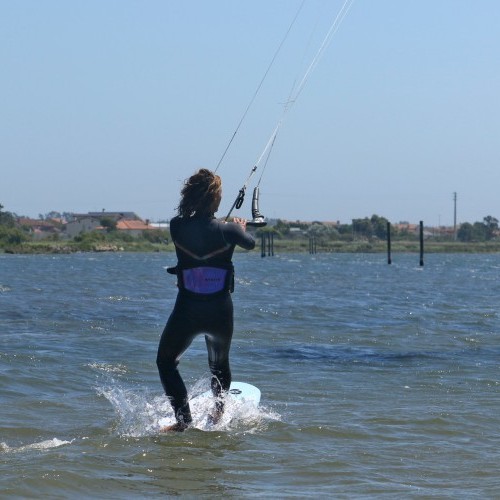
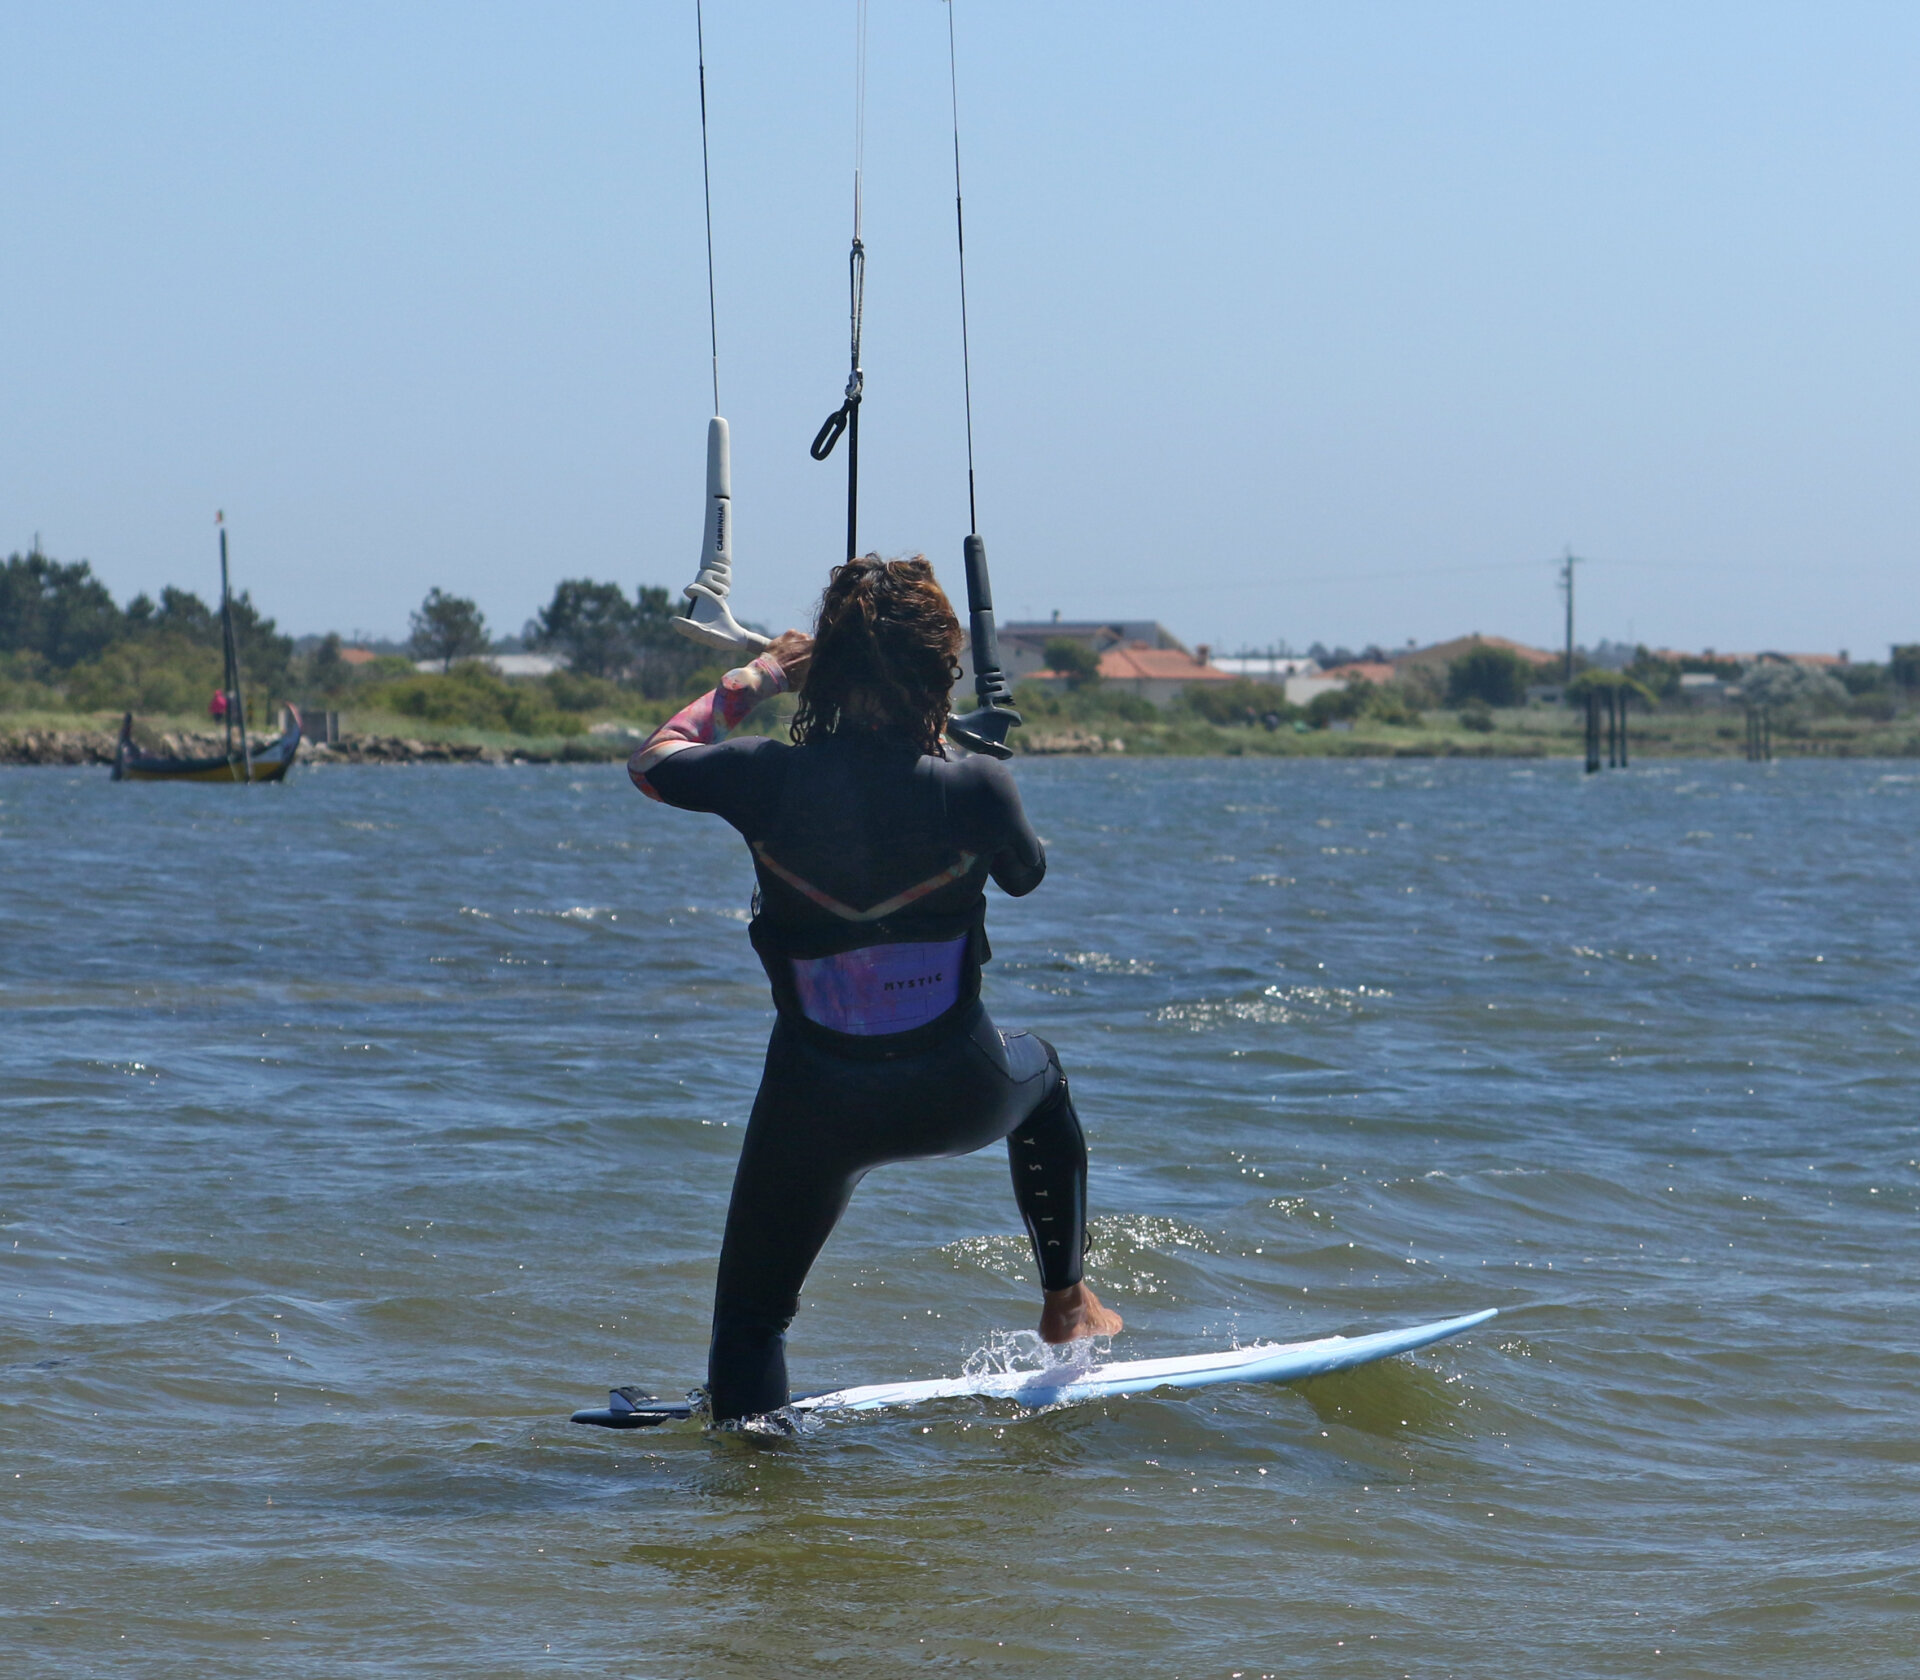
Front Foot First Pic F.
With the kite lifting, it’s time to jump onto your board. All you want is a helping hand; your legs do the rest. Pull the bar gently, steering the kite forward as you do so, and spring up towards the board, lifting your front knee and stepping your front foot forward, aiming to land around its usual riding position. Karine has pulled her bar in for a lift; she’s jumping up off the ground, lifting her front leg and aiming to land front foot first. Her bar is now steering forward again to keep the kite moving so that she gets forward pull once on her board.
Nose Push Pic G.
Follow with your back leg, springing off the ground and up onto the board. You want the front foot to land first, as when it hits the deck, it will push your board’s nose away from the wind. However, to be balanced and prevent the nose from sinking, you’ll need both feet firmly planted on the board, so get some weight on your back foot too. You can see how Karine’s board is turning away from the wind. As she lands on the board, she drops her weight back and pushes through her front leg, directing any pull from the diving kite into the board to bear away and generate forward momentum.
Accelerate Pic H.
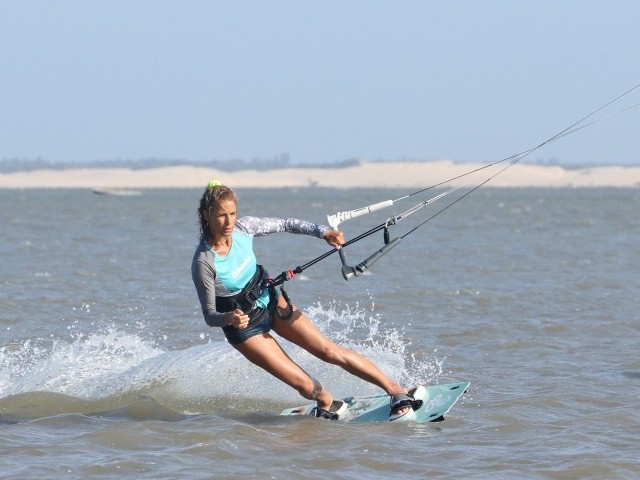
Now with your kite diving and your board bearing away onto a broad reach, you should accelerate, keeping yourself and your board above the water until you start planing. As you accelerate, steer the kite back up and forward, drop your weight and turn back across the wind to get line tension, an edge and ultimately speed. Karine steers her kite, weights her heels and turns her board back upwind. Job done!

Top Tips
- If you’re learning this in flat water, the board may not drift away from you. If this is the case, give yourself room by stepping away from the board before steering the kite forward.
- You can alter how much weight you put through your front or back foot depending on the position of your board. The more upwind it’s pointing, the more you’ll need to get on the front foot. However, if your board swings across the wind or even broad, you can land with two feet or your back foot first to stop yourself from going over the handlebars.
- It’s OK to watch your kite as you start to turn it, making sure that it’s not stalling, but as soon as it’s on the way up, switch your focus to the board, so that you know where to aim for and land.
- It goes without saying that to start, you’ll be better giving it less on the bar than too much. Adding more positivity to steering the bar each time is preferable to getting launched over your board the first time.
- Check out the sequence and watch the video for the complete run through…
Common Problems
Without a shadow of doubt, the most common error is to stand too close to the board and try to hold it still by placing one foot on it before moving the kite. This will result in you hopping on one leg in the sea, trying to stop your board from moving with your toes, while looking up at your kite and steering it one way and then another without losing your balance. That’s a lot to do. Do think of this as a little hop forward onto the board. It’s nothing too rad, but not pedestrian!
Keystones
- Kite back to either 1 or 11.
- Drop board pointing slightly upwind.
- Dive with gusto.
- Pause the kite and hop on.
- Look where you want your front foot to land.


This technique article was in Issue 111 of IKSURFMAG.
Related


By Christian and Karine
Christian and Karine have been working together as a coaching team, running improver to advanced kitesurfing clinics since 2003.
