
Toeside Front Loop Transition
Technique / Intermediate
Introduction
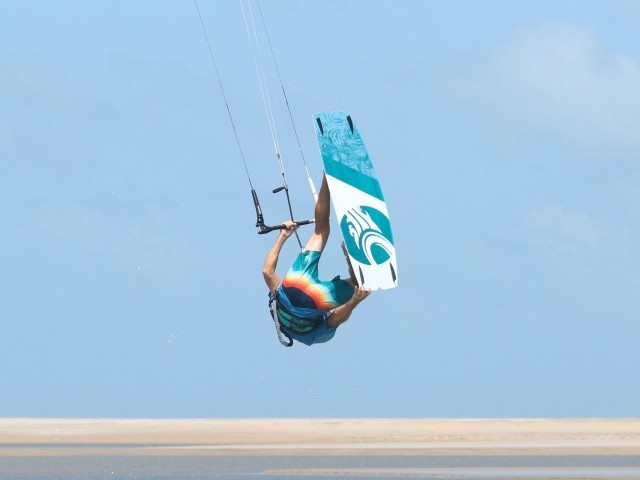
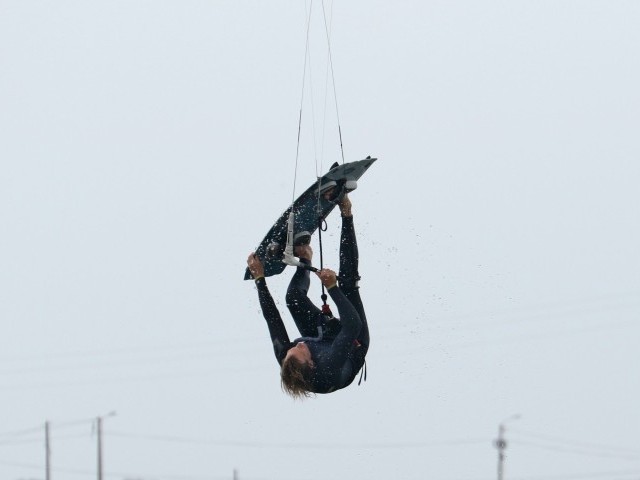
There is probably a far simpler but yet less descriptive name for this rather smooth little number. The toeside front loop transition can be done big or small, fast or slow, with or without looping the kite. One thing that’s for sure though, it’ll make you smile and as a Brucey bonus it could well impress your peers. It’s a lovely looking move and it feels just sooo satisfying.
So if the name is not giving it away let’s examine what’s going on. You’ll be starting this move from toeside, and as it requires some pop, you’ll need to have a decent toeside to boot. Then you’ll be throwing yourself into a forward rotation. However don’t let this put you off, as you don’t need to be front looping to attempt this. If that all sounds simple enough then to add some extra mustard you’ll be using this combination to change direction, so you’ll need to control the kite a la air gybe and land with the board off the wind on your new tack. If this sounds like a load of mumbo jumbo have a look at Video 1.


To simplify matters we’ll break this down into the four steps of airtime: approach; take off, in-flight entertainment and landing.
The Approach
As with all sensible moves you’ll be needing space to do this and/or to crash. Also there is the added potential surprise of a pendulum swing common with low level transitions, so don’t try this too near the beach.
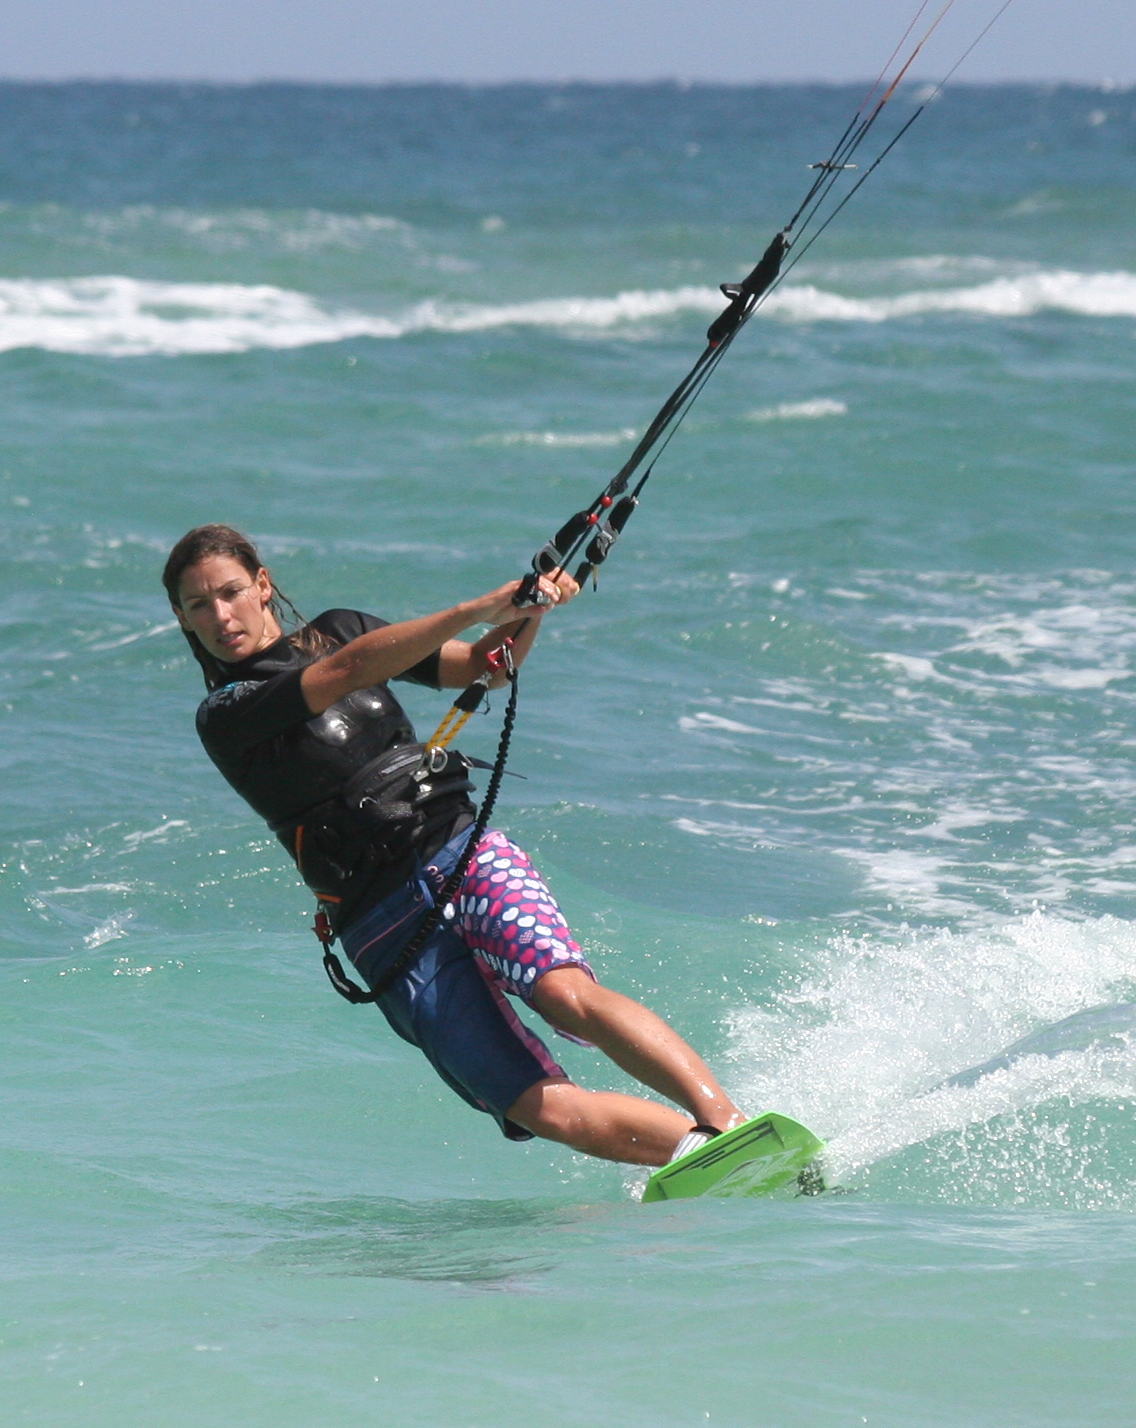
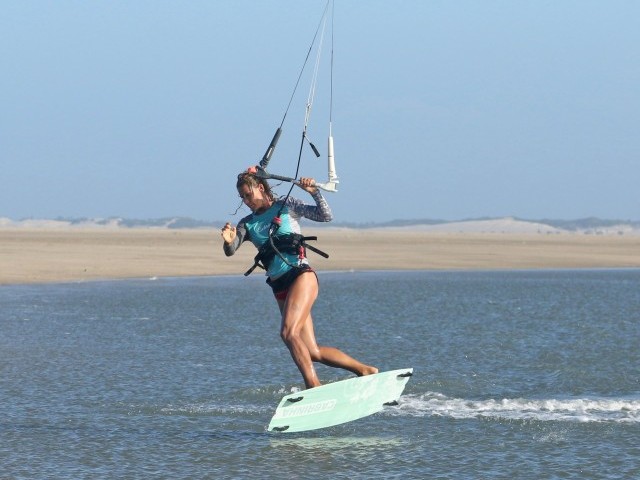
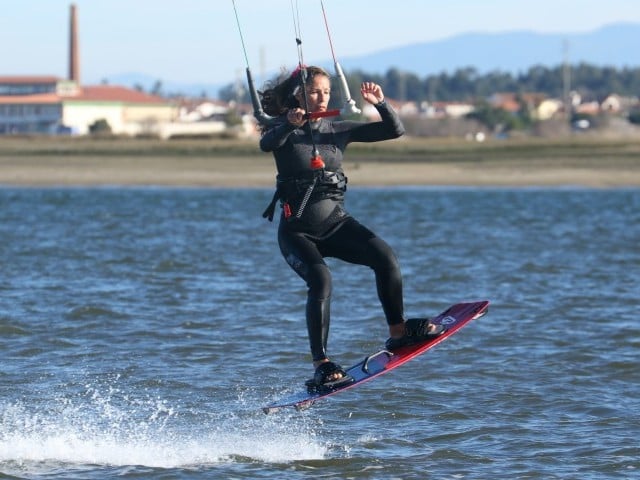
You’ll be needing controlled speed, so have you kite no higher than 11 or 1 o’clock, this way you’ll be able to edge against the power in the kite. Once you’ve switched to toeside you’ll need to get both hands on the bar so you have full control of the kite and your speed as in Pic A. This will only be possible if you trim your bar down towards your chicken loop. To maintain speed try and keep some weight on your front foot so that you don’t push the tail right down into the water.
Take Off
You have two goals during your take off, to get the board off the water cleanly, and to start your forward rotation.
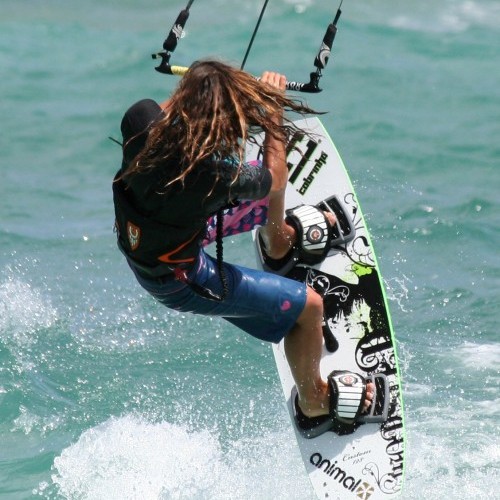
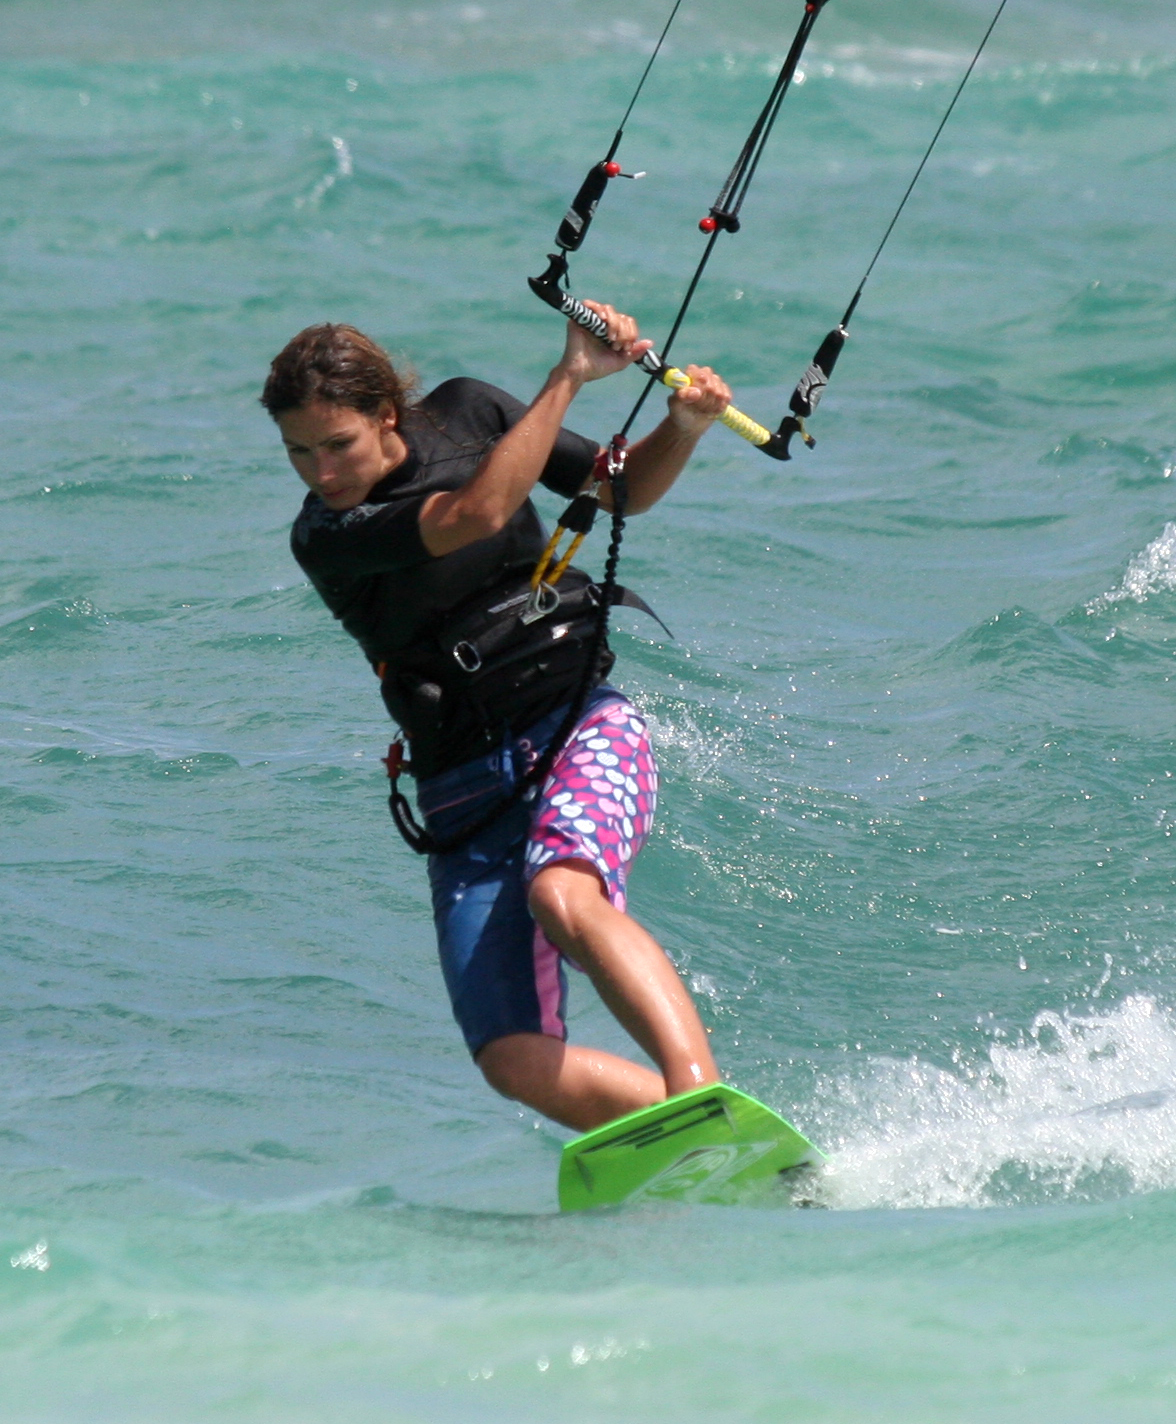
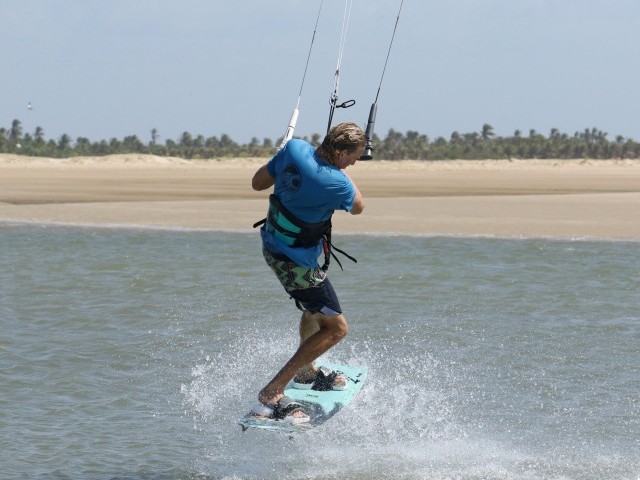
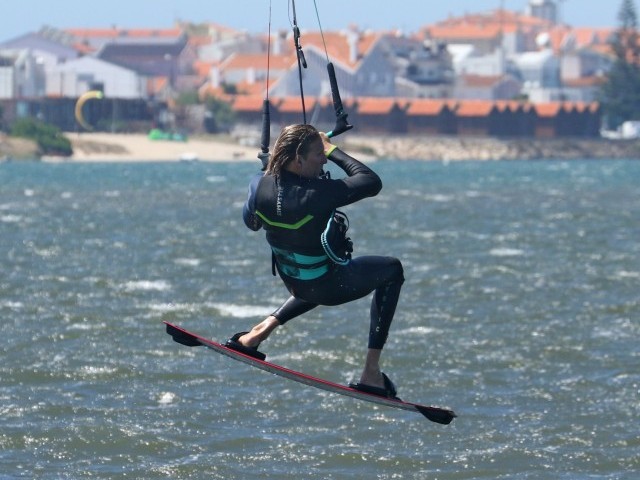
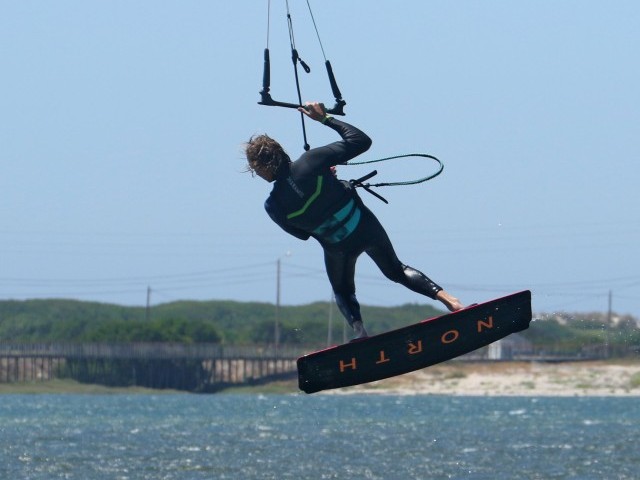
As with an air gybe you’ll be wanting to move the kite up towards 12 o’clock. You don’t need to throw it but if you drift your kite up too slowly you’ll be lifted off you edge and all hope of pop will vanish. As you pull on you back hand you must exaggerate your toeside stance with all your effort. This will be a lot easier if you are sailing across the wind as opposed to as hard up wind as possible. As soon as you feel the kite start to lift, you must rock your weight back over your rear foot and bend your back knee as in Pic B. This will slow the board speed and enable you to carve up into wind as you explode off you back foot by suddenly straightening your leg. If you do this powerfully it will also lift the nose of the board clear of the water and enable you to spin freely.


The forward rotation in this move is actually much easier than it may seem. This is due to the fact that you are toeside. Remember how difficult it was to get fully around from switch to toeside? The kite is trying to pull you back around to heelside all the time, so by releasing your resistance, with a bit of help from your head and shoulders you should be spinning like a wheel. Add to this the fact that the kite will be travelling up and back, giving a bit of an extra tug, completing the full rotation will be fully achievable. As you explode off your back foot you need to throw your shoulders forward and down towards the nose of your board and look over your back shoulder, licking your trailing ear.
In Flight Entertainment
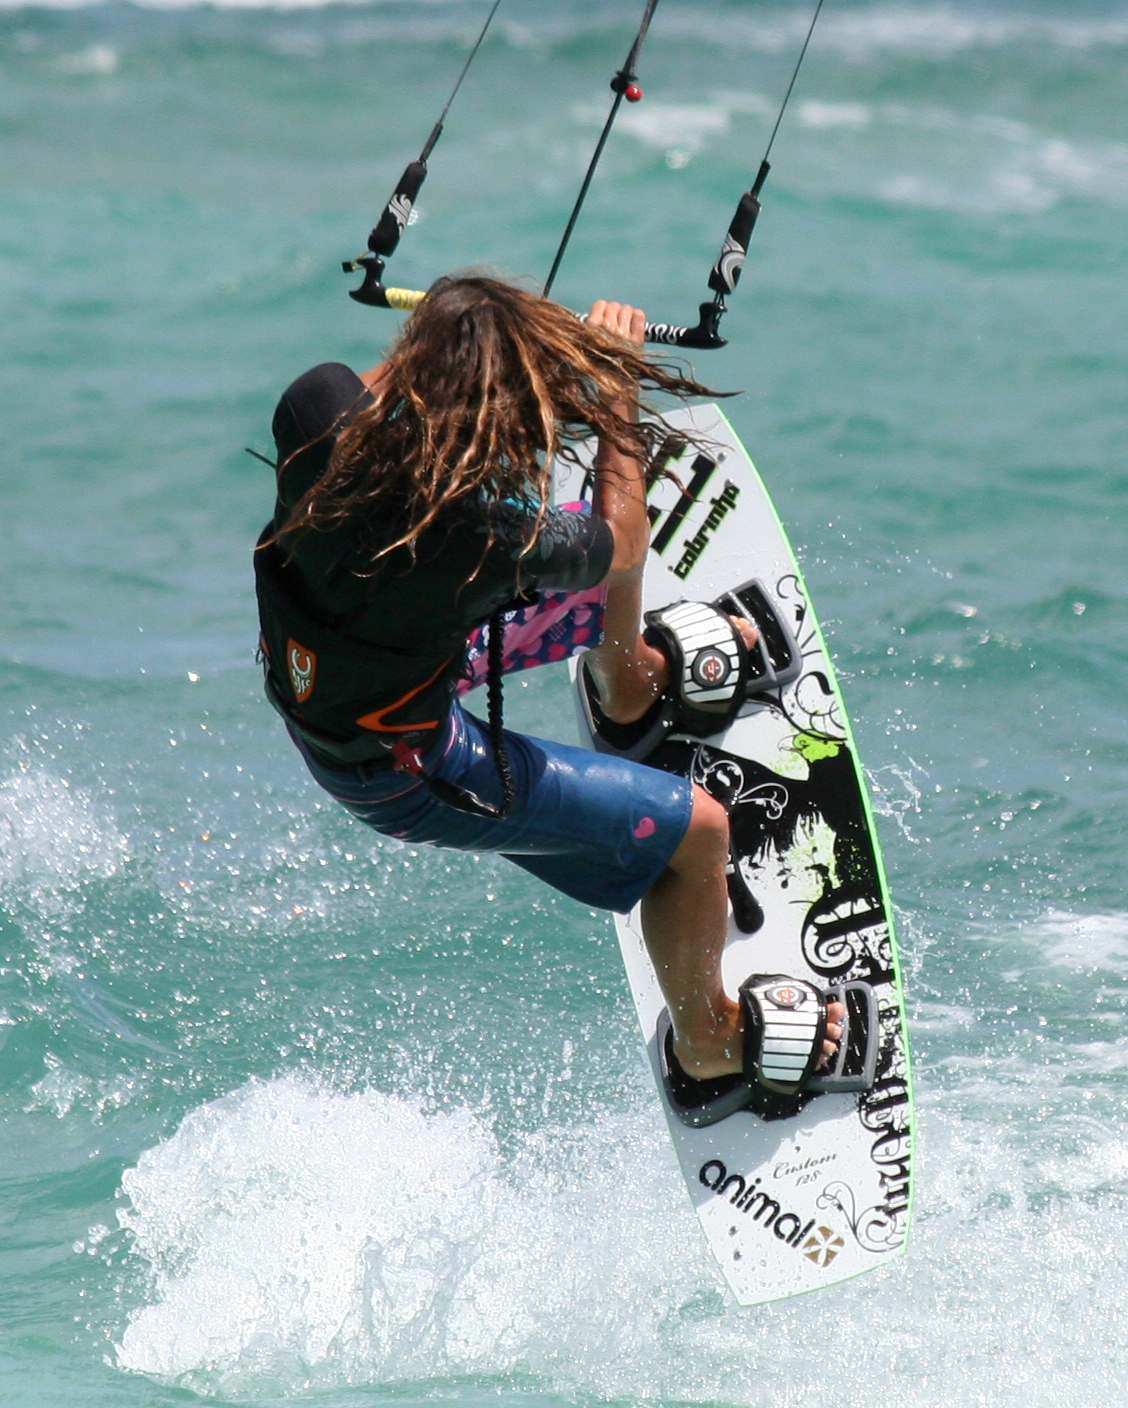
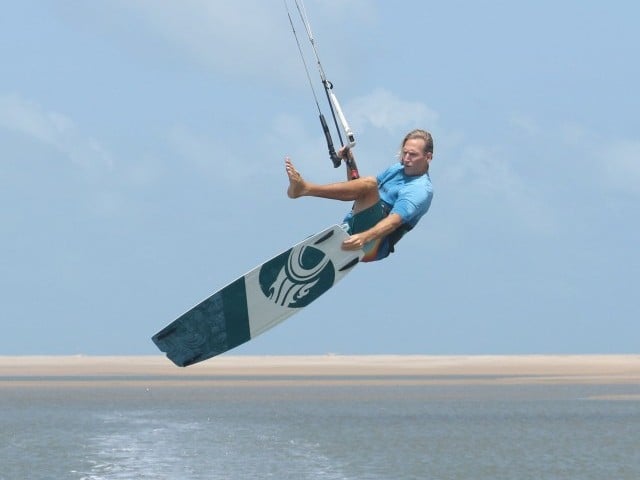
Once airborne, assuming that the take off went well, your concern will be keeping the kite in the right place, and keeping tension in the lines so that you will have control of your cloth when you need it. The ideal place for the kite to stay will be above you at 12. To keep the kite hereabouts keep the bar pulled in, hands to hips. By doing this the bar should end up near parallel to the water, and you will keep the power on, which will give you the lift you need to complete the rotation Pic C.
Landing
Getting set to land will start as soon as feel yourself coming around from your rotation to once again face downwind. This will take some getting used to as it can come around rather quicker than you expect. In your first attempts just keeping the kite above and landing with your bum in the water, before water starting out in the new direction, will give you the sense of orientation necessary. Then when the world is no longer a blur, you’ll be able to see you prospective landing strip approaching over your back shoulder. This is then time to dive the kite and pull out of the move Pic D.
Following Sequence 1
- Pic 1. After looking to check all is clear, whilst riding solidly on her toes, Karine starts to move the kite up towards 12 o’clock.
- Pic 2. As she feels the kite start to pull a little, Karine moves her weight over her back foot and bends her knees ready to spring up. This also helps to raise the nose of the board. She keeps her head forwards, with her chin resting on her front shoulder.
- Pic 3. With the kite now lifting, Karine explodes up and forwards off her back leg by extending it with all her might whilst leaning her head and shoulders towards the nose of the board. She pulls her bar in for extra lift and to level the kite above her.
- Pic 4. Karine now turns her head to look over her back (left) shoulder to add some impetus to her rotation.
- Pic 5. Karine has come fully around from toe side, she keeps the bar in and level to make sure she has enough lift to complete the rotation and keeps looking over her back shoulder so that she does not stop spinning.
- Pic 6. The bar is still parallel to the water, the kite is at 12 and Karine pulls her knees up to keep clear of the water. Also by making herself smaller, Karine will spin more quickly.
- Pic 7. Karine’s body is now facing upwind, but she continues to look over her left shoulder in anticipation of focusing on her landing area.
- Pic 8. As she swings round Karine catches her first glimpse of the water where she hopes to land.
- Pic 9. Karine focuses on where she will land and starts to pull on her front hand hard.
- Pic 10. As the kite dives hard it pulls Karine out of her rotation and she extends her legs and drops her undercarriage. She is still concentrating on where she will land.
- Pic 11. Karine floats down to the water, still pulling on her front hand, legs fully extended to absorb the impact and the board pointing slightly down wind for a tail first landing.
- Pic 12. Once safely down Karine drops her hips back over her rear foot and carves the board back up and across the wind. She pulls the kite back up out of its dive with her new back (right) hand. Suave.
Top Tips
As with a lot of transitions learning this on a bigger kite will give you more lift and make the timing a tad easier.
Going early is vital. As soon as you feel the kite pull you, explode. If you wait you’ll find that the kite will to far over at the edge of the window when you land, and therefore you’ll have no power to ride out of the move.


At first concentrate on spinning around, then add height by being slightly more aggressive with sending the kite back.
For those of you who are a touch more advanced, try sending the kite a bit harder, and add a downloop to complete the transition!
This technique article was in Issue 8 of IKSURFMAG.
Related


By Christian and Karine
Christian and Karine have been working together as a coaching team, running improver to advanced kitesurfing clinics since 2003.
