
Pop Front Nose Grab to Toeside
Technique / Intermediate


Introduction
This is a fun to do and picture friendly grab, which will also lead you on to a host of other stylish chestnuts. We’re deliberately offering this up with a toe side landing, as it is simpler, and looking forward a tad more progressive. Grabbing the nose on a pop trick comes with the inherent “risk” of the kite lifting or even sending behind you, so the front nose grab will train you to both control your kite with just you back hand, and resist using your kite for extra lift. Technically it’s a win, win learning experience. To give this a go we’d recommend that you can stomp a popped front loop, if you’ve yet to master one of those have a look back five years (!) at Issue 21 (http://www.iksurfmag.com/issue21/?t=Popped-Front-Loop-2010-Kitesurfing-Technique&page=89)
Now let’s a have run through of what you’ll be focusing on when giving this a shot. Suffice to say that as this is a pop trick we’ll take it as a given that Christian has approached off the wind, kite around or just below 11 (or 1) o’clock, with his weight back over the tail of the board, front leg extended and hands centred on the bar.

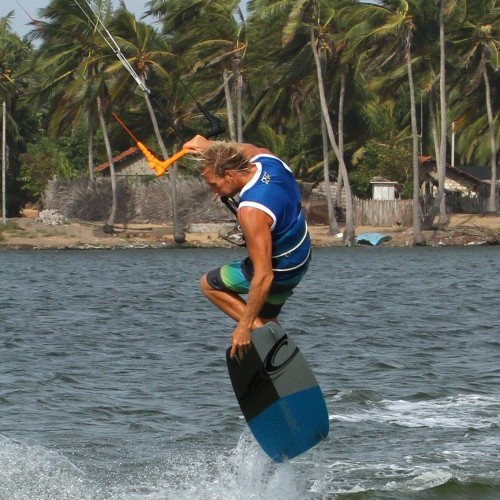
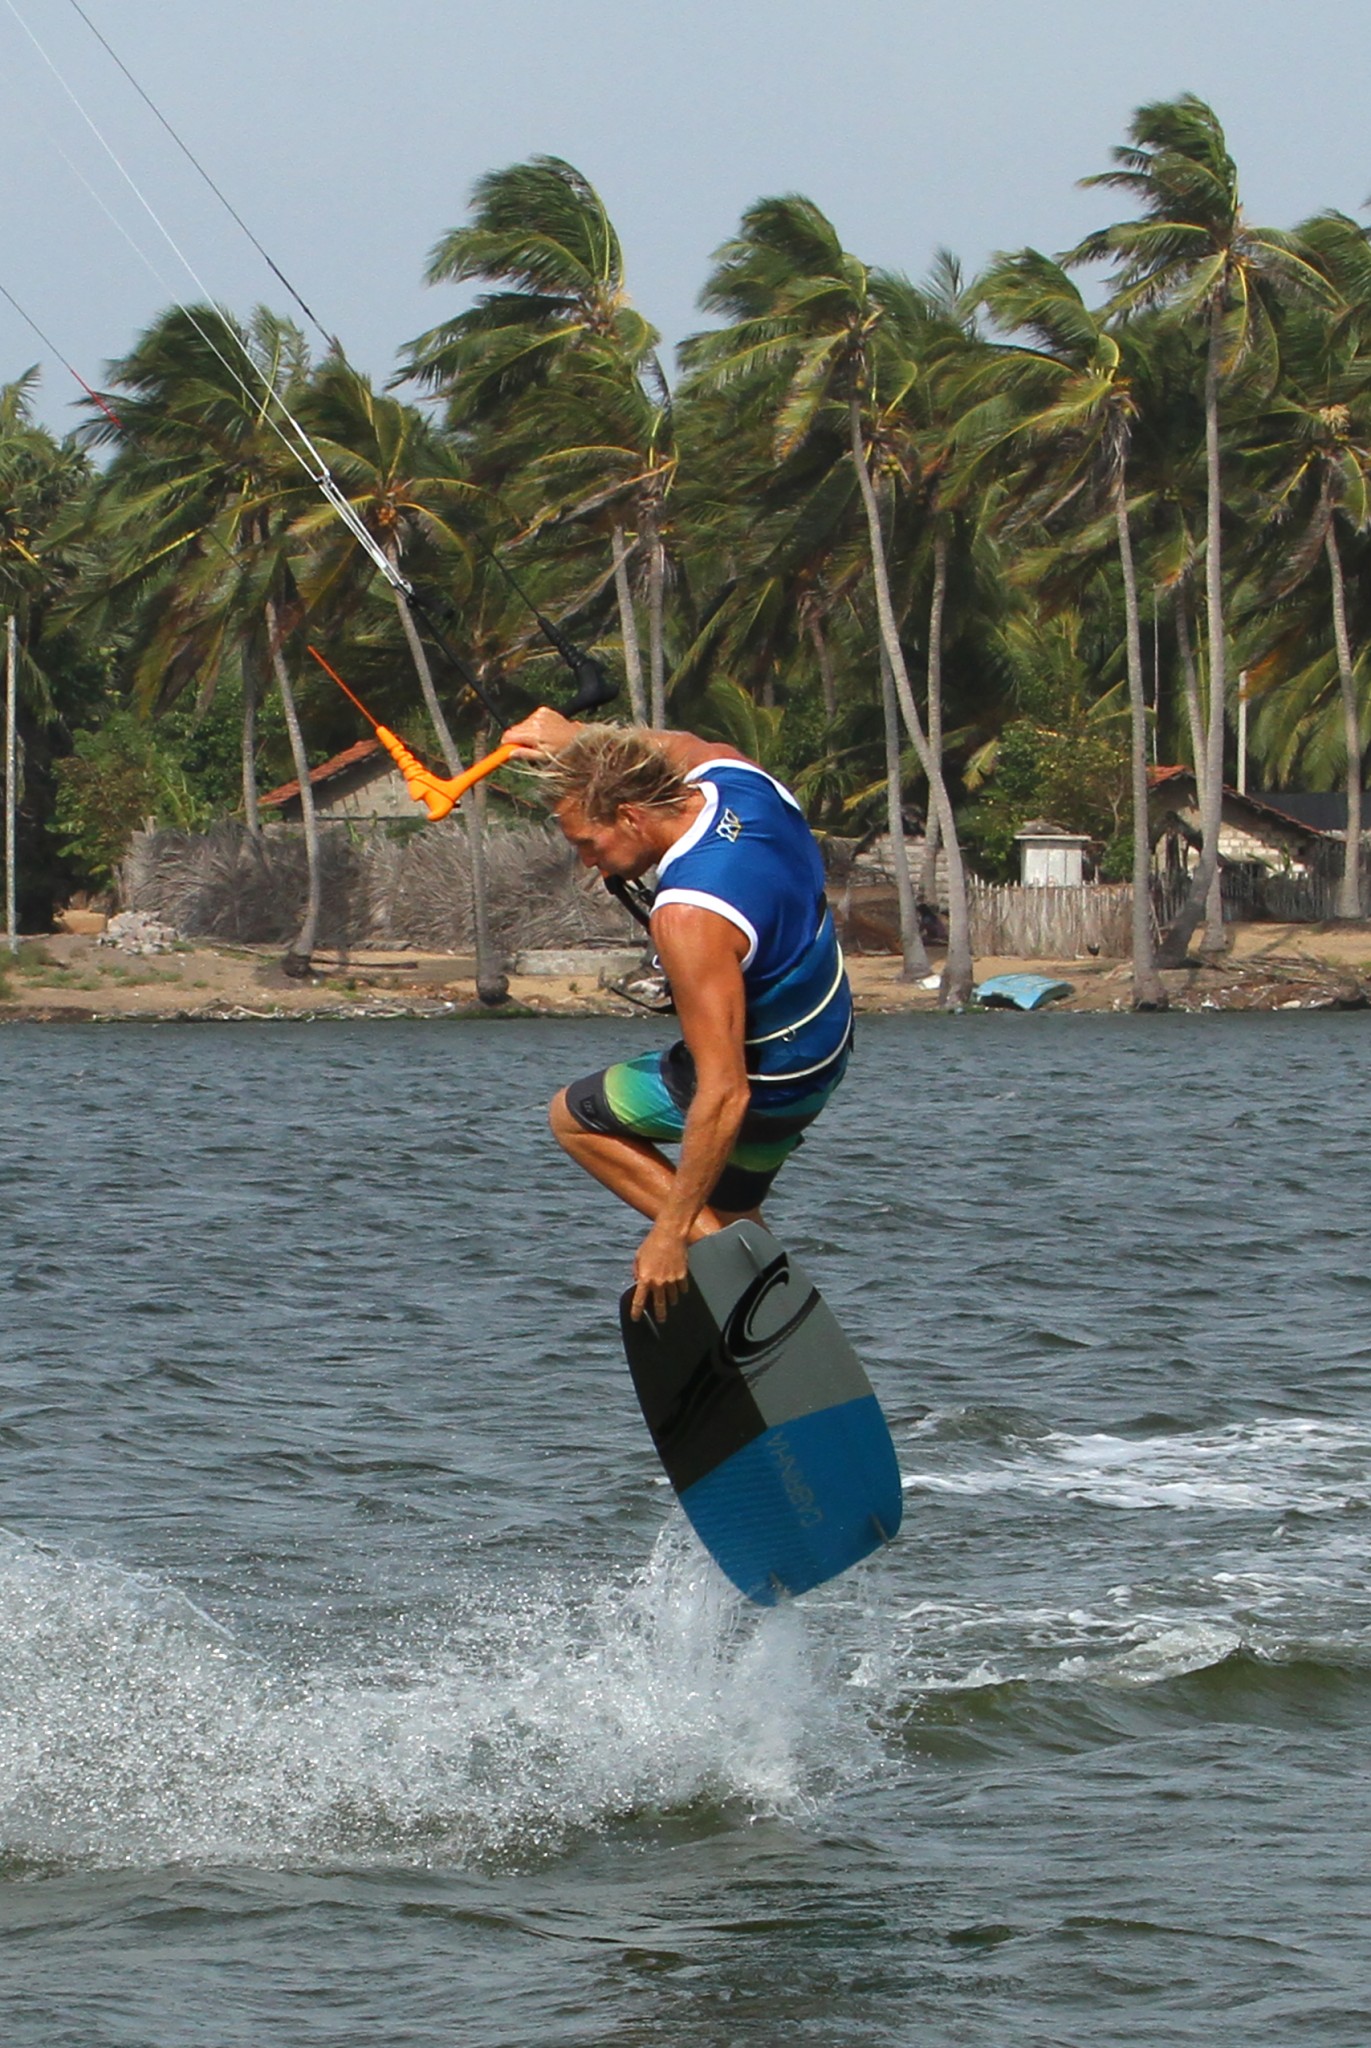
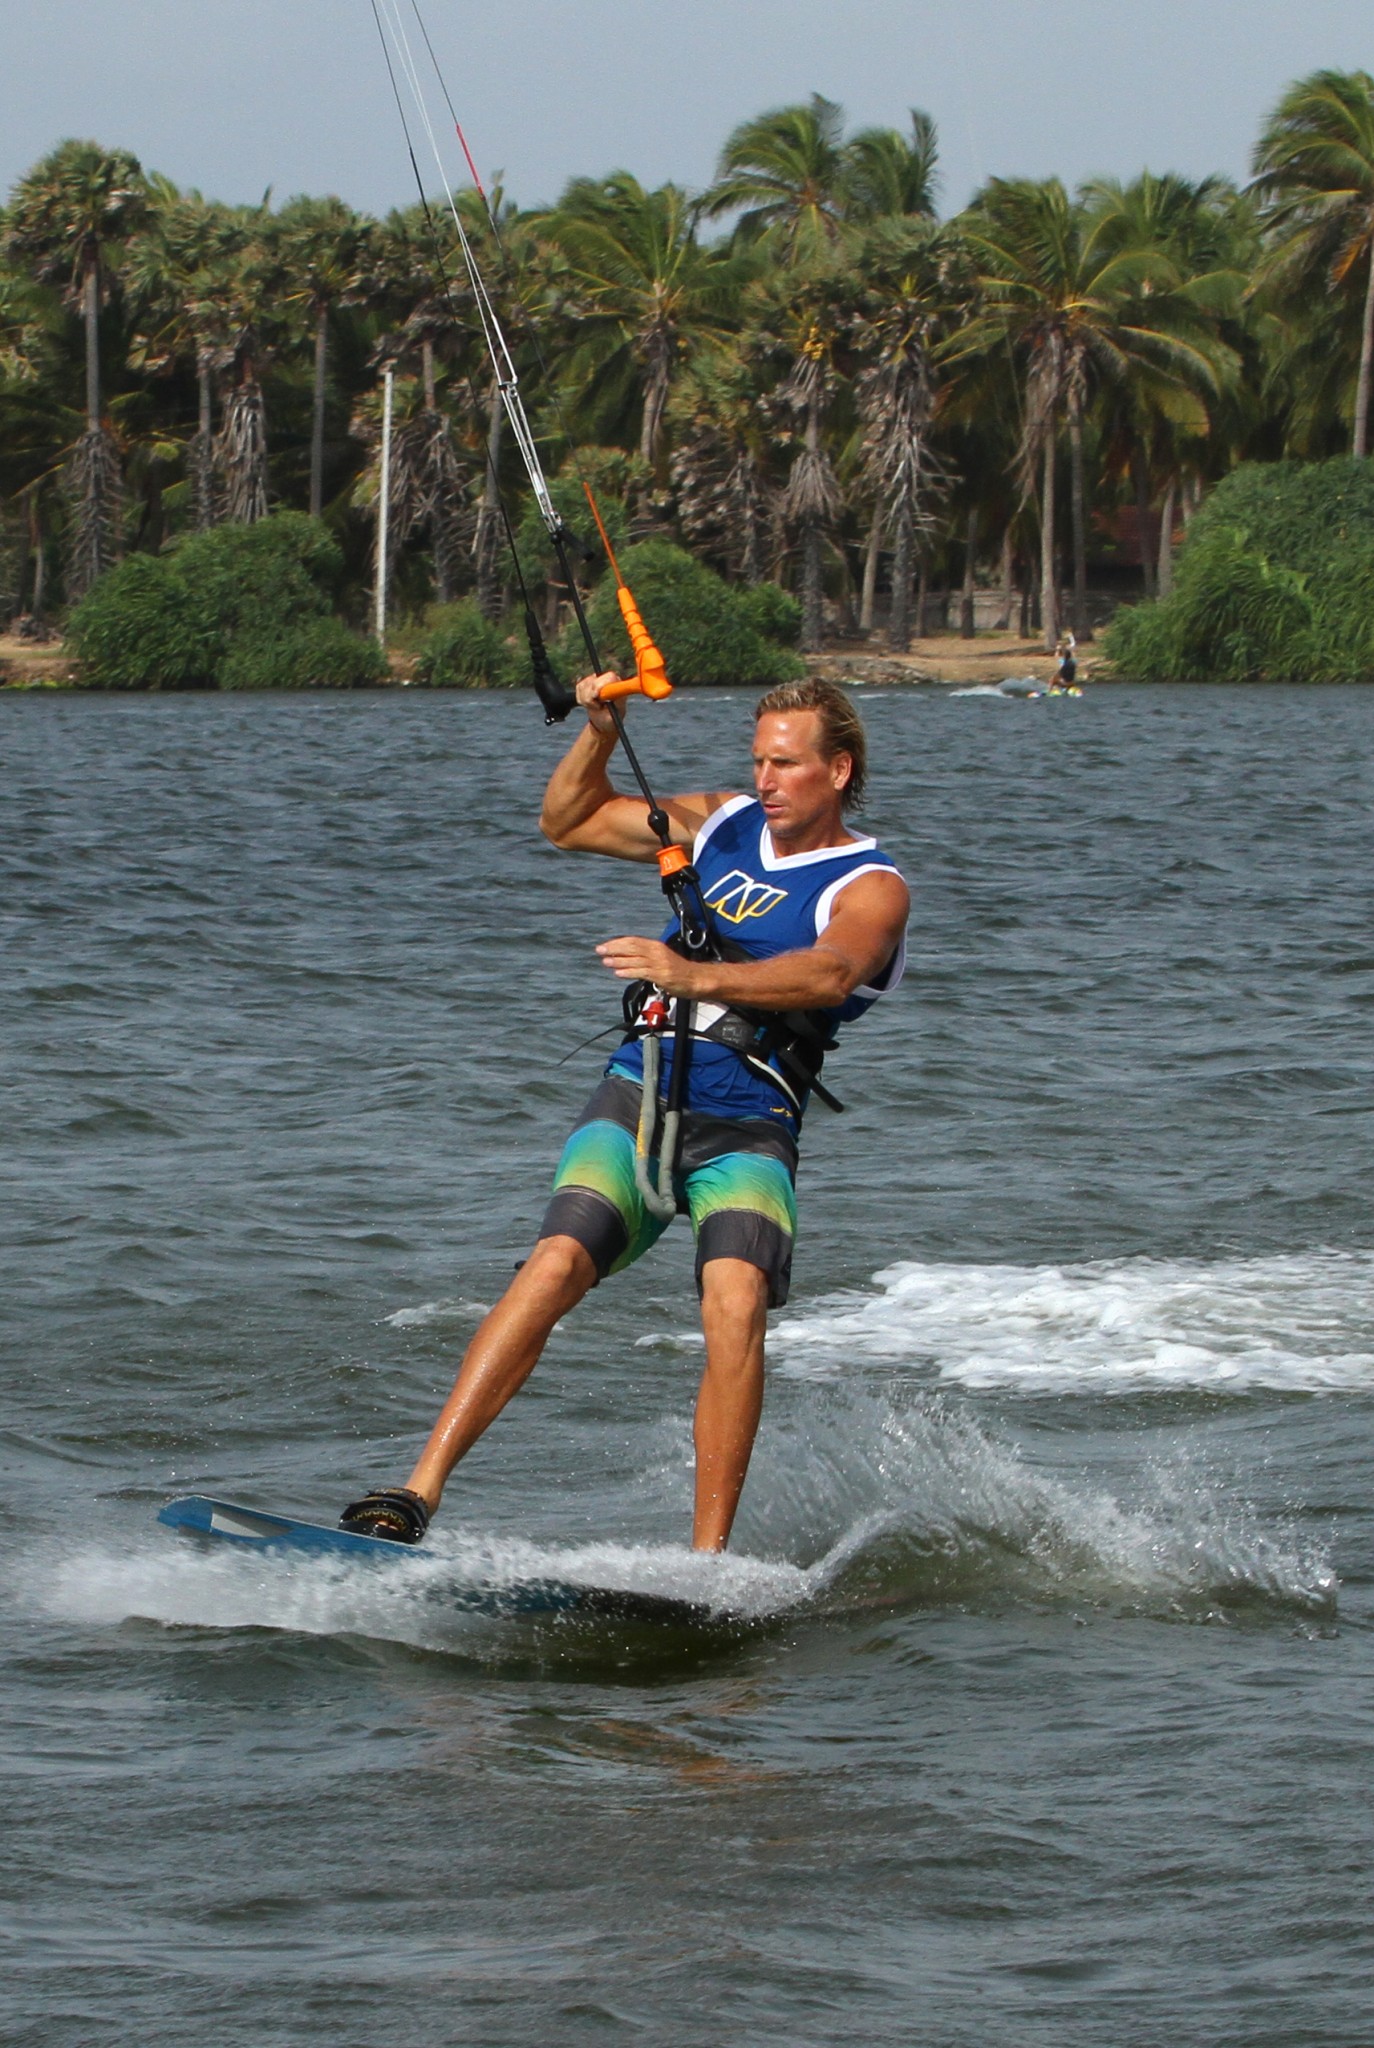
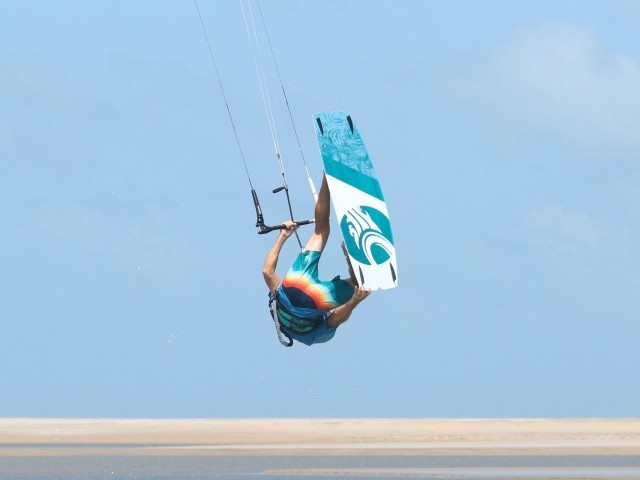
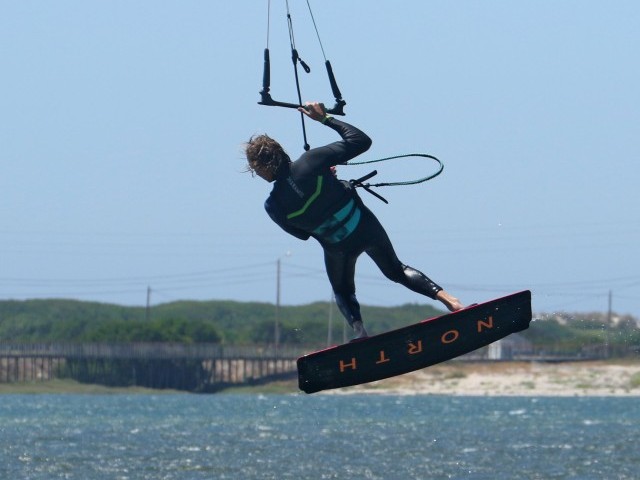
Pop & Prepare - Pic A
Seeing as we’re grabbing a pop trick, which will be over before you can say Mesopotamia, we are short on time. By grabbing with the front hand you can’t even cheat by lifting the kite, as there is no way to dive it at the end, so this has to be speedy. The emphasis is on getting both a decent pop and the grab early, so that you can make it count before you have to release and land. We mentioned having your hands centred on the bar, but if you can place the centre chicken loop line between your first two fingers of the back hand it’ll be even better. Be careful though, if you have a rope centreline this can burn and nick your skin! You can see in the picture that Christian is popping hard up off his back leg by extending it fully, and he’s lifting his front knee, which brings the nose of the board up close. However the key point here is that Christian has already released his front hand and is looking for the grab before he’s even left the water…
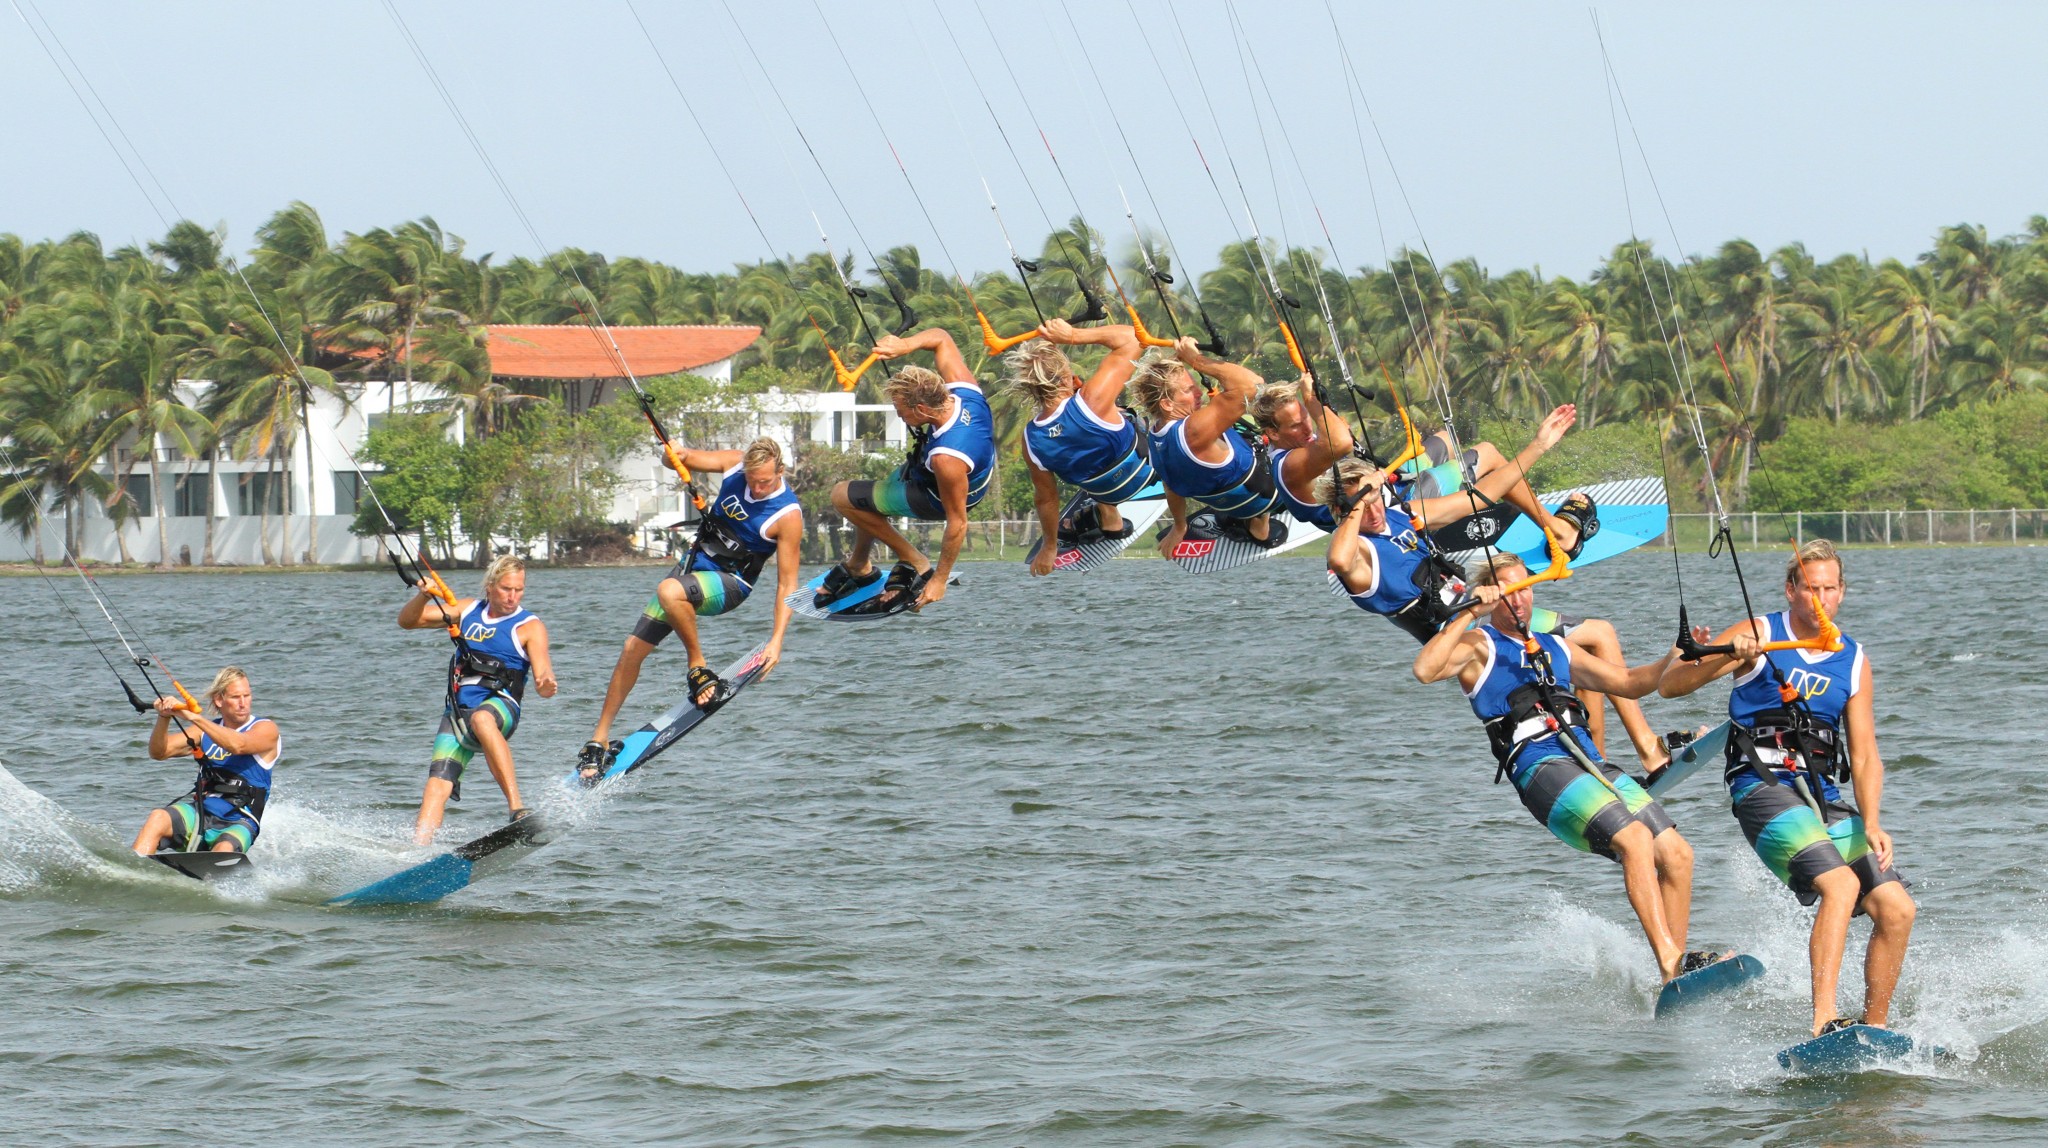
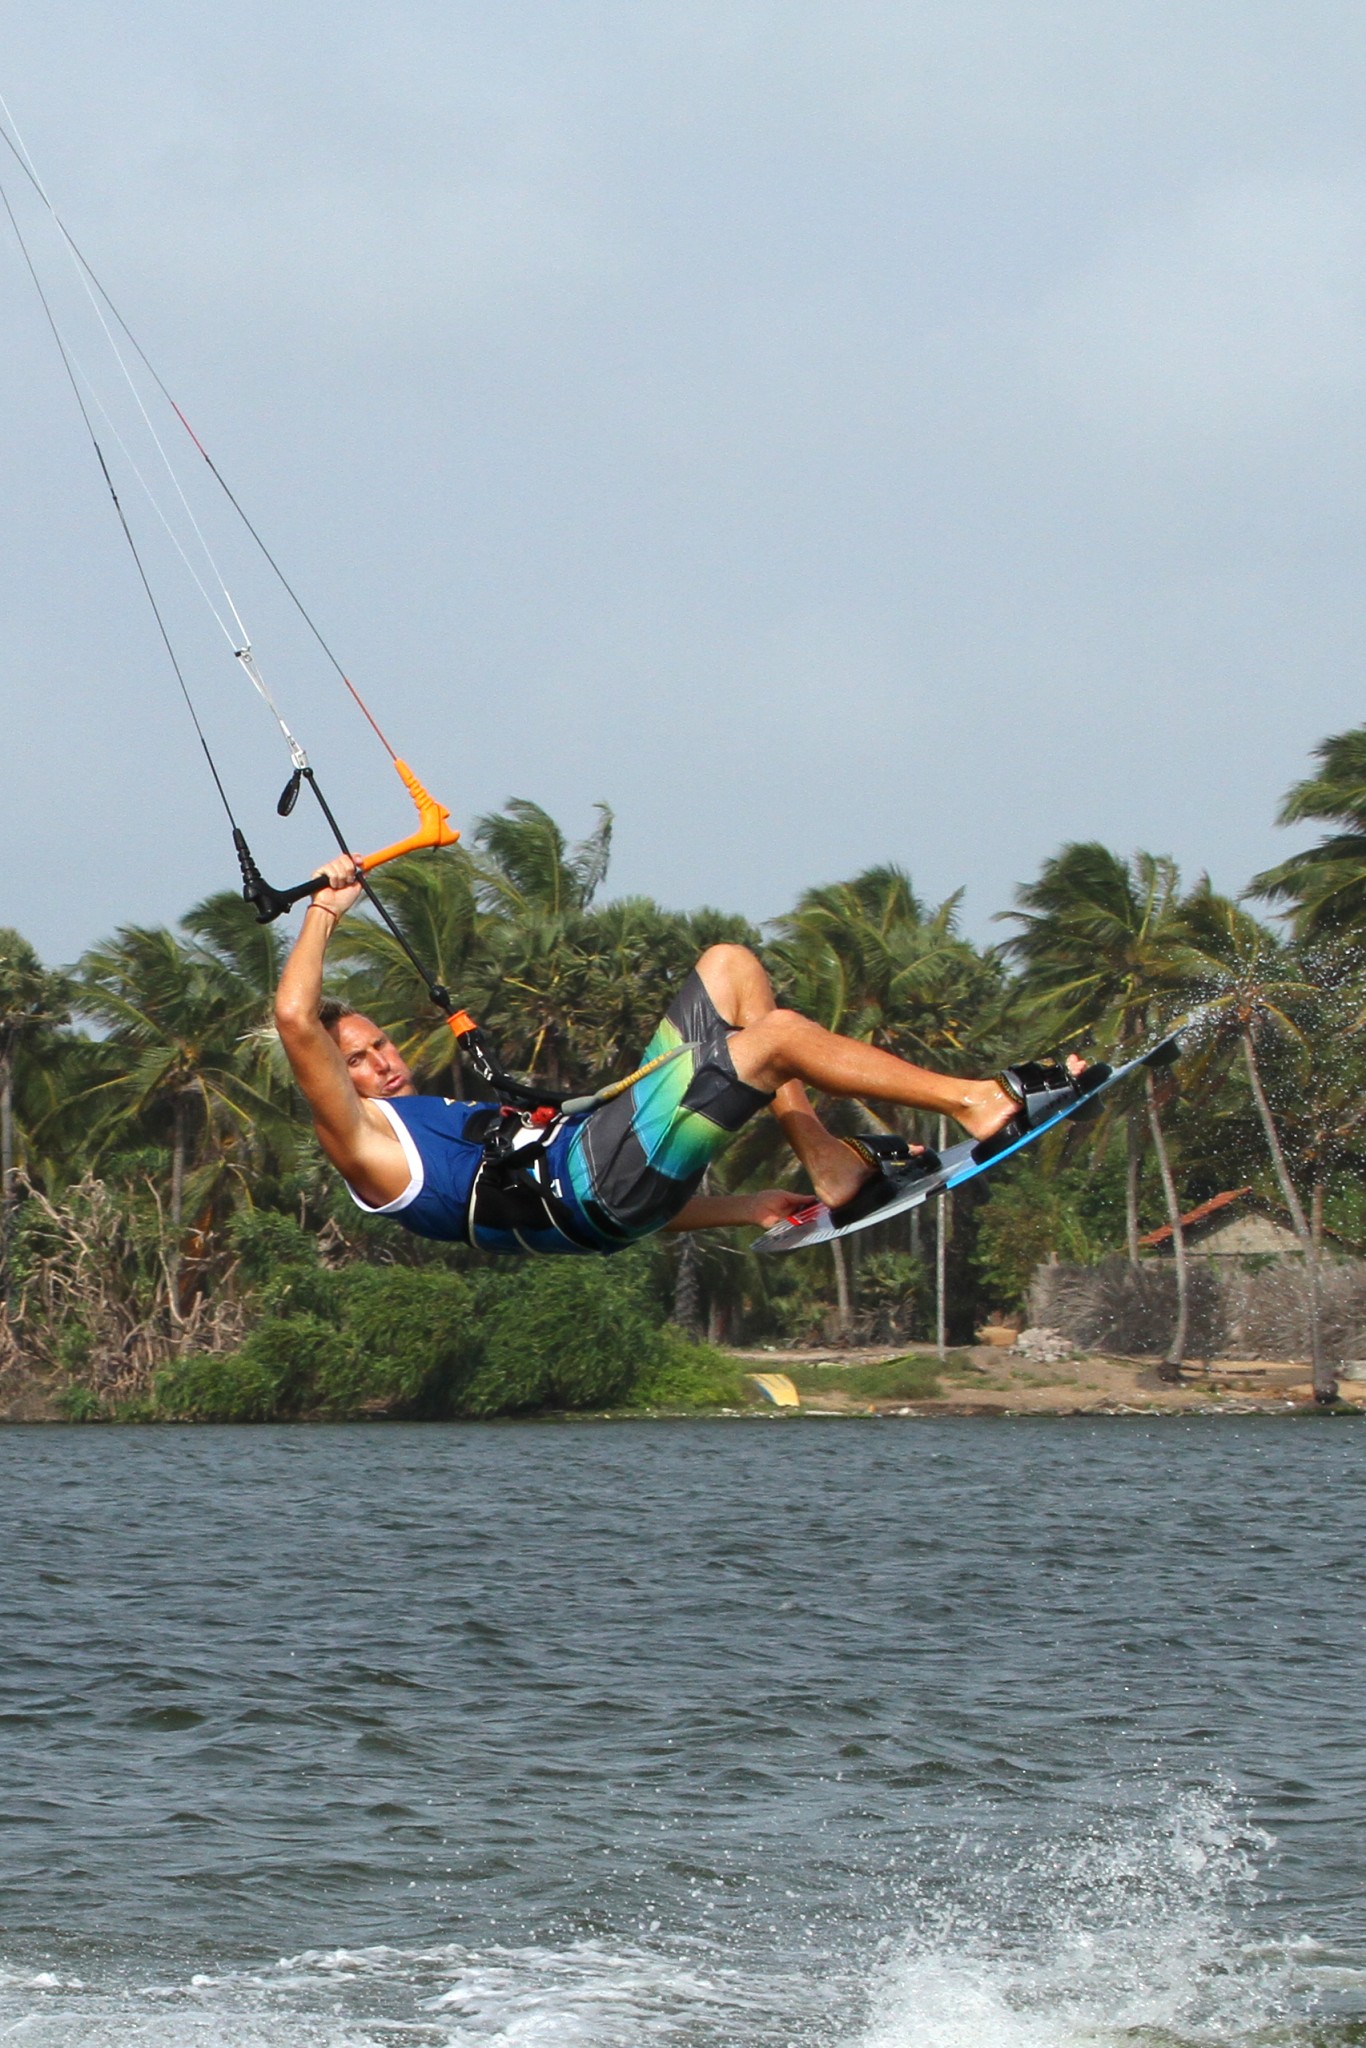
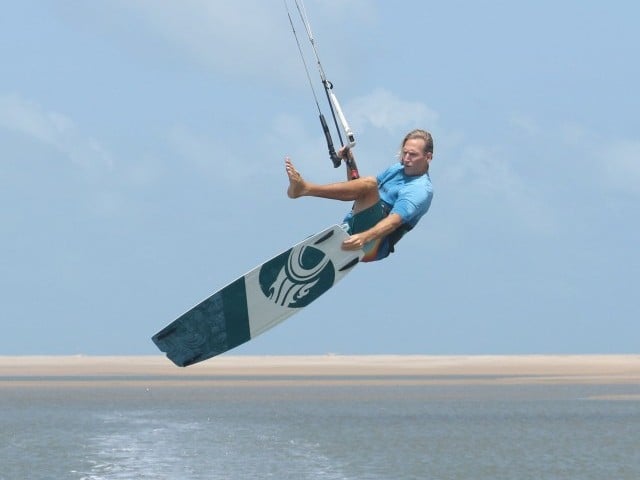
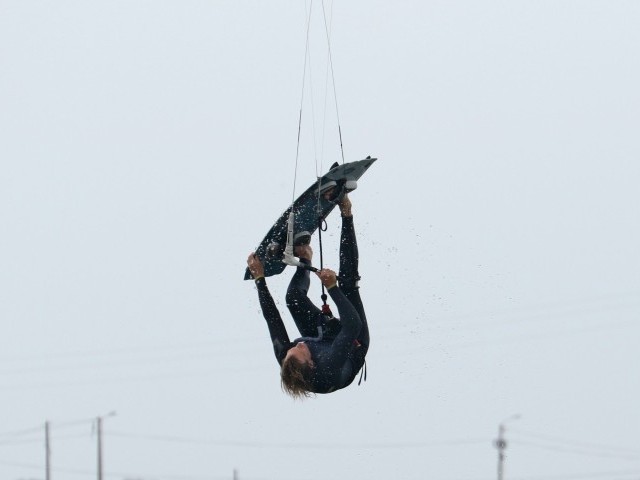
Grab Fast. Rotate Slow - Pic B
Your next goal is to get the grab. Look at the nose and reach down to it with your front hand. You have already lifted the board so it’ll be within reach. The beauty of mixing this grab with a front rotation is that they work together. You lift your front leg to rotate which makes the grab easier, and you throw your front shoulder down to rotate which also makes the grab easier – or by grabbing it encourages you to lift the knee and drop the shoulder. Whichever way your mind works the movements are encouraging each other! By dropping your front shoulder, lifting your front leg and kicking off hard you will start to rotate, slowly. This is a good thing, as you don’t want to spin quickly, you’re only going to toe side after all. Once again if you look at Christian you can see that he is still looking forward. He has not turned his head into the rotation and therefore keeps it slow. Final point, his bar is still angled forward, he hasn’t pulled in, so the kite keeps flying forward and doesn’t drift up.
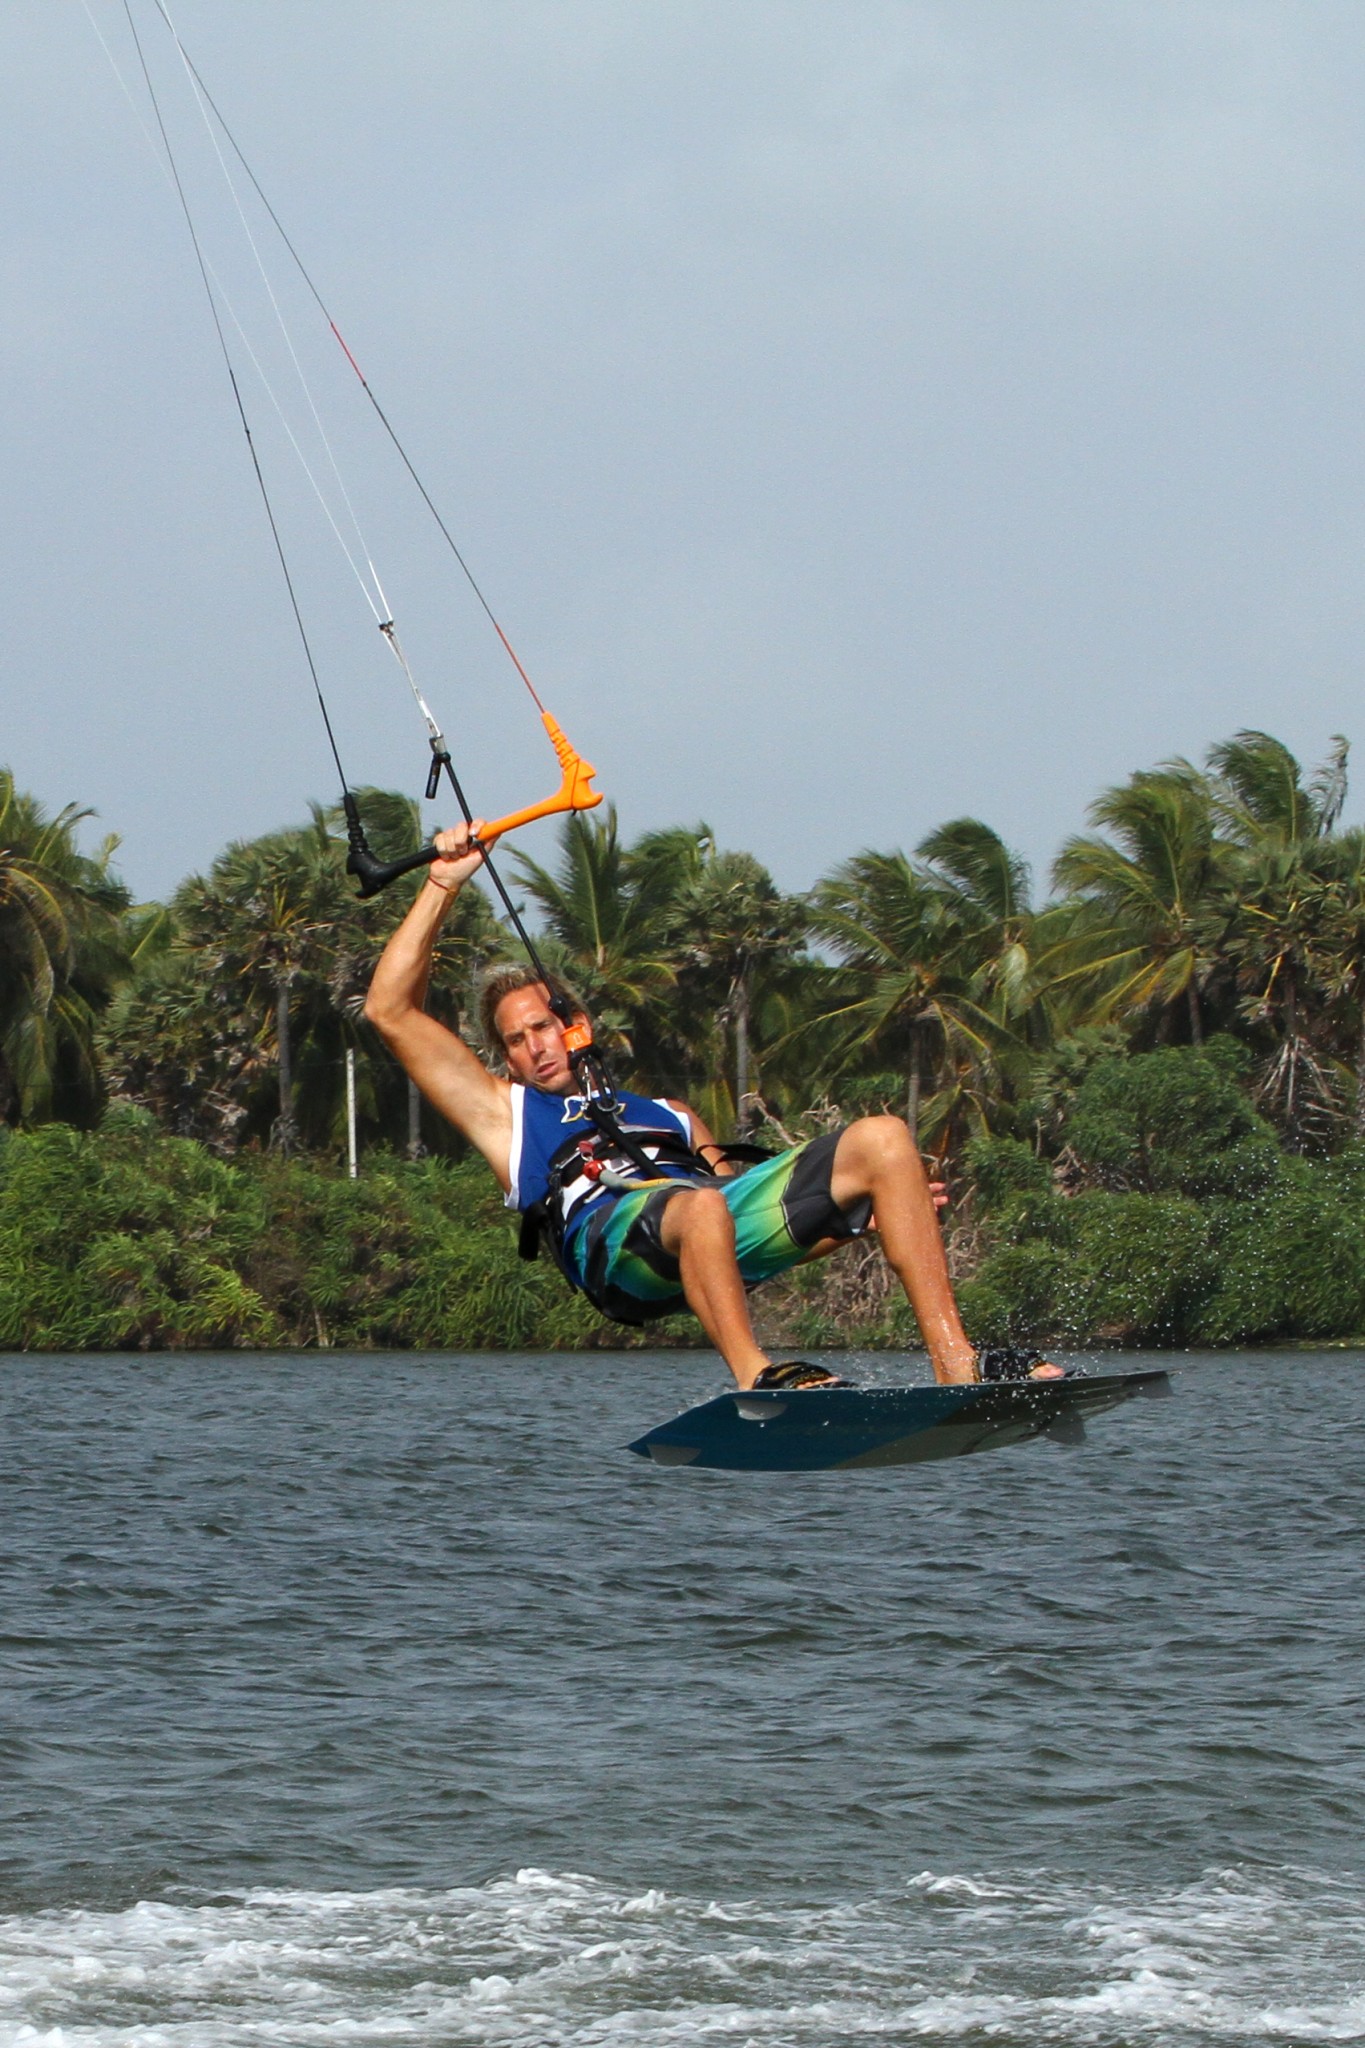
Getting Around - Pic C
Once you’ve got the grab and know that you’ve set your rotation in motion it’s time to make sure that you get around without moving the kite. As long as you got pop and you set the rotation with your front shoulder you will get around, but just to make sure you can now turn your head. To guarantee that you don’t drop from the sky you must keep the bar in on the sweet spot, therefore keeping some tension on the back lines. This in turn will pull you forwards through the move. To stop the kite from lifting with this tension, keep your wrist and elbow high as you would when body dragging. In this position you can keep pressure on the bar, whilst steering the kite forward. In the photo Christian’s bar is still “tipped” forward.
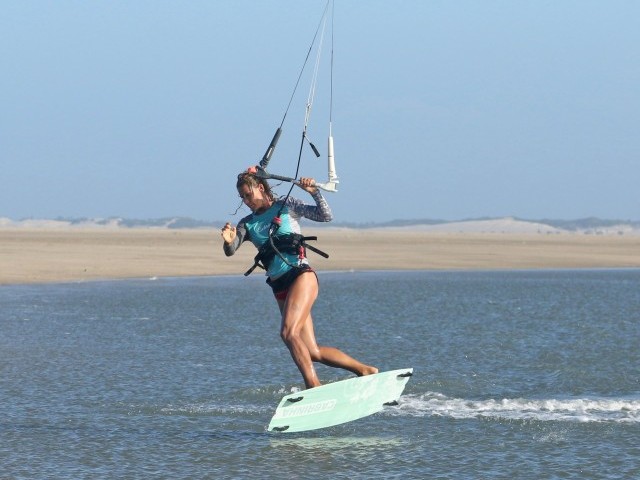
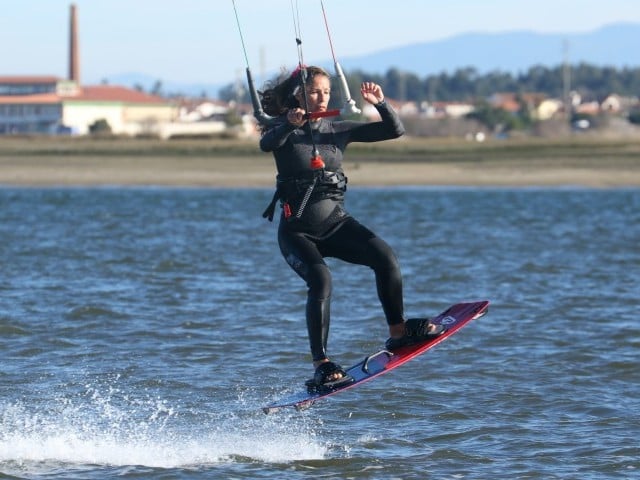
Spot Your Landing - Pic D
Always sounds so cliché, but to develop any sense of spatial awareness and consistency in your tricks, having an idea of at least where you might land will help no end. As you feel that you’re coming half way round, when your back is facing downwind, you need to have a good look at where you’re going and where you’ll land (if all is going according to plan). Once you see the water and where you’re headed you’ve got a lot more chance of sticking the landing. Here you can see that Christian is looking over his back shoulder and focusing on where he expects to land, and from now until touchdown he’ll continue to do so.
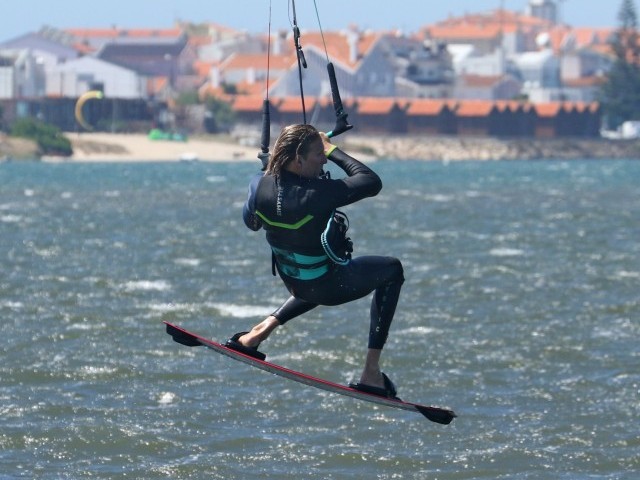
Drop Your Landing Gear - Pic E
Even though it’s a toe side landing you’re actually intending to land with your board pointing downwind, not on an edge, so you’ll need to rotate further than 180˚. As everything will be happening quite quickly as soon as you’ve spotted your landing it’s time to get ready for your touchdown. Looking at Christian here, he’s let the bar out which will let off tension, giving him slack so that he’ll drop down out of the move, he’s released the grab so that he can balance himself with his free arm, and he’s dropping his undercarriage so that the board will be underneath him and give him a stable platform to land on. And yes he’s still focused on where he’ll land.

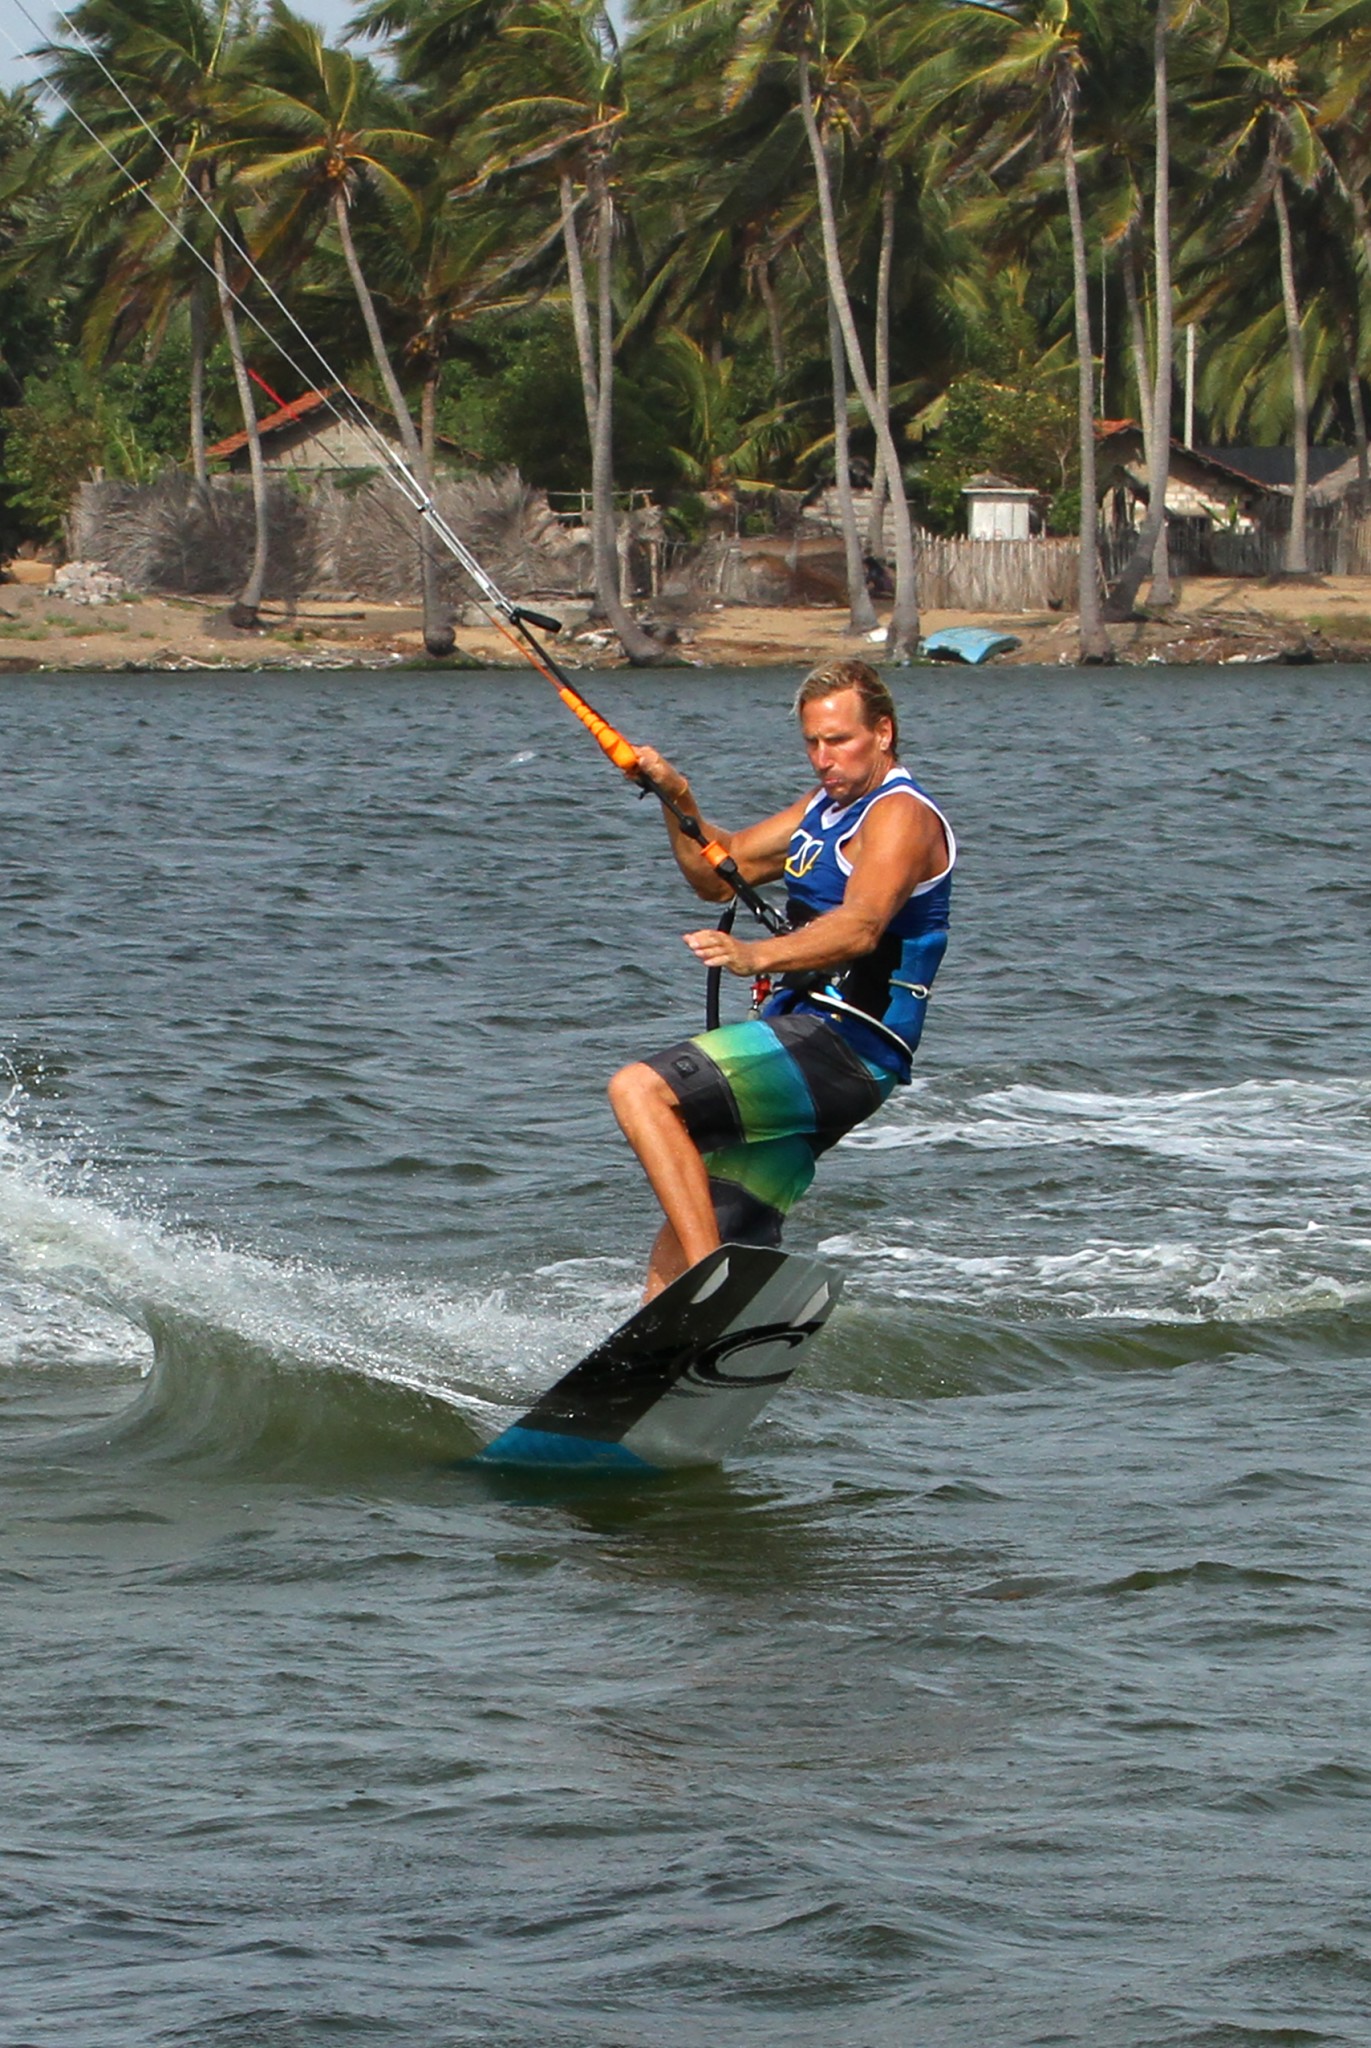
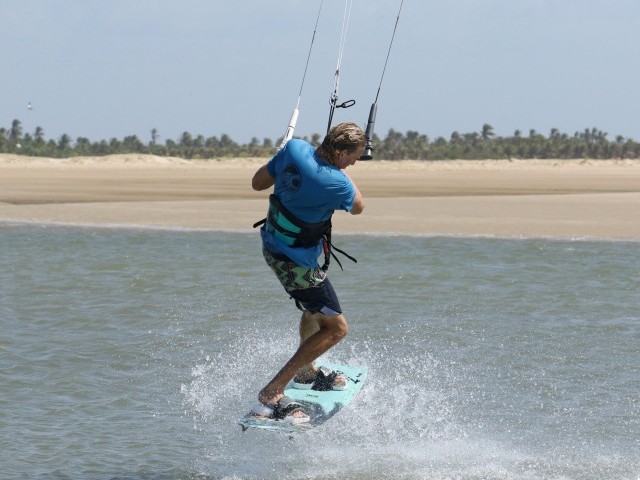
Touchdown - Pic F
Your landing is the sum of all the previous parts, so if it’s all gone swimmingly you’ll drop down onto your board and your kite will still be flying forward. Christian has landed with his weight on the heelside edge of the board, which is normal due to the way that you’ll drop out of the move – his momentum will push him up onto the board. He’s also pulling the bar back in to get tension in the lines and power from the kite. All that’s left is to absorb the landing with his knees and then carve back up against the kite so that he doesn’t run towards it and loose his speed and power. Jobs a good’un.
Top Tips
Keeping the kite flying forward can be hard enough with two hands on the bar, yet alone with only your back hand for company! So when trying this for the first time don’t start with your kite too low. Nobody who isn’t exceptionally good ever does a pop trick with their kite down at 45˚, so when you’re learning something having it down there is trick learning suicide. If you have some help from the kite from the off you’ll be able to override your mental desire to lift the kite for additional help. Also practice controlling the kite with just your back hand on the bar. It may seem like a simple skill but like so many others it can always be improved.
Now have a good look at the sequence and videos….
Common Mistakes
We’ve already mentioned drifting the kite up to help. Often, let’s admit, it’s intentional! The only reason you ever need to move the kite during take off is because you’re waiting for something to happen rather than popping explosively – so give it some beans with your back leg.
If the kite drifts back during your rotation chances are you’re pulling too much on the bar. First off try trimming the sweet spot down a tad as this may help. Keeping the elbow and wrist high is the best answer, but if it still drifts up let the bar out just a tiny bit as you take off.

If you catch your heels and fall on landing, it means that you’re not landing downwind enough. This will likely be because you’re not bearing off enough before take off - if you start heading too far upwind you’ll land upwind, on an edge and off balance.
Keystones
- Huge pop with kite around 1 or 11 o’clock
- Release front hand as you stamp
- Rotate with front shoulder down as you grab
- Look for your landing as you come around.
- Drop and land downwind, not onto toes
This technique article was in Issue 52 of IKSURFMAG.
Related


By Christian and Karine
Christian and Karine have been working together as a coaching team, running improver to advanced kitesurfing clinics since 2003.
