

Toeside Surfboard Water Start
Technique / Beginner
Introduction
You may be interested in riding a surfboard because your mitts can no longer grip the bar for out and out freestyle, or perhaps you just dream of carving beautiful faces on your new Christmas present. Either way riding a surfboard, whether a kite specific strap design or and old short board is well within everybody’s reach. If you’ve spent many a summer evening cruising around on a surfboard you’ll probably be well versed in some of the following.
However if you’ve invested in a one of the many kite surfboards available today, and you’ve yet to learn how to change your feet, then the following few pages will let you get out there and enjoy the waves to the max without having to jump off into the arctic waters and turn the damn thing around.

The first weapon you’ll need is the above titled toe side water start. This is an absolute classic that will enable you to ride around all day without having to take your neoprene-clad feet out of those comfy and comforting footstraps. Or in the case of a strapless surfboard avoid you having to change your feet in the face of adversity. So long as you can switch to toe side (see issue No. 2) on a twin tip this little gem will be easier to learn than your own name.

Going Against the Grain
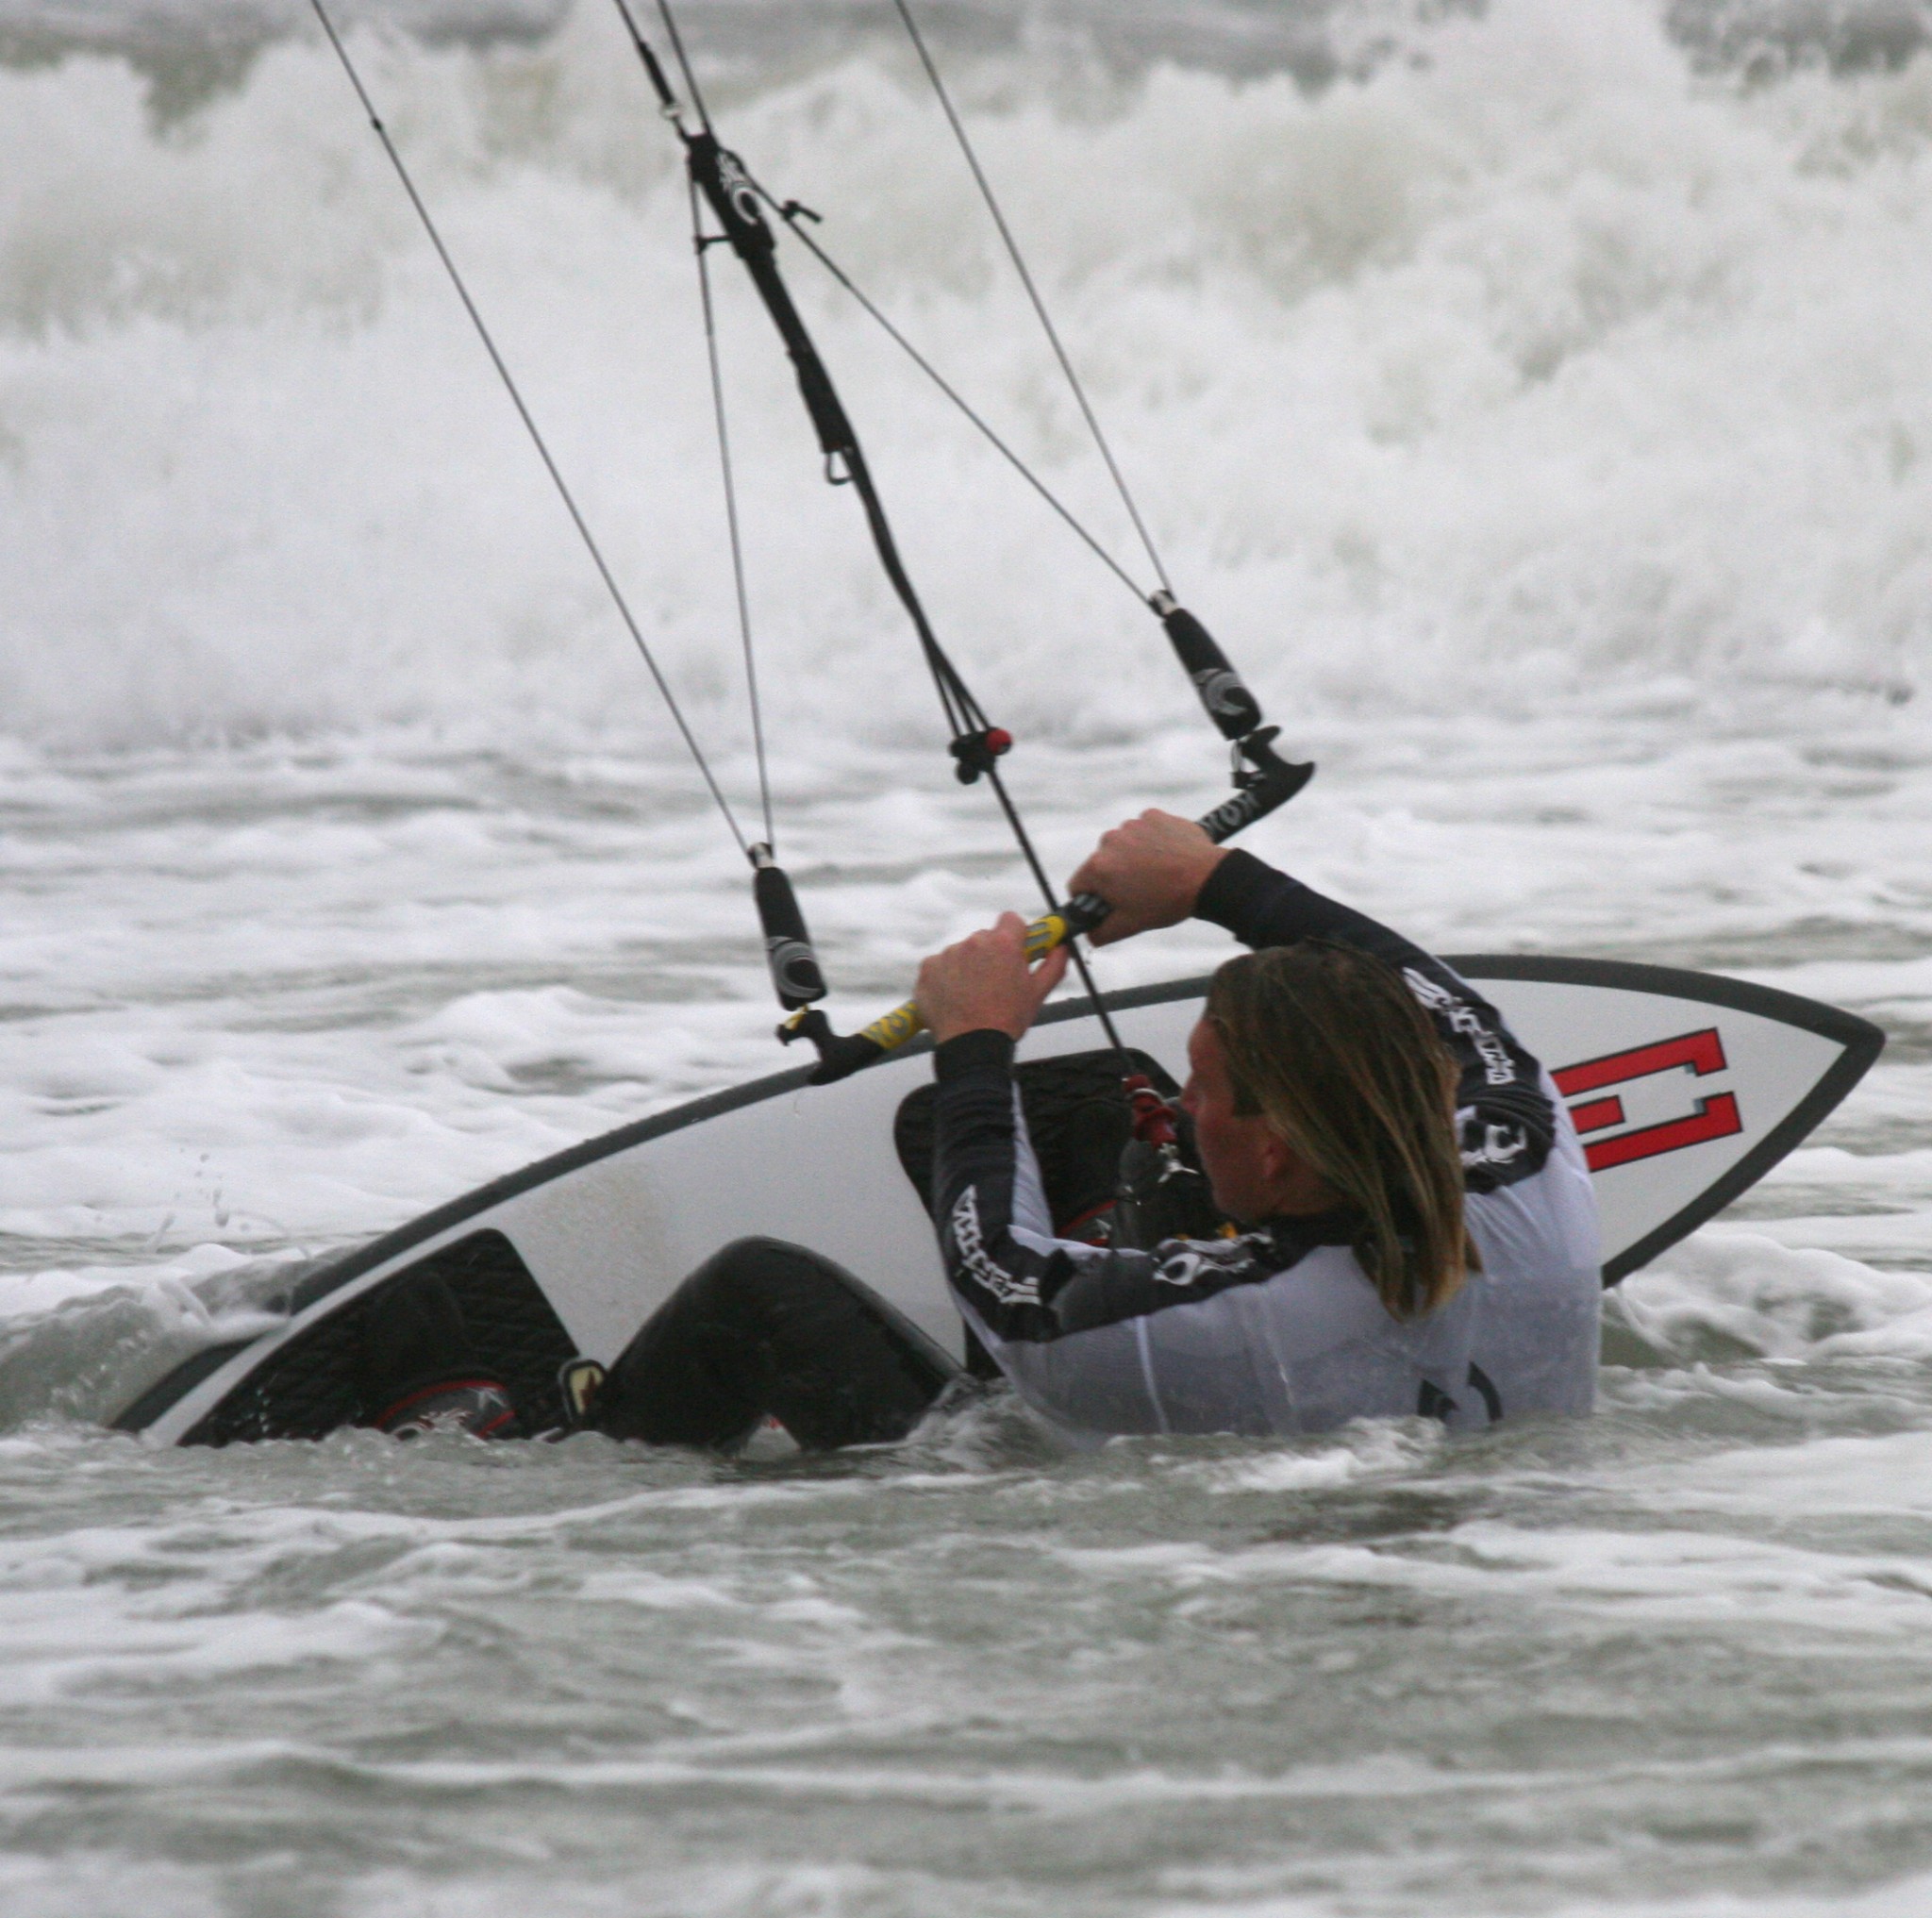
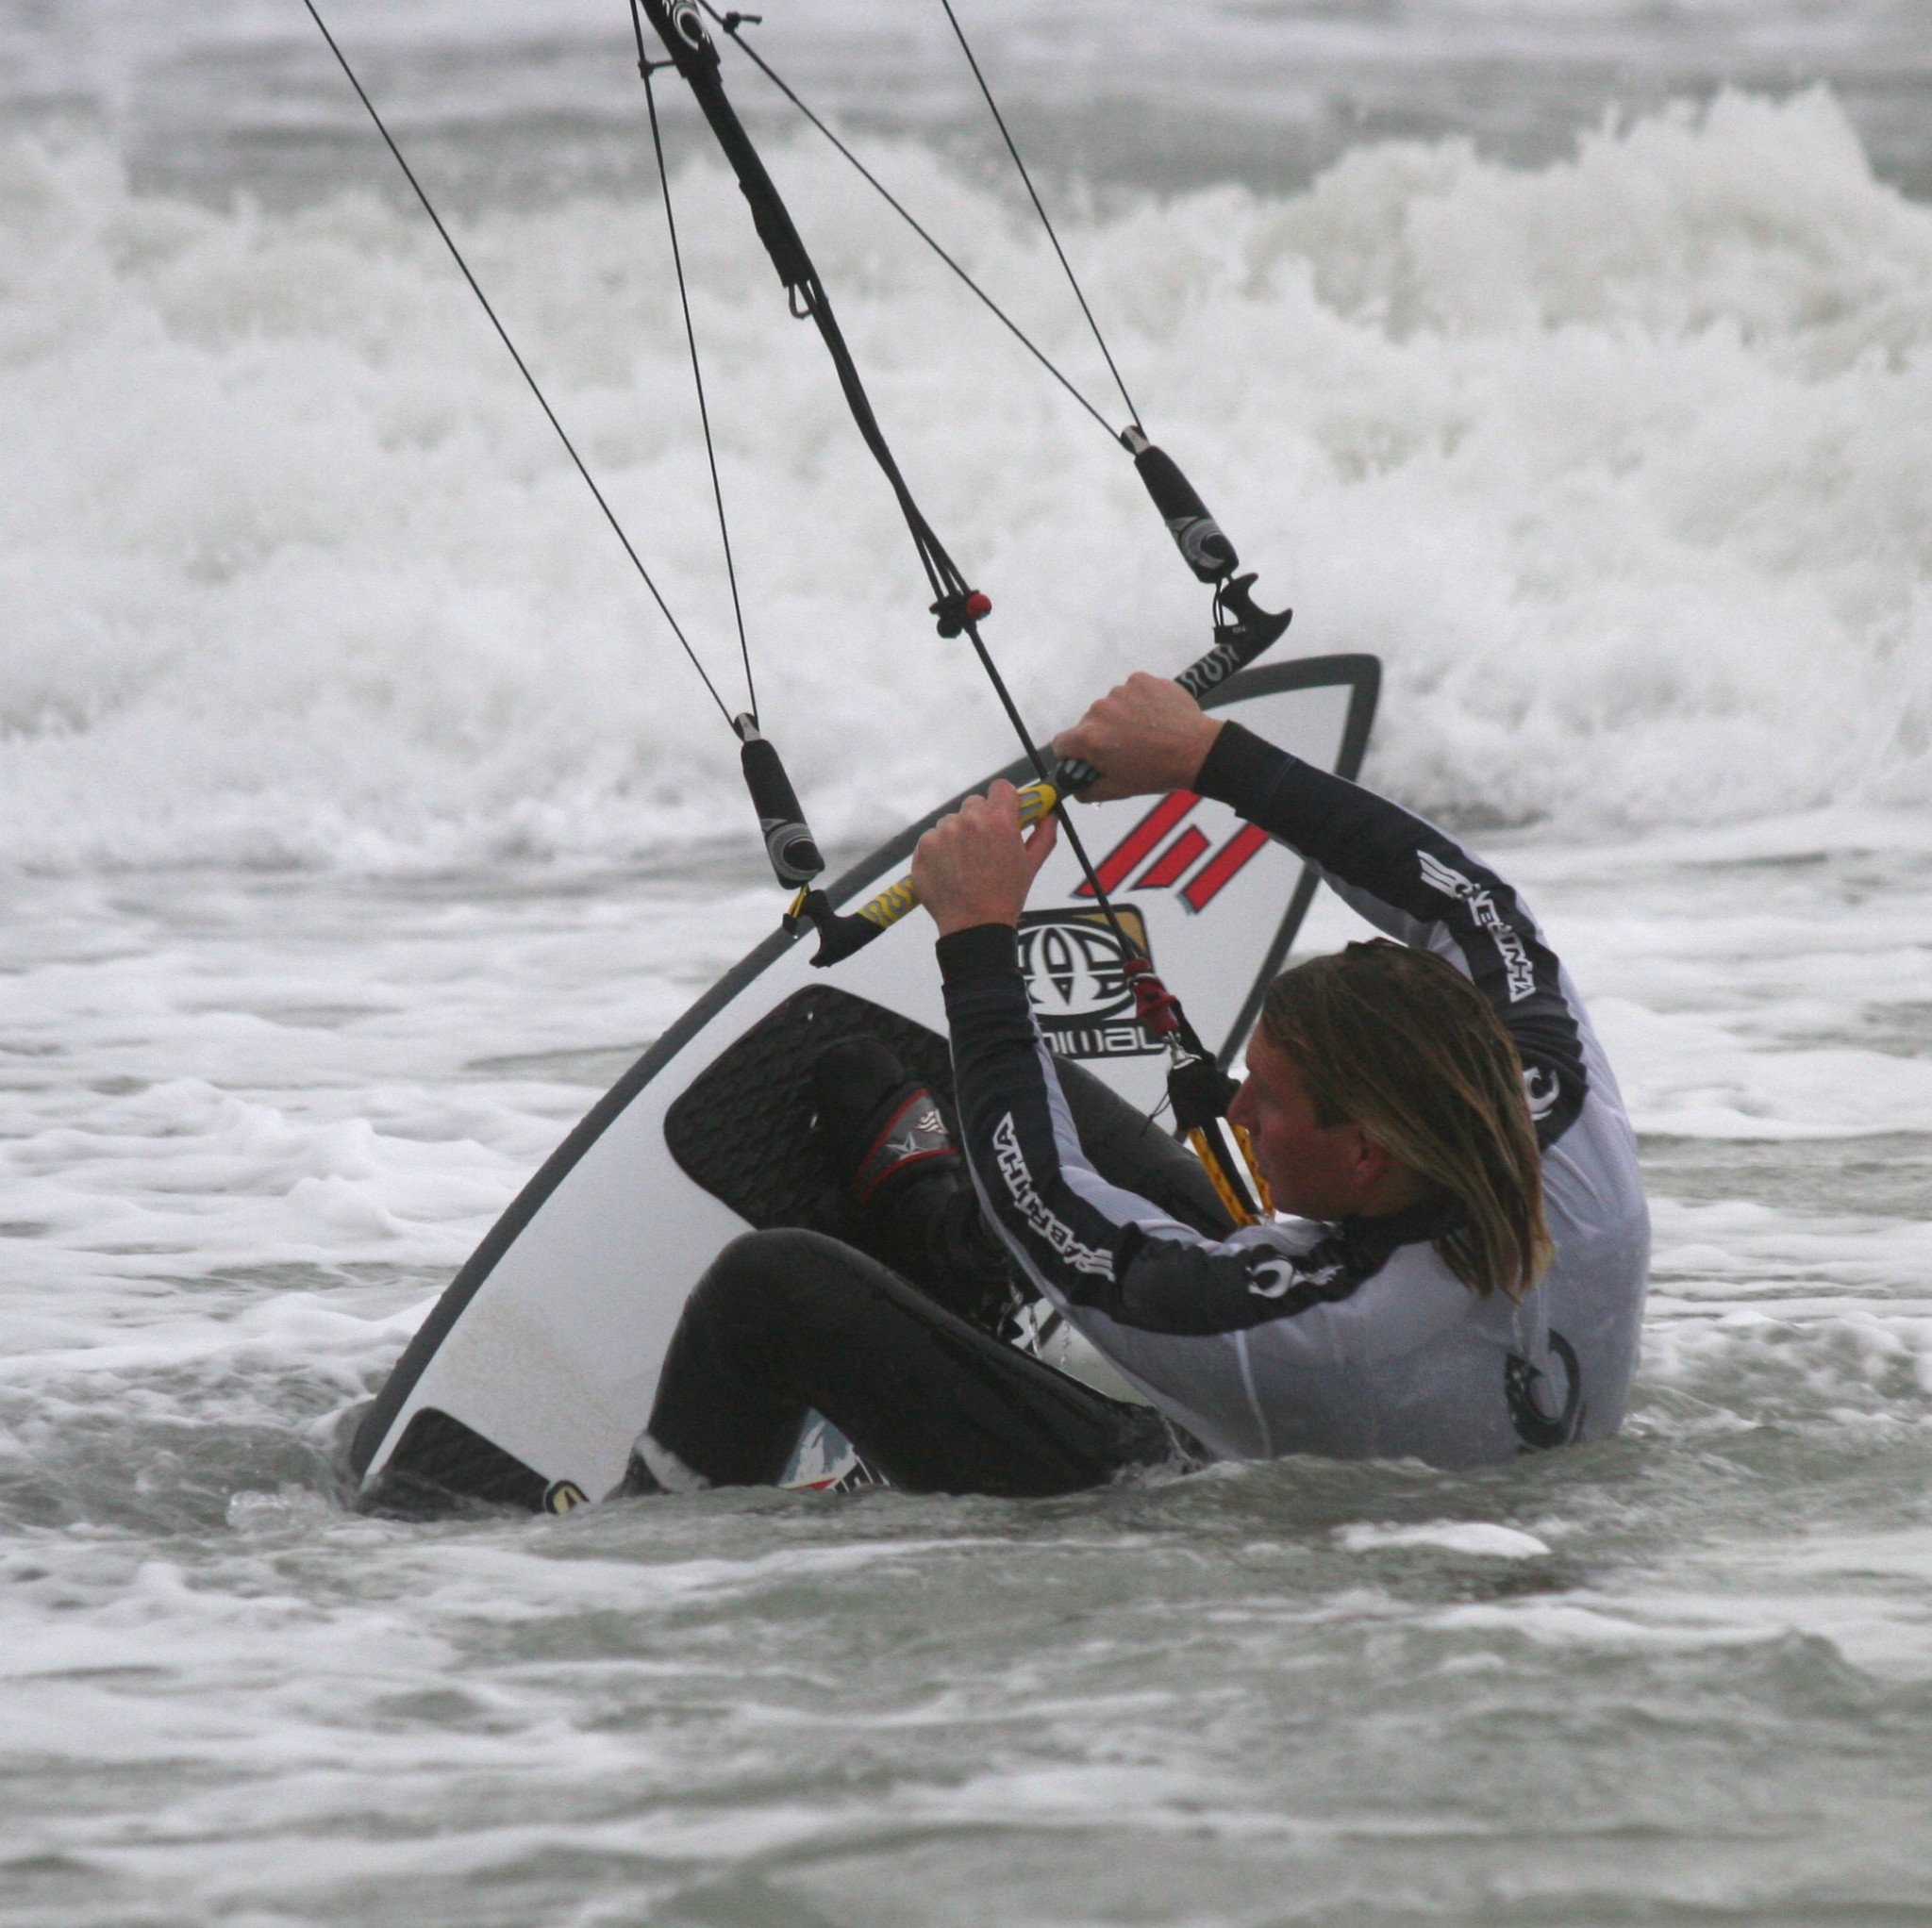
The toe side water start is a very basic marriage of a water start and a switch to toe side. Your body should already know the necessary movements, which bodes well. Although you’ll be getting up back to front, the preparation for this water start is much the same as the bog standard version. Remember to keep you knees tucked up into your chest as in Pic A, this will help keep you close to the board and balanced.
The easiest way to picture what you will be doing is to imagine that if your favourite tack is riding to the right (right foot forward), you will get up going left and then swing around in a semi submerged slow motion switch/pivot to toe side as in Pic B. Those of you who wakeboard will do this every time you troop around the lake/sea with the nose of your board following the boat or cable. Here you aim is to turn onto your toe edge. In fact many of you will have fought against your body performing this very move as you learnt to water start on your “bad”side.
Make it Easy on Yourself
Your first attempts will be significantly bolstered if you keep it simple. So try this on your trusty twin tip first, and try it going onto your favoured toe side. This way you are keeping as many variables constant possible, and only need worry about the matter in hand.

The Difference is Why
In Sequence 1 you can see Christian is coming up to his left hand side and switching round so that his right foot is forward, which is his preferred direction to ride toe side.


Following Sequence 1
- Pic 1. As with a conventional water start, Christian has set himself up with his board lying across the wind, offering maximum resistance and balance. He has both his knees bent and the kite is at 12 o’clock. From here he could easily decide to go either way.
- Pic 2. Having taken the kite back to about 1 o’clock Christian now dives his kite across towards 10.30. It is now be possible to see that he intends to sail off to his left.
- Pic 3. As the kite moves across the window and Christian feels the power, he follows the pull with his head. At the same time he allows the kite to pull him towards the board, as it creates resistance against the kite’s pull. This is where the difference begins. Rather than keeping his weight just slightly back from centre by positioning his hips between the centre of the board and the back footstrap, Christian allows himself to be pulled towards the front of the board by moving his head towards his left knee.
- Pic 4. Due to his weight being forward, as the kite pulls more, Christian can resist with his front (left) foot, by pushing it away. This in turn sinks this end of the board and creates more resistance against the pull of the kite. At this stage it is important to keep the board between you and the kite, so do not be shy of driving through your front foot, Christian’s left in this case. All the time Christian is looking where he would like to go.
- Pic 5. As the kite pulls Christian up and out of the water you can see that the board is very much in between him and the kite. Christian’s weight is committed against the power in the kite. The effect of this is a wheelie start, as Christian directs the pull of the kite against his original front (left) foot.
- Pic 6. With the kite now powering Christian up onto the water it is vital that he doesn’t get pulled off down wind. To prevent this Christian extends his right leg to keep his hips and weight back and pivots around on his left foot whilst still concentrating on where he intends to go – across the wind.
- Pic 7. In order to turn the board further across the wind Christian starts to drive against his left foot, which is now his back foot.
- Pic 8. To help with this he turns his upper body to face upwind and away from the kite.
- Pic 9. As the board turns up and across the wind tension is restored to the lines and the power is kept on.
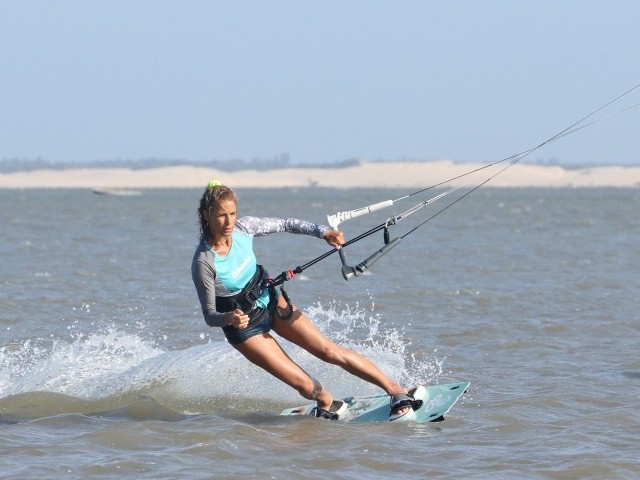
- Pic 10. Now Christian is fully motoring upwind on a good toe side edge.
Strapping It On
Once you’ve sussed this on the twin tip it’s time to take it onto your surfboard. In some respects it will actually be even easier, as your big finned directional will not like to be ridden backwards. However if you make no attempt to pivot around to toe side, the boards added volume and extra resistance would send you flat onto your face. Extra effort is required to push the nose of the board around. The main difference between the twin tip version and the surfboard version is that you may find it harder to keep the power in the kite and gather speed on a surfboard. That said the more comfortable and acquainted you become with you stick, the easier it will become.
If you look at Sequence 2 and Video 1 you will see that Christian is wearing his board with his strong foot (right) in the front strap.
Following Sequence 2
- Pic 1. The initiation is very much the same. Christian has moved the kite as before and is waiting for the pull in a similar ready position – legs bent up into his chest and head looking where he wants to go.
- Pic 2. As he starts to rise Christian moves his weight over his left leg by moving his head over his left knee.
- Pic 3. With the board now coming around to point down wind Christian must keep his weight upwind of the board so that he doesn’t get pulled of down wind. To speed up the whole process Christian pivots round on his left foot by pushing his right foot around and past his left knee.
- Pic 4. The board’s extra volume means that there is a danger it can hurtle off without you. Note how committed upwind Christian’s body is.
- Pics 5 & 6. To bring the board yet further around Christian drives through and extends his back (left) leg.
- Pic 7. Keeping his bar close to him, Christian turns his shoulders, hips and head to face upwind which teases the board around more as he drives through the ball of his left foot and carves the board against the kite.
- Pic 8. Now that the board has come around, Christian concentrates on keeping power in the kite.
- Pic 9. To gain speed and add comfort Christian now moves his weight further forward on the board by moving his hips over his front foot. This trims the board (flattening it from front to back) and prevents it from dragging through the water. Happy days.
Another Bow in Your Quiver
The beauty of this movement is that it will give you complete freedom on your surfboard. It can be used to get out of trouble, and it will help develop your ability to follow the kite, which in turn will improve your wave riding. Most of all it will give you confidence to get out there and go for it in the waves.
One of our guests, Badger Lazenbury, used this skill to great effect last year in Cabo Verde. As the waves broke after a flat section, he could start toe side, ride out towards an incoming wave and carve back to heel side on its face. As he became acclimatised to this, he then added a carve to toe side shortly after his carve on the wave, et voila, his first joyful wave riding experience.
This technique article was in Issue 7 of IKSURFMAG.
Related


By Christian and Karine
Christian and Karine have been working together as a coaching team, running improver to advanced kitesurfing clinics since 2003.
