
Surfboard Foot Change
Technique / Beginner
Introduction
Whether you are riding strapless or strapped, the necessity to change your feet will eventually come knocking. Back in the dark ages when three strap directionals were in mode, it was not unusual to see kiters dropping into the water, turning their planks around and then sailing back whence they came. However those with a slight thirst for progress took things a tad more seriously and the gybe became the acceptable form of changing direction.
Waltzing Matilda
It therefore seems appropriate, that after the excesses of the festive season, you should try your hand at, or rather foot at, some twinkle toed light-footedness. Now those of you prone to the odd senior moment may well recall the dance hall days, when concentrating on your feet, or rather not stepping on your partners was the name of the game. The advantage is all yours. Those of you a few generations down will probably know how to throw shapes a la big wheels, taps, dealing cards etc. but footwork may never have been an issue as your threw your hands in the air! Ladies and gentlemen it’s time to limber up.


Nice and Easy
To simplify things we will concentrate on the actual foot change as opposed to a windsurf-esque gybe. This means that you will carve around and change direction so that you are riding toe side before you worry about stomping those flat feet around. Assuming that you can confidently carve from your heel side to you toe side, and maintain power in the kite whilst riding back in the other direction, the only adjustment you’ll require is to take your back foot out of the strap before carving. This will free your foot up for what is to come, and it will be considerably easier to take out when riding heel side, as you will have weight on both feet. Whereas when you are toe side you’ll be favouring your back foot and it is therefore more difficult to lift out of the strap.
Bonus Points
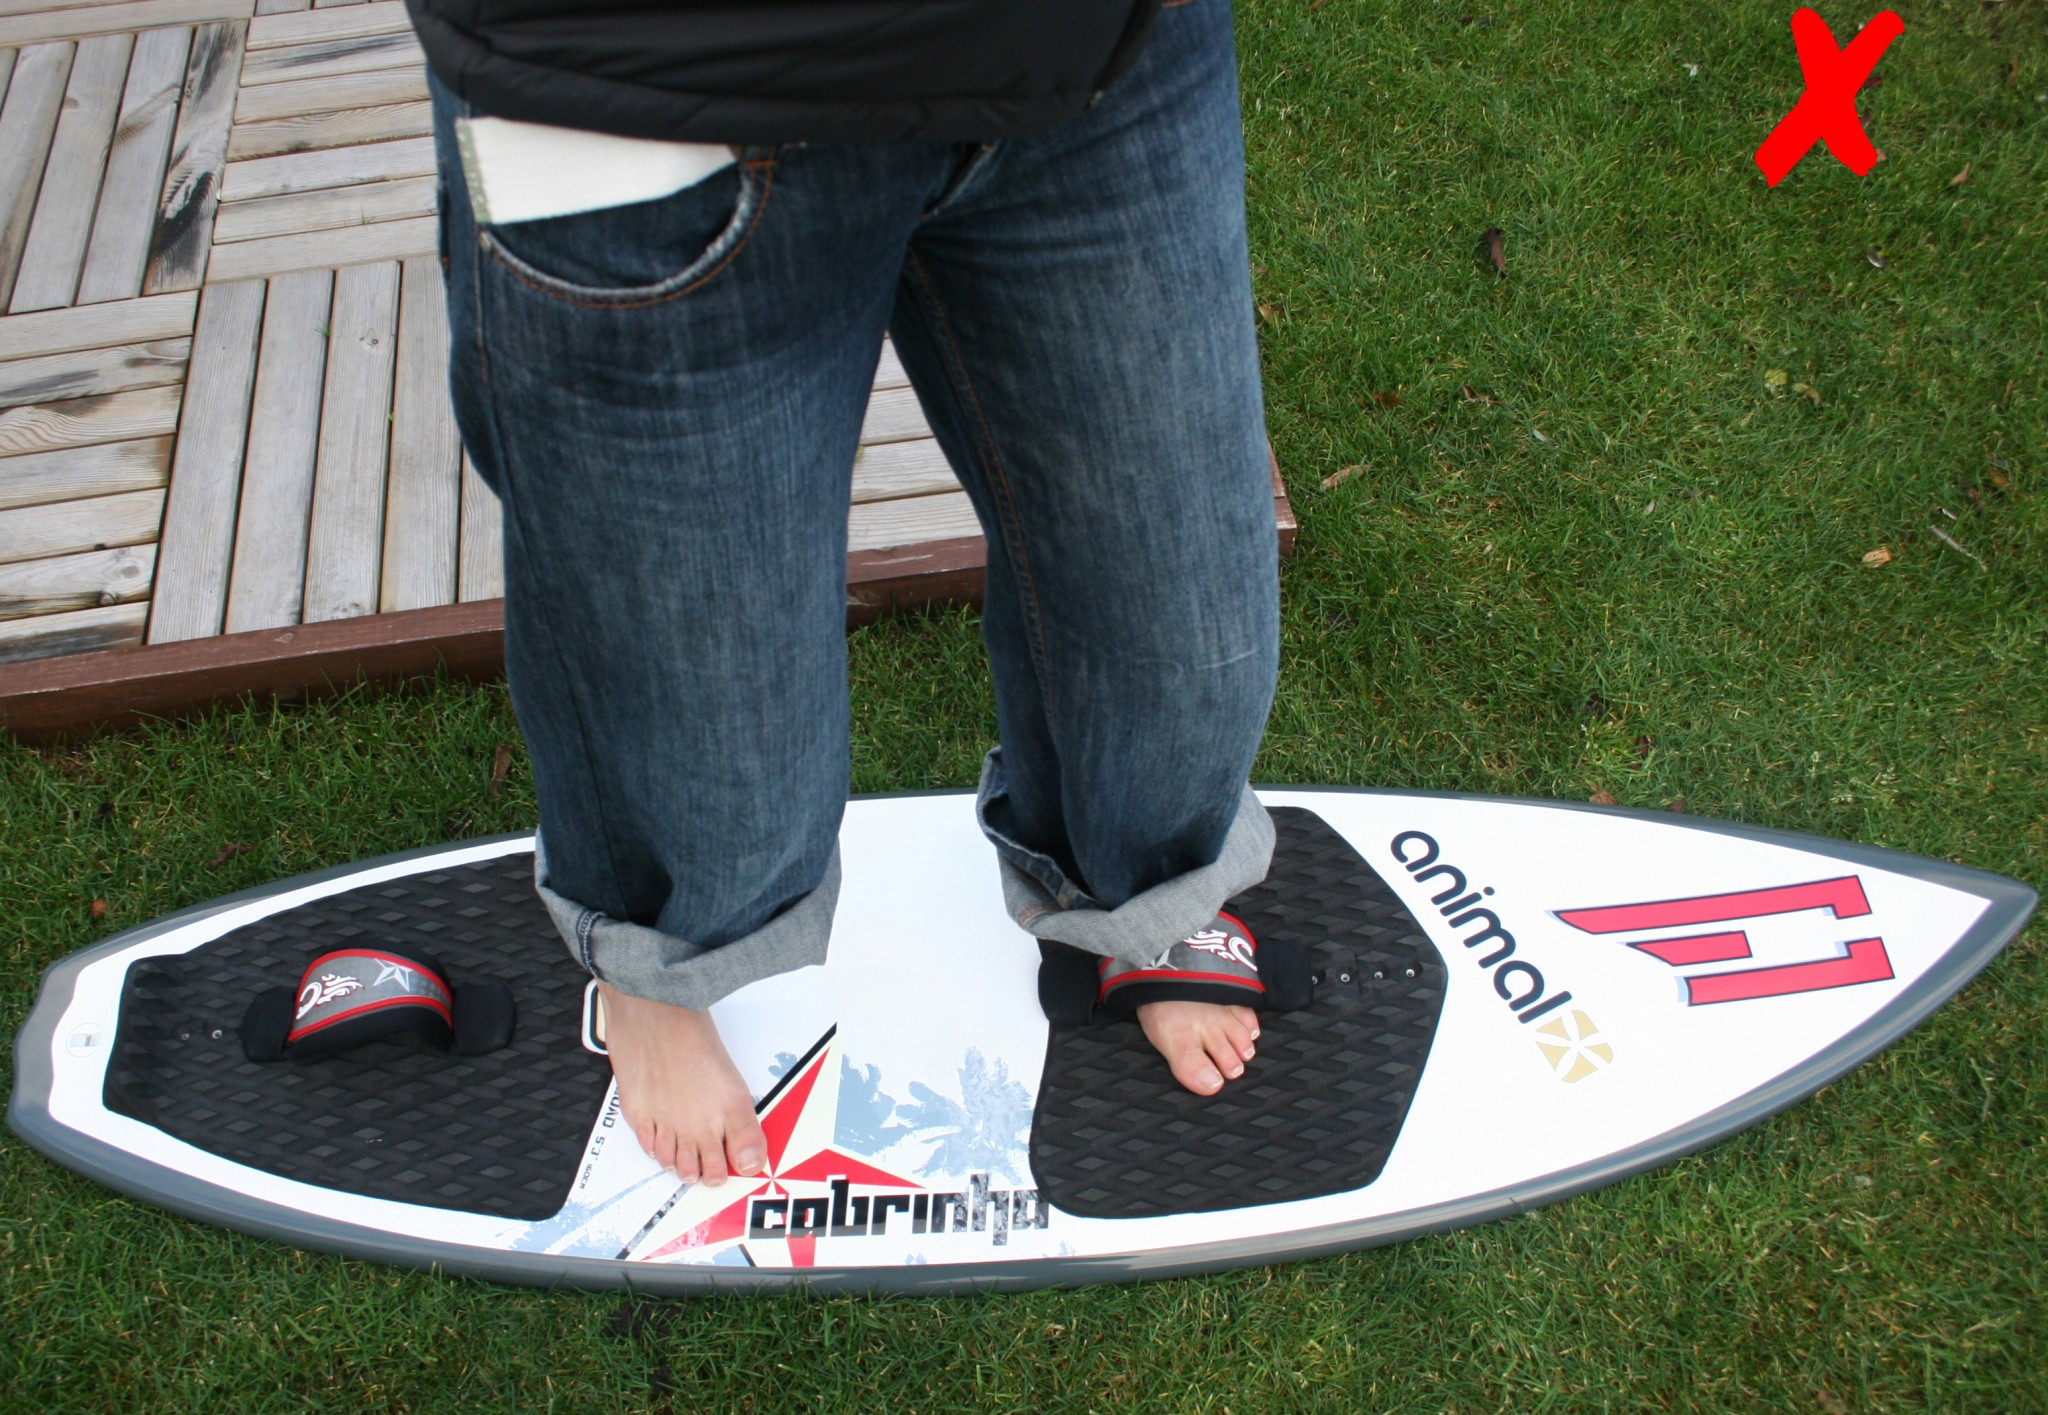
You can practice this on a floaty surfboard without straps to trip over, although the straps do give a good indication of where you can stand.
No matter how glorious your board looks, don’t feel obliged to leave the graphics at their best. A good coating of wax in between the straps will help compensate for any misplaced feet.
Open your foot straps up so that they feel bigger than necessary. This will enable you to easily slide your feet in and out, and help you get more toe side pressure when carving.
It’ll be a fine idea to practice in both directions, although admittedly it will feel easier to change from your most comfortable toe side.

Before attempting your foot change there are a few exercises that will make the whole process a lot easier. If you break it down into steps then you’ll just need the final link to make it a reality. During all of the following steps try to keep your knees soft. If you stand up straight the board could well skid out from under you.
Three-Legged Race
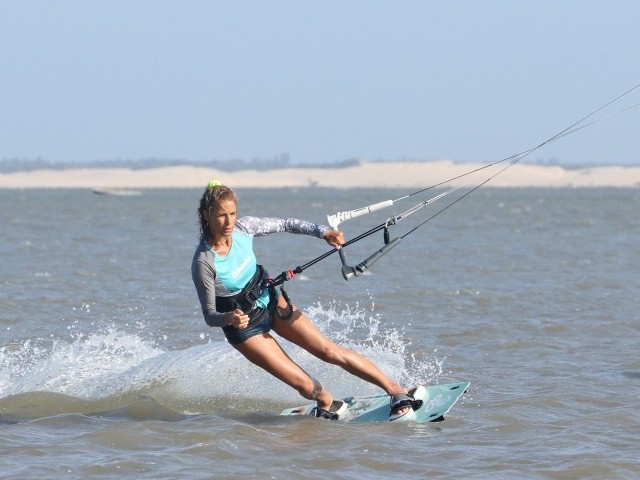
If you look at Pic A you can see that in preparation for her carve Karine has taken her back foot out of the strap and placed it just in front of the strap and across onto the toe side rail of the board. This will help her carve the board more easily. Also her foot is still at the angle it was in the strap, which will keep her hips and shoulders parallel to the centre line of the board (from front nose to tail) and enable her to carve further around. On some smaller boards with less volume you may find it better to place your foot further up towards the front strap.
When you are on the water, you do actually have three legs, right, left and harness. Practice sailing along on your heel side, drop your weight into the harness (not taking it on your arms), lean slightly forward and lift your back foot out. Once it’s in front of the strap extend back into your normal riding stance. Then once again take all your weight on the harness hook, lift your back foot up and slide it into the strap. Not only will this help with your foot change but there will also be times when you’ll ride with the back foot out and further forward to help keep the board trimmed flat.
In Pic B Karine has not put her foot far enough across the board and will therefore have trouble carving the board around and keeping the board tilted over onto her toe side edge.
In Pic C Karine has her back foot facing forwards, which opens her hips and shoulders. This way her body will be facing more down wind and as a result she will either find it hard to carve all the way around and end up pointing the board down wind, or turn in a longer arc than expected. Both of these will result in her loosing tension from her lines – never good.

One Foot
Once your happy moving your back foot around on the board without it upsetting your balance too much, it’s time to carve with your back foot out. This should not pose too much of a problem, but may feel a tad unusual.
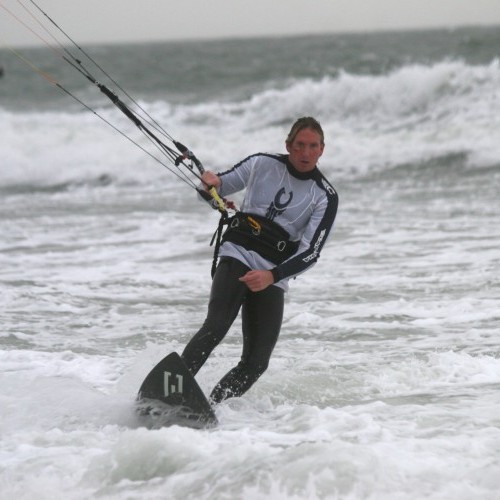
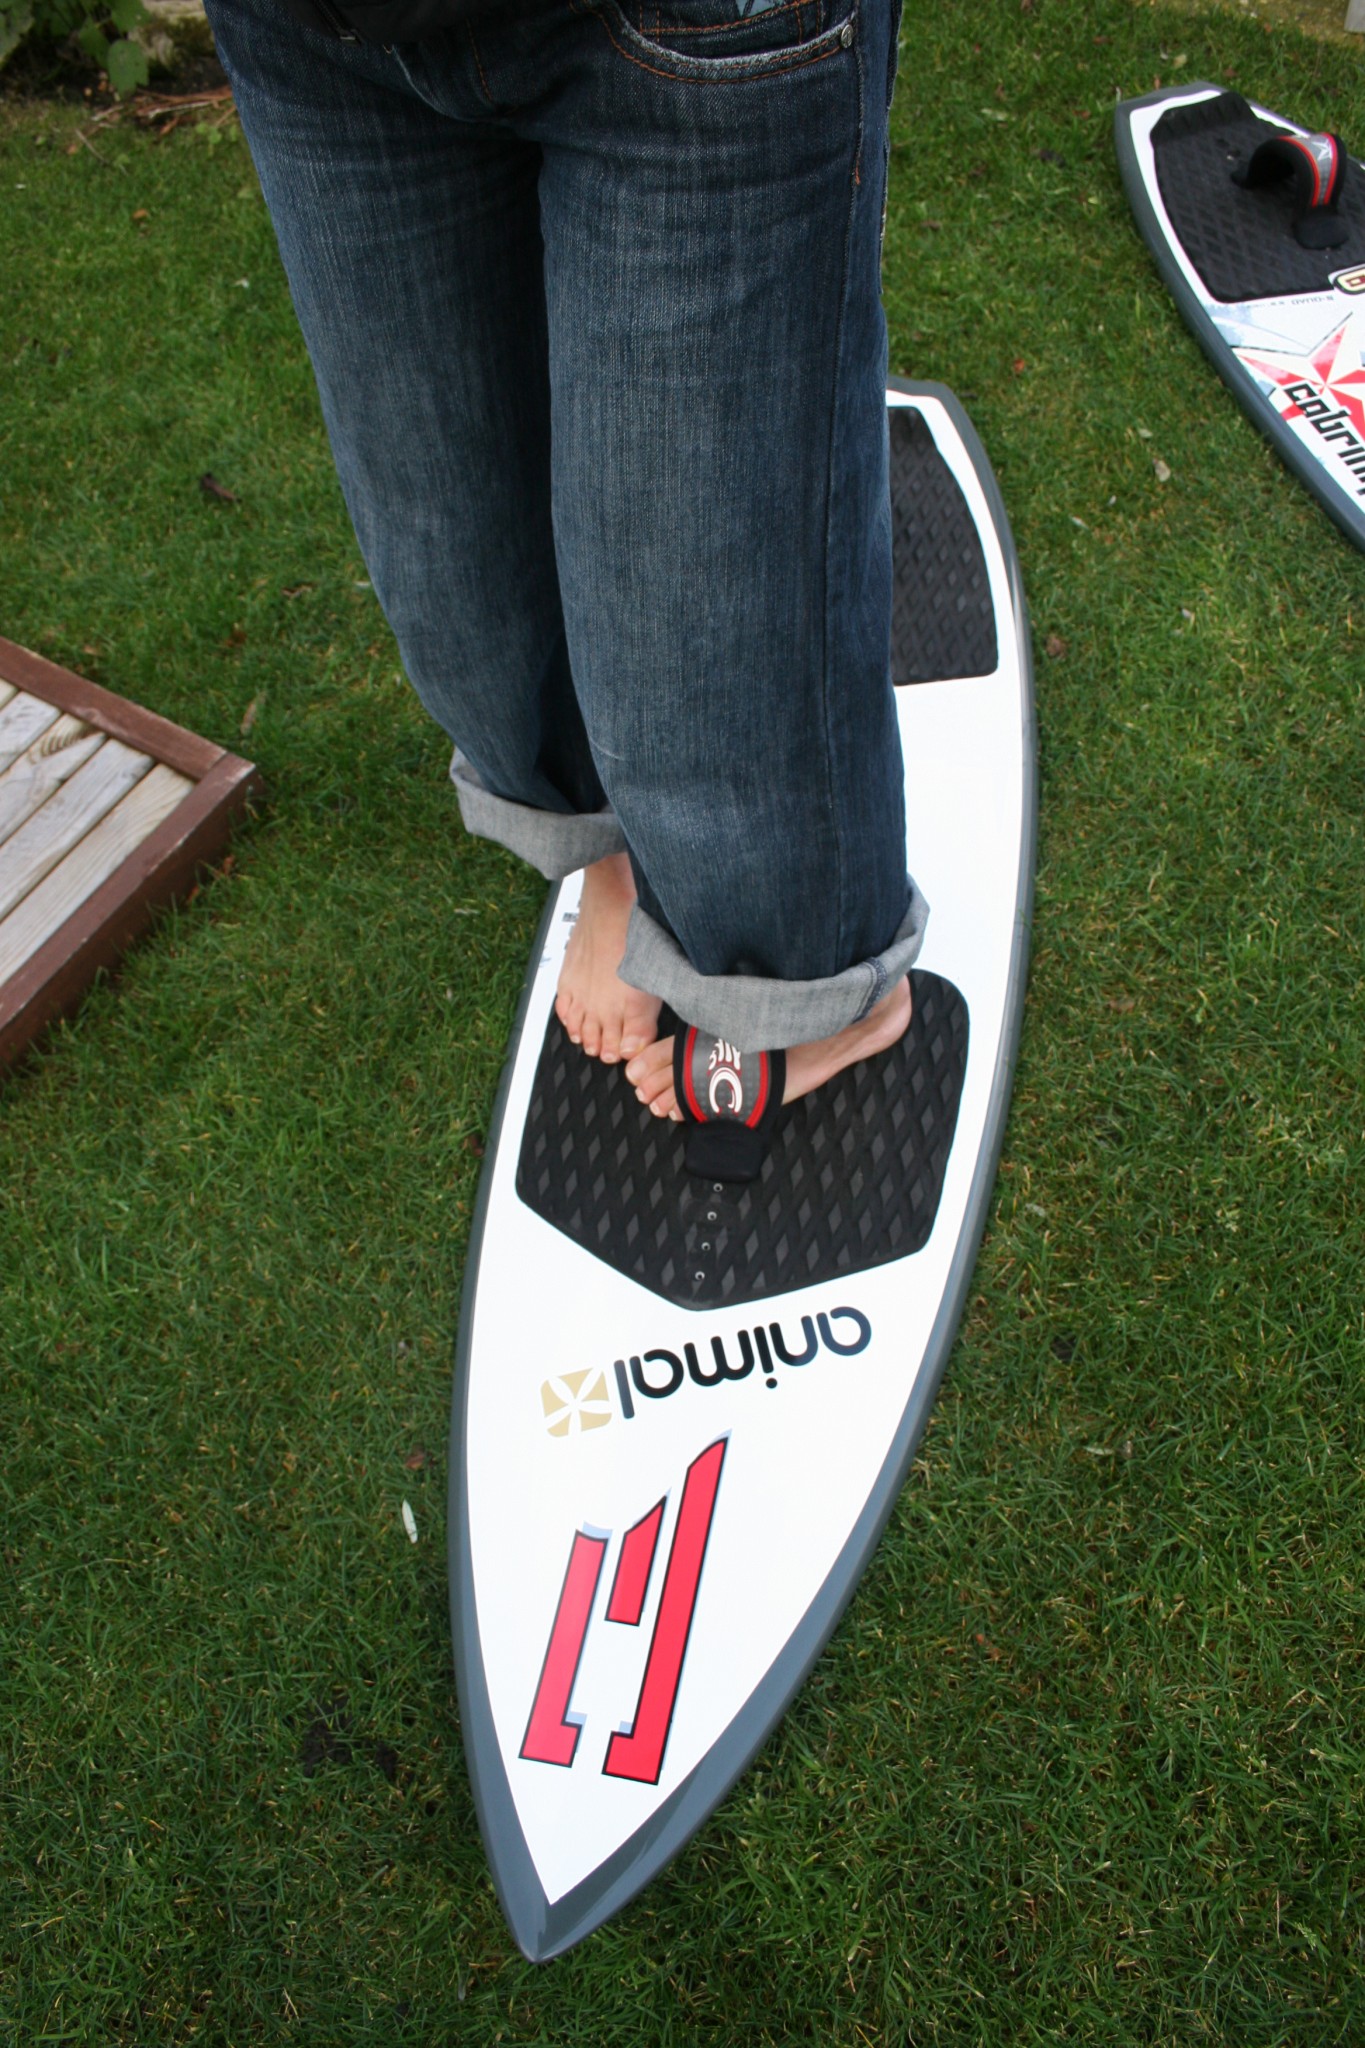
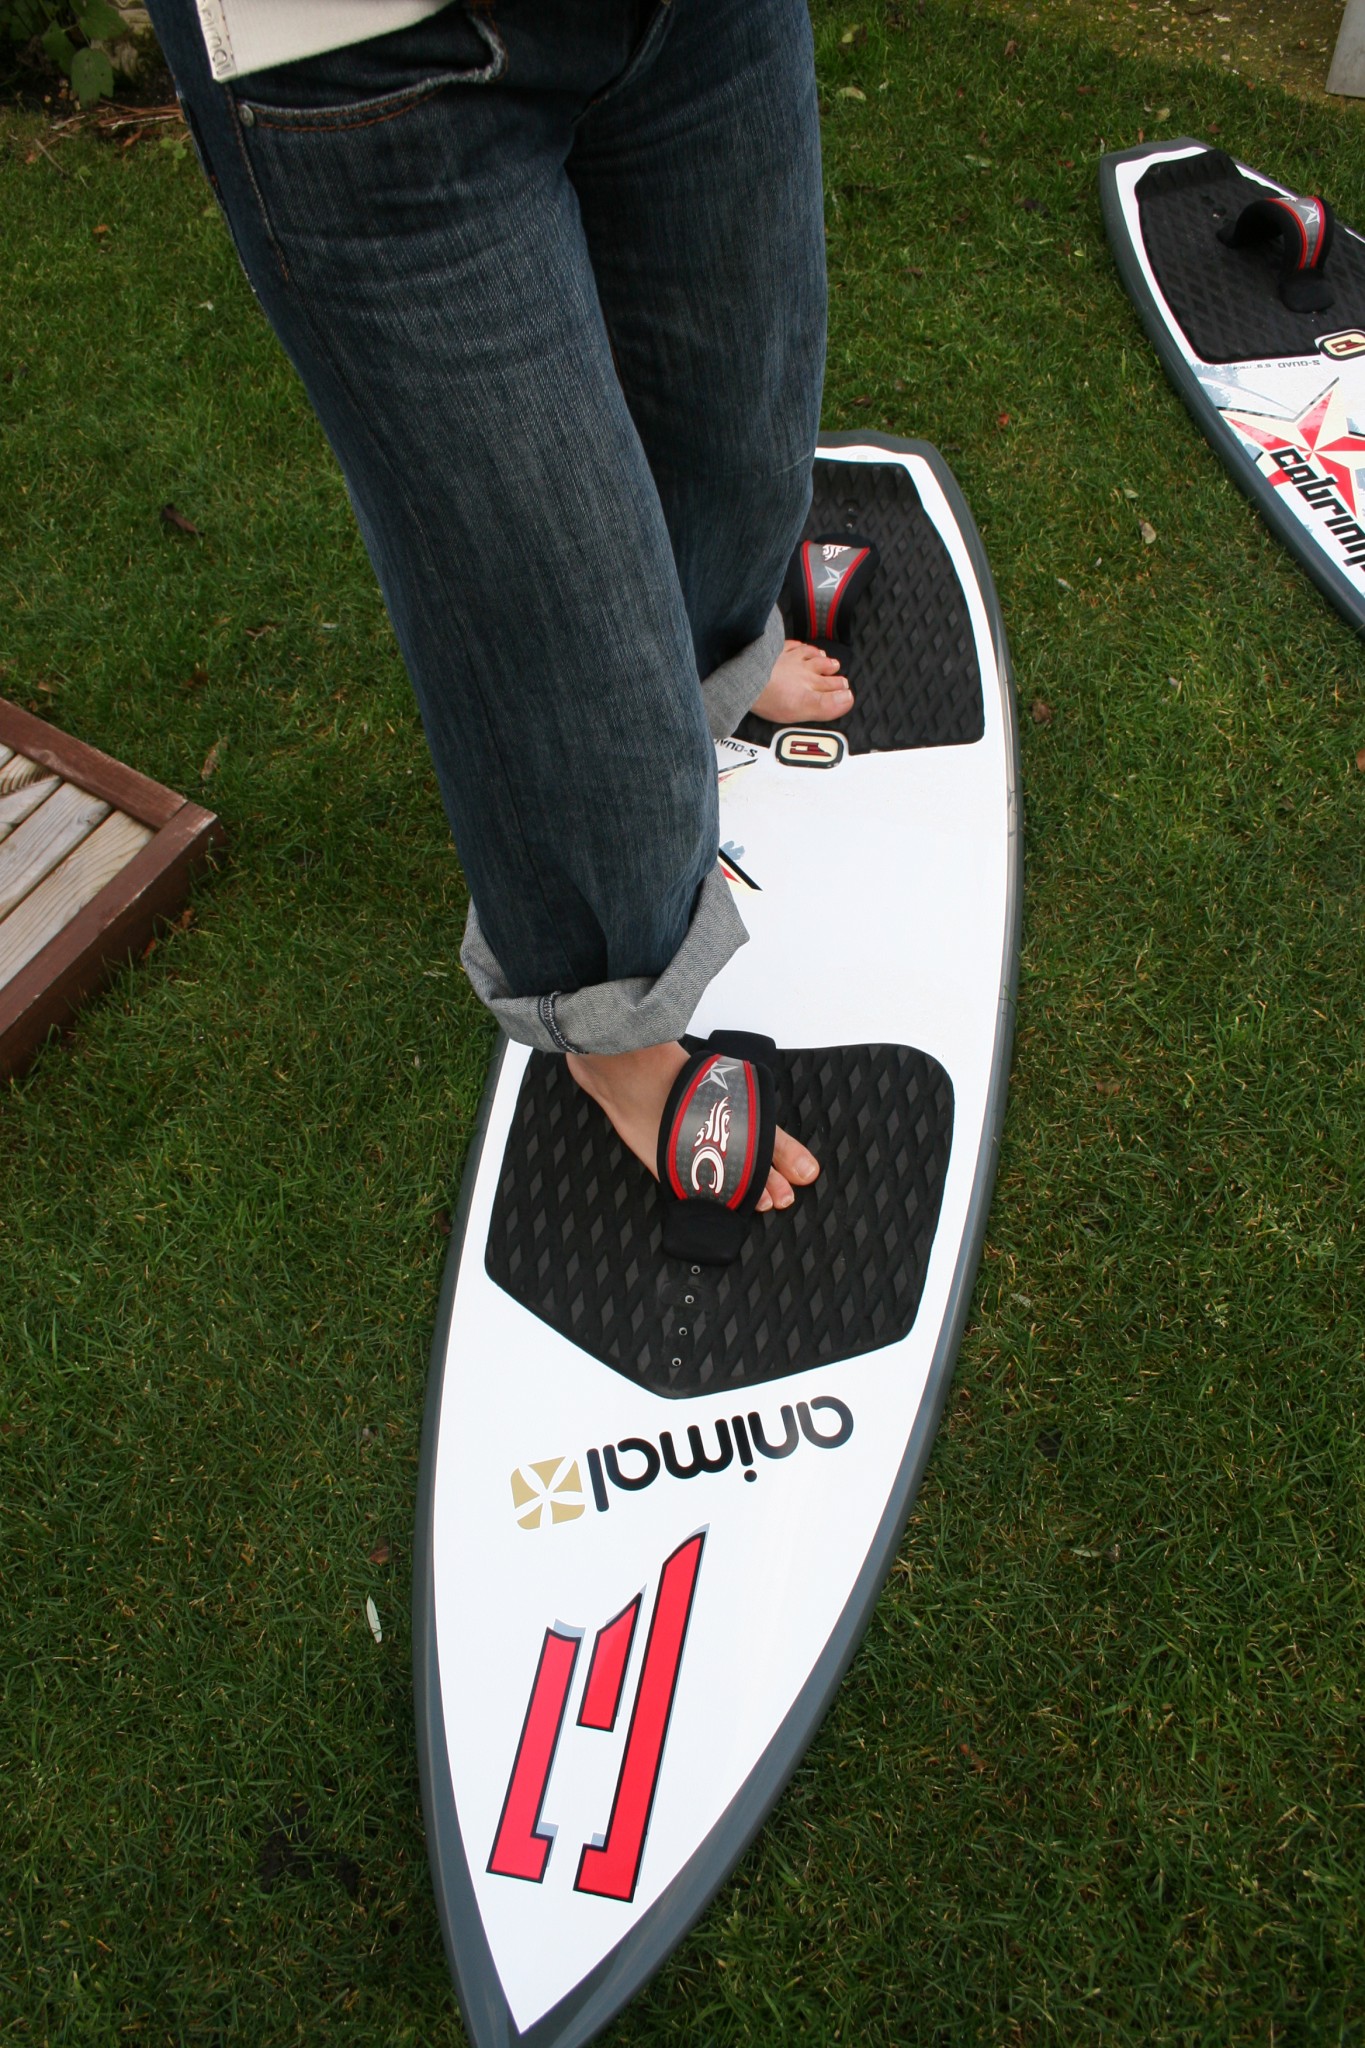
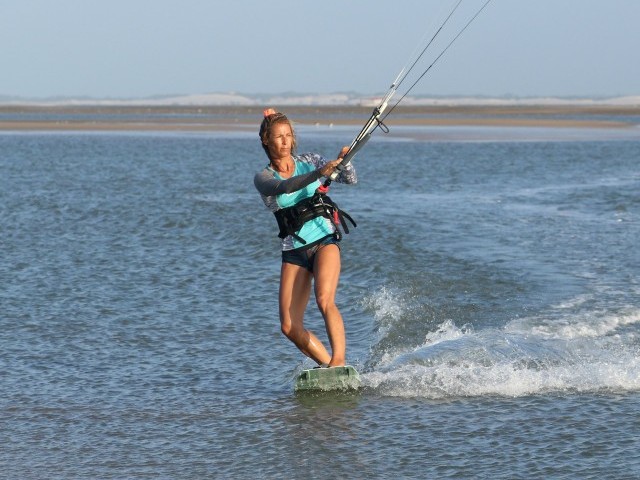
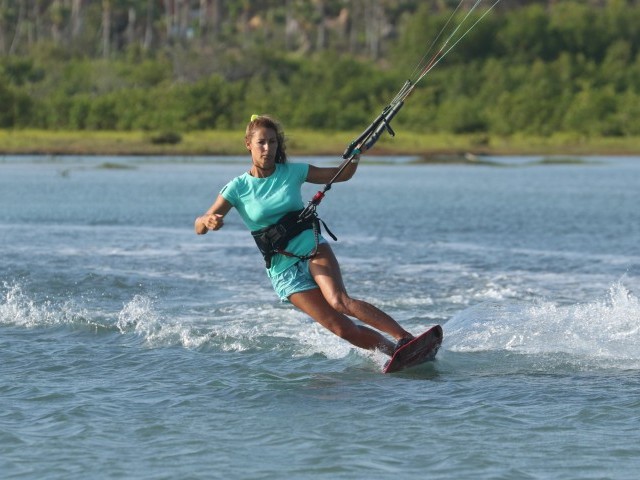
Following the carve, you should practice riding along toe side with your back foot out as in Pic 1. Try moving it around as you did before, putting all you weight in the harness. You’ll need the confidence this gives you for the two next dynamic steps.
Pigeon Toed
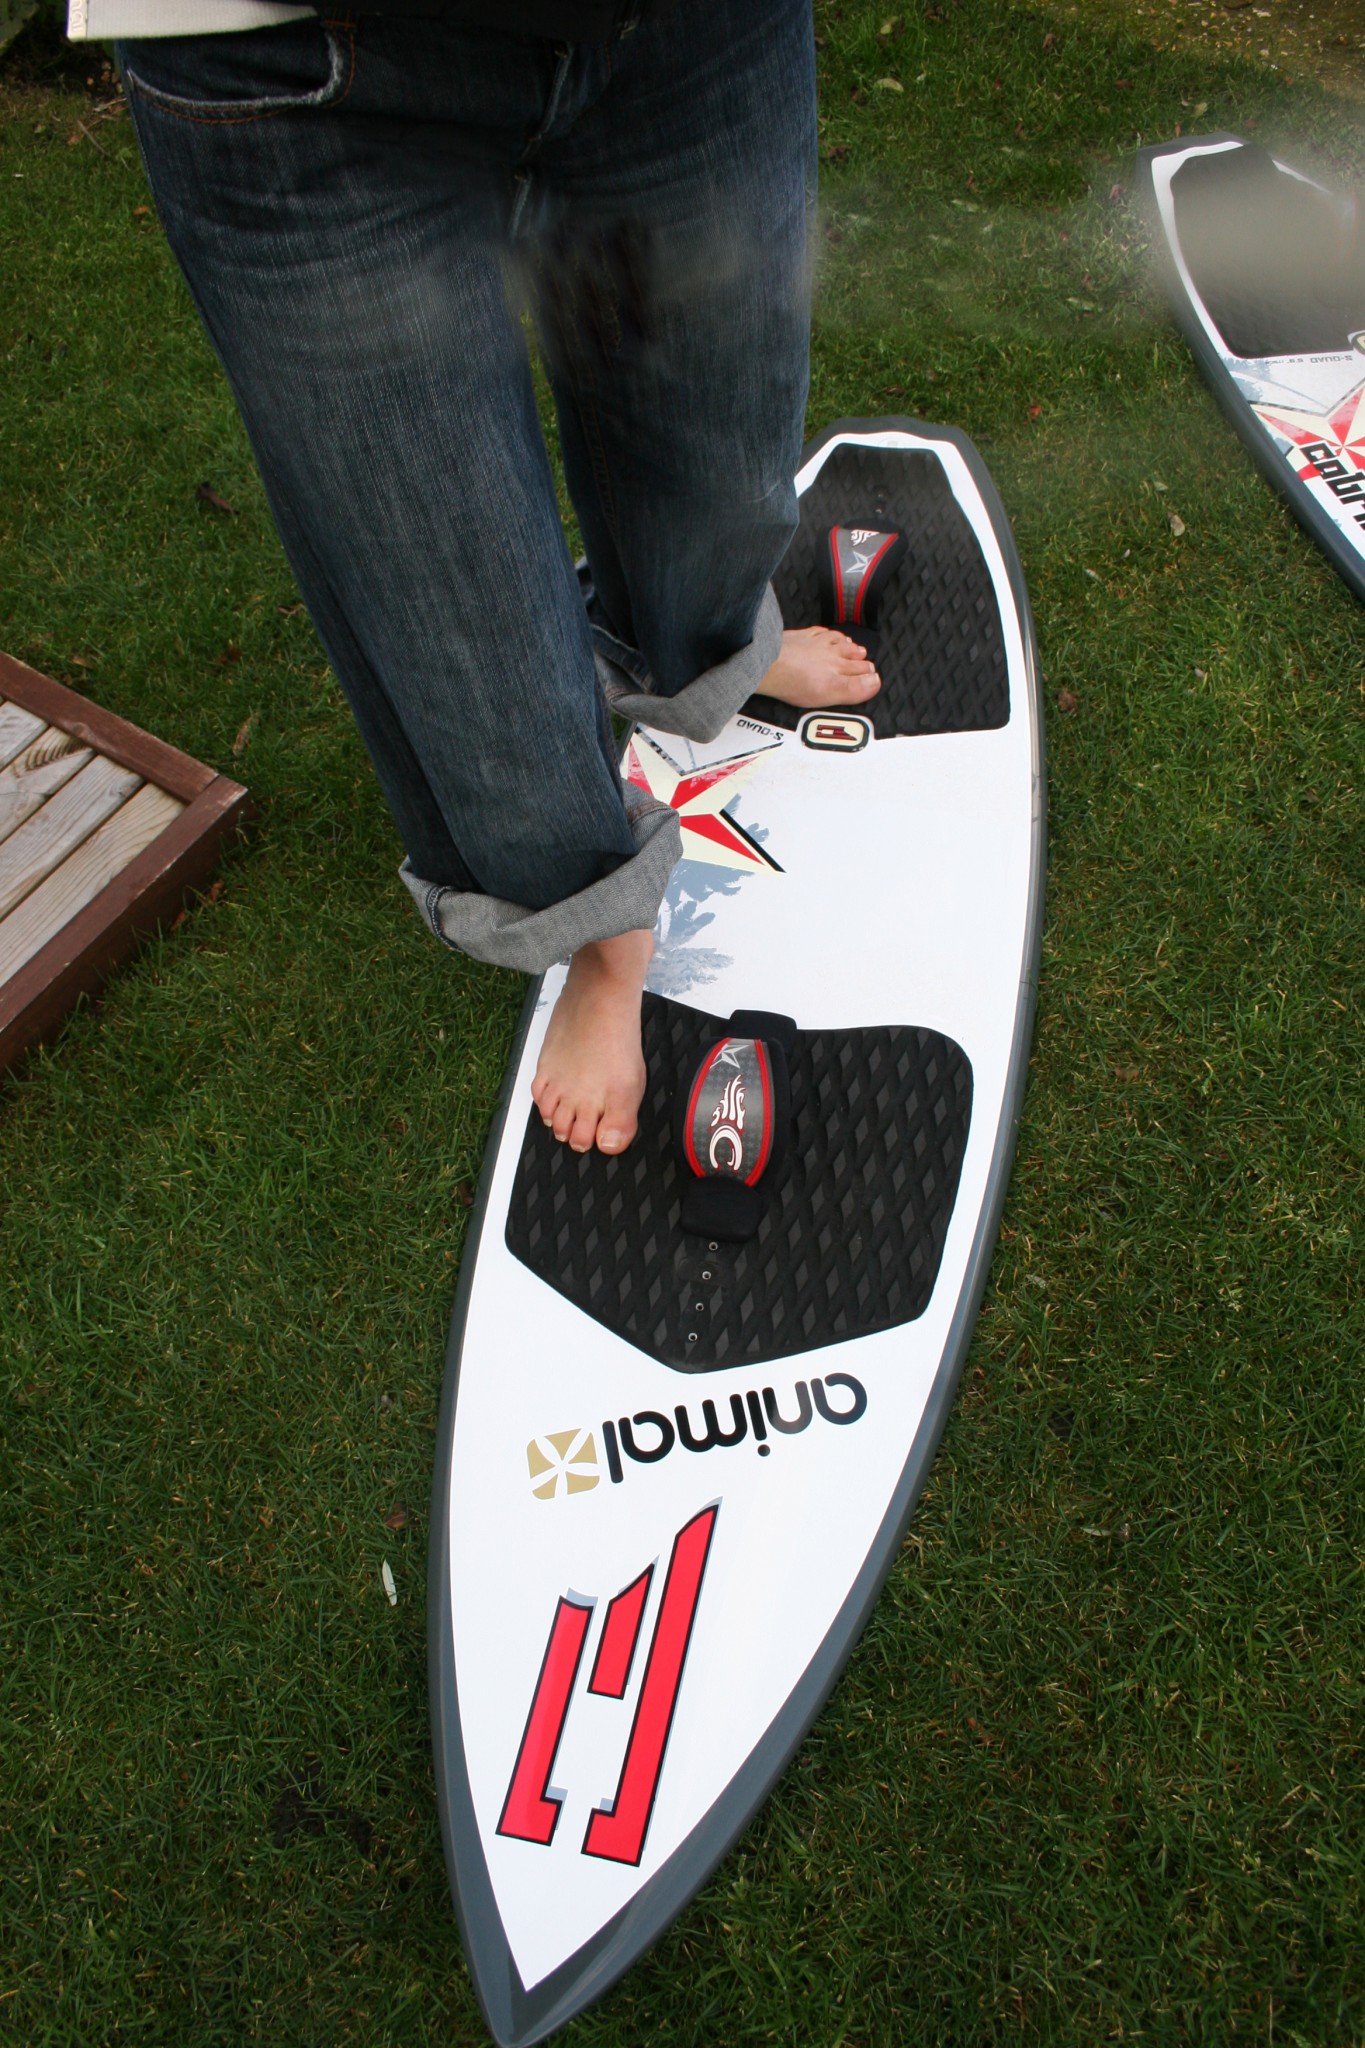
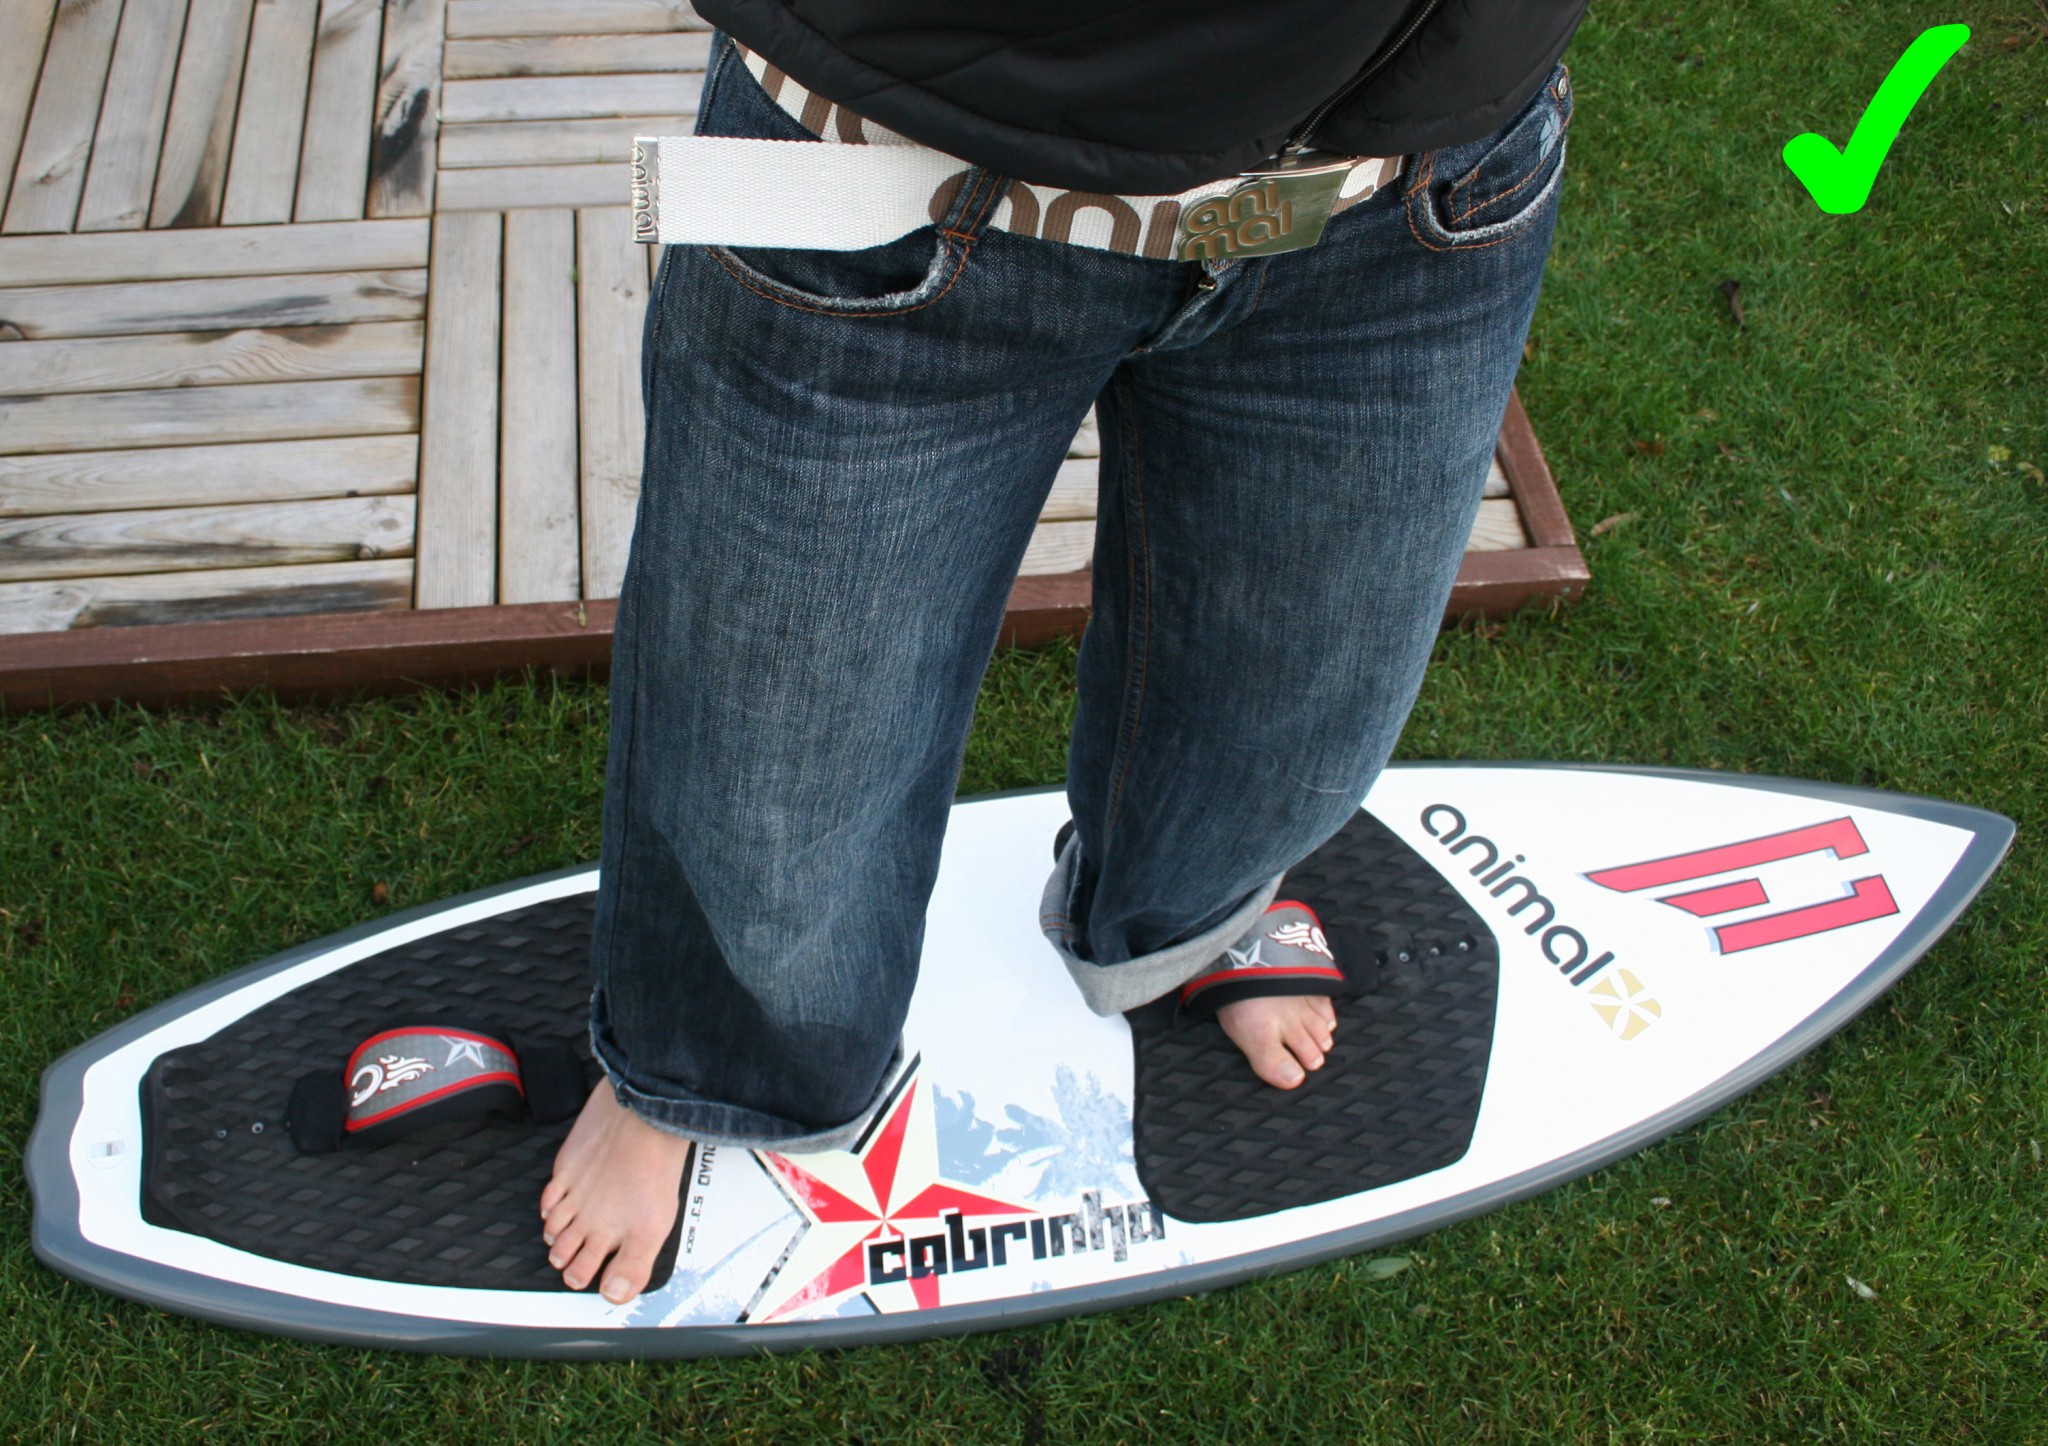
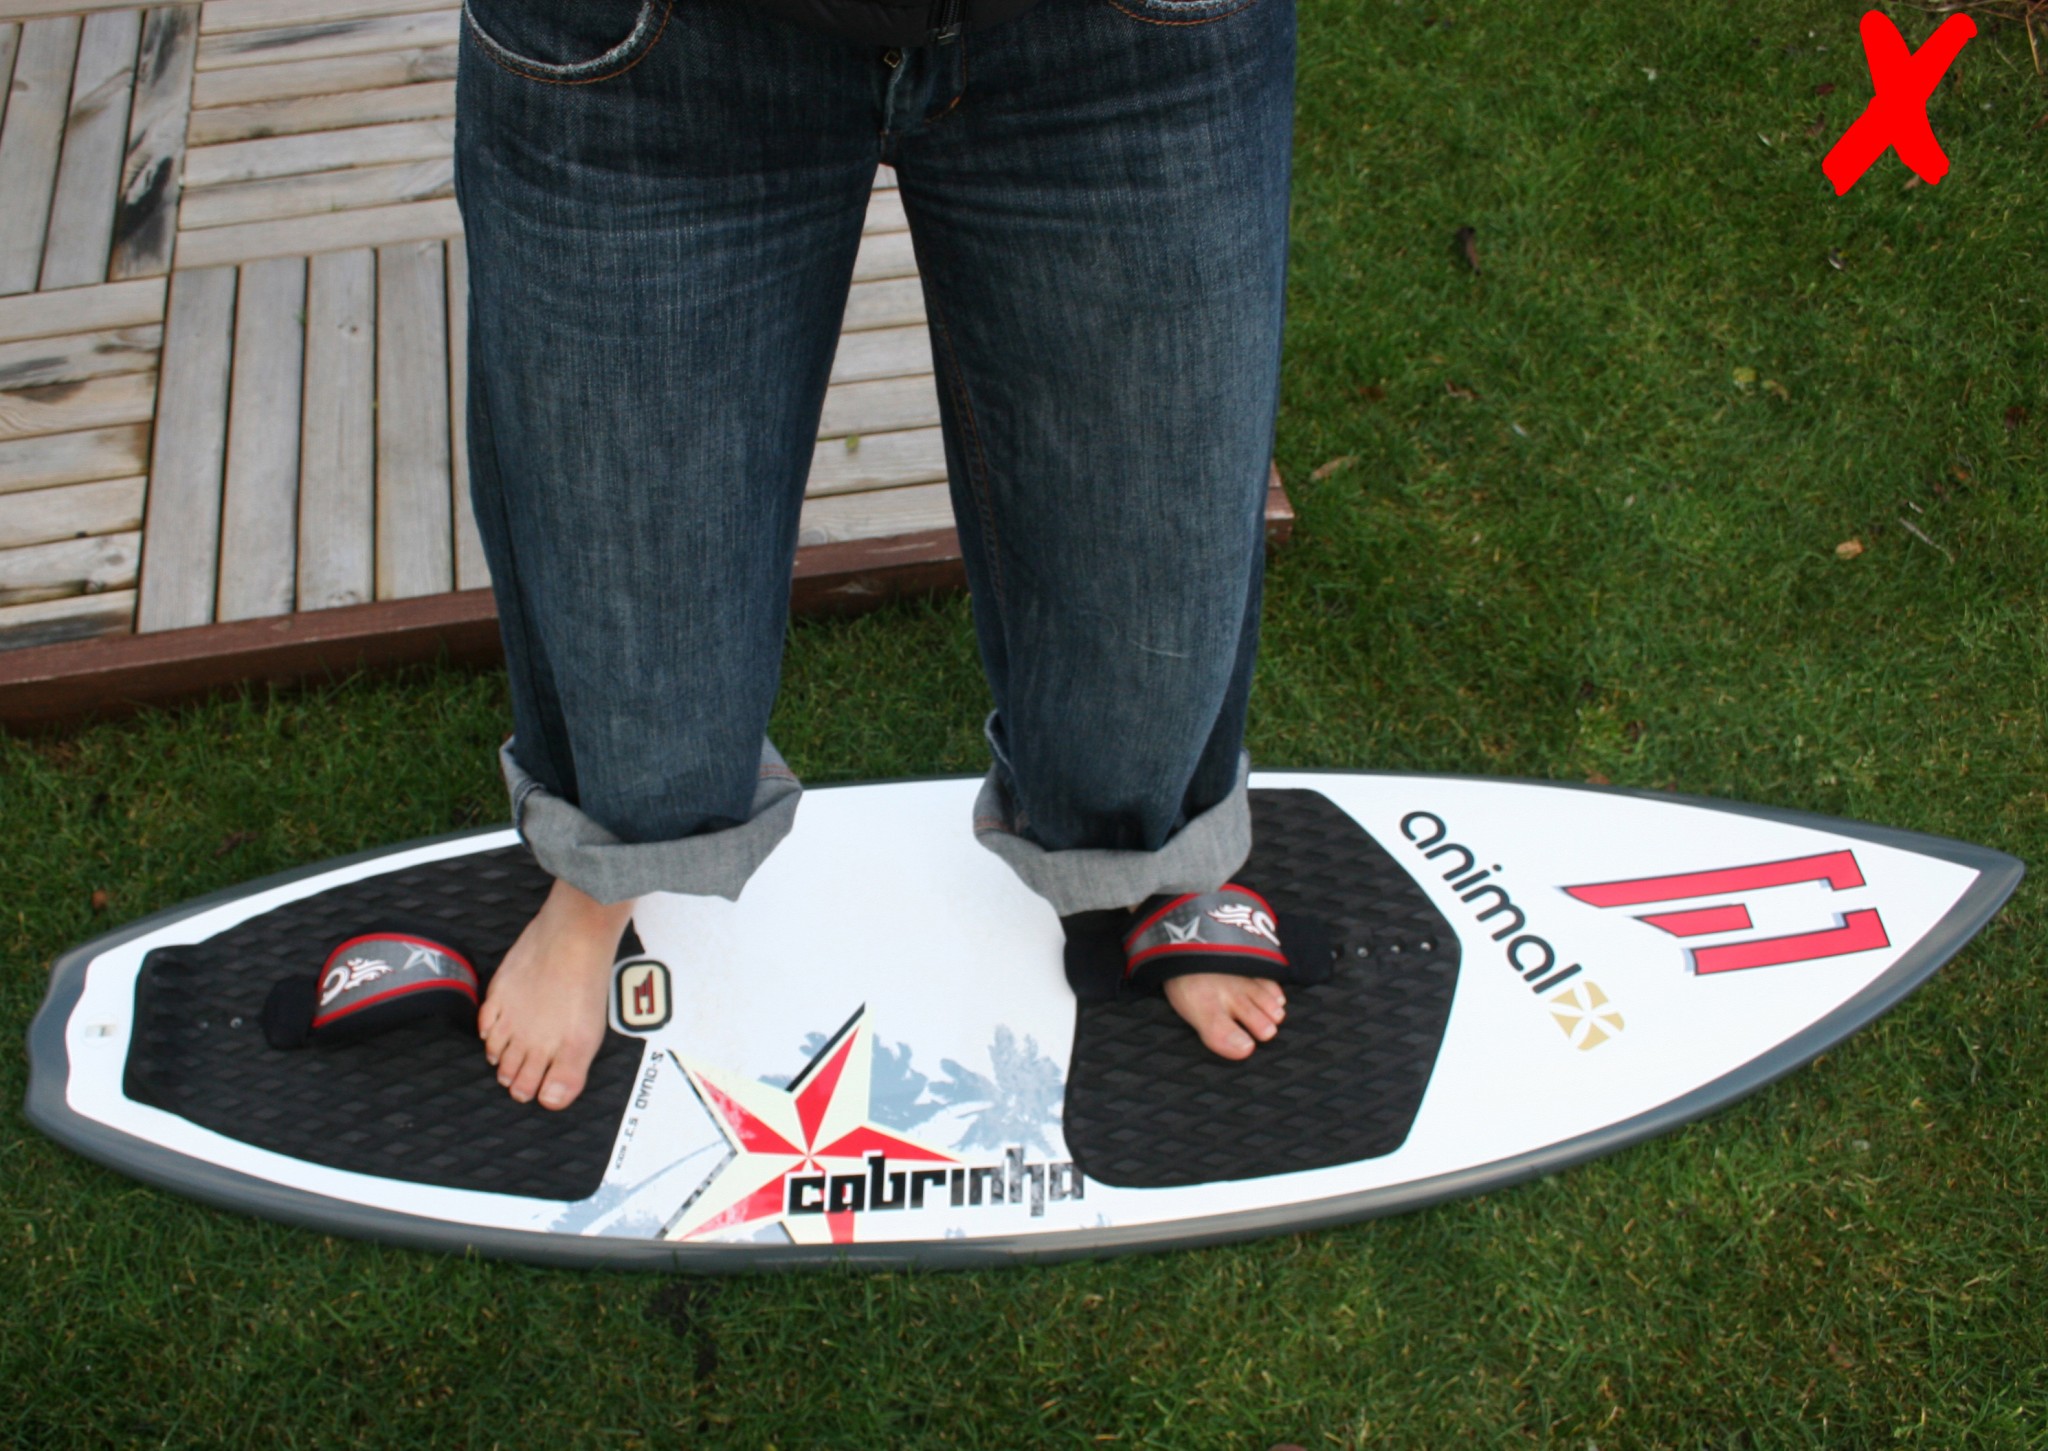
Next up you’ve got the most charming position of them all, something akin to Adam without his leaf, or a Nelson’s Column regular. You will be stepping up to place your back foot right next to your front foot, toes almost touching as in Pic 2. Although this may look a touch dodgy, you will be able to ride in this knock kneed position quite happily even over the bumps, as long as you keep your weight on you free foot to maintain pressure on the boards rail so that you remain on the toe side edge as in Pic 2a.
One Giant Step
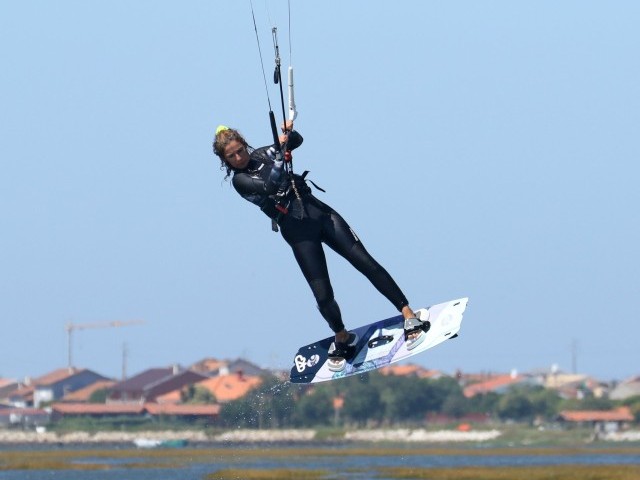
Your next step requires real positivity and commitment so wait until you feel comfortable. If you look at Pic 3 you can see that Karine has moved her left foot out from the strap and has placed it just in front of the back strap with the heel near the rail. This is one definite movement from your pigeon toed stance. If your weight is balanced between your forward facing foot and the harness you will be able to lift the other foot out of the strap and step back. By stepping back onto the rail near the back foot strap the tail is likely to sink, which will in fact help you. In this position the board is creating drag, and therefore putting tension back on the lines, and with it keeled over towards you, you have something to push against even without having your feet in the straps. If you’ve ridden a surfboard without straps this will be second nature.
The Harlem Shuffle
Once you get a bit of power in the kite you’ll want to get your feet back in the straps. Get the front one in first. Feel for the strap with your toes, so that you can keep weight on your heel and once you’ve located it, slide your foot in Pic 4. As far as your back foot is concerned you should already be a pro Pic 5.

Terra Firma
The easiest place to practice will be on land with no kite, chop or waves to worry about. Once it feels natural and you don’t have to think too much, it’ll be time to move onto the water. The real key is to trust your movements and therefore have the confidence not to look down. Looking down will pull your body out of position and increase the likelihood of it all going Pete Tong. In Video 1 you can see Karine’s feet move in real time.
Time to Tango
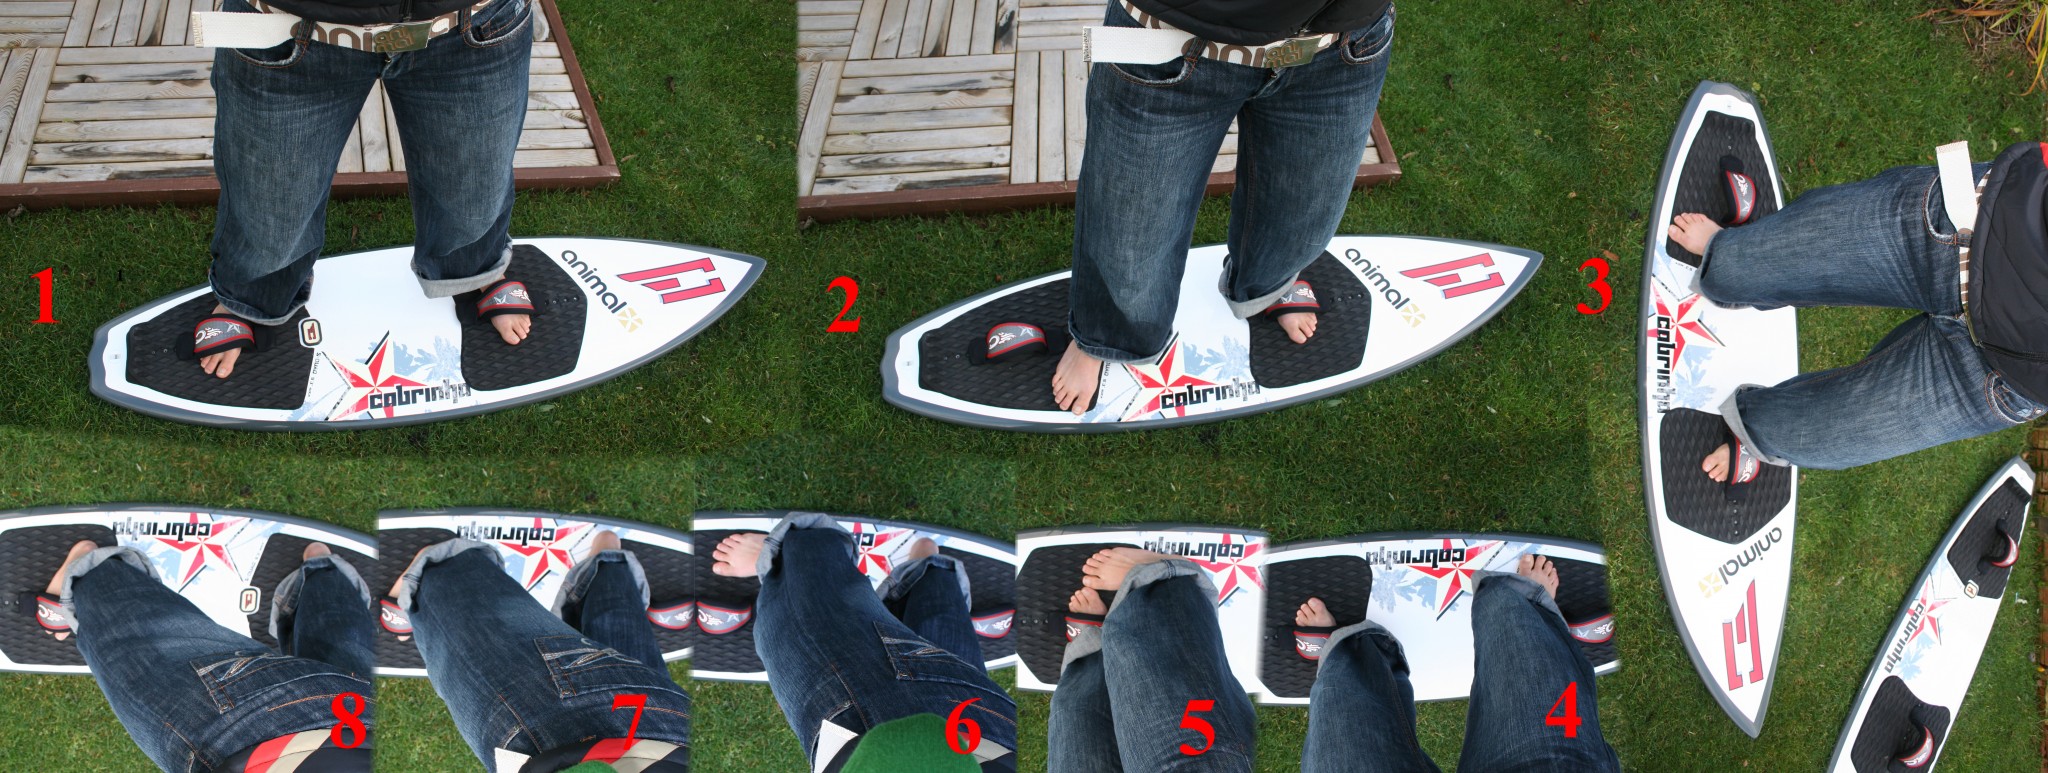
Take you partner by the hand! So to get an idea of the how this works relative to the wind follow the sequence, assuming that in the first two pictures Karine is riding across the wind.
Following Sequence 1
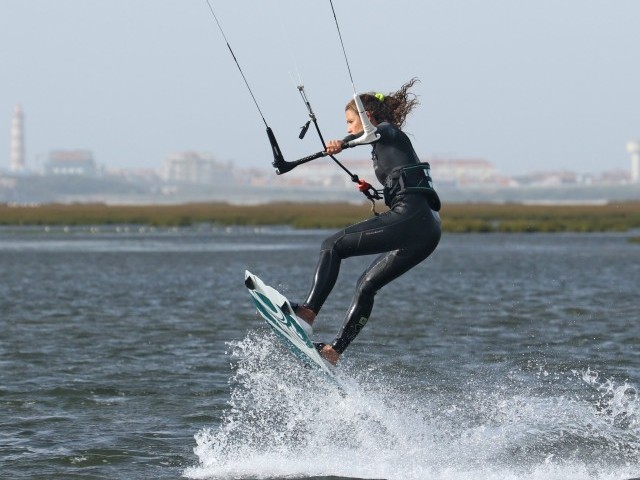
- Pic 1. Theoretically Karine is kiting on her heel side edge with her left foot forward, both feet in the straps.
- Pic 2. Karine takes her back foot out of the strap and places it just in front and on the rail.
- Pic 3. Diving her kite across the window Karine carves the board around.
- Pic 4. Riding toe side in the opposite direction Karine takes a deep breath and…
- Pic 5. Moves her back (right) foot up into the fetching pigeon stance, keeping her weight on her forward facing (right) foot. She can ride in this position and once she feels comfortable…
- Pic 6. She lifts her left foot out of the strap and steps right back onto the windward rail.
- Pic 7. She feels for the front strap with her toes and bungs her foot in.
- Pic 8. Leaning into her harness Karine picks up her back foot and slots it into the strap.
Top Tips and Progress
As you progress and the change becomes more natural try to speed things up. As soon as you are around to toe side, step up, lift out and back, front foot in – 1,2,3.
If that’s child’s play, try carving in pigeon stance and stepping back as you turn through the wind. This way you plane through as a gybe and have both feet, or at least your new front foot in the strap as you come out in the other direction.

Should you be trying to stay upwind as much as possible, don’t do a carving turn to toe side, but a scissor turn. This is a progression from the toe side water start. Just slow right down, move the kite across and as you sink push the board around onto toe side. As you come up change your feet.

This technique article was in Issue 7 of IKSURFMAG.
Related


By Christian and Karine
Christian and Karine have been working together as a coaching team, running improver to advanced kitesurfing clinics since 2003.
