
Kit Set Up
Technique / Beginner
Introduction
A few pages later in this issue we will be covering the all-important wonder of stance. It’s all good and well discussing which hernia inducing, twister-mimicking positions you should be moulding yourselves into. But it could all prove so unachievable or at the very best extremely difficult, if you are wrestling with a kite and board determined to resist your advances. Something that we have really noticed from guests on our clinics is that the way in which you set your equipment up, whether by tweaking a foot strap or altering the position of your bar, can totally transform the way you kite. What follows is not so much a how to, but an attempt to give you the understanding and therefore motivation to experiment to achieve a fully bespoke set up.
Kite Wise
The constant improvement in kite design over the past few years has been quite remarkable. However this evolution and at times revolution has made keeping up with how to get the best out of that shiny new toy a tad tricky, especially if you are not fortunate enough to get regular outings on the water.


Sweet as Nuts
Your aim whilst flying a kite is to keep it perfectly trimmed. In other words to have the kite flying at it’s optimal angle to the various forces around it. Without wanting to delve into a world of lab coats, spectacles, wind tunnels and beards, this is pretty much when there is equal tension on the front and back lines. Flown this way the kite will power you along, cruise upwind, turn when requested and behave as best it can, making your playtime utterly delightful.
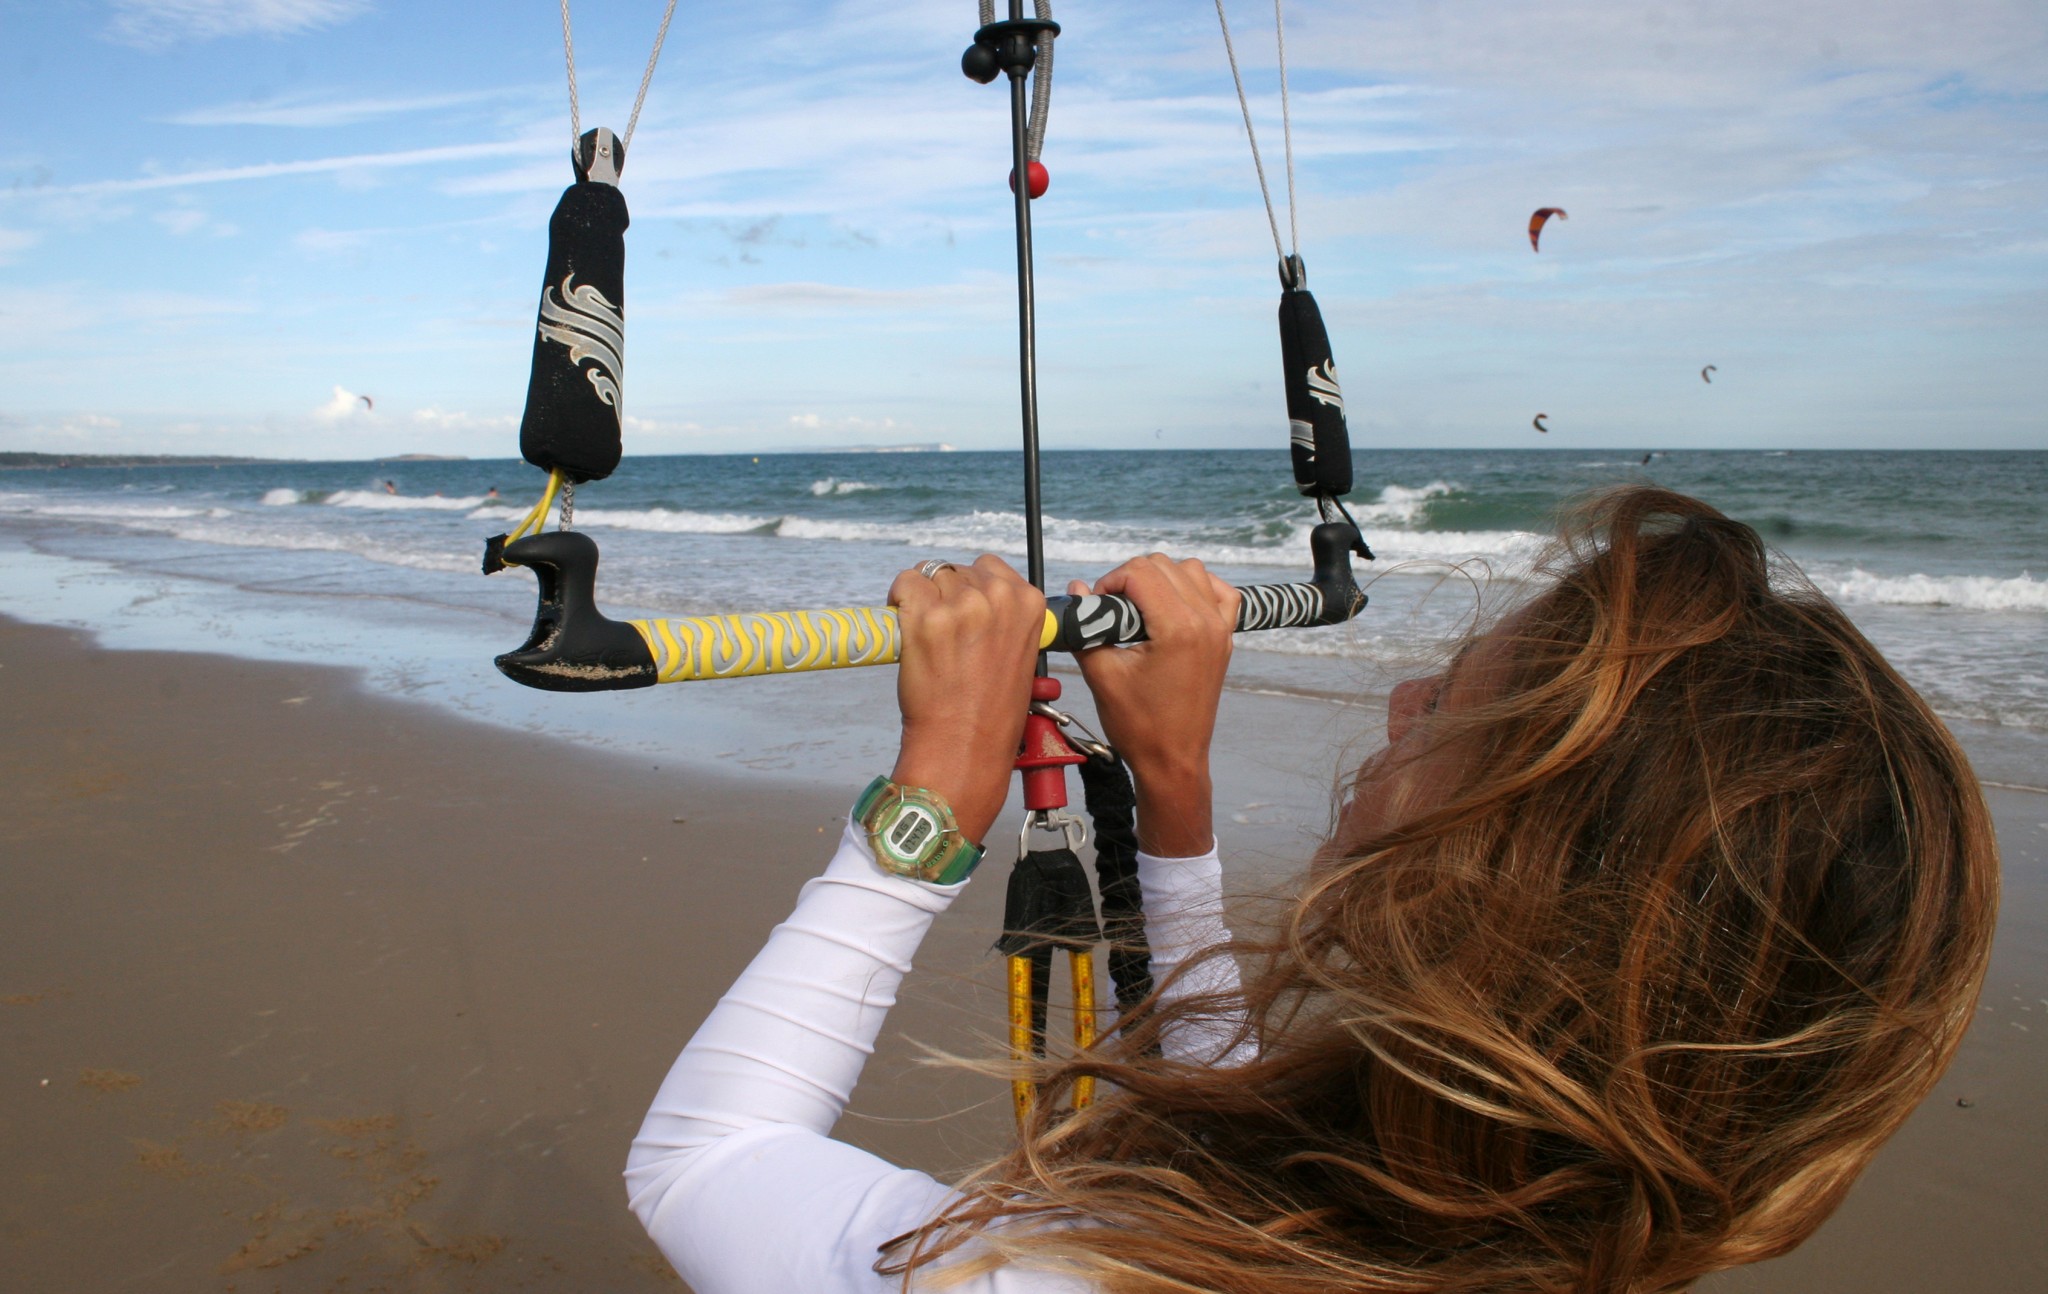
The best way to feel when your kite is perfectly trimmed is to pull the bar in until you are sure the back lines have gone tight, and then gently let it out until you feel the kite pulling less and less on your arms. The sweet spot is the position of the bar the moment just before the back lines slacken.
In Video 1 you can see Karine Pulling the bar down and letting it gently off, and then pulling it down with her fingertips. You can also see how the kite responds well to steering and just looks right. Obviously on the beach you can see when the back lines tighten, but the method of letting the bar out works a dream once you’re sailing along. On bow style kites this will be easier to feel as a short amount of movement on the bar will have a noticeable effect on the kite.
In theory all is fine, but once you’re concentrating on the hectic world dashing past at a rate of knots it’s easy to grip hold of that bar any which way you can with not so much as a thought for what it’s doing to the kite in front of you. Gusts, lulls, your speed, even the water state can effect where the sweet spot will be, so you’ll need to be constantly feeling for it.
So what happens when you get it wrong?

We got De-power
If there is too little tension, or no tension on the back lines, the kite is effectively sheeted out. It will feel gutless and it won’t respond well to steering, as the back lines won’t actually pull on the kite.
However you are now de-powering the kite, which is a lot more than a little useful! So if you move the bar anywhere above it’s sweet spot you are dumping power from your kite, sheeting out, great for regaining control, slowing down, stopping or when you wipe out. Bring it on
In Video 2 Karine pushes the bar away from her. The back lines are slack, the kite has de-powered and she feels very little pull. You can also see how when she tries to steer with the bar in this position nothing happens. If you find yourself in this situation just pull the bar in towards the sweet spot and you’ll regain the ability to steer.
Flaring
If there is too much tension on the back lines you could well enter a world of pain. Normally referred to as flaring or reversing. This is potentially dangerous as it encourages the kite to fly/fall backwards. Once you pull the bar past the sweet spot you will flare the kite, often resulting in the kite falling back into the power zone.
A classic launching nightmare in light winds when there is not enough power to hold the shape of the kite, whether from the water, when the kite just rolls onto its back, or worse still on land, which should best be avoided. If you see you kite flying backwards, push the bar back towards and past the sweet spot to allow the kite to fly forwards again.


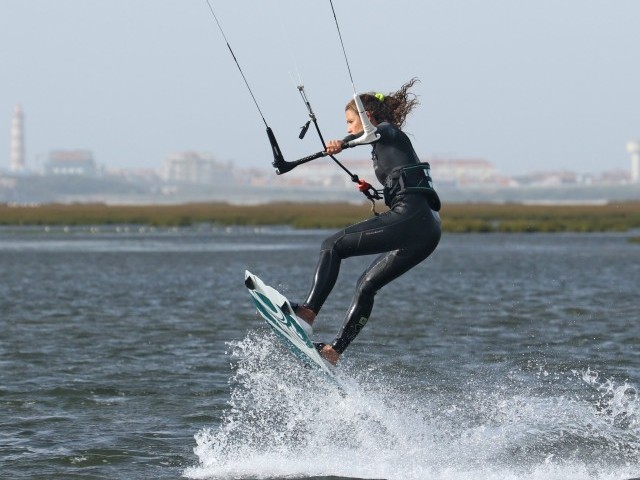
In stronger winds, if you muscle the bar in past the sweet spot your kite will still flare, but rather than falling back it will merely fly further back in the window, more downwind of you. The end result is a kite, which has no intention of going upwind, makes jumping hard as it pulls you off your edge too early, and gives you the impression of being overpowered even though you’re not.
In Video 3 Karine pulls the bar down from the sweet spot. The kite then pinches in at the back and as the wind is light, starts to fall backwards. To bring the kite back up she pushes the bar away.
One of the most misunderstood facts in kiting: “pull the bar in for more power”. You should only pull the bar in as far as the sweet spot. If the truth were told, your kite is only as powerful as it is, and if there is not enough wind, the only way to create some extra oomph is to work your kite around the window. You cannot make more power just by pulling the bar; in fact you’ll kill the power.
The Sweet Spot
The sweet spot on your bar is not fixed. In a gust it may move away from you, and in a lull it may move towards you. Once you get moving at speed it will most certainly be further away from you than it was standing on the beach due to the added power created by the kite moving. If you have been guilty of pulling on the bar too much you’ll probably find that you’ll start going upwind so much better as the kite is no longer powering you downwind.
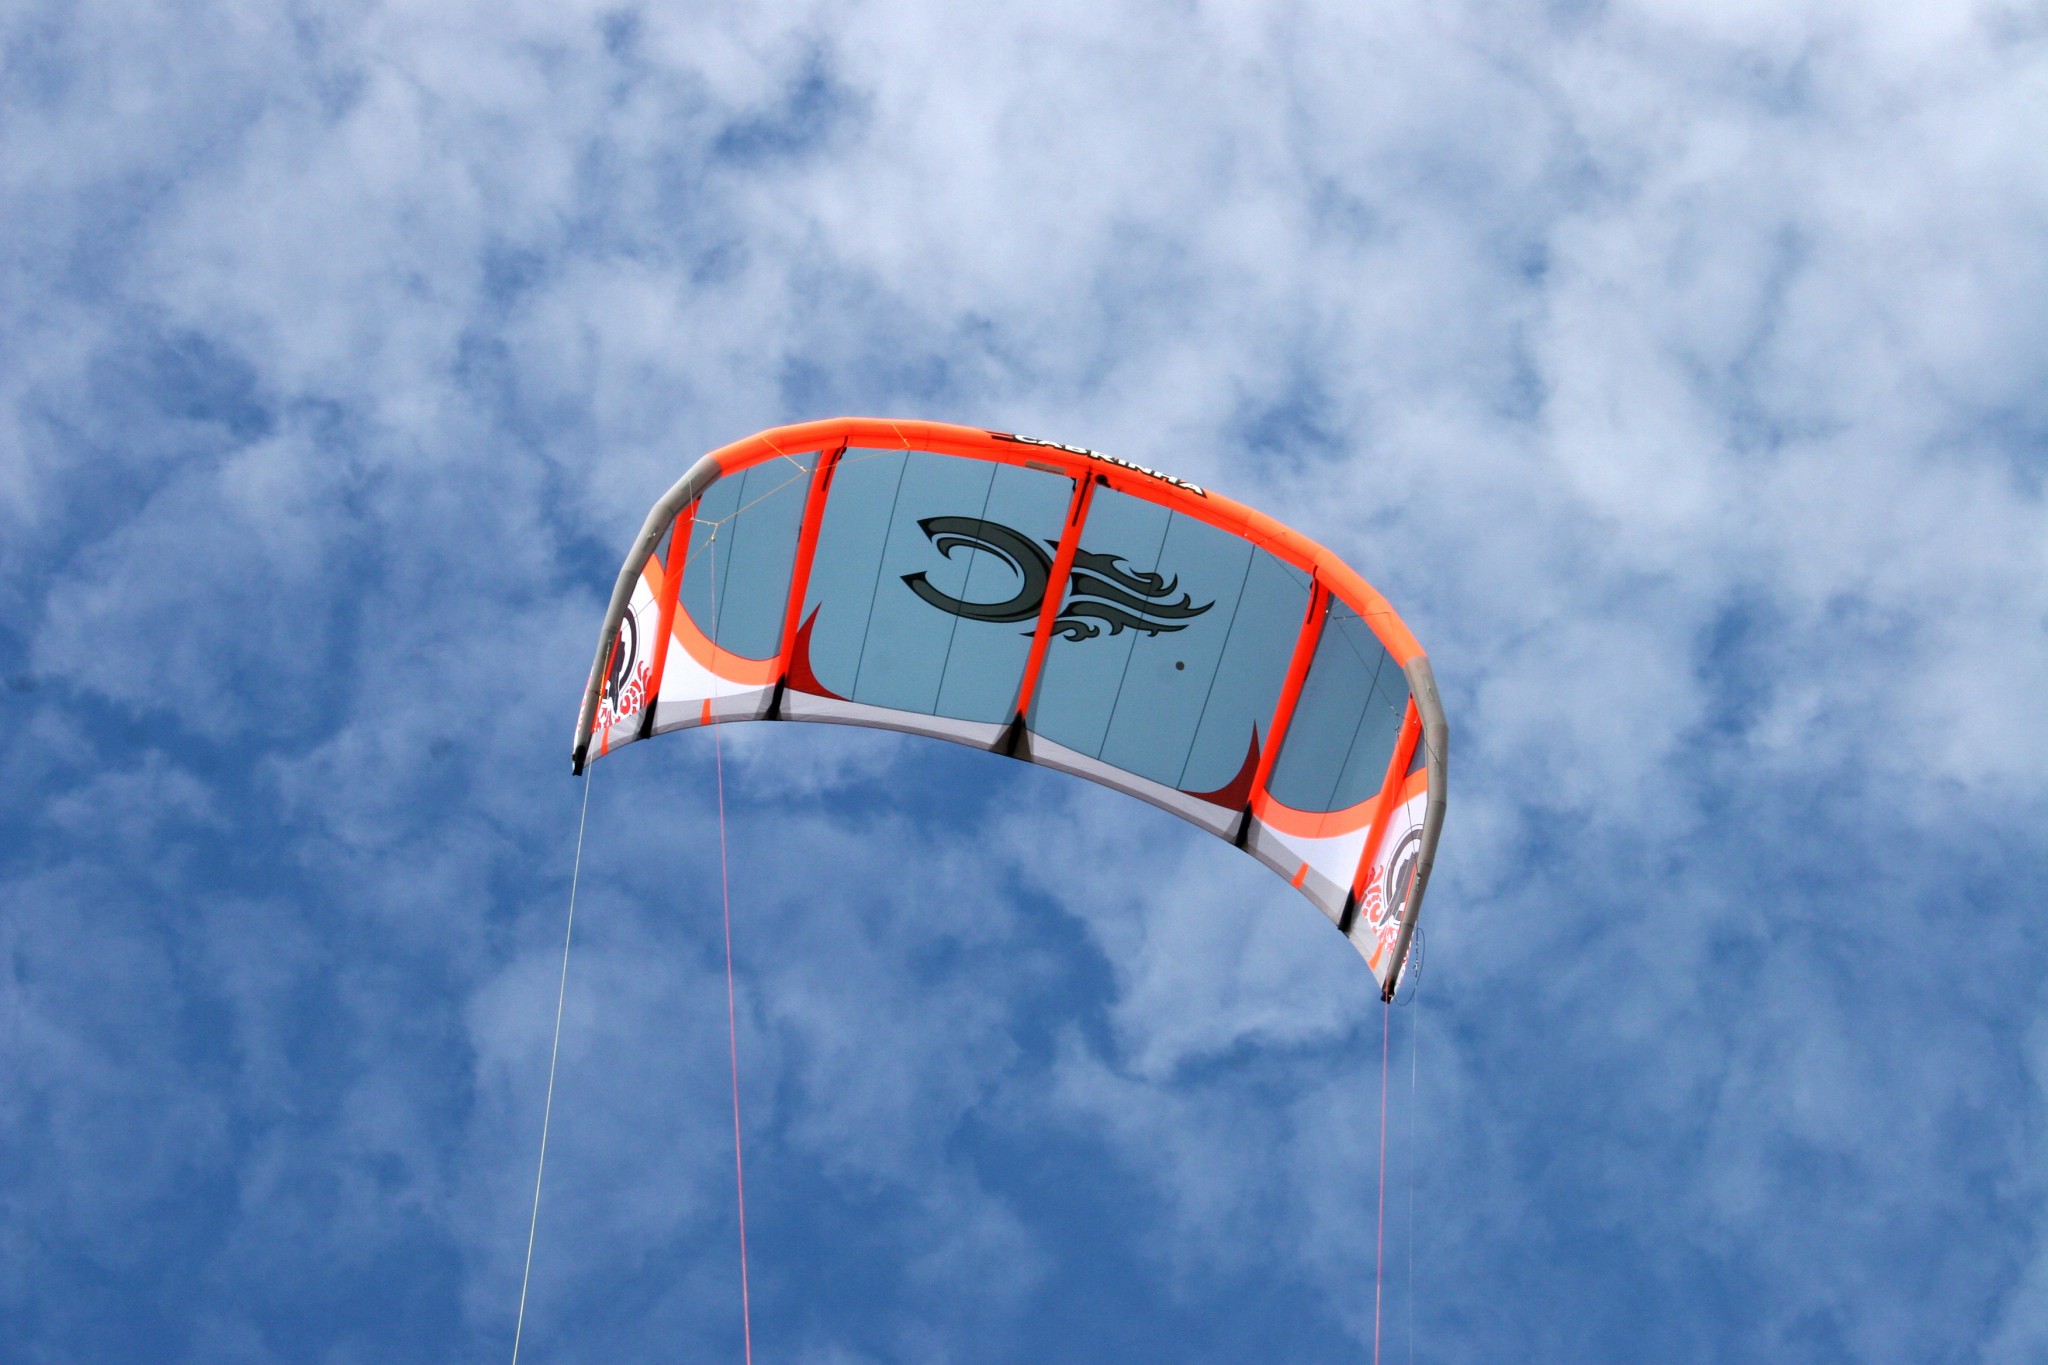
In Pic 1 you can see the kite flying off the bar positioned at the sweet spot. Here it will do all you ask of it.


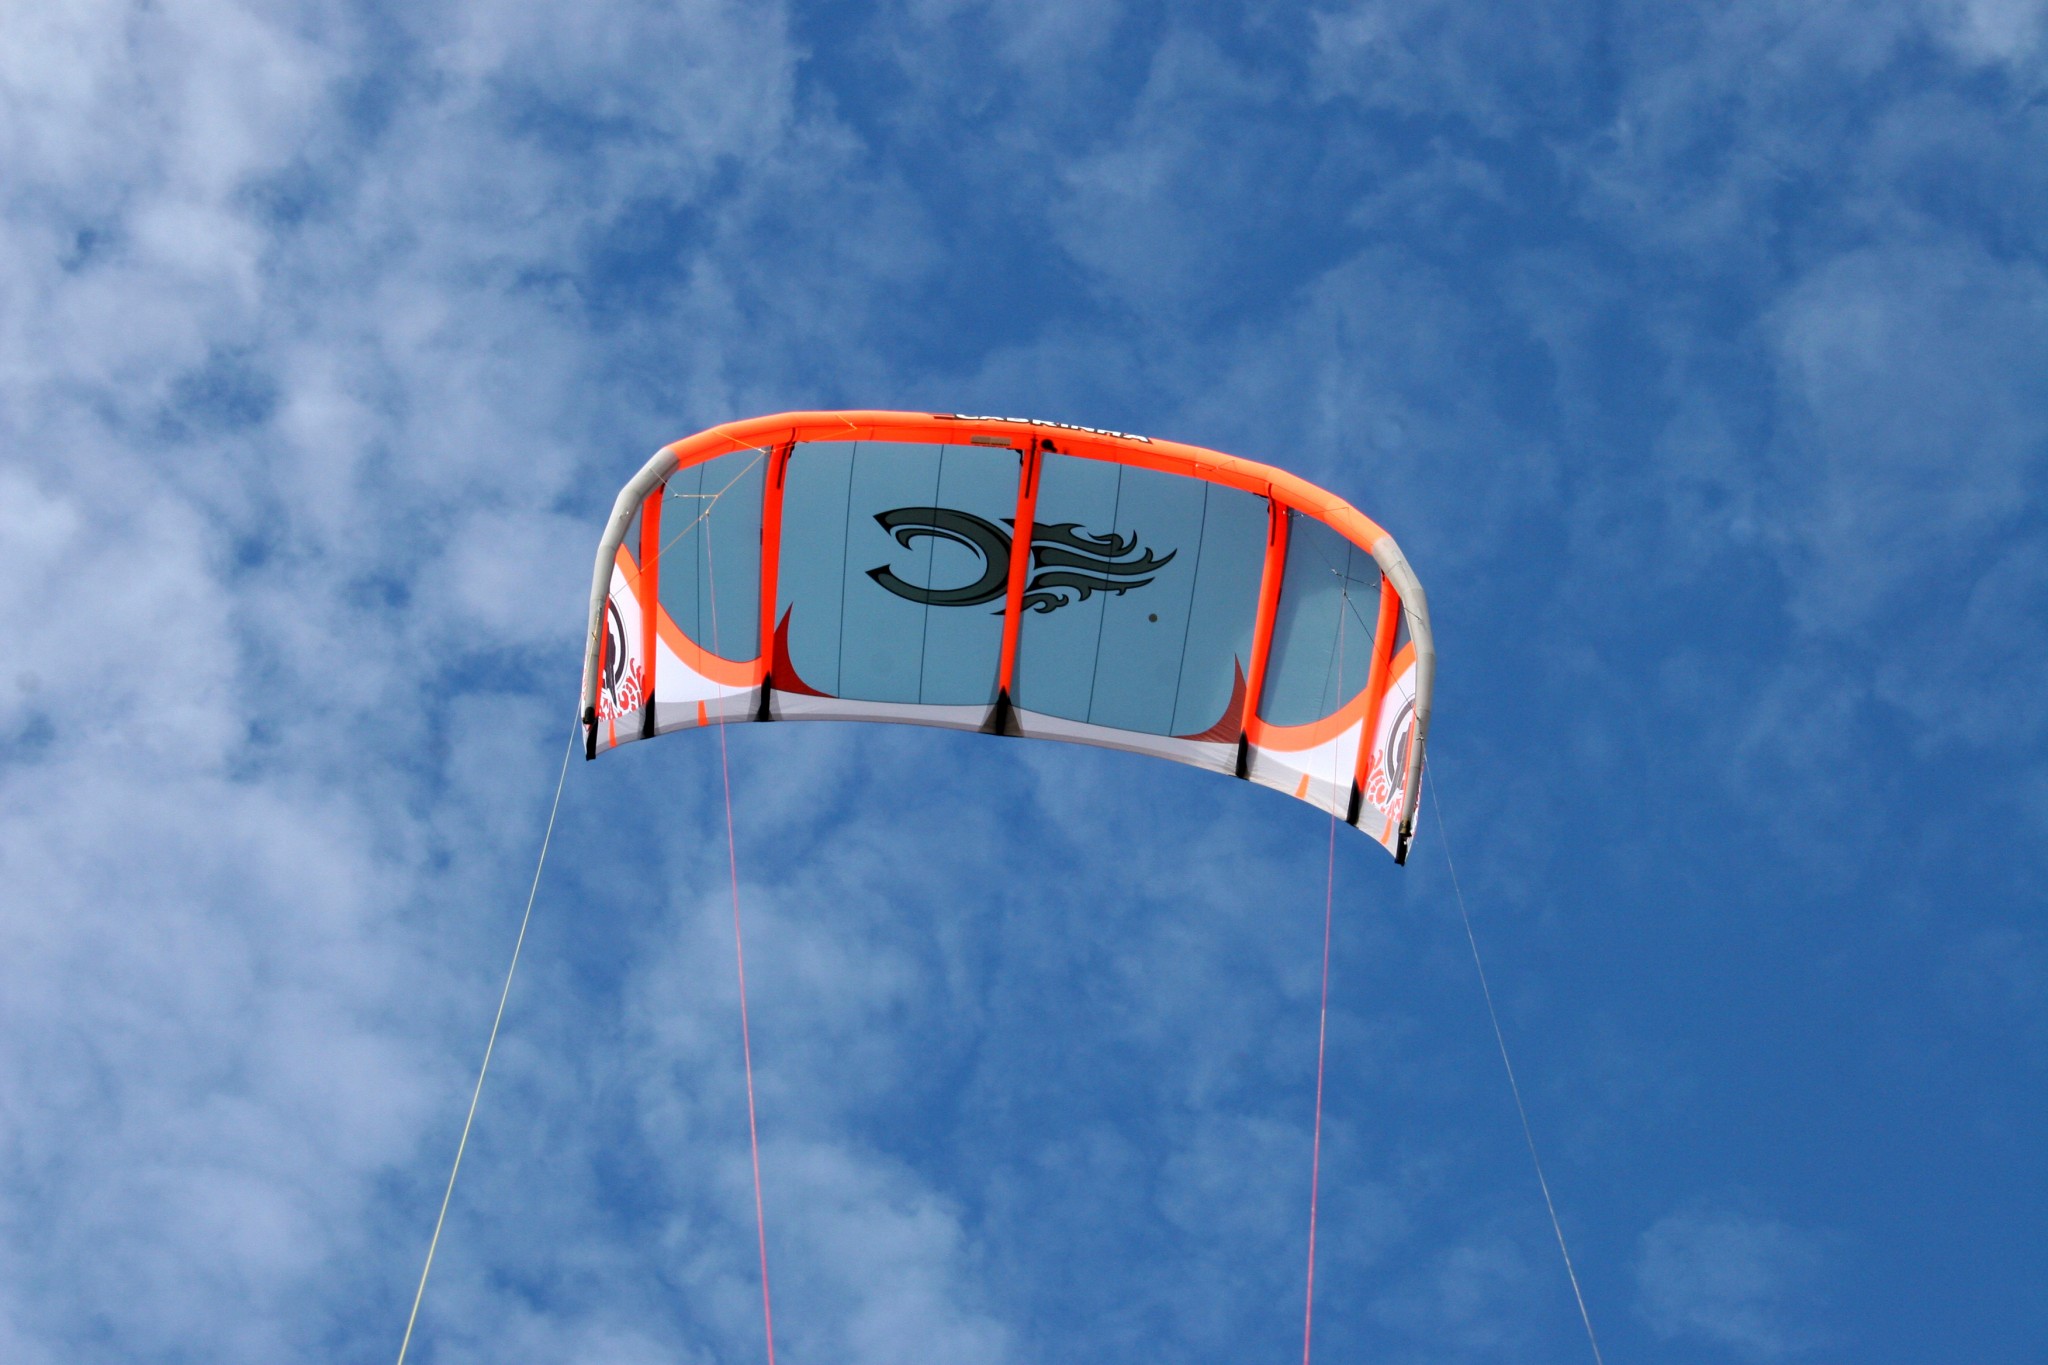
In Pic 2 the bar has been let out, and the kite has de-powered. If you were kiting along you would now drop into the water and stop.
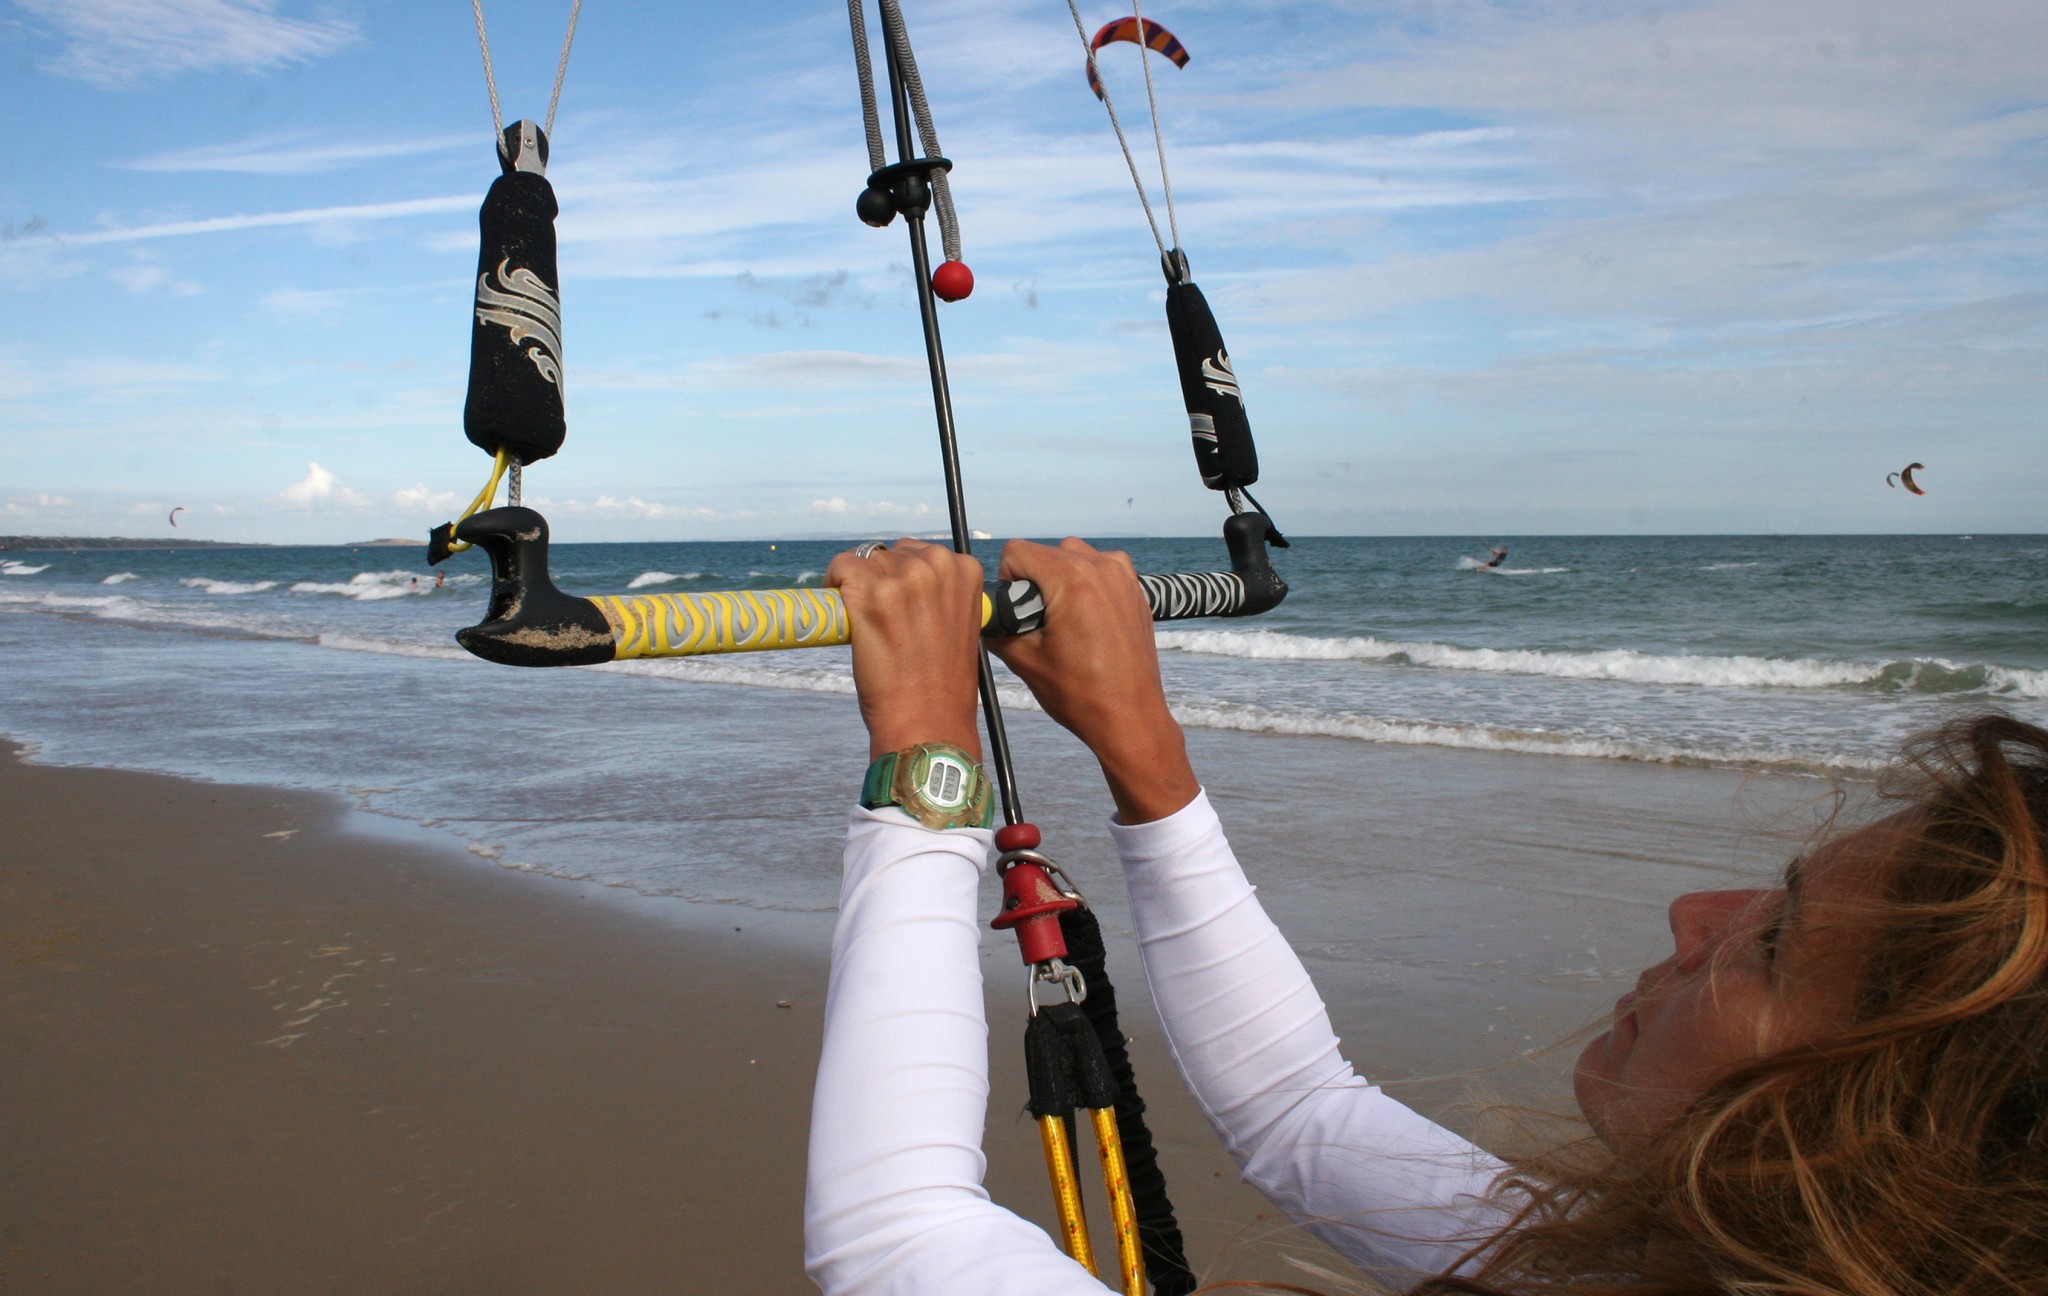
In Pic 3 the bar has been pulled hard down past the sweet spot and as a result the kite is flaring, falling back in the window.
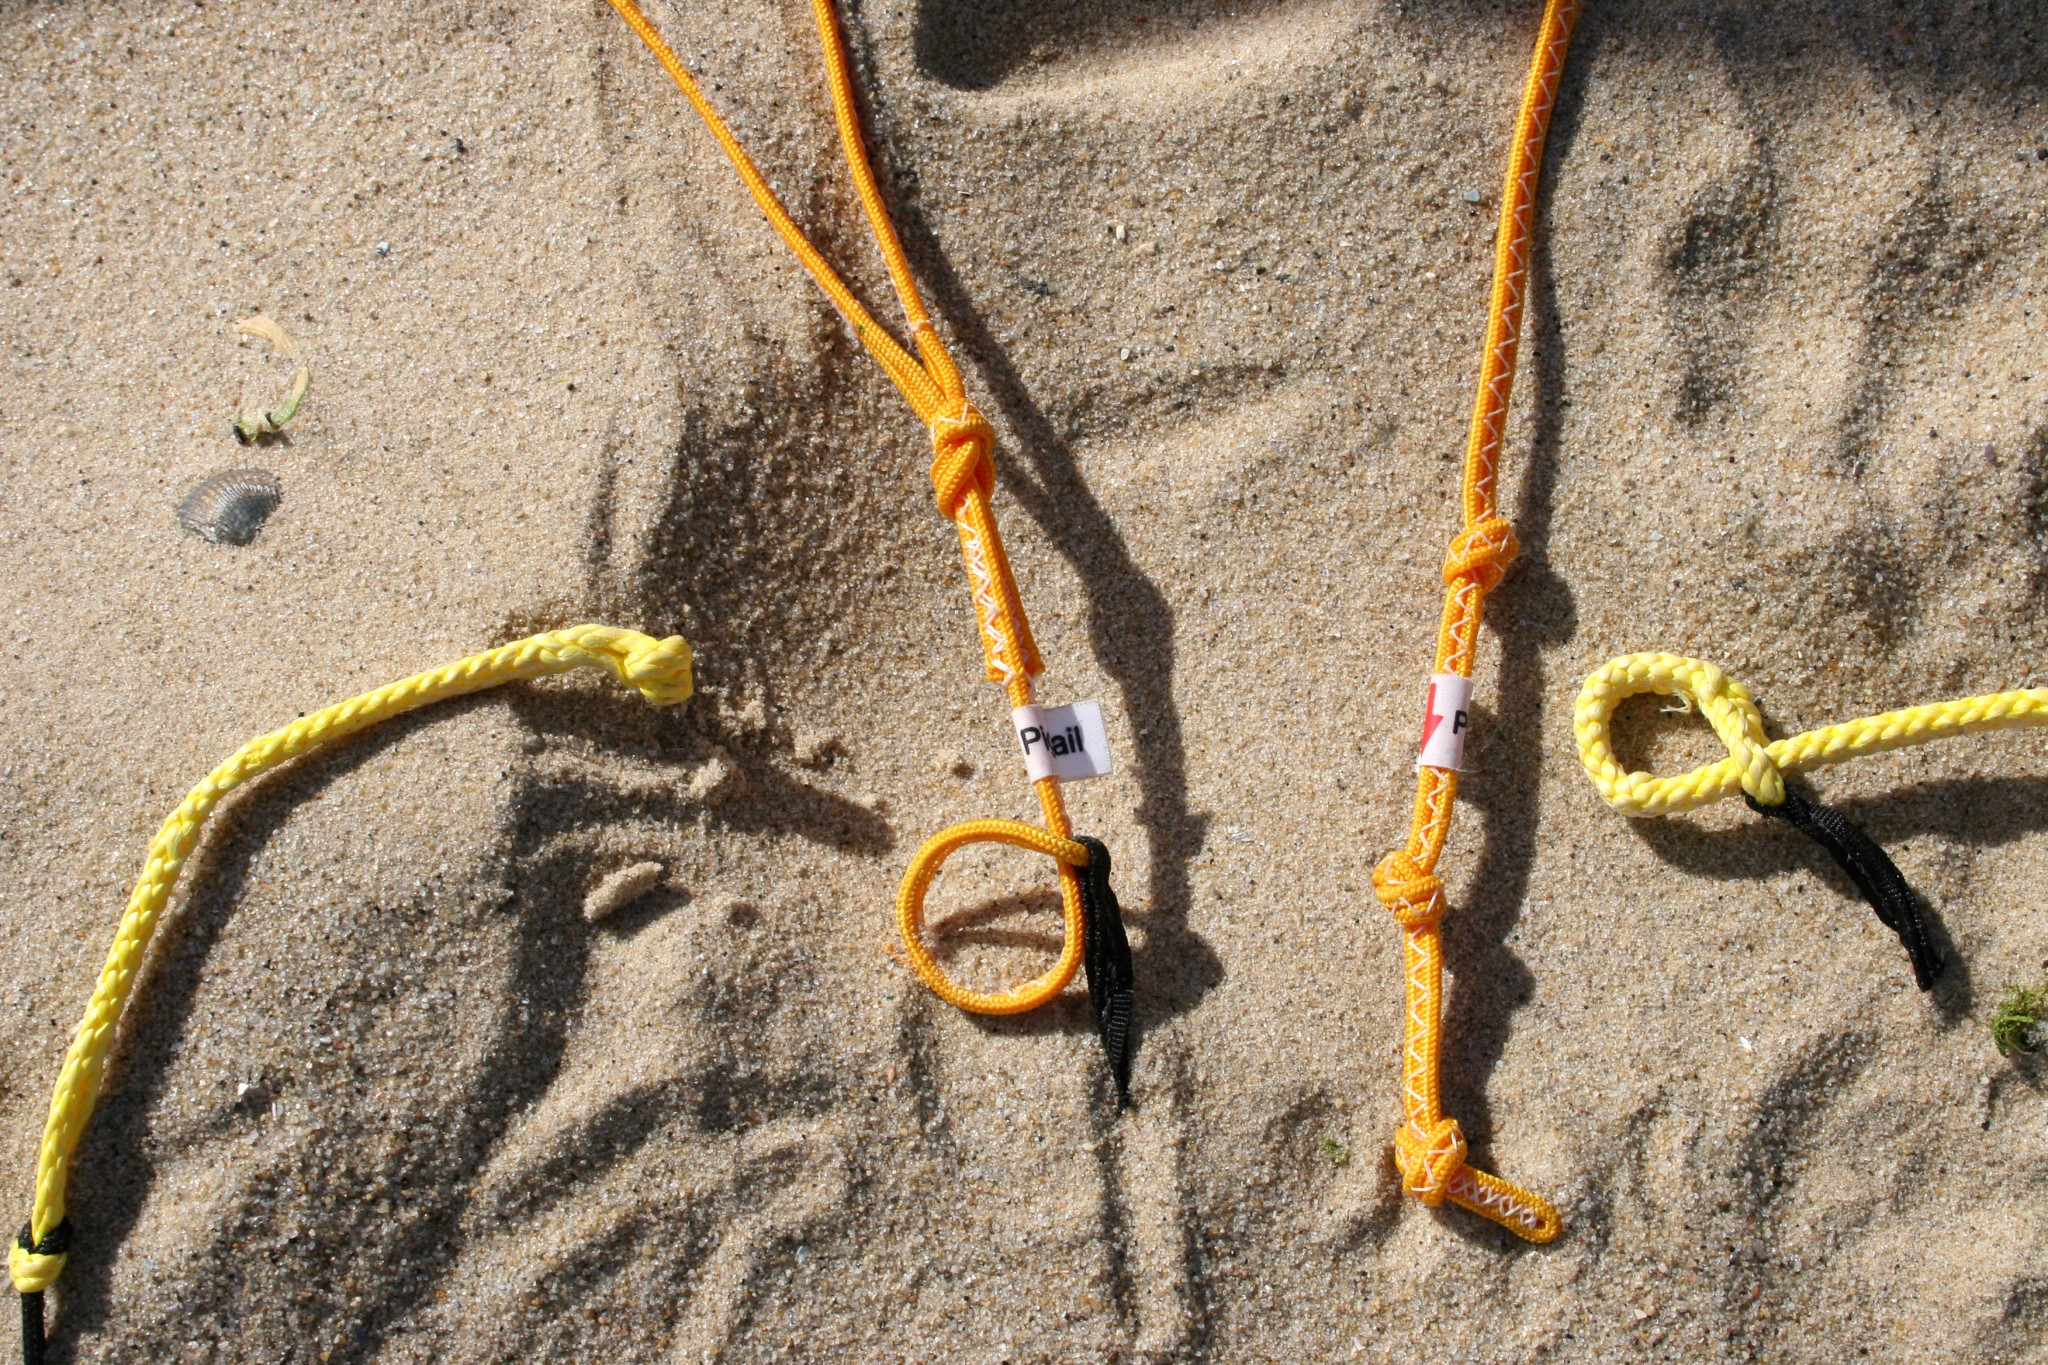
Pigtails
Some manufacturers give loads of options on both the front and back attachment points. You’ll need to experiment with these to find out which works best. Ideally try and use the same attachment on the front lines and if necessary vary which one you use on the back lines.
Not whishing to teach your Granny how to suck eggs, if you attach your back lines to the attachment point at the end, furthest from the kite you are effectively lengthening them. If you attach them to the attachment point nearest the kite you are shortening them. Try and find a balance with the front and back attachments so that when you have power in the kite, your bar’s sweet spot is just lower than the middle of your chicken loop line, Pic 4.
On our kites for example we have 1 front line attachment and 3 rear attachment options Pic 5. We only ever use the bottom (furthest from the kite) and middle ones. As we enjoy our fare share of unhooked tomfoolery, these two positions enable us to find the right setting depending on wind strength for the given kite size. If it’s marginal we opt for the middle, if we have sufficient power we opt for the bottom.
Meanwhile Back at the Bar
Your bar is all your controls in one. This means that however you attach your lines, on whatever pigtails on the kite, this set up should, with your bar’s sweet spot being lower than half way down the chicken loop line, enable you to trim where the bar’s sweet spot is, using the centre line adjustment strap.
The Strap
Centre line adjustment strap, de-power strap, trim strop, there are many different names so to save any arguments we’ll refer to it as the strap. The strap is actually for trimming your bar position.
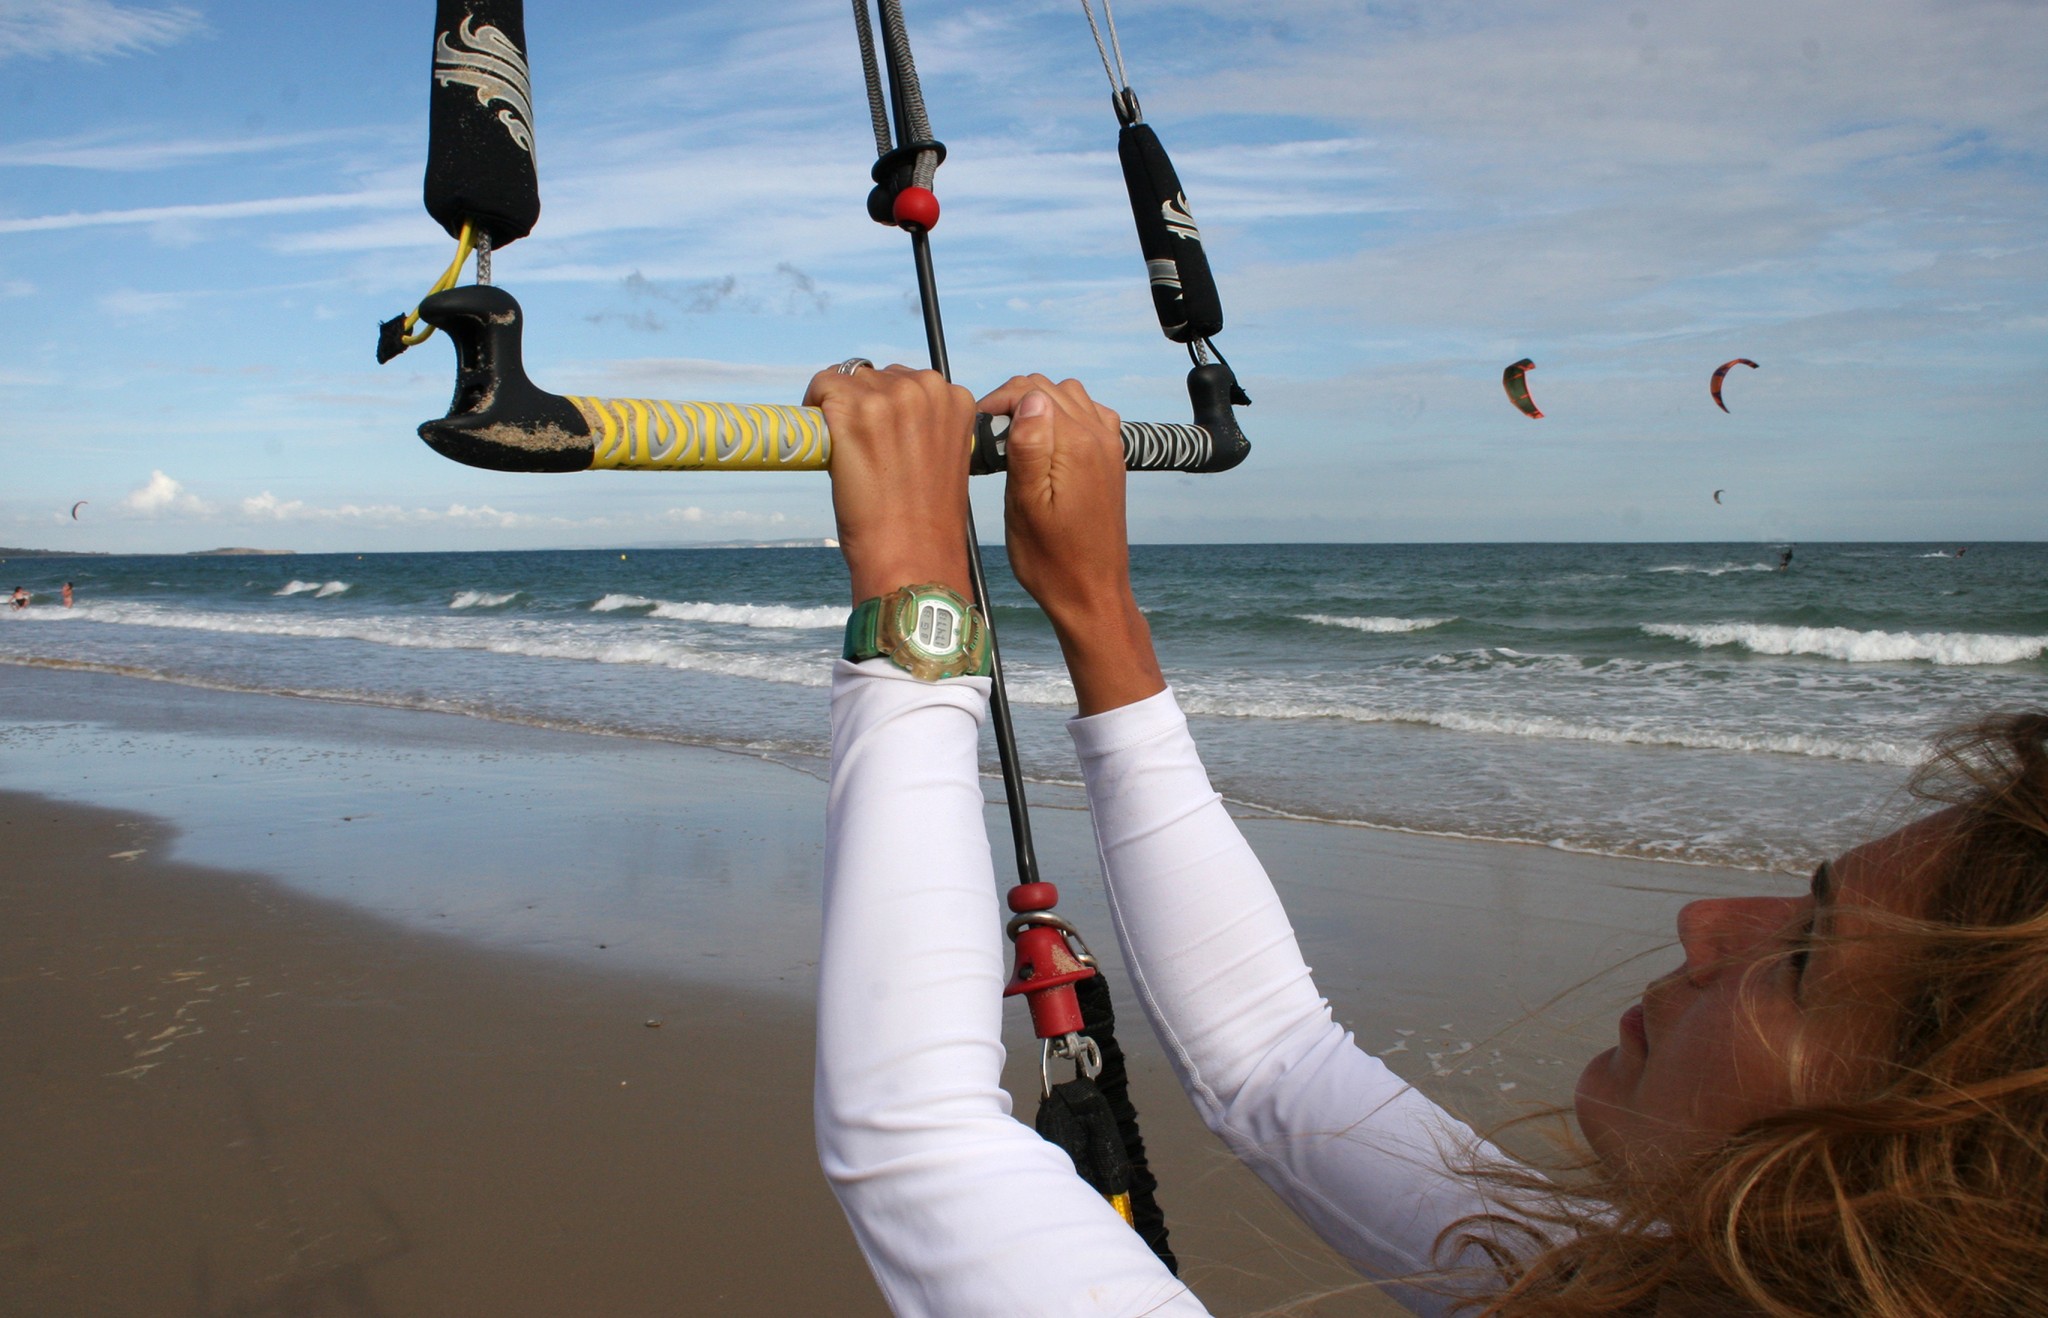
In Pic 6 Karine has her bar mid way up the chicken loop and she has not pulled down on the strap.
In Pic 7 she has pulled the strap down half way and the bar has followed it down.
In Pic 8 Karine has pulled the strap all the way down and the bar is resting on the chicken loop, perfect for unhooking.

Another fallacy of kiting is that the strap actually de-powers your kite. We have met so many kiters who fear that by pulling down the strap they will actually take power out of the kite. As already mentioned your kite is as big as it is.
The strap actually moves your bar, and therefore the sweet spot. So if you feel there is too much power, by pulling the strap down, you move the bar closer towards you and therefore give yourself more space above the sweet spot in which you can de-power the kite. Your kite still has the same power but you have more room to dump the power by sheeting out. Marvellous. If, however, you start with your kite set up on the pigtails so that your bar is close to the chicken loop without pulling at all on the strap, then if you pull it all the way down you will have no power as the back lines will be slack.
The Board Room
On your board there are a few things that can really make a huge difference all based upon your foot straps.

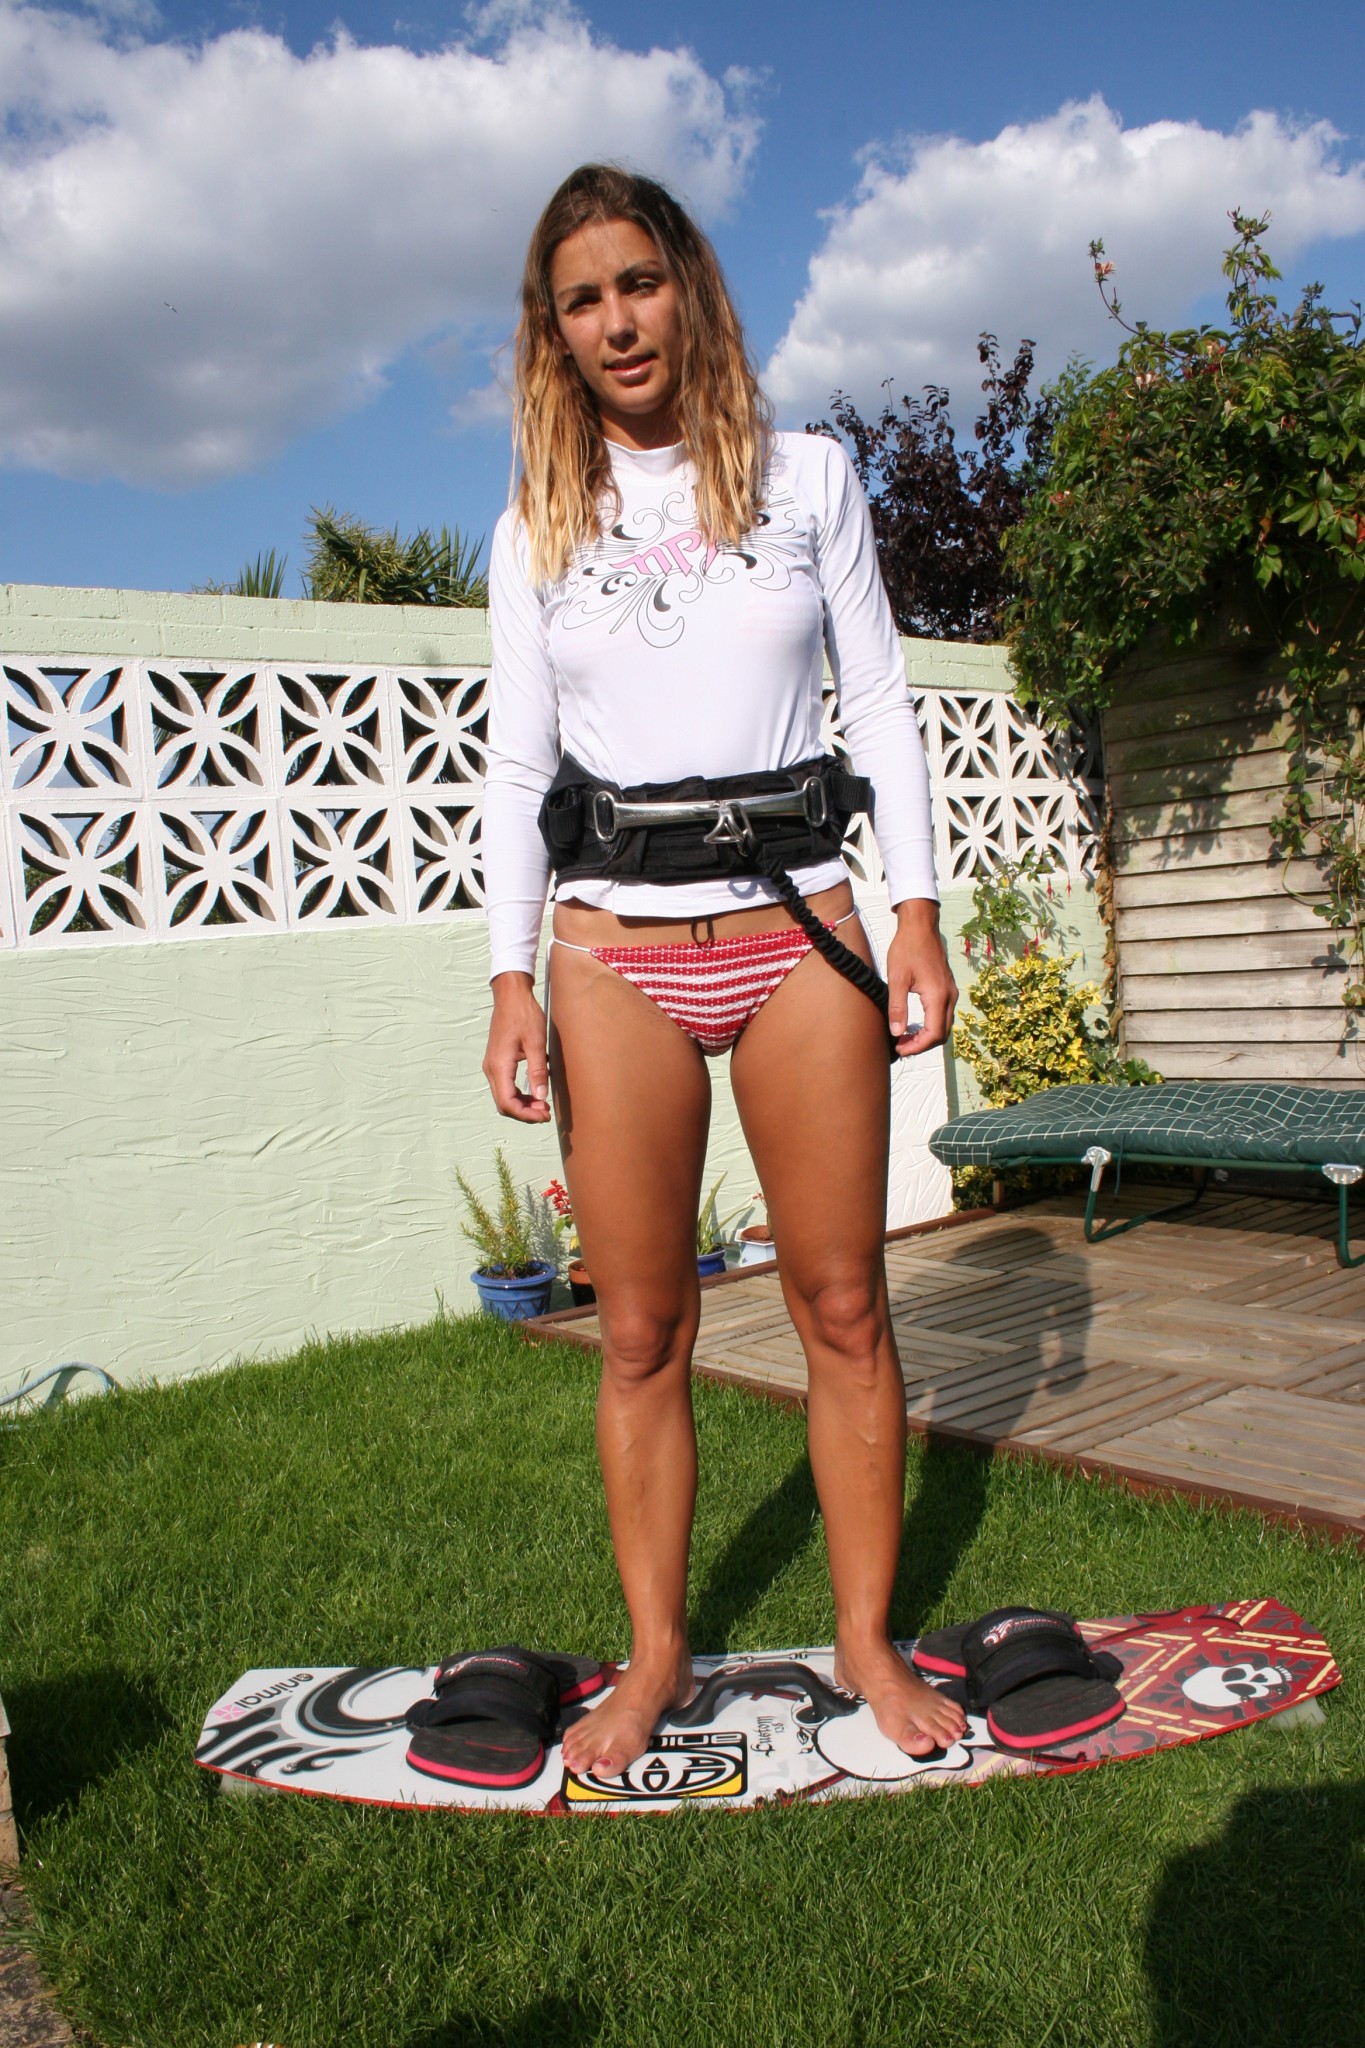
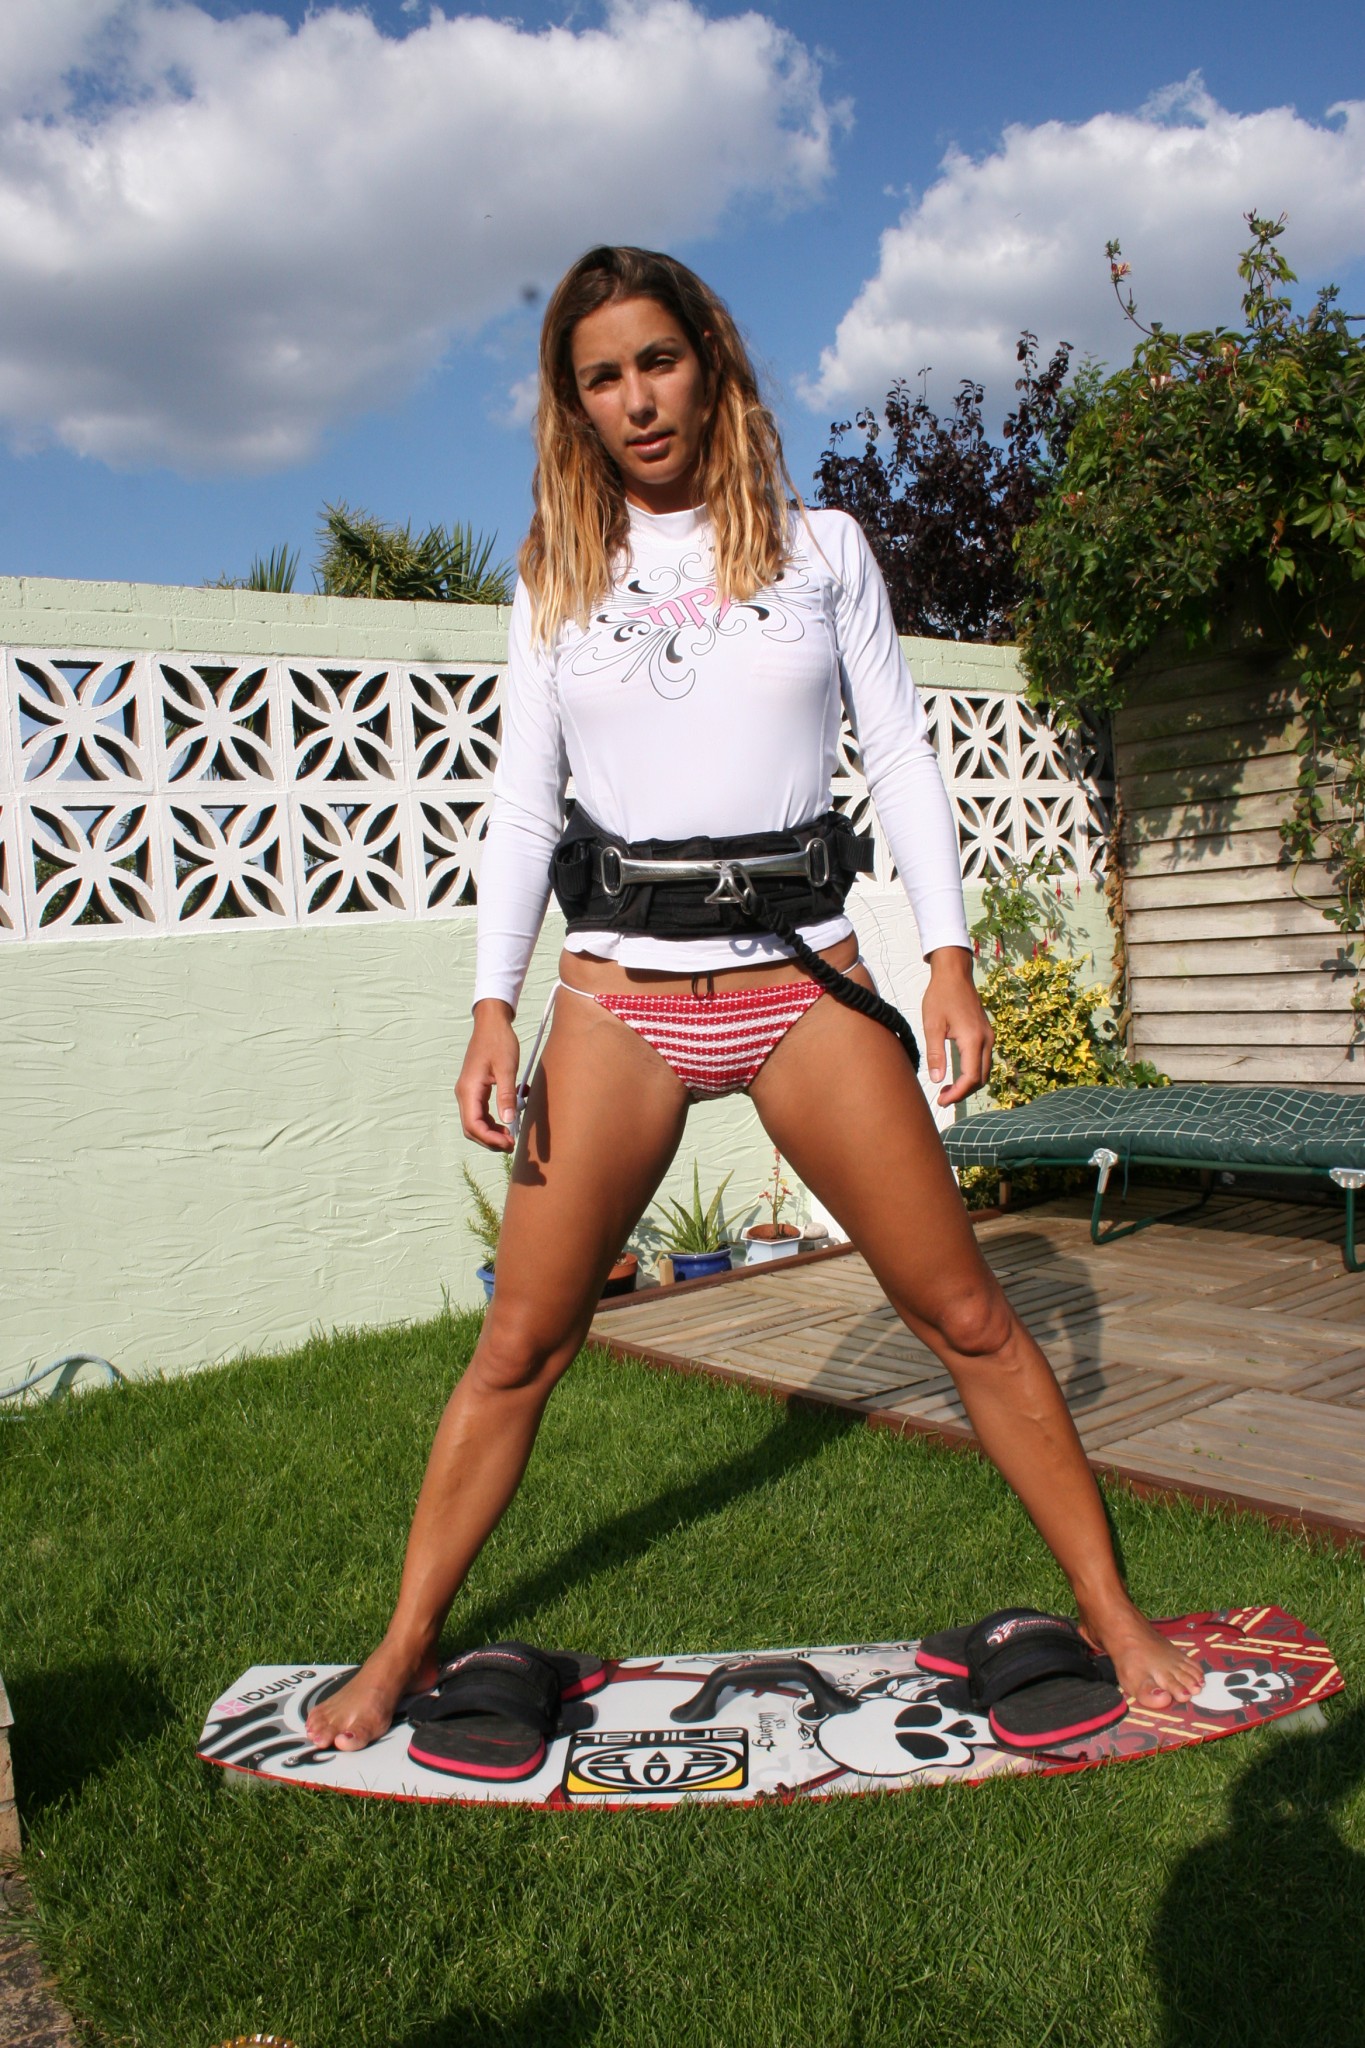
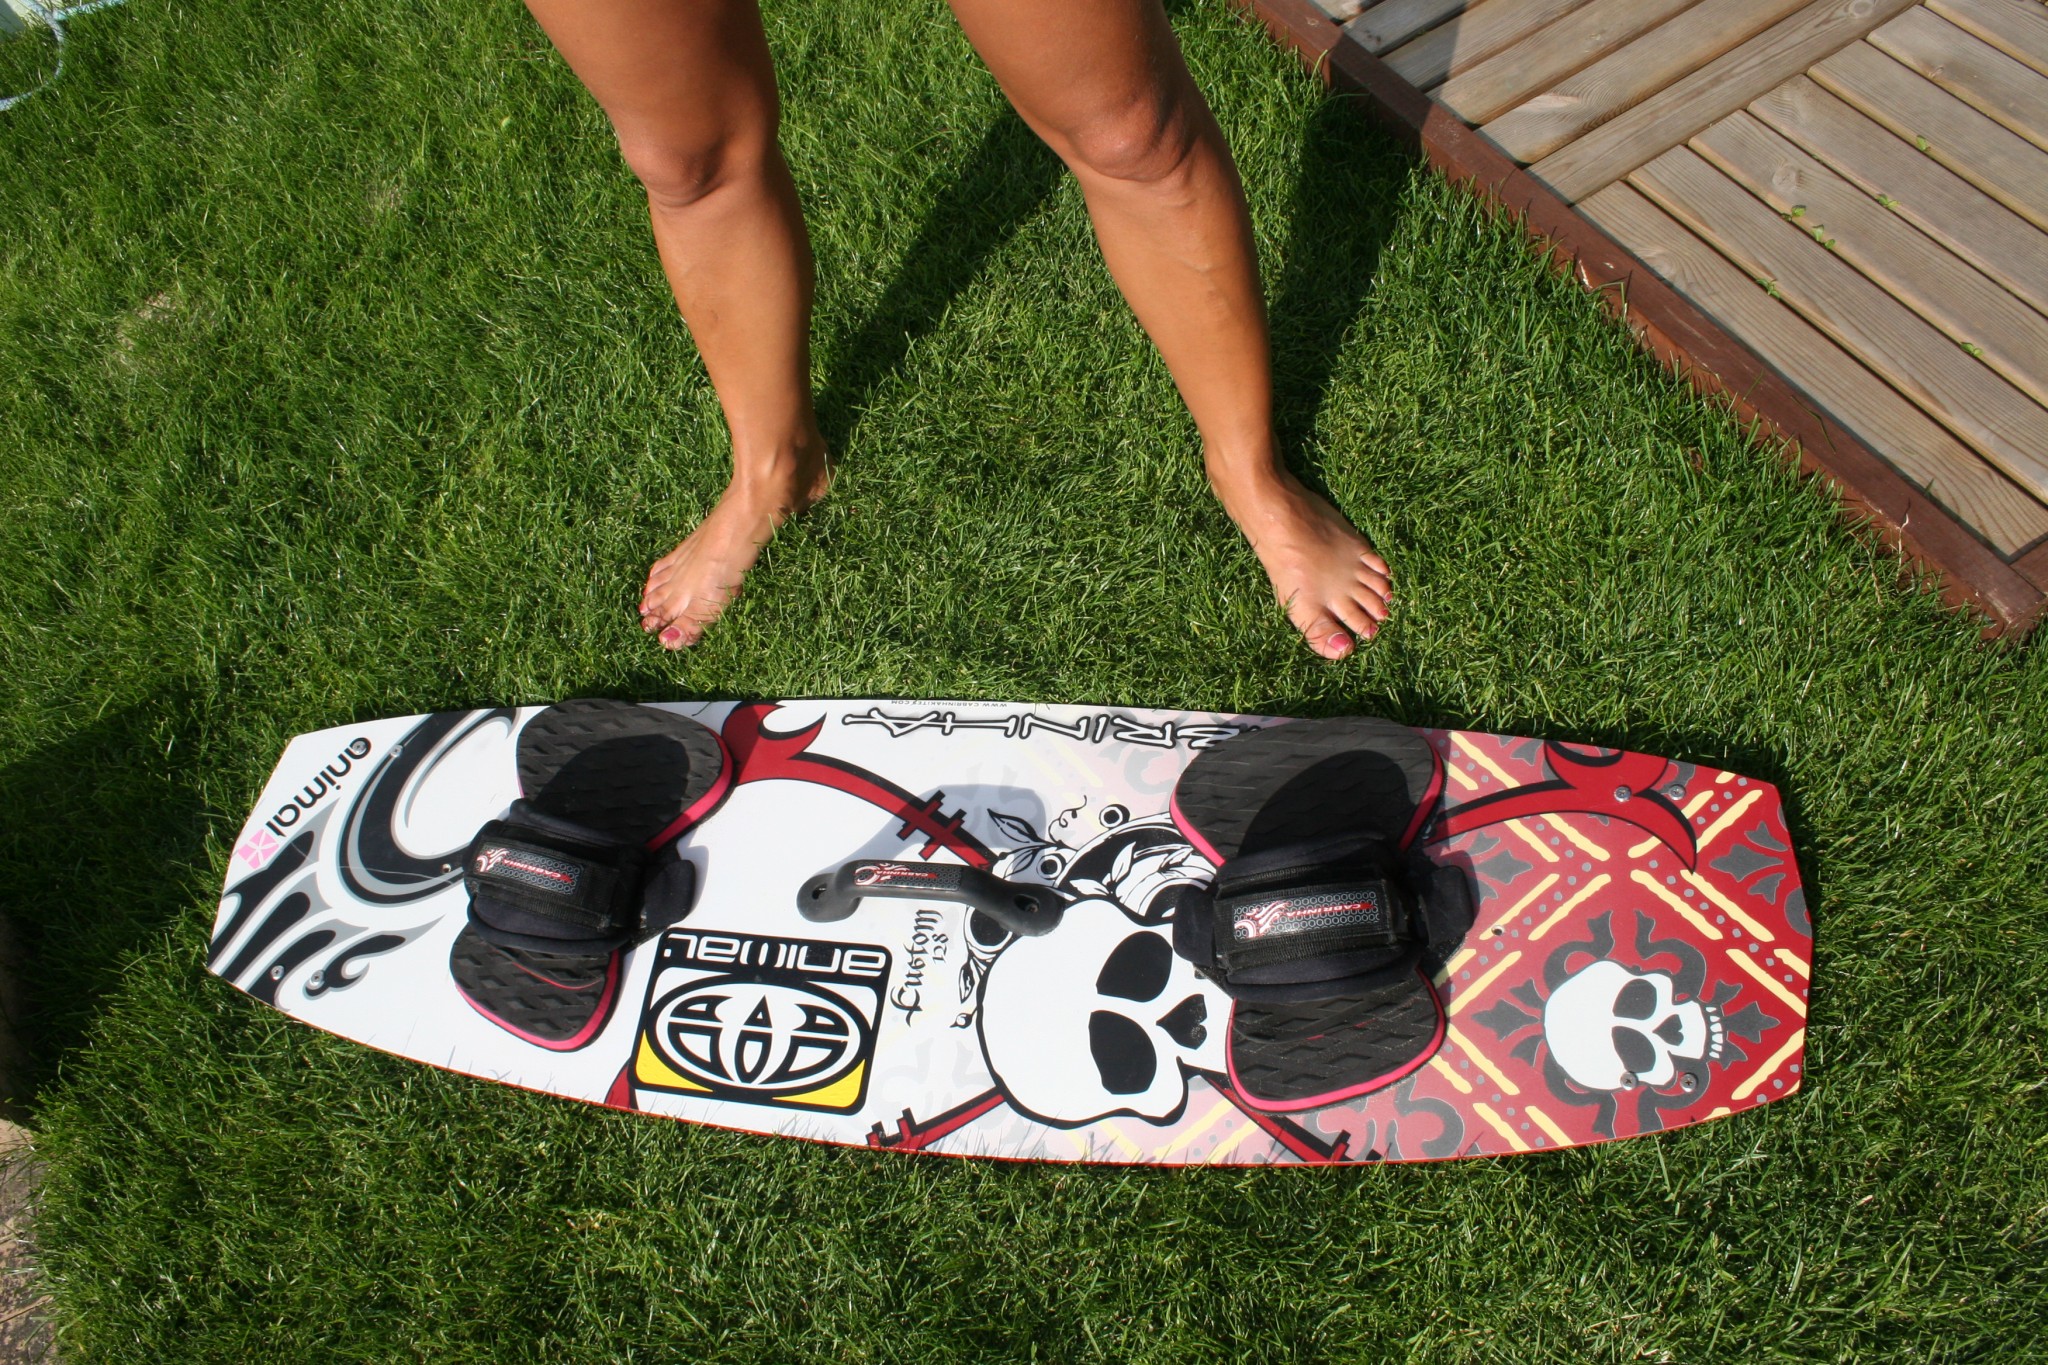
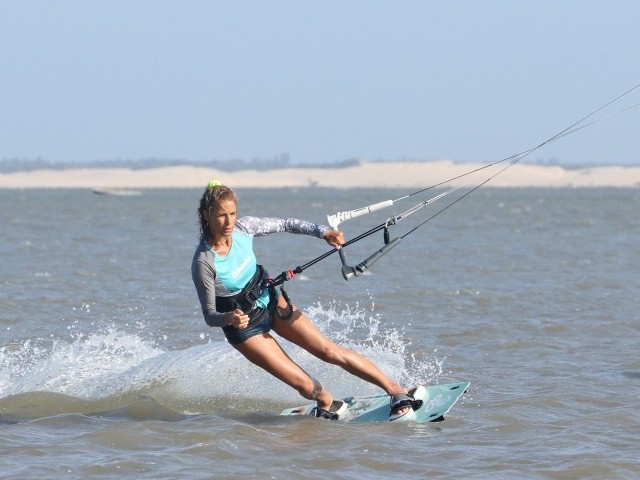
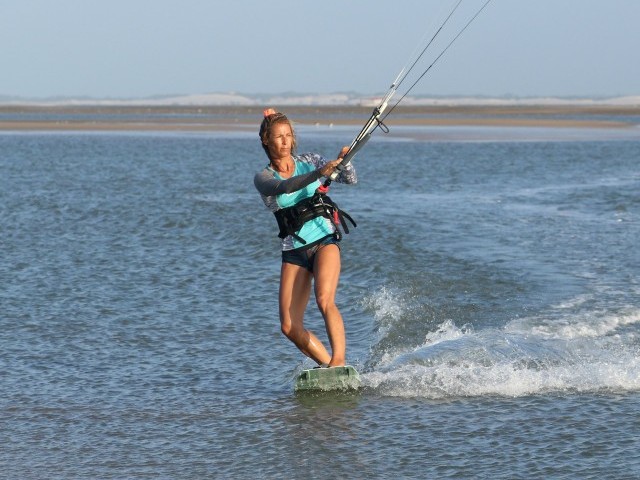
The distance between your feet will affect you balance, ability to resist the kites pull, position your weight and even carve. If you stand with you legs straight and feet close together (Pic 9) even on land, you’re as easy to push over as a sleeping cow. On the other if you do the splits (Pic 10) you’re stuck on the spot and cannot move your body to counteract any outside forces. You’ll need to experiment to find your ideal, as the distance between foot-strap placements varies from brand to brand and board size to board size. Karine actually uses the middle option on large boards and the outside option on smaller boards, and she’s 1.70. This encourages her to bend her legs (Pic 11) and helps with landing jumps, tricks, riding toe side, blind, even going upwind.
Duck Feet
The pull from your kite often comes from one side or other, not directly down wind. To balance against this your front foot will need to point slightly forwards towards the direction of travel, and assuming that you are riding a twin tip, both feet will take it in turns to point away from each other in a duck stance (Pic 12).

The amount of duck is often predetermined by the manufacturer’s placement of the foot strap inserts. If however you feel uncomfortable you can try adjusting the angle by using different holes in the straps or pads/plates. However do take care as such an adjustment could move you heel further away, or further towards the edge of your board, affecting how comfortable it is to edge.
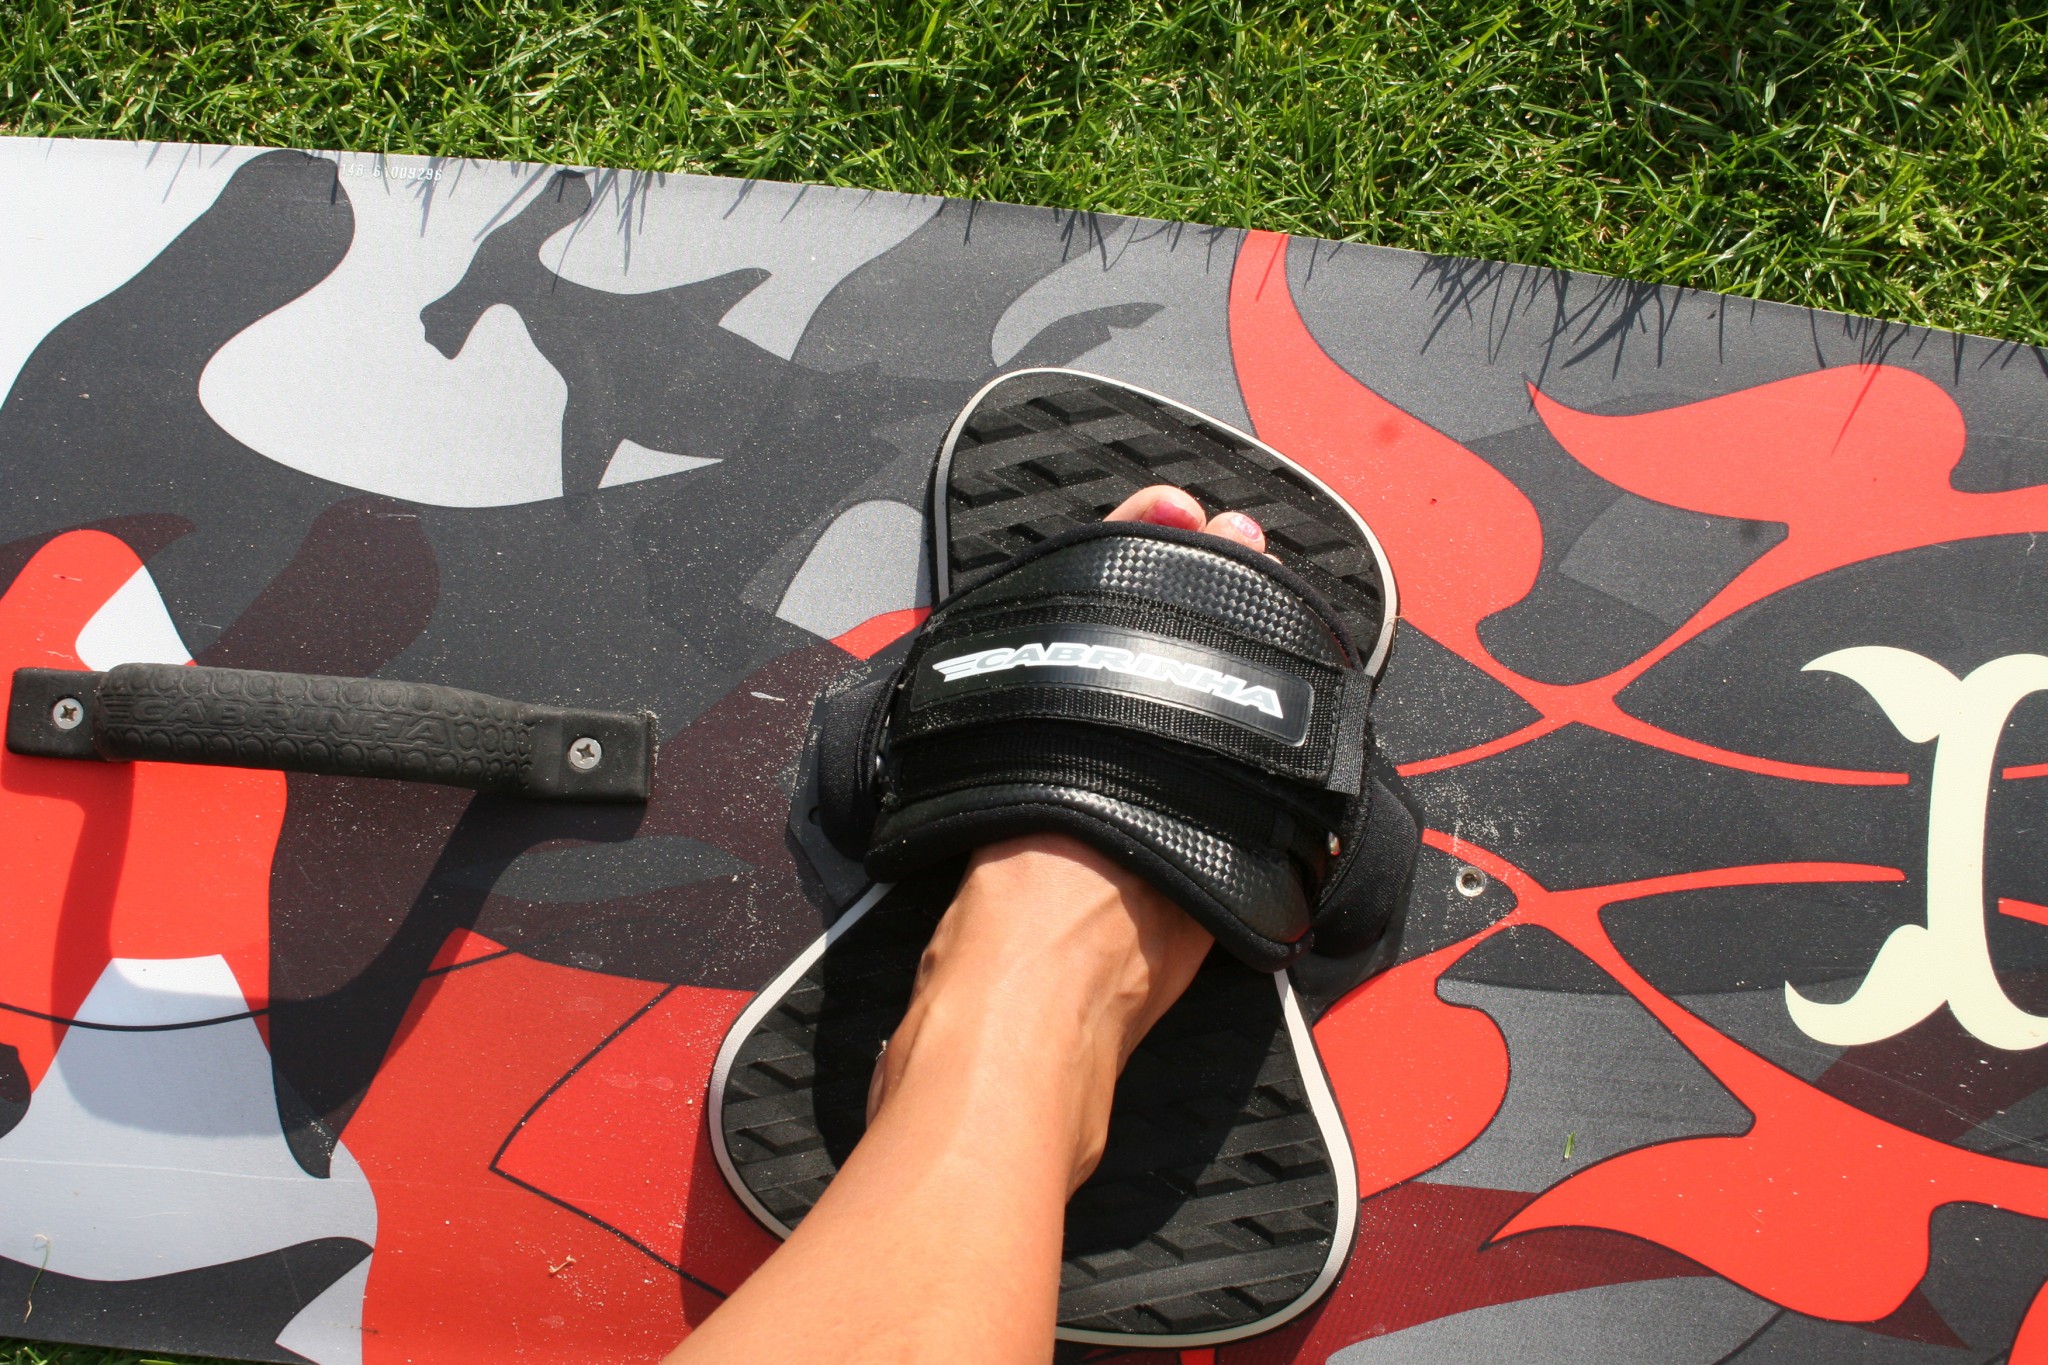
Shoes Too Big
No matter how delicious your board, with ill-fitting or loose straps it’ll feel like an uncontrollable plank, not the latest pro model. Your foot needs to feel secure, and with the now fairly standard easier to fit foot straps and pads there is no excuse.
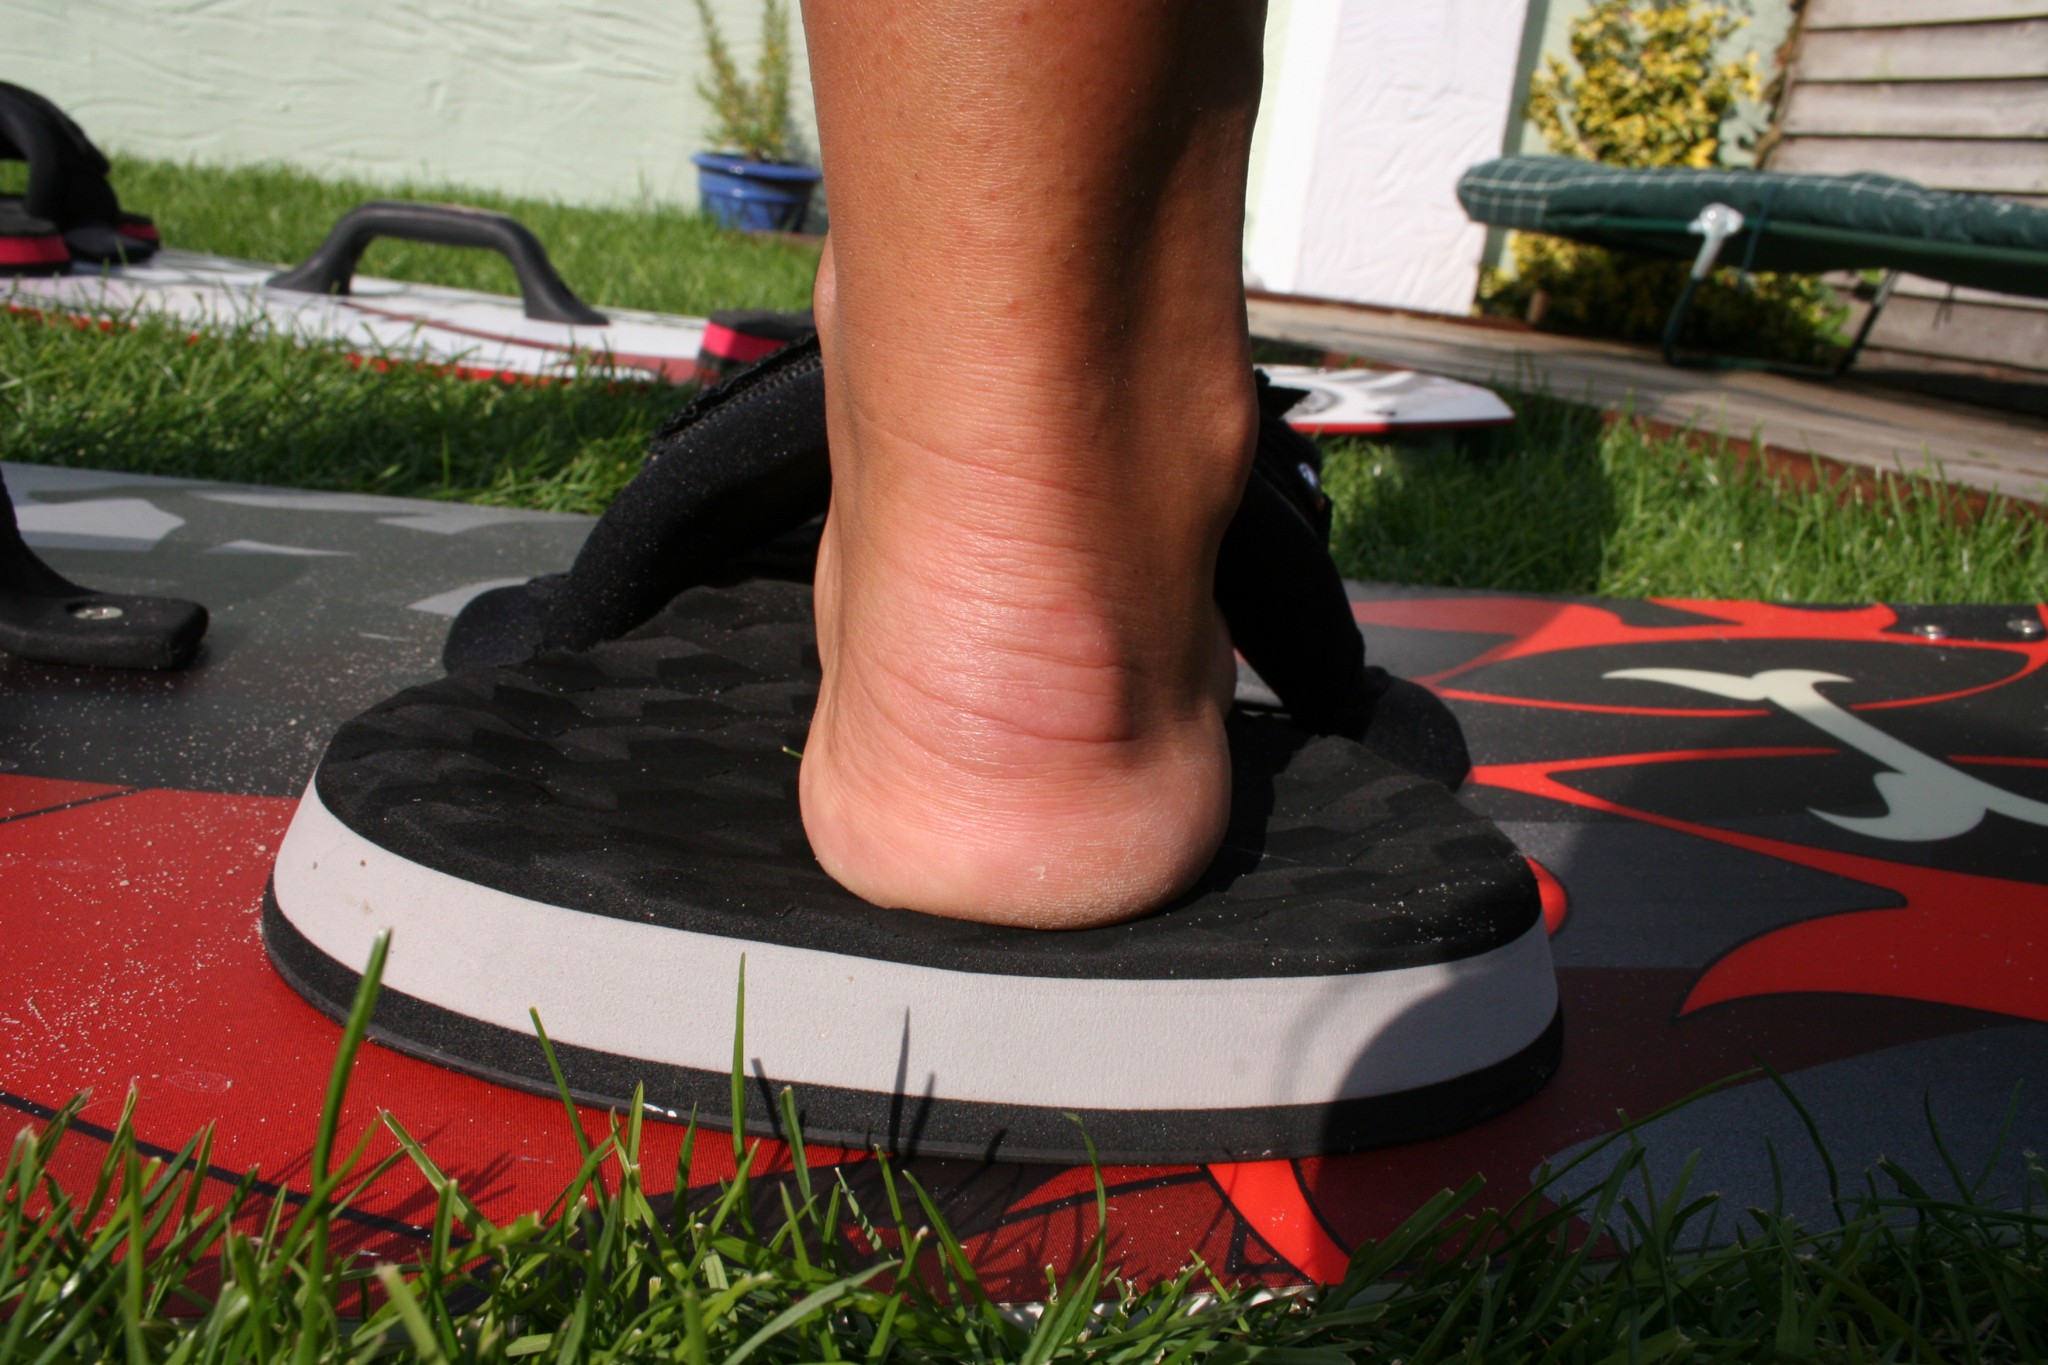
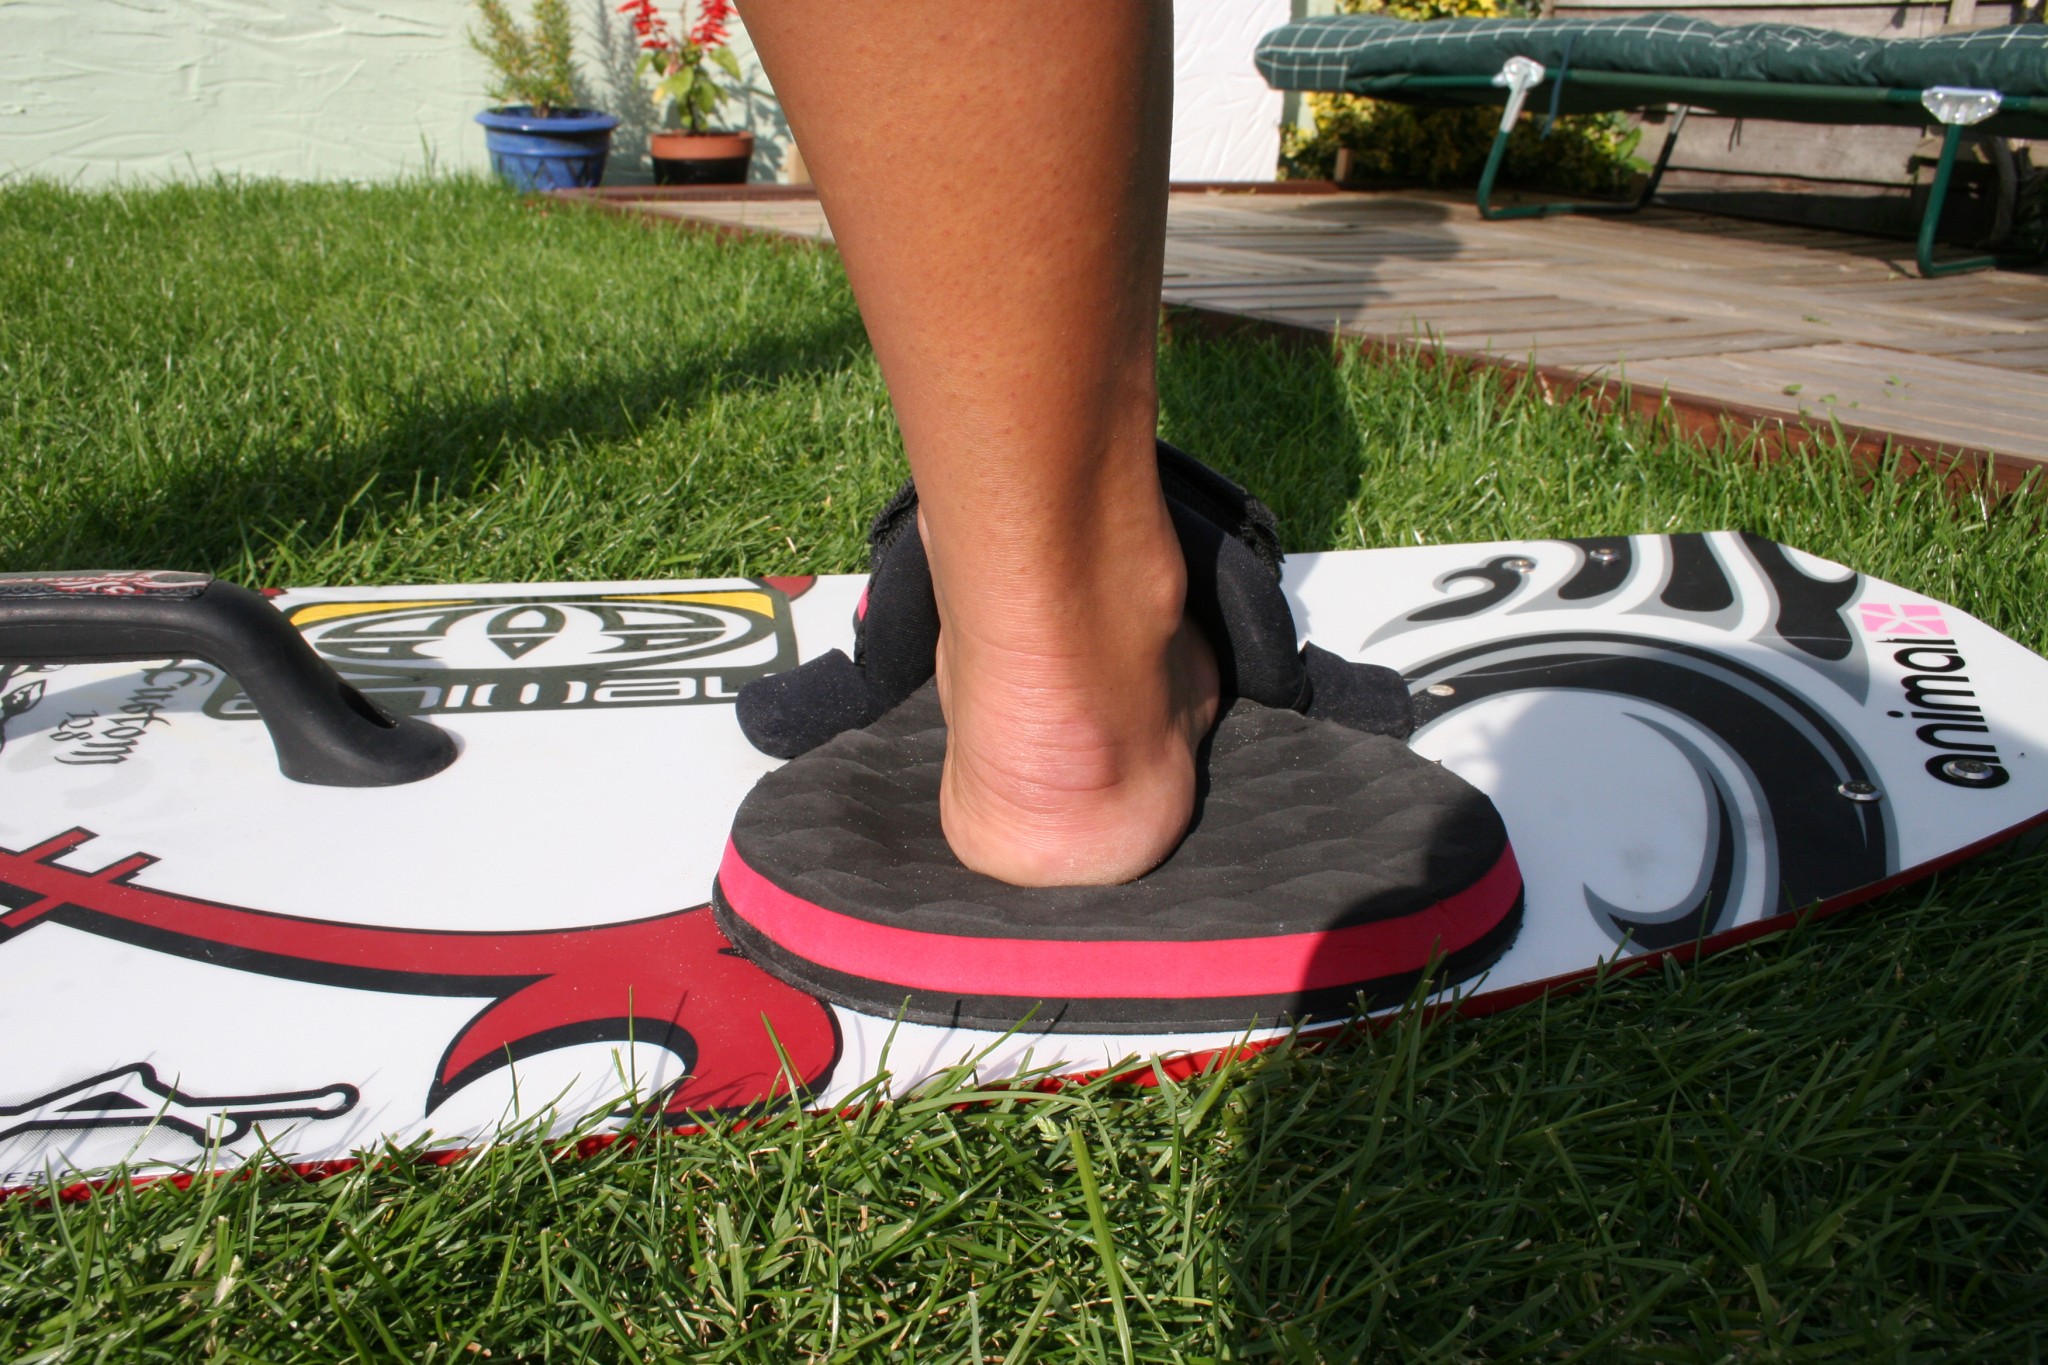
Not only does your strap need to fit across your foot, but also around it. If you strap is too wide, as in Pic 13 no amount of tightening will stop your foot wiggling. Make sure that it closes around the sides of your feet as well (Pic 14). This may necessitate a seasonal adjustment between winter and summer use, but surely no one can be that lazy.
The Maverick
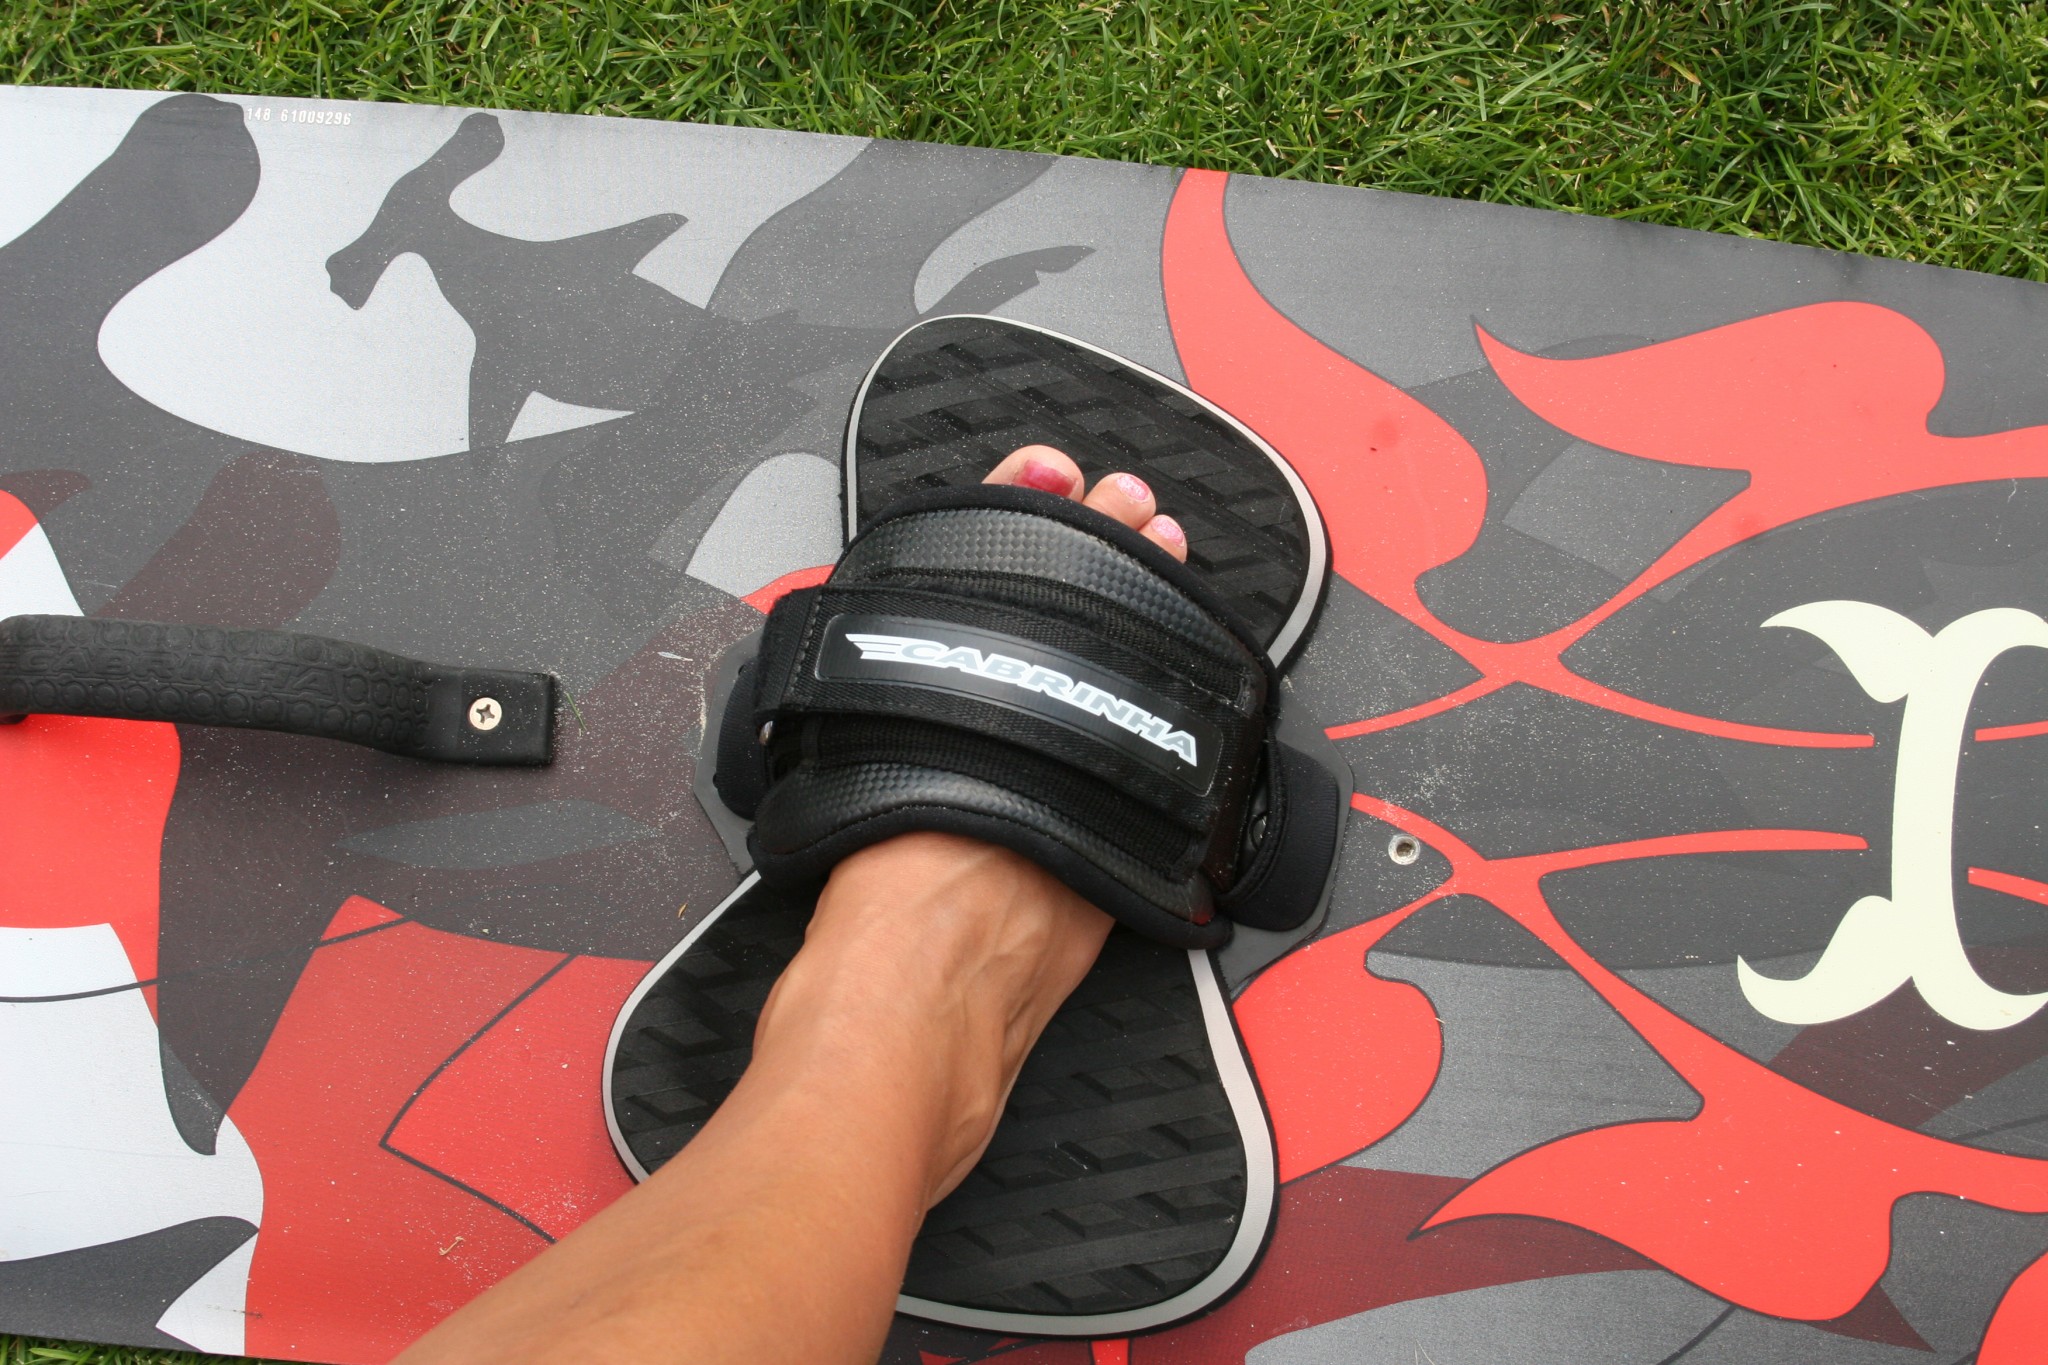
Not sure, but we’ll have a punt and give Mr Vari the credit with this one. If you find that even set right you tend to come out of your straps, particularly those of you who like a lot of duck, it could well be worth changing you straps around. Boards are often set up with the straps as in Pic 15, where the fatter side is on the inside. Personally, and for many of our guests, changing them so that the narrower side is inside allows you to grip with you toes and gives a more snug fit (Pic 16).
Hopefully all this theory has not been too painful, and although it may not be quite as exciting as learning a new trick, it will hopefully make a few pennies drop. Understanding your equipment will make a world of difference and will make the next step, whatever that may be, at least a bit easier.

This technique article was in Issue 5 of IKSURFMAG.
Related


By Christian and Karine
Christian and Karine have been working together as a coaching team, running improver to advanced kitesurfing clinics since 2003.
